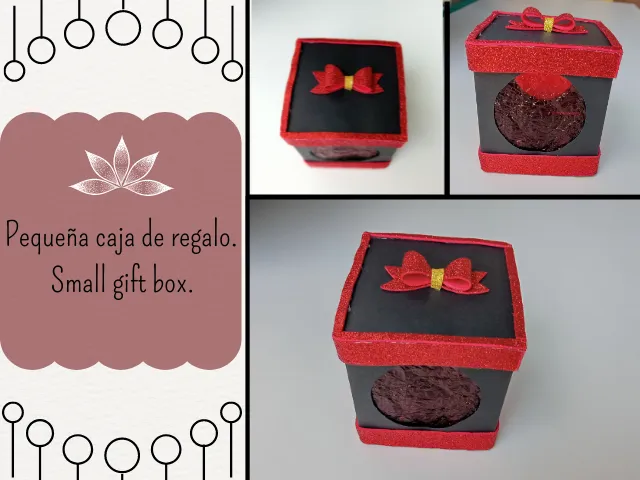
🎁 Buenos días amantes de la creatividad, Espero estén teniendo una linda semana.🎁
En esta oportunidad les traigo el paso a paso de está linda cajita. Me he dado cuenta que me encanta mucho hacer arreglos y cajitas para dar algún detalle. Siento que nos emocionamos mucho al ver una caja o bolsa de regalo, nos lleva a esos recuerdos de abrir nuestros regalos en navidad, o quizá solo sea yo jaja. Es muy lindo presentar tu regalo en una cajita o bolsa, y ¿qué más bonito que hacerla con tus propias manos?.
🔻A continuación, te dejo el paso a paso de está linda cajita de regalo.🔻
🎁¡Hello my creative friends! Hope you are having a nice week.🎁 In this opportunity I bring you the step by step of this cute little box. I have realized that I really love making arrangements and little boxes to give some detail. I feel like we get so excited when we see a gift box or bag, it brings back those memories of opening our presents at Christmas, or maybe it's just me haha. It is very nice to present your gift in a box or bag, and what is more beautiful than making it with your own hands?
🔸Then I leave you the step by step of this cute little gift box.🔸
♥️ESPERO QUE TE GUSTE,
¡Empecemos!
♥️I HOPE YOU LIKE IT,
Let's start!

📏 MATERIALES | 📏 MATERIALS
- Cartulina escolar negra.
- Papel celofán.
- Cartón.
- Foami escarchado rojo.
- Foami escarchado dorado.
- Tapa redonda.
- Pega blanca.
- Silicón caliente.
- Lápiz.
- Hoja blanca.
- Regla.
- Tijeras.
- Black school cardboard.
- Celofan paper.
- Paperboard.
- Red frosty foami.
- Gold frosty foami.
- Round lid.
- White glue.
- Hot silicone.
- Pencil.
- Paper.
- Rule.
- Scissor.
🎁 PROCEDIMIENTO | 🎁 PROCESS
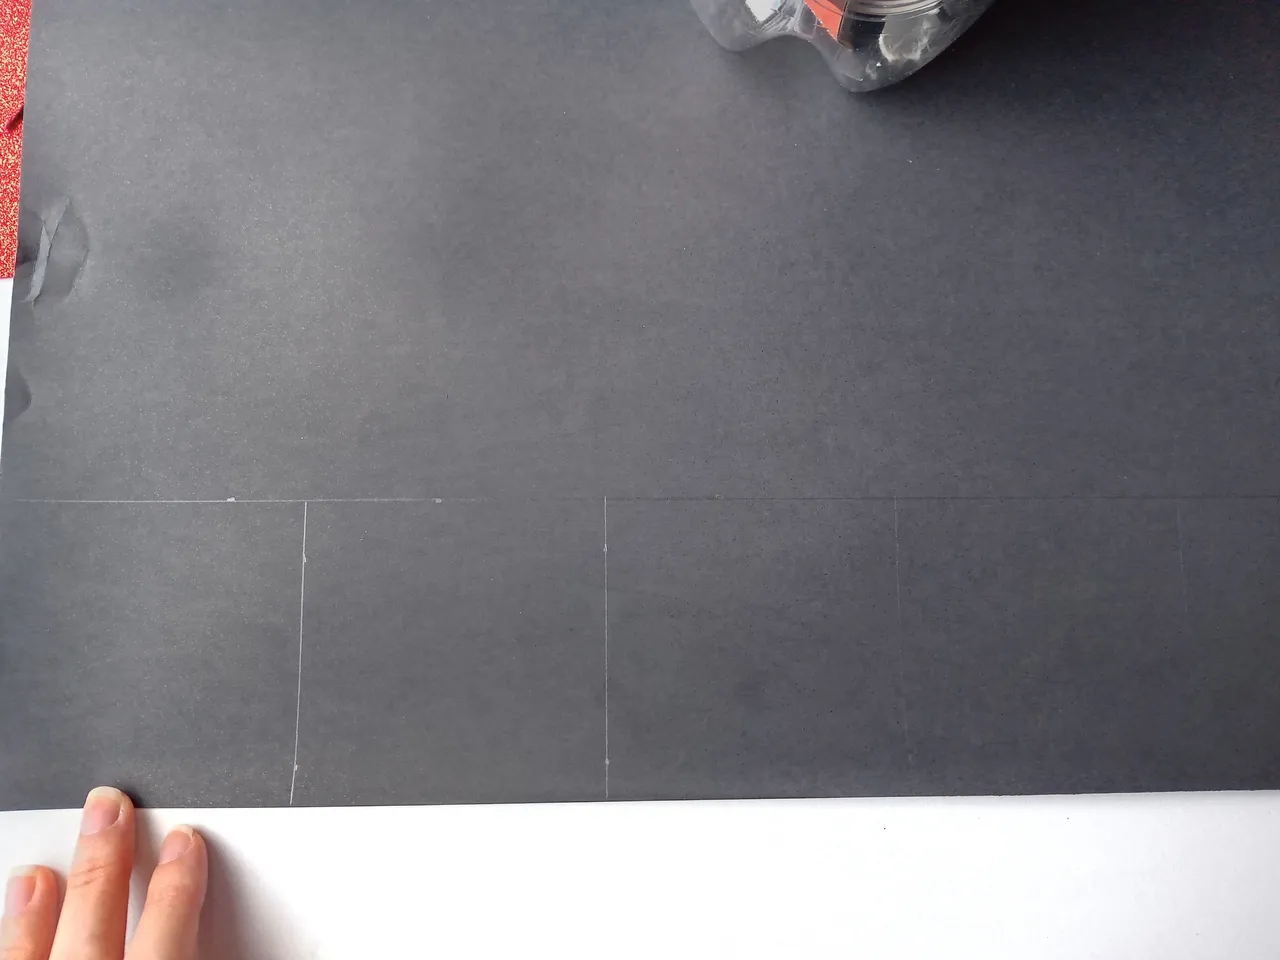
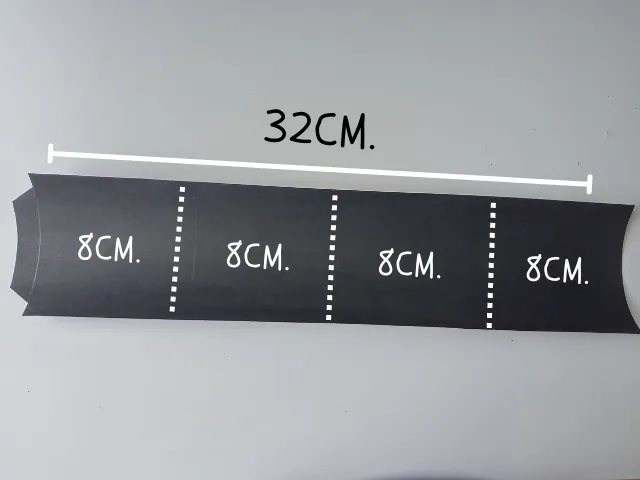
- PASO 1:
Comenzamos haciendo las paredes de nuestra caja; tomamos la cartulina escolar negra, lápiz, regla y trazamos las siguientes medidas: 32cm de largo, dividimos en 4 cuadros de 8cm de ancho y una línea de doblaje de 1cm. recortar con la tijera y con ayuda de la tijera o una regla, doblar las paredes y la línea de doblaje.
- STEP 1:
We start by making the walls of our box. We take the black school cardboard, pencil, ruler and take the following measurements: 32cm long and divide into 4 squares 8cm wide and a 1cm fold line. Cut with scissors and with the help of scissors or a ruler, fold the walls and fold lines.
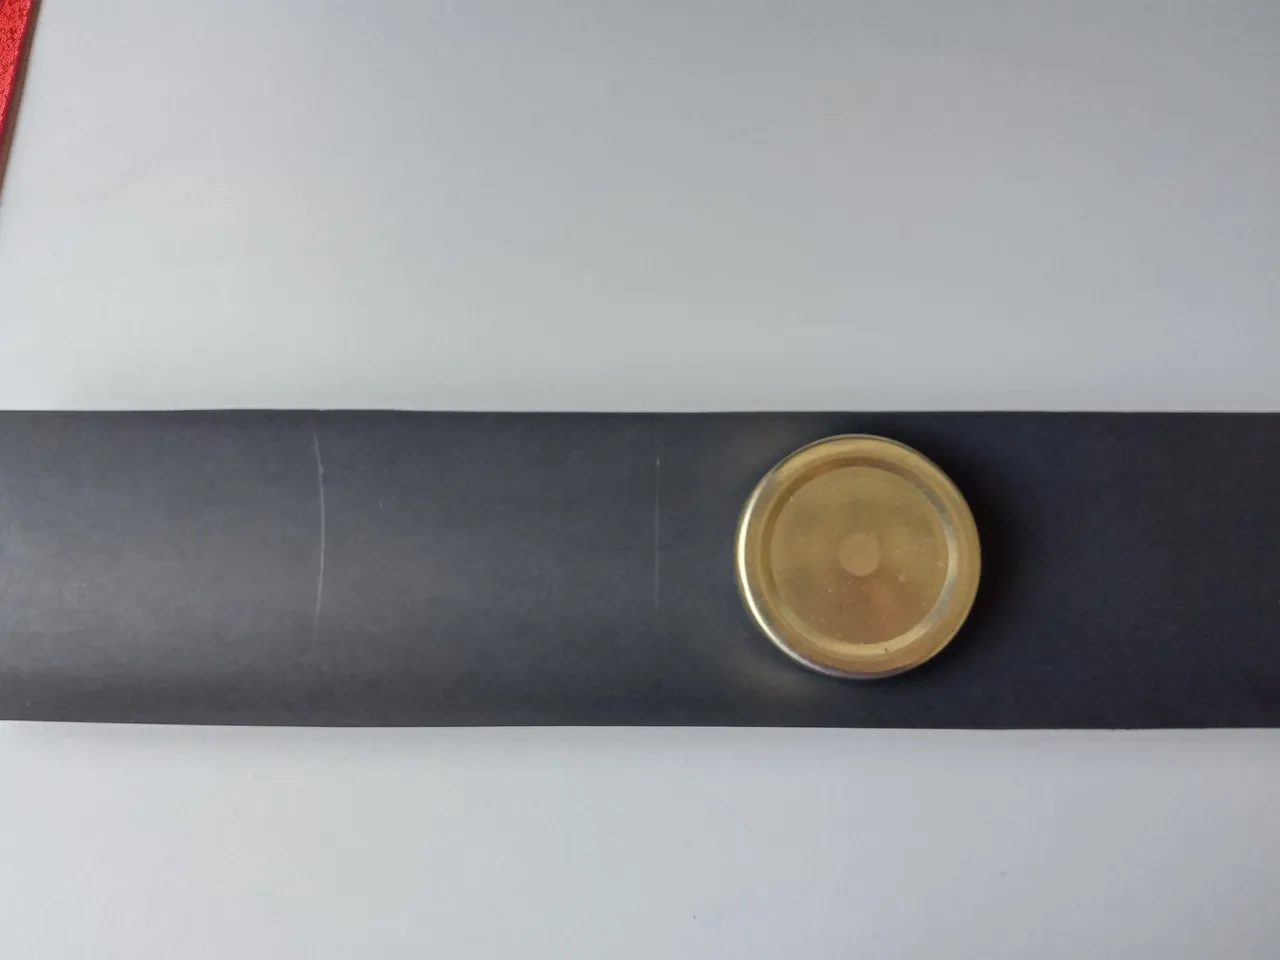
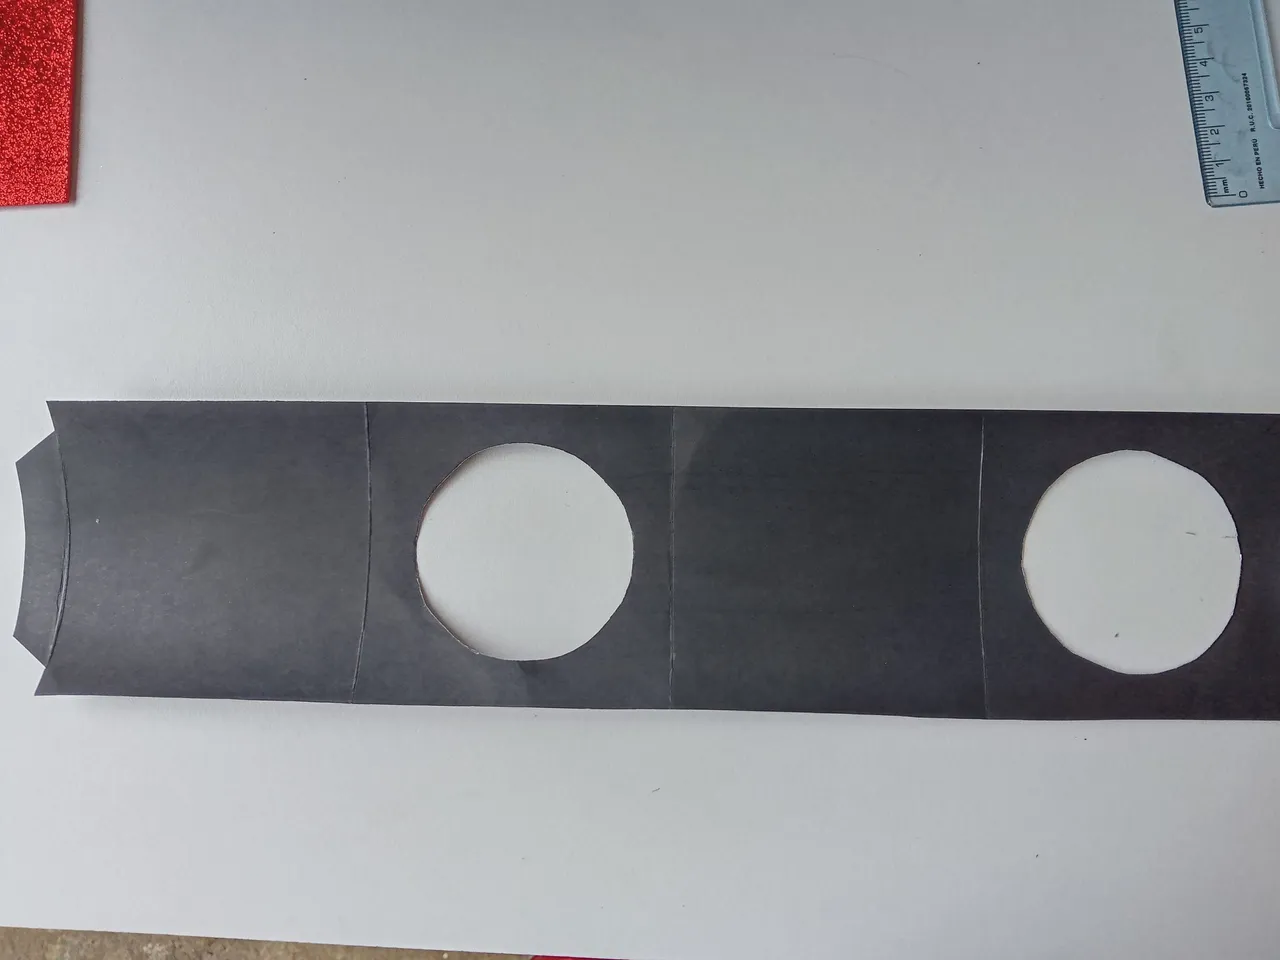
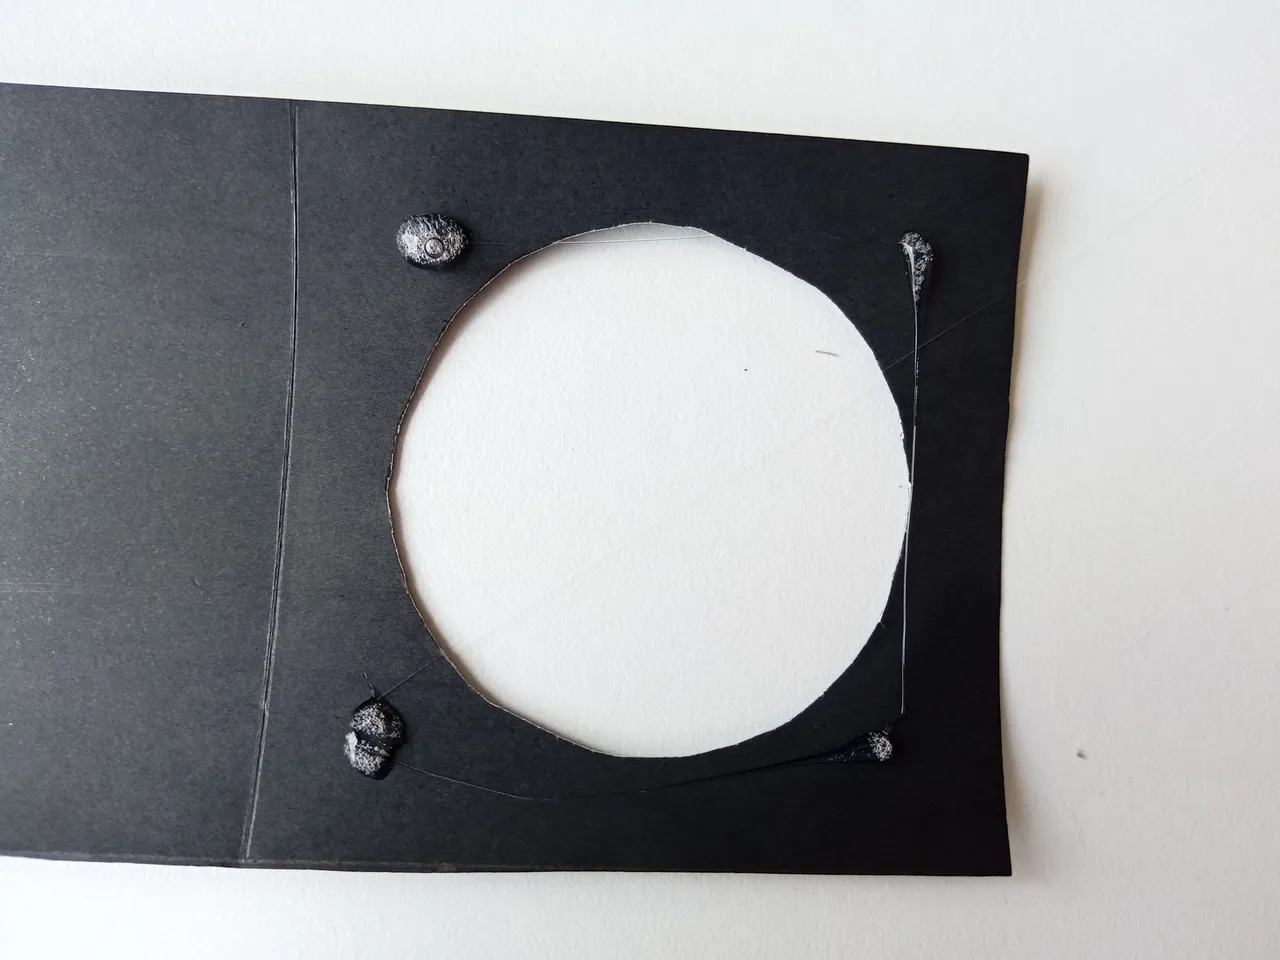
- PASO 2:
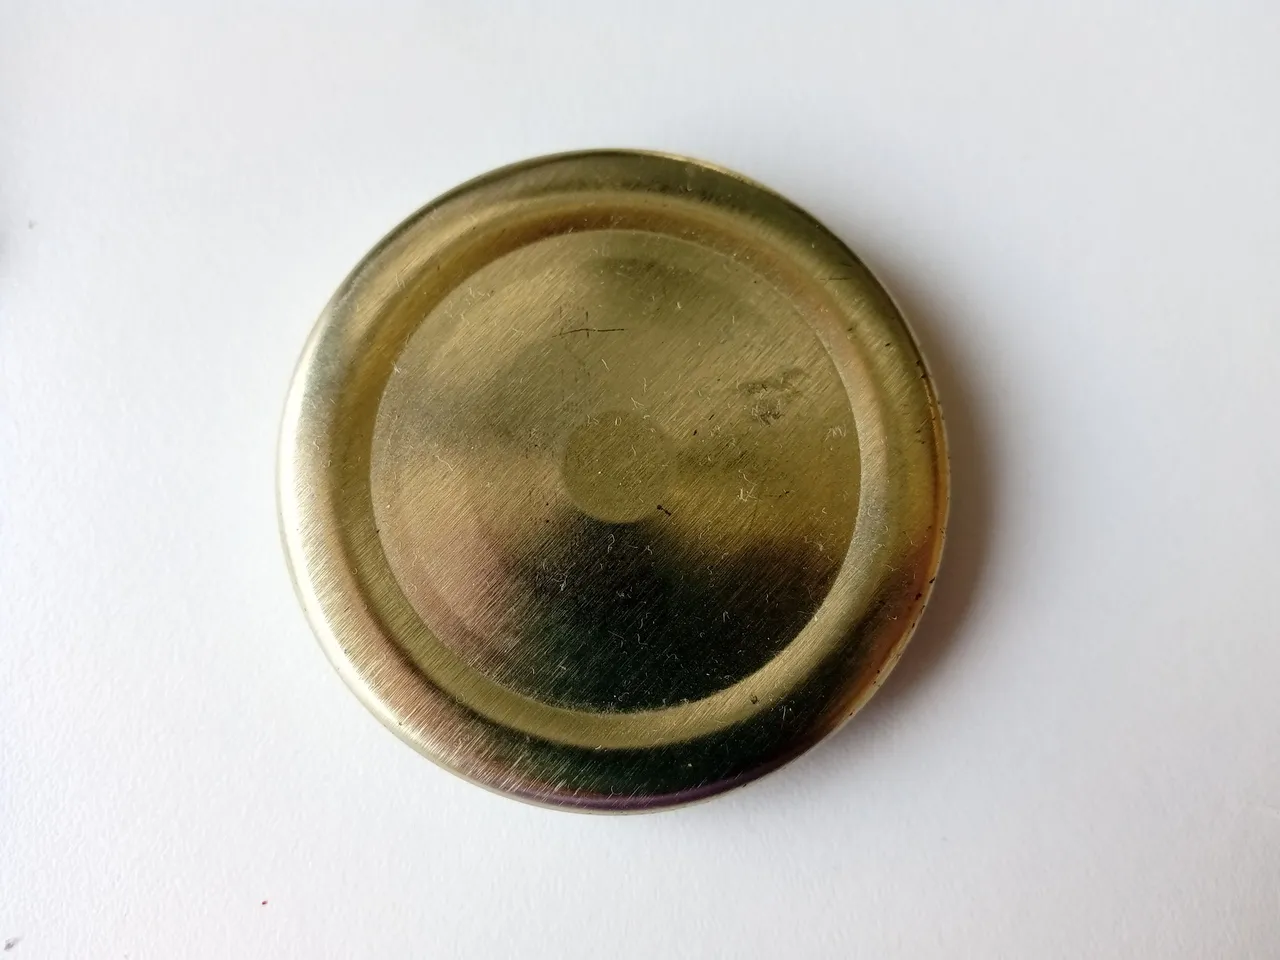
Luego, con la ayuda de una tapa o algún objeto circular, dibuja un círculo en el centro de dos cuadrados de las paredes de nuestra caja de la siguiente manera: un círculo, una pared lisa, un círculo y otra pared lisa. Una vez hechos los dos círculos recortamos.
- STEP 2:
Then, with the help of a lid or some circular object, draw a circle in the center of two squares of the walls of our box as follows: a circle, a smooth wall, a circle and another smooth wall. Once the two circles are made, we cut them.
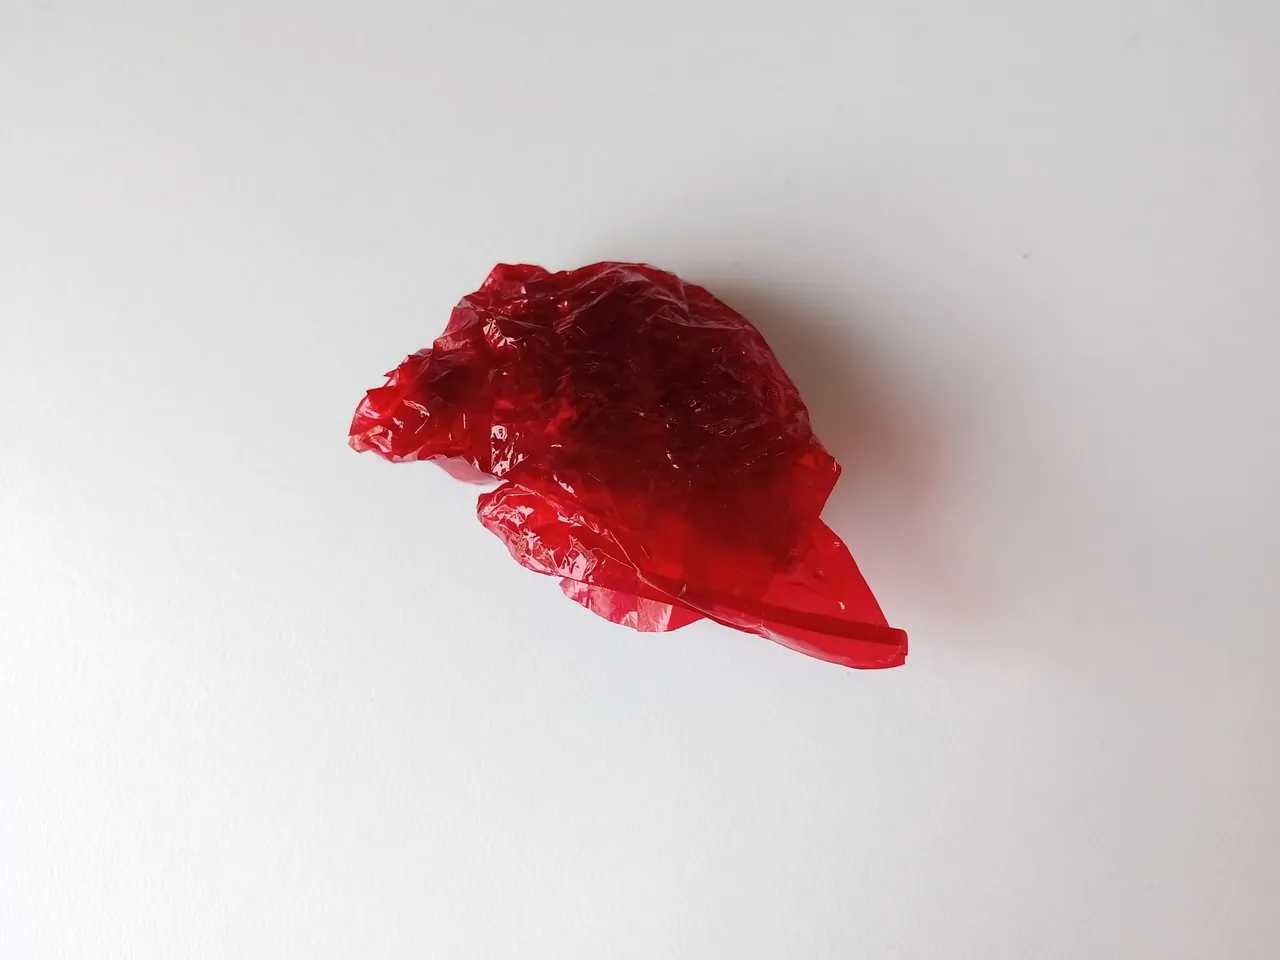
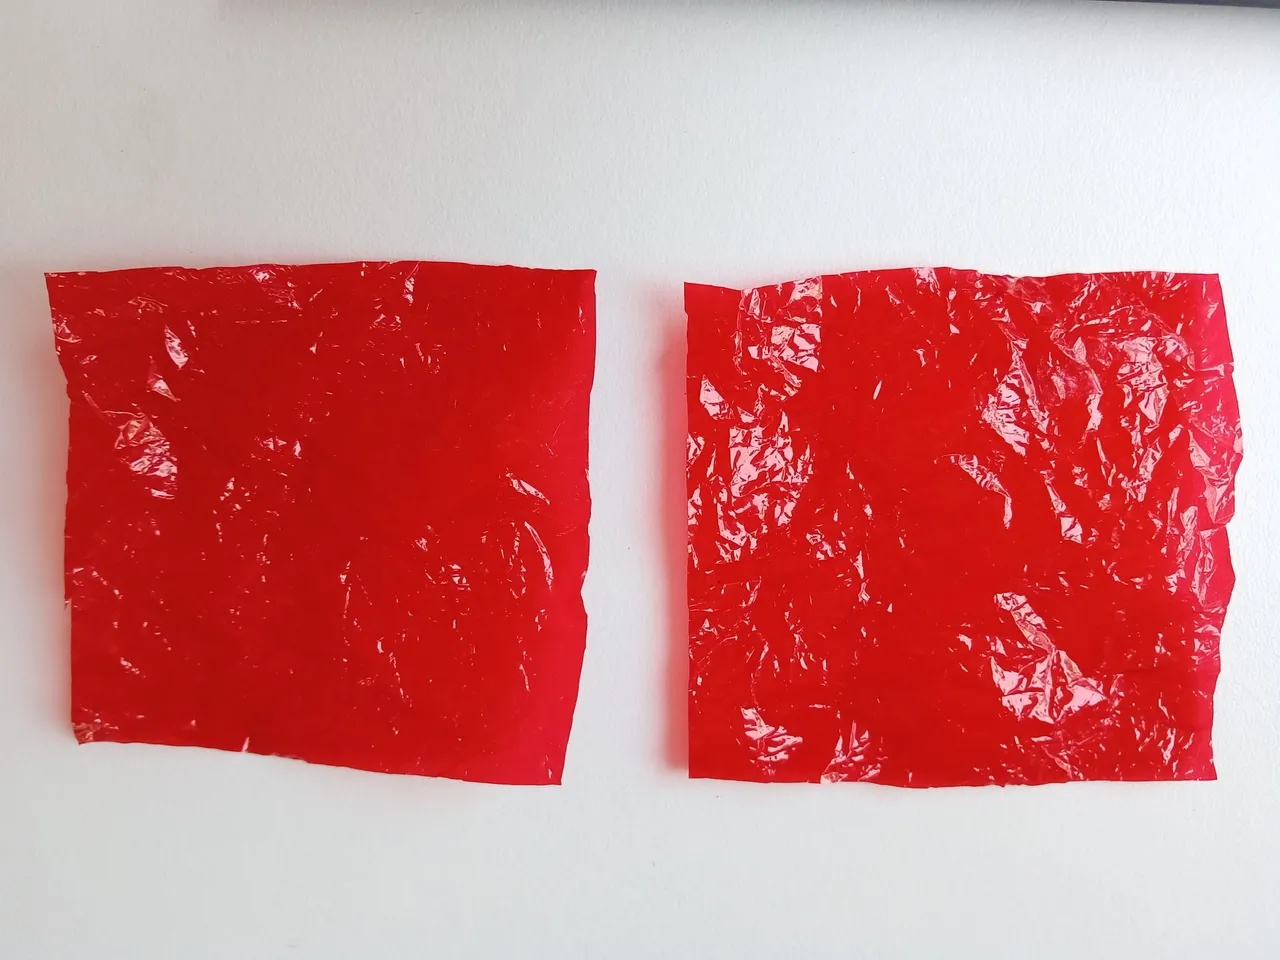
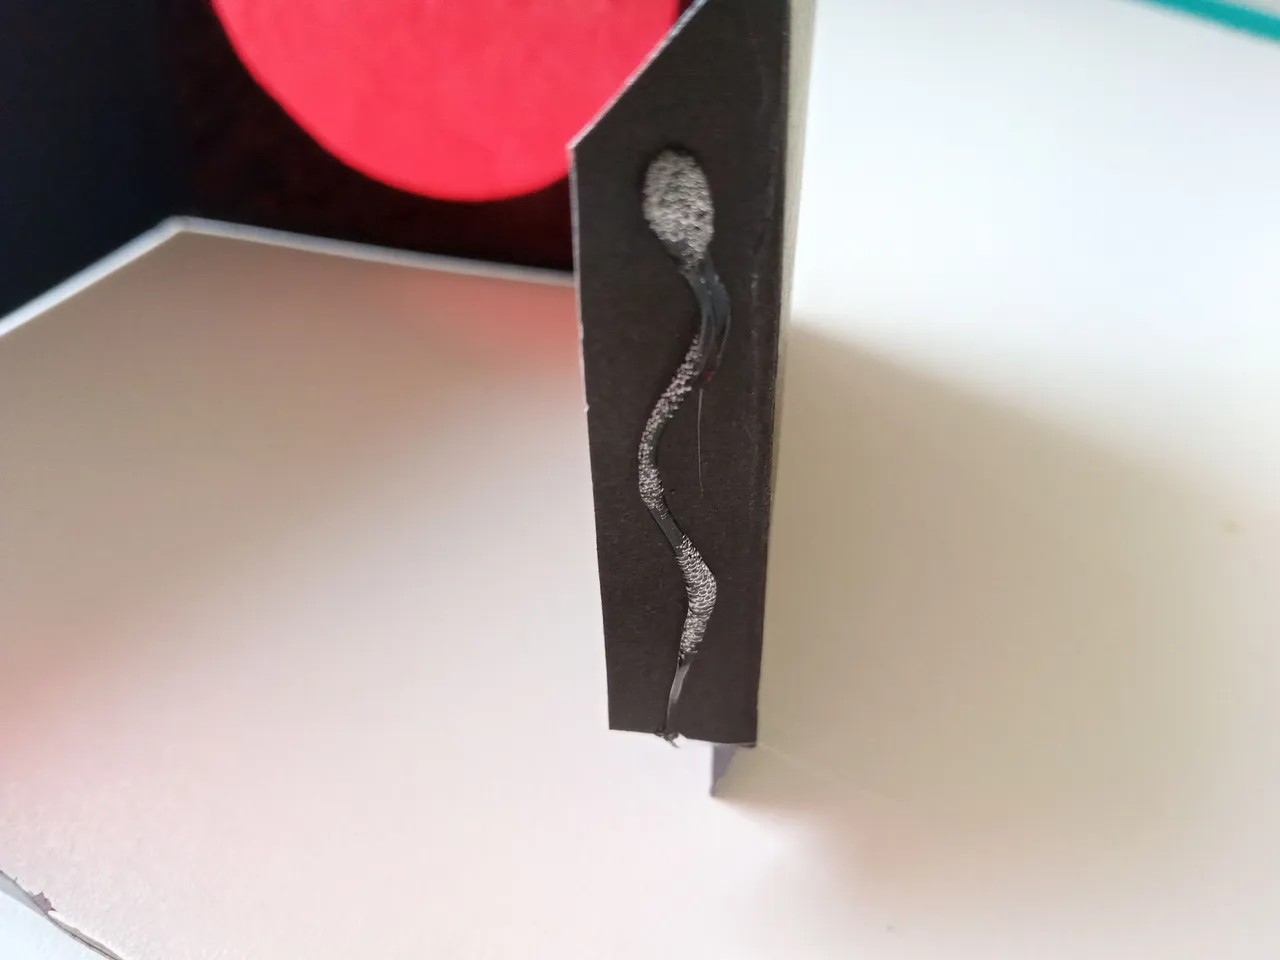
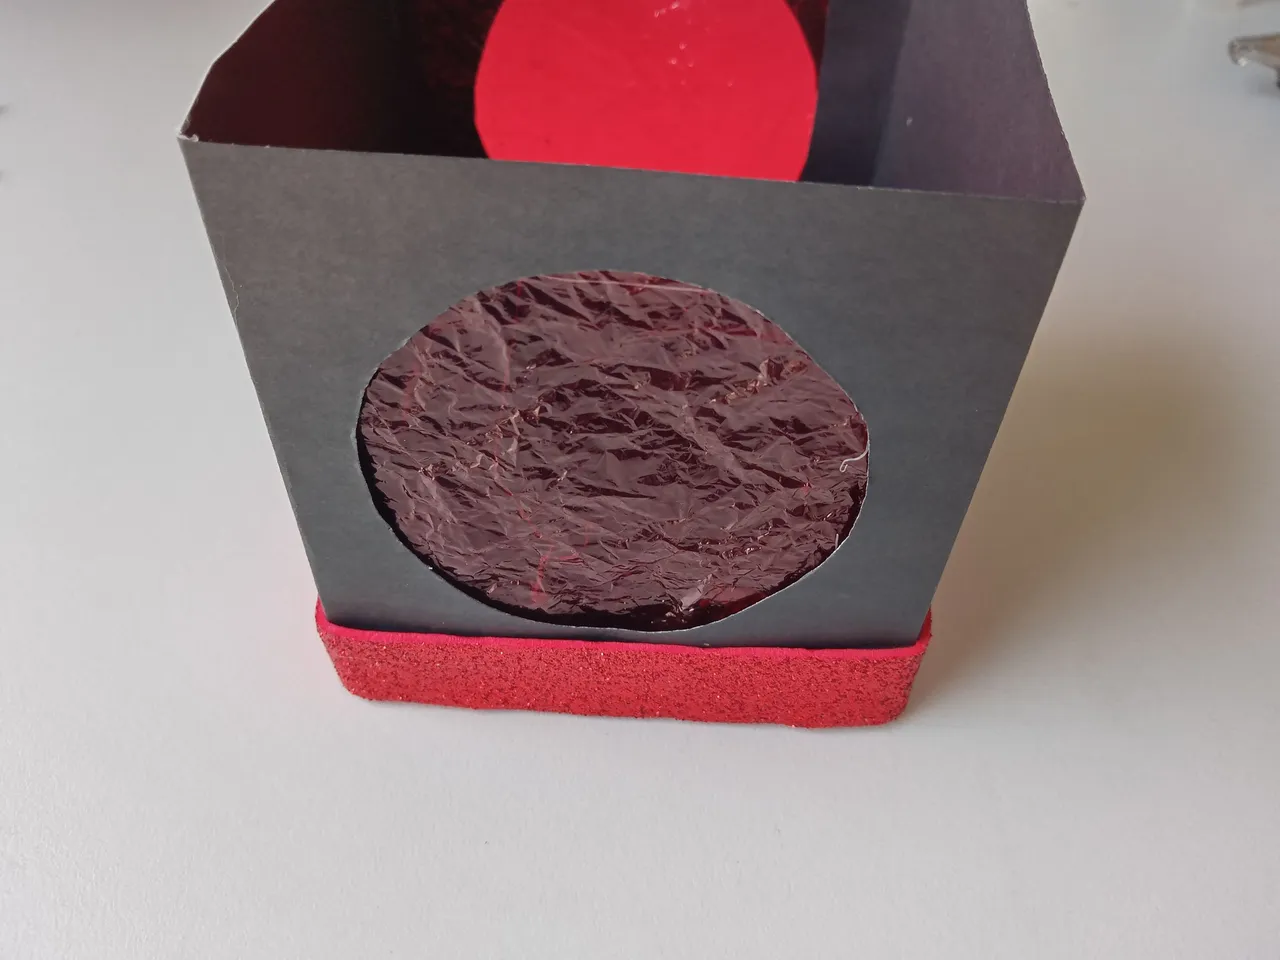
- PASO 3:
Recortar 2 cuadrados de papel celofán, arrúgalos con las manos y pégalos dentro de la caja. A continuación, añade un poco de silicón caliente a la tira de doblaje para unir las cuatro paredes y pegar.
- STEP 3:
Cut 2 squares of cellophane paper, crumple them with your hands and stick them inside the box. Then add a bit of hot glue to the folding strip to join the four walls and glue.

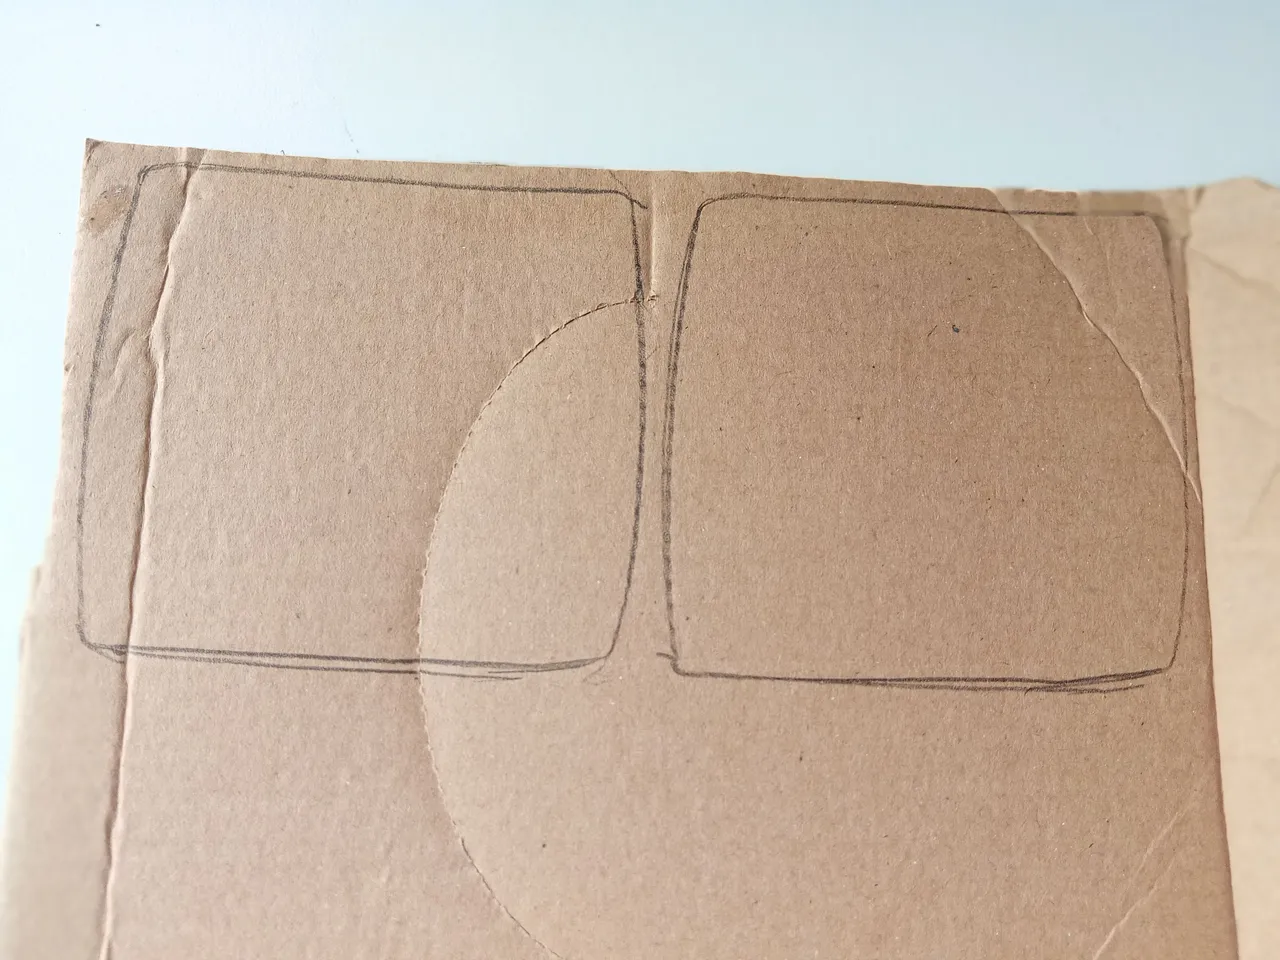
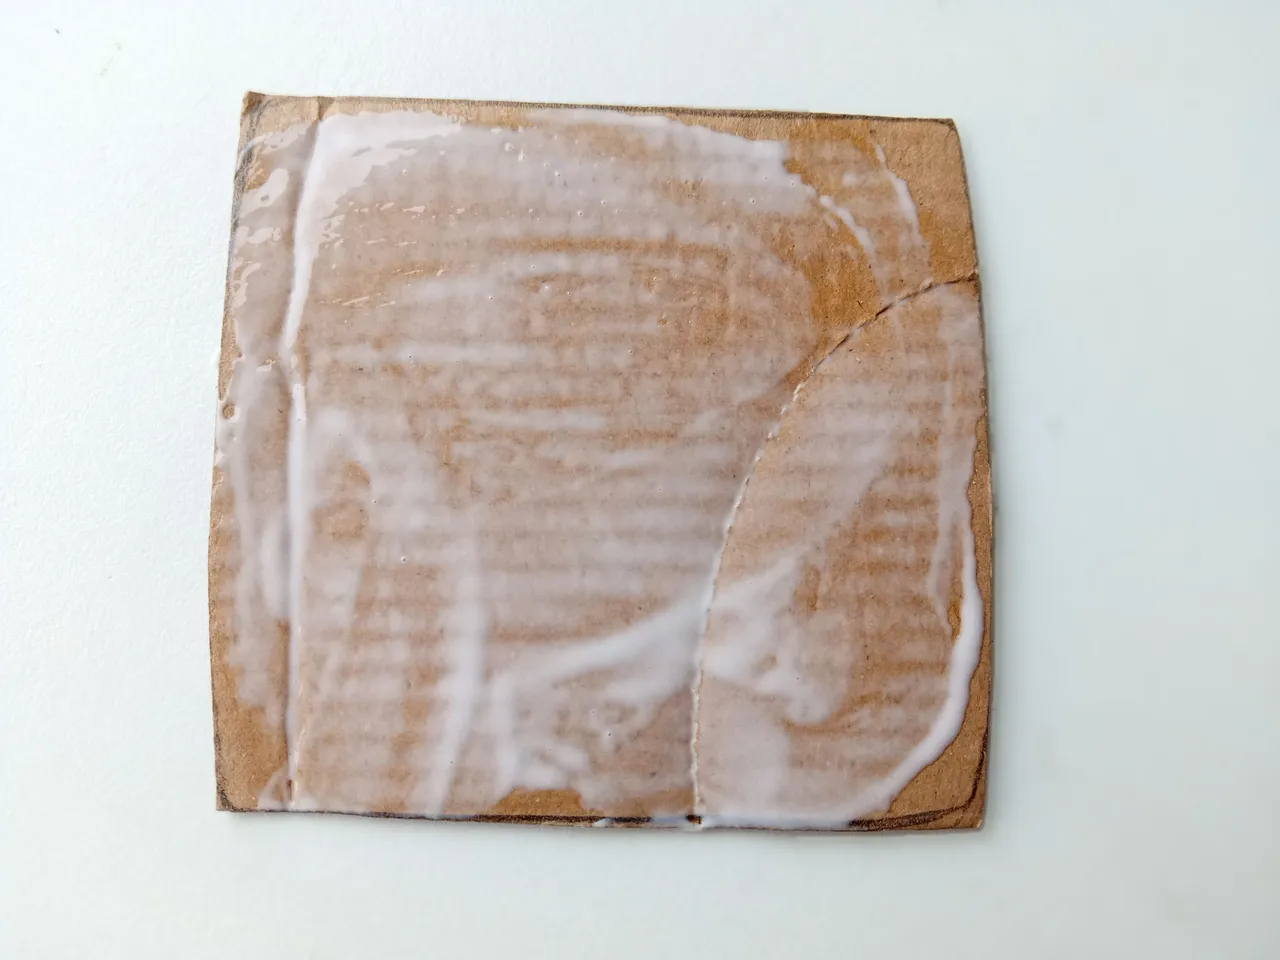
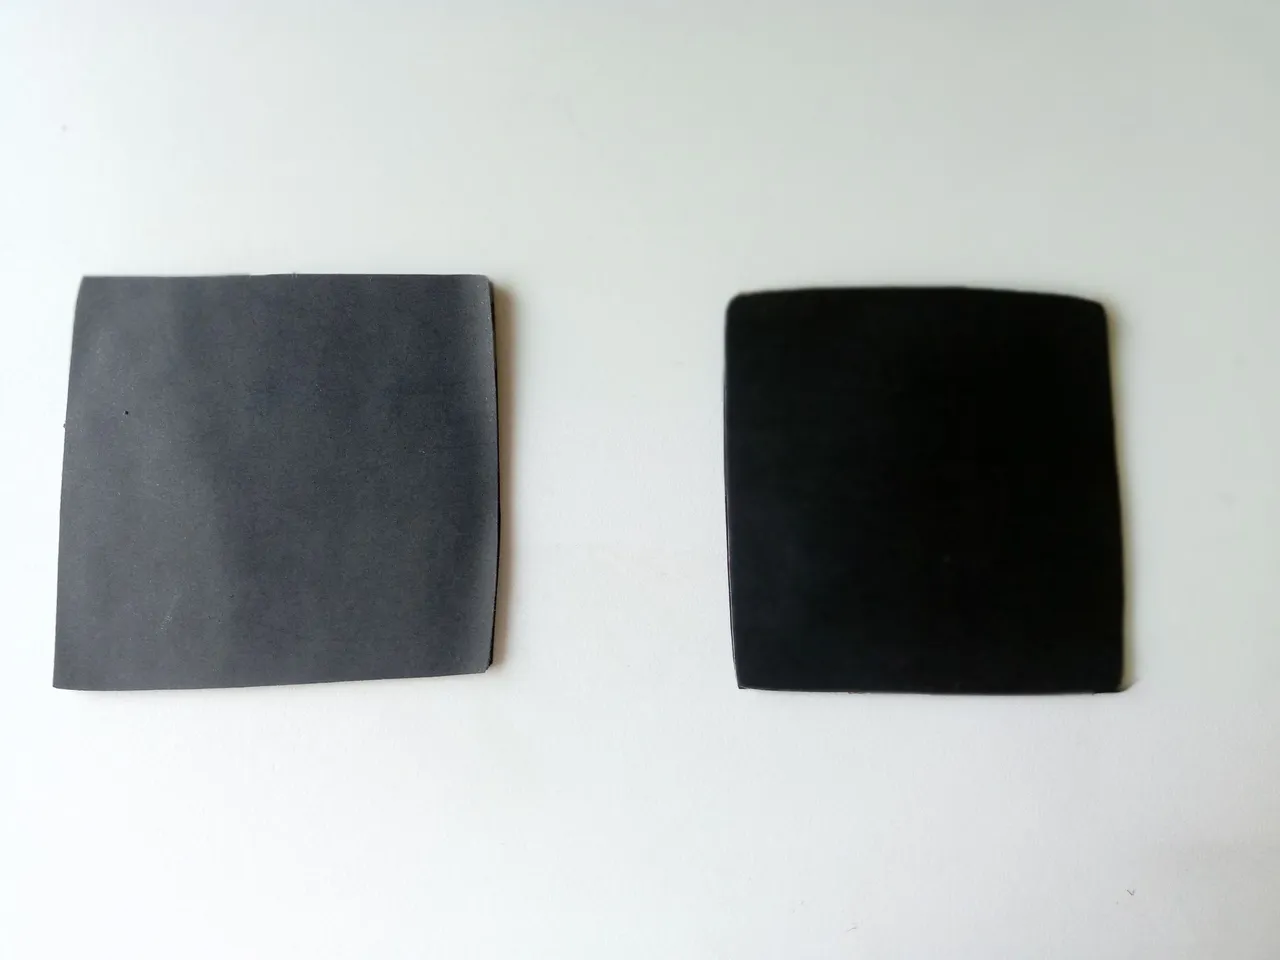
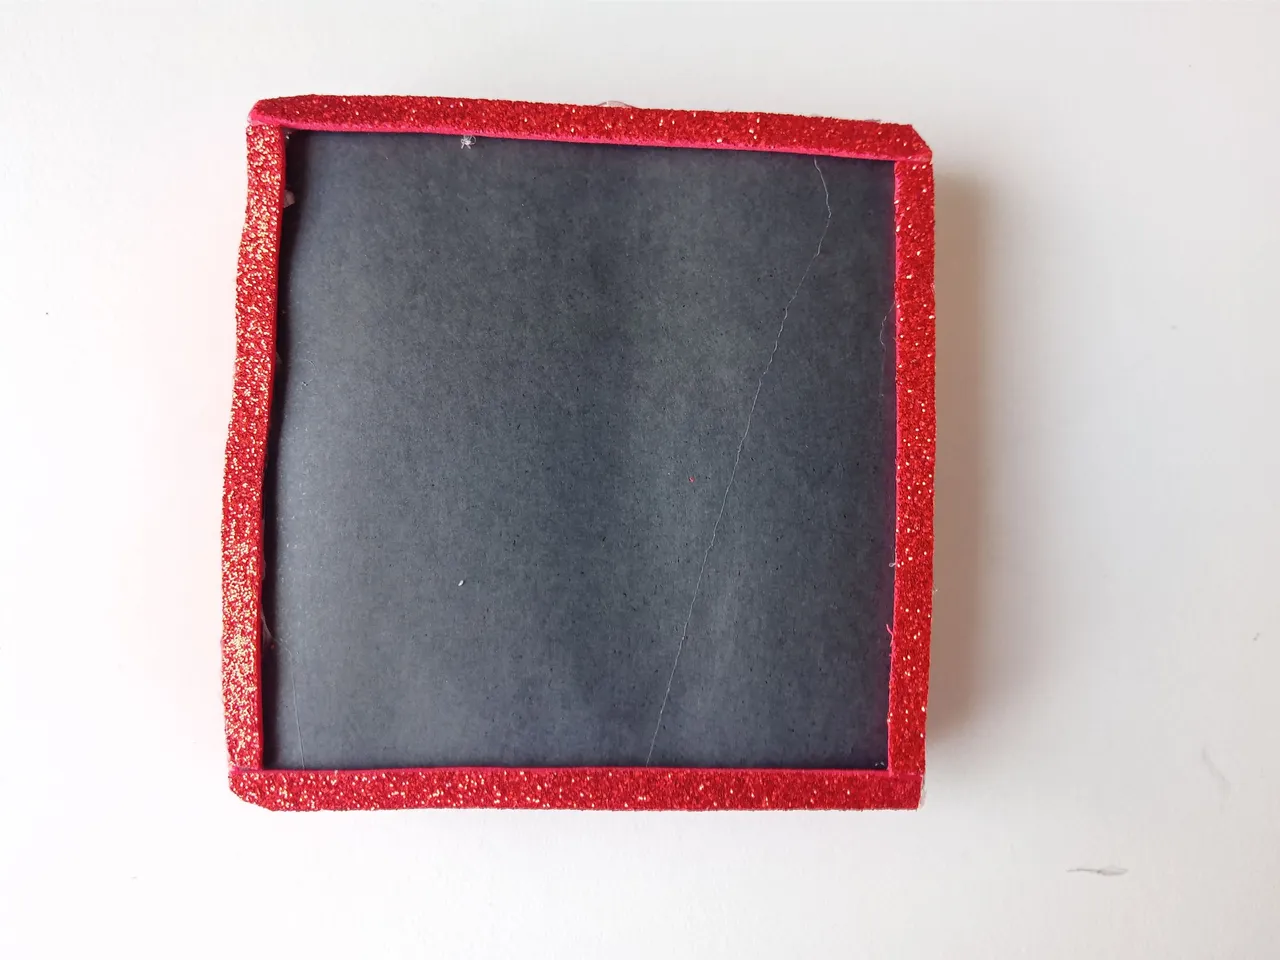
- PASO 4:
Ya podemos comenzar a formar nuestra base y tapa para la caja; Tomar el cartón y trazar 2 cuadrados de 8cm por 8cm y recortar. Luego, trazar 4 cuadrados en la cartulina negra de 8cm por 8cm, cortar y pegar 2 cuadros de cartulina negra con pega blanca en cada uno de los cuadros de cartón.
🔸A continuación, te muestro en fotos cómo debes hacerlo.🔸
- STEP 4:
We can now begin to form our base and lid for the box; Take the cardboard and trace 2 squares of 8x8cm and cut. Then, trace 4 squares on the 8x8cm black cardboard, cut and glue 2 squares of black cardboard with white glue on each of the cardboard squares.
🔸Then I show you in photos how you should do it.🔸


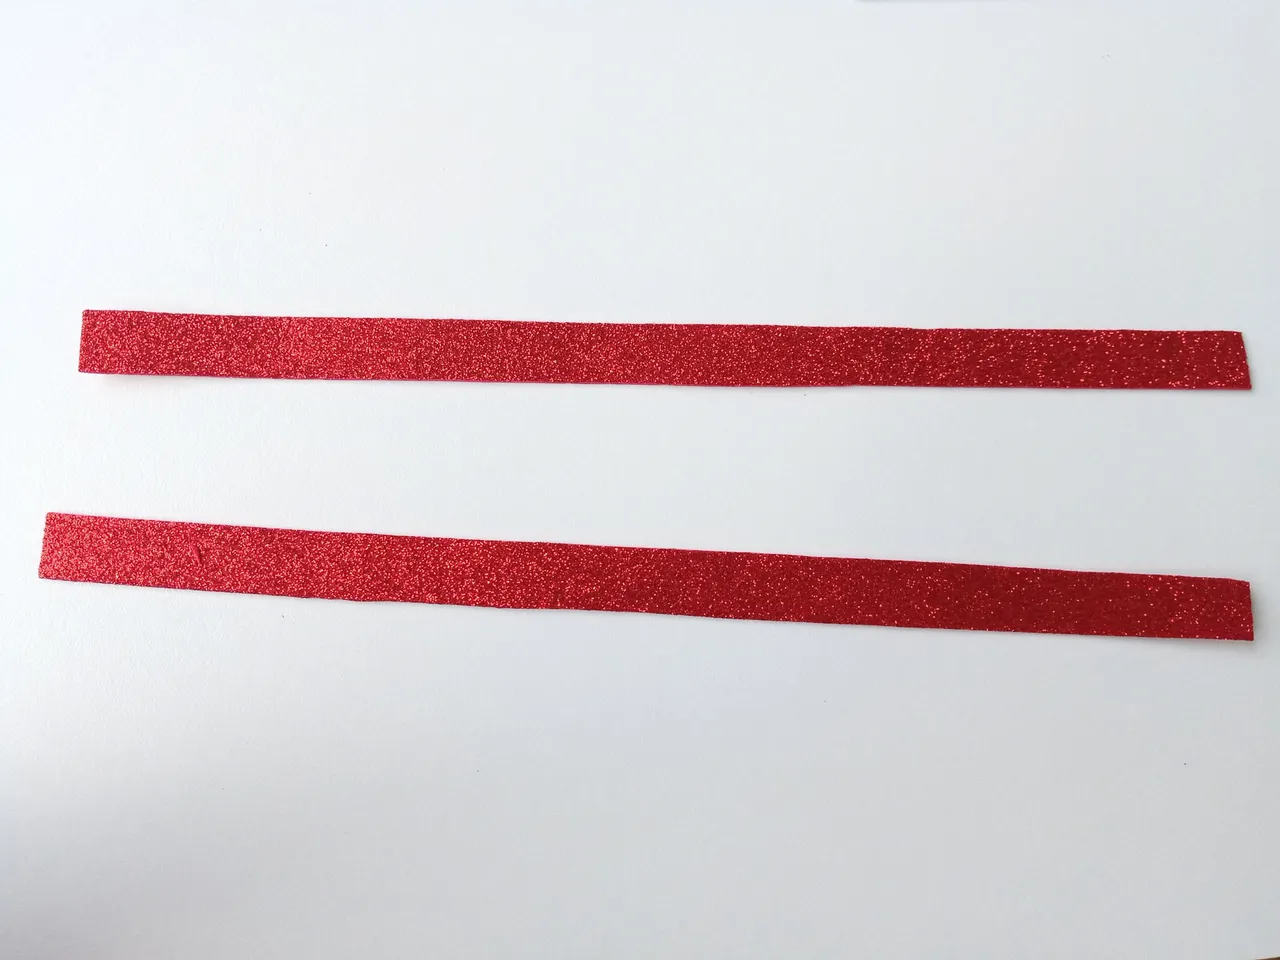
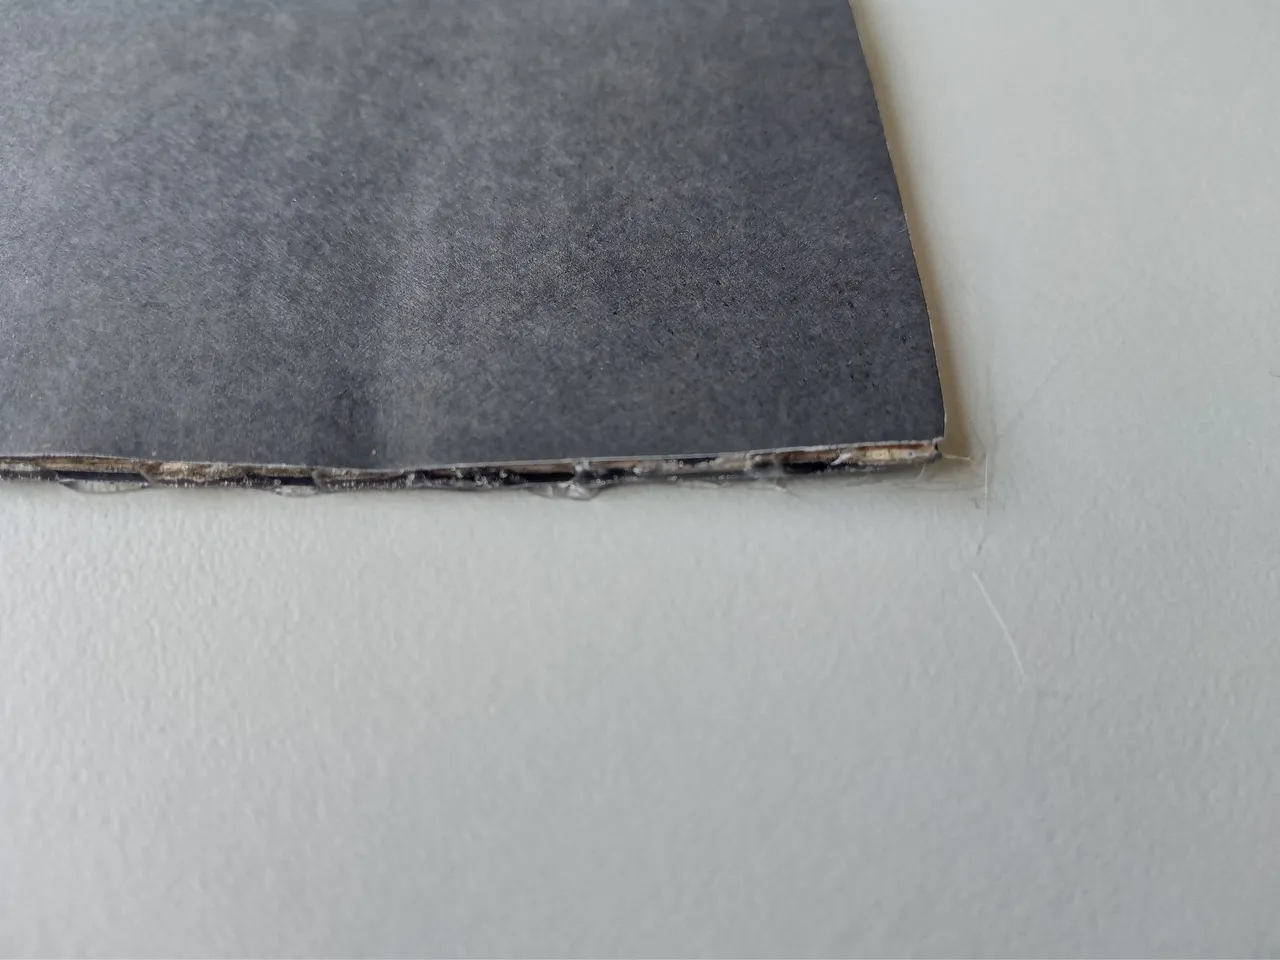
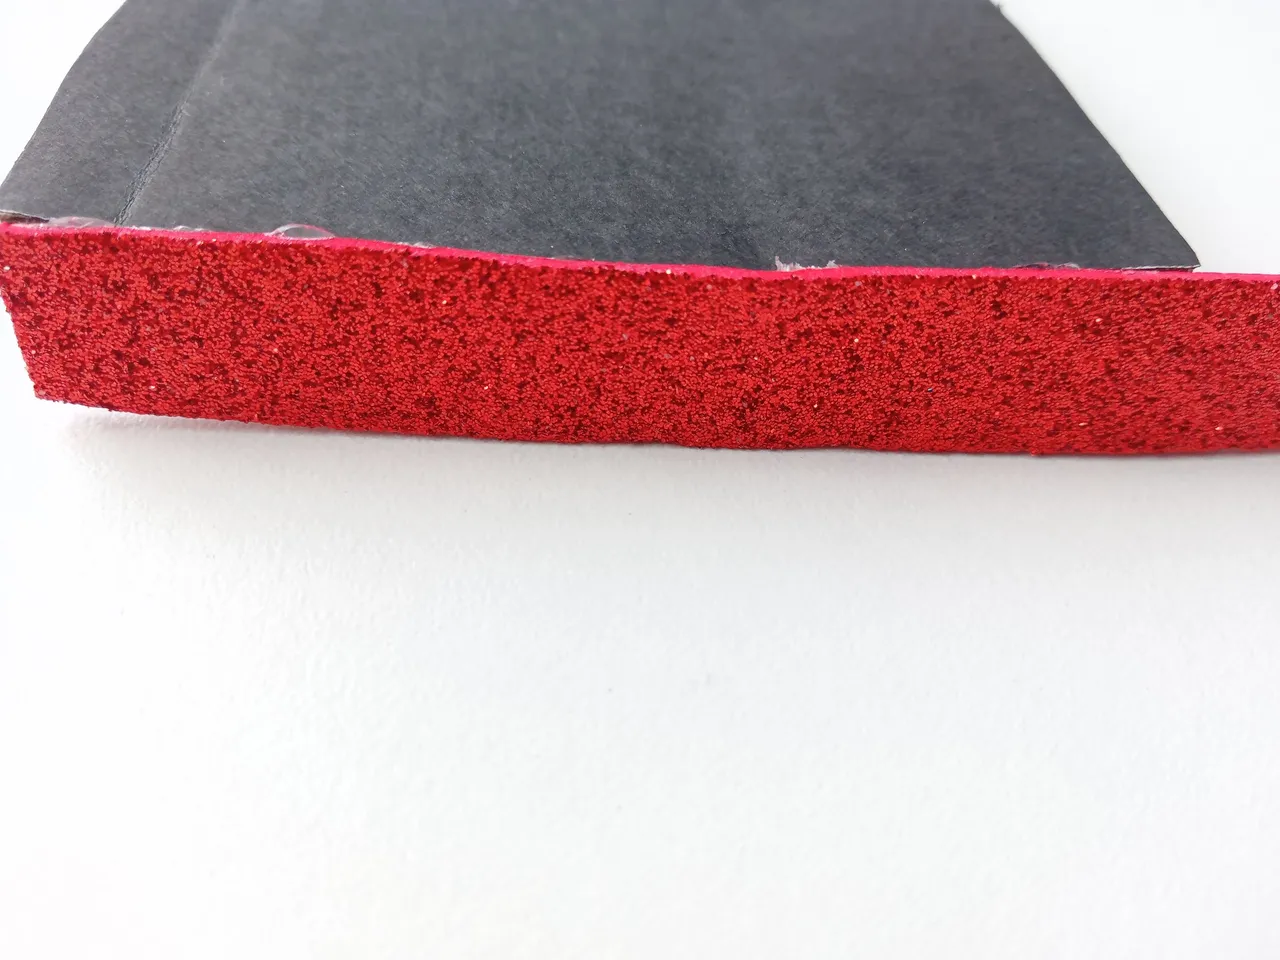
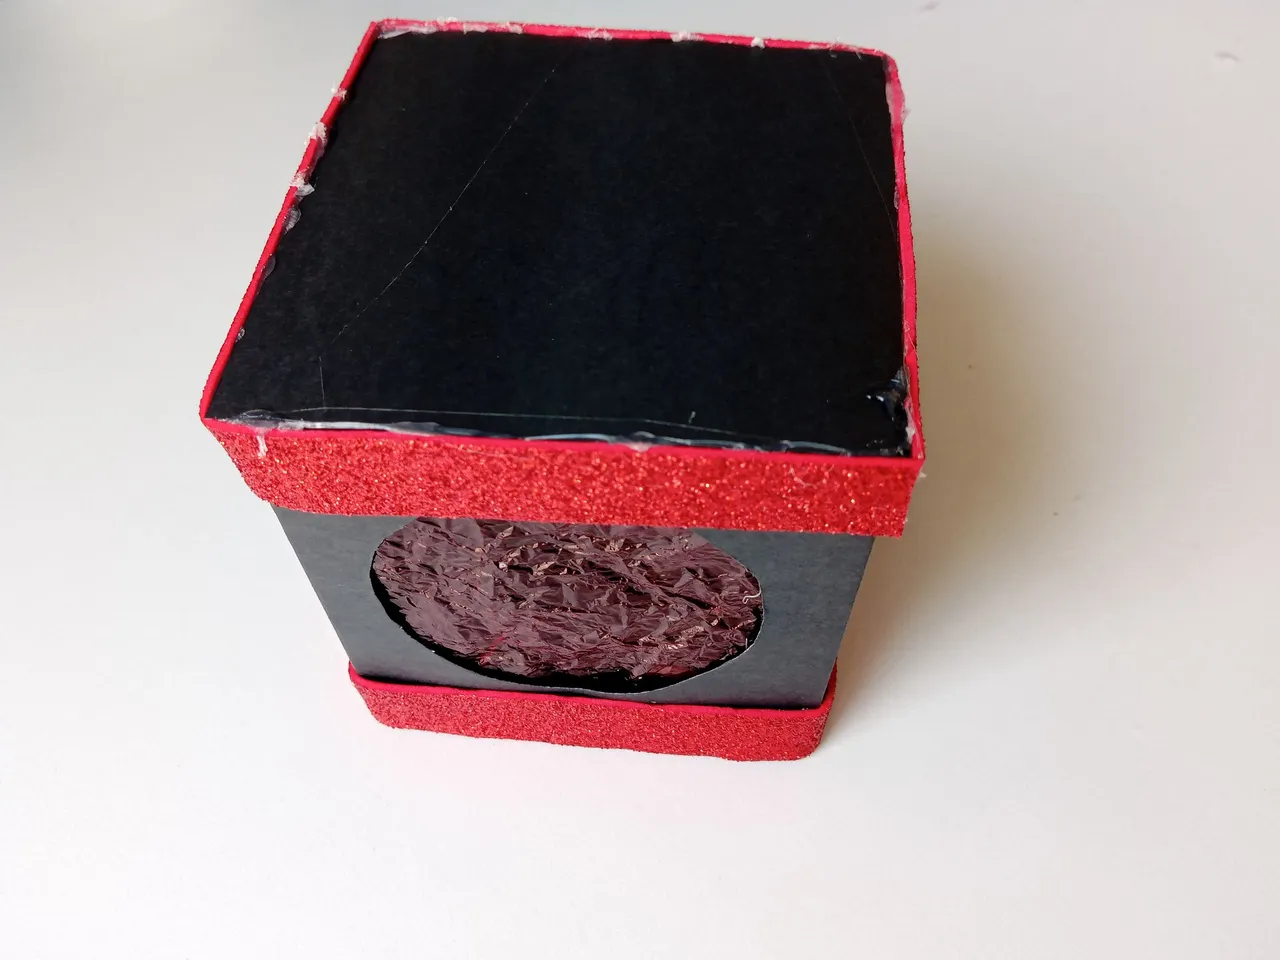
- PASO 5:
Reortar 2 tiras de foami escarchado rojo de 1cm de ancho, pegar con silicón caliente en el borde de la base y la tapa. Luego, une todas las piezas para formar la caja. Para tapar la línea de foami y silicón de la caja hacemos un pequeño marco a la tapa, cortar tiras de 6mm con foami escarchado rojo y pegar formando un marco.
- STEP 5:
Cut 2 strips of frosted red foami 1cm wide, glue with hot silicone on the edge of the base and lid. Then put all the pieces together to form the box. To cover the line of foami and silicone of the box, we make a small frame on the lid, cut 6mm strips with red frosted foami and paste forming a frame.

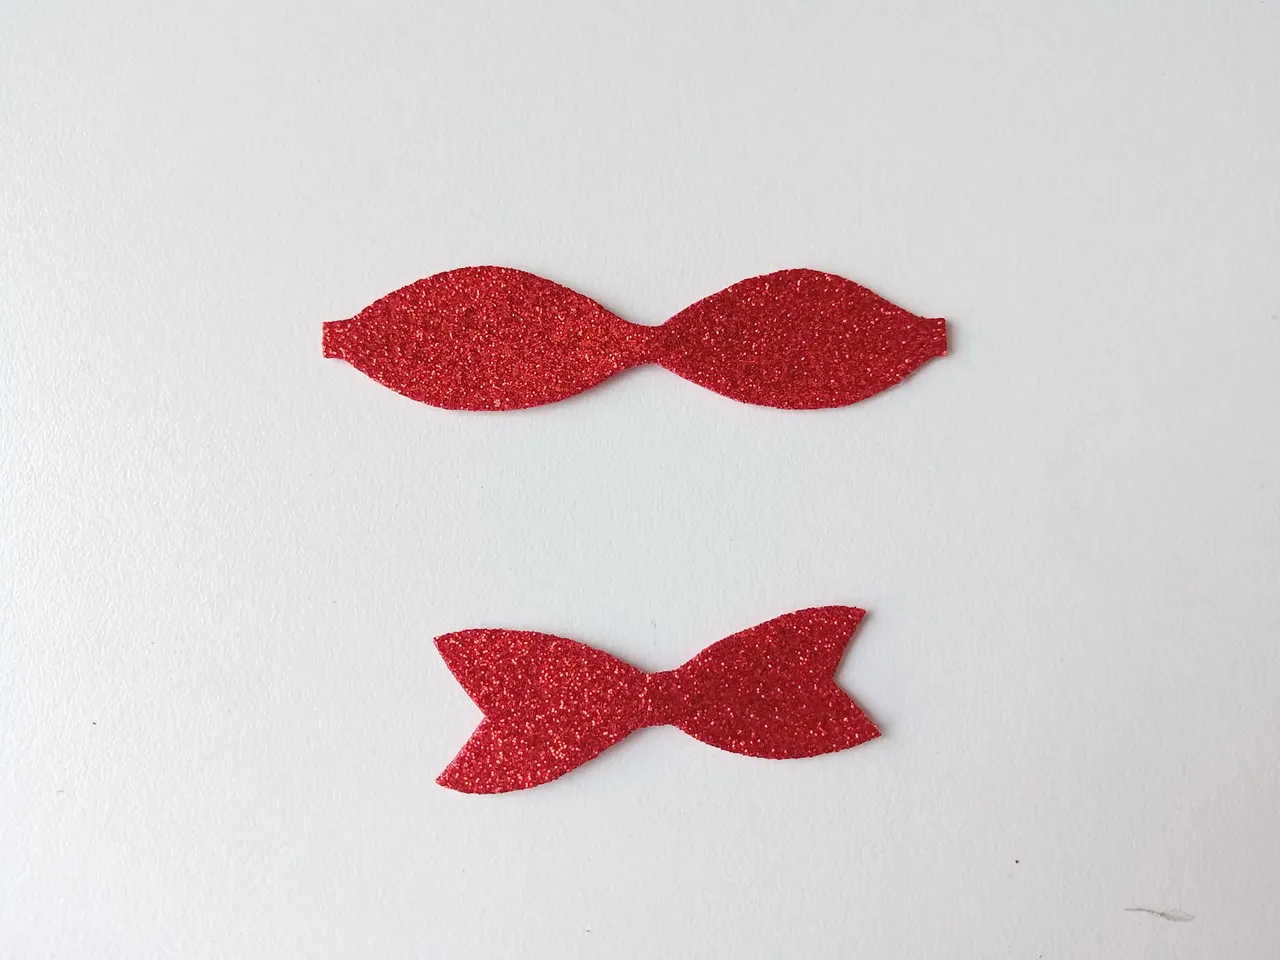
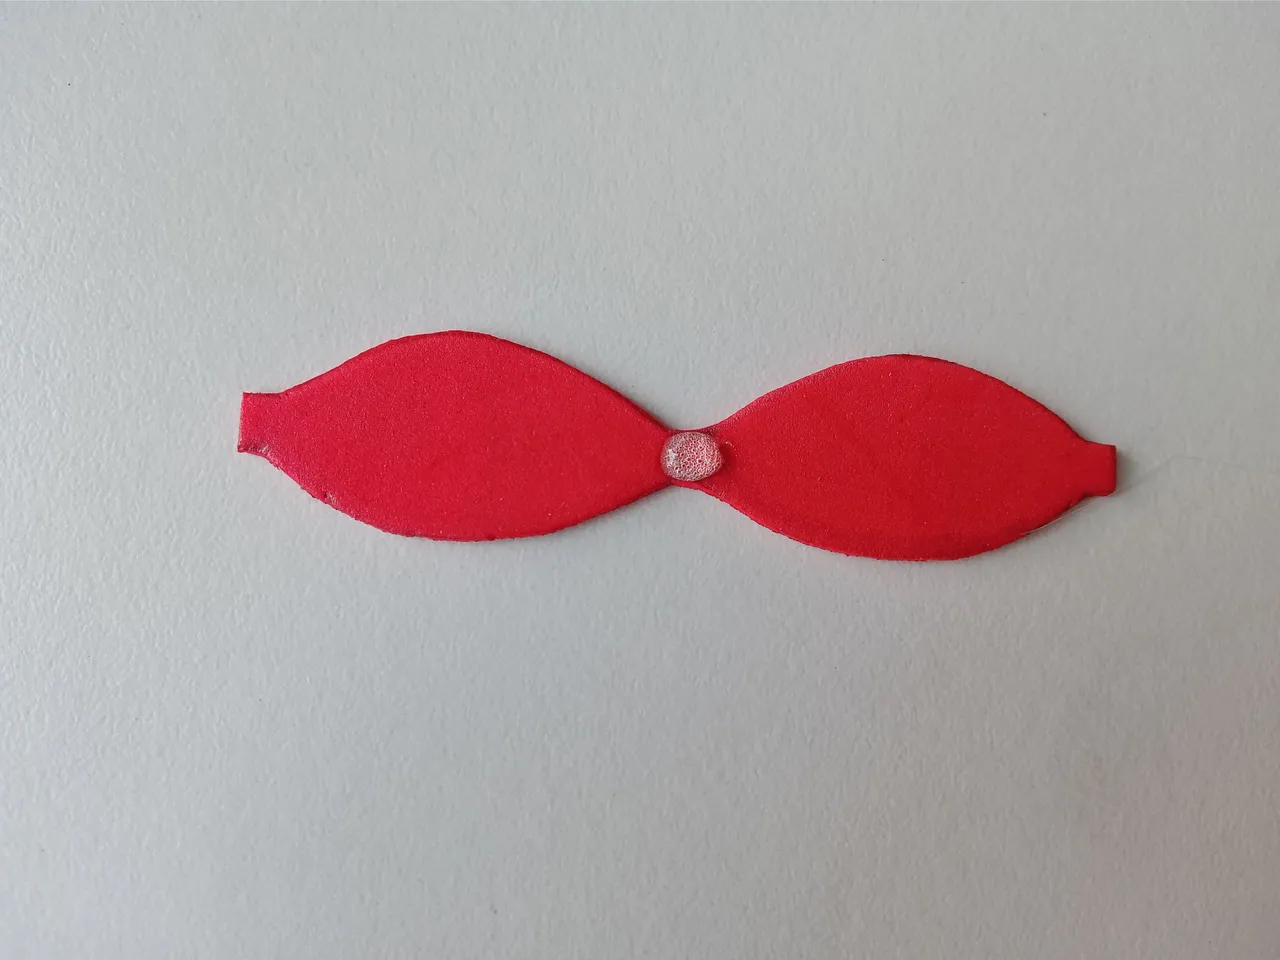
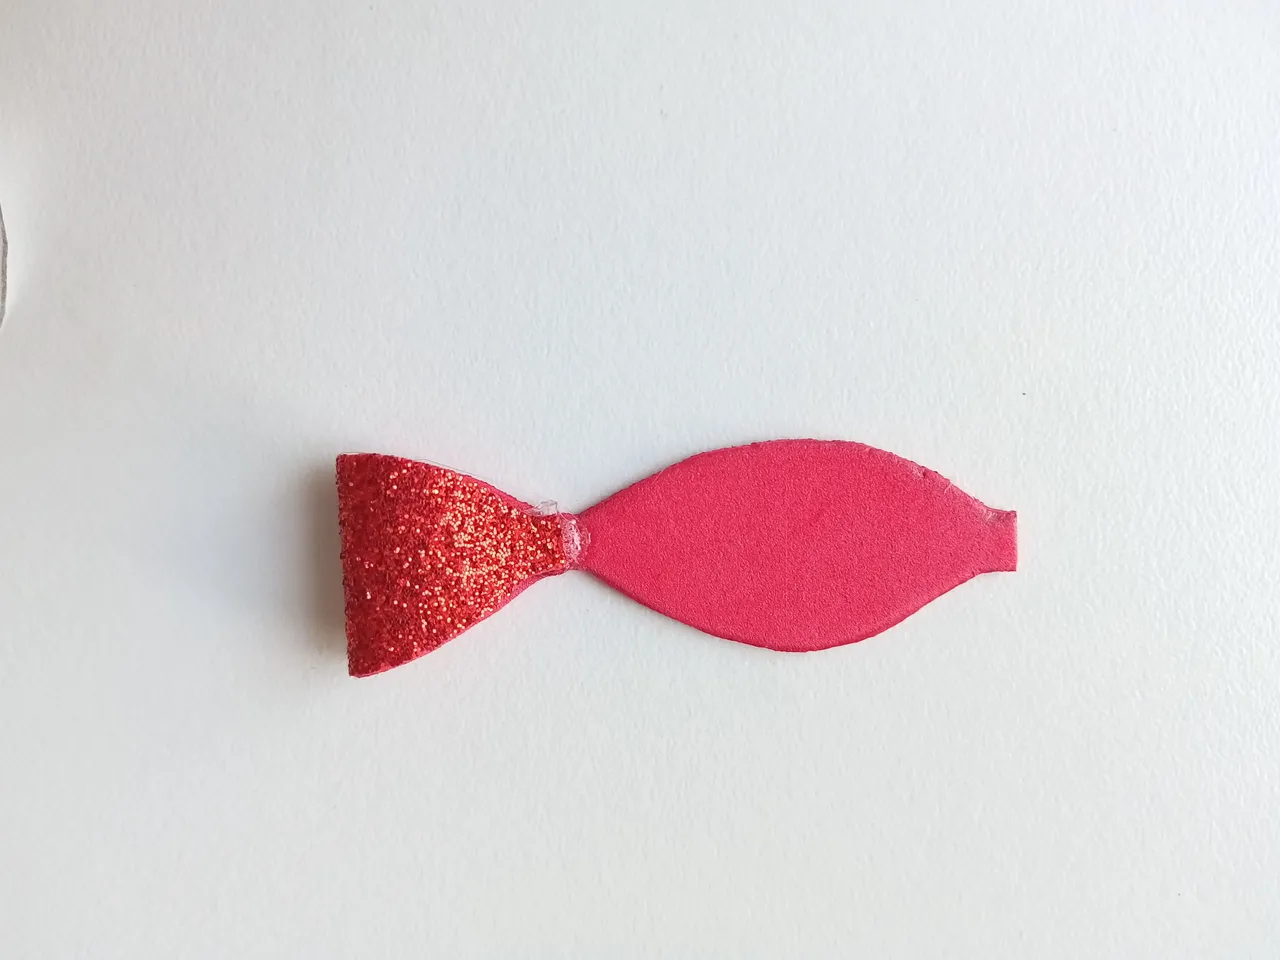
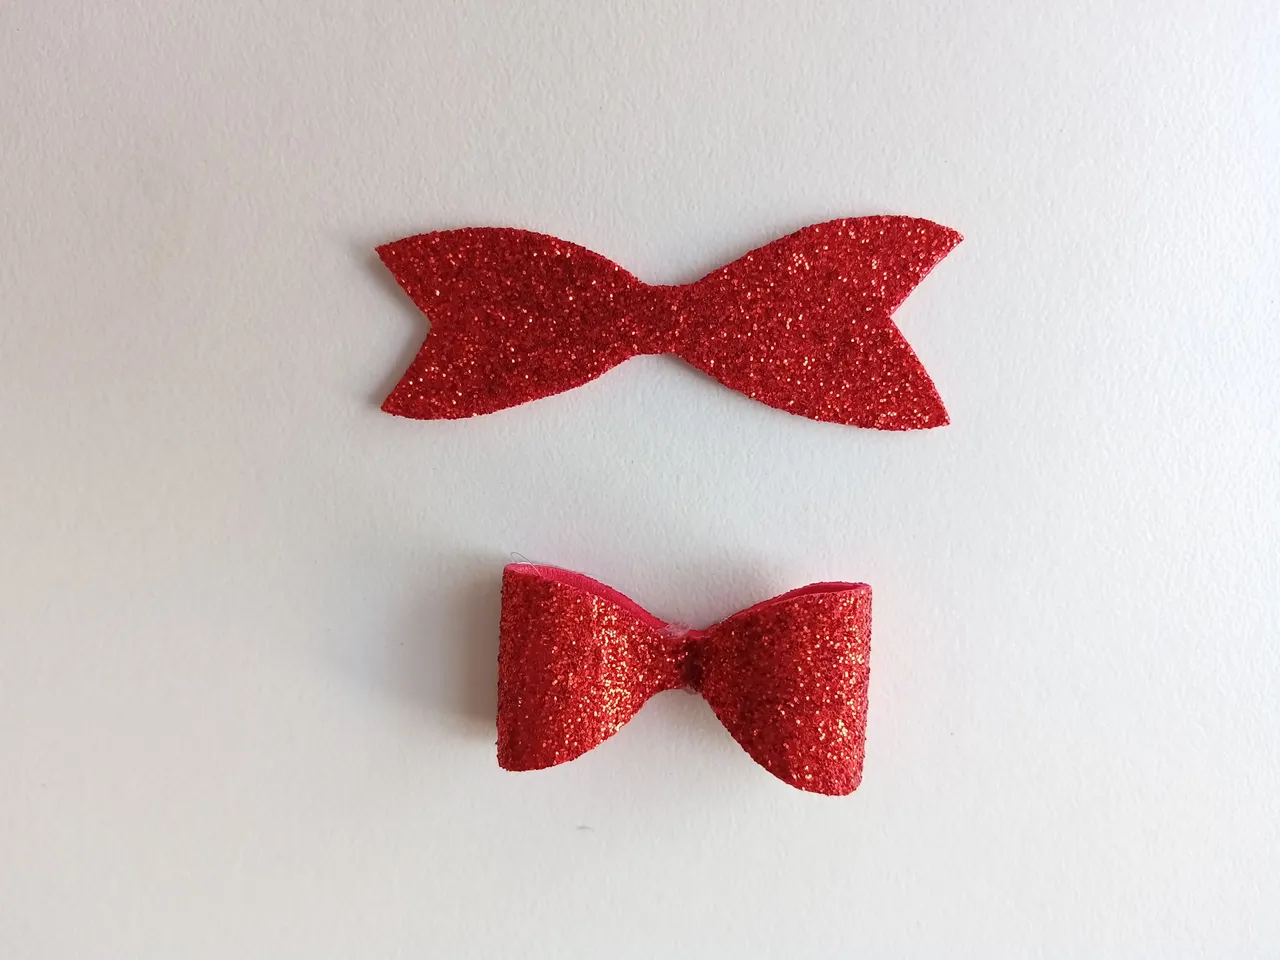
- PASO 6:
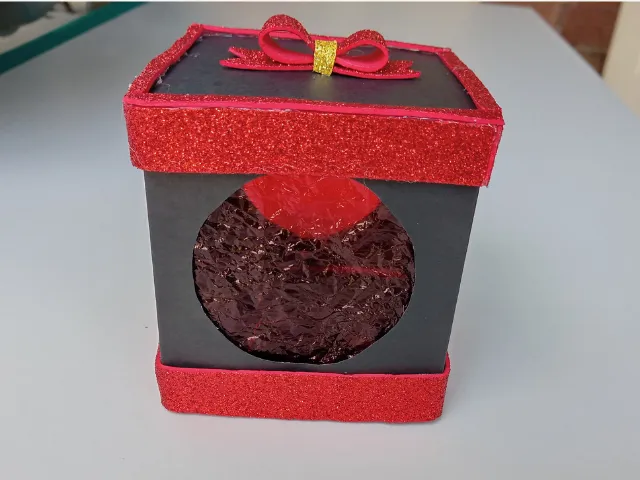
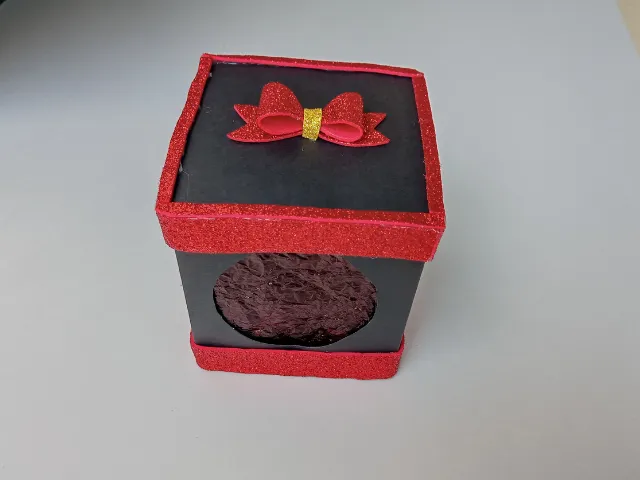
Para terminar, haz un pequeño lazo de foami escarchado rojo, puedes buscar un patrón o hacerlo a mano, recorta y pega en el centro de la tapa. Puedes rellenar el interior con unas tiras de papel de seda.
- STEP 6:
To finish off, make a small bow of red frosted foami, you can look for a pattern or do it by hand, cut and paste in the center of the lid. You can stuff the inside with some strips of tissue paper.


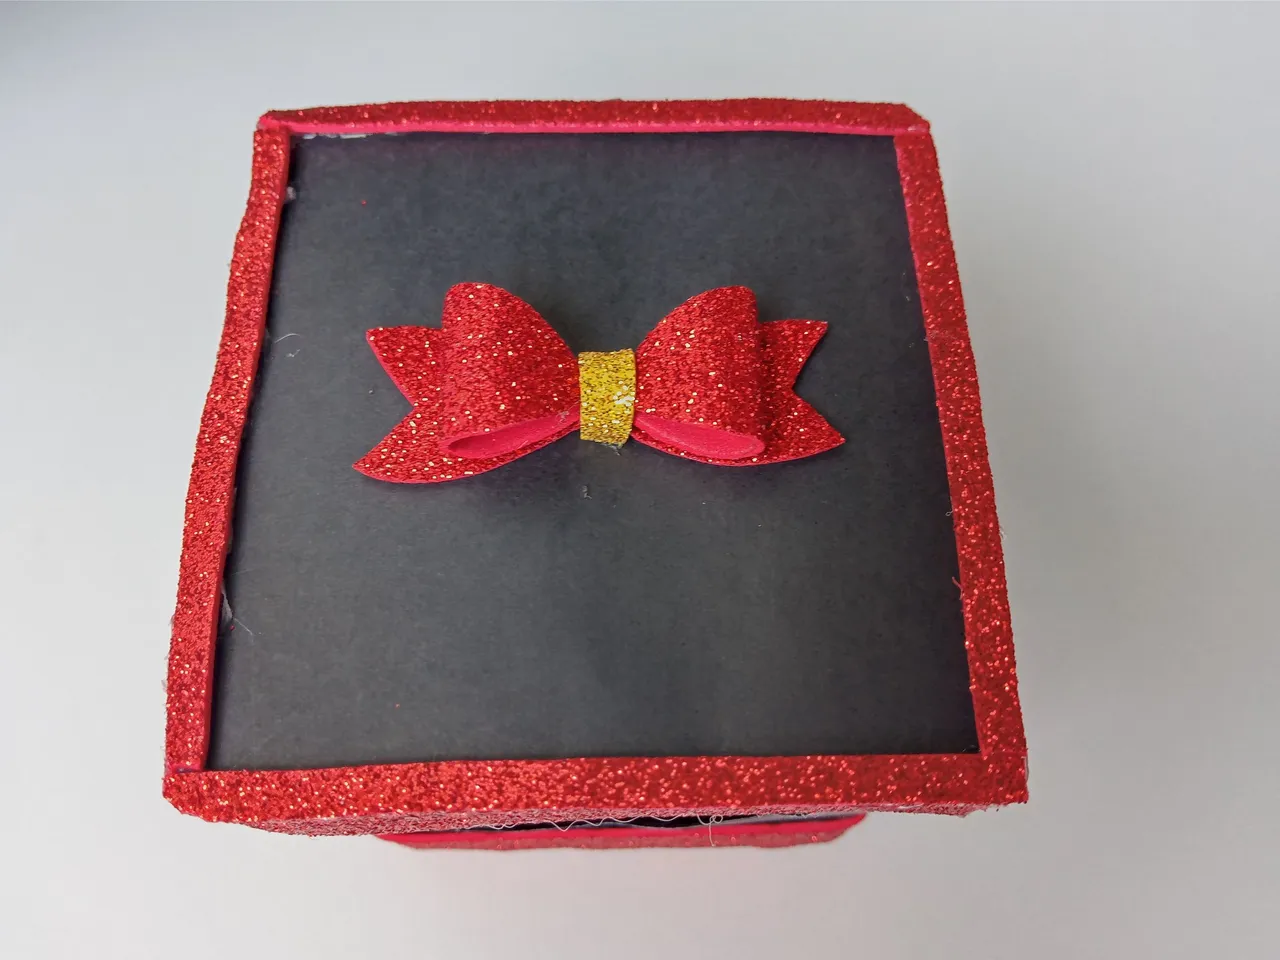
🎀🎁¡Y listo!🎁🎀 Tendrás lista está hermosa cajita para dar un Lindo obsequio a tus amigos o familiares, ya sean golosinas, bombones o un lindo accesorio. Espero les haya gustado. Hasta la próxima.
🎀🎁¡And ready!🎁🎀 You will have this beautiful box ready to give a nice gift to your friends or family, whether they are sweets, chocolates or a nice accessory. I hope you liked it. Until next time.


Todas las fotografías son de mi propiedad.
Separador y Fotos editadas en Canva
All photographs are my property.
Photos edited in Canva