🎁Buenas tardes amigos de esta hermosa comunidad creativa.🎁 Espero que hayas tenido un buen fin de semana.
Hace unos días quise hacerle un bonito detalle a mi pareja con unos dulces que le gustan. No creo que deba ser una fecha especial para dar un regalo o un lindo detalle ¿Y qué hay más bonito que poder hacerlo con tus propias manos? Hoy les traigo una bonita cajita de regalo con muy pocos materiales, súper fácil y rápido de hacer. A continuación, te dejará el paso a paso.
🎁Good afternoon friends of this beautiful creative community.🎁 I hope you have had a nice weekend.
A few days ago I wanted to make a nice detail for my partner with some sweets that he likes. I don't think it should be a special date to give a gift or a nice detail. And what is more beautiful than being able to do it with your own hands? Today I bring you a nice little gift box; With very few materials, super easy and quick to make. Next, he will leave you the step by step.

♥️ESPERO QUE TE GUSTE,
¡Empecemos!
♥️I HOPE YOU LIKE IT,
Let's start!

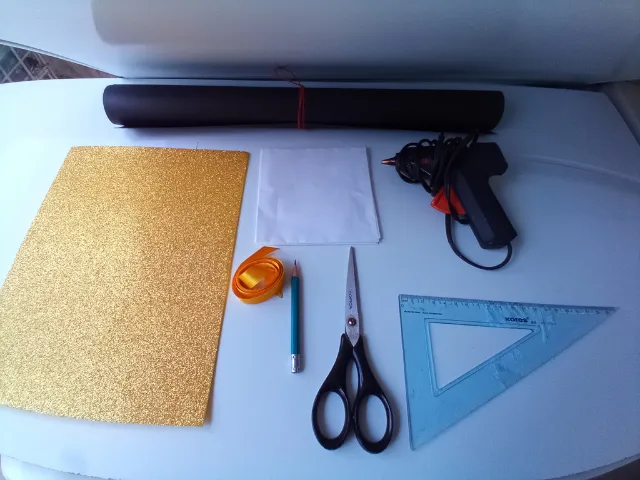
🎀 MATERIALES | 🎀 MATERIALS
- Pliego de Cartulina escolar negra.
- Cartulina blanca.
- Papel de seda blanco.
- Foami dorado escarchado.
- 1 metro de cinta de color amarillo.
- Marcador amarillo.
- Silicon caliente.
- Exacto o cúter.
- Tijera.
- Regla.
- Lápiz.
- Sheet of black school cardboard.
- White cardboard.
- White tissue paper.
- Frosted golden foami.
- 1 meter of yellow tape.
- Yellow marker.
- hot silicon.
- Exact or cutter.
- Scissor.
- Rule.
- Pencil.
🎁 PROCEDIMIENTO | 🎁 PROCESS
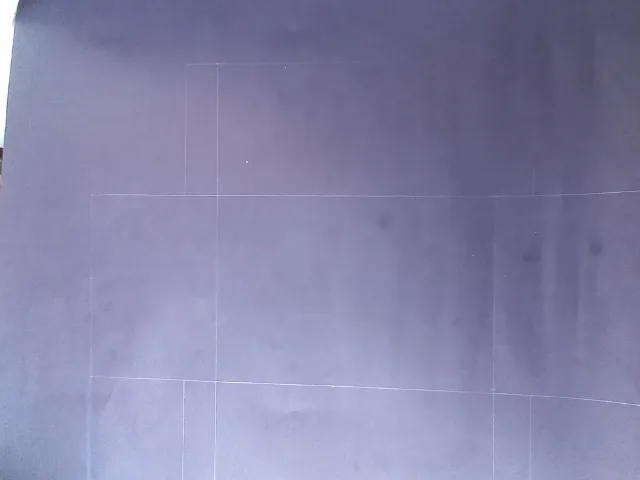
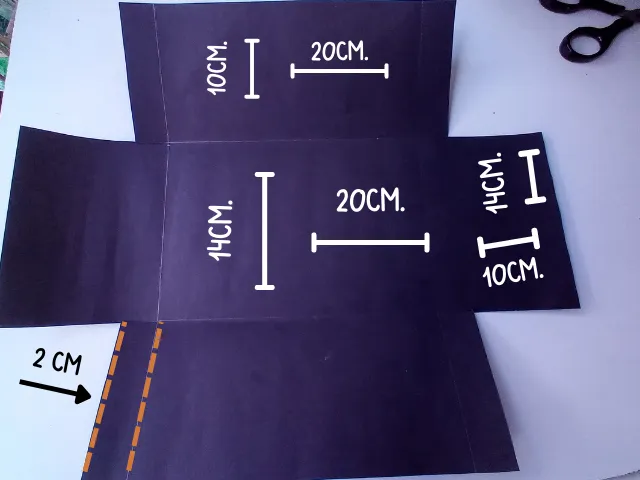
- PASO 1:
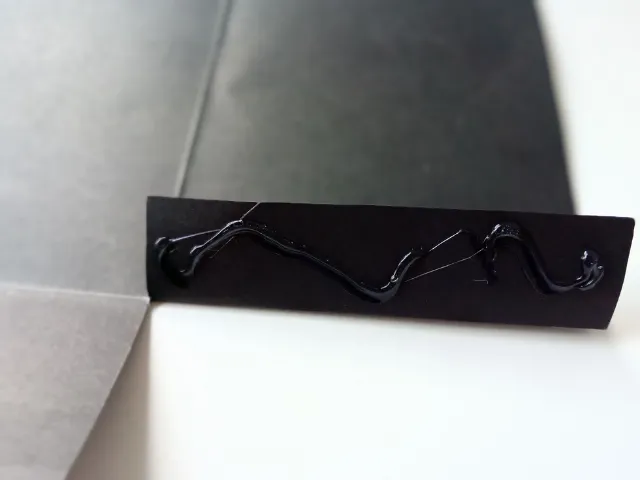
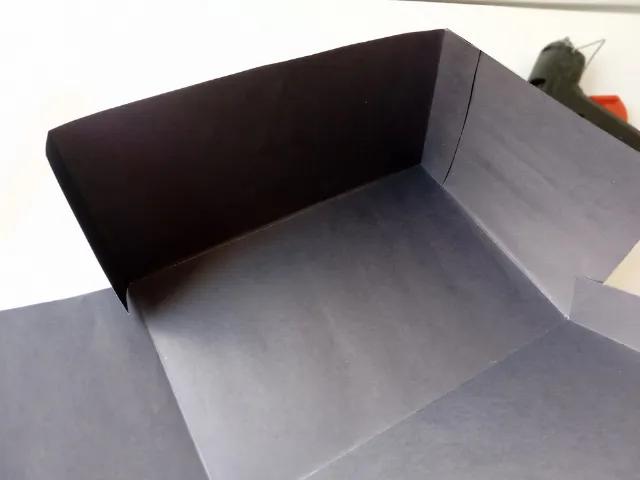
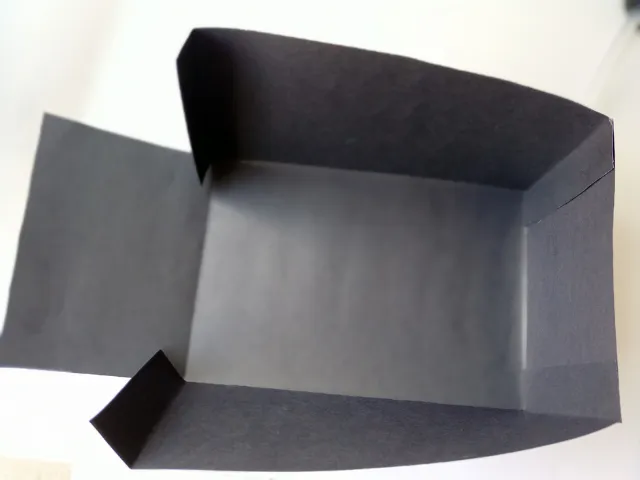
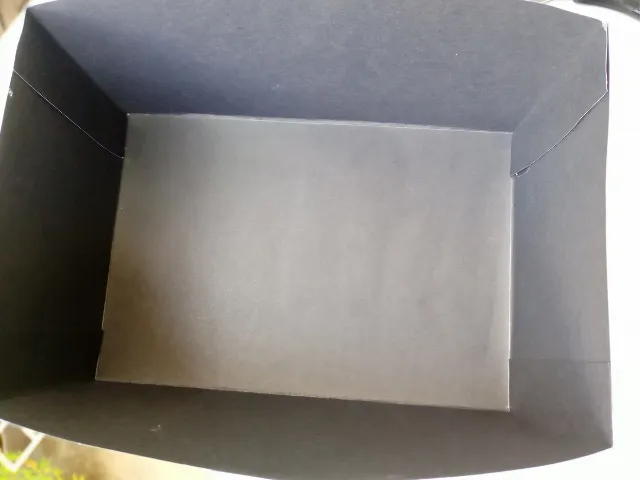
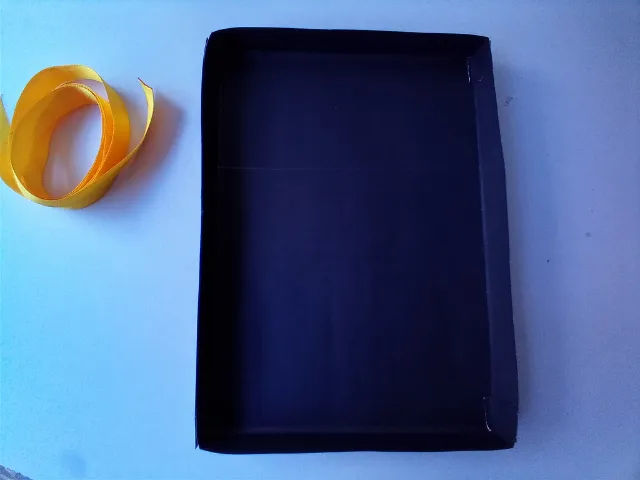
Lo primero que debemos hacer es tomar nuestra cartulina negra, regla y lápiz. Comenzar a trazar el patrón de la caja con las medidas de tu preferencia. En mi caso utilice las siguientes medidas: Para la base: 20x14 cm. Para las paredes de la caja: 20x10cm y 14x10cm. Para las tiras de doblaje: 2 cm, cada una. Cuando Tengas el patrón trazado, recortar y dobla con ayuda de la regla las paredes y tiras de doblaje de nuestra caja. Una vez dobladas, agregar silicon caliente en cada una de las tiras de doblaje e ir pagando.
A continuación, te explico el paso con fotos…
- STEP 1:
The first thing we must do is take our black cardboard, ruler and pencil. Start tracing the box pattern with the measurements of your choice. In my case; use the following measurements: For the base: 20x14 cm. For the walls of the box: 20x10 cm and 14x10cm. For the folding strips: 2 cm, each. When you have the pattern drawn, cut out and fold the walls and folding strips of our box with the help of the ruler. Once folded, add hot silicon to each of the dubbing strips and pay off.
Next, I explain the step with photos…

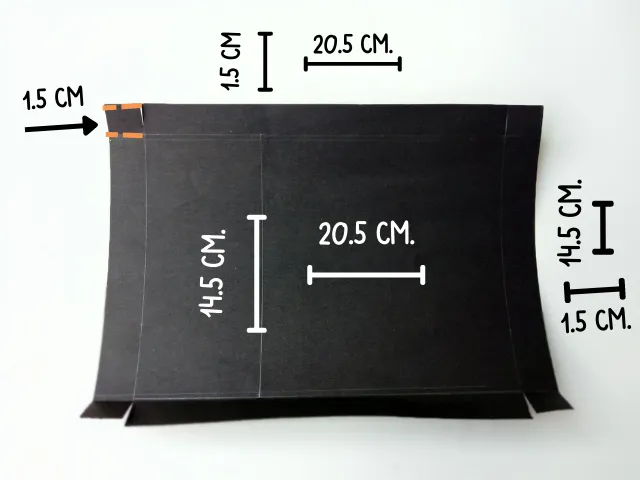
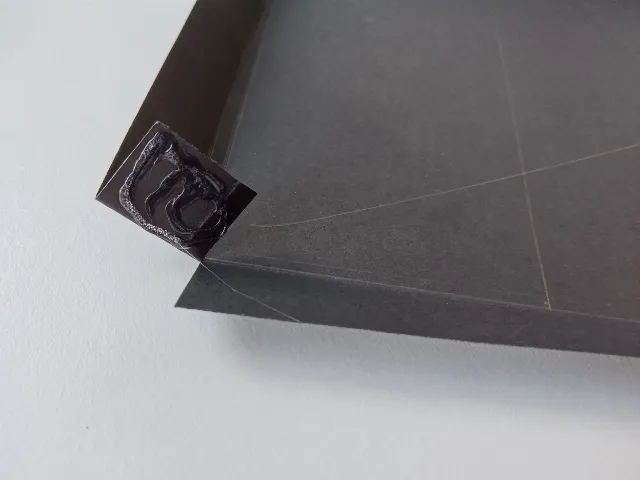
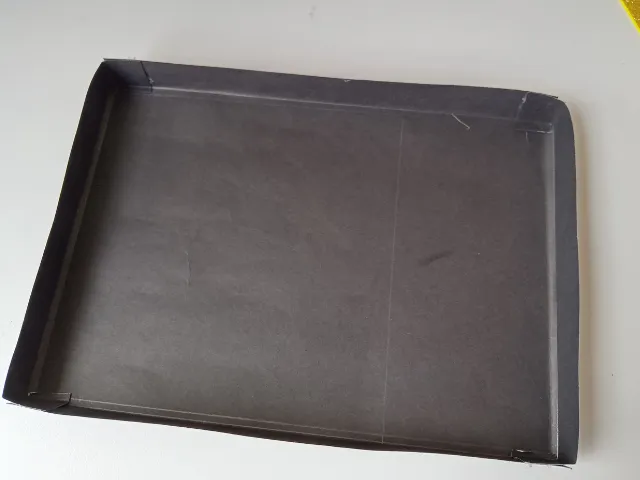
- PASO 2:
Mientras nuestra caja se seca, podemos comenzar a trazar el patrón de la tapa de la caja. Las medidas son las siguientes: Para la base: 20.5x14.5 cm. Para las paredes de la tapa: 20.5x1.5 cm y 14.5x1.5 cm. Para las tiras de doblaje: 1.5 cm. Cuando tengamos el patrón de la tapa trazado, repetimos el proceso, recortar y doblar con ayuda de la regla, cuando estén dobladas las paredes de la tapa podemos comenzar a pegar las tiras de doblaje, como hicimos anteriormente con la caja. Una vez hecho esto, unir la tapa con la caja para observar si encajan a la perfección.
A continuación, te explico el paso con fotos…
- STEP 2:
While our box dries, we can start tracing the pattern for the lid of the box. The measurements are as follows: For the base: 20.5x14.5 cm. For the walls of the lid: 20.5x1.5 cm and 14.5x1.5 cm. For the folding strips: 1.5 cm. When we have the lid pattern traced, we repeat the process, cut and fold with the help of the ruler, when the lid walls are folded we can start gluing the folding strips, as we did previously with the box. Once this is done, join the lid with the box to see if they fit perfectly.
Next, I explain the step with photos…

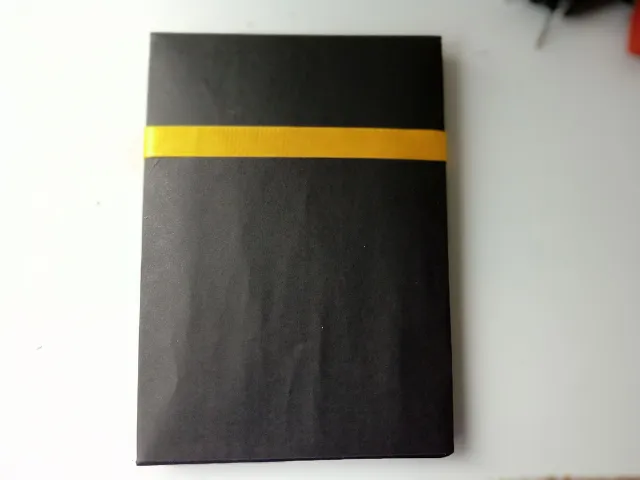
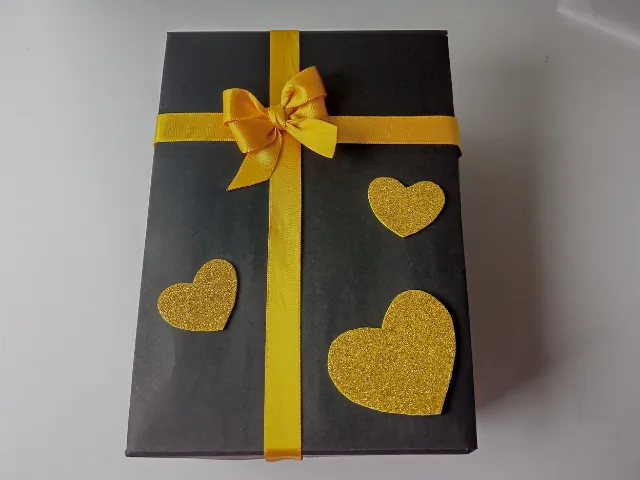
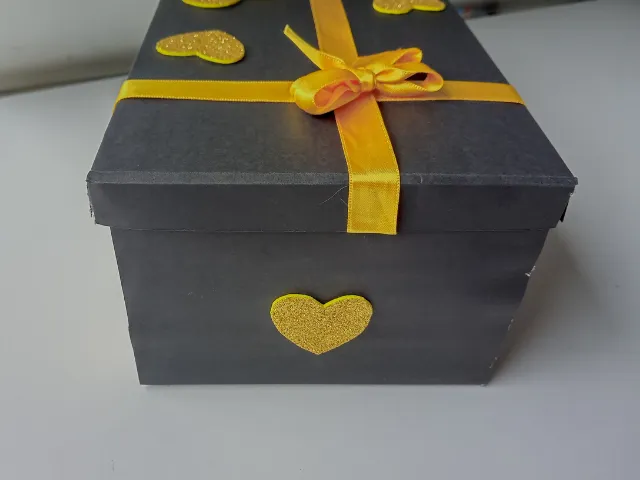
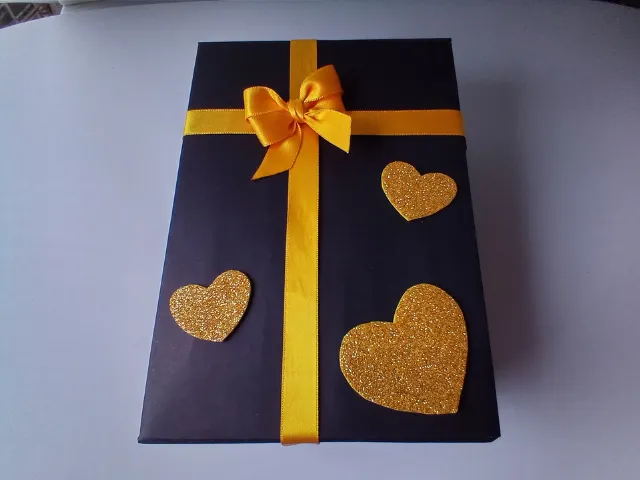
- PASO 3:
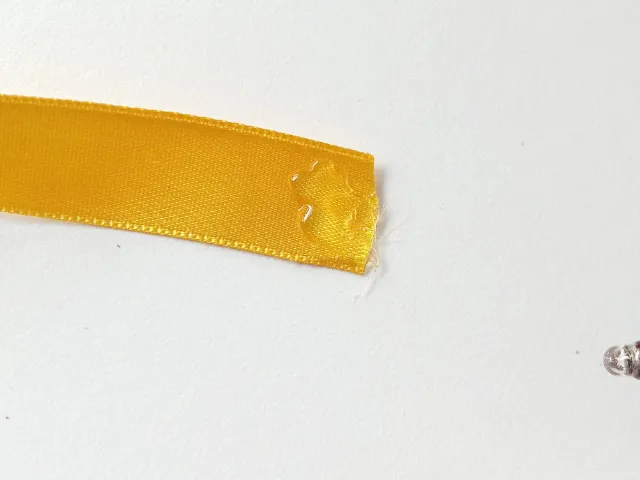
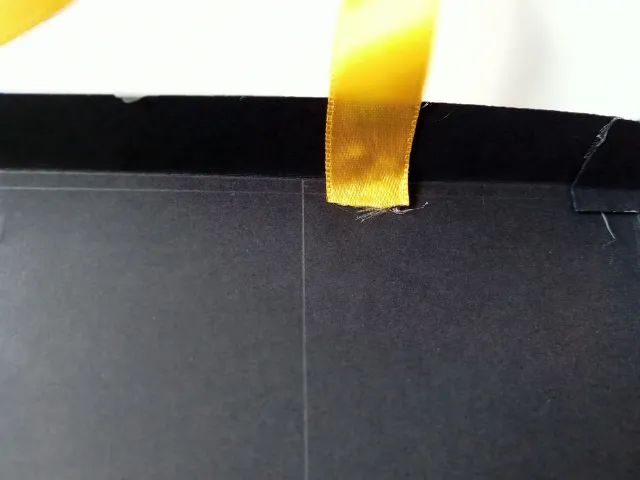
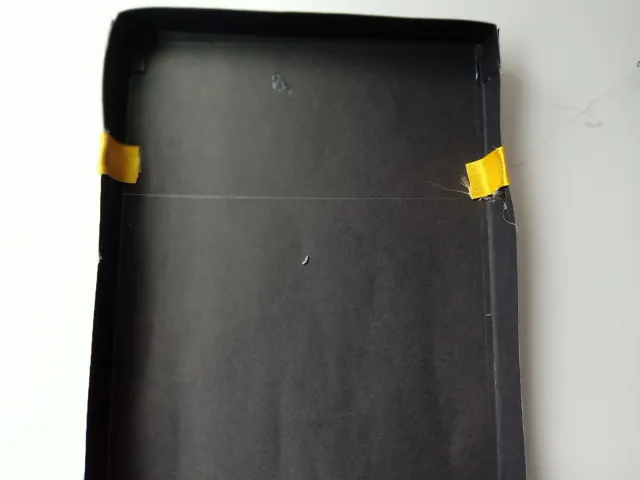
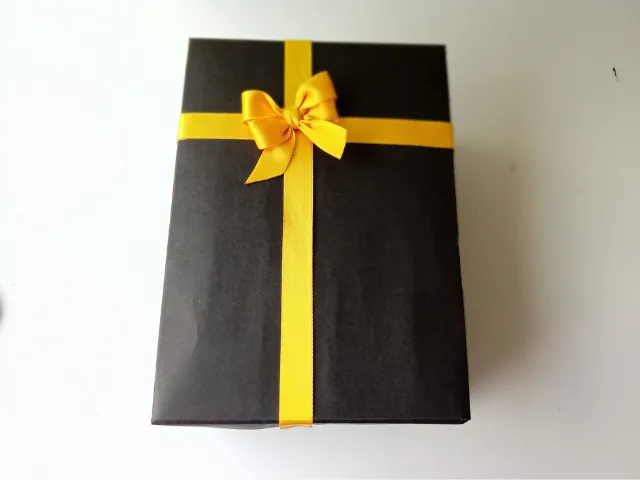
Cuando tengamos nuestra caja terminada, toma la cinta amarilla y pégala en forma de cruz, solo la línea vertical un poco más a la izquierda. Empezamos pegando la cinta horizontal, debemos girar la tapa, agregar un poco de silicona y pagar en una de las paredes de la tapa, hacemos lo mismo en el otro lado, medimos y cortamos la cinta. Repite el proceso con la cinta vertical. Y finalmente, Con el resto de nuestra cinta, haz un lazo y pega justo donde se cruzan las dos cintas.
- STEP 3:
When we have our box finished, take the yellow tape and paste it in the form of a cross, only the vertical line a little more to the left. We start by gluing the horizontal tape, we must turn the lid, add a little silicone and pay on one of the walls of the lid, we do the same on the other side, measure and cut the tape. Repeat the process with the vertical tape. And finally, With the rest of our tape, make a bow and paste just where the two tapes cross.

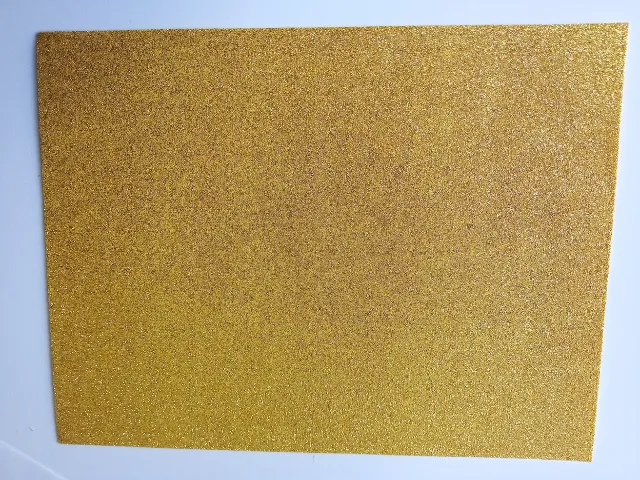
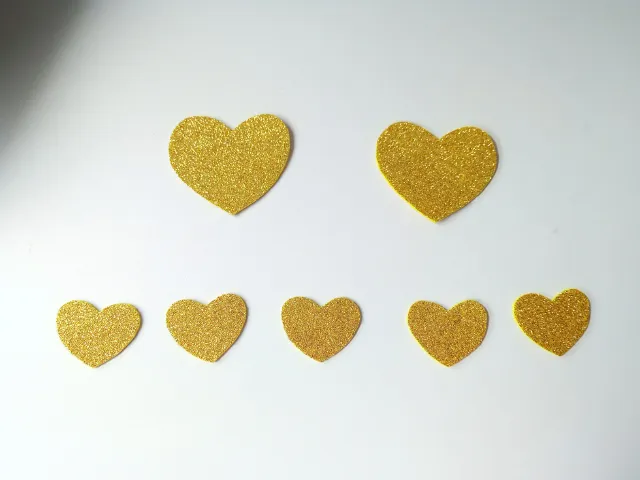
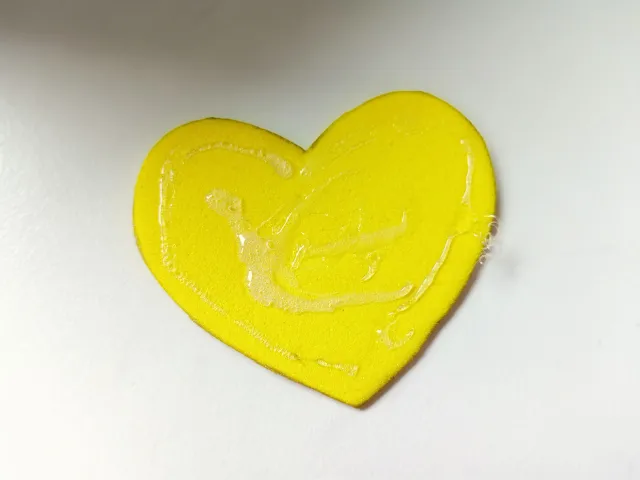
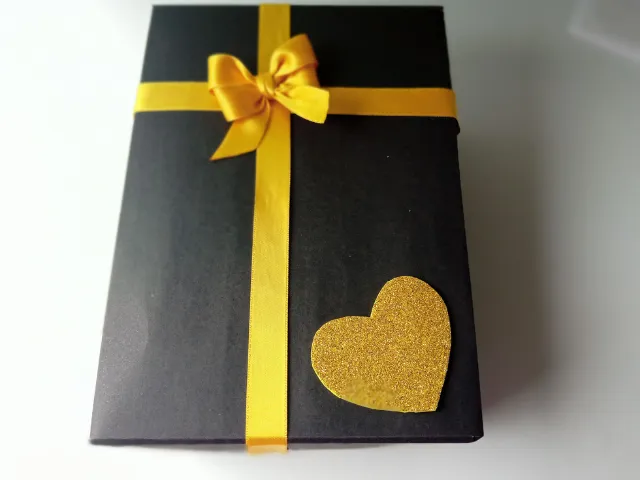
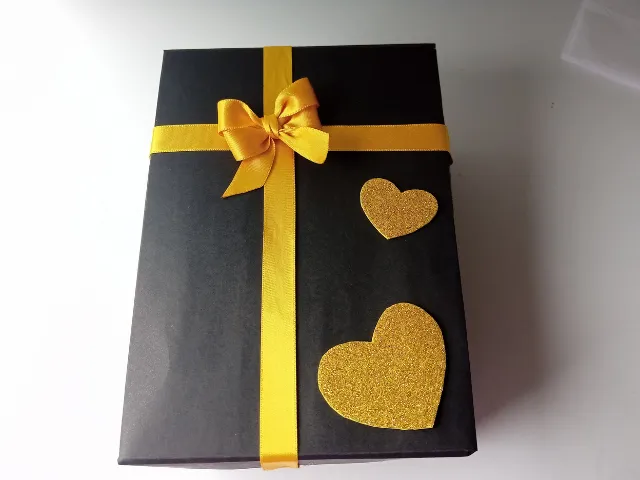
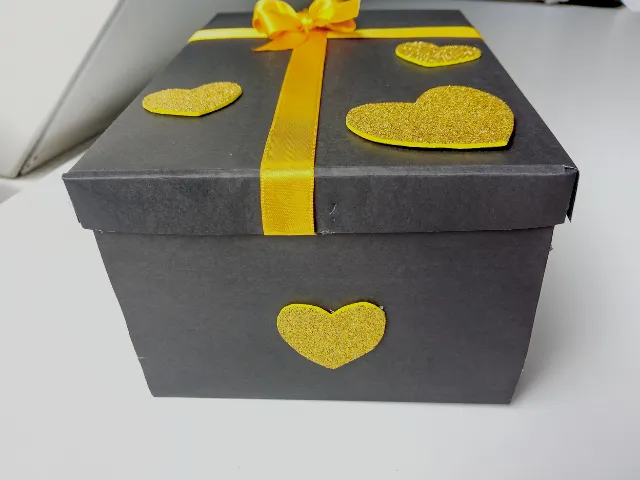
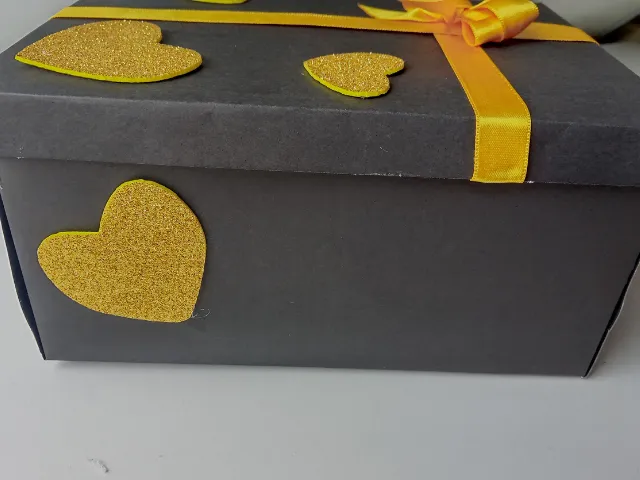
- PASO 4:
Tomar el foami dorado escarchado y comenzar a dibujar corazones o la figura de tu elección. En esta ocasión hice corazones, unos grandes y unos más pequeños, en total dibujé: 2 grandes y 5 pequeños. Recortar y pegar a la caja como gustes. En mi caso pegue para la tapa: 1 corazón grande y dos pequeños, para las paredes más angostas: 1 corazón pequeño. Y, por último, Para una de las paredes más largas: 1 grande y 1 pequeño.
- STEP 4:
Take the frosty gold foami and start drawing hearts or the figure of your choice. On this occasion I made hearts, some big ones and some smaller ones, in total I drew: 2 big ones and 5 small ones. Cut and glue to the box as you like. In my case, paste for the lid: 1 large heart and 2 small ones. For the narrowest walls: 1 small heart. And finally, For one of the longest walls: 1 large and 1 small.
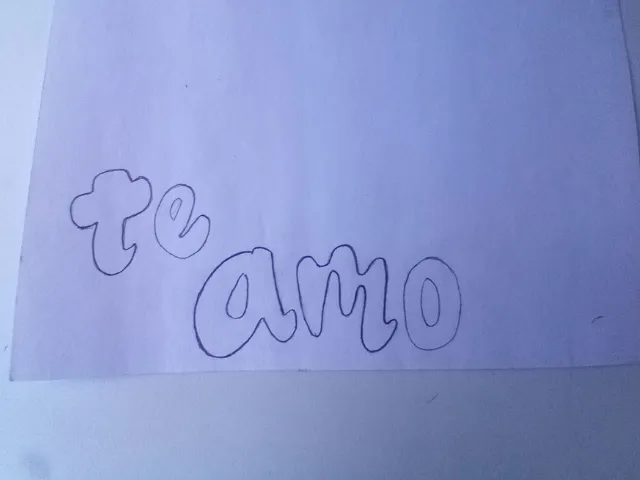
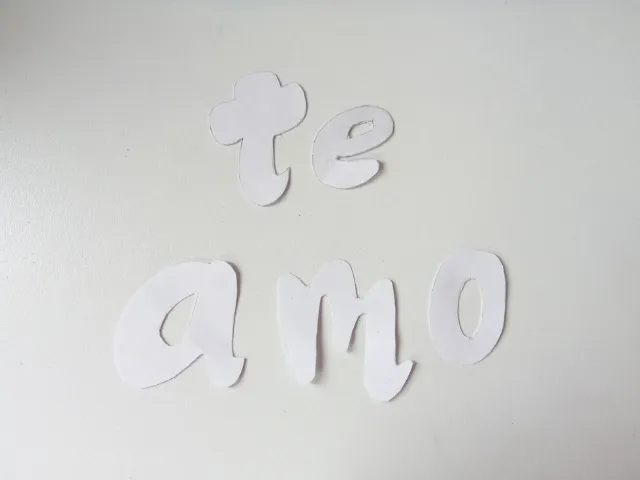
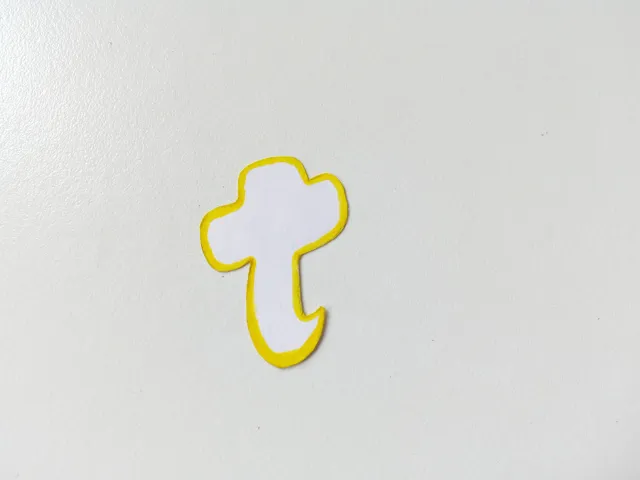
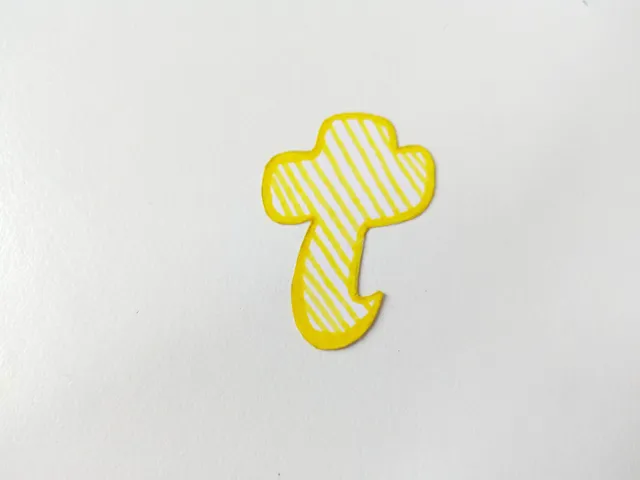
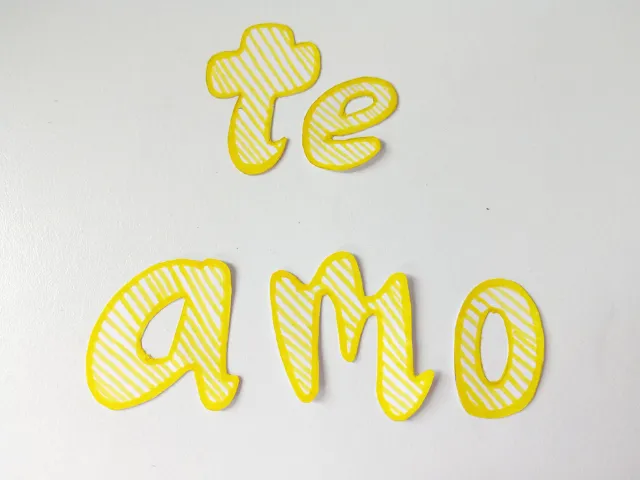
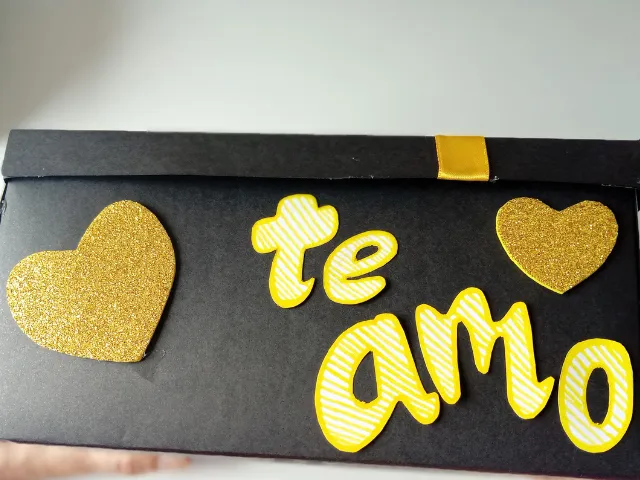
- PASO 5:
Tomar la cartulina blanca y comenzar a escribir la frase de tu elección, puede ser: "Te amo", "Feliz día", etc. Luego, recortamos y Con el marcador amarillo, remarcar el borde de cada una de las letras e ir rellenando con líneas inclinadas. Por último, pegar la frase en la pared más larga de la caja donde se encuentran los dos corazones.
- STEP 5:
Take the white cardboard and start writing the phrase of your choice, it can be: ¨I love you¨, ¨Happy day¨, etc. Then, we cut out and with the yellow marker, highlight the edge of each of the letters and fill in with inclined lines. Finally, paste the phrase on the longest wall of the box where the two hearts meet.
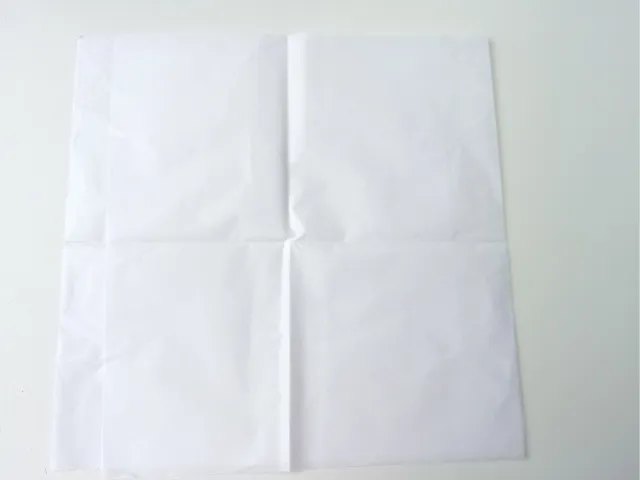
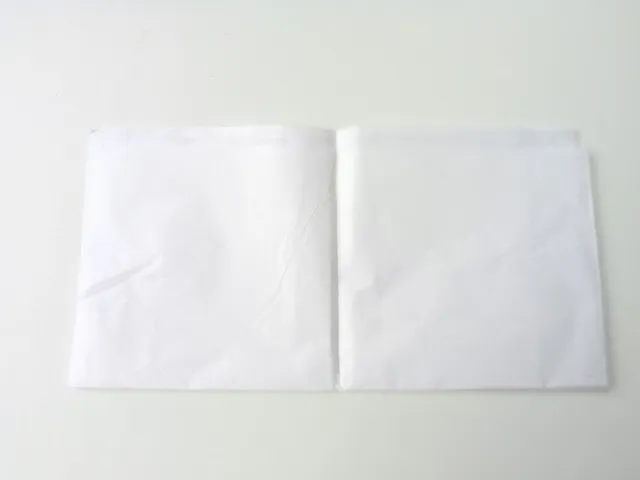
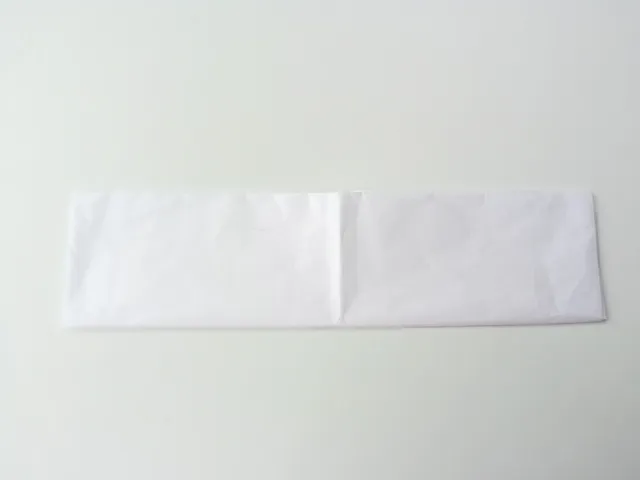
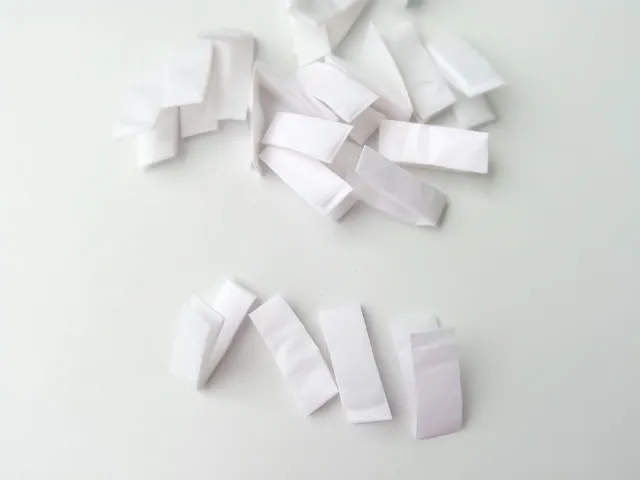
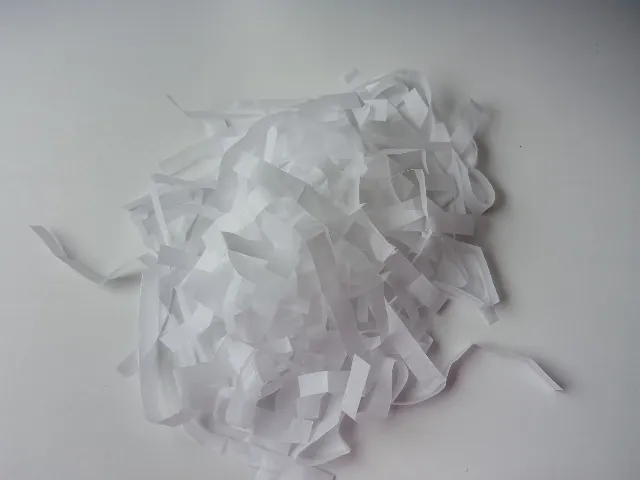
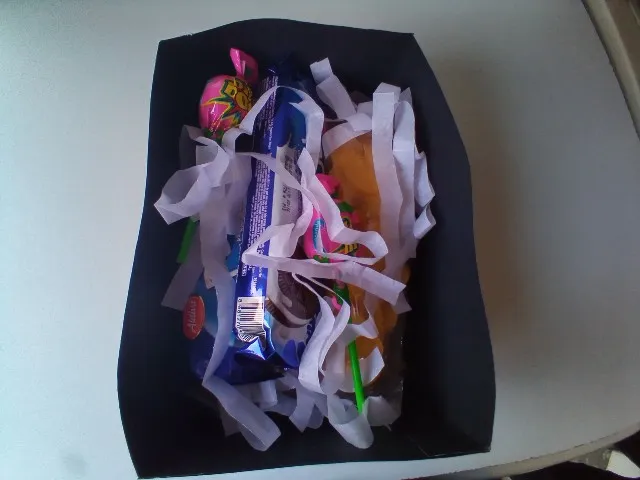
- PASO 6:
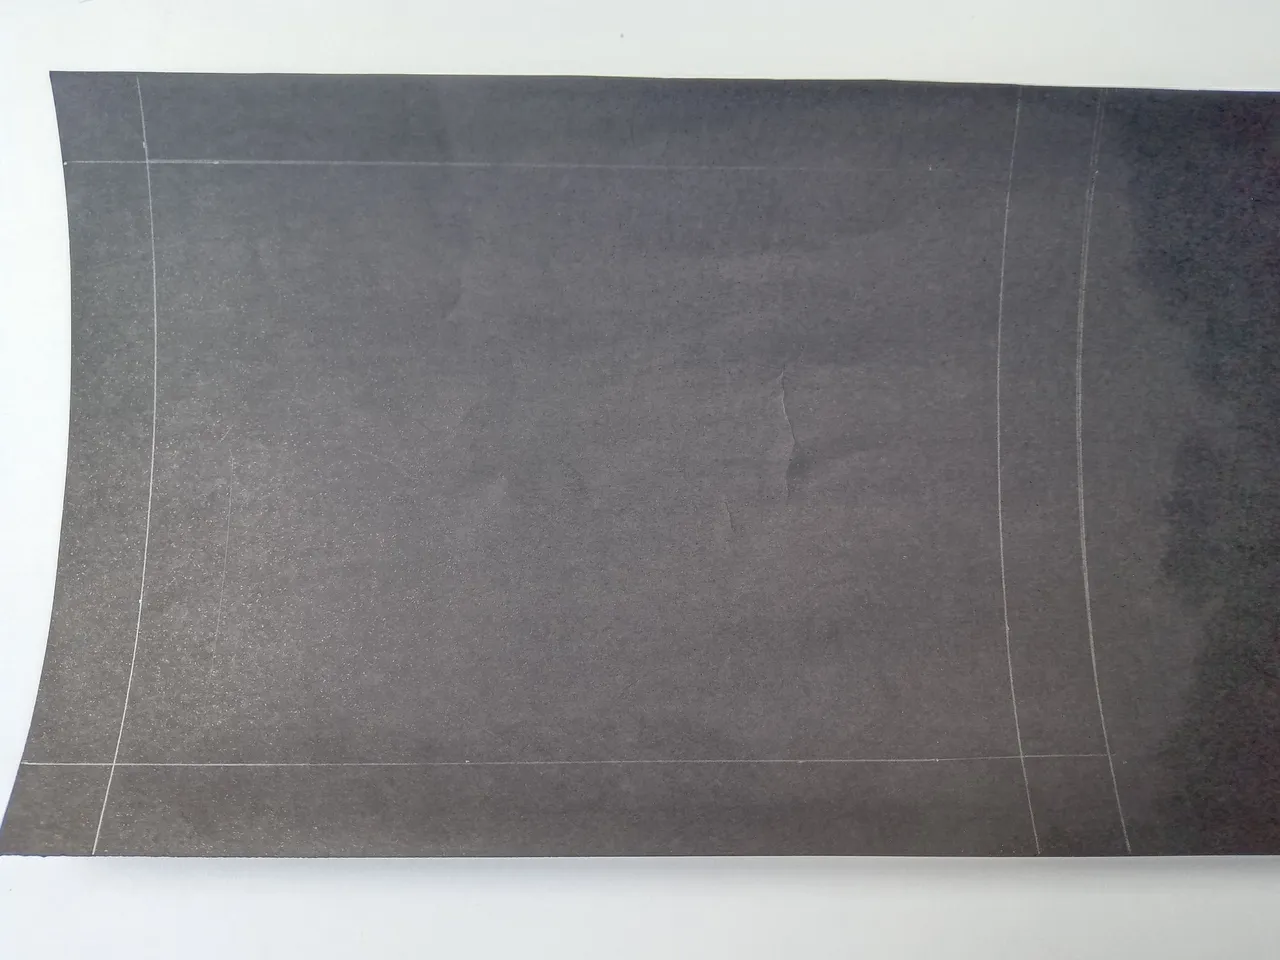
Para llenar la caja, usé papel de seda blanco. Dobla el papel de seda en 2 partes, (puedes guiarte por las líneas ya marcadas en el papel) corta en tiras, separar y por último, Agrégalos dentro de la caja.
- STEP 6:
To fill the box, I used white tissue paper. Fold the tissue paper into 2 parts, (you can be guided by the lines already marked on the paper) cut into strips, separate and finally, Add them inside the box.
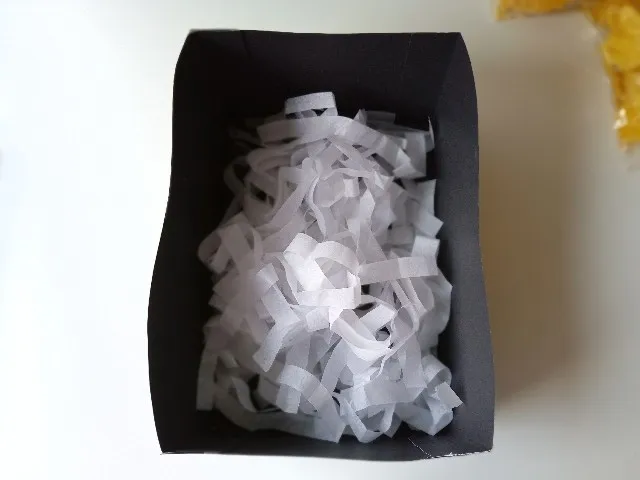
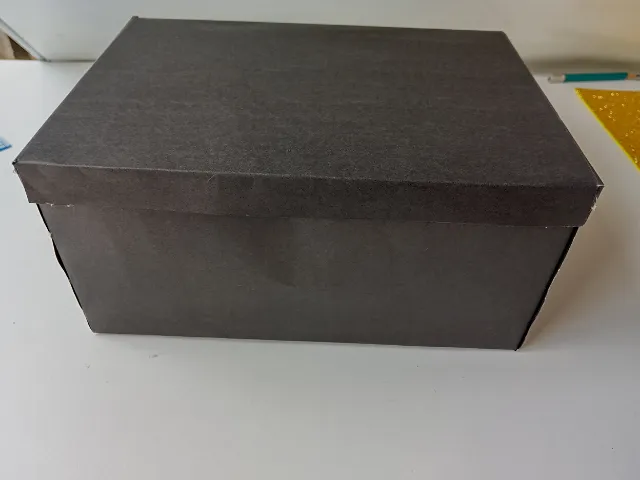
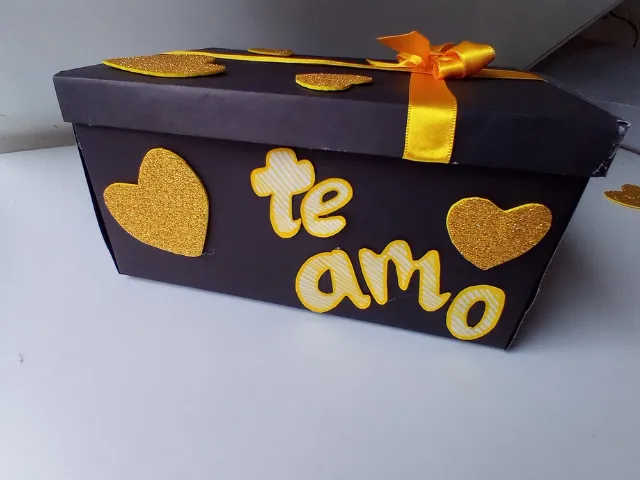
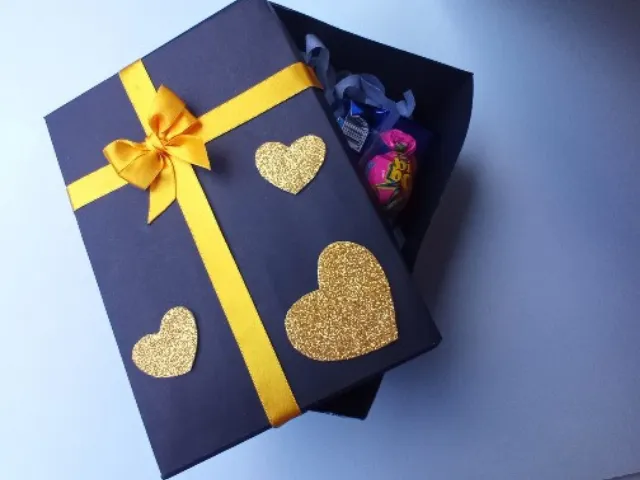
🎁¡Y listo!🎁 Tendrás esta linda cajita de regalo en la que podrás incorporar chucherías, golosinas o cualquier detalle de tu elección. Recuerda que puedes hacer la caja con el tamaño, motivo y color de tu preferencia. Espero que les haya gustado.
🎁¡And ready!🎁 Now you can paste the foam decoration on your switch, you can do it with the theme that you like the most to give your room a cute touch. I hope you are encouraged to do so.


Todas las fotografías son de mi propiedad.
Separador y Fotos editadas en Canva
All photographs are my property.
Photos edited in Canva