✨🐻¡Hola amigos amantes de la creatividad! Espero que hayan pasado un muy buen comienzo de semana.🐻✨
🔸Sin más que añadir, a continuación los dejo con el paso a paso:
✨🐻¡Hello friends who love creativity! I hope you had a very good start to the week.🐻✨
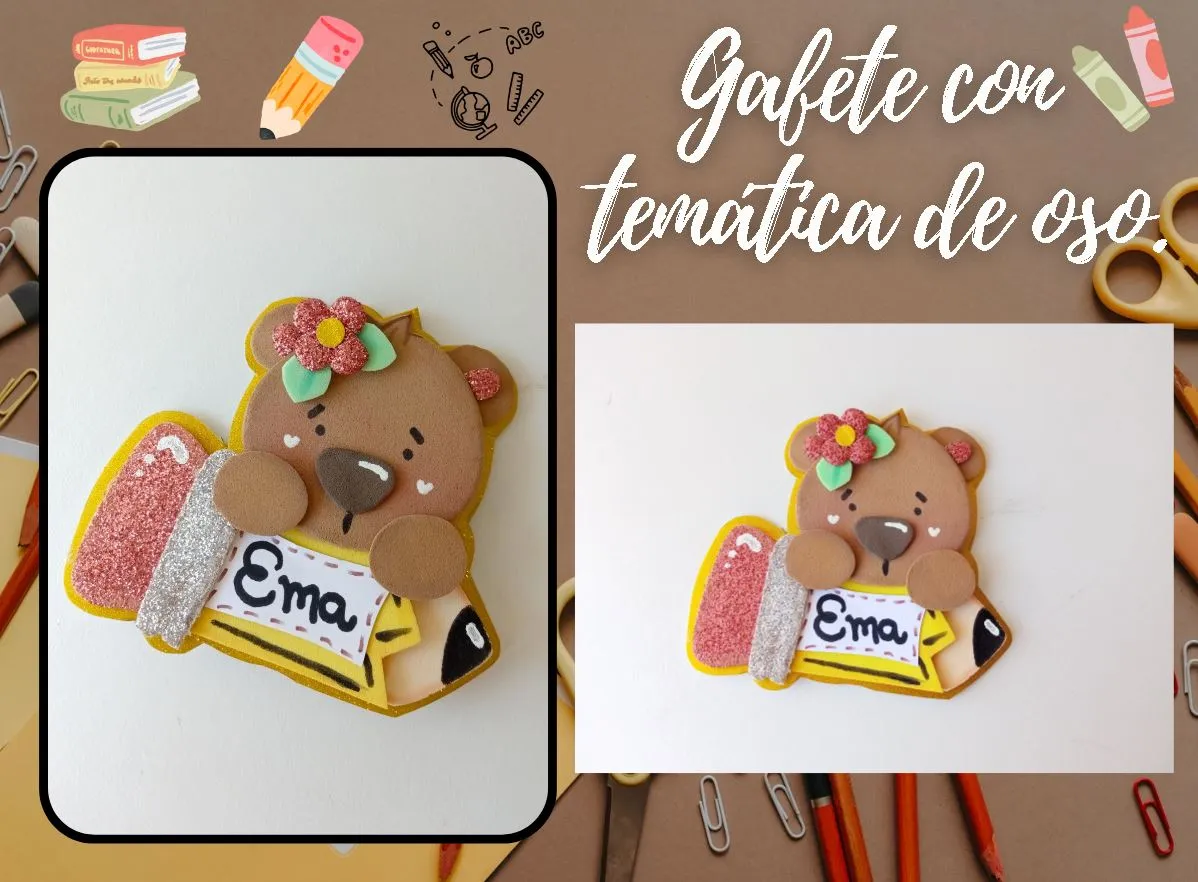
Good afternoon friends. I hope you are having a great week. Today I share with you the step by step to make a beautiful bear school badge. A few months ago I made my first school badge, in that case it was for a child and since I was delighted with the result, I didn't want to waste so much time to make another one for a little girl, with a different theme so that they would have a new and beautiful idea. . Not only does it have to be a school badge, you can make it to your liking, with the theme or for the occasion of your preference, such as a party and event.
I was really delighted with this result, I really enjoyed making this cuteness for the little ones in the house and I hope you enjoy this tutorial.
🔸Without more to add, then I leave you with the step by step:
♥️ESPERO QUE TE GUSTE,
¡Empecemos!
♥️I HOPE YOU LIKE IT,
Let's start!

✂️ MATERIALES | ✂️ MATERIALS
Para el lápiz:
- Foami: amarillo y crema.
- Foami escarchado: rosado y dorado.
Para el oso:
Foami: verde, marrón claro y oscuro
Foami escarchado: rosado y amarillo.
Cartulina escarchada dorada.
Marcadores y tizas.
Alfiler.
Pegamento.
Regla.
Lápiz.
Hoja.
Tijera.
For the pencil:
- Foami: yellow and cream.
- Frosted foam: pink and gold.
For the bear:
Foami: green, light and dark brown
Frosty foam: pink and yellow.
Gold frosted cardstock.
Markers and chalks.
Pin.
Glue.
Ruler.
Pencil.
Sheet.
Scissors.
🐻 PROCEDIMIENTO | 🐻 PROCESS
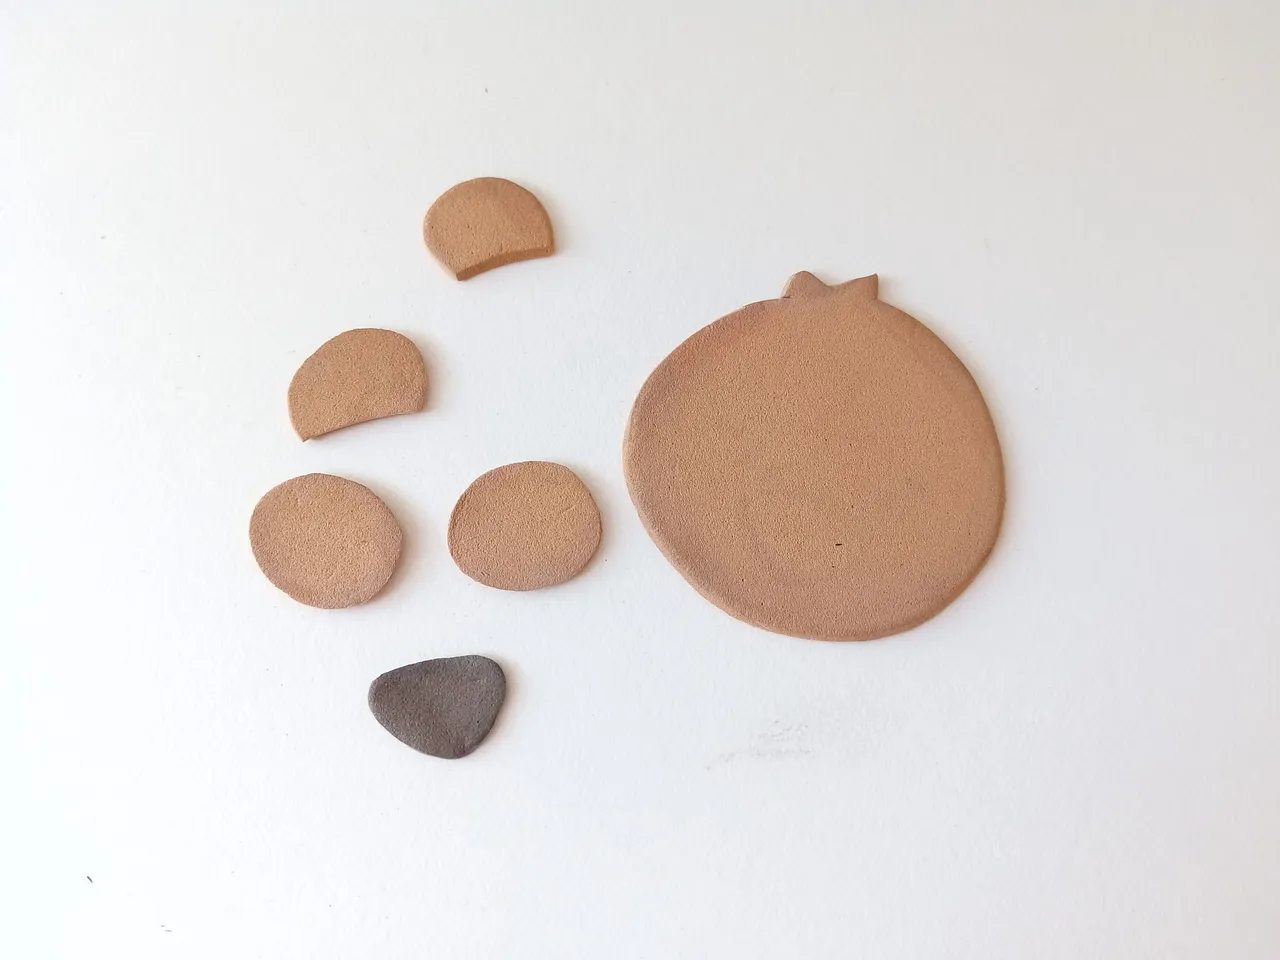
- PASO 1:
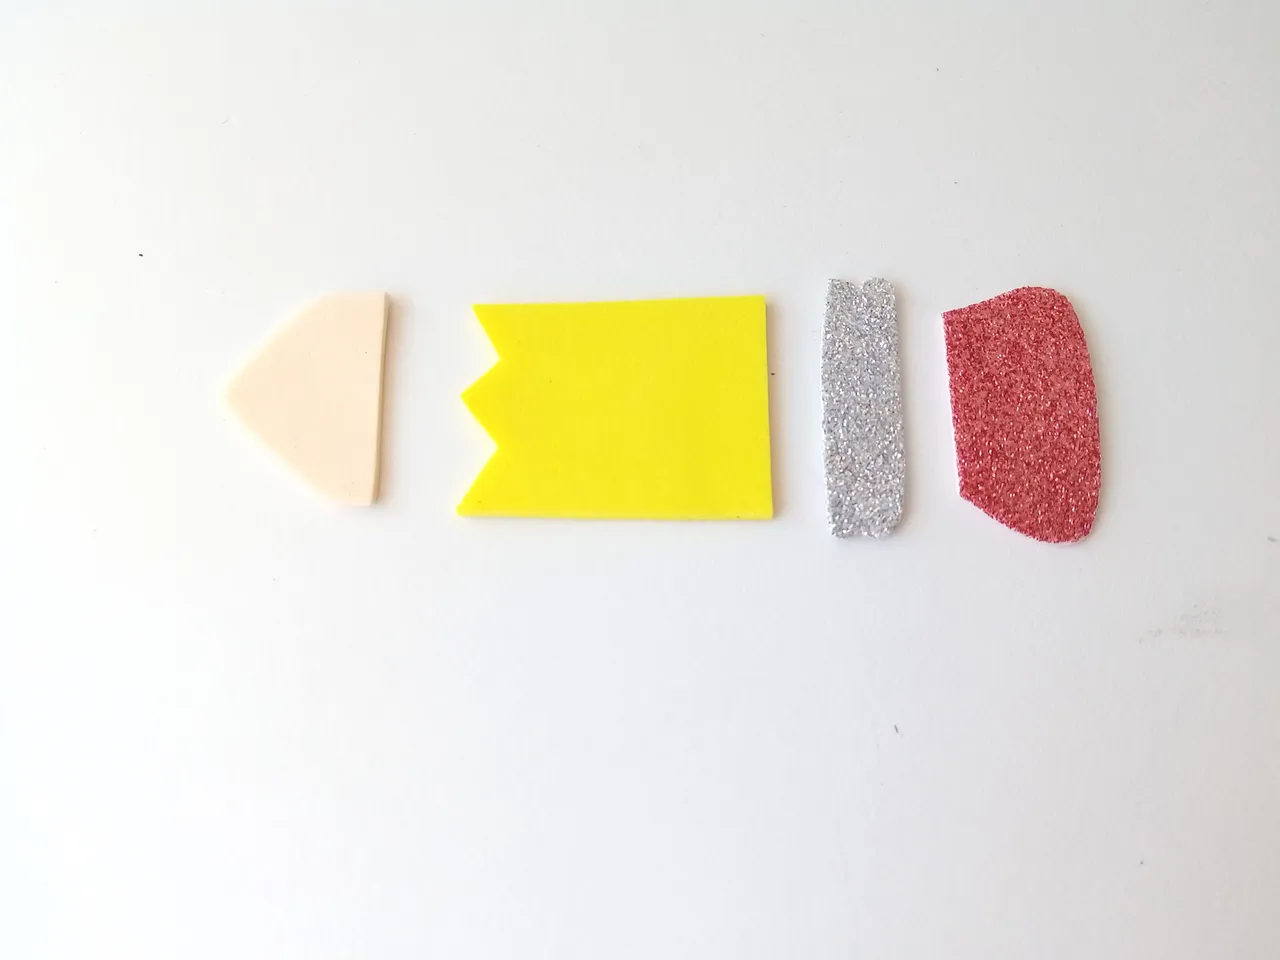
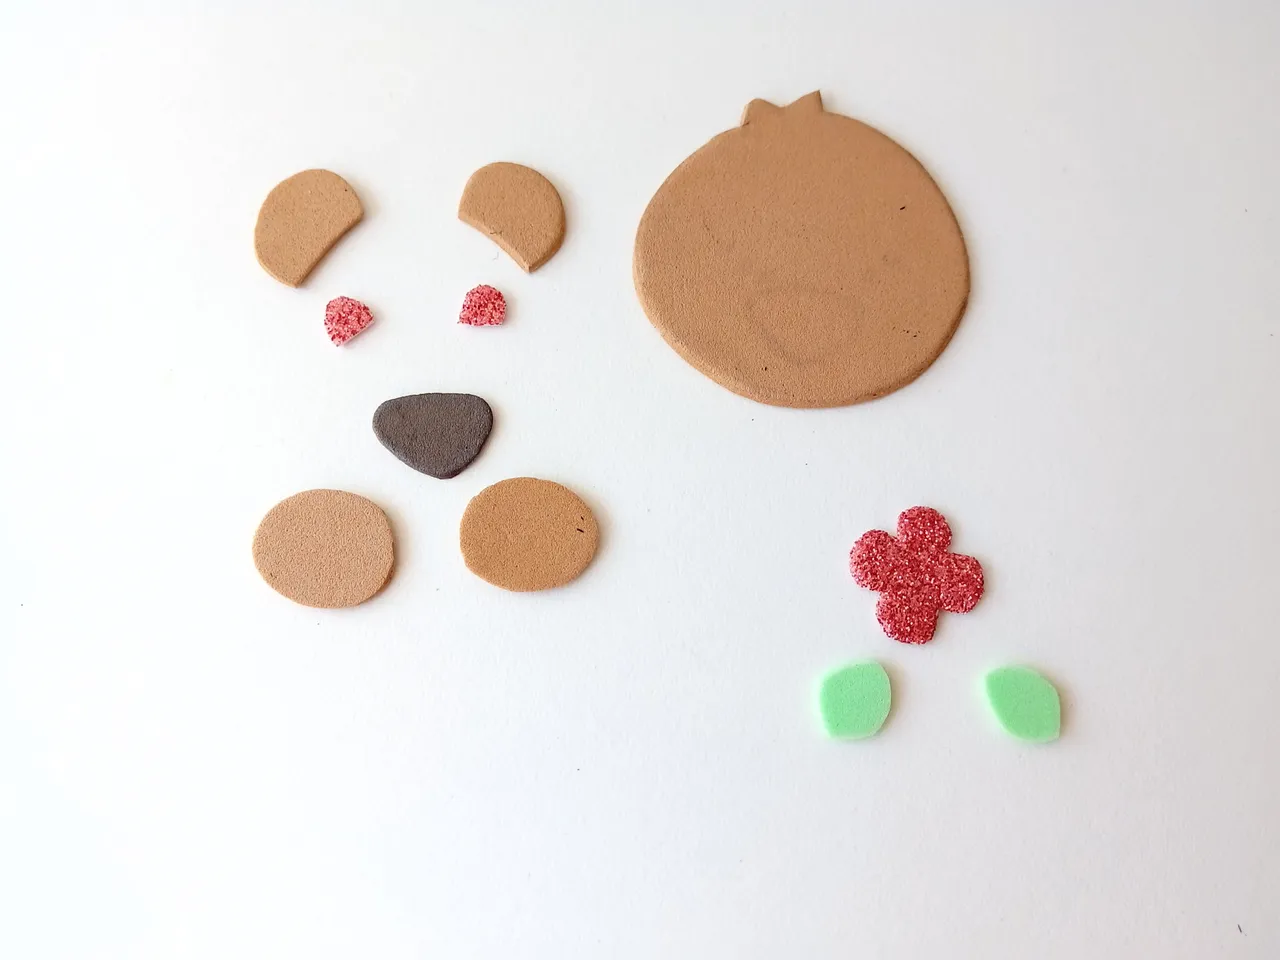
Lo primero que hice fueron los patrones del lápiz y el oso en una hoja blanca. La medida del lápiz fue de 8 cm de ancho y de ahí ajuste las medidas del resto de las figuras. Una vez listo el patrón, transferí a los colores correspondientes de foami, de la siguiente manera: el cuerpo del lápiz en amarillo, el centro del lápiz en plateado escarchado y la borra en rosado escarchado. En cuanto al oso, cabeza, patas y orejas en marrón claro, nariz en marrón oscuro, centro de la flor en amarillo, hojas en verde, parte interna de las orejas y flor en foami escarchado rosado. Luego, recorté cada pieza.
- STEP 1:
The first thing I did was the pencil and bear patterns on a white sheet. The pencil measurement was 8 cm wide and from there I adjusted the measurements of the rest of the figures. Once the pattern was ready, I transferred it to the corresponding colors of foam, as follows: the body of the pencil in yellow, the center of the pencil in frosty silver, and the eraser in frosty pink. As for the bear, head, paws and ears in light brown, nose in dark brown, center of the flower in yellow, leaves in green, inner part of the ears and flower in frosty pink foam. Then, I cut out each piece.
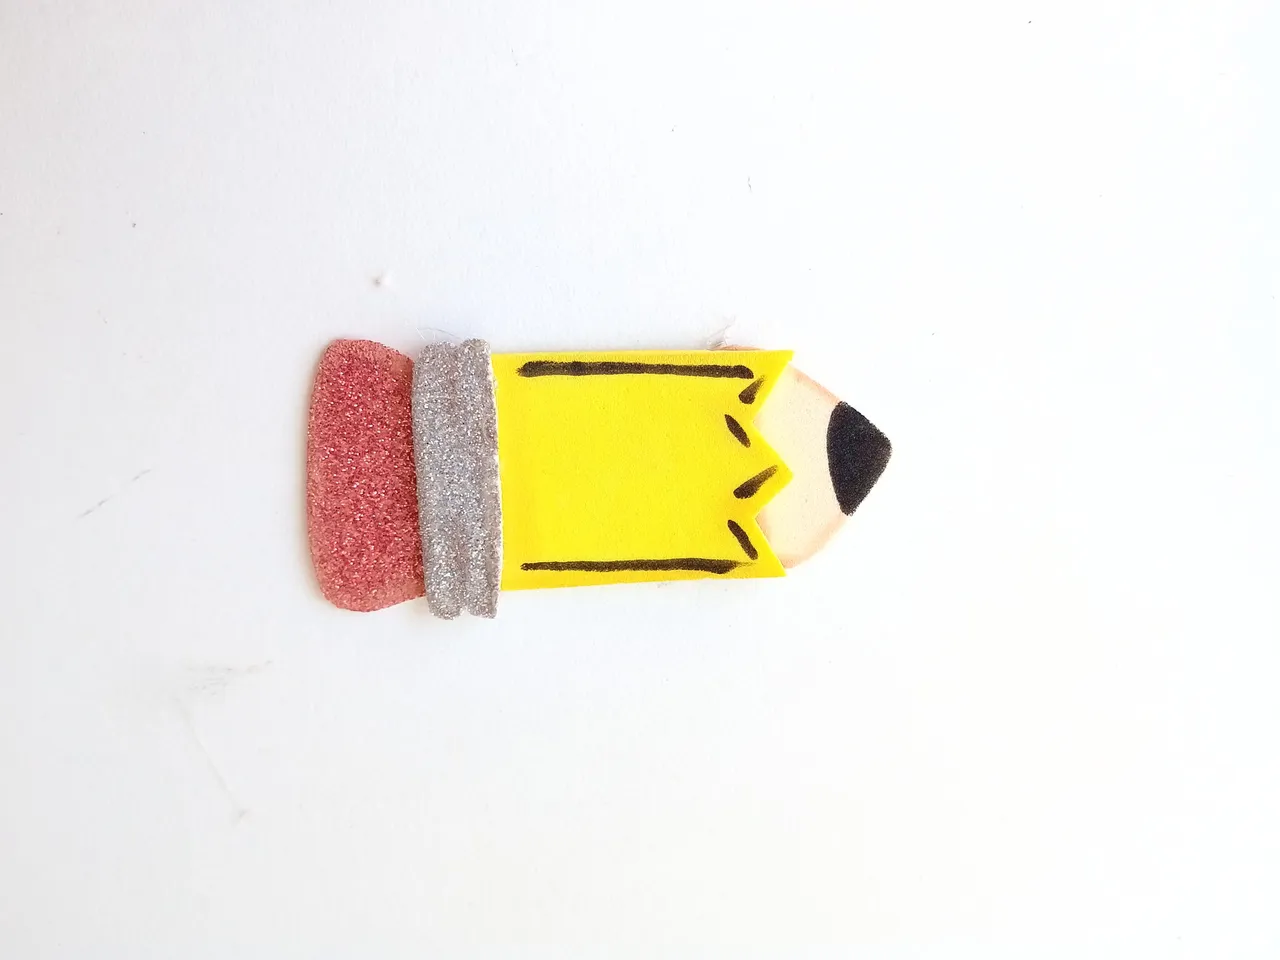
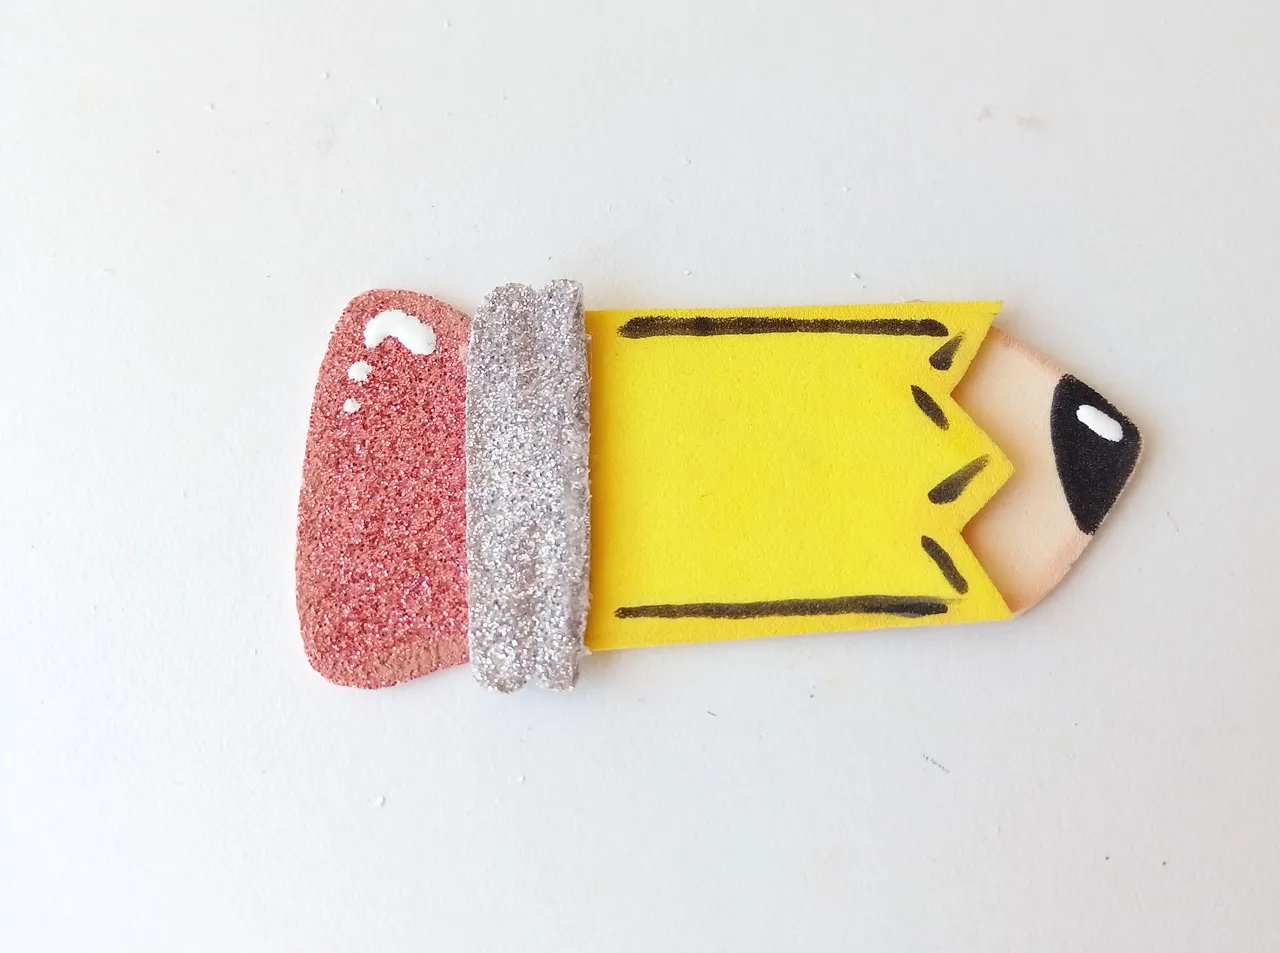
- PASO 2:
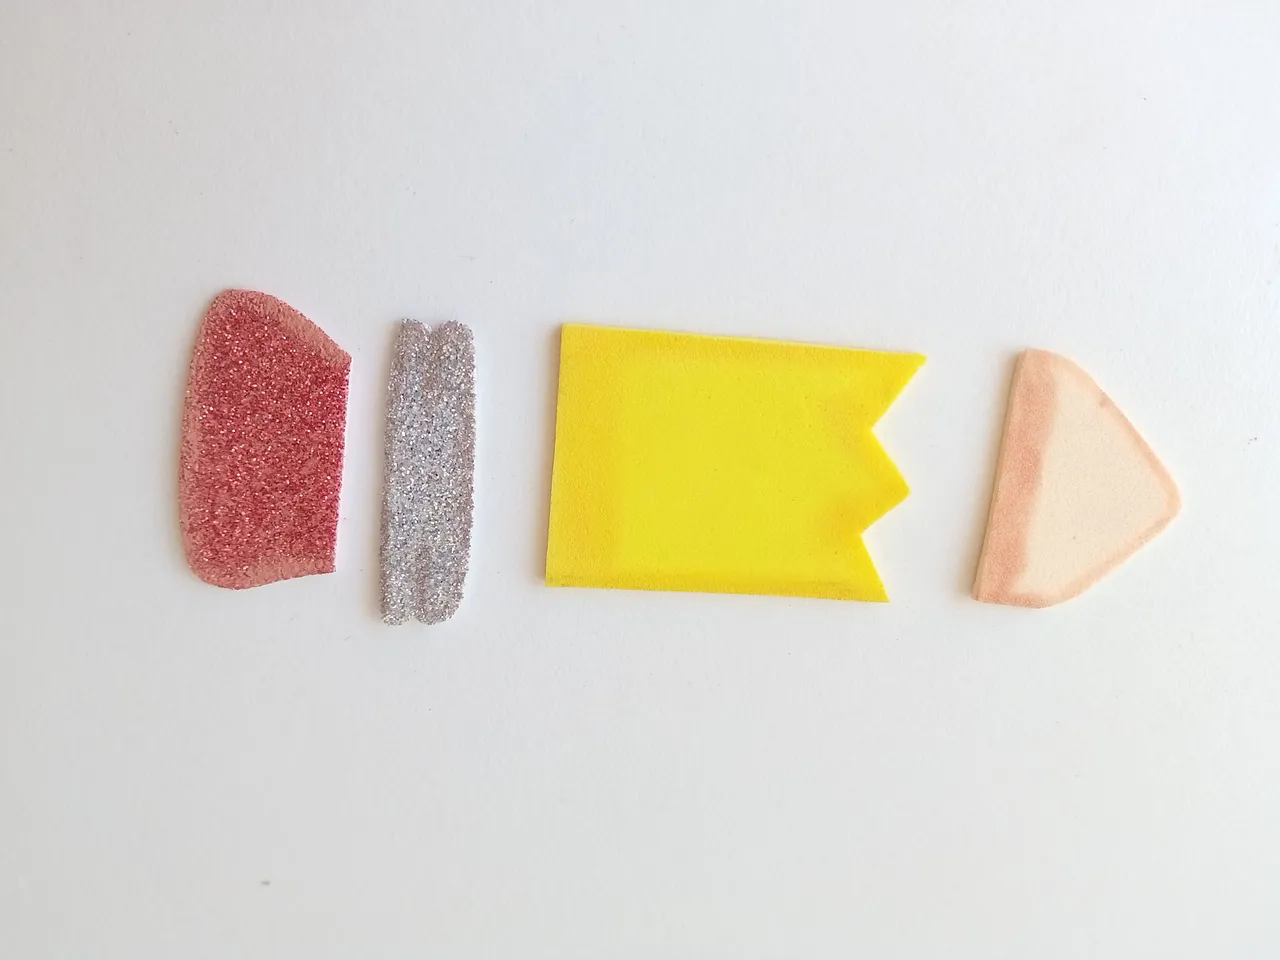
Una vez listas todas las piezas, comencé por el lápiz dando color en los bordes de cada pieza con un tono más oscuro de tiza. Proseguí armando la pieza con pegamento, pinté la punta del lápiz con marcador negro y di detalles con el mismo marcador para resaltar. Además, di puntos de luz en la borra y punta del lápiz.
- STEP 2:
Once all the pieces were ready, I started with the pencil, coloring the edges of each piece with a darker tone of chalk. I continued assembling the piece with glue, painted the tip of the pencil with black marker and gave details with the same marker to highlight. Additionally, I gave points of light on the eraser and tip of the pencil.
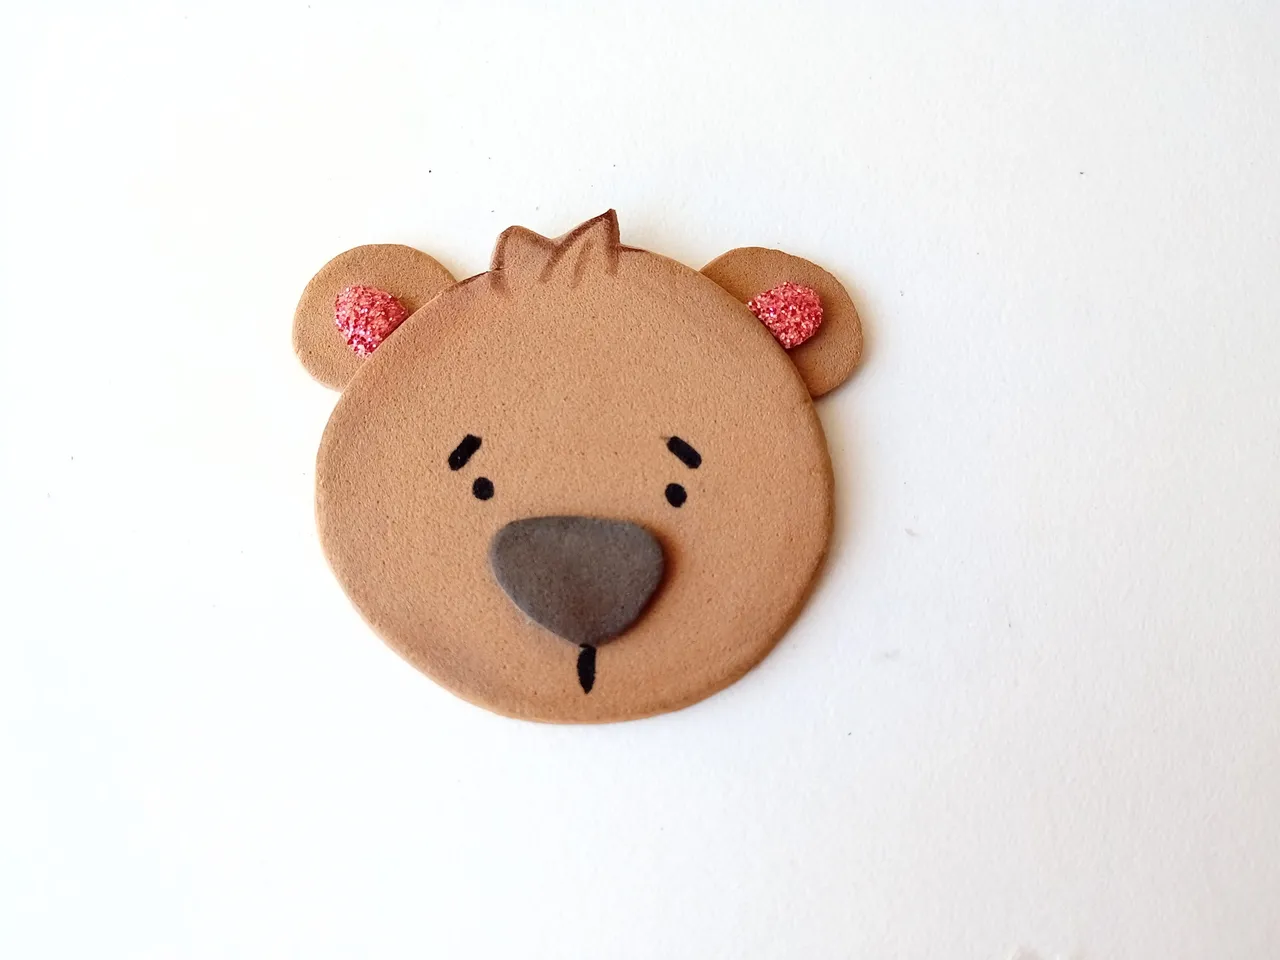
- PASO 3:
Ahora voy con el oso, para el oso fue más o menos el mismo proceso inicial que el lápiz, di color al borde de las piezas con un tono más oscuro de tiza. Luego, pegué las piezas en el orden correspondiente, dibujé los ojos, cejas, boca y di detalles extras.
- STEP 3:
Now I'm going with the bear, for the bear it was more or less the same initial process as the pencil, I colored the edge of the pieces with a darker tone of chalk. Then, I glued the pieces in the corresponding order, drew the eyes, eyebrows, mouth and gave extra details.
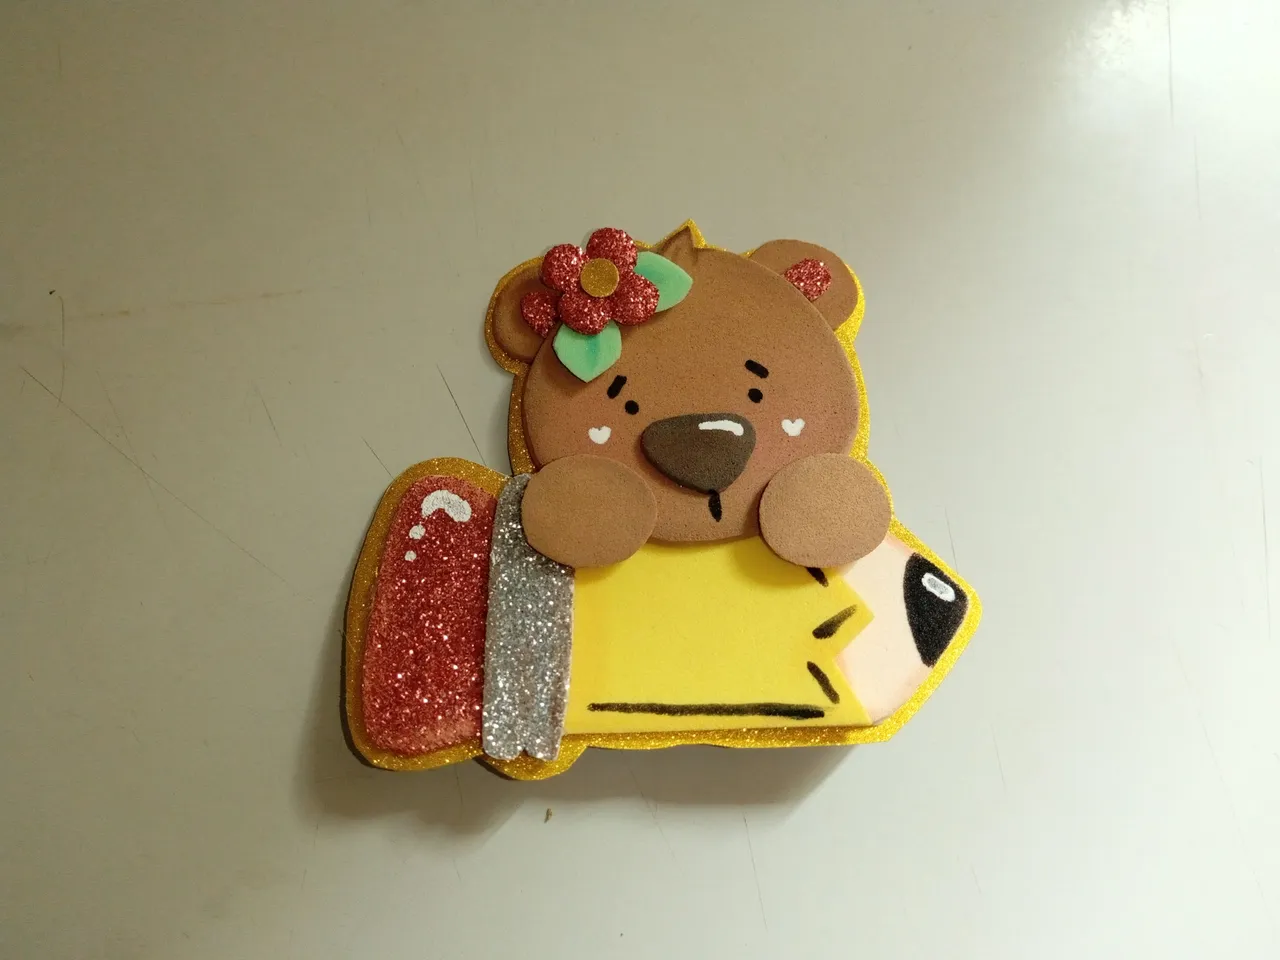
- PASO 4:
Seguidamente, coloqué el lápiz horizontal y pegué la cabeza en la parte superior, las patas como si estuviera sosteniendo el lápiz, armé la flor, di detalles con marcador y pegué a la cabeza. Por último, escribí el nombre de la niña en una hoja blanca, di detalles al borde y pegué al lápiz.
- STEP 4:
Next, I placed the pencil horizontally and glued the head on top, the legs as if I were holding the pencil, I assembled the flower, gave details with marker and glued the head. Finally, I wrote the girl's name on a white piece of paper, gave details to the border and glued it to the pencil.
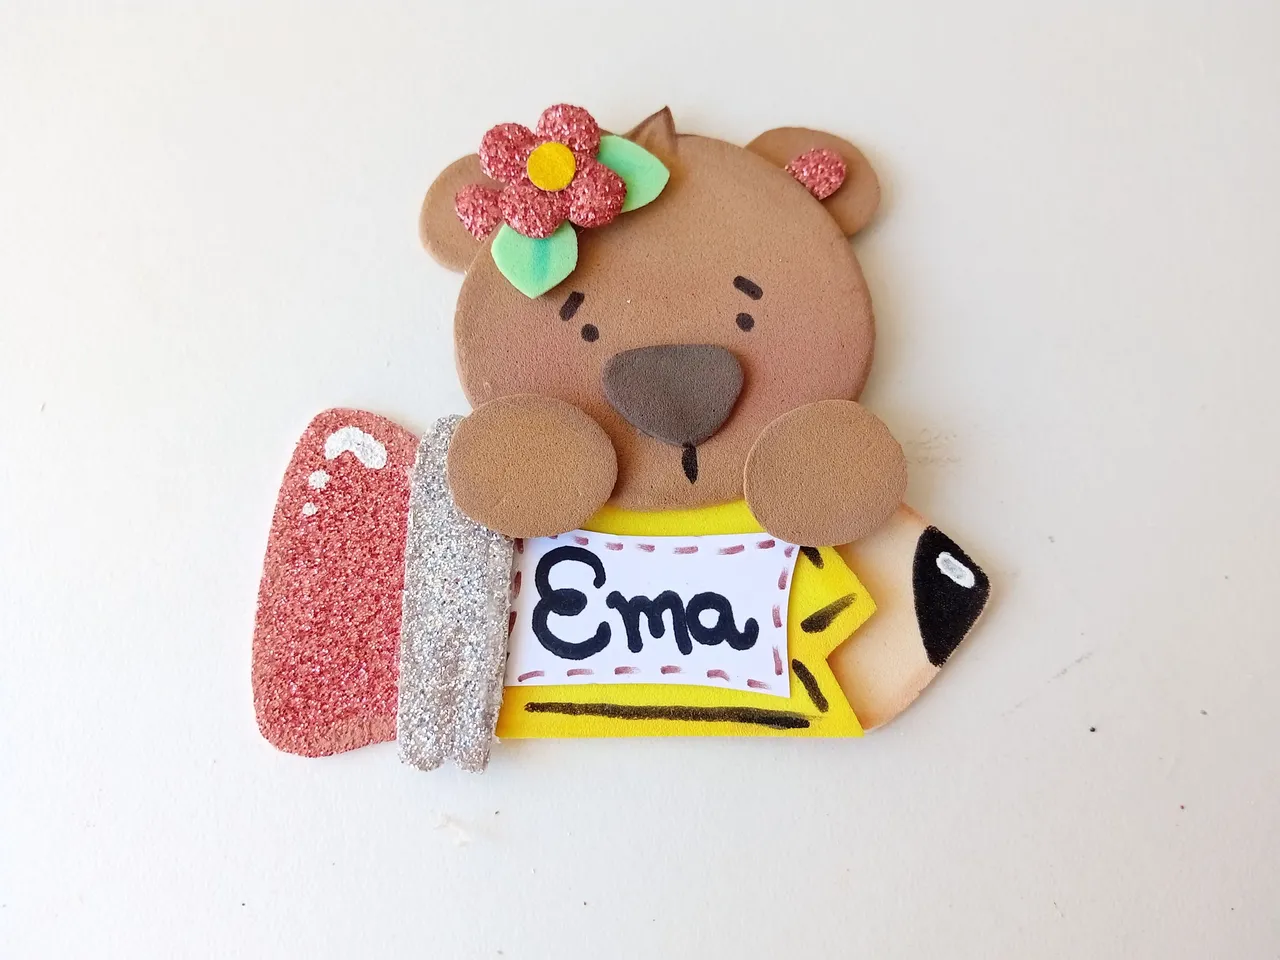
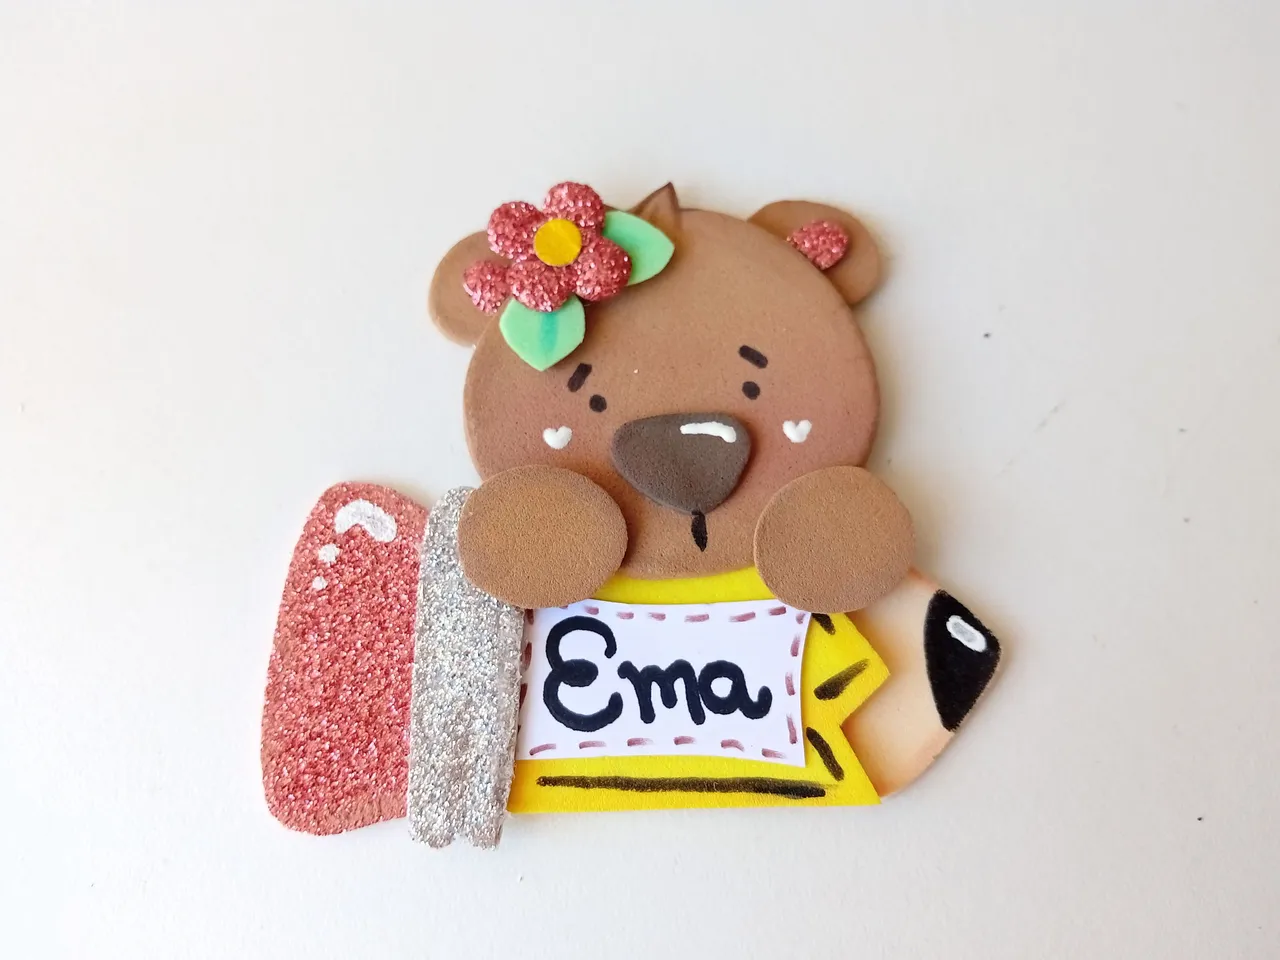
✨¡And ready!✨This way they can make a nice school badge for the little ones, for parties or for any occasion they want. The best thing is that you can create the theme and colors of your choice. I hope you liked the step by step and are encouraged to make it.
❤️Until the next post.
✨RESULTADO: | ✨RESULT:


Todas las fotografías son de mi propiedad.
Separador y Fotos editadas en Canva
All photographs are my property.
Photos edited in Canva