Les saludos desde mi atelier, compañeros artesanos e ingeniosos de la comunidad hive diy, en esta ocasión les traigo un tutorial de cómo fabricar un coronador de traste, el coronador de traste es una herramienta muy útil que usamos en la lutheria, usado en los últimos pasos cuando fabricamos un instrumento o cuando hacemos cambio de traste en un diapasón
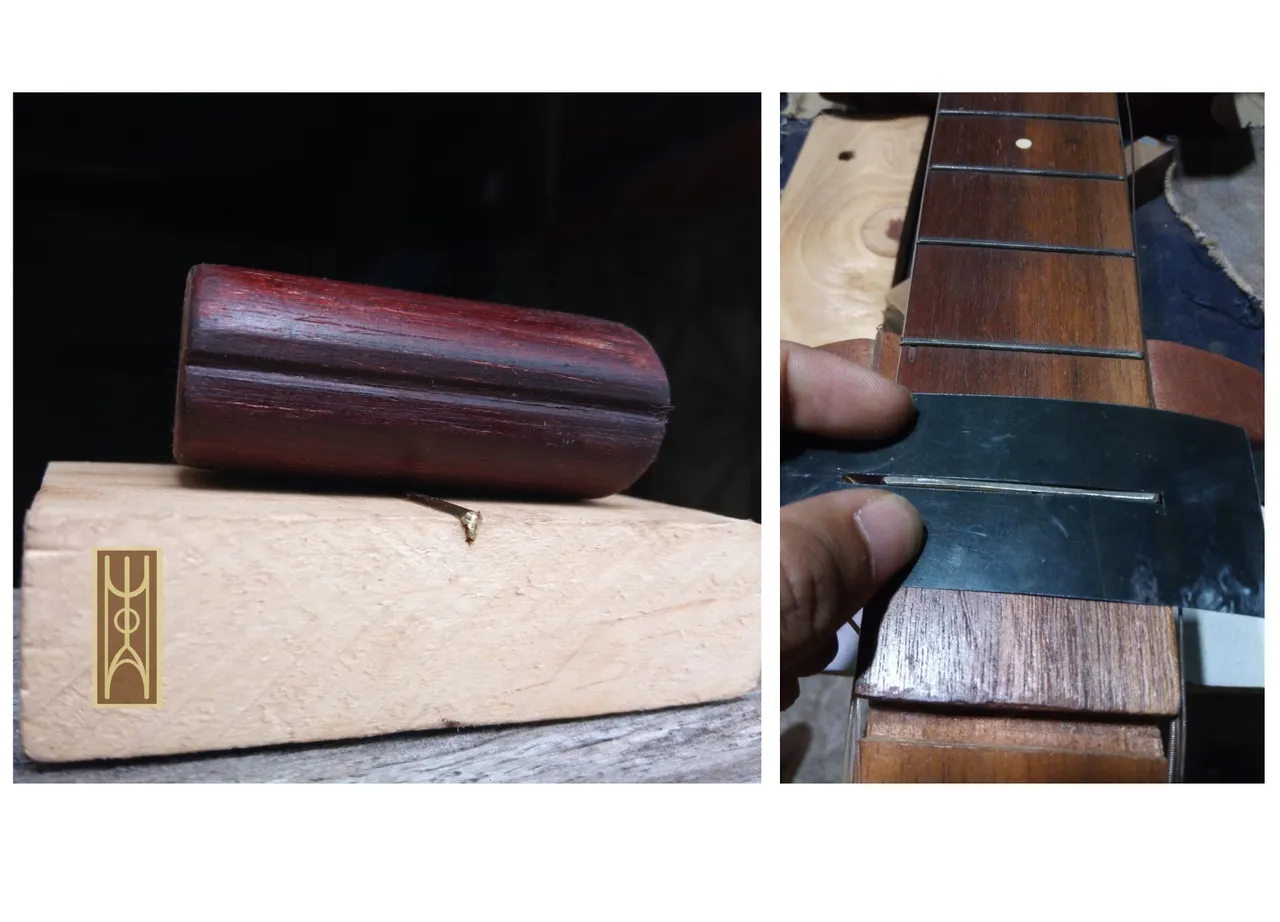
En esta práctica muchas veces se usa un taco con lija pero tenemos la dificultad de rallar nuestro diapasón, se usa luego de haber rectificado los traste con un taco plano con lija de grano 80 para que todo queden con el mismo tamaño y luego no rose la cuerda con el metal y produzca ruido, en el mercado existen estas herramientas tal vez aunque en donde vivo no la he visto, así que en el presente tutorial les mostrare los pasos para fabricar una y así lograr pulir los trastes con mucha prolijidad o como decimos en el mundo de la lutheria “coronar trastes” lo podemos hacer del tamaño con el que más nos sintamos cómodos y también podemos hacerla para distintos diámetros de trastes.

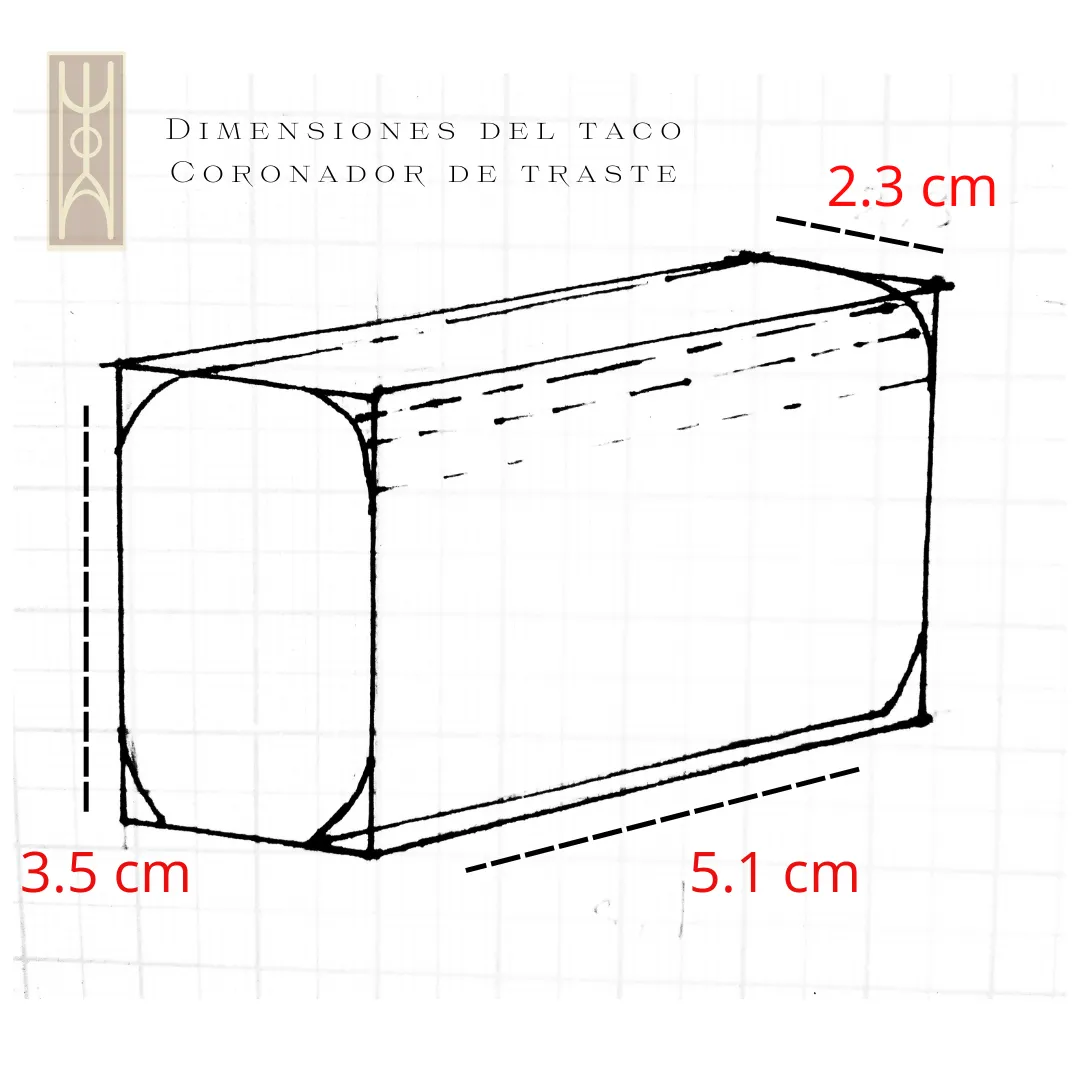
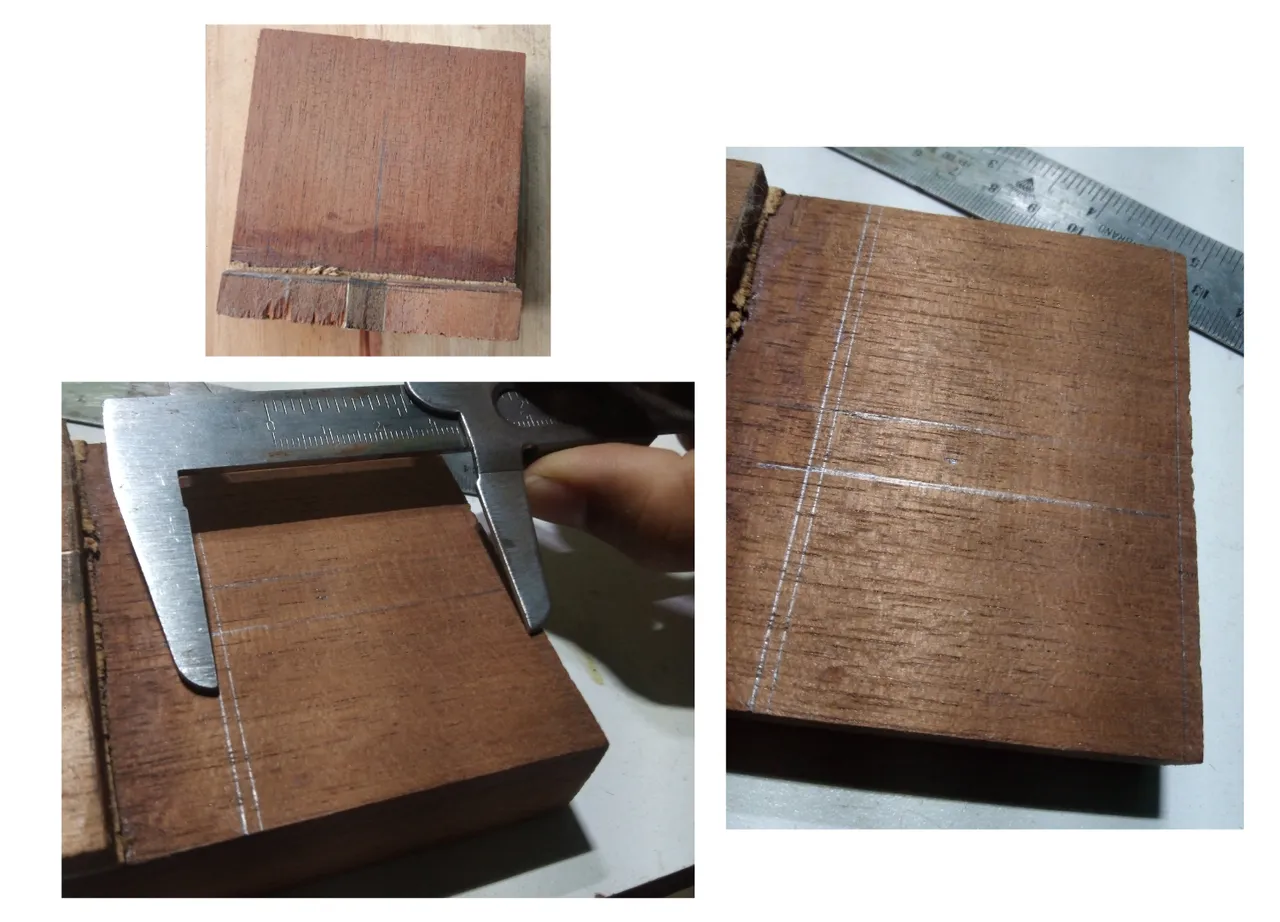
Una vez teniendo las medidas que más se ajusten a nuestros dedos, trazamos un rectángulo en la madera, en esta ocasión use una pedazo que me quedo de un mango de una guitarra, les recuerdo que siempre dejemos 2 mm de margen de error para que al serruchar nos quede a la medida que queremos.
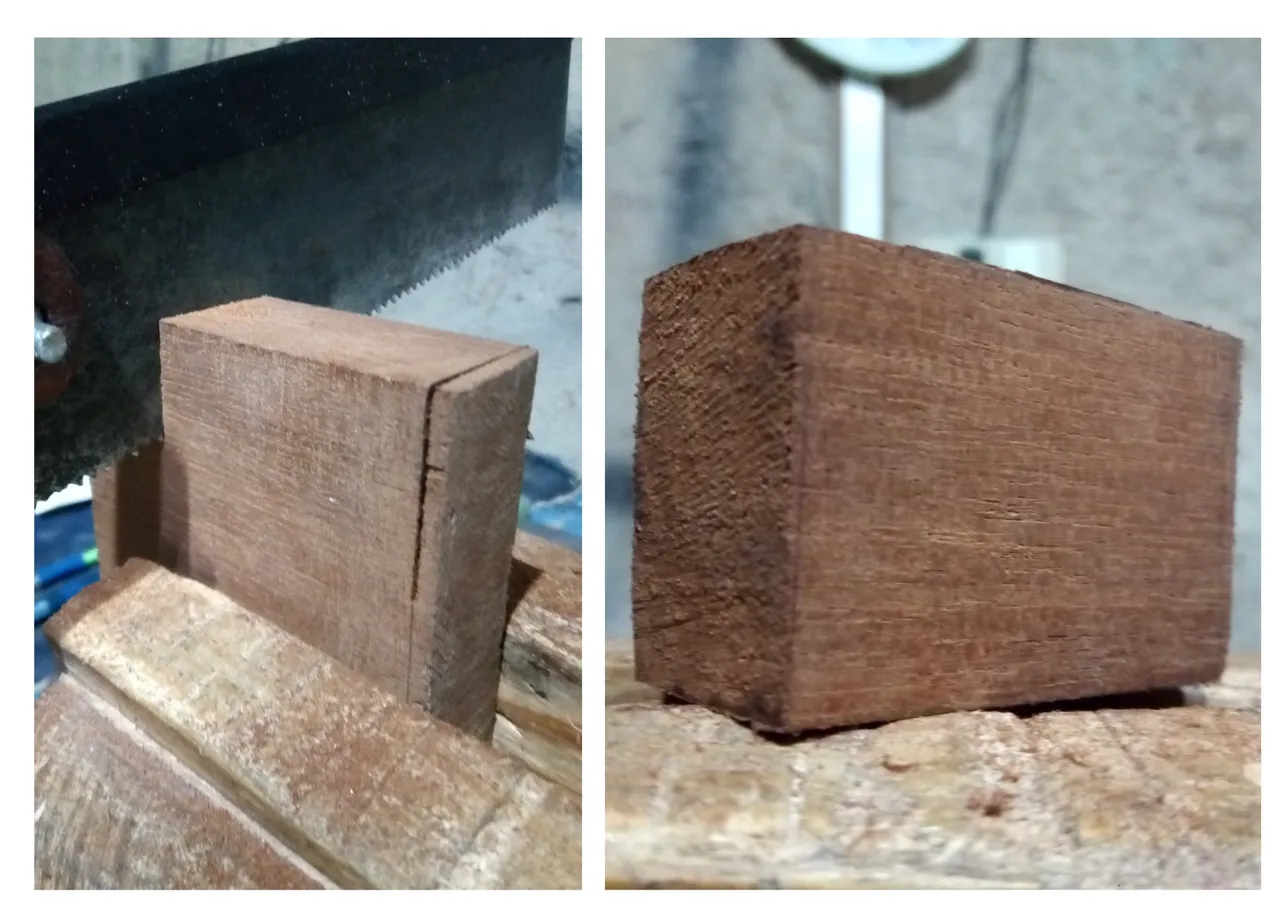
Si tienen una prensa llevemos el taco para serruchar y obtener el pedazo rectangular, en caso de que aún no tengas la prensa (mordaza) por acá te dejo un post donde comparto el plano de cómo hacer una de madera click, pero para no esperar tener una cortemos haciendo apoyo con nuestros pies.

Al cortar rectifiquemos una de las partes planas donde vamos hacer la abertura y la que hará la fricción con los trastes, la pasamos en un taco con lija hasta obtener un plano tolmente a 90°
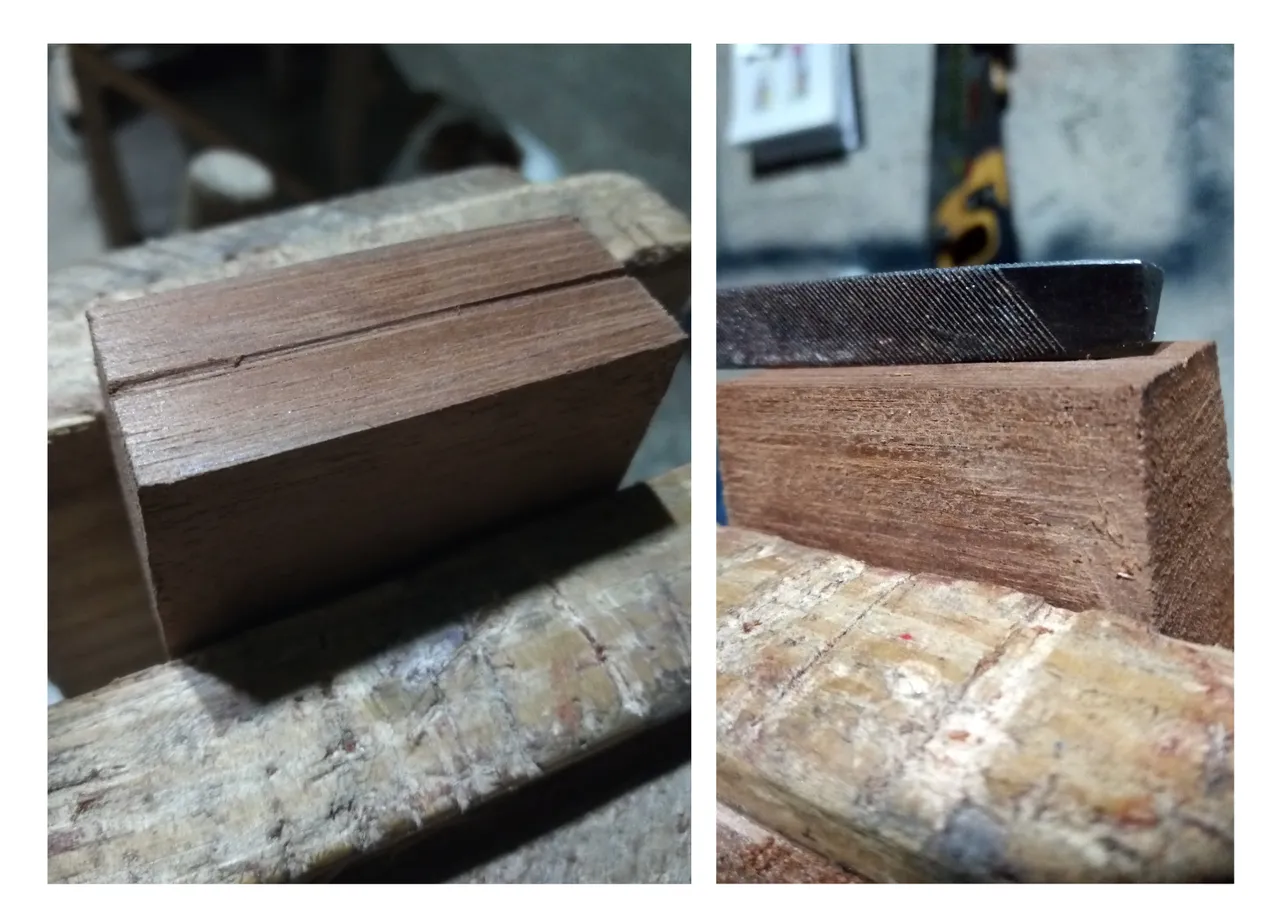
Marquemos con el lápiz el centro del taco y luego pasamos por una vez el serrucho fino, ya que es para guiar posteriormente la lima triangular hasta hacer una abertura de al menos 1mm aprox.
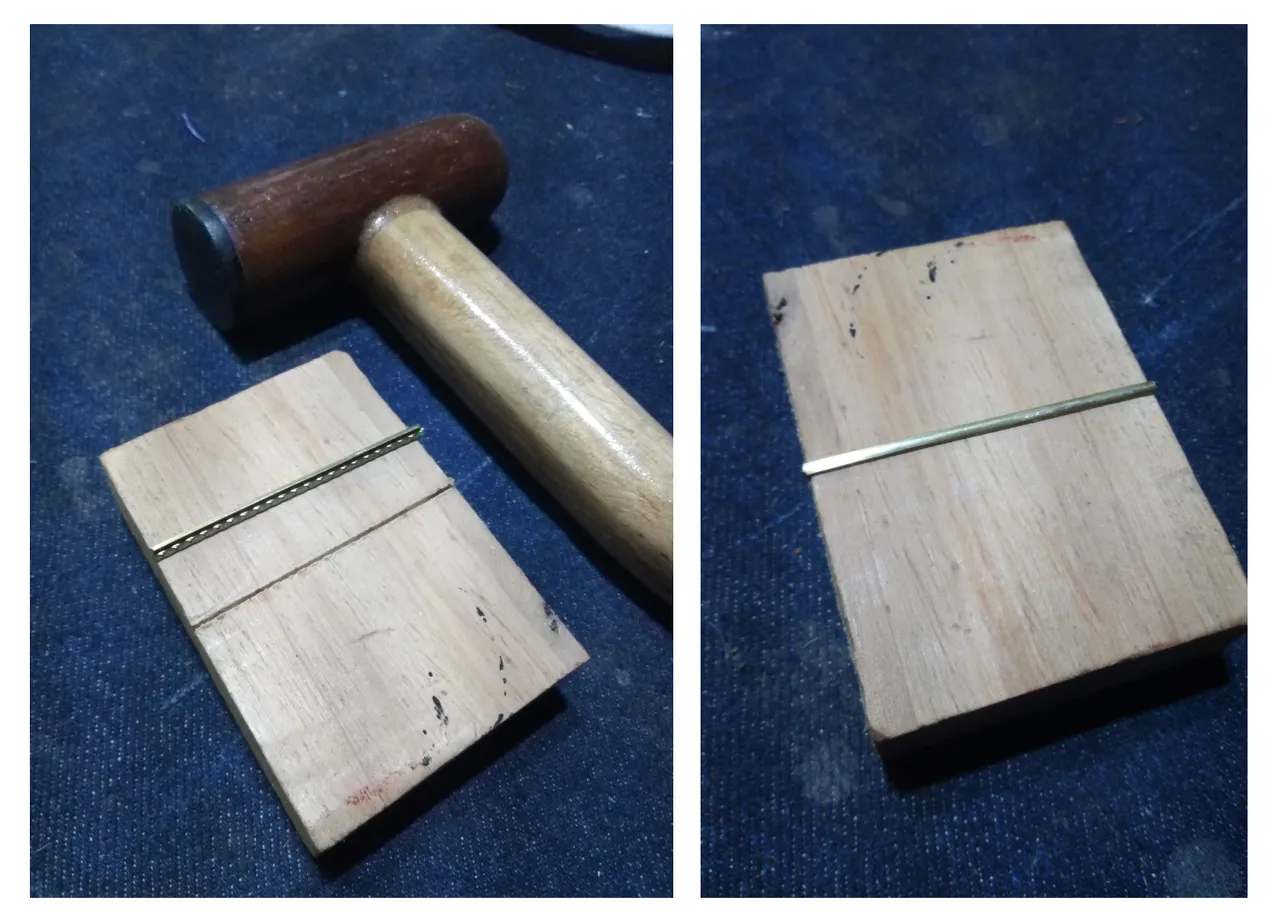
Tomamos un taco en mi caso lo use con las siguientes dimensiones 5.3cmx7.5 de largo con un espesor de 2cm, al centro del mismo hice la ranura para luego colocar un traste por aquí te comparto como hacer un serrucho para ranura click
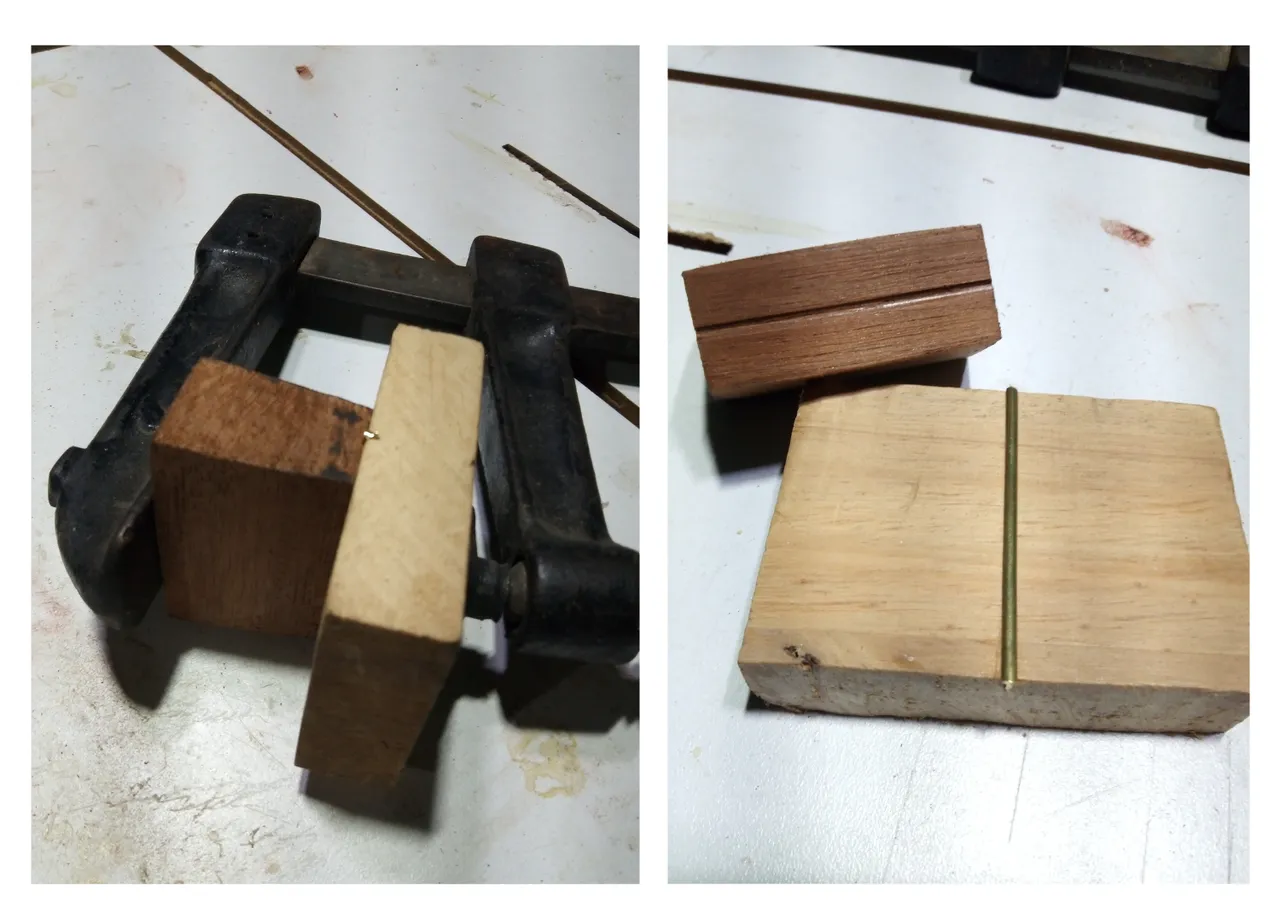
Así que tomamos el taco de coronar y los prensamos junto a este pedacito de diapasón que hicimos, lo dejamos unos 10 min para copiar el pequeño radio del traste mientras esperamos tomamos el café, el mate o el té.
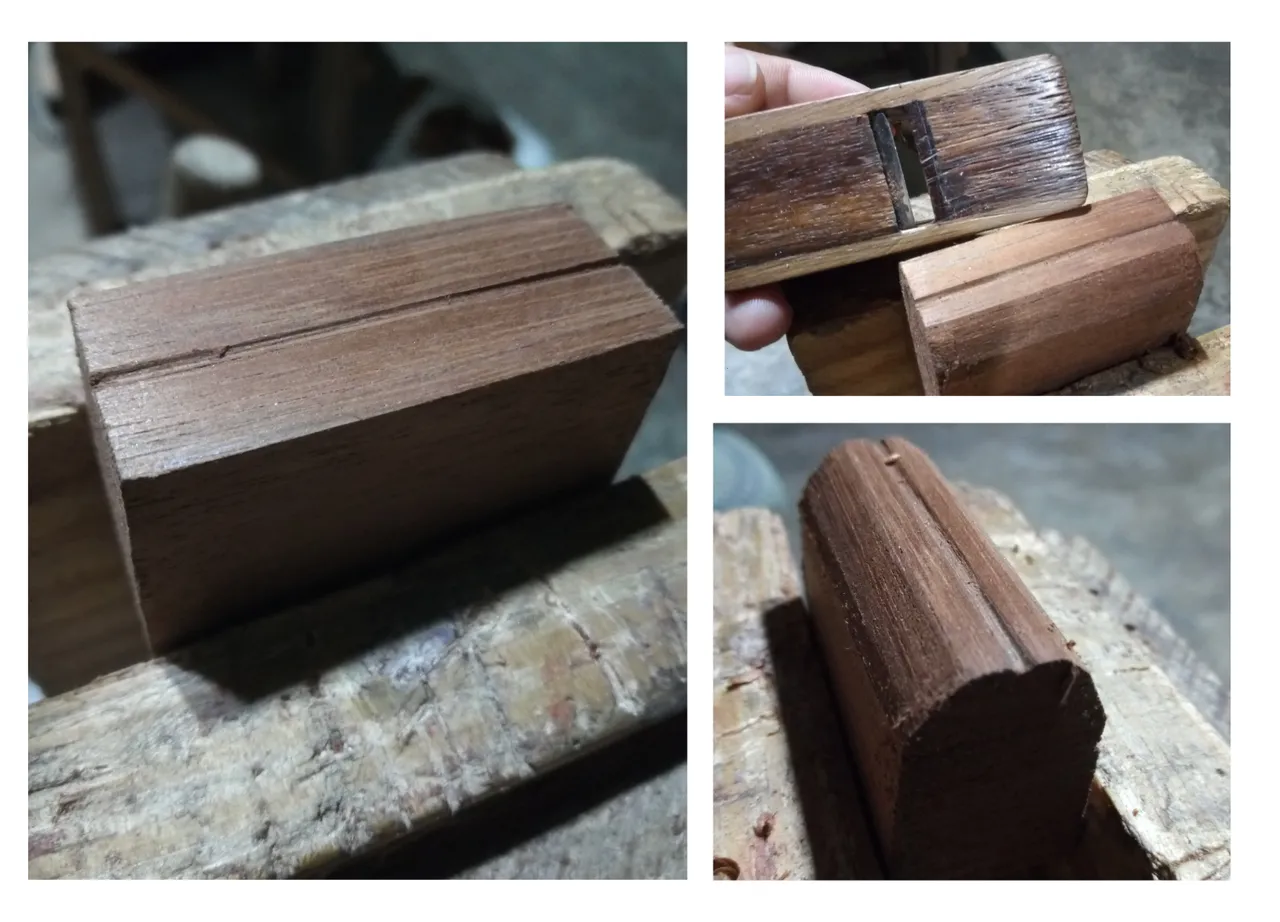
Ahora debemos de estilizar los bordes con un mini cepillo y le dejamos 2mm por cada lado de la abertura, y redondeamos la parte superior para mejor ergonomía.
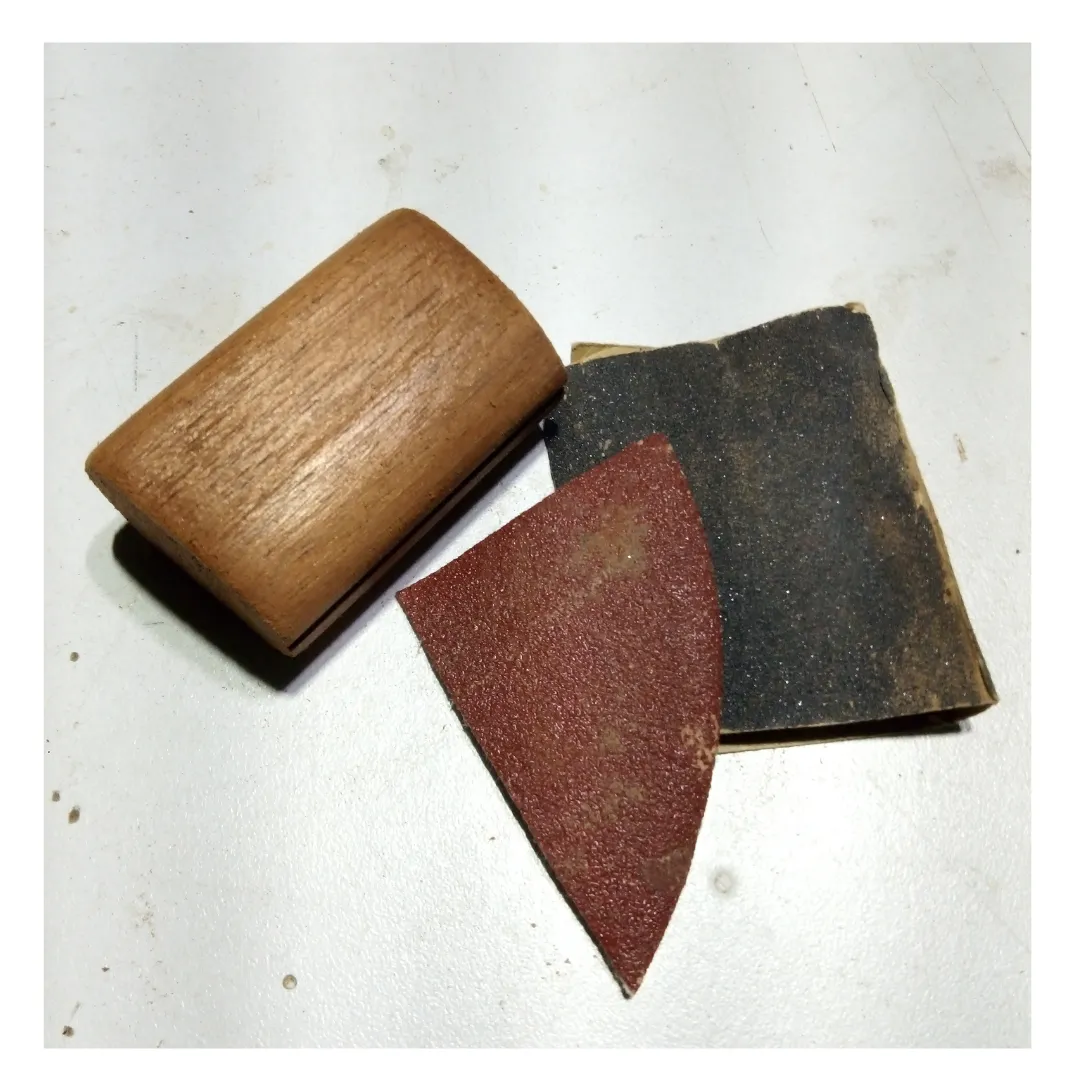
Vamos a lijar para que la superficie quede totalmente lisa, pasemos gano 80, 120, 220
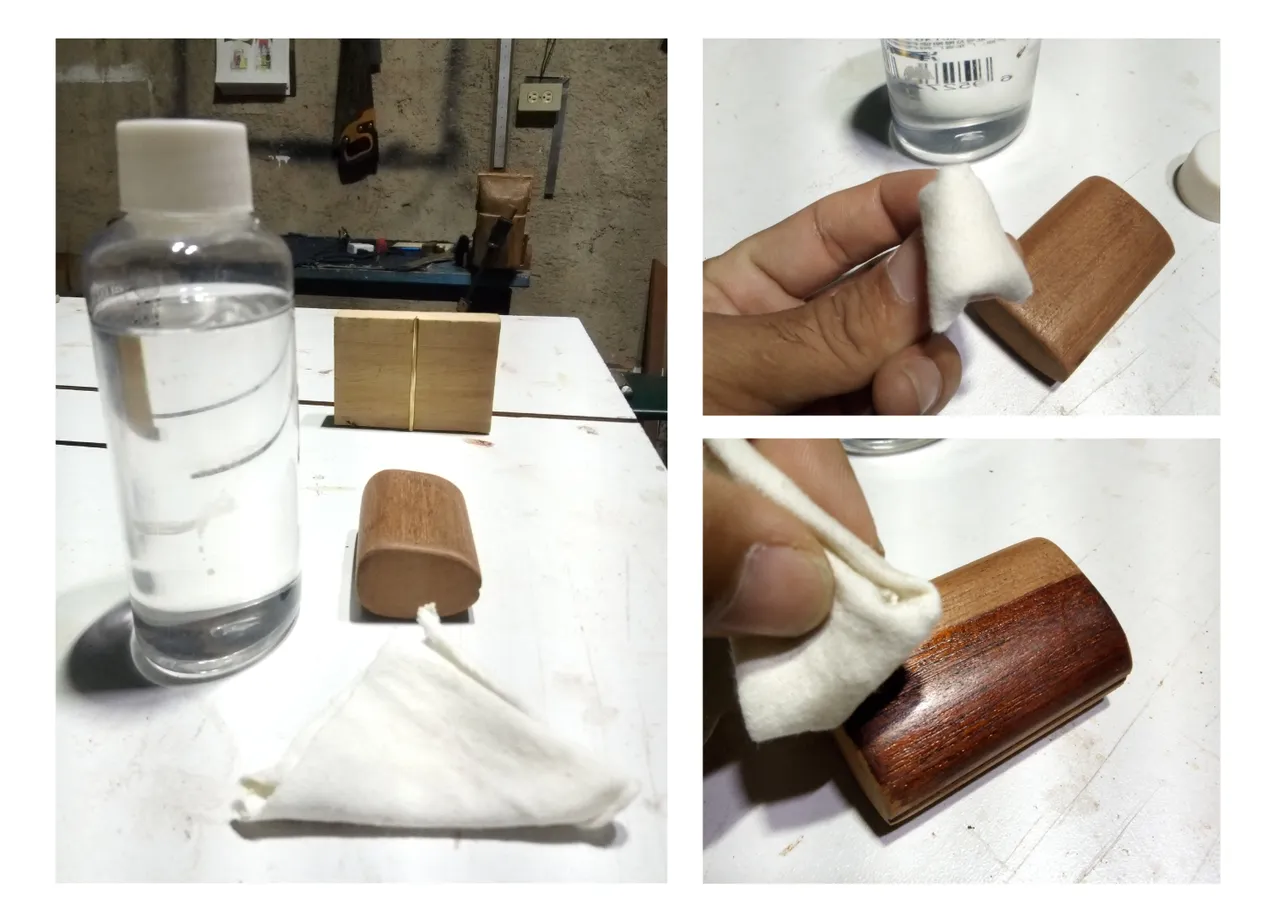
Ya estamos culminando esta importante herramienta, acá le daré protección a la superficie dando un barnizado a base de aceite le di unas 5 manos dejando por cada mano un tiempo hasta que se vaya absorbiendo.
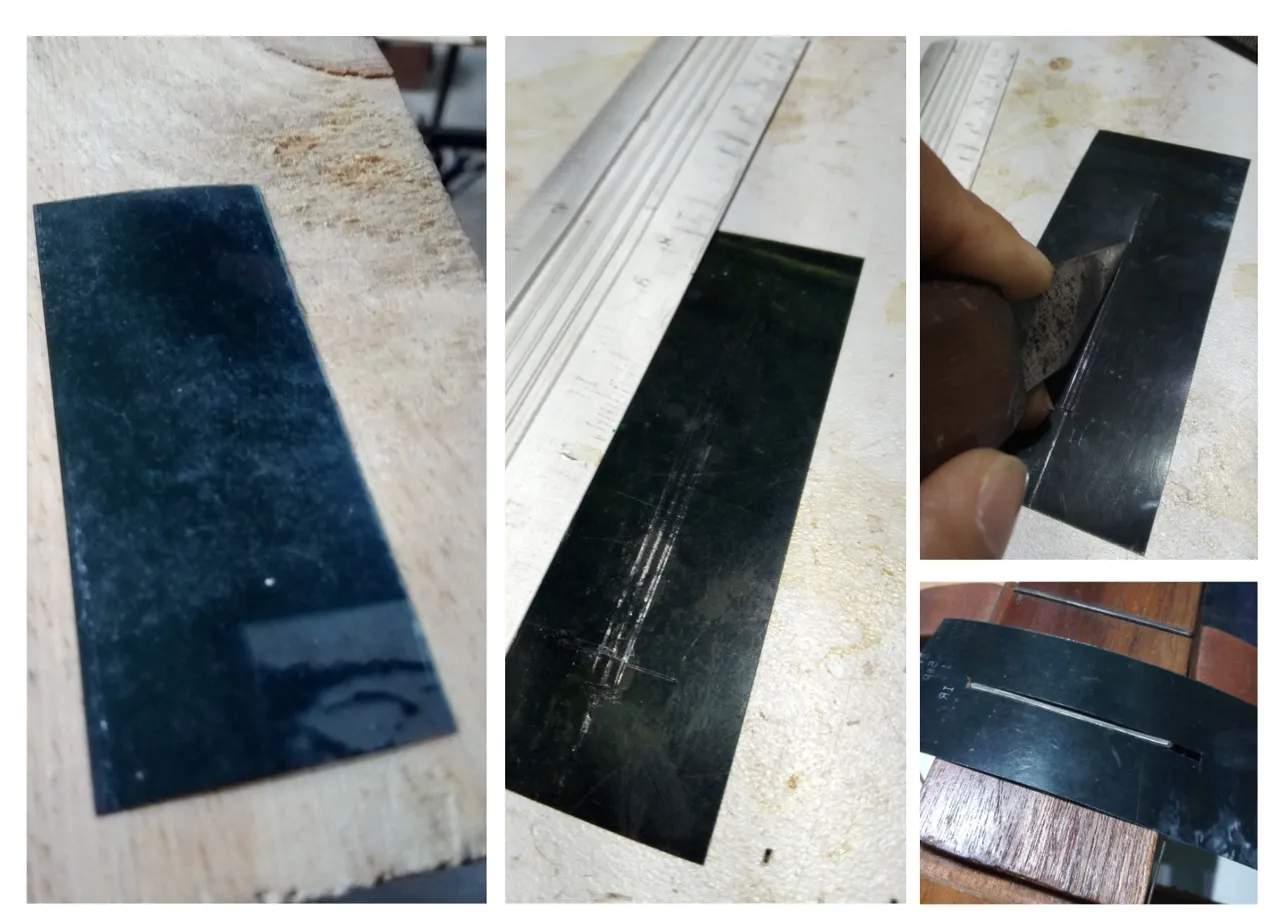
Para proteger el diapasón les dejare por acá como realice este útil con una hoja de acetato, para que cuando pasemos el coronador de traste no lastimemos la madera del diapasón, el paso es como hacer un estencil.

De esta manera culminamos esta grandiosa y útil herramienta de lutheria, en este oficio muchas veces debemos de construir nuestros propios útiles ya que es un espacio totalmente artesanal donde la madera siempre está de por medio siendo esta la materia primera en la construcción y por lo tanto podemos moldear, dimensionar y estilizar como deseemos, yendo más allá por supuesto de un proceso industrial, que si se pueden adquirir, bienvenido, pero en mi caso estos son más especiales por haberlos hecho con nuestras propio calor y manos.

Me despido y espero que sea de provecho este contenido, muchas gracias por leer, si tienen alguna sugerencia o duda estoy atento a los comentarios y si desean hacer algún pedido o adquirir algún trabajo de los que hago pueden contactarme, hasta una próxima publicación.
English
Greetings from my atelier, fellow artisans and ingenious of the hive diy community, this time I bring you a tutorial on how to make a fret crowner, the fret crowner is a very useful tool that we use in lutherie, used in the last steps when we make an instrument or when we make a fret change in a fingerboard.
In this practice many times we use a fret block with sandpaper but we have the difficulty of scratching our fingerboard, it is used after having rectified the fret with a flat block with sandpaper of grain 80 so that everything remains with the same size and then it does not rose the string with the metal and produces noise, in the market these tools exist perhaps although in where I live I have not seen it, so in the present tutorial I will show you the steps to make one and thus to be able to polish the frets with much neatness or as we say in the world of the lutheria "to crown frets" we can make it of the size with which we feel more comfortable and also we can make it for different diameters of frets.
Materials
Willingness and pro-activity to make our tool, let's start...
Once we have the measurements that best fit our fingers, we draw a rectangle in the wood, this time I used a piece that I had left from a guitar handle, I remind you that we always leave 2 mm margin of error so that when sawing we get the size we want.
If you have a press let's take the block to saw and get the rectangular piece, in case you still do not have the press (vice) here I leave a post where I share the plan of how to make a wooden one, but not to wait to have one let's cut making support with our feet.
When cutting, we rectify one of the flat parts where we are going to make the opening and the one that will make the friction with the frets, we pass it in a block with sandpaper until we obtain a plane totally at 90°.
Mark with the pencil the center of the block and then pass once the fine saw, as it is to guide the triangular file to make an opening of at least 1mm approx.
We take a block in my case I used it with the following dimensions 5.3cmx7.5 long with a thickness of 2cm, in the center of it I made the groove to then place a fret here I share with you how to make a saw for groove.
So we take the crowning block and press them together with this little piece of fretboard we made, we leave it for about 10 minutes to copy the small radius of the fret while we wait for the coffee, mate or tea.
Now we must stylize the edges with a mini brush and leave 2mm on each side of the opening, and round the top for better ergonomics.
We are going to sand the surface so that it is completely smooth, we pass 80, 120, 220 grit.
Already we are culminating this important tool, here I will give protection to the surface giving an oil-based varnish I gave about 5 coats leaving for each hand a time until it is absorbed.
To protect the fretboard I will leave here how to make this tool with a sheet of acetate, so that when we pass the fret crowner we do not hurt the wood of the fretboard, the step is how to make a stencil.
In this way we culminate this great and useful tool of lutheria, in this trade many times we must build our own tools since it is a totally handmade space where the wood is always in the middle being this the first material in the construction and therefore we can mold, size and style as we wish, going beyond of course of an industrial process, that if they can be acquired, welcome, but in my case these are more special for having made them with our own heat and hands.
I say goodbye and I hope this content is of benefit, thank you very much for reading, if you have any suggestions or questions I am attentive to the comments and if you want to place an order or purchase any of the work I do you can contact me, until a future publication.