English
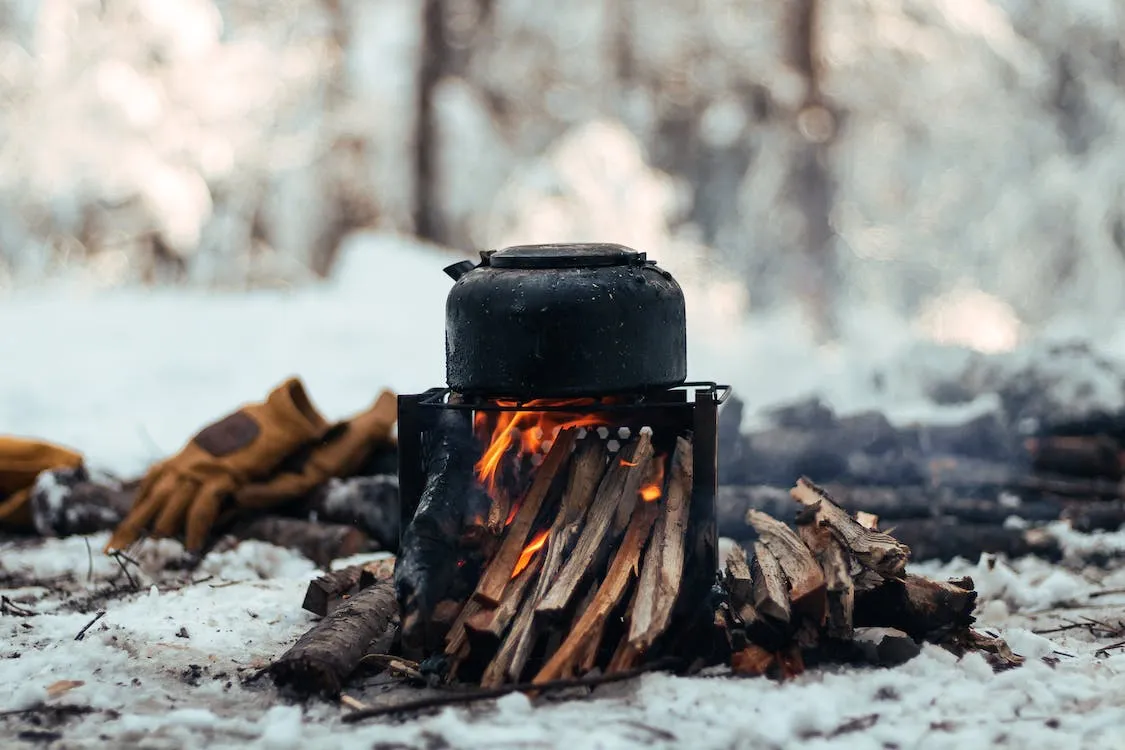
Image's Source - Fuente de la Imagen
Greetings, fellow DIY community, I hope and wish that you are in the best possible situation.
I often say: with a full stomach, sorrows weigh less. And in a way it's one of my biggest concerns, I've posted about the induction cooker before and how well it has performed in the time I've been testing it.
But as often happens, when you solve a problem, you already have another knocking on your door or coming through the window. We are currently going through some extended times without power, and as I said before, I am unable to access the gas supply for cooking.
During one of the most recent and long power outages, I had to improvise a very rustic charcoal grill to cook food.

I solved it at the moment, but it is a very precarious answer, so I decided to build a homemade grill for when it was necessary, something more civilized, a little better presented.
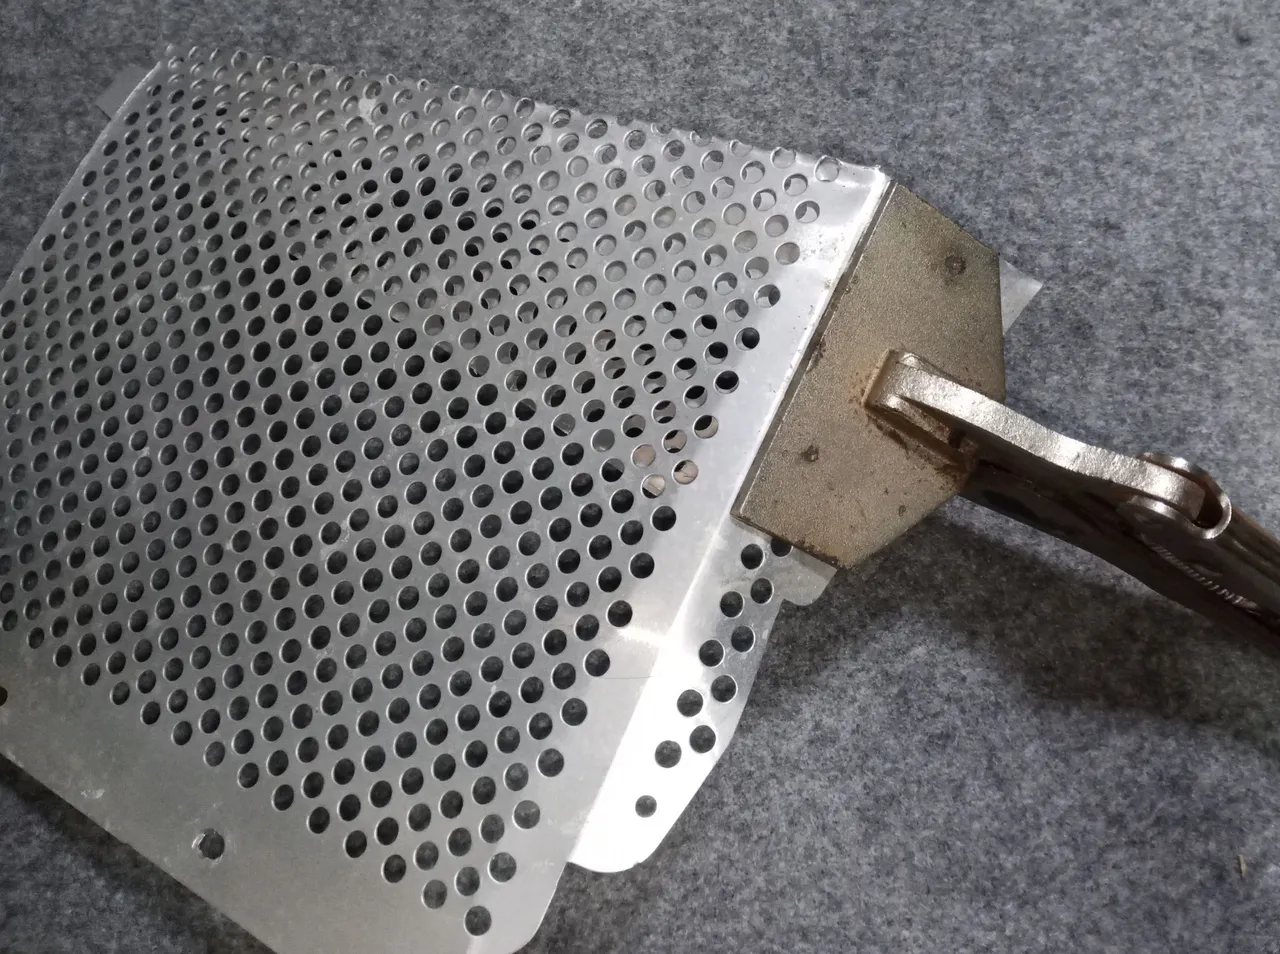
I had a disused Chinese frying pan on hand, an Apple monitor shield screen that I had recycled some time ago and to make the support or base of the grill, I also had an old gas burner built with an iron support.


![]()
I began to make the part of the grill where the coals would be placed with the monitor's slotted screen, but I began to realize that it would not be an appropriate material to withstand the heat of the coals without being damaged.
So I took a piece of recycled sheet from a very old computer case, the thickness that was used at that time was much greater, it is a much more resistant sheet, it will easily withstand the heat generated by the embers.

I made a kind of open box, to place on the round bottom of the pan, it had to be at a certain height. The idea is to leave enough space on the sides to allow air to pass through and leave room for the ash that accumulates at the bottom.

I made some holes in the bottom of the box, following a regular pattern, so that the remains or ashes go to the bottom of the grill.


I used a piece of copper tubing that I salvaged from an air conditioner repair I did, shaped it to fit the top of the pan, and closed the tubing with a small solder.

You can already see how the grill is taking shape, it is a simple construction.

My helper is flattening the mesh so that I can place it on the ring that I will use as a support for the grill.

At first, I wanted to cut the metal mesh to size giving it a circular shape, but then consider that if I leave the shape square, this excess edge acts as a stop so that it is more secure to keep the pan or pot from moving inside the pan.

I better hurry, my supervisor is not easy to please.

I mounted the grill assembly on a sheet that I was cooking on before, and I was testing how it worked.

Well, we are already prepared for the next power outage, it is a cleaner and more practical solution.

Thanks for stopping by and reading, I remind you that it is not a tutorial on how to do it. Simply, I share with you the way in which I solve the situations that are presented to me, and if it serves as an inspiration I will feel satisfied.
Have an excellent week.
Peace.

I have used Google Translate for the English language.
Images unless otherwise stated are screenshots of work in the workshop.
Español
Image's Source - Fuente de la Imagen
Saludos, compañeros de la comunidad DIY, espero y deseo que estén en la mejor situación posible.
Suelo decir con frecuencia: con el estómago lleno, las penas pesan menos. Y en cierto modo es una de mis mayores preocupaciones, ya antes he publicado sobre la cocina de inducción y lo bien que se ha desempeñado en el tiempo en que la he estado probando.
Pero como pasa a menudo, cuando solucionas un problema, ya tienes otro tocando a tu puerta o entrando por la ventana. Estamos pasando en estos momentos por unos tiempos prolongados sin servicio eléctrico, y como ya dije antes, no puedo acceder al suministro de gas para cocinar.
Durante uno de los más recientes y prolongados cortes de servicio eléctrico, me toco improvisar una muy rústica parrilla al carbón, para poder hacer la comida.
Solucione al momento, pero es una respuesta muy precaria, así que me propuse la construcción de una parrilla casera para cuando fuese necesaria, algo más civilizado, un poco mejor presentado.
Tenía a mano un sartén chino en desuso, una pantalla de blindaje de un monitor Apple que había reciclado hace tiempo y para hacer el soporte o la base de la parrilla, tenía también a mano un viejo quemador a gas construido con un soporte de hierro.
![]()
Comencé a hacer la parte de la parrilla donde se colocaran los carbones con la pantalla ranurada de monitor, pero fui cayendo en cuenta que no sería un material apropiado para soportar el calor de las brasas sin dañarse.
Así que tome un trozo de lámina reciclado de un case de computador muy viejo, el espesor que se usaba para aquel entonces era mucho mayor, es una lámina bastante más resistente, soportara sin problemas el calor generado por las brazas.
Hice una especie de caja abierta, para colocar sobre el fondo redondo del sartén, debía quedar a cierta altura. La idea es que quedase espacio suficiente a los lados para permitir el paso del aire y dejar espacio para la ceniza que se va acumulando en el fondo.
Hice algunas perforaciones en el fondo de la caja, siguiendo un patrón regular, para que los restos o la ceniza pasen al fondo de la parrilla.
Use un trozo de tubería de cobre que recupere de una reparación que hice de un aire acondicionado, le di forma para que se adapte a la parte superior del sartén y cerré la tubería con una pequeña soldadura.
Ya se ve como va tomando forma la parrilla, es una construcción sencilla.
Mi ayudante está aplanando la malla para poder colocarla sobre el anillo que usaré como soporte de la parrilla.
Quise al principio cortar la malla metálica a la medida dándole una forma circular, pero luego considere que si dejo la forma cuadrada, este borde sobrante hace de tope para que sea más seguro mantener el sartén o la olla sin que se mueva hacia adentro de la parrilla.
Mejor me doy prisa, mi supervisor no es fácil de complacer.
Monte el conjunto de la parrilla sobre una lámina en la que estuve cocinando antes y estuve probando como funcionaba.
Bien, ya estamos preparados para el próximo corte de servicio eléctrico, es una solución más limpia y practica.
Gracias por pasar y leer, les recuerdo que no es un tutorial sobre como hacer. Simplemente, les comparto la forma en que soluciono las situaciones que se me van presentando, y si les sirve de inspiración me sentiré satisfecho.
Que tengan una excelente semana.
Paz.
He usado el traductor de Google para el idioma inglés.
Las imágenes a menos que se indique lo contrario son capturas del trabajo en el taller.