[Eng-Esp] Making a Bird for the "Electronic World" contest-- Haciendo un Ave para el concurso “Electronic World”

Making a Bird for the "Electronic World" contest

Haciendo un Ave para el concurso “Electronic World”


Greetings my dear friends readers and craft lovers, today after a few days of being absent I see that in my notifications I had a mention from @fixie, inviting me to participate in an interesting contest to create art from electronic components and recycling so even though it was the last day to enter, I got motivated and created this beautiful bird.

Saludos mis queridos amigos lectores y amantes de las manualidades, hoy luego de algunos días de estar ausente veo que en mis notificaciones tenía una mención de @fixie, invitándome a participar en un interesante concurso para crear arte desde componentes electrónicos y reciclaje así que aunque era el último día para poder ingresar, me motive y cree esta hermosa ave.

portada.jpg


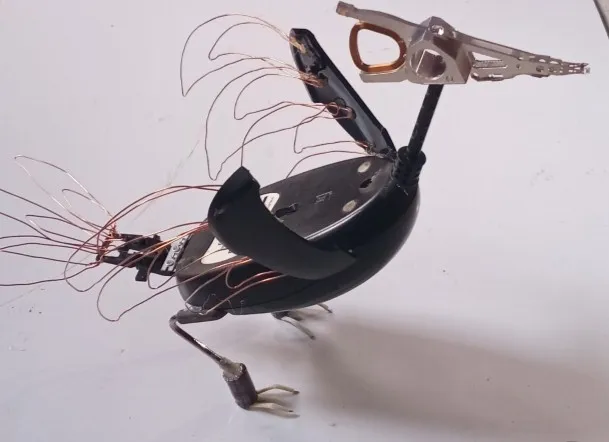
To make this bird I spent a long time looking at a lot of electronic waste without a clear idea of what I wanted to do. I documented a little bit and got some pieces of the artist "Ann P Smith" who makes amazingly articulated animal sculptures with electronic waste. It is certain that I could not make an articulated sculpture, but this information was a source of inspiration to be able to observe some organic forms in the "junk" I had in front of me and get the result you saw on the cover.

Para realizar esta ave dure mucho rato viendo mucho desperdicio electrónico sin una idea clara de lo que quería hacer. Documentándome un poco conseguí algunas piezas de la artista “Ann P Smith” la cual realiza esculturas de animales sorprendentemente articuladas con desechos electrónicos. Es seguro que no poder realizar una escultura articulada, pero esta información fue fuente de inspiración para poder observar algunas formas orgánicas en la “chatarra” que tenía frente a mí y conseguir el resultado que vieron en la portada.


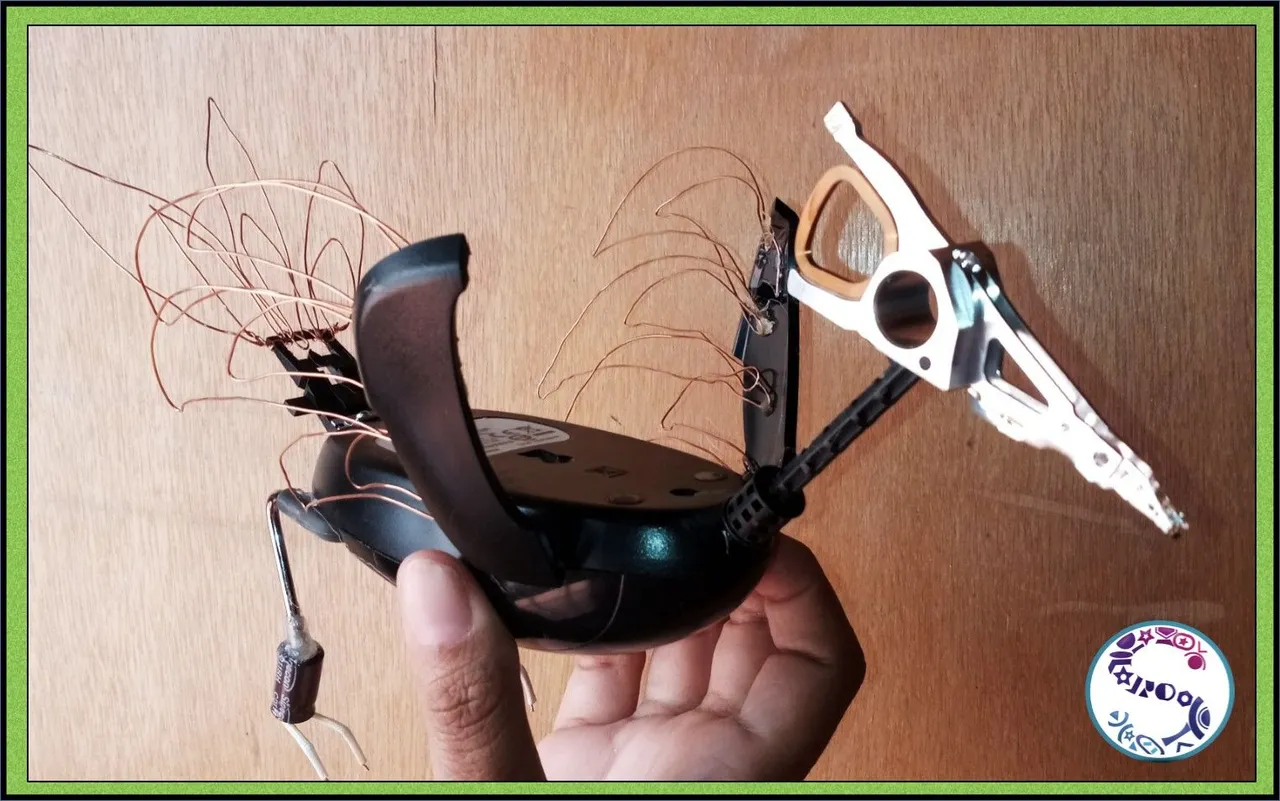
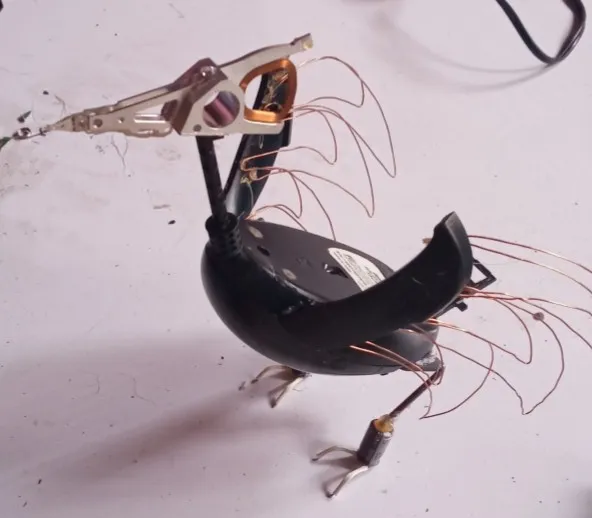
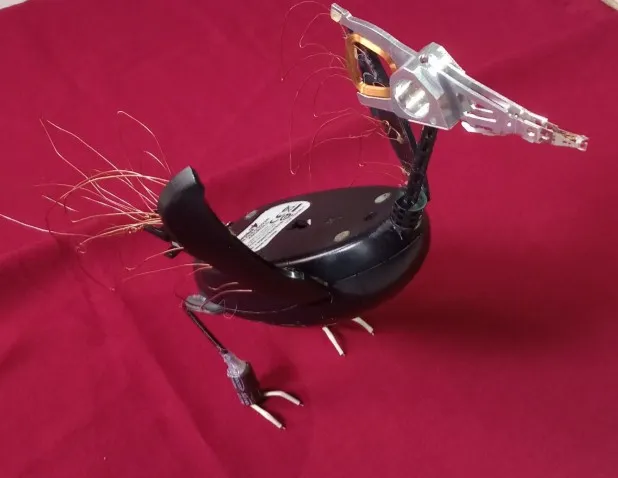
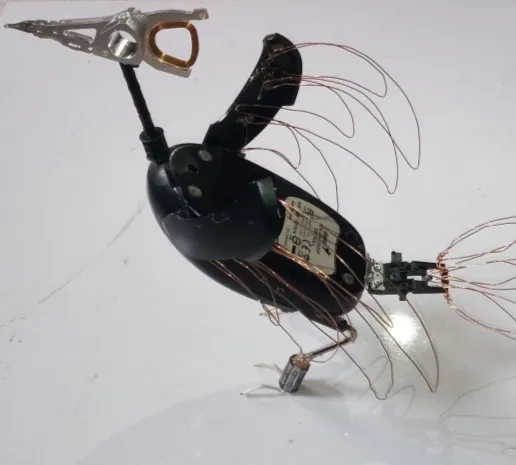
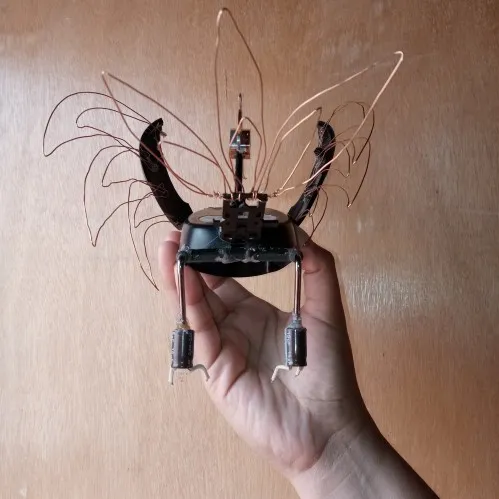
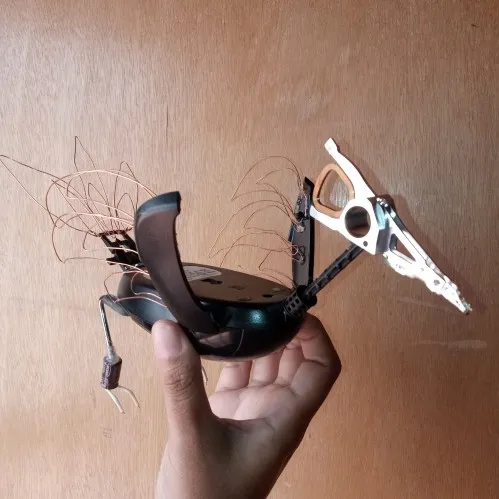
Already with an idea of "how" I had to work, I proceeded to select the components that would give me a piece similar to an animal. At first I wanted to make a lantern fish, then I changed to a toad and finally a kind of Phoenix came to my mind and I began to select the pieces that would form the body of this imposing bird.

Ya con una idea de “como” tenía que trabajar procedo a seleccionar los componentes que me fueran dando una pieza parecida a algún animal. En un principio quise realizar un pez linterna, luego cambie a un sapo y por ultimo llego a mi mente una especie de Fenix y comencé a seleccionar las piezas que formarían el cuerpo de esta ave tan imponente.


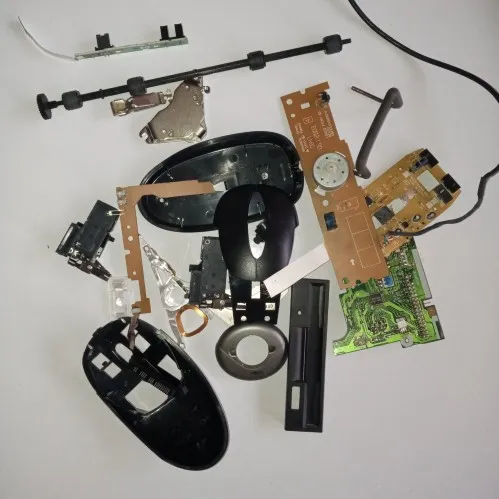
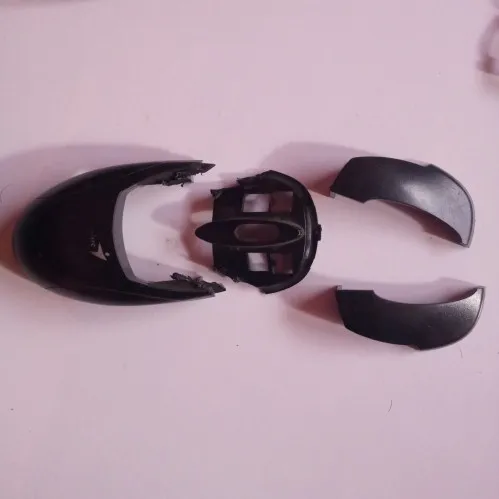
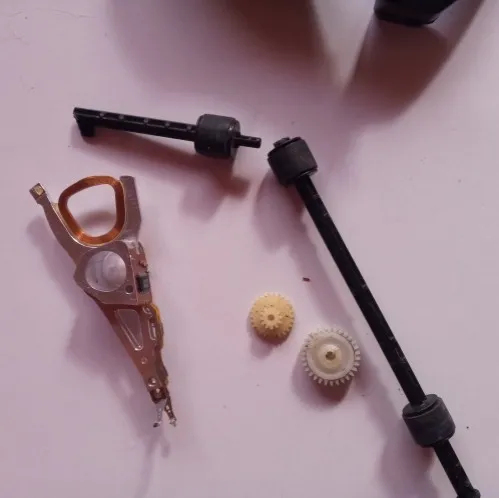
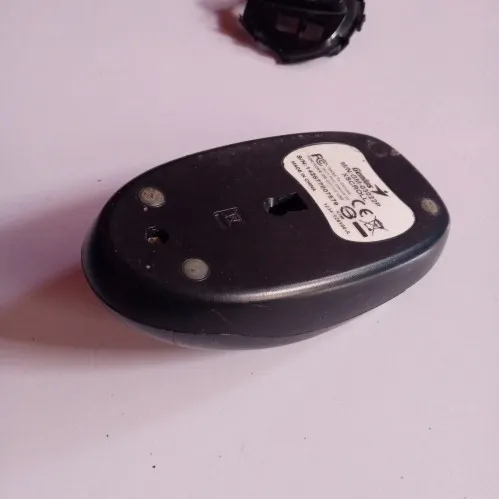
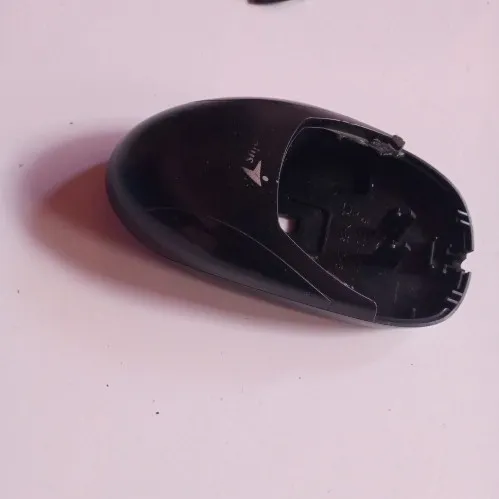
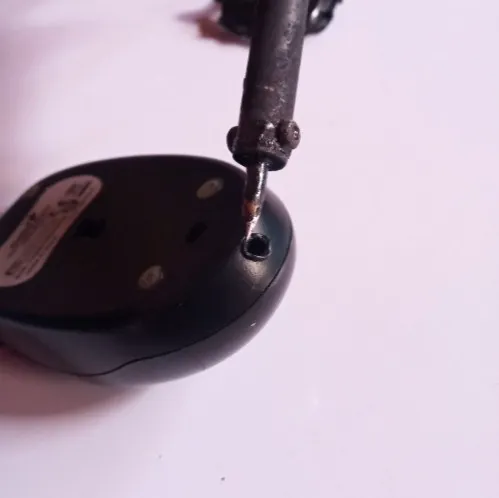
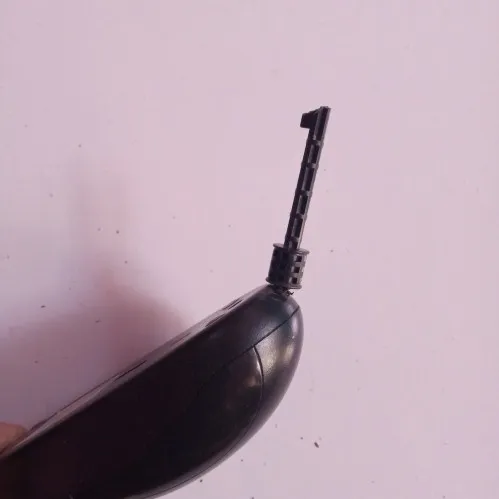
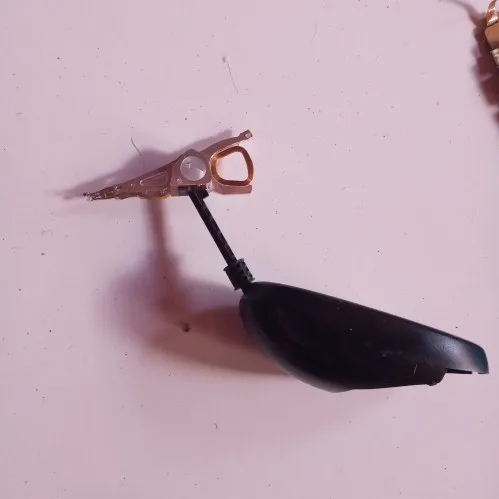
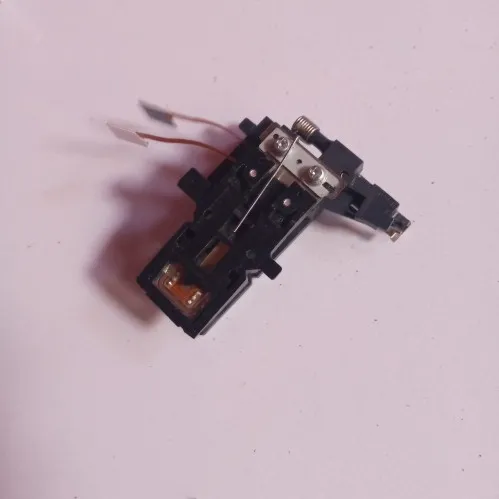
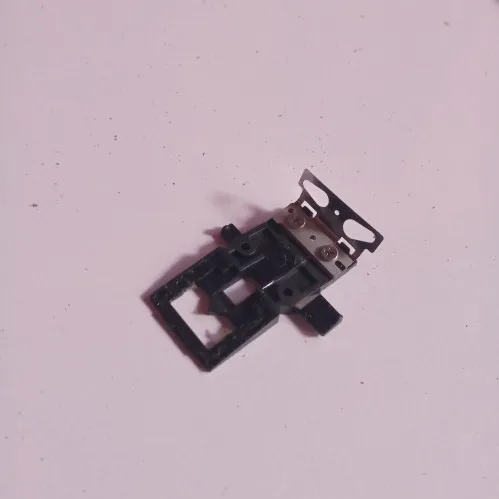
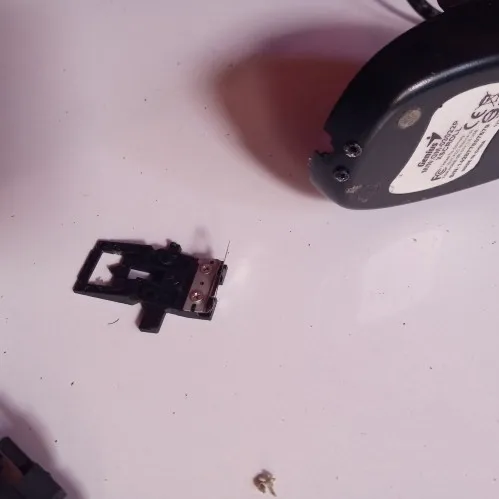
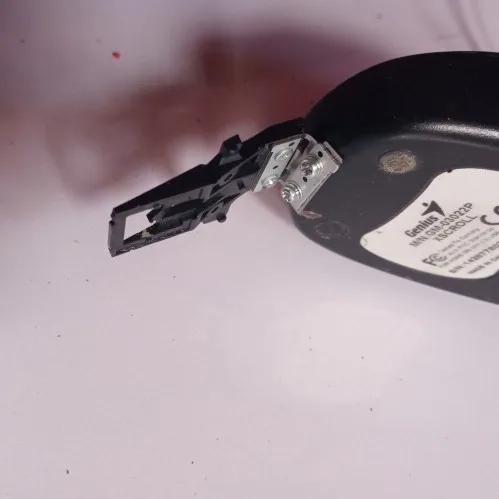
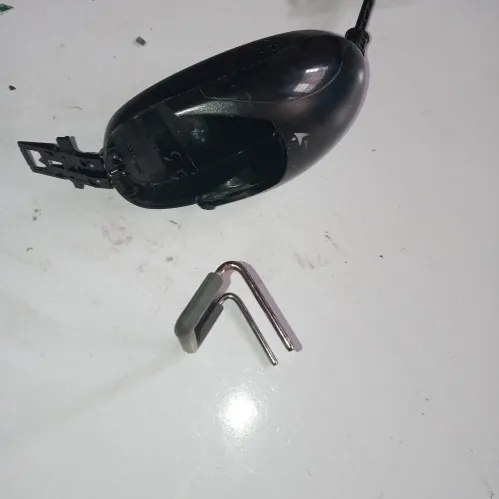
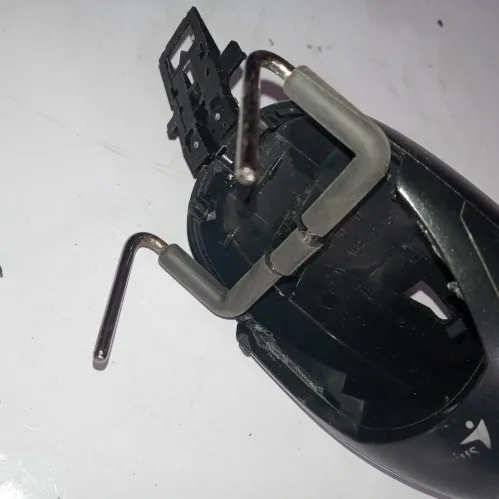
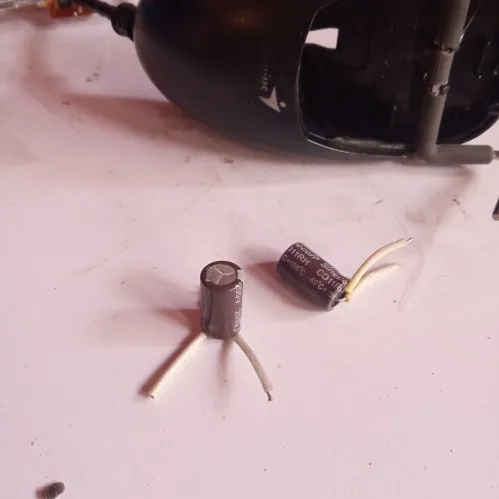
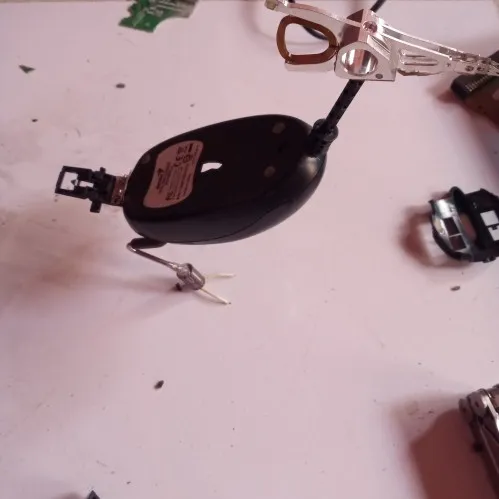
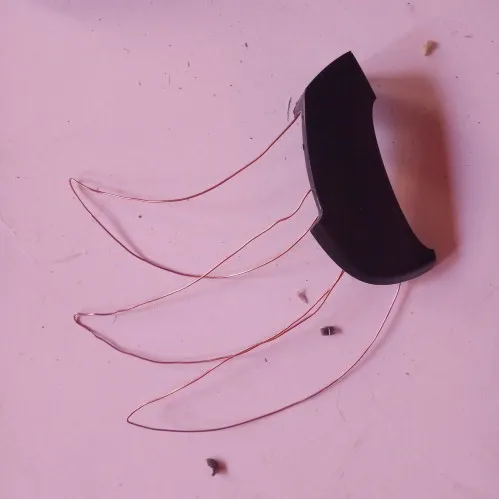
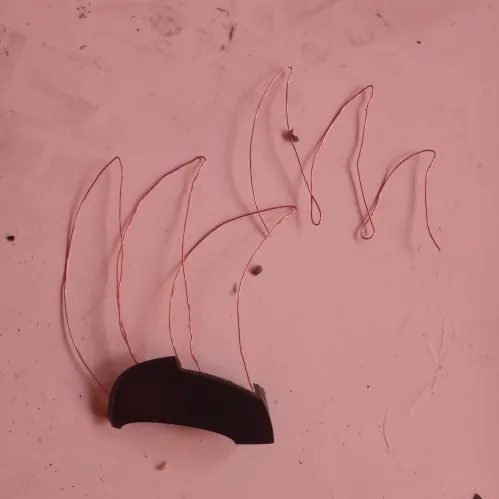
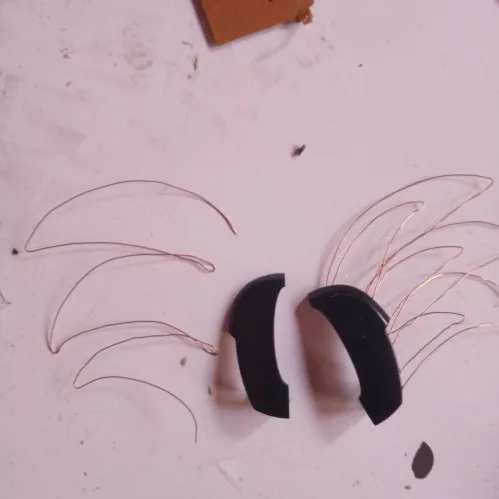
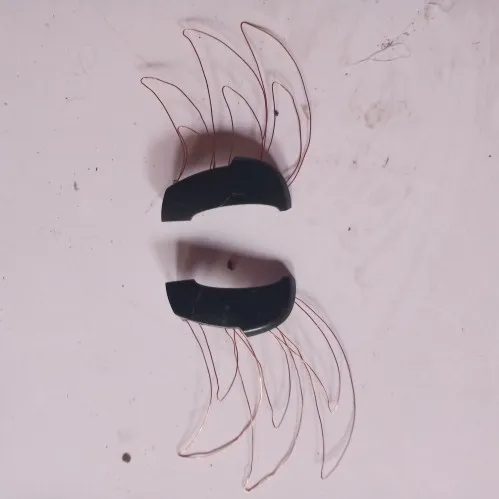
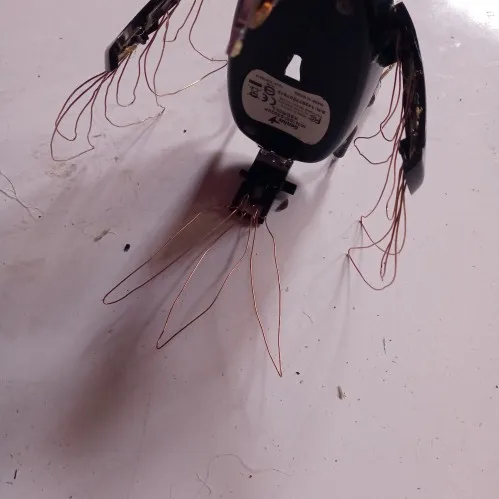
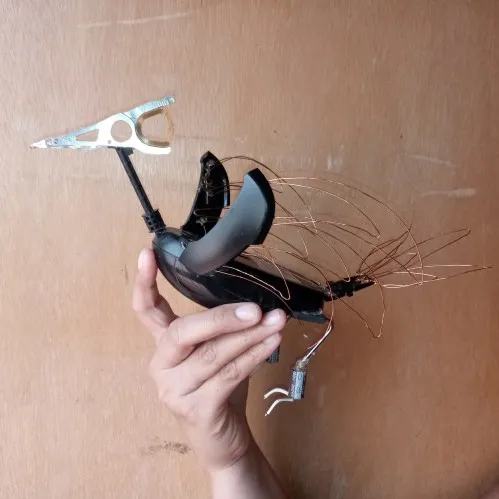
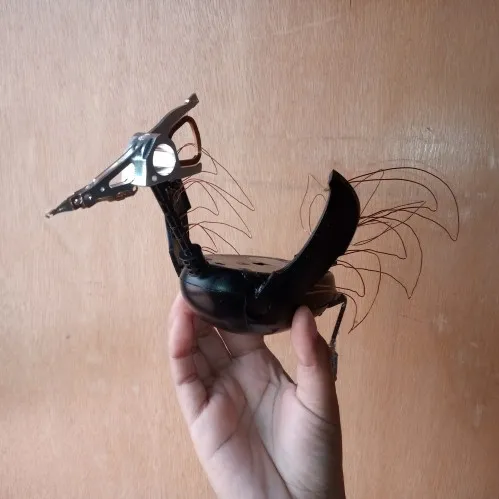
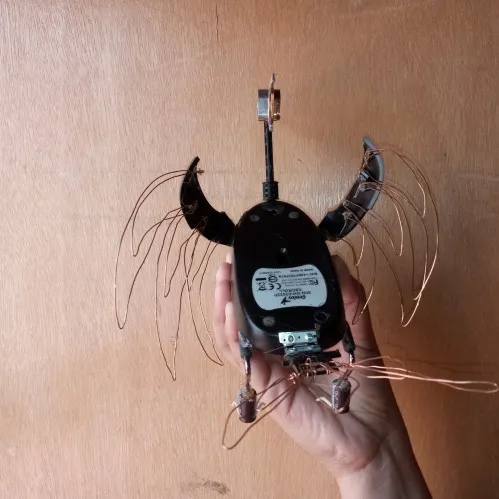
The parts I used for the bird were: a hard disk needle, the shell of a pc mouse, a printer spindle, a piece of a floppy disk drive, the base of a rather old webcam, a couple of capacitors and copper wire.

Las piezas que use para el ave fueron: una aguja de disco duro, el caparazón de un ratón de pc, un eje de impresora, una pieza de una unidad de disquete, la base de una cámara web bastante vieja, un par de condensadores y alambre de cobre.


As tools I used a pickaxe, a pair of square pliers, a soldering iron and a rotary tool similar to a Dremel, also as glue I used silicone stick and some screws.

Como herramientas utilice una piqueta, un par de pinzas cuadradas, un cautín y una herramienta giratoria parecida a un Dremel, además como pegamento use silicona en barra y algunos tornillos.

Imagen1.jpg


I hope you enjoy the step by step ;)

Espero que disfruten el paso a paso ;)


The first thing I did was to dismember the mouse and break it into pieces that were functional for me as with the printer shaft.
Lo primero que hice fue desmembrar al ratón y romperlo en piezas que me fueran funcionales al igual que con el eje de la impresora.

Imagen2.jpg

Imagen3.jpg


Then I reassembled the two large pieces of the mouse to form the body, but leaving the bottom part hollow since it would be at that point where the legs would be made.
Luego volví a armar las dos piezas grandes del ratón para formar el cuerpo, pero dejando la parte de abajo hueca ya que sería en ese punto donde se harían las patas.

Imagen4.jpg

Imagen5.jpg


In the back of the mouse (the front of the bird) I opened a hole with the soldering iron to be able to introduce part of the printer shaft which I cut with the pickaxe so that I could place the head of the bird (the hard disk needle) and it would be level. I applied hot silicone to make sure that everything would be firmly in place.
En la parte de atrás del ratón (el frente del ave) abrí un agujero con el cautín para poder introducir parte del eje de impresora el cual corte con la piqueta de tal forma que pudiera colocar la cabeza del ave (la aguja del disco duro) y quedara nivelado. Para que todo quedara bien firme aplique silicón caliente.

Imagen6.jpg

Imagen7.jpg

Imagen8.jpg


The old floppy disk drives have a kind of reader that looks like a crocodile's mouth, it has a piece that allows opening and closing so I disassembled it and fixed it to the tail of my bird so that it was not totally firm but could have a little movement (even in the tail).
La unidad de disquetes antiguas traen una especie de lector que parece una boca de cocodrilo, trae un pieza que permite abrir y cerrar así que la desmonte y la fije a la cola de mi ave para que esta no fuera totalmente firma si no que pudiera tener un poco de movimiento (aunque sea en la cola)

Imagen9.jpg

Imagen10.jpg

Imagen11.jpg

Imagen12.jpg


For the legs what I used was a metal base from an old webcam which I fixed to the space I had previously left when cutting the mouse frame. And I completed with a pair of capacitors that I could use as fingers since their tips were still in good condition.
Para las patas lo que utilice fue una base de metal de una antigua cámara web la cual fije a el espacio que había dejado anteriormente al cortar el armazón del ratón. Y complete con un par de condensadores que al tener sus puntas aun en buen estado pude usar como los dedos.

Imagen13.jpg

Imagen14.jpg

Imagen15.jpg

Imagen16.jpg


The wings were a difficult decision because I didn't have something that long to be the feathers, but then I remembered that with copper wire you can do many things and since this is recycled from some old wires I could make use of them. I gave the base shape of three feathers for each wing and then went back and made a smaller set to give the feeling of being more full of feathers. This I small the pieces that form the mouse buttons which I separated and trimmed to better fit the piece.
Las alas si fue una decisión difícil debido a que no tenía algo tan largo para que fueran las plumas, pero luego recordé que con el alambre de cobre se puede hacer muchas cosas y como este es reciclado de algunos cables viejos podría hacer uso de ellos. Di la forma base de tres plumas para cada ala y luego volví a realizar un juego más pequeño para dar sensación de estar más llenas de plumas. Esto lo peque a las piezas que forman los botones del ratón las cuales separe y recorte para mejor adaptación a la pieza.

Imagen17.jpg

Imagen18.jpg

Imagen19.jpg

Imagen20.jpg

Imagen21.jpg


For the tail I repeated the same process as for the wing feathers, only that they were attached to the piece I screwed previously.
Para la cola repetí el proceso que para las plumas de las alas, solo que fueron fijadas a la pieza que atornille con anterioridad.

Imagen22.jpg


We have finished this beautiful piece, I will leave you some pictures so you can appreciate all the details and possible angles of this beautiful specimen of phoenix ;)
Hemos terminado esta Hermosa pieza, te dejare algunas fotografías para que aprecies todos los detalles y los ángulos posibles de este hermoso ejemplar de ave fénix ;)

Imagen23.jpg

Imagen24.jpg

Imagen25.jpg

Imagen26.jpg

Imagen27.jpg

Imagen28.jpg

Imagen29.jpg

Imagen30.jpg

Imagen31.jpg


Many thanks to all the readers, to @fixie for taking me into account to participate in this great contest. I would like to invite @cetb2008 to participate.

Muchísimas gracias a todos los lectores, a @fixie por tomarme en cuanta para participar en este gran concurso. Me gustaría invitar a @cetb2008 a participar 


Thanks for reading to the end, love you @shirahoshi and I look forward to seeing you next time.

Gracias por leer hasta el final, los quiere @shirahoshi y los espero en una próxima oportunidad.

Logo sin sombra.gif


The photographs are my own and were taken by me with a Redmi 9 and were edited in powerpoint.

Las fotografías son de mi autoría y fueron tomadas por mí con un Redmi 9 y se editaron en powerpoint.


The Step by Step Gif was made by me in AdobePhotoshop CC2014.

El Gif de Paso a Paso fue realizado por mi en AdobePhotoshop CC2014.


The logo was designed by me in Adobe Illustrator CC 2015 and its animated version was made in After Effects CC 2017.

El logo fue diseñado por mí en Adobe Illustrator CC 2015 y su versión animada la realice en After Effects CC 2017.


Language corrector used Deepl.

Corrector de idioma utilizado Deepl.


Remember that you can purchase these beautiful pieces of art made and tokenized by me at Nftshowroom at an excellent price. Link to the gallery here

H2
H3
H4
3 columns
2 columns
1 column
6 Comments
Ecency