Buenos días querida comunidad Hive, bienvenidos una vez más a mi blog. Me disculpo de antemano por estar ausente tanto tiempo, pero estoy de vuelta para seguir compartiendo mi trabajo con ustedes, espero que les guste esta increíble idea creativa.
Good morning dear hive community, welcome once again to my blog. I apologize in advance for being absent for so long, but I'm back to continue sharing my work with you, I hope you like this incredible creative idea.
Mi esposo me regaló una caja de bombones así que decidí no tirar los envoltorios ya que se me ocurrió una idea increíble de hacer una linda manualidad con este útil material y lo mejor de todo es que se hará en tan solo unos pocos pasos.
My husband gave me a box of chocolates so I decided not to throw away the wrappers since I had an incredible idea to make a nice craft with this useful material and the best of all is that it will be done in just a few steps.
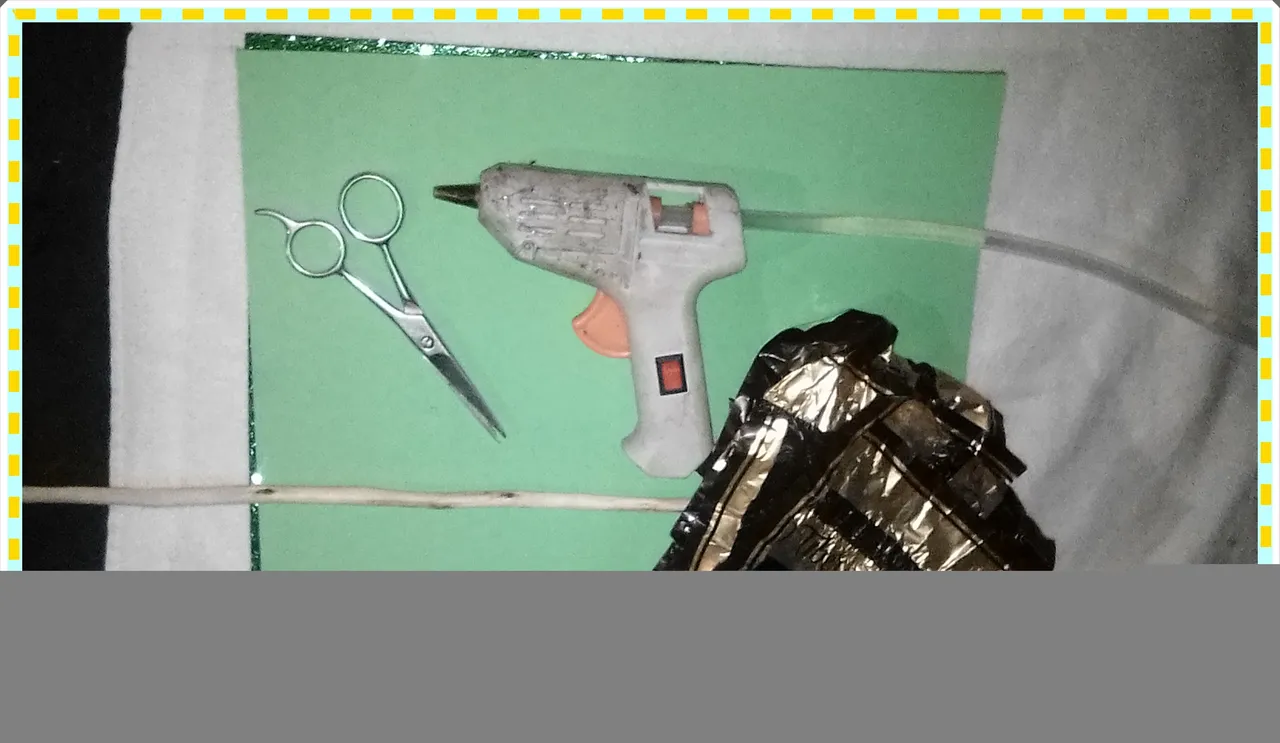
Estos son los materiales que necesitarás:
- Envoltorios de chocolate.
- Tijera.
- Pistola y barra de silicona.
- 1 palo de altura.
- Foami verde oscuro y verde claro.
Here are the materials you will need:
- Chocolate wrappers.
- Scissor.
- Gun and silicone bar.
- 1 height stick.
- Dark green and light green foami.
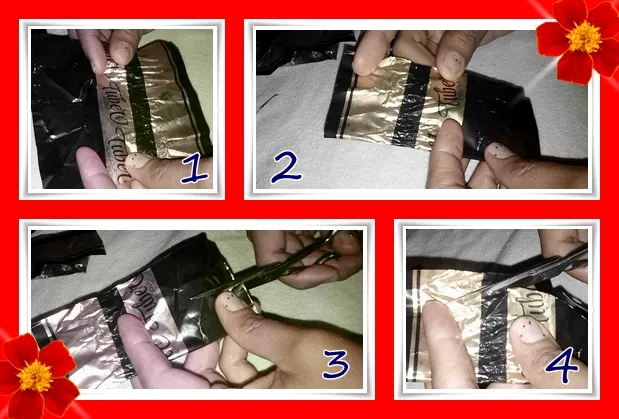
EMPEZAMOS:
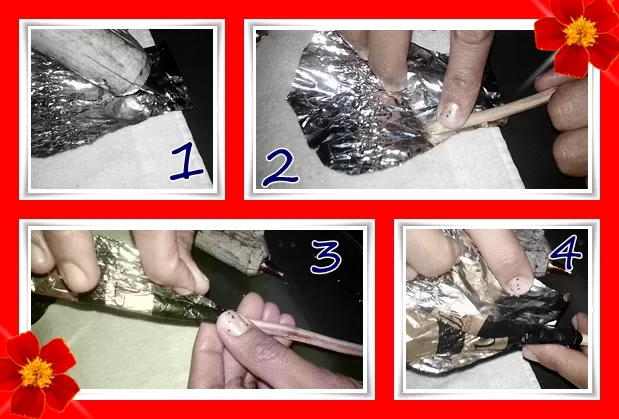
Primero: Toma los envoltorios de chocolate, dóblalos por la mitad y luego corta los bordes para darle forma a los pétalos de nuestra rosa.
WE BEGIN:
First: Take the chocolate wrappers, fold them in half and then cut the edges to shape the petals of our rose.
Así quedarán los pétalos una vez cortados.
This is how the petals will look once cut.
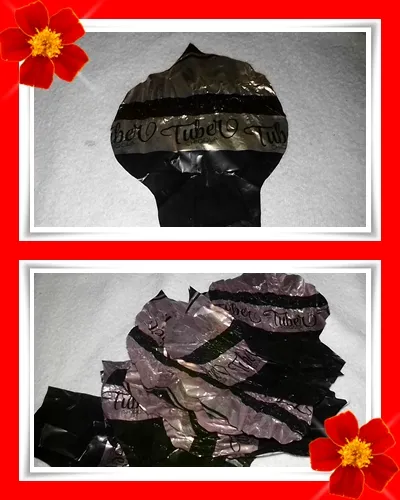
Segundo: Empieza a pegarlas alrededor del palo alto, primero da forma al capuyo y luego sigue pegándolas hasta formar la rosa.
Second: Start gluing them around the tall stick, first shape the capuyo and then continue gluing them until you form the rose.
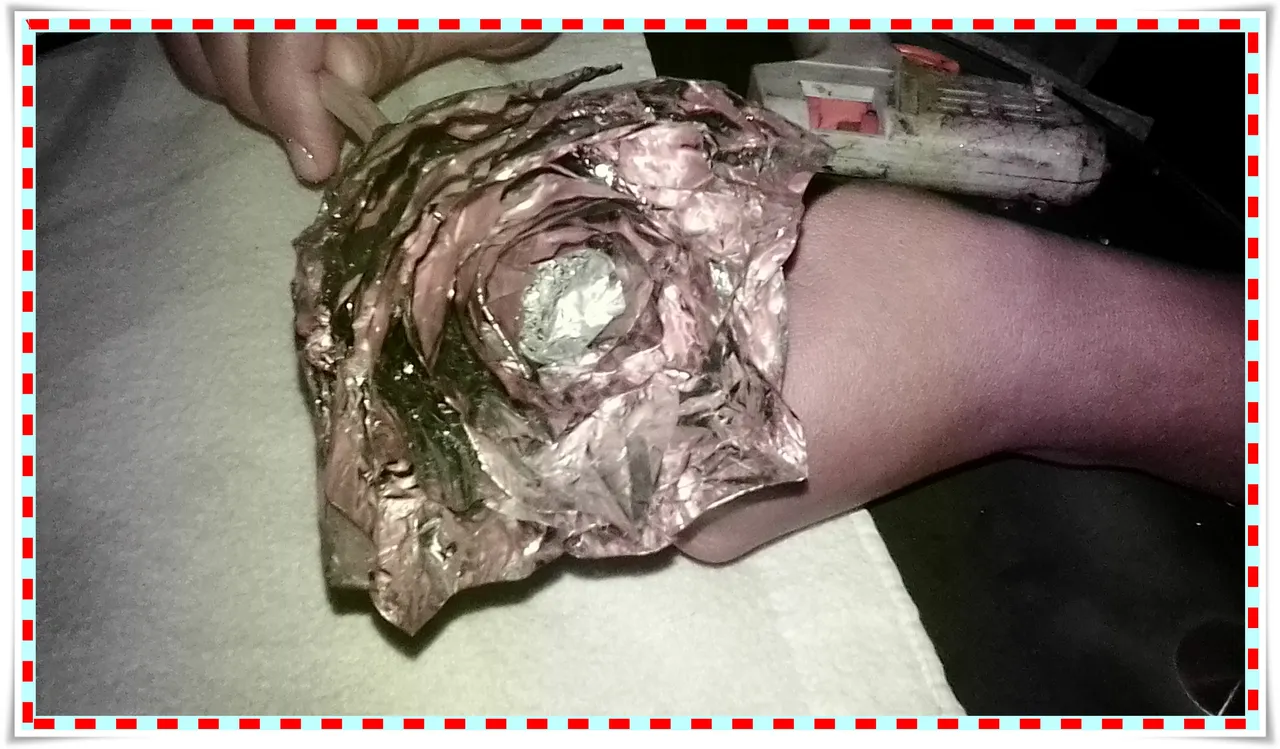
Después de esto, la rosa se verá así.
After this, the rose will look like this.
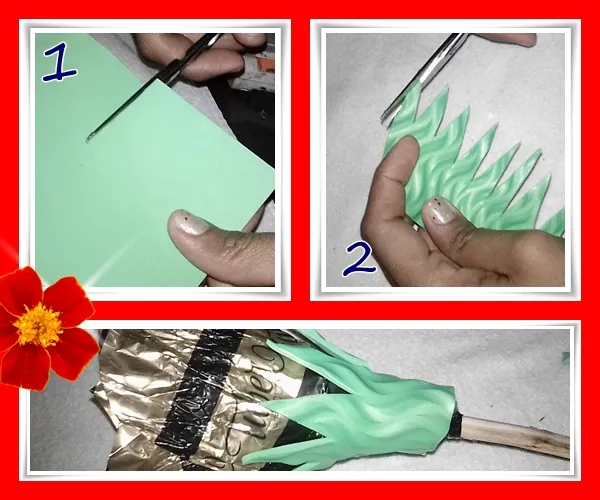
Tercero: Toma el foami y comienza a cortar el sepalo y pegalo en la parte de abajo, como se muestra en las imagenes.
Third: Take the foami and start cutting the sepal and glue it to the bottom, as shown in the images.
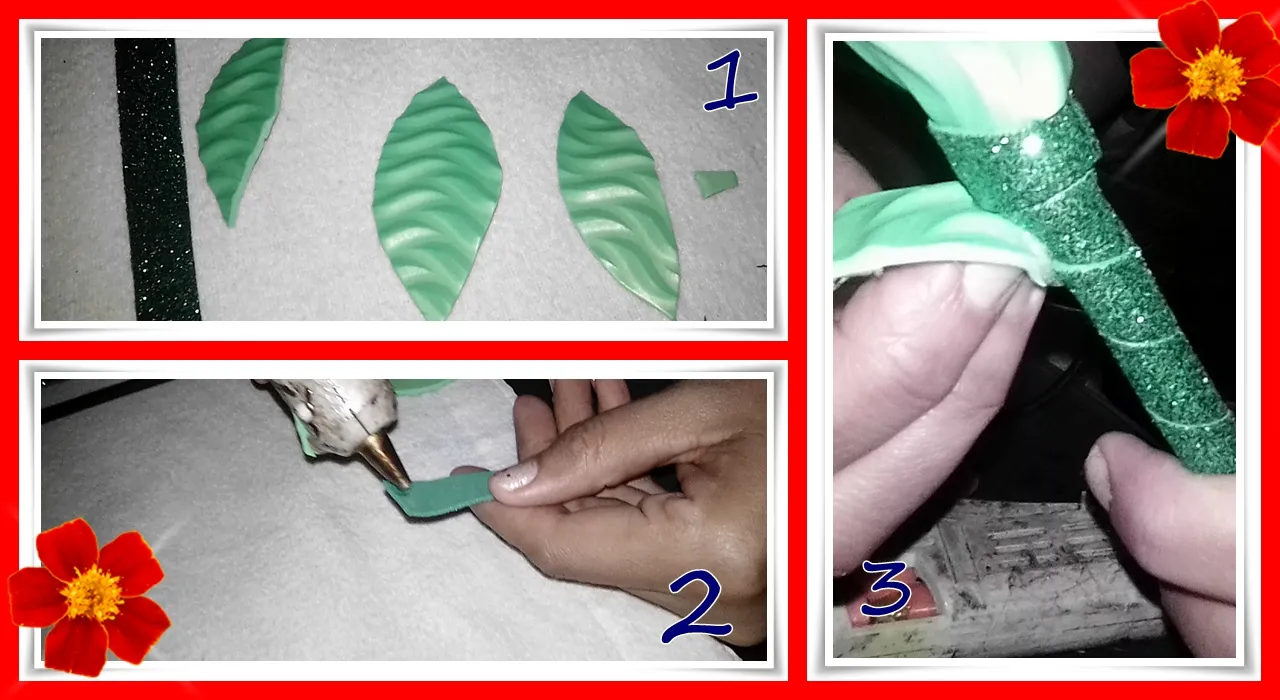
Cuarto: Para dar los últimos detalles, corta las hojas del foami verde claro y corta una tira verde oscuro, luego de esto pega la tira alrededor de esto será el tayo y finalmente pega las hojas.
Fourth: To give the last details, cut the leaves of the light green foami and cut a dark green strip, after this, paste the strip around this will be the tayo and finally paste the leaves.
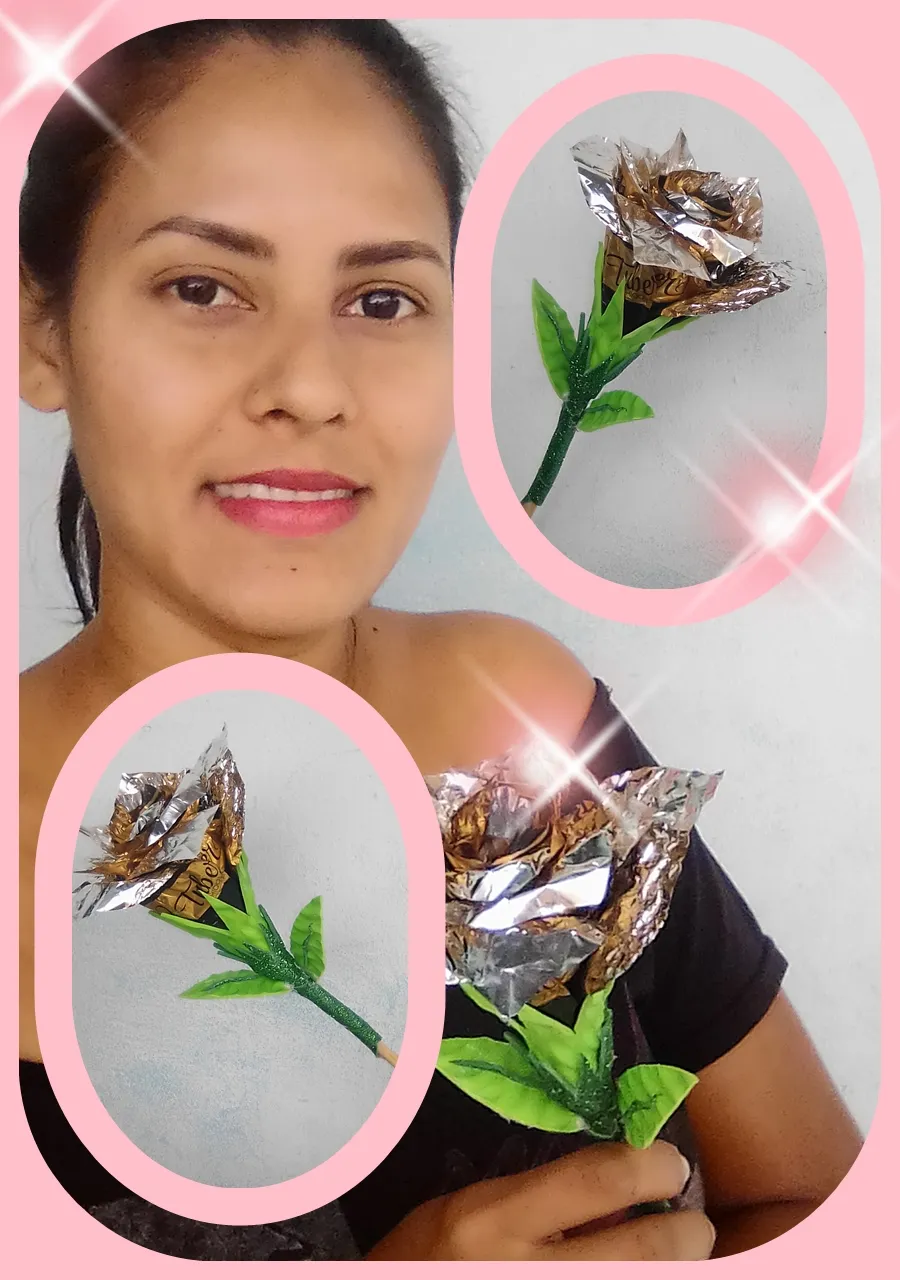
Este es el resultado de mi trabajo, ahora está lista para decorar el espacio de tu elección.
This is the result of my work, now it is ready to decorate the space of your choice.

Gracias por tomar unos minutos de su tiempo para revisar mi blog, espero que tenga un feliz y bendecido día.
Thank you for taking a few minutes of your time to review my blog, I hope you have a happy and blessed day.
NOTA: El editor de fotos que utilice fue Photo Scape.