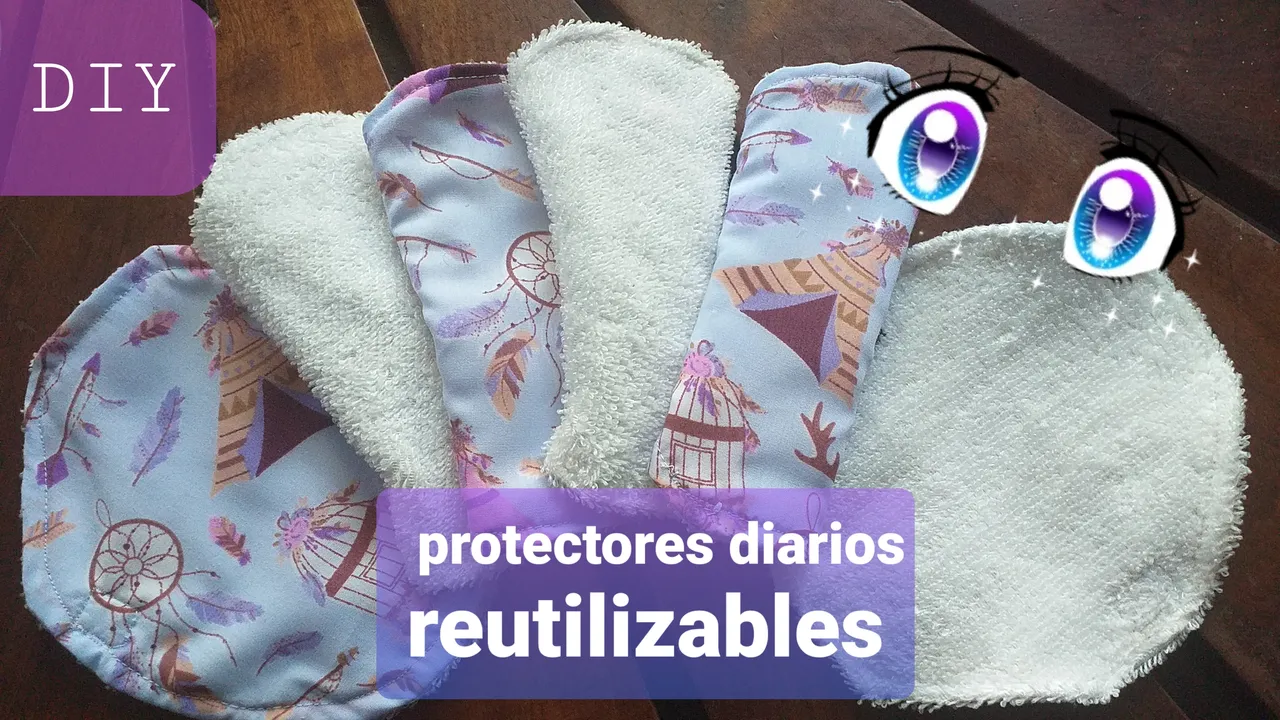
Hola colegas ¿cómo los trata la creatividad? Imagino que fluye caudalosamente por los recovecos de sus mentes, este día quiero compartir el paso a paso de uno de mis productos favoritos para que ustedes puedan aprovechar realizarlos para ustedes mismos, sus familiares y también para ganar dinero cuidando el medio ambiente, protectores diarios reutilizables¡!¡! Sii, ultra sencillos de hacer, como siempre aclaro, yo uso máquina de coser pero también hice de estos a mano y quedaron muy bien. Dicho esto vamos a lo que vinimos 😉
Primero los materiales a usar
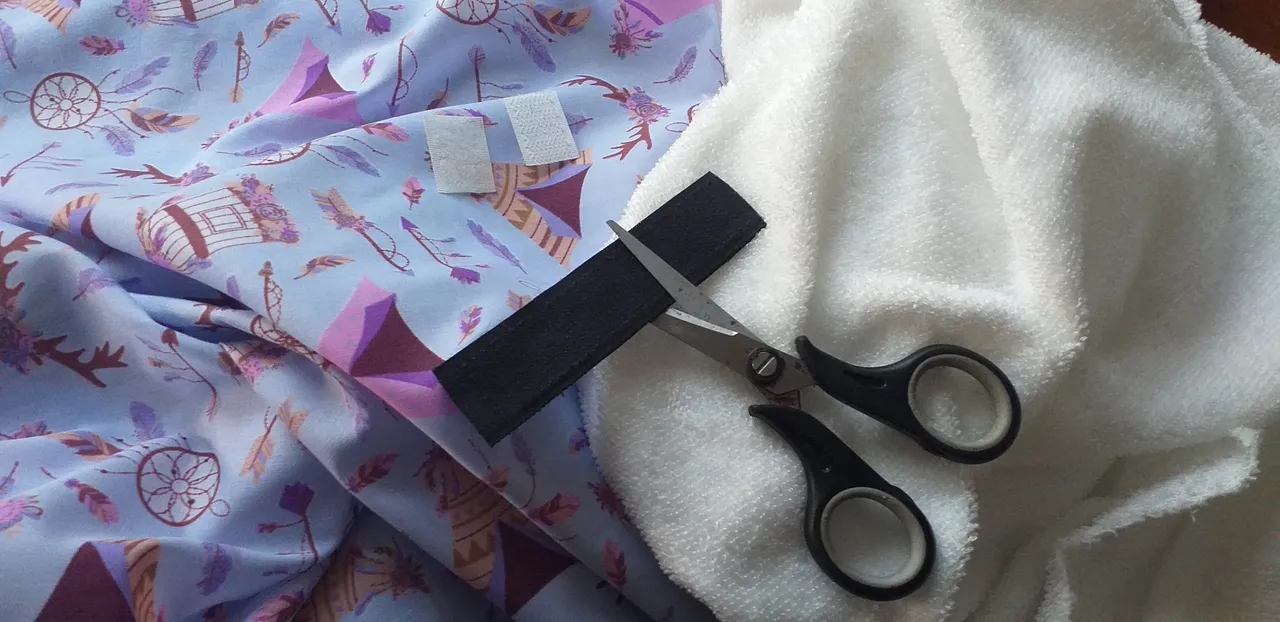
son fáciles de conseguir, puede ser:
♻️cualquier tela de algodón
♻️ tela de toalla
♻️velcro
🧵📍✂️
(La máquina de coser es opcional)
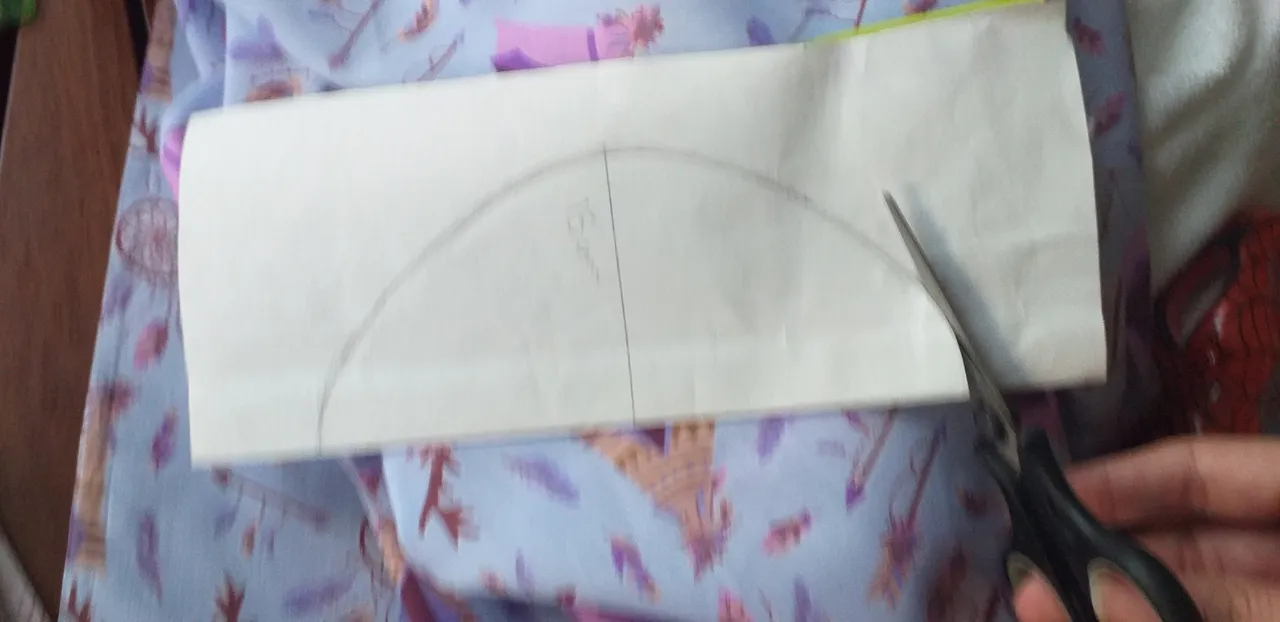
El primer paso es hacer el molde, en una hoja de papel o bolsa rígida, se marca una línea recta de 18,5 cm, a la mitad se traza una línea transversal de 15 cm
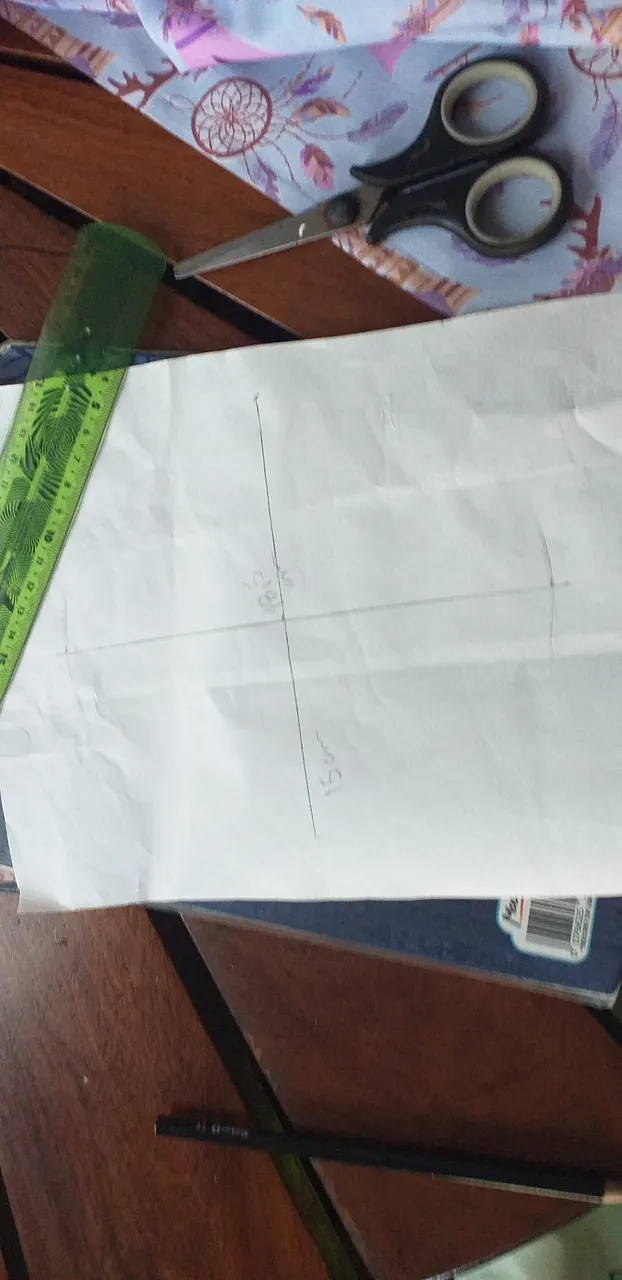
se unen los puntos formando un arco,
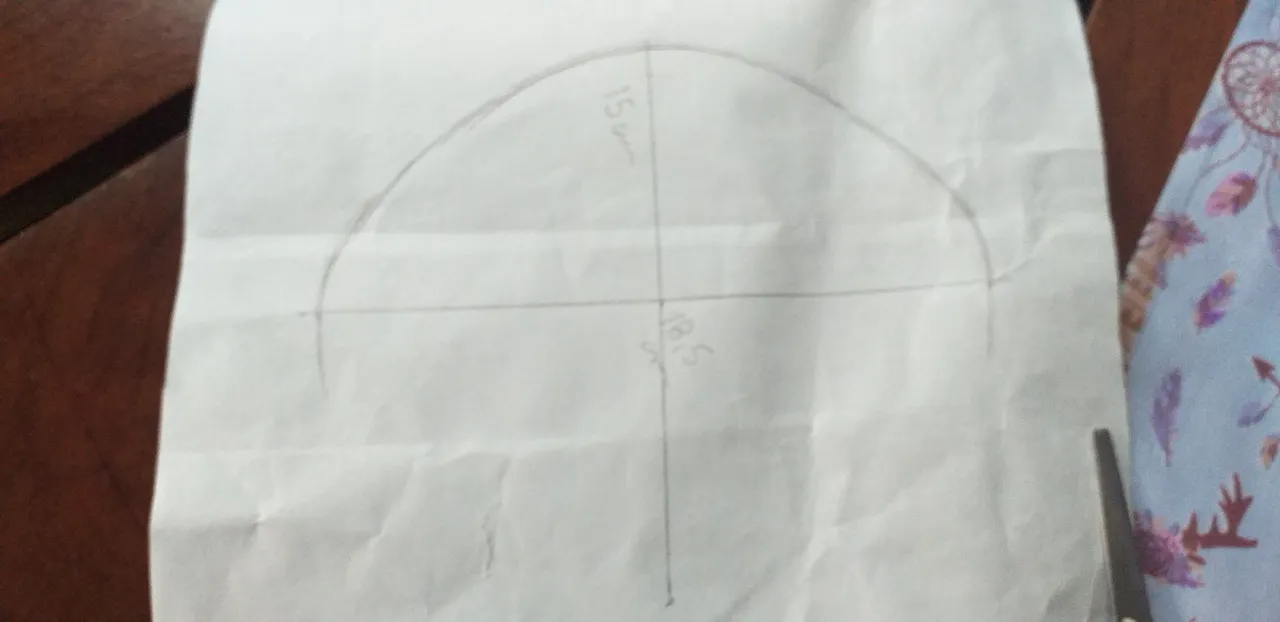
se dobla la hoja a la mitad por la primer línea trazada y se recorta siguiendo la línea, esto es para que quede igual de los dos lados ya teniendo el molde completo.
Ya tenemos nuestro molde listo,
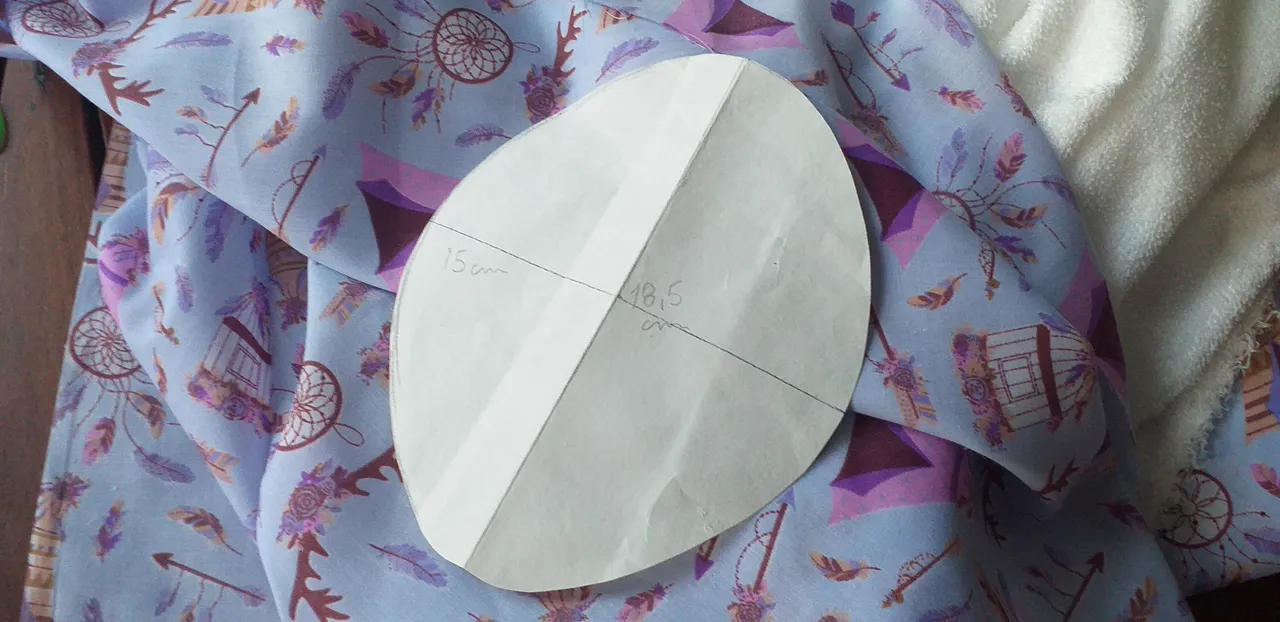
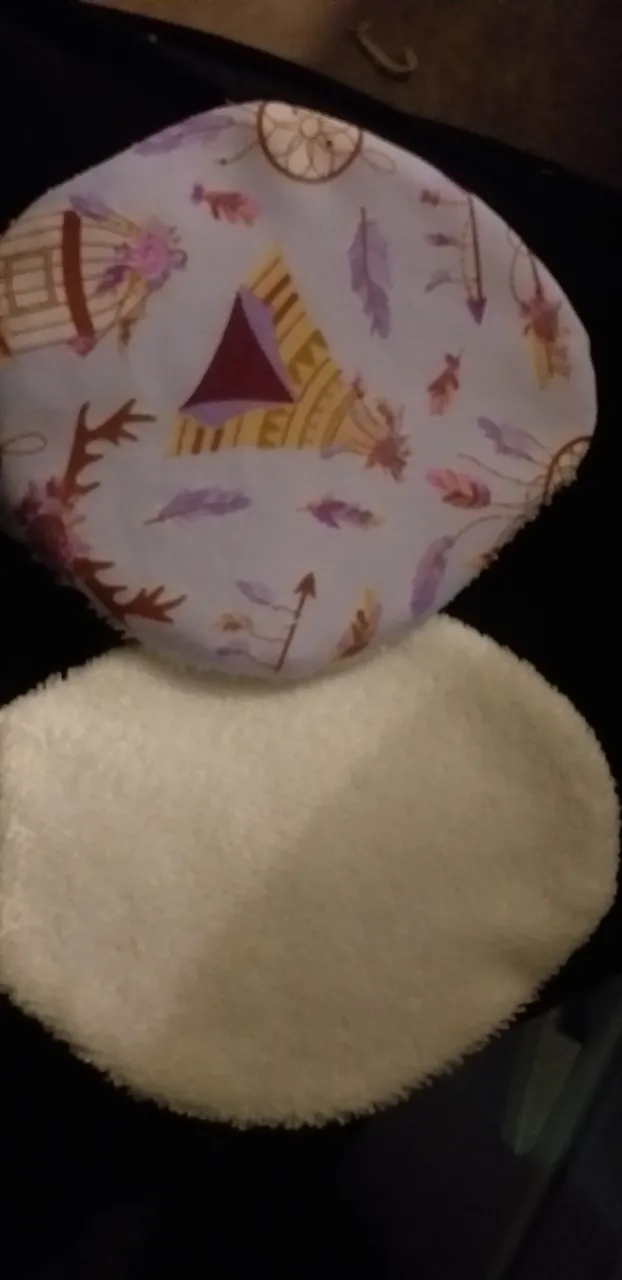
lo que nos da pie al segundo paso: marcar y cortar la tela, en lo posible tratando de desperdiciar la menor cantidad de tejido posible, cuidar el impacto ambiental es importante en todos los niveles del proceso.
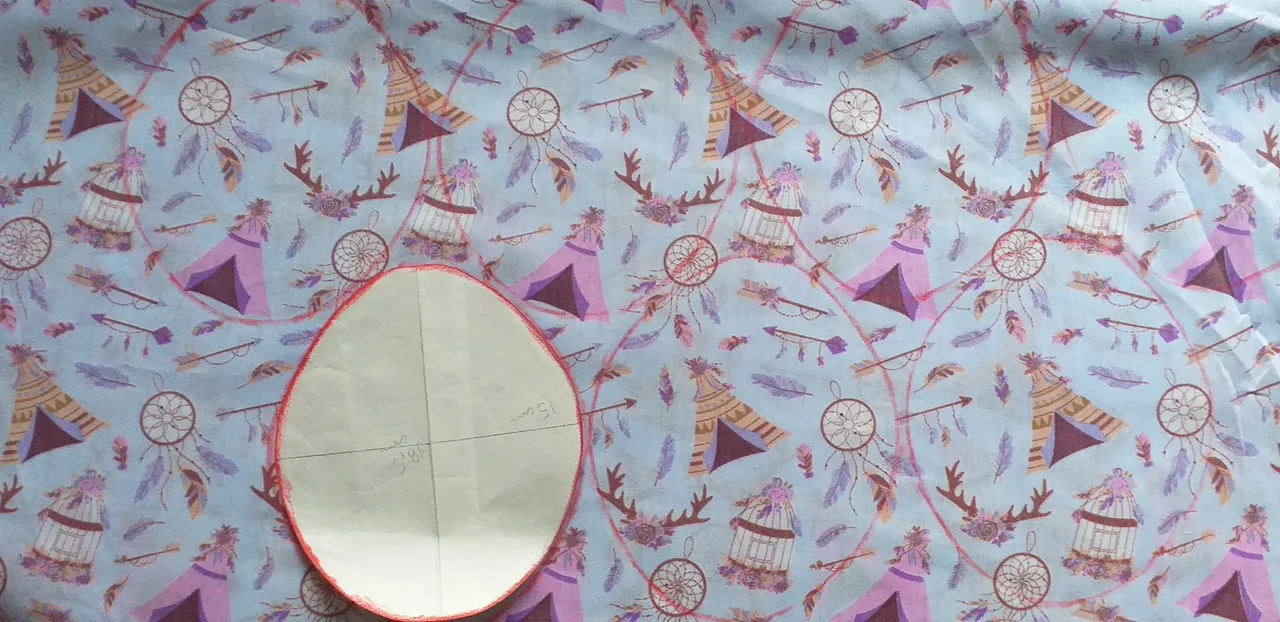
Para las dos telas usé el mismo molde
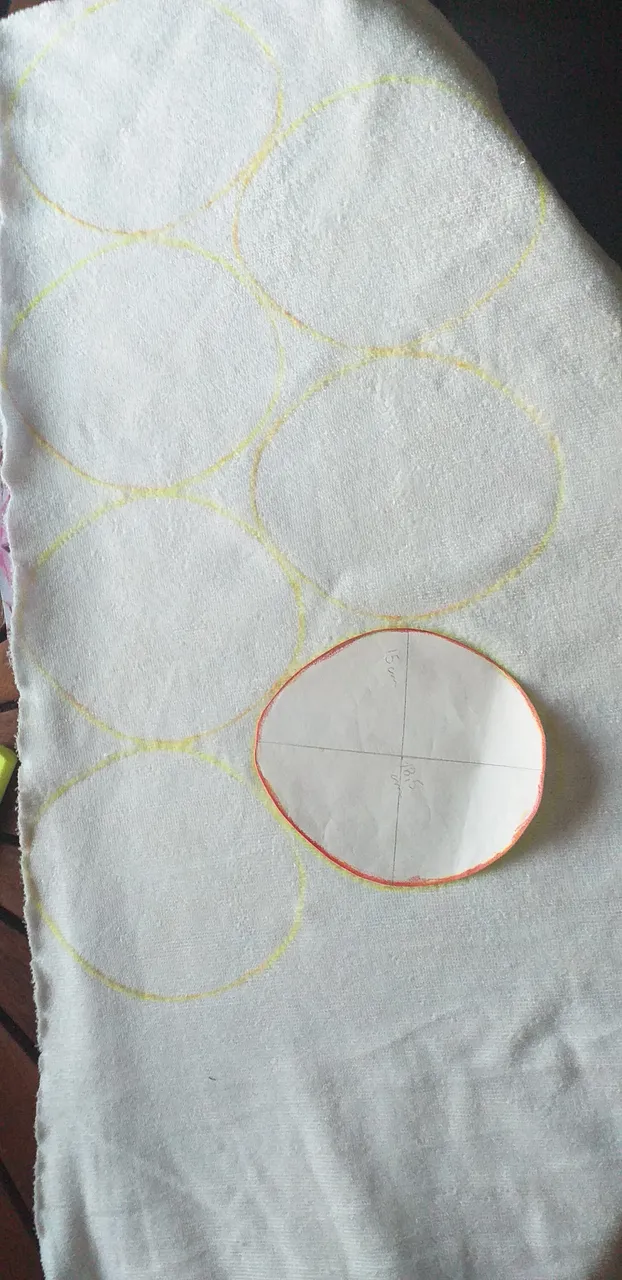
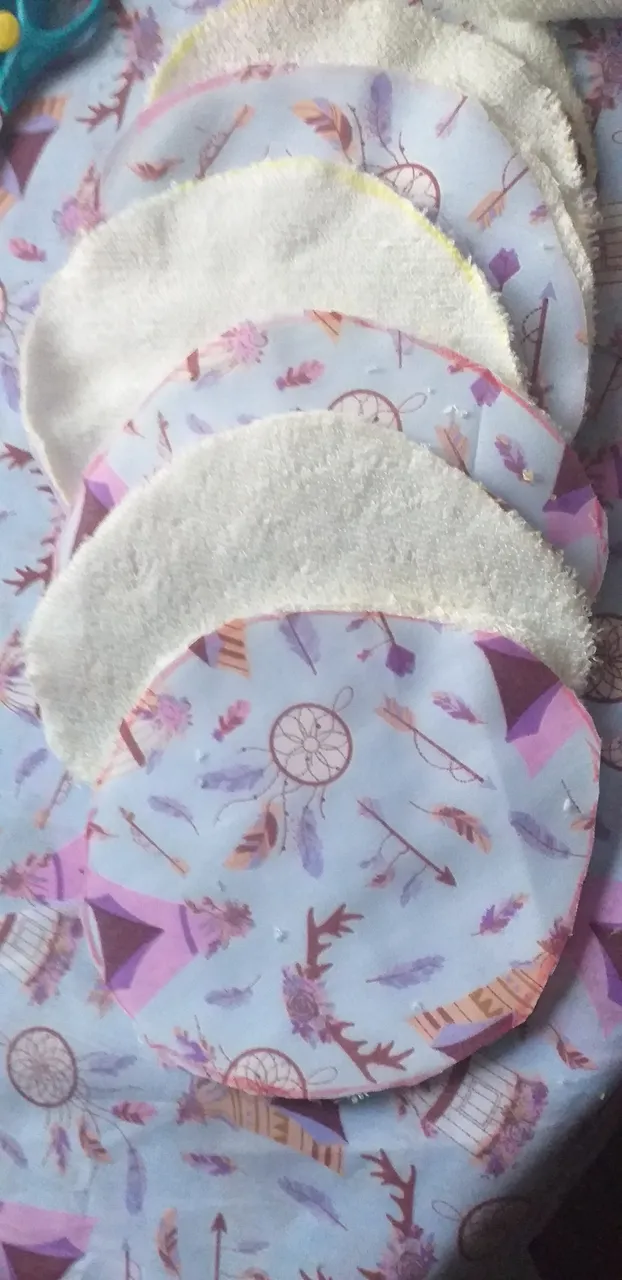
Cortamos y separamos las telas armando las duplas, una tela de algodón y una de toalla.
Unimos con alfileres del lado del revés, muy importante si no querés que se vaya corriendo la tela y te quede torcido, lo digo por experiencia, yo era de las que cortaba a ojo, cosía a ojo, el ojímetro funciona, no lo desmerezco pero prefiero el ahorro de energía, material y cortisol jajaja 😬
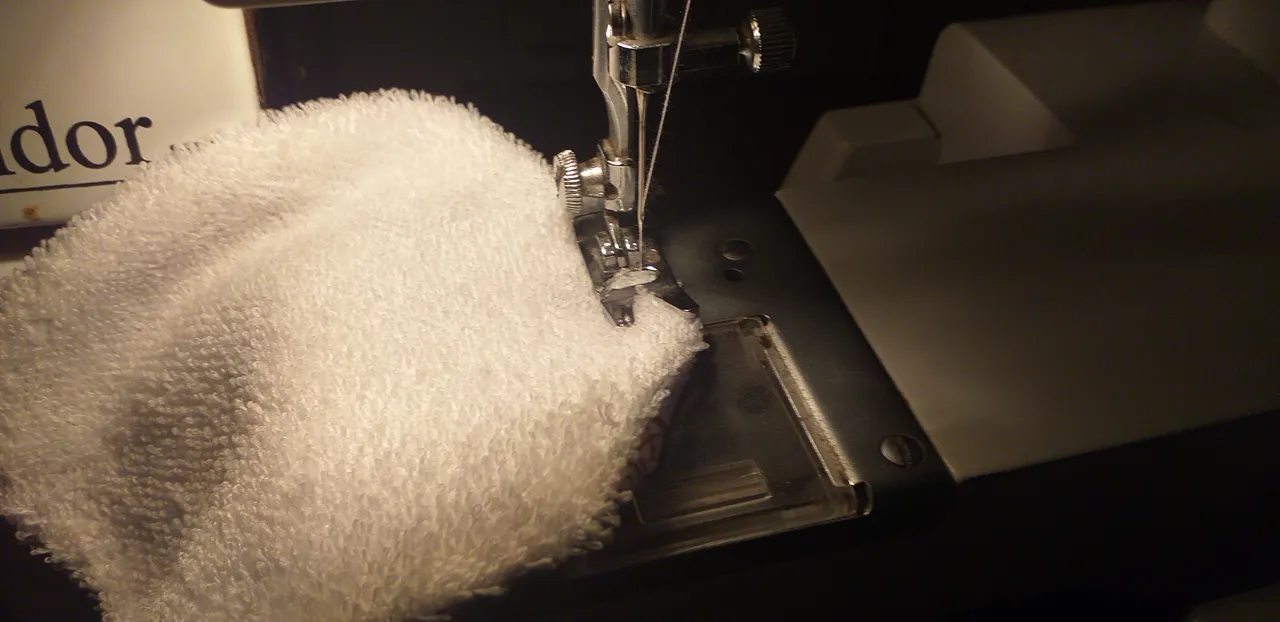
Ya falta poquito para terminar, le damos la merecida costura
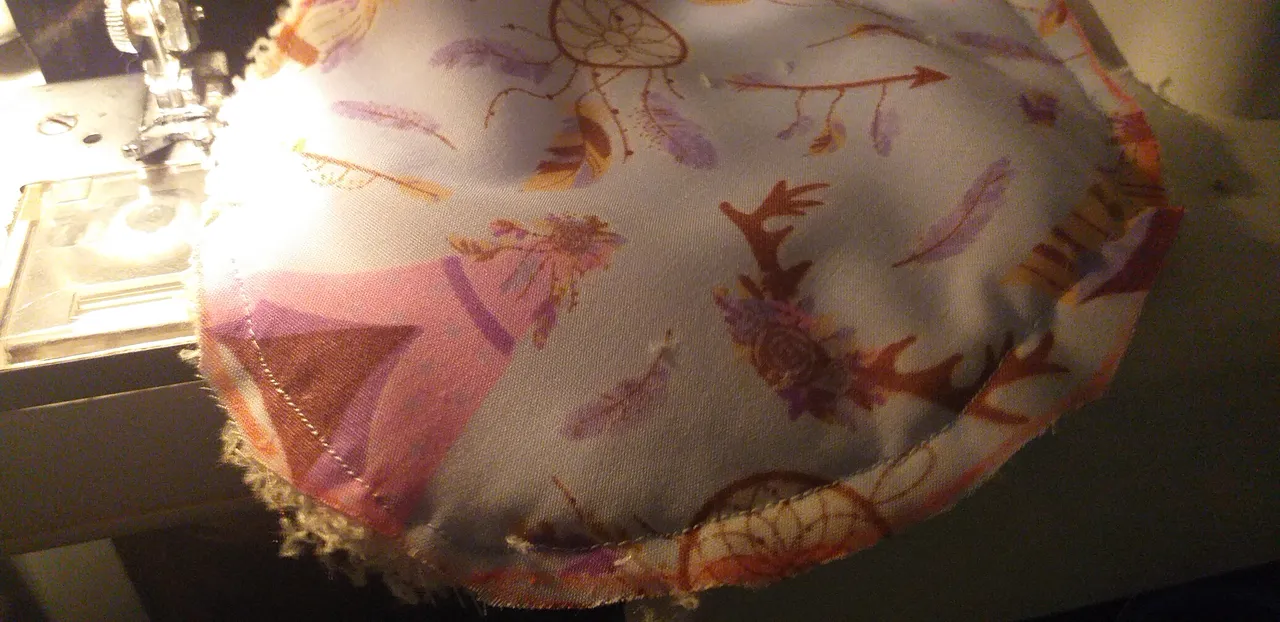
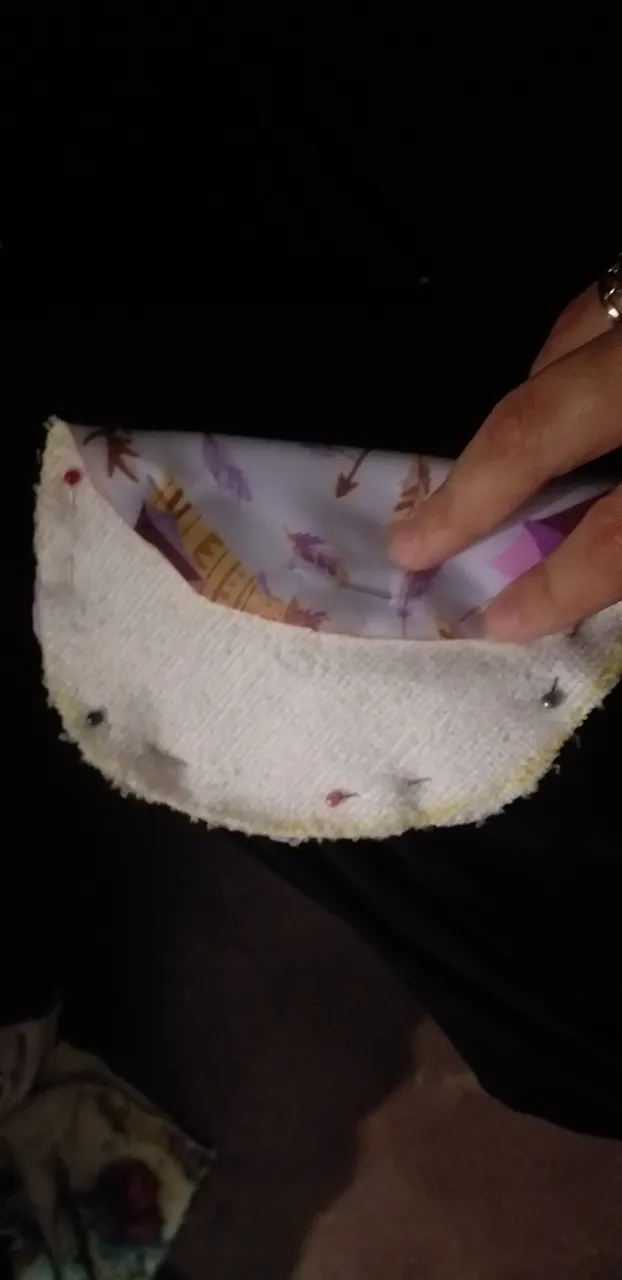
Y dejamos un espacio abierto para dar vuelta como un guante la prenda.
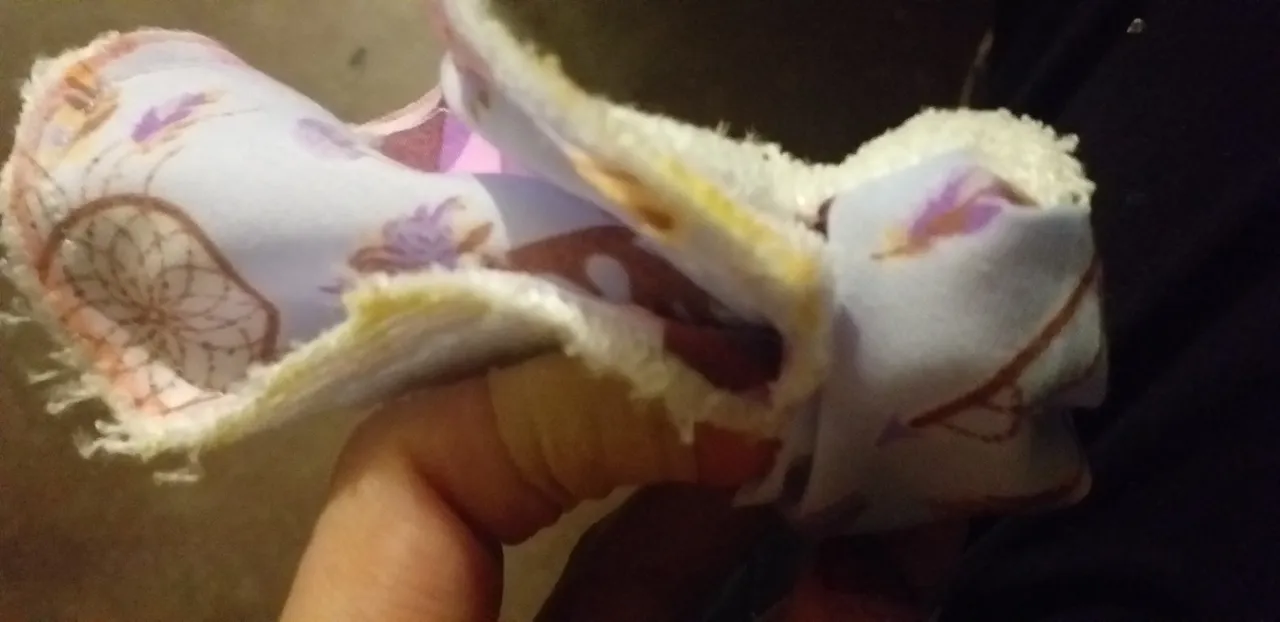
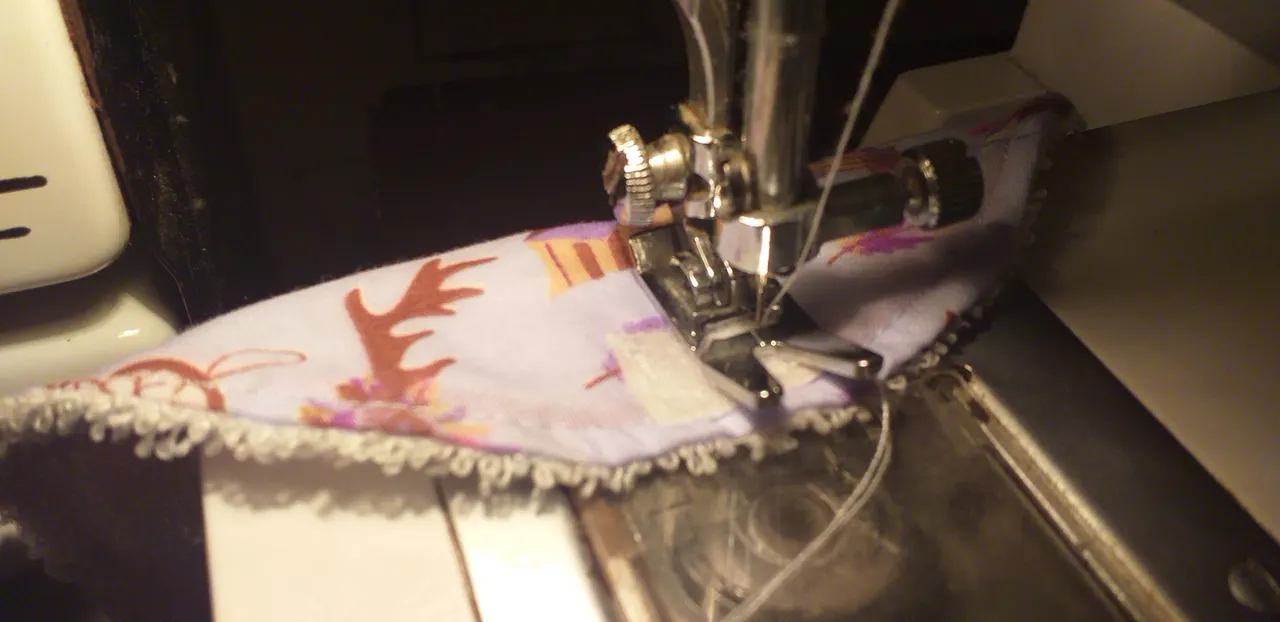
Estiramos bien ayudándonos con algún palito, los dedos, lo que sea para que quede bien
y doblamos hacia dentro los bordes del espacio que dejamos abierto para terminar de cerrarlo por el lado exterior y darle una terminación más prolija
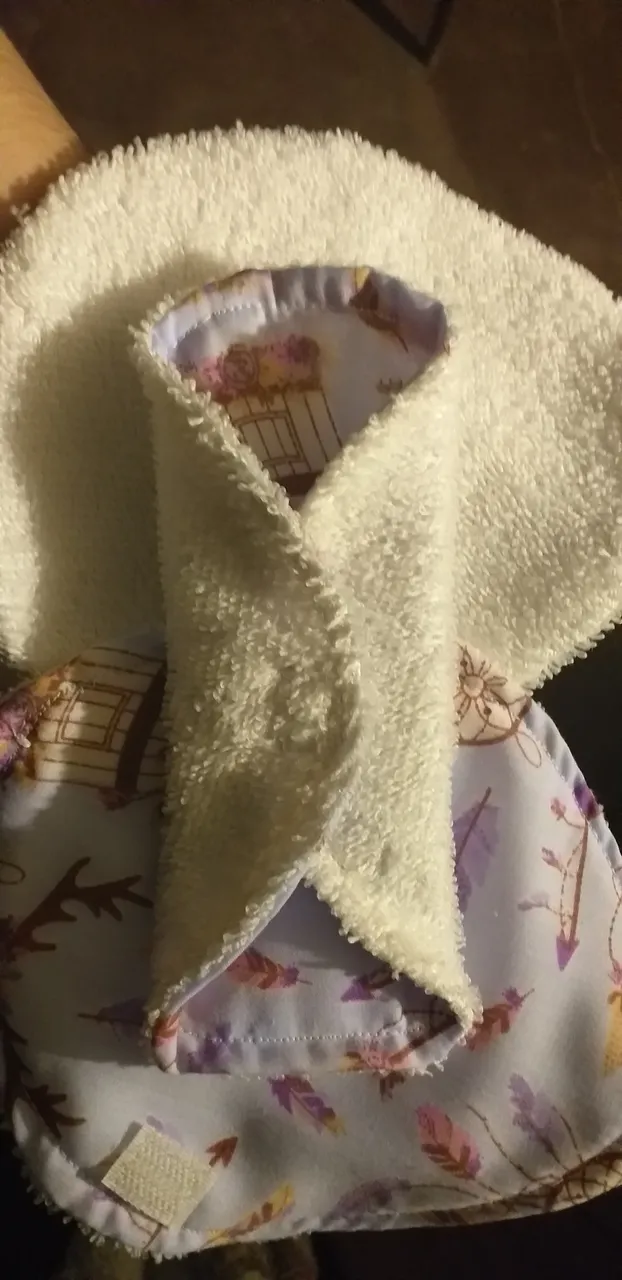
Ya hecho este segundo paso, es hora de pegar el velcro, se cose como todo lo demás para que quede bien asegurado.
Uno va a quedar del lado del algodón y otro del lado del velcro, ten en cuenta que estén a la misma altura. Para eso doblas el protector como si fueras a usarlo y mides bien de que lado iría cada uno, alfiler y a coser. Recomiendo que el lado más rígido del velcro quede mirando hacia abajo, iría del lado de la tela de algodón y el lado más suave del velcro en la parte de la toalla, que en todo caso es la tela que está en contacto directo con la hermosa y delicada piel de nuestra vulva. 😊
Ya tenemos nuestros protectores terminados, espero que se animen con esta idea genial, que además de cuidar el medio ambiente y nuestros bolsillos, cuidan la salud de nuestra flora vaginal evitando que este en contacto con productos nocivos para la salud como son los disruptores endócrinos presentes en los parabenos, dioxinas, ftalatos, formaldehído, y demás cosas raras presentes en toallas higiénicas y tampones industriales, como dice el ayurveda "que tu alimento sea tu medicina" " y si no puedes comerlo, lo pondrías en tu piel?"
Gracias por llegar hasta acá, si se animan suban sus protects y etiquetenme asi puedo verlos, me haría muy feliz saber que estamos ayudando a co~crear un mundo menos descartable¡! Nos amo 🌺💋💞
English versión
Hello colleagues, how does creativity treat you? I imagine that it flows abundantly through the recesses of your minds, this day I want to share the step by step of one of my favorite products so that you can take advantage of making them for yourself, your family members and also to earn money caring for the environment, reusable panty liners !!! Yes, ultra simple to do, as I always clarify, I use a sewing machine but I also made these by hand and they turned out very well. That said, let's go to what we came for 😉
- First the materials to use *
are easy to get, it can be:
♻️any cotton fabric
♻️ terry cloth
♻️velcro
🧵📍✂️
(The sewing machine is optional)
The first step is to make the mold, on a sheet of paper or rigid bag, a straight line of 18.5 cm is marked, in the middle a transverse line of 15 cm is drawn. the points are joined to form an arc, the sheet is folded in half along the first line drawn and cut following the line, this is so that the two sides remain the same, having the complete mold.
We already have our mold ready, which leads us to the second step: marking and cutting the fabric, trying to waste as little fabric as possible, taking care of the environmental impact is important at all levels of the process. For the two fabrics I used the same mold.
We cut and separate the fabrics by assembling the pairs, a cotton fabric and a towel. We pin the wrong side together, very important if you don't want the fabric to run off and be twisted, I say this from experience, I was one of those who cut by eye, sewed by eye, the eyepiece works, I don't detract from it but I prefer saving energy, material and cortisol hahaha 😬
There is a little left to finish, we give you the well-deserved seam, and we leave an open space to turn the garment like a glove.
We stretch well helping each other with a stick, our fingers, whatever it takes to make it look good and we fold inwards the edges of the space that we left open to finish closing it on the outside and give it a neater finish.
Once this second step is done, it is time to glue the velcro, it is sewn like everything else so that it is well secured. One will be on the cotton side and the other on the velcro side, keep in mind that they are at the same height. For that, you fold the protector as if you were going to use it and measure well which side each one would go on, pin and sew. I recommend that the stiffer side of the velcro is facing downwards, I would go to the side of the cotton fabric and the softer side of the velcro to the part of the towel, which in any case is the fabric that is in direct contact with the beautiful and delicate skin of our vulva. 😊
We already have our protectors finished, I hope you are encouraged by this great idea, which in addition to taking care of the environment and our pockets, they take care of the health of our vaginal flora by preventing it from being in contact with products that are harmful to health such as endocrine disruptors present. in parabens, dioxins, phthalates, formaldehyde, and other strange things present in sanitary napkins and industrial tampons, as Ayurveda says "let your food be your medicine" "and if you can't eat it, would you put it on your skin?" Thanks for getting here, if you dare upload your protects and tag me so I can see you, it would make me very happy to know that we are helping to co ~ create a less disposable world!
** I love us** 🌺💋💞