Hola amigos de Hive, feliz viernes.
Les quiero compartir como elaborar una hermosa flor en forma de dulcero usando foami, espero les guste.
Hello friends of Hive, happy Friday.
I want to share with you how to make a beautiful flower shaped candy box using foami, I hope you like it.
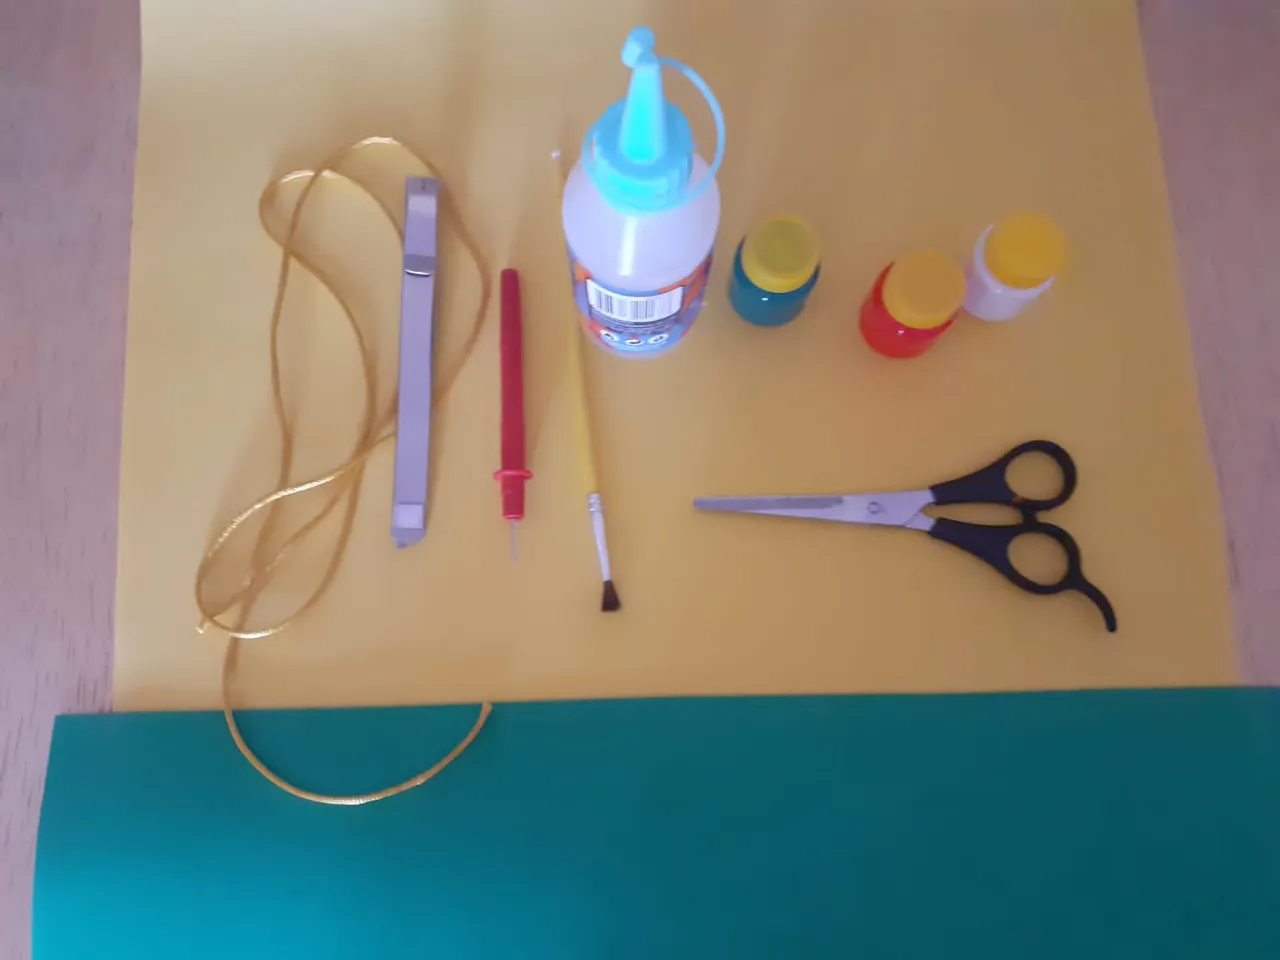
Materiales a utilizar:
Foami de dos colores.
Cordón o cola de ratón.
Pintura al frío o témpera.
Tijera.
Silicon.
Golosinas.
Materials to be used:
Foami of two colors.
String or mouse glue.
Cold paint or tempera.
Scissors.
Silicon.
Candy.
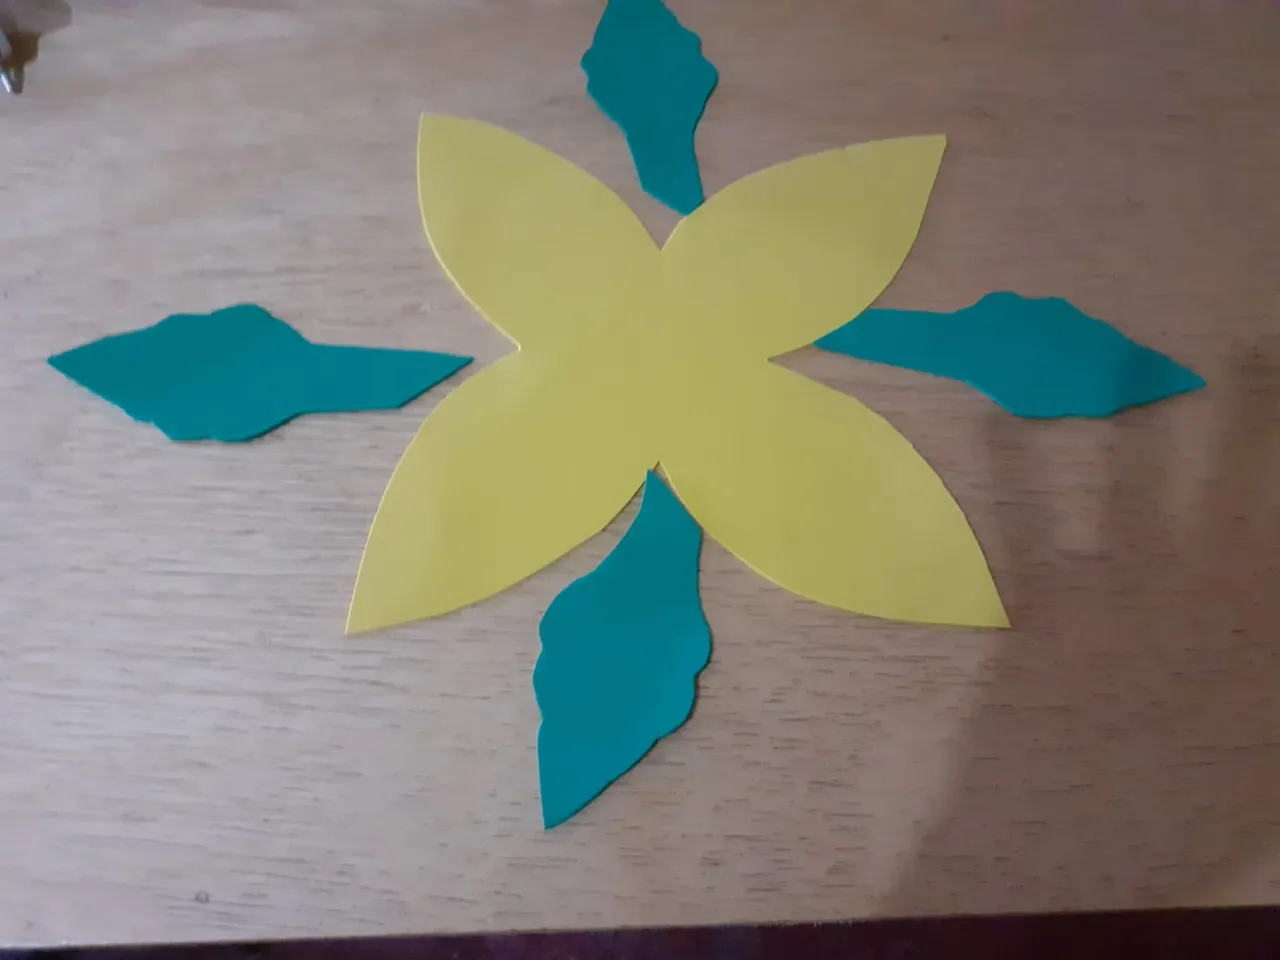
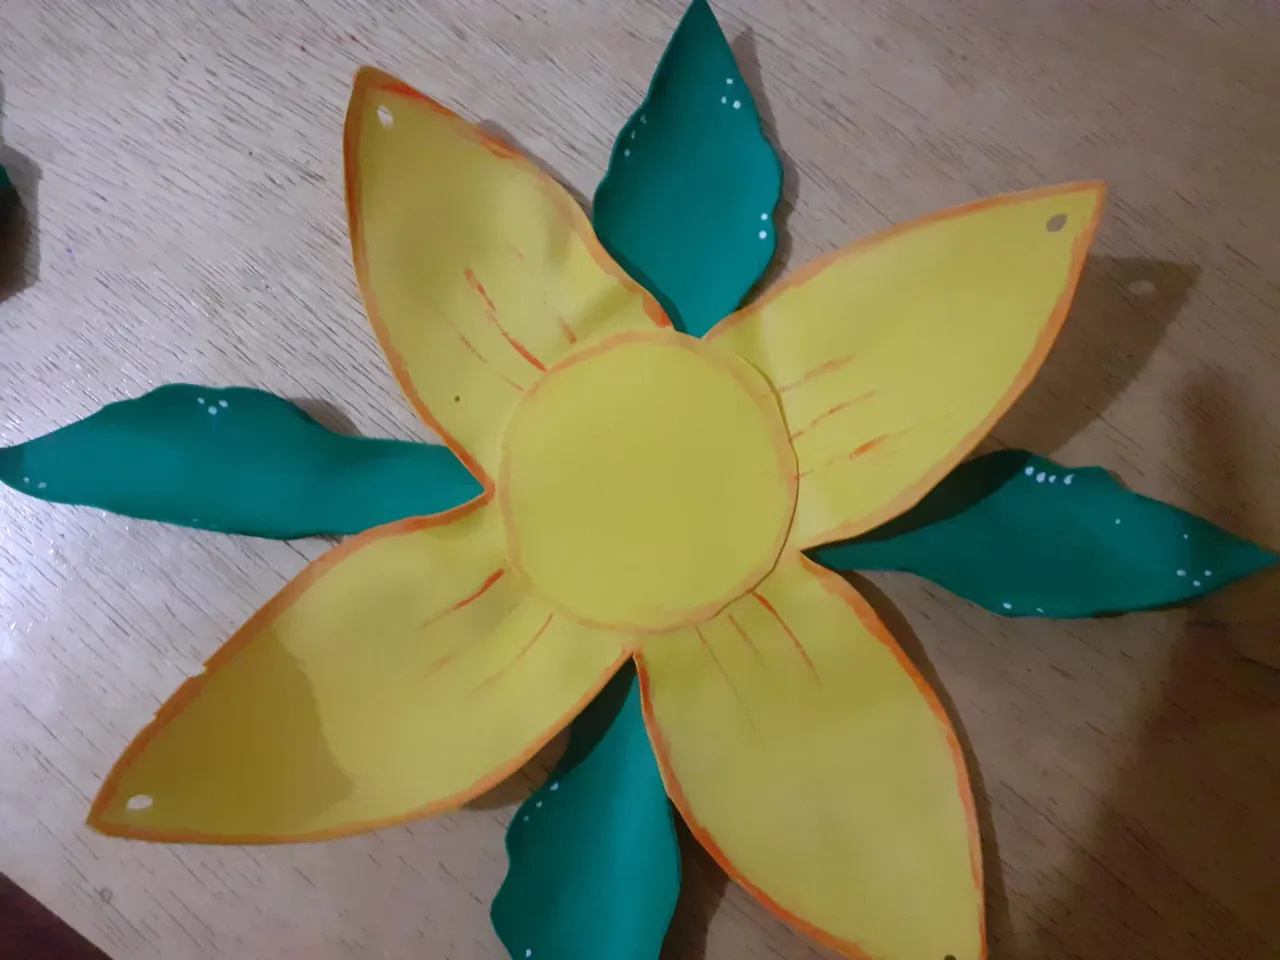
Primer paso
Se marca y recorta un cuadrado de foami amarillo de 20 cm por 20 en el centro se marca un círculo de 6 cm de diámetro luego tomando como referencia el borde del círculo y las esquinas del cuadrado marcamos y cortamos 4 pétalos. En el foami verde marcamos tantas hojas cómo deseamos pero de un tamaño relativo a los pétalos también recortamos un círculo del mismo tamaño del que marcamos en el centro.
First step
We mark and cut a square of yellow foami of 20 cm by 20 cm in the center we mark a circle of 6 cm in diameter then taking as reference the edge of the circle and the corners of the square we mark and cut 4 petals. On the green foami we mark as many leaves as we want but of a size relative to the petals we also cut a circle of the same size as the one we marked in the center.
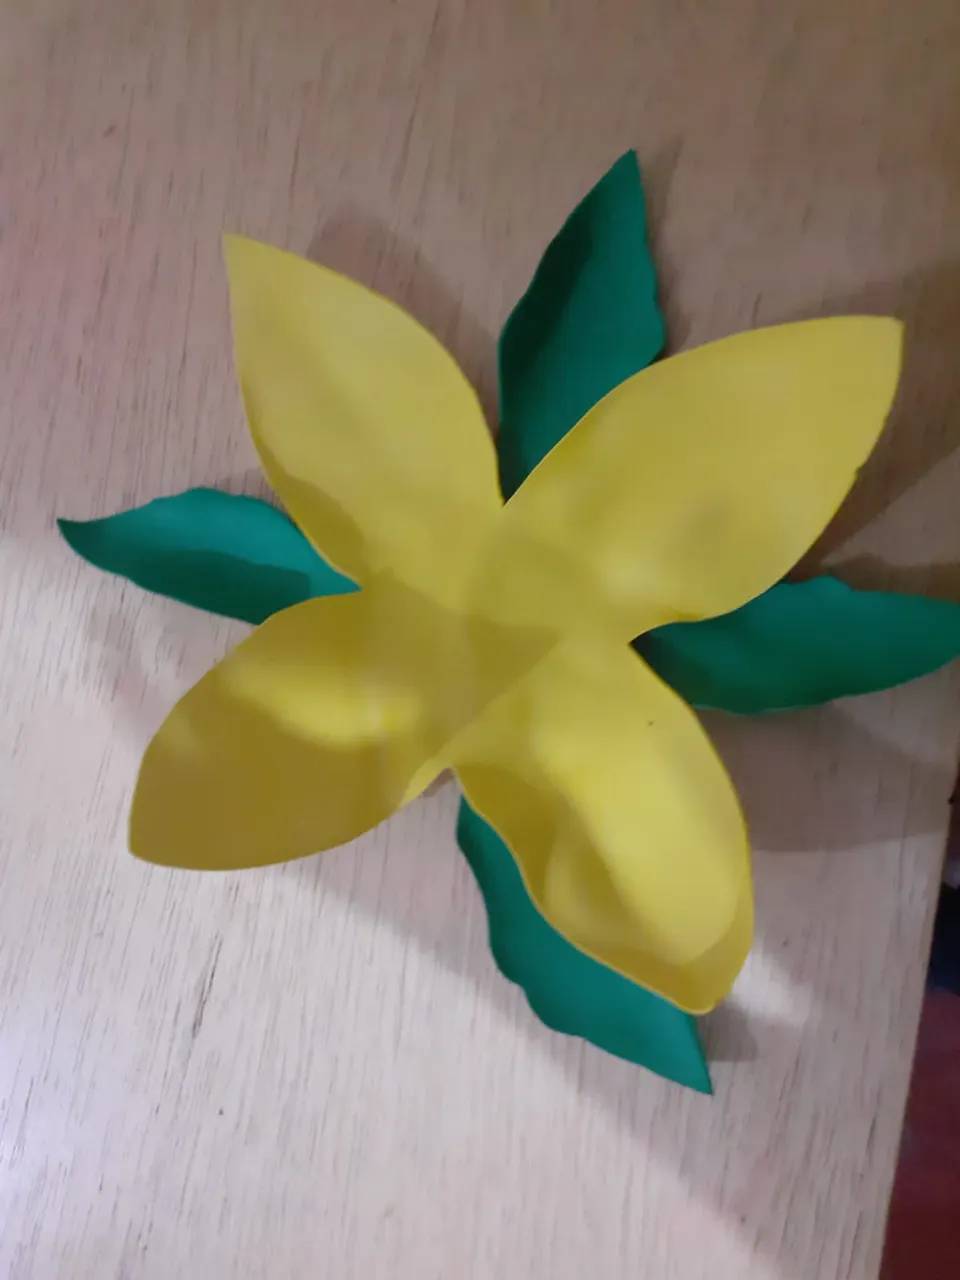
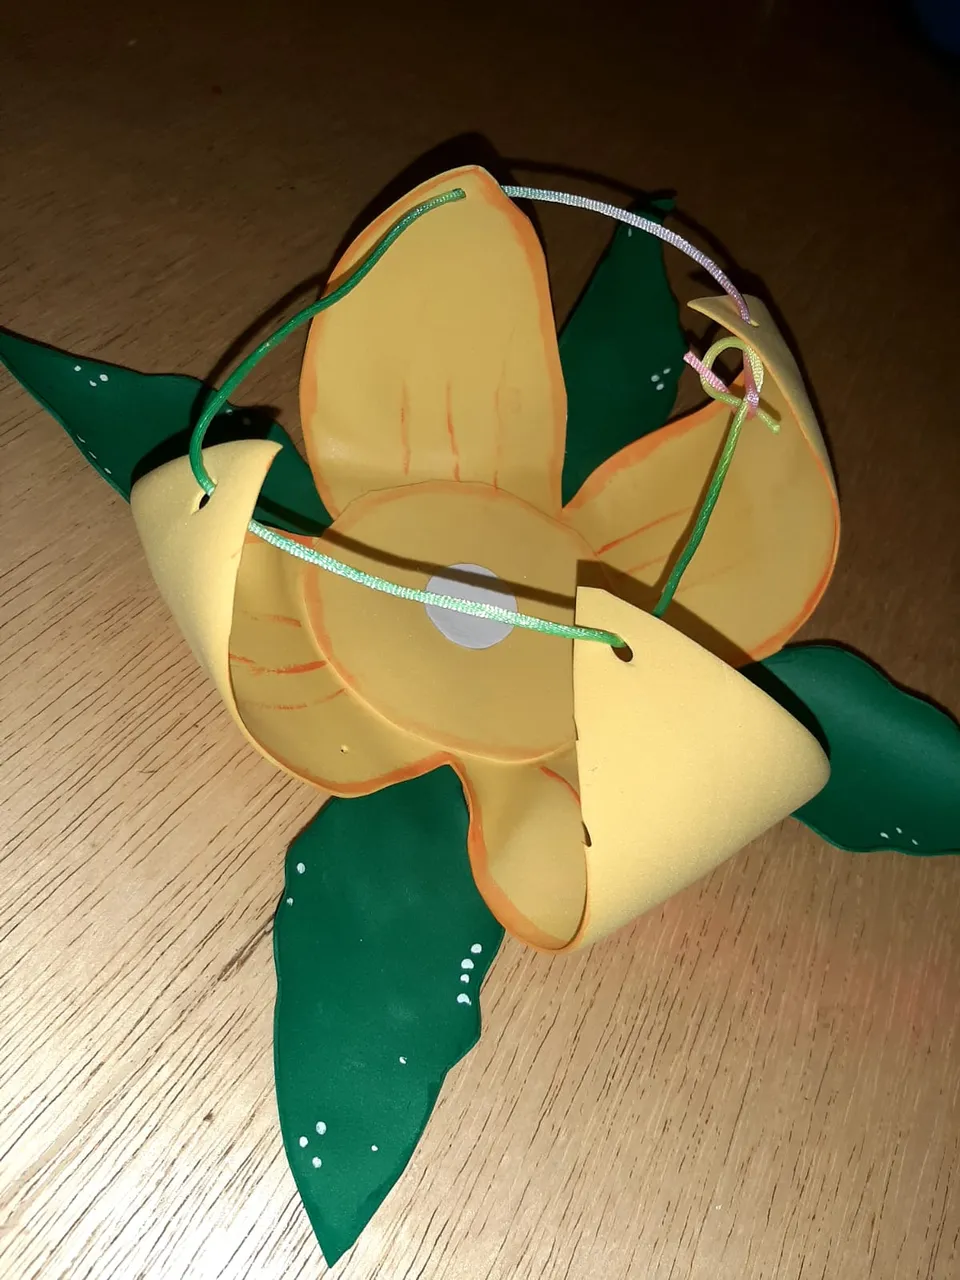
Segundo paso
Con una plancha caliente haremos el proceso de termoforma el cual consiste en colocar las piezas de foami encima de la plancha caliente para que se levanten un poco las orillas y moldear con nuestro dedo ya que esté al estar caliente está más flexible y al enfriarse conserva la forma. Luego de haber hecho esto comenzamos a difuminar que es simplemente con un pincel o marcador hacer sombra en las orillas de foami de manera qué el color sea más oscuro en las orilla y más claro hacia el centro pegamos el círculo en el centro de la flor para dar fuerza.luego abrimos un pequeño hueco en las puntas de nuestros pétalos introducimos nuestro cordón o cola de ratón colocamos dentro las golosinas que queremos regalar y cerramos haciendo un lindo lazo.
Second step
With a hot iron we will do the thermoforming process which consists of placing the foami pieces on top of the hot iron so that the edges are lifted a little and mold with our finger since it is more flexible when hot and when it cools down it keeps its shape. After having done this we begin to blur which is simply with a brush or marker to shade the edges of foami so that the color is darker on the edges and lighter towards the center we glue the circle in the center of the flower to give strength. Then we open a small hole at the tips of our petals we introduce our cord or mouse glue we place inside the candy we want to give and close making a nice bow.
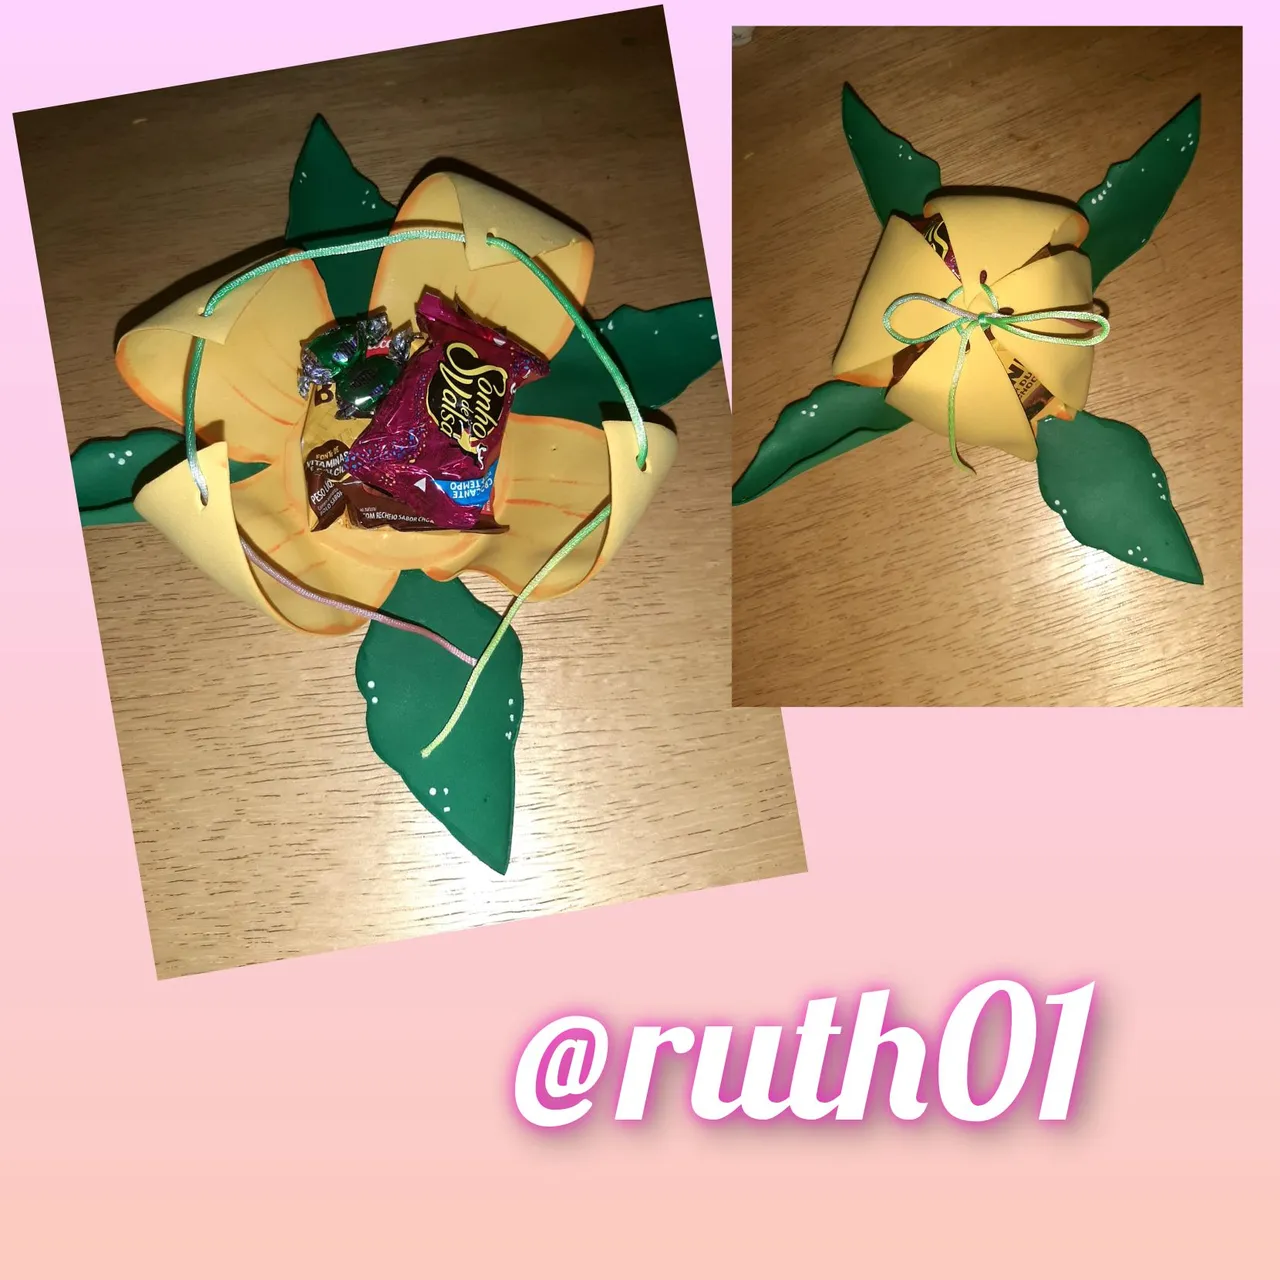
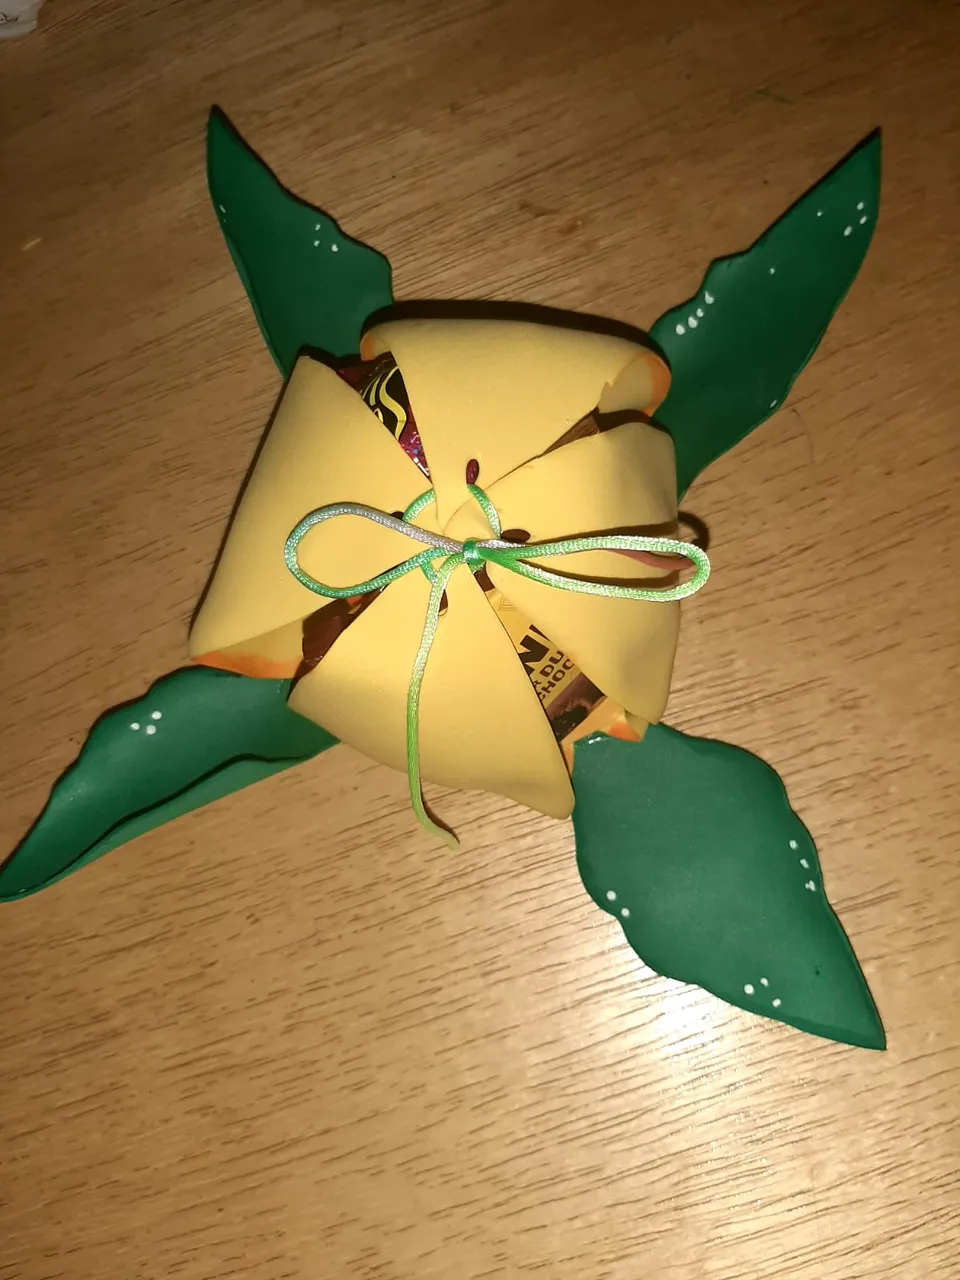
Esta flor sorpresa de golosinas de gran utilidad cuando queremos obsequiar un pequeño detalle. espero les guste y que pasen un bonito día.
This surprise flower of goodies is very useful when we want to give a small gift. I hope you like it and have a nice day.
Saludos nos vemos en una próxima publicación.
Greetings and see you in a future publication.