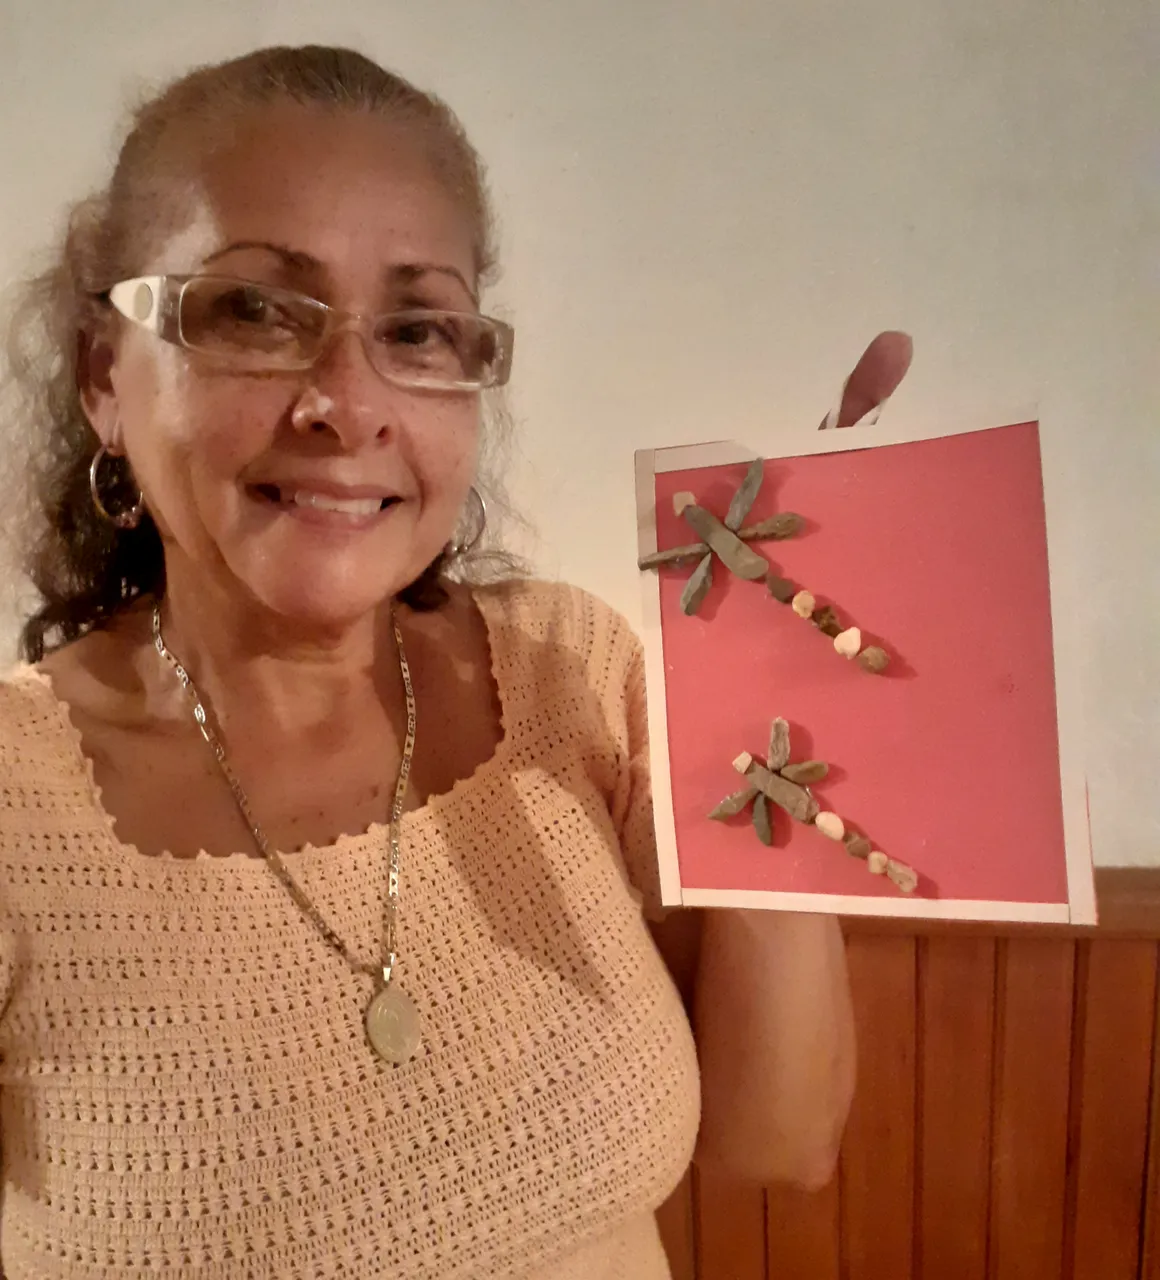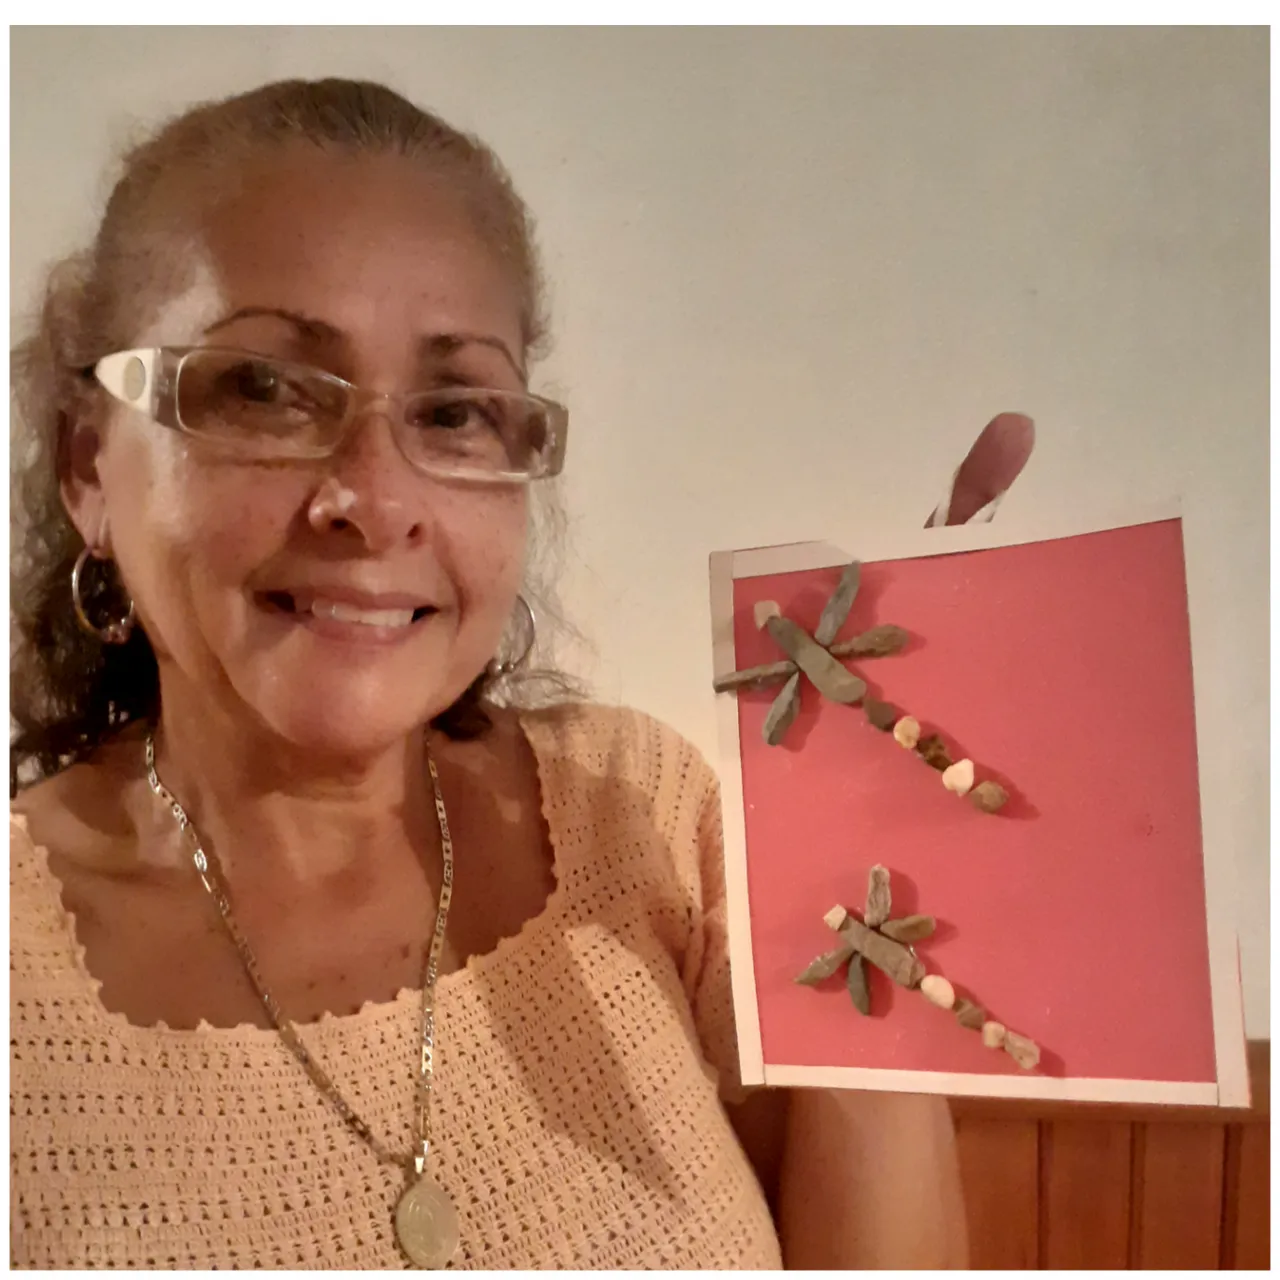
Greetings to all my #hive colleagues, I hope they are excellent. Today I will share with you a beautiful and creative decorative painting with river stones. Stay with me so you can see the result.
un saludos para todos mis compañeros de #hive, espero que estén excelente. Hoy les compartiré un hermoso y creativo cuadro decorativo con piedras de ríos. Quédate conmigo para que veas el resultado.
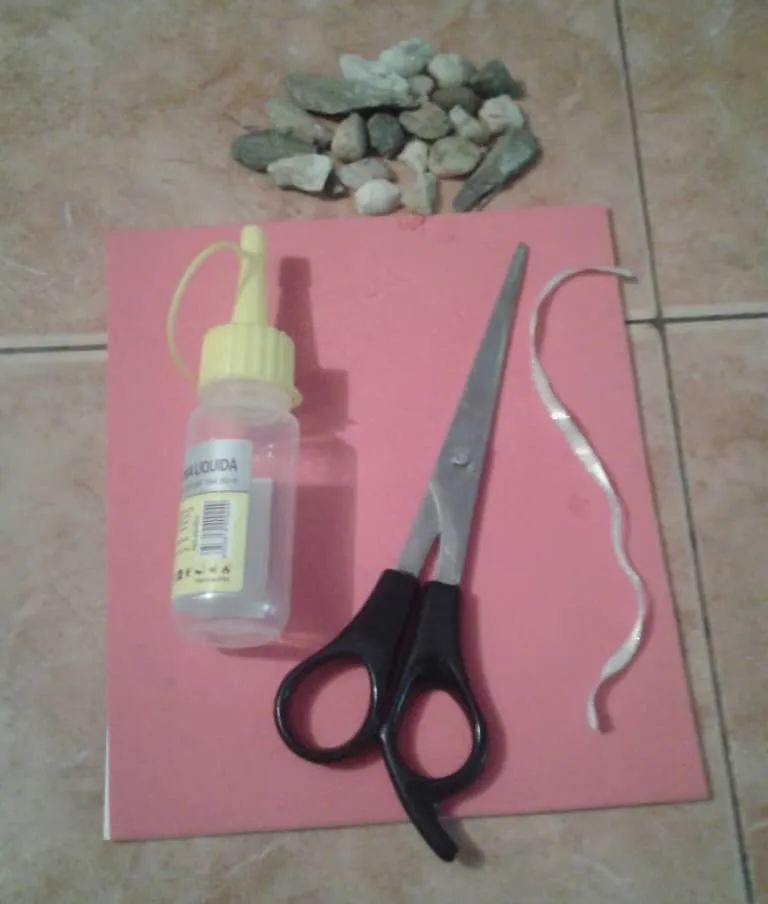
materials.
○ scissors.
○ Orange and white foam.
○ silicon
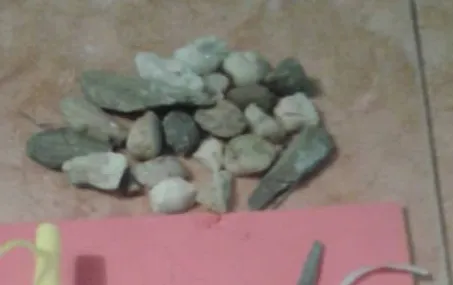
○ stones
○ white tape.
materiales.
○tijera.
○Foami anaranjado y blanco.
○silicon
○piedras
○cinta blanca.
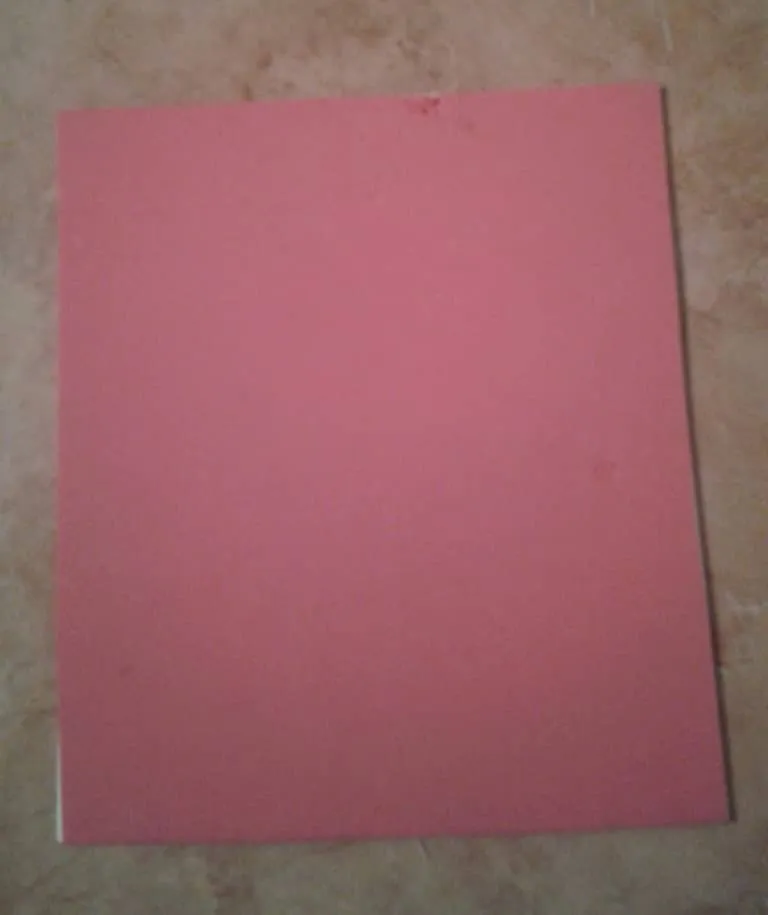
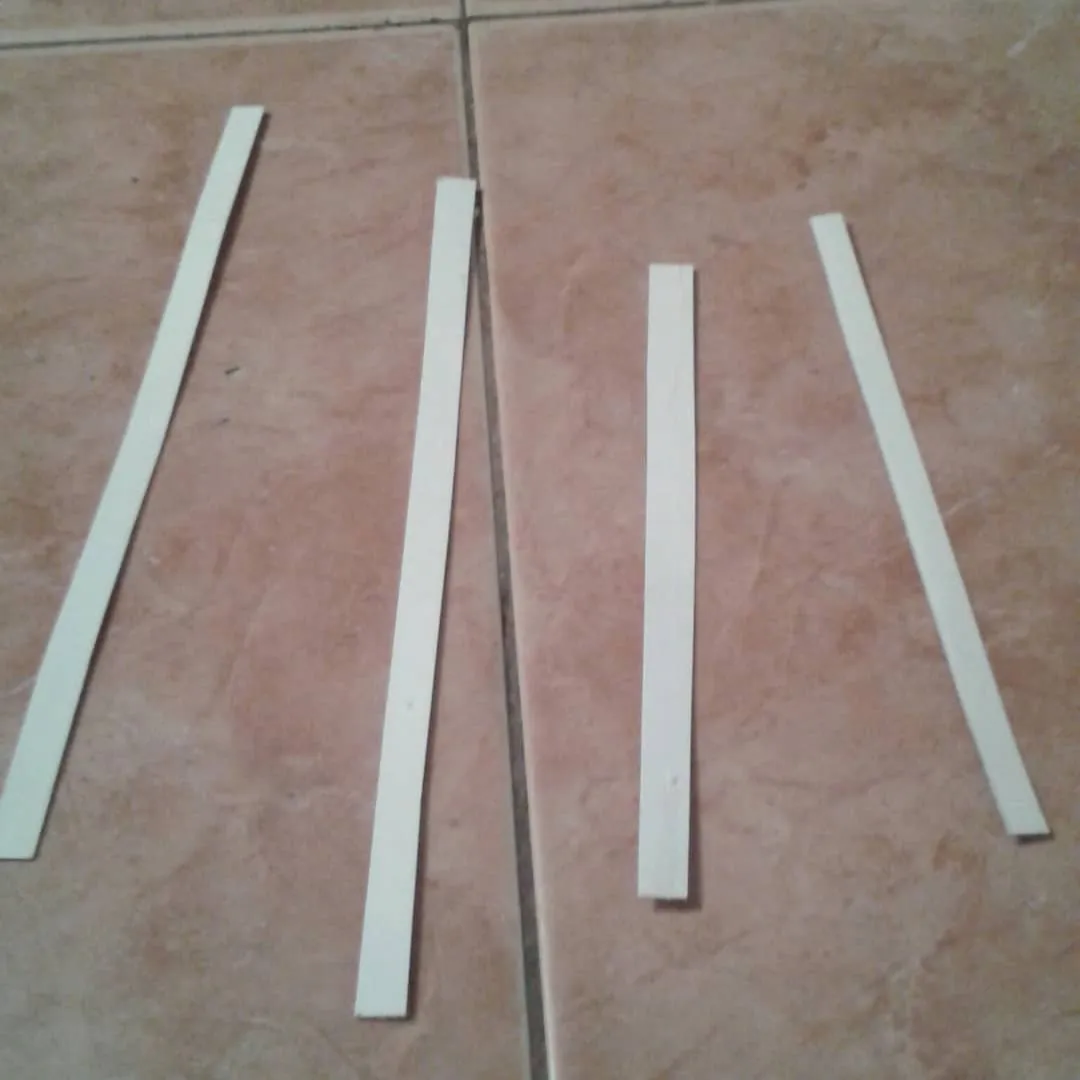
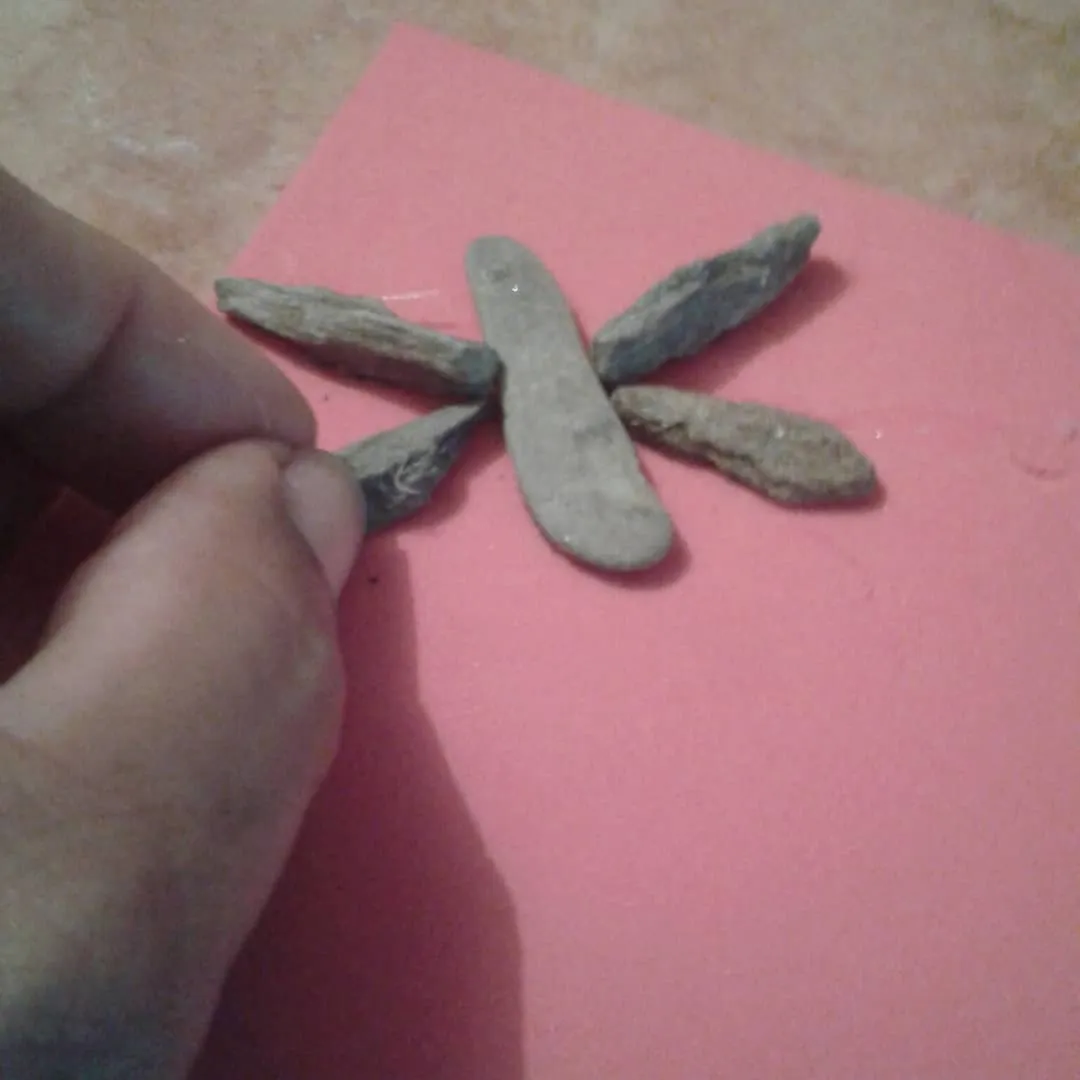
Step 1
We look for some stones in the river, of various shapes, elongated and round, to make the shape of a dragonfly, then we have already looked for the stones. We take the orange foam and place it in the shape of a square. And with the white foami we make 4 strips of the same size as the square. As in the following photos.
Paso 1
Buscamos unas piedras en el rio, de varias formar, alargadas y redondas, para hacer la forma de una libélula, luego ya buscada las piedras. Tomamos el foami anaranjado y lo colocamos en forma de un cuadrado. Y con el foami blanco hacemos 4 tiras del mismo tamaño que el cuadrado. Asi como en las siguientes fotos.
Step 1
We look for some stones in the river, of various shapes, elongated and round, to make the shape of a dragonfly, then we have already looked for the stones. We take the orange foam and place it in the shape of a square. And with the white foami we make 4 strips of the same size as the square. As in the following photos.
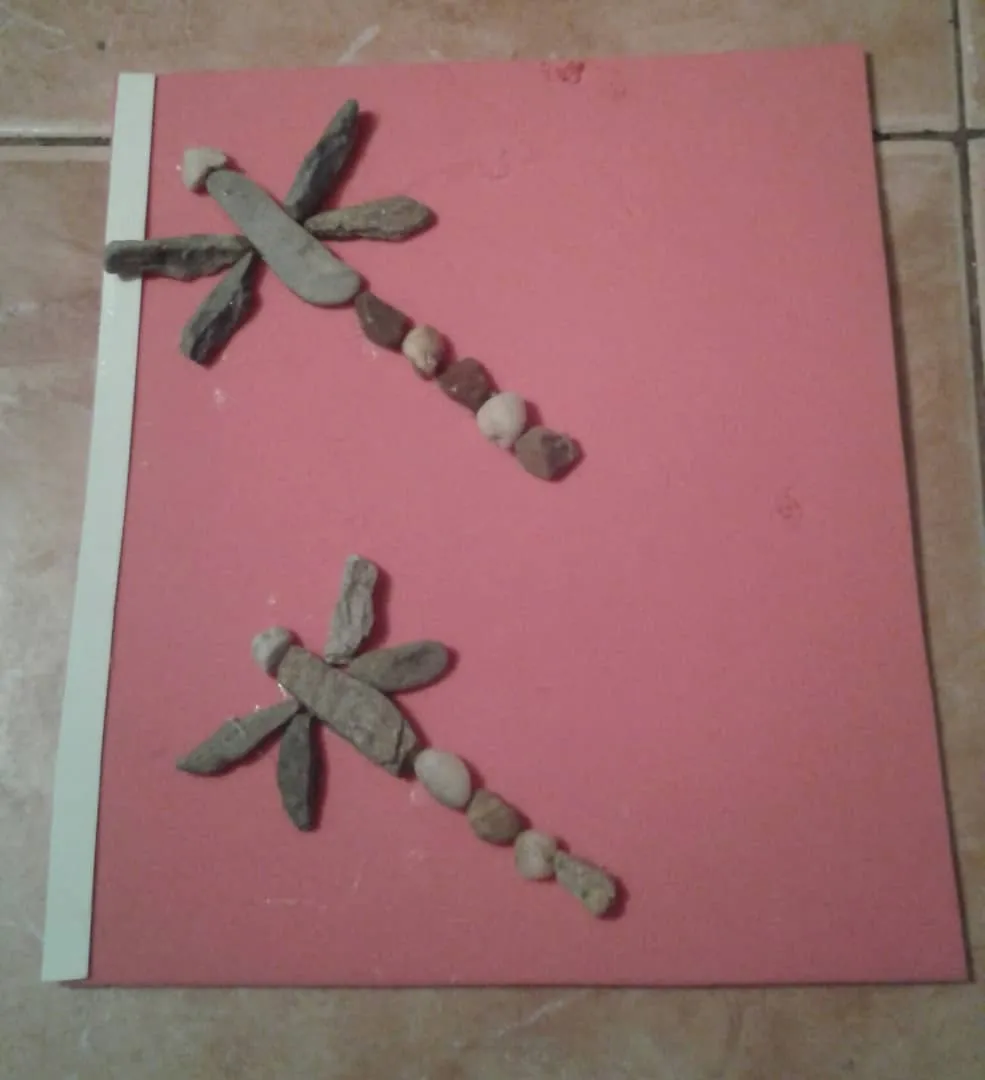
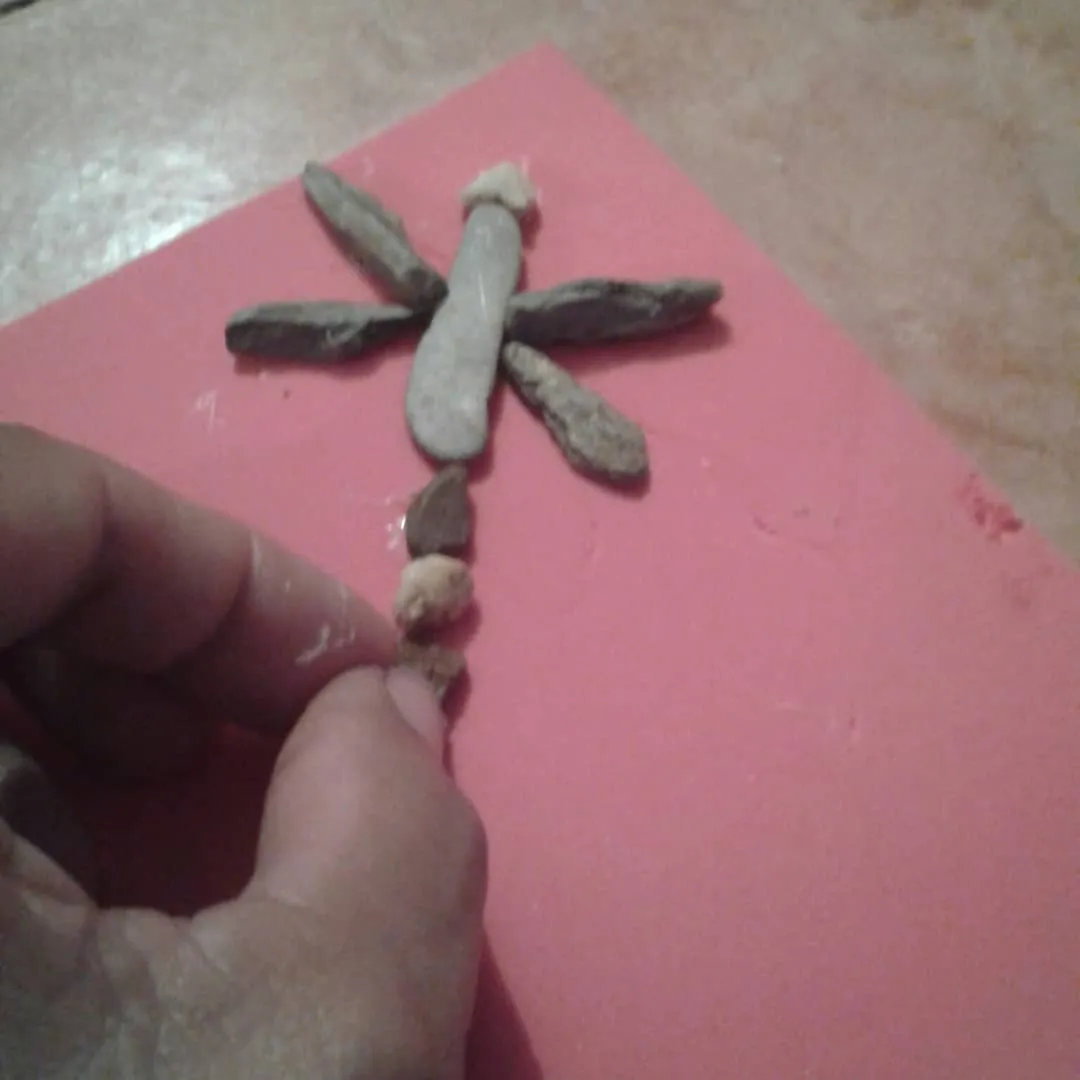
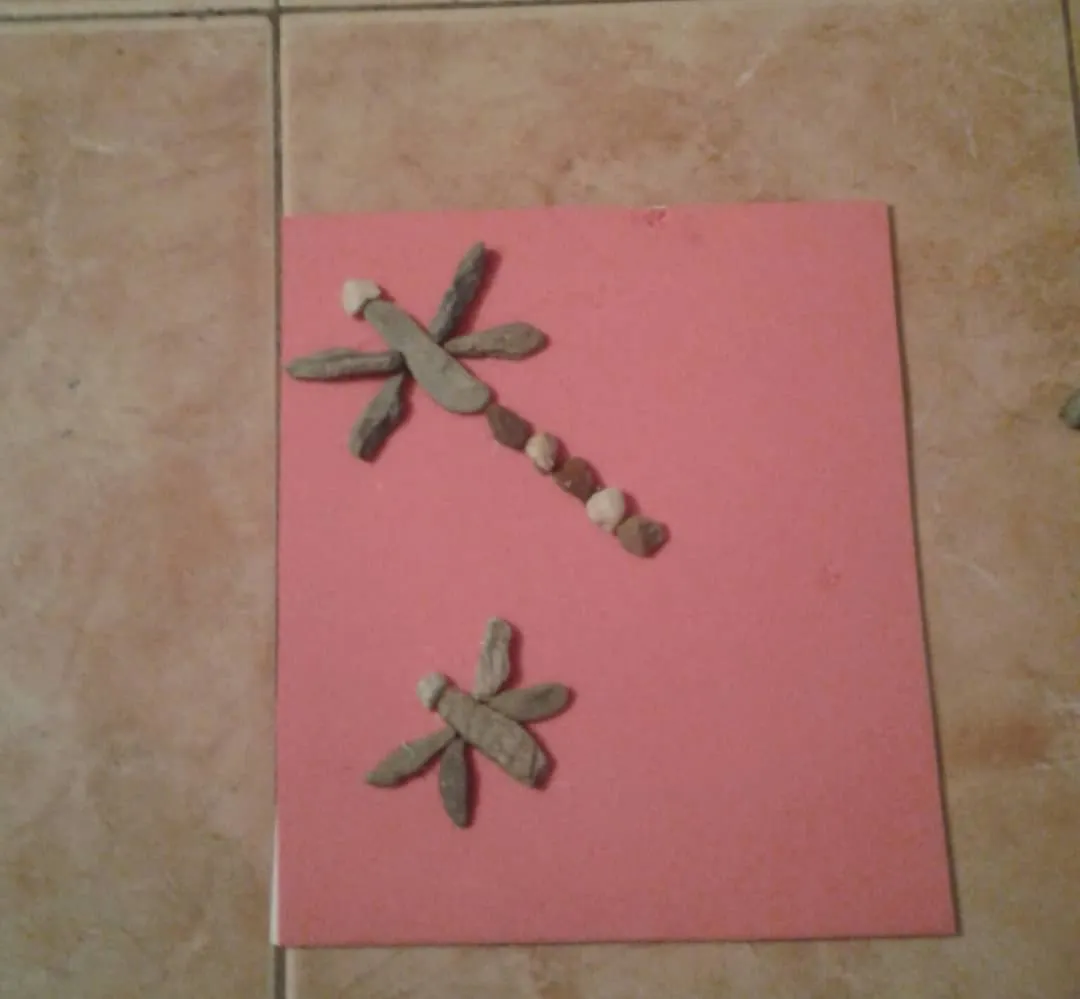
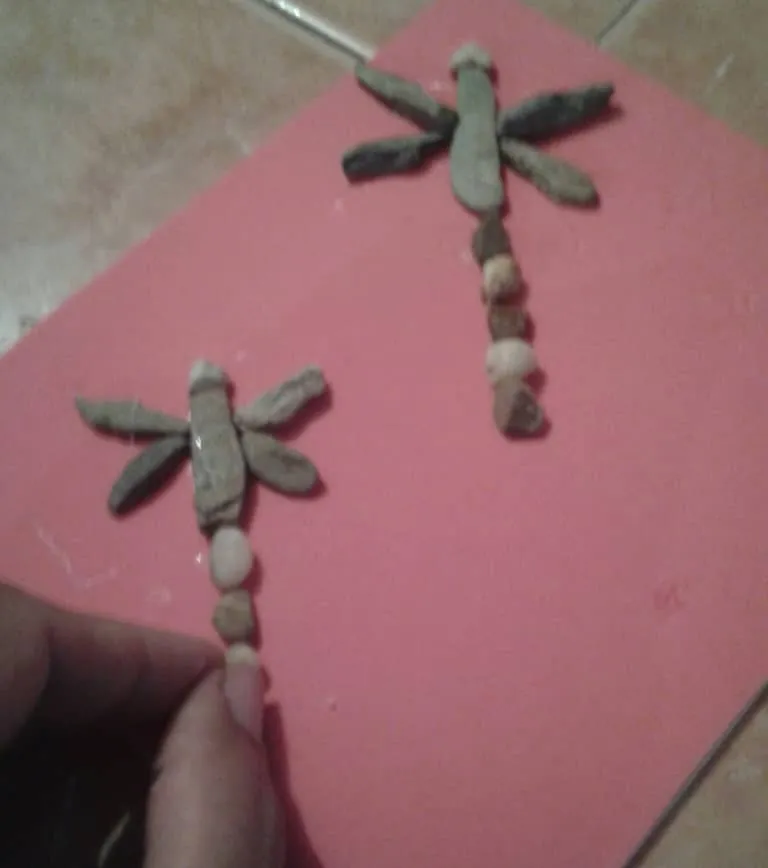
Paso 2
Vamos a comenzar a pegar las piedras en el foami anaranjado. Para ir haciéndole la forma de nuestra libélula. En las siguientes fotos les explicaré detalladamente.
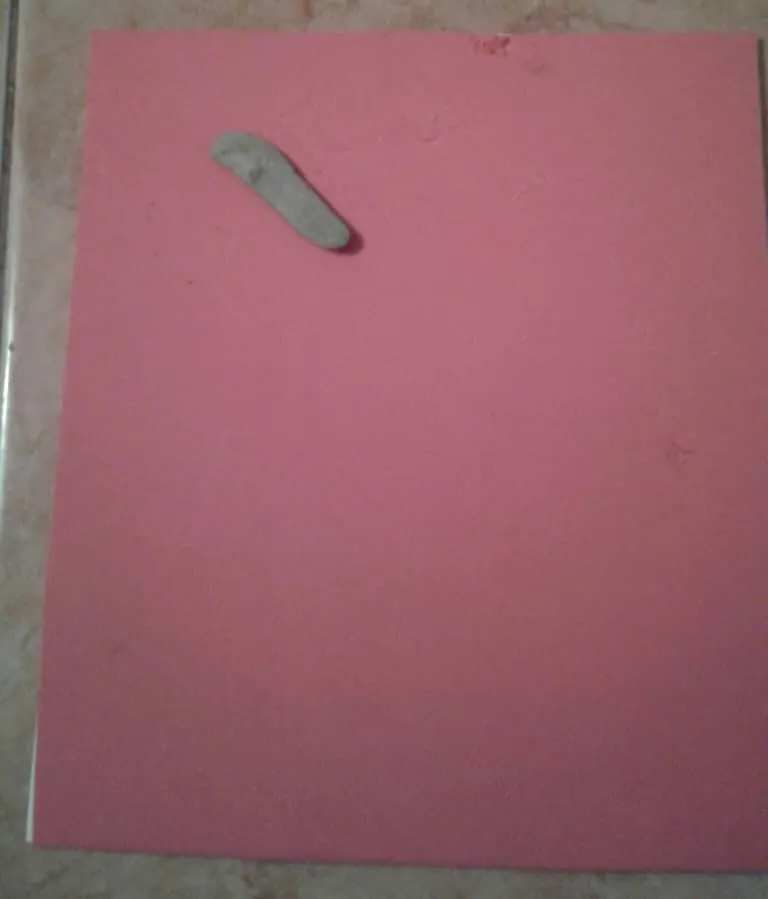
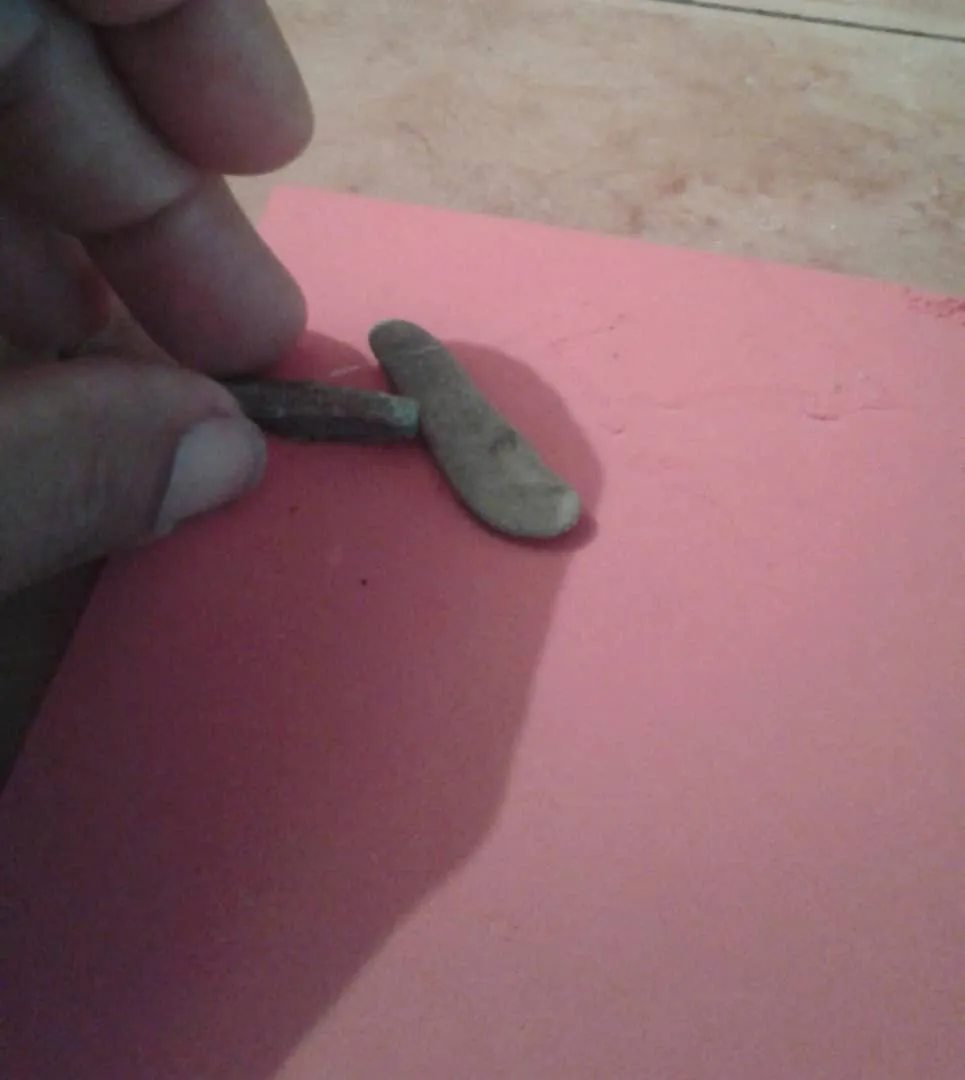

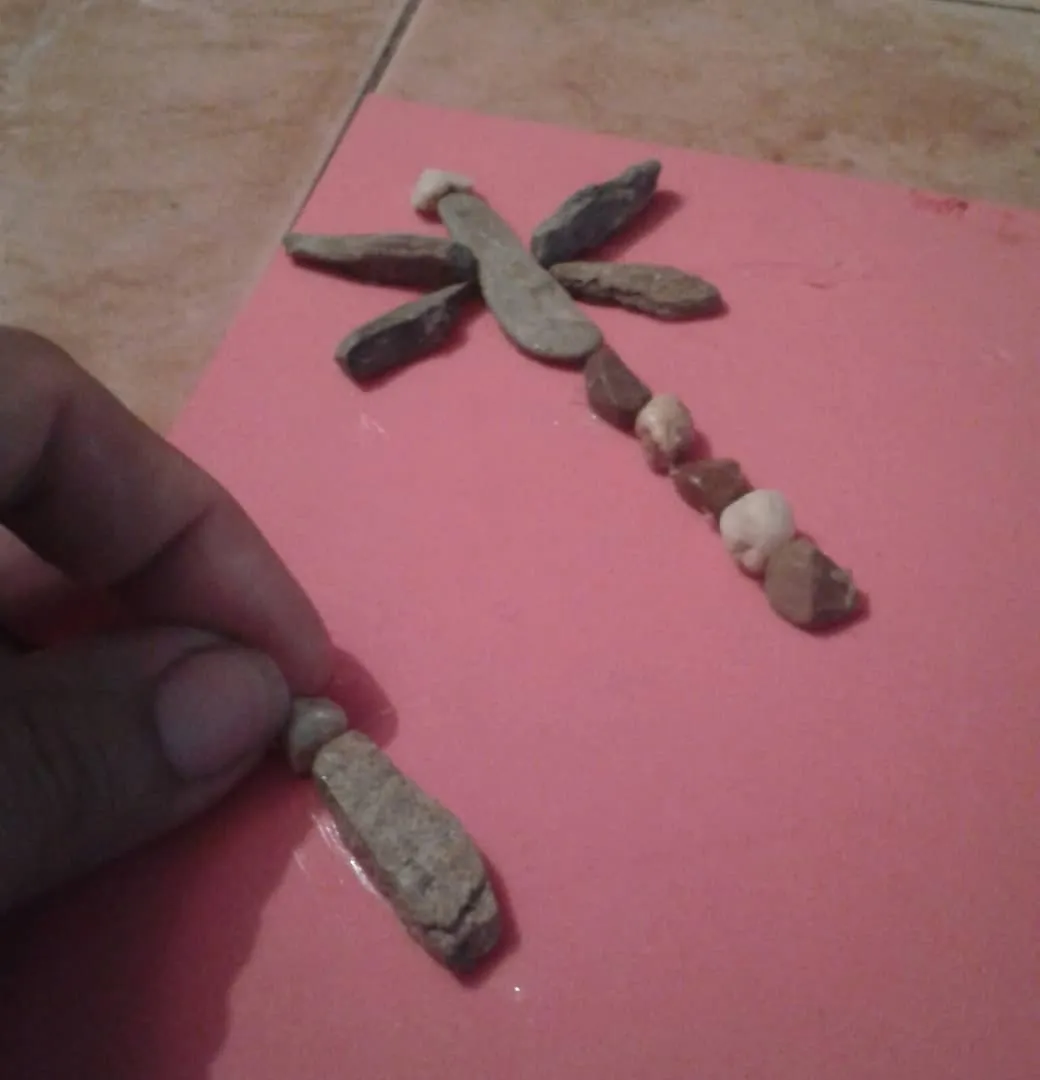
and likewise we are going to make our other dragonfly.
y así mismo vamos a realizar nuestra otra libélula.
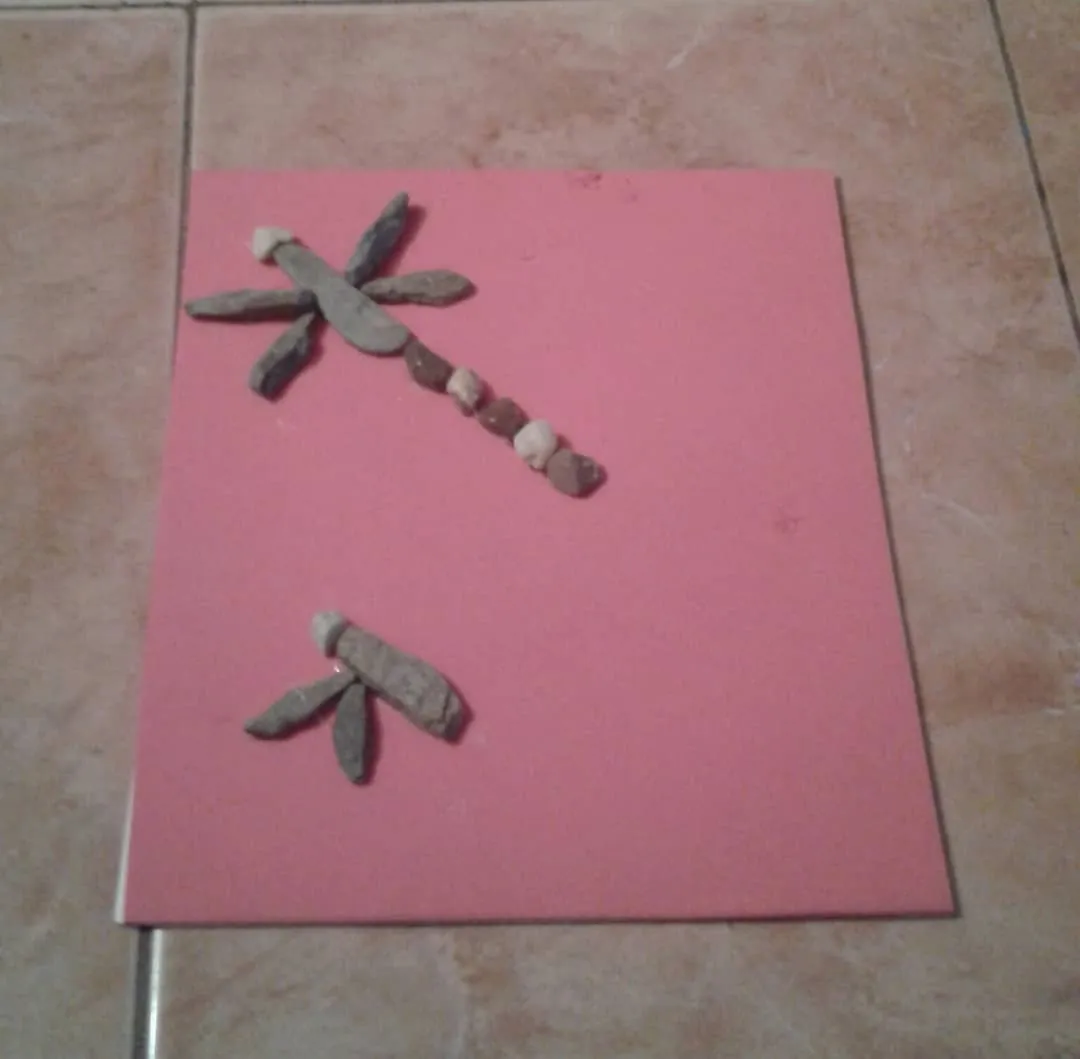
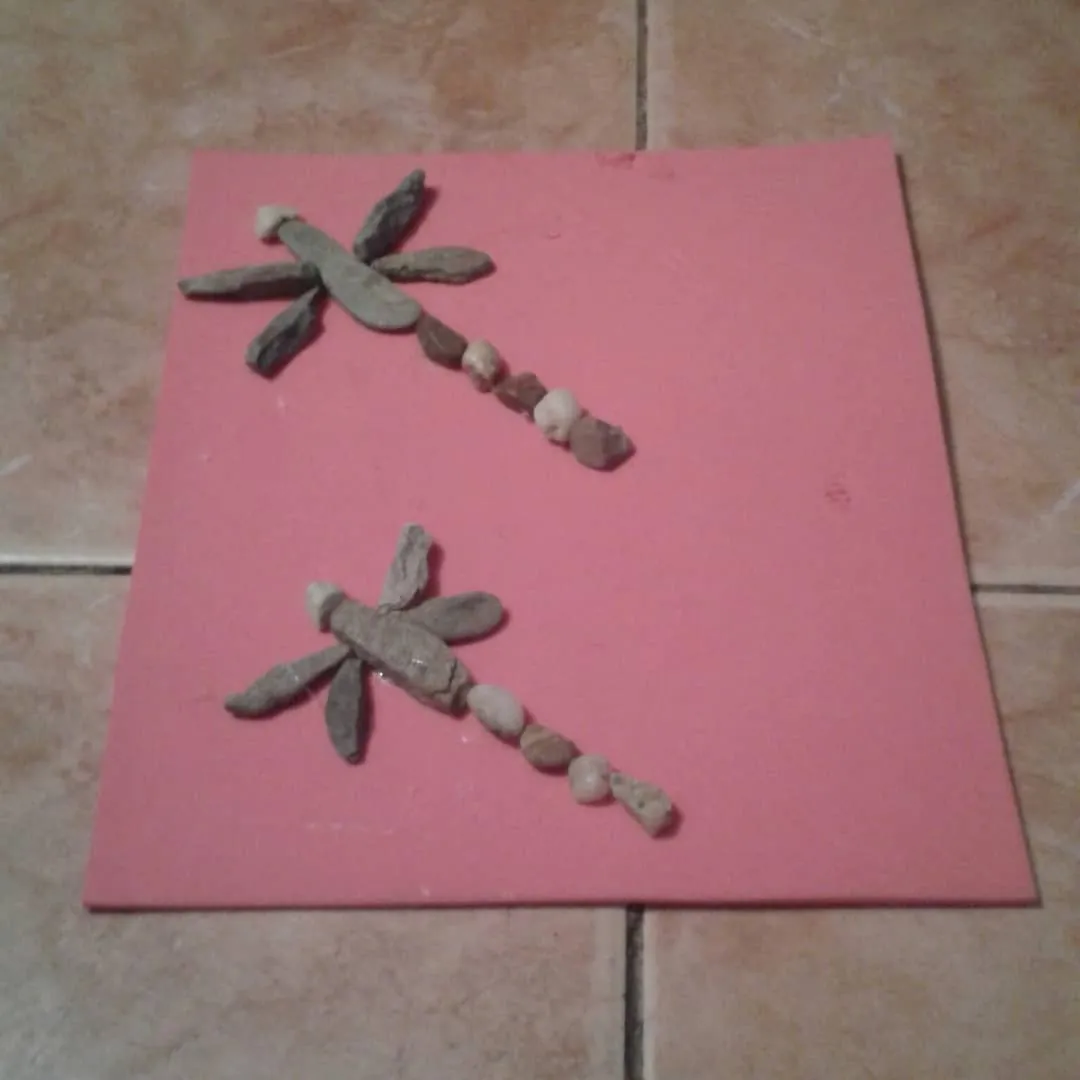
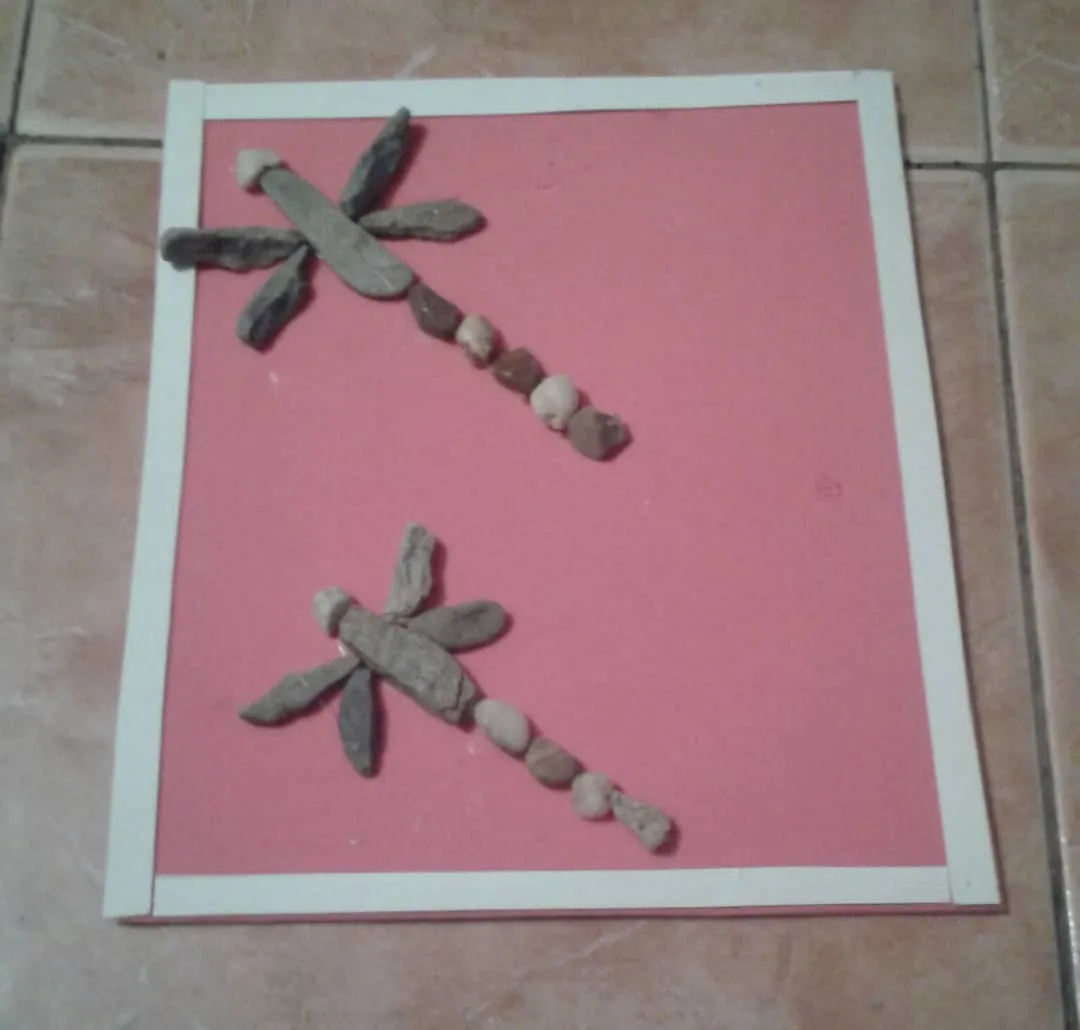
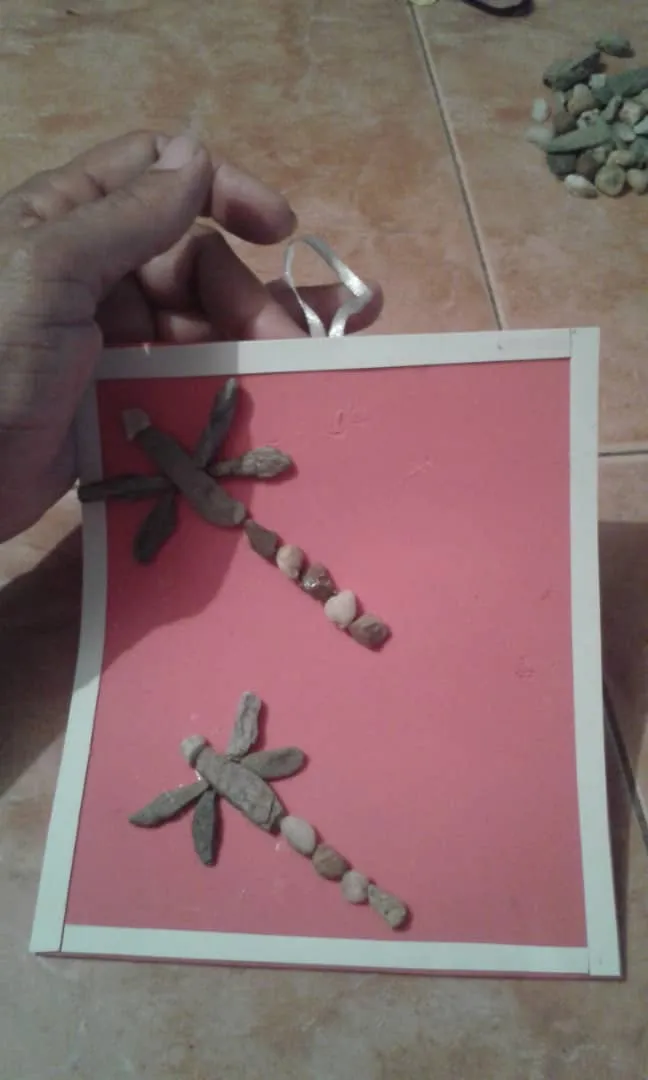
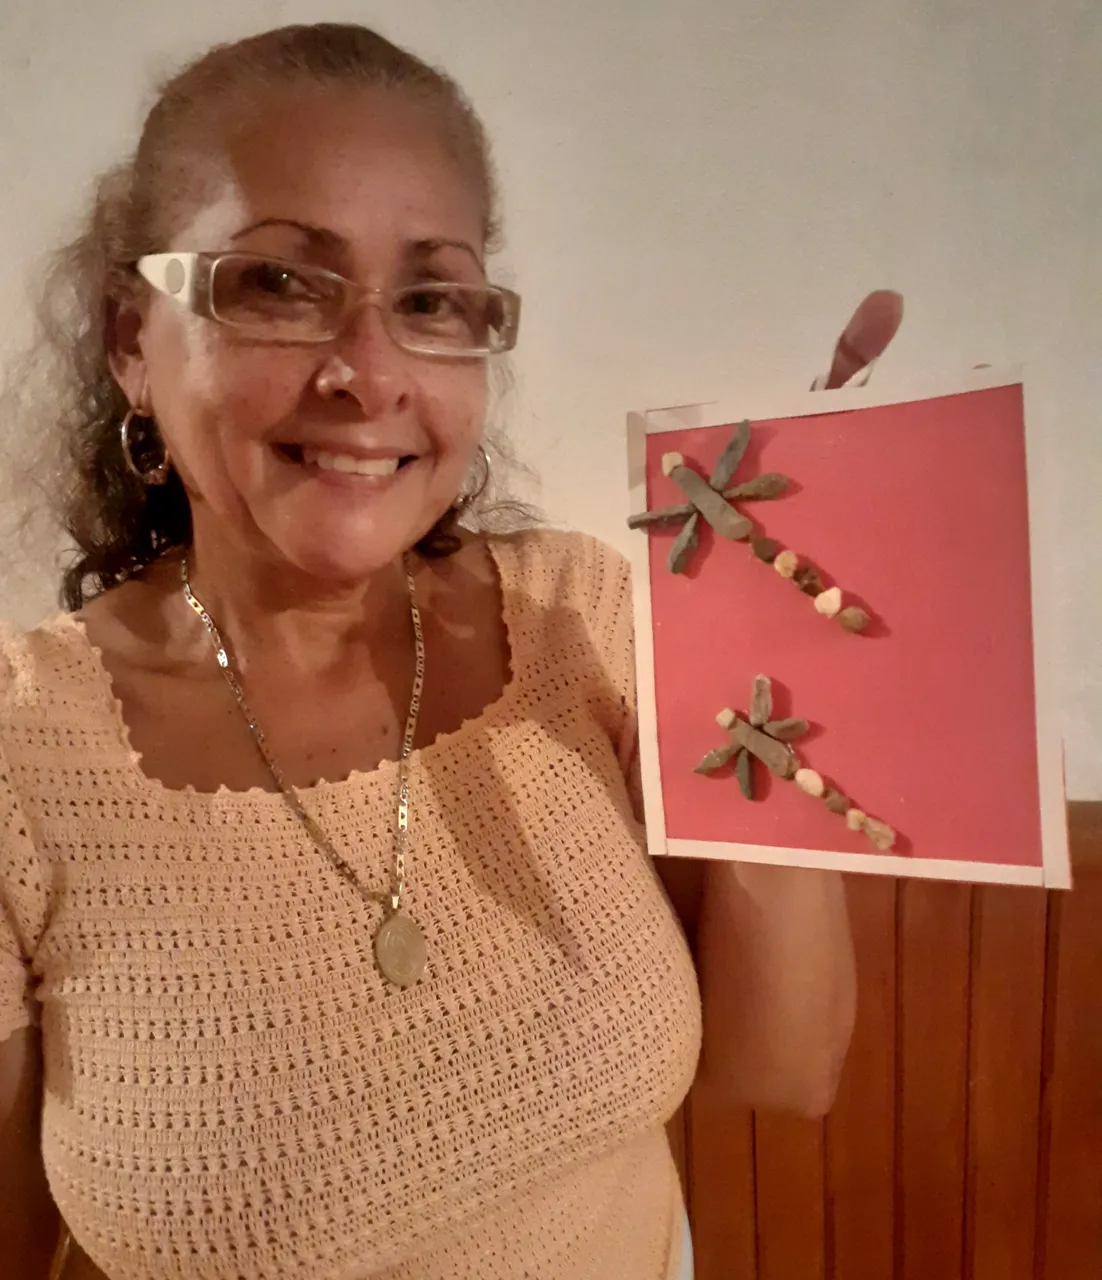
Step 3
Then, we glued the strips that we cut from the white foam around the edges of the painting, and with the white tape we glued it on the back to hang the painting on the wall. And ready our beautiful decoration.
Paso 3
Luego, le pegamos por los bordes del cuadro, las tiras que cortamos del foami blanco, y con la cinta blanca la pegamos en la parte de atrás para guindar el cuadro en la pared. Y listo nuestro hermosa decoración.