
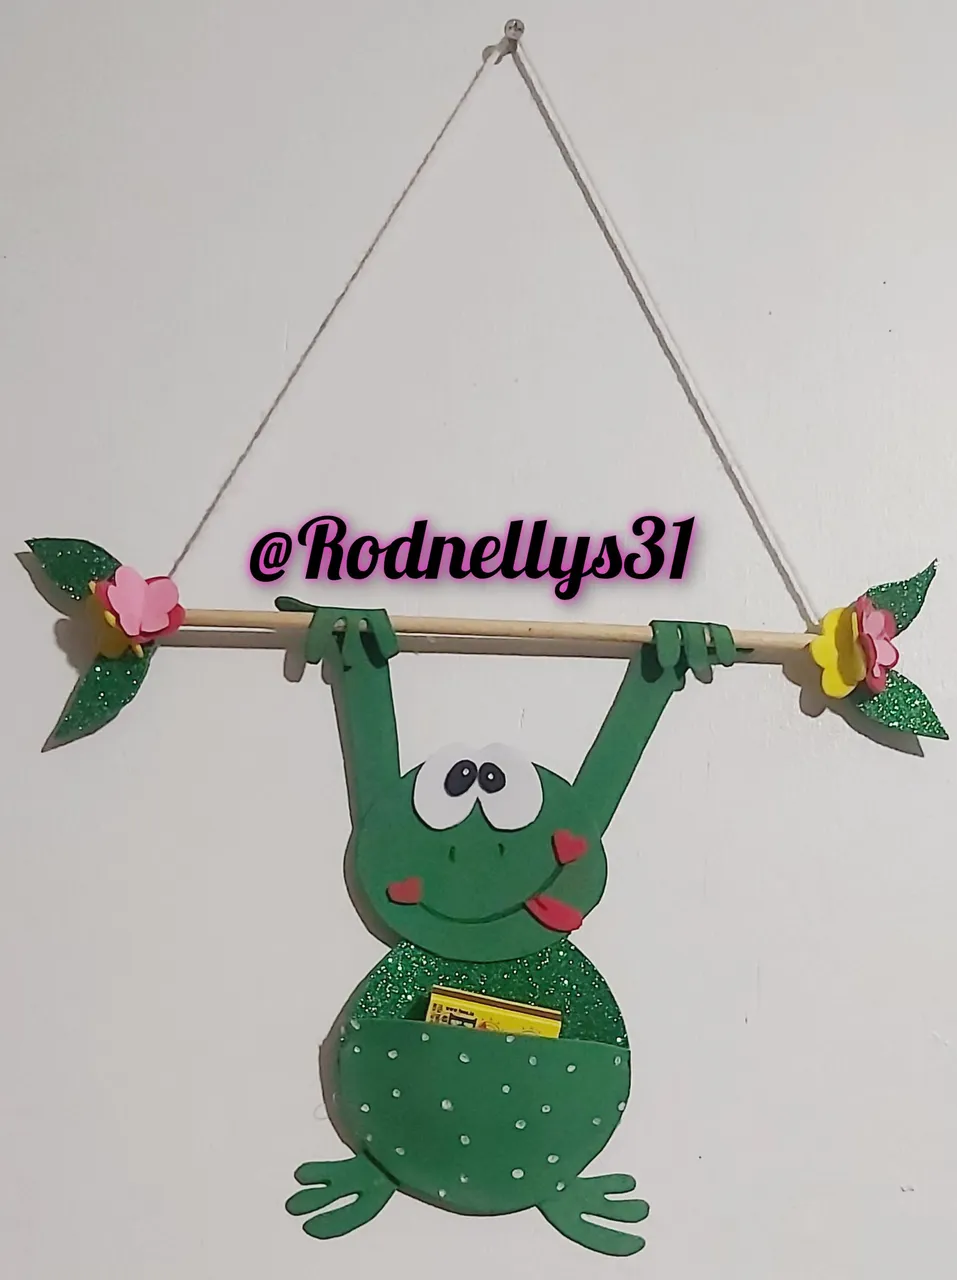
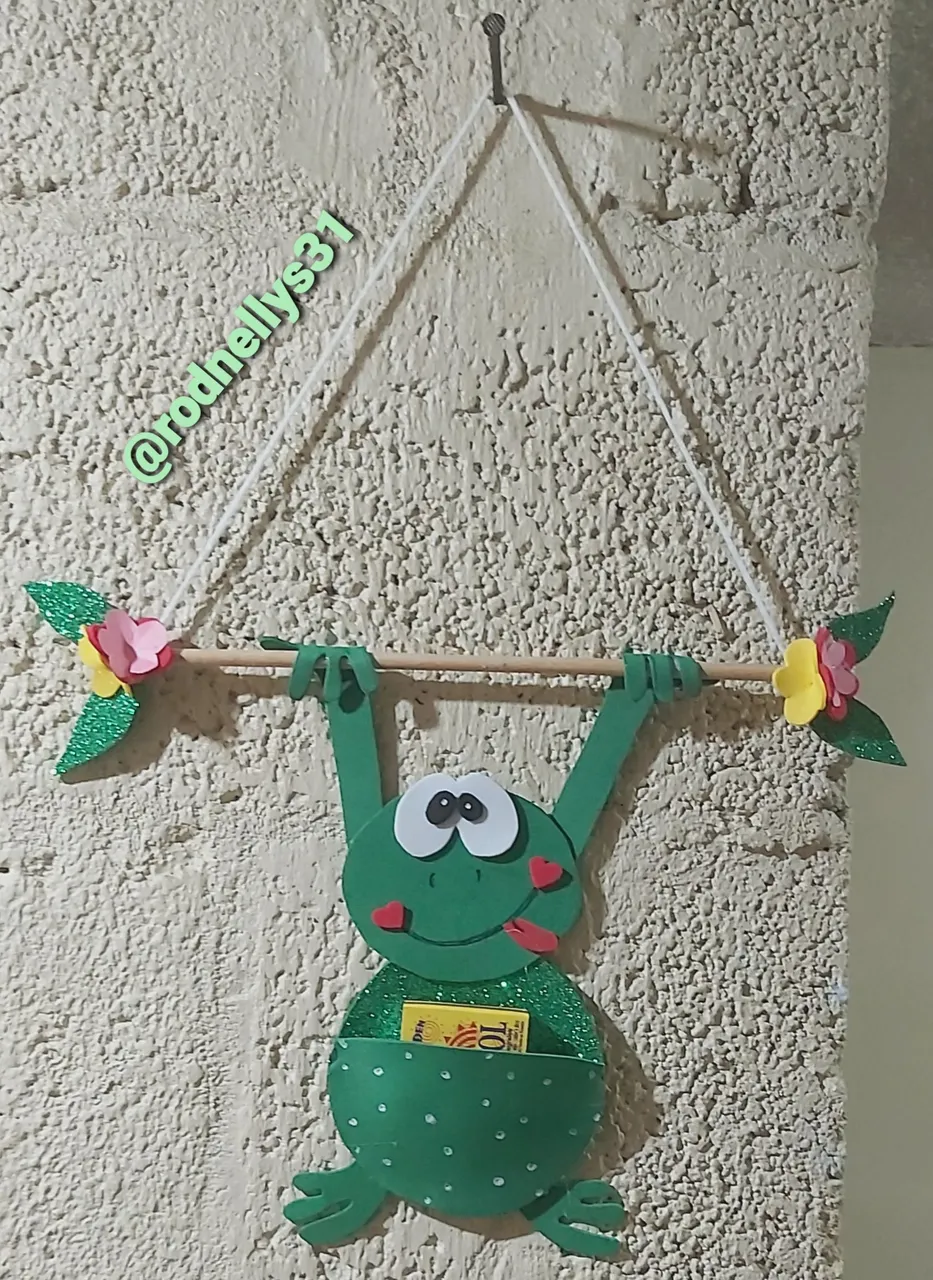
❣ Feliz domingo a toda la comunidad hivedoy espero se encuentren muy bien, les quiero compartir un nuevo trabajo, se trata de una linda Fósforera de rana 🐸 para darle un toque creativo a la cocina.
Happy Sunday to all the hivedoy community I hope you are very well, I want to share with you a new work, it is a cute Frog Matchstick 🐸 to give a creative touch to the kitchen.
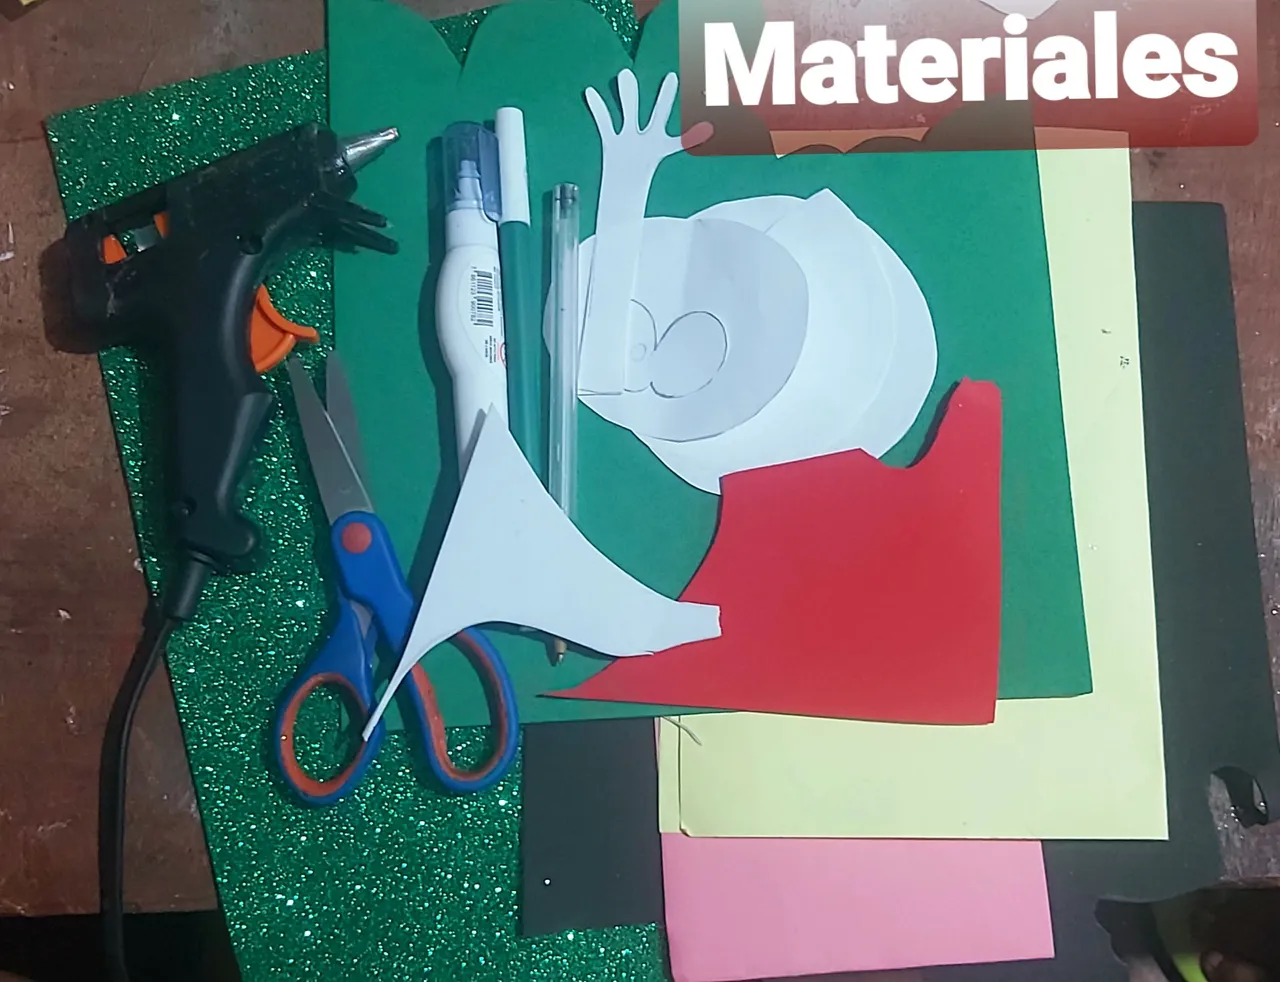
Materiales
🟢 Foami de colores verde, amarillo, rojo, negro, blanco y verde escarchado
🟢 Cartulina de color rodada
🟢 Palo de pincho
🟢 Estambre blanco
🟢 Tijera
🟢 Lapicero
🟢 marcador negro
🟢 Pistola de Silicón
🟢 Barra de sioicon
🟢 Corrector
Materials
🟢 Foami in green, yellow, red, black, white and frosted green colors.
🟢 Rolled colored cardboard.
🟢 Skewer stick
🟢 White stamen
🟢 Scissors
🟢 Pencil
🟢 Black marker
🟢 Silicone gun
🟢 Silicon rod
🟢 Corrector

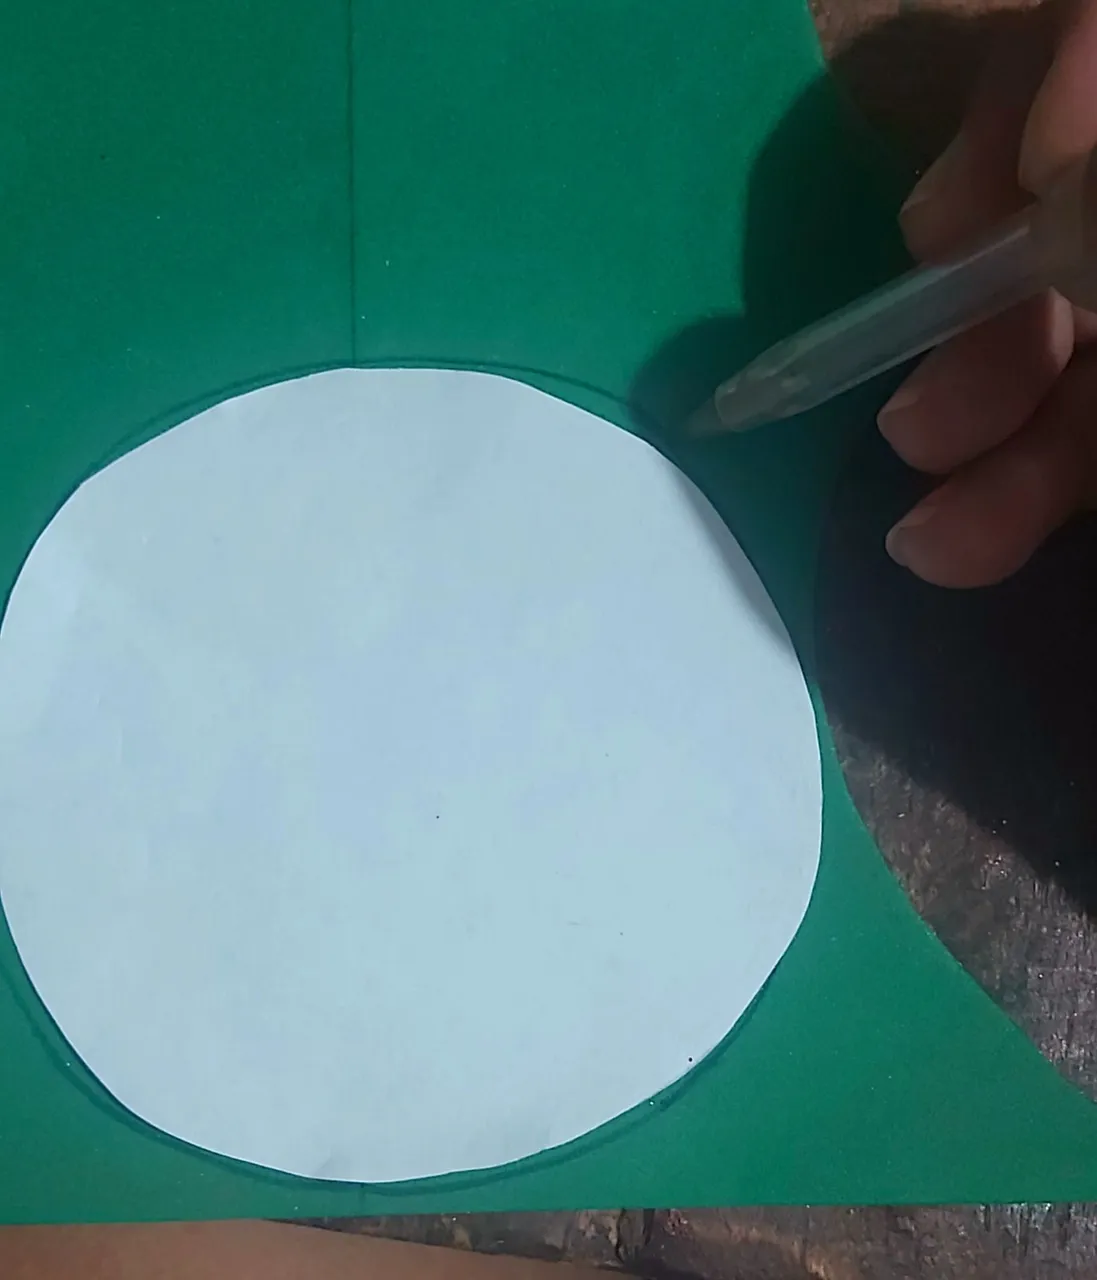
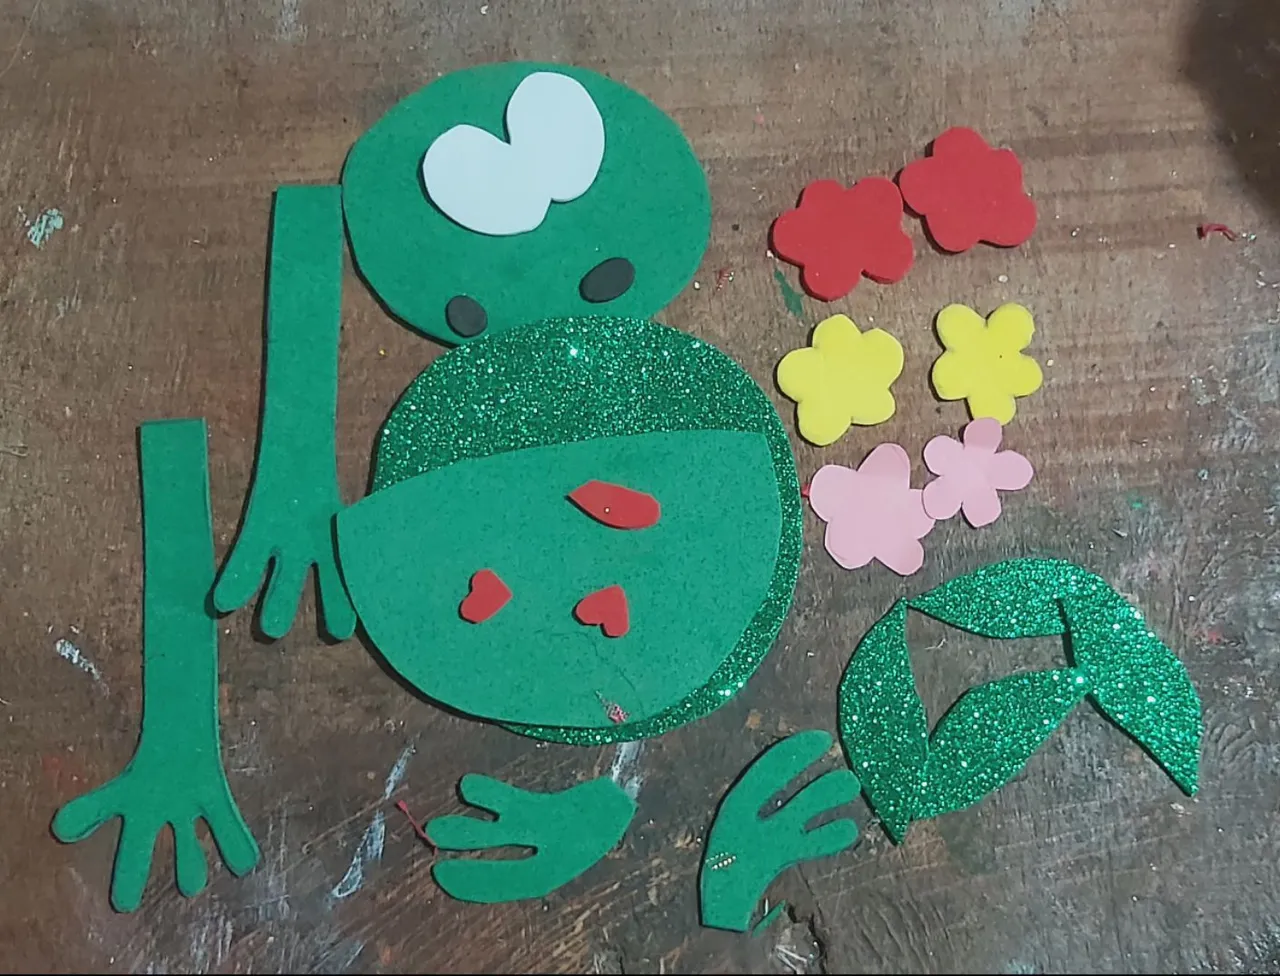
1). Primero marcamos los patrones en los foamis y la cartulina
1). First we mark the patterns on the foamis and cardboard.

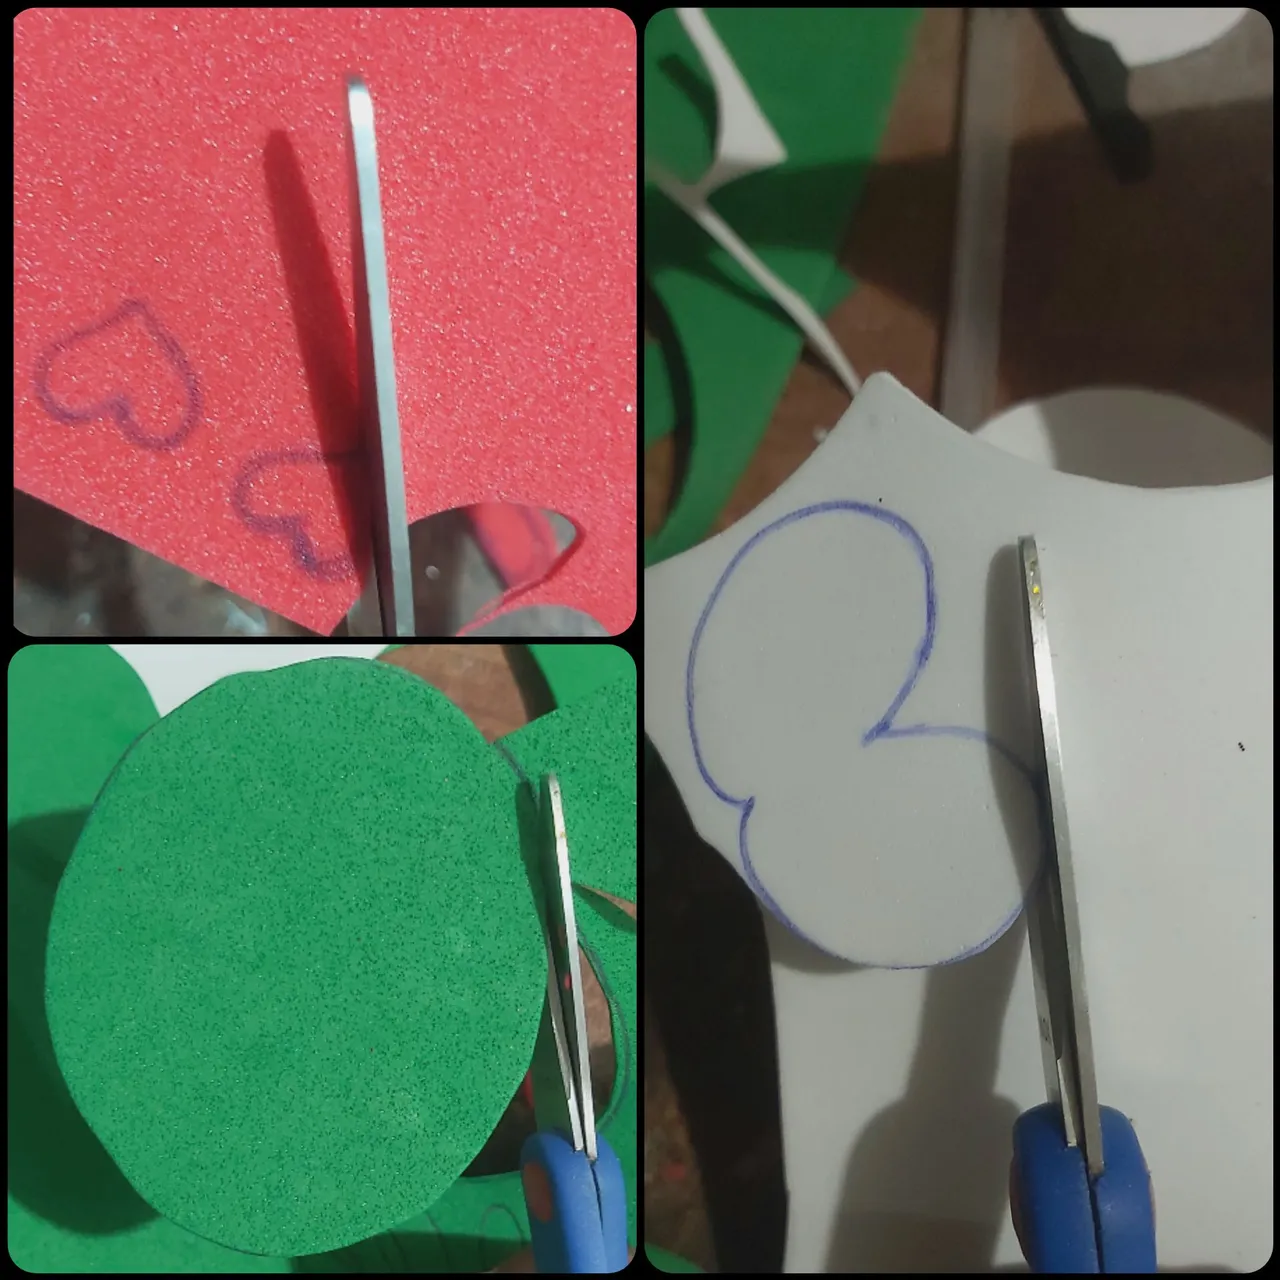
2). Luego recortamos todas las piezas
2). Then we cut out all the pieces
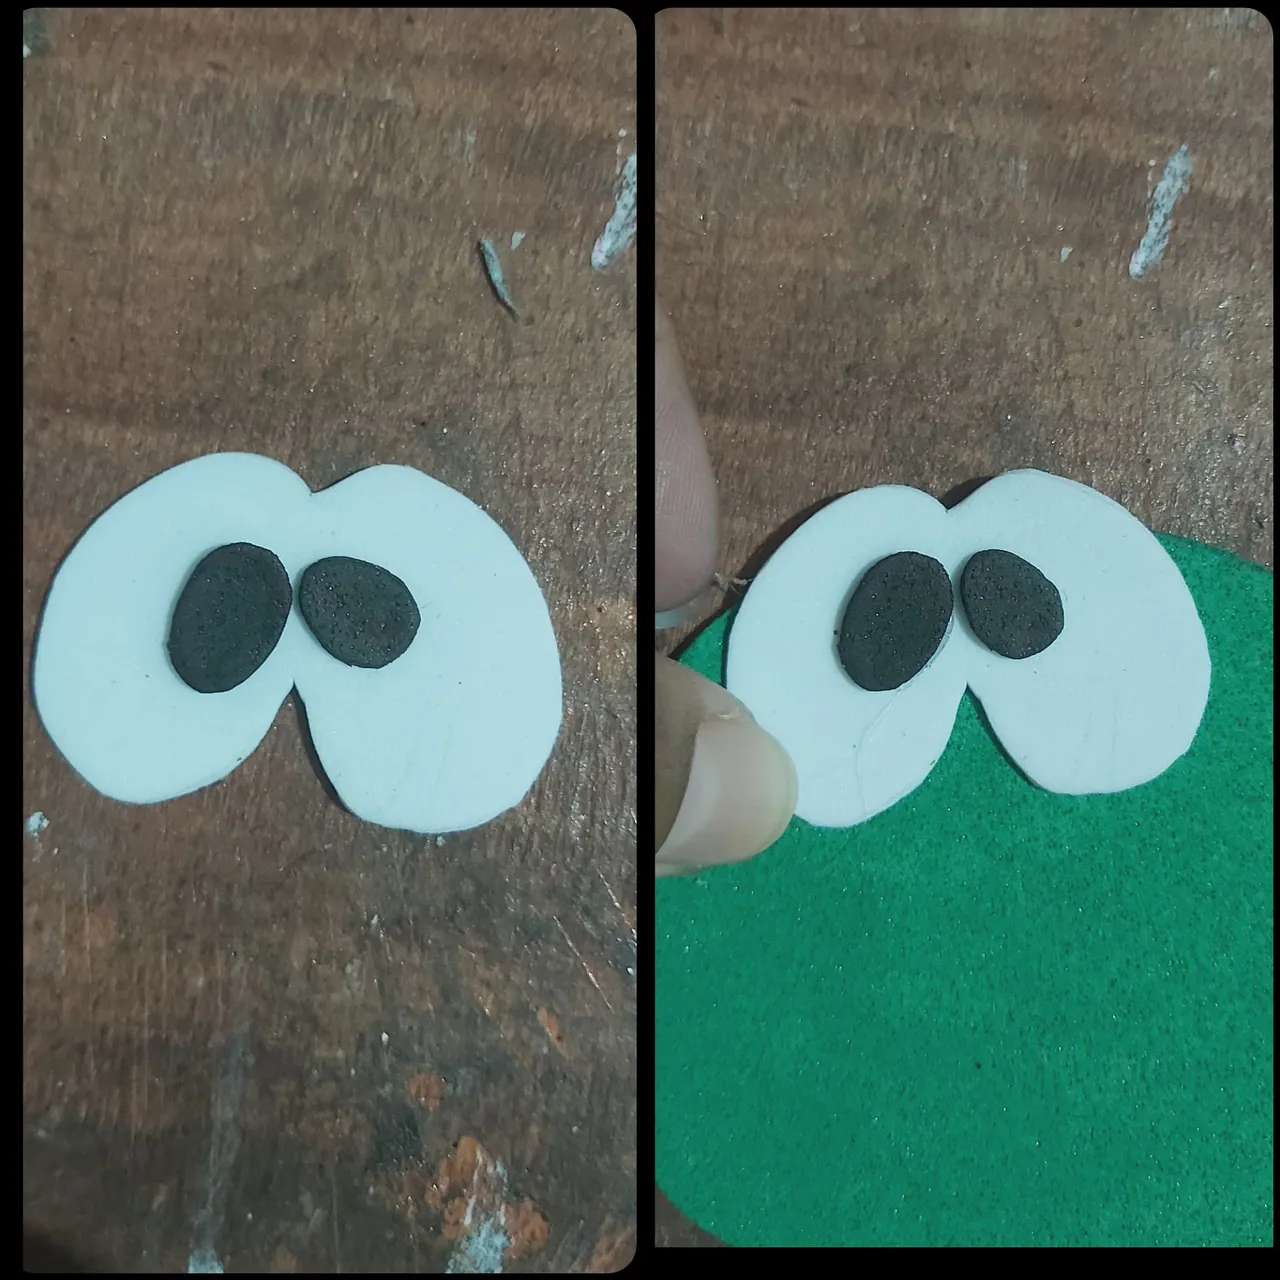
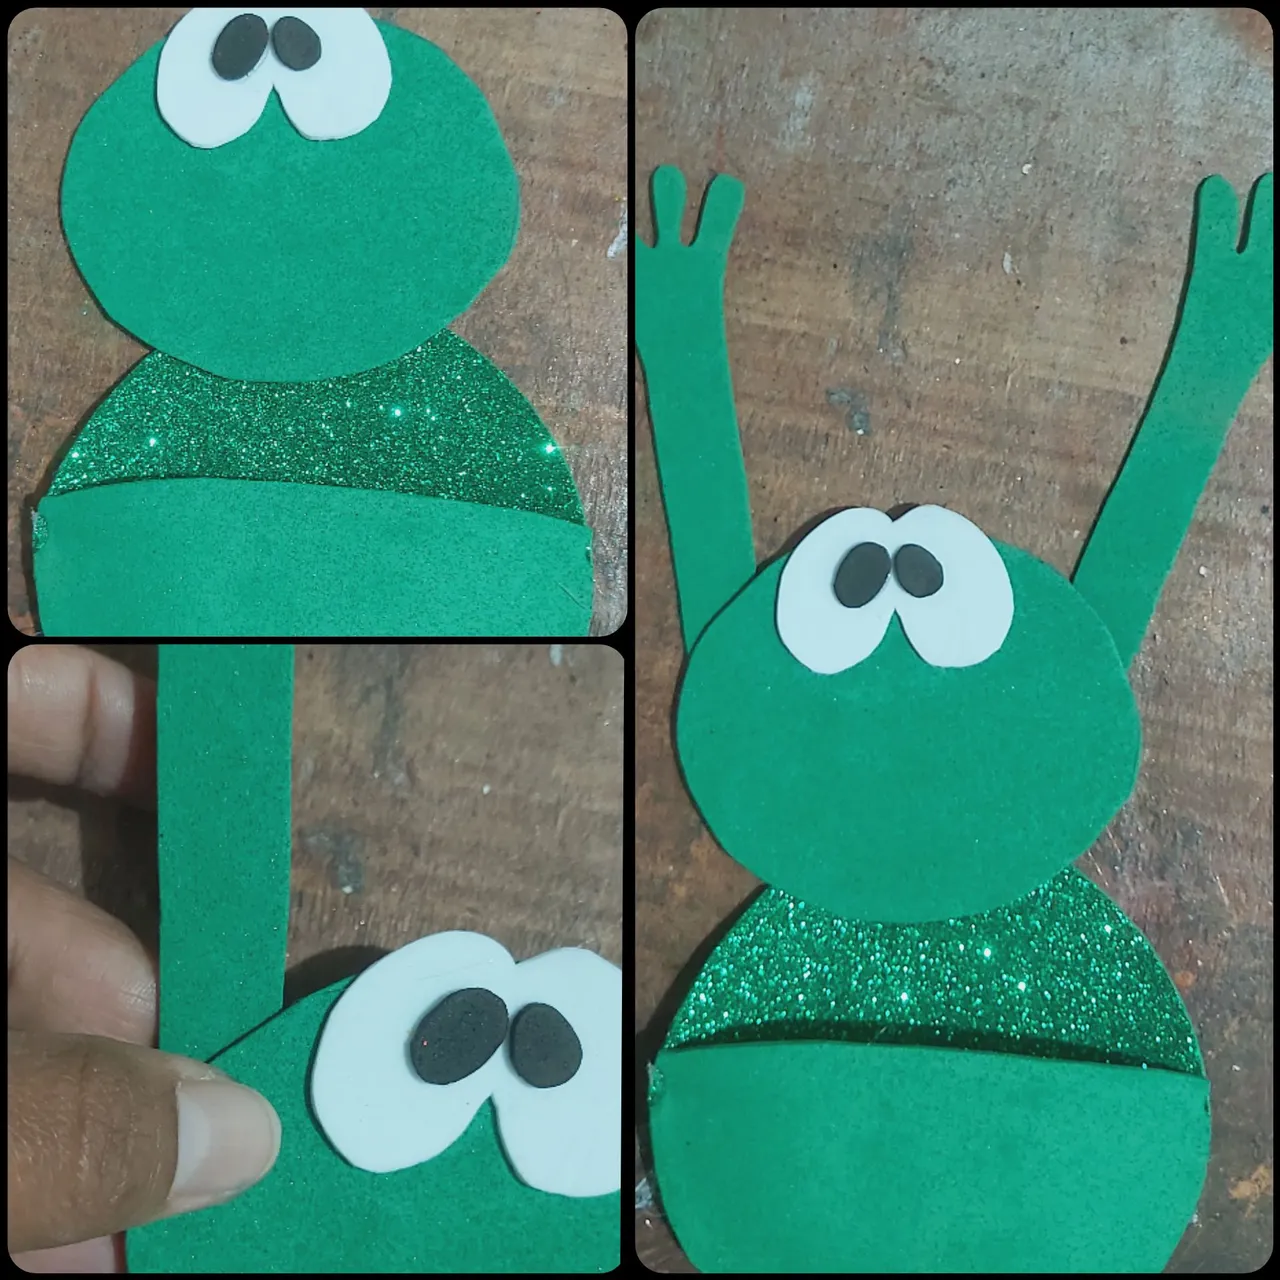
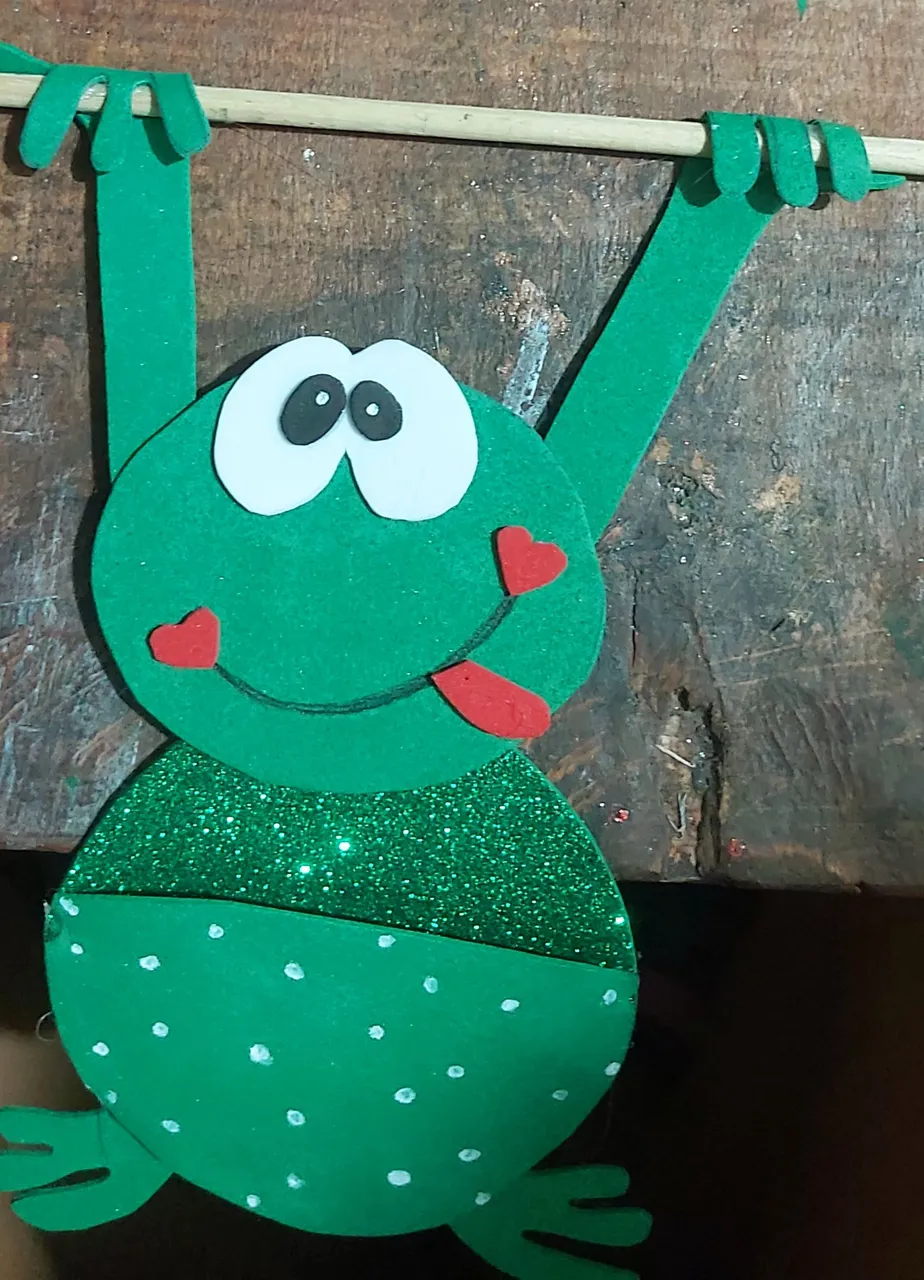
3). Pegamos los círculos negros en la parte blanco de los ojos, luego pegamos los ojos en la parte superior de la cara.
3). Glue the black circles on the white part of the eyes, then glue the eyes on the upper part of the face.
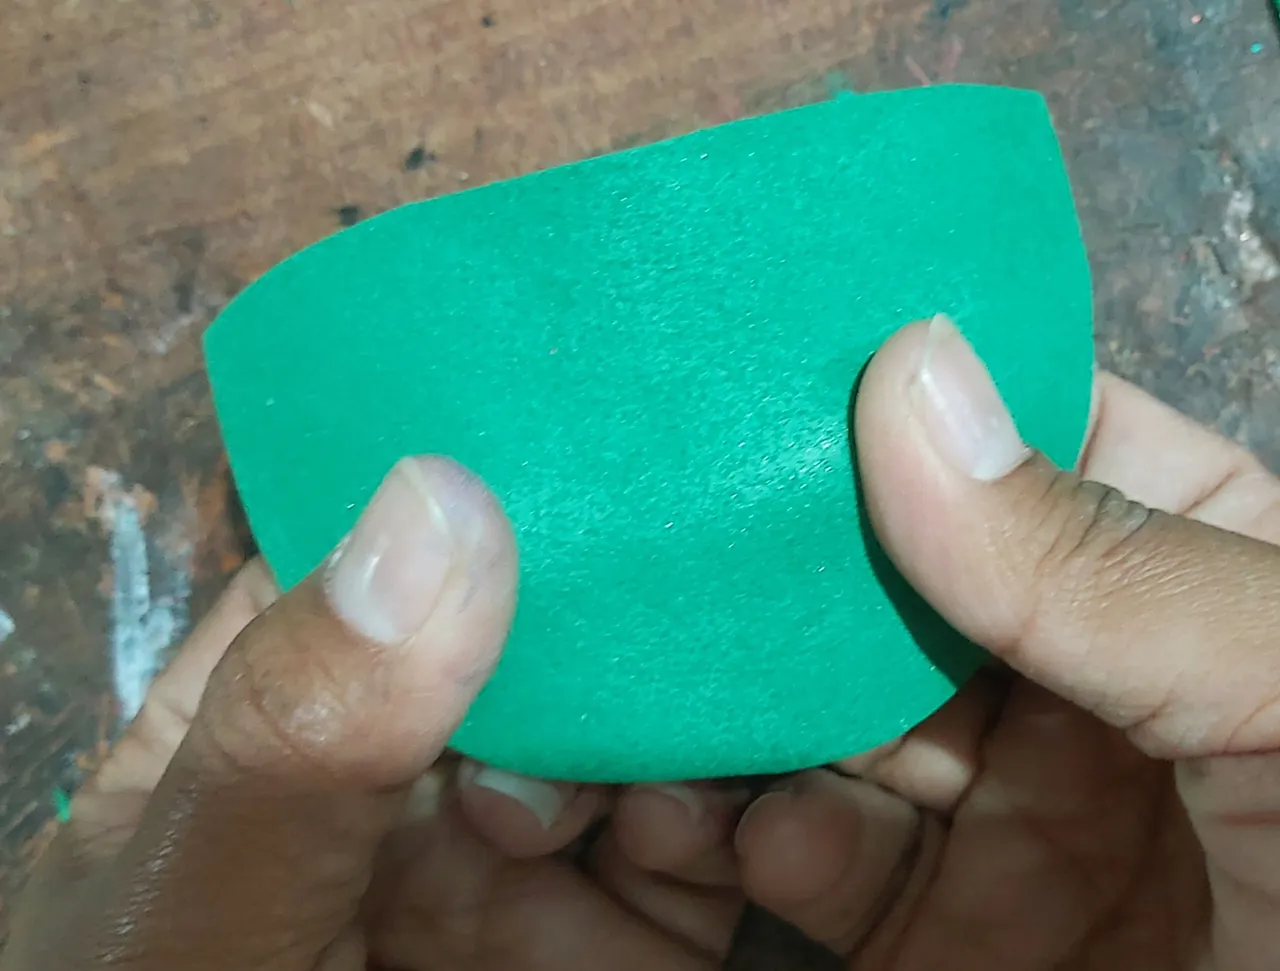
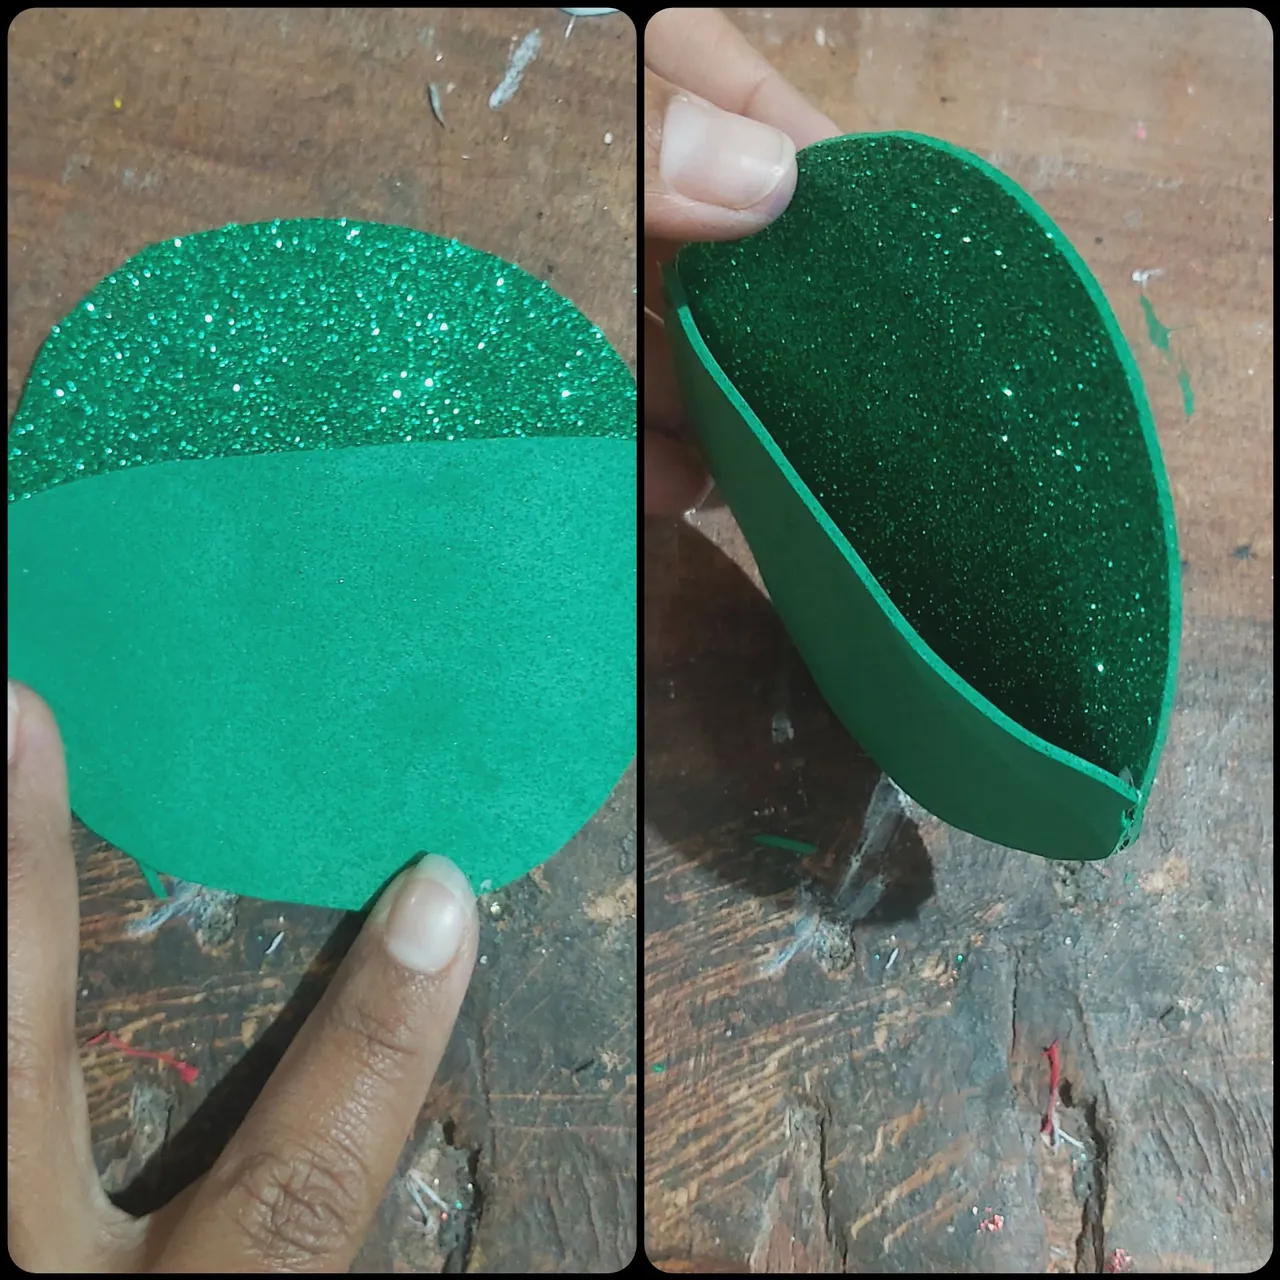
4.) Estiramos el foami verde con haciendo un poco de presión con la yema de los dedos, luego pegamos en el círculo escarchado.
4.) Stretch the green foami with a little pressure with your fingertips, then glue on the frosted circle.
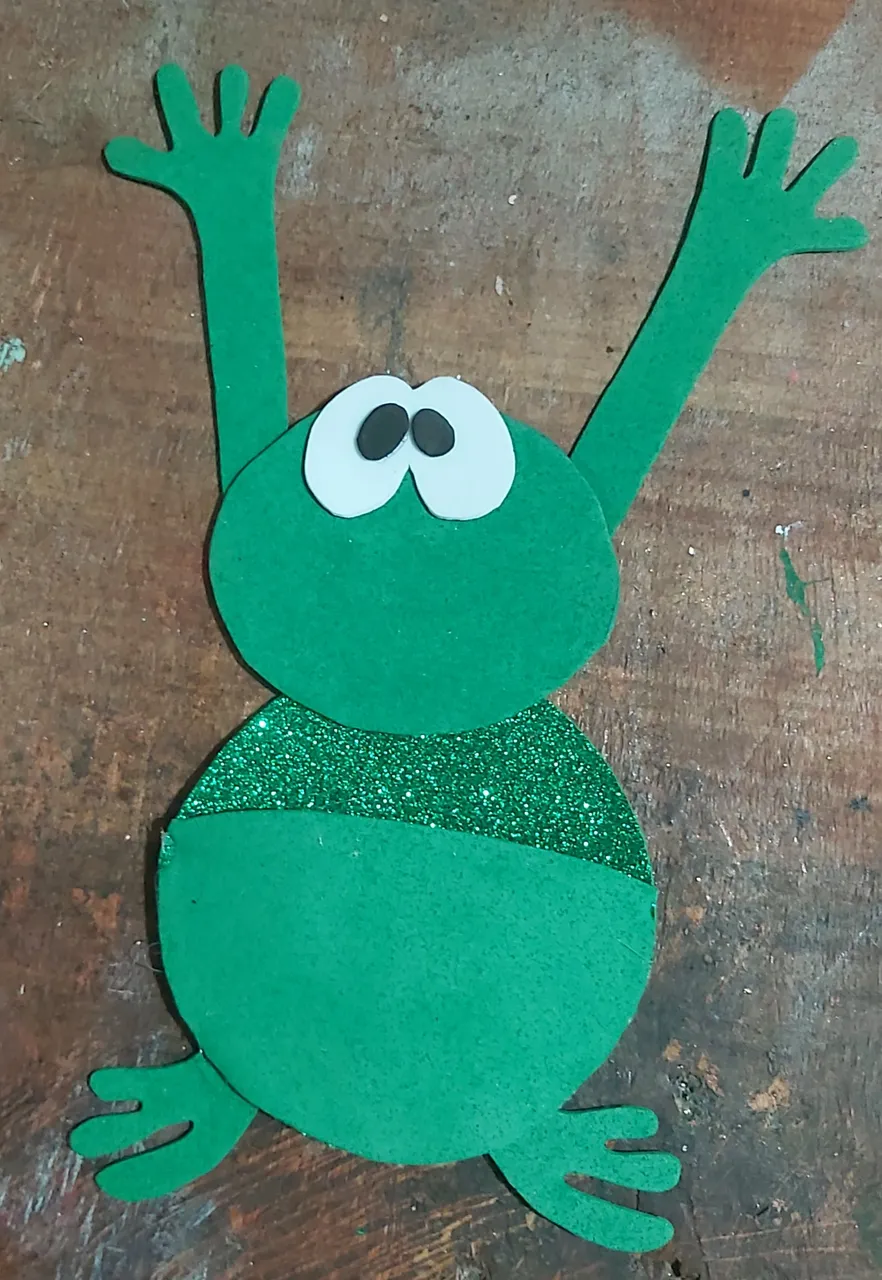
5.) Unimos la cara y el cuerpo, también pegamos los brazos y las patas.
5.) We join the face and the body, we also glue the arms and the legs.
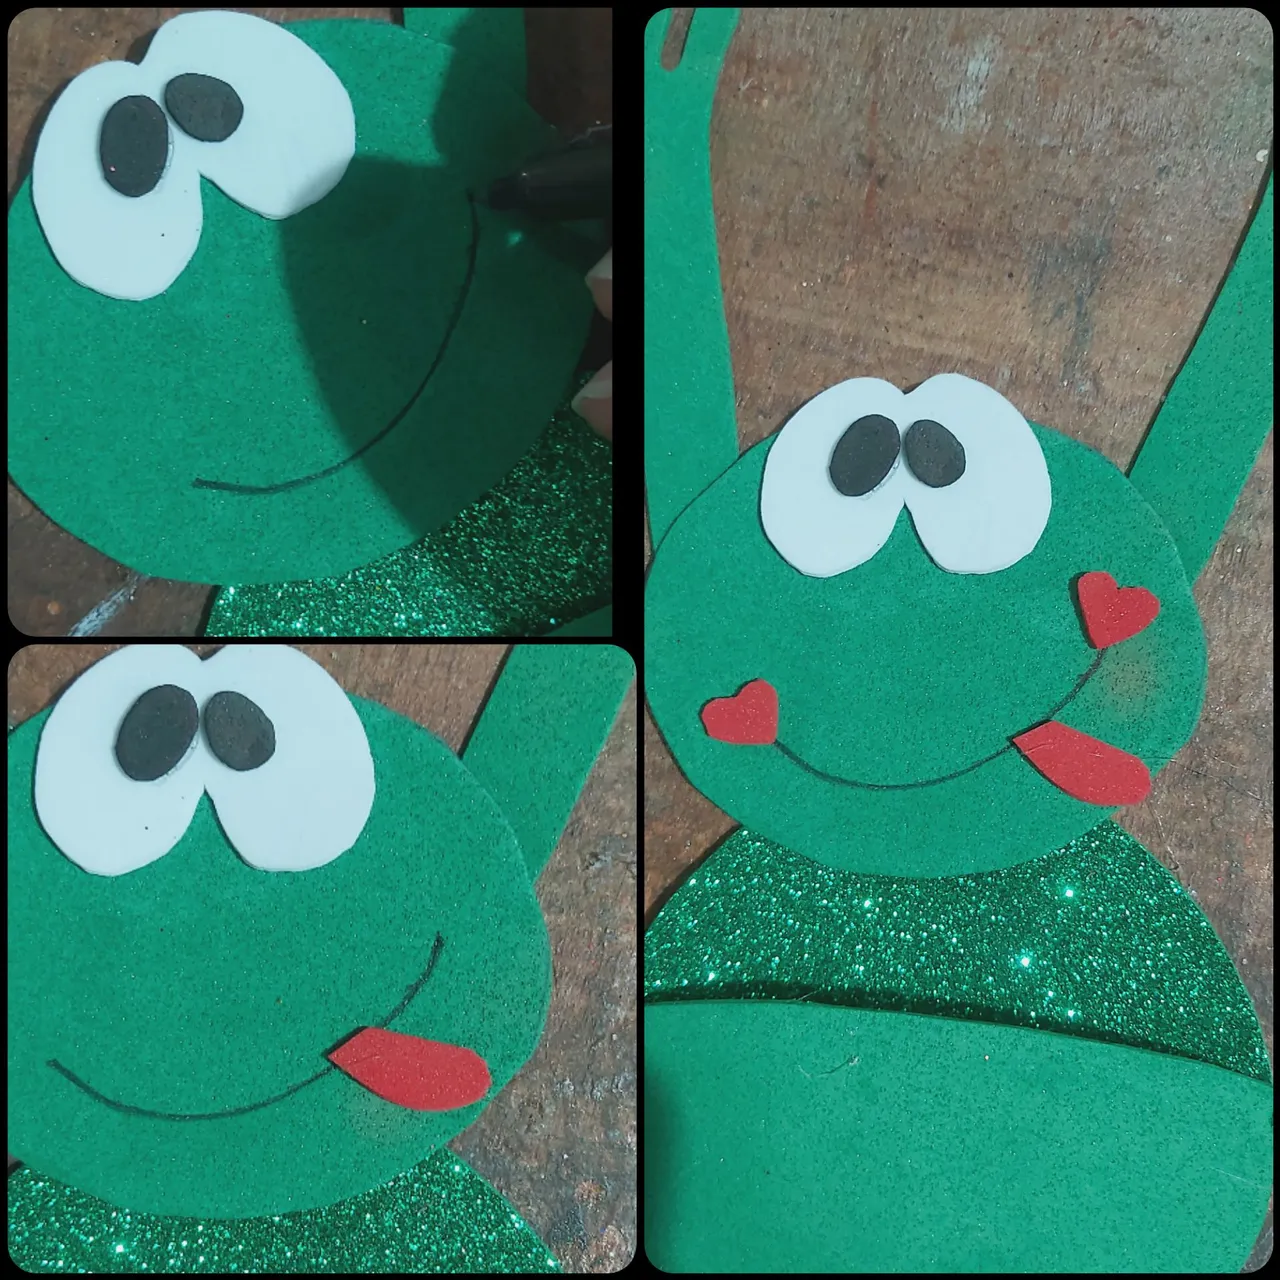
6). Con el marcador negro marcamos la boca y pegamos la lengua y los 2 corazones en cada extremo de la boca.
6). With the black marker we mark the mouth and glue the tongue and the 2 hearts at each end of the mouth.
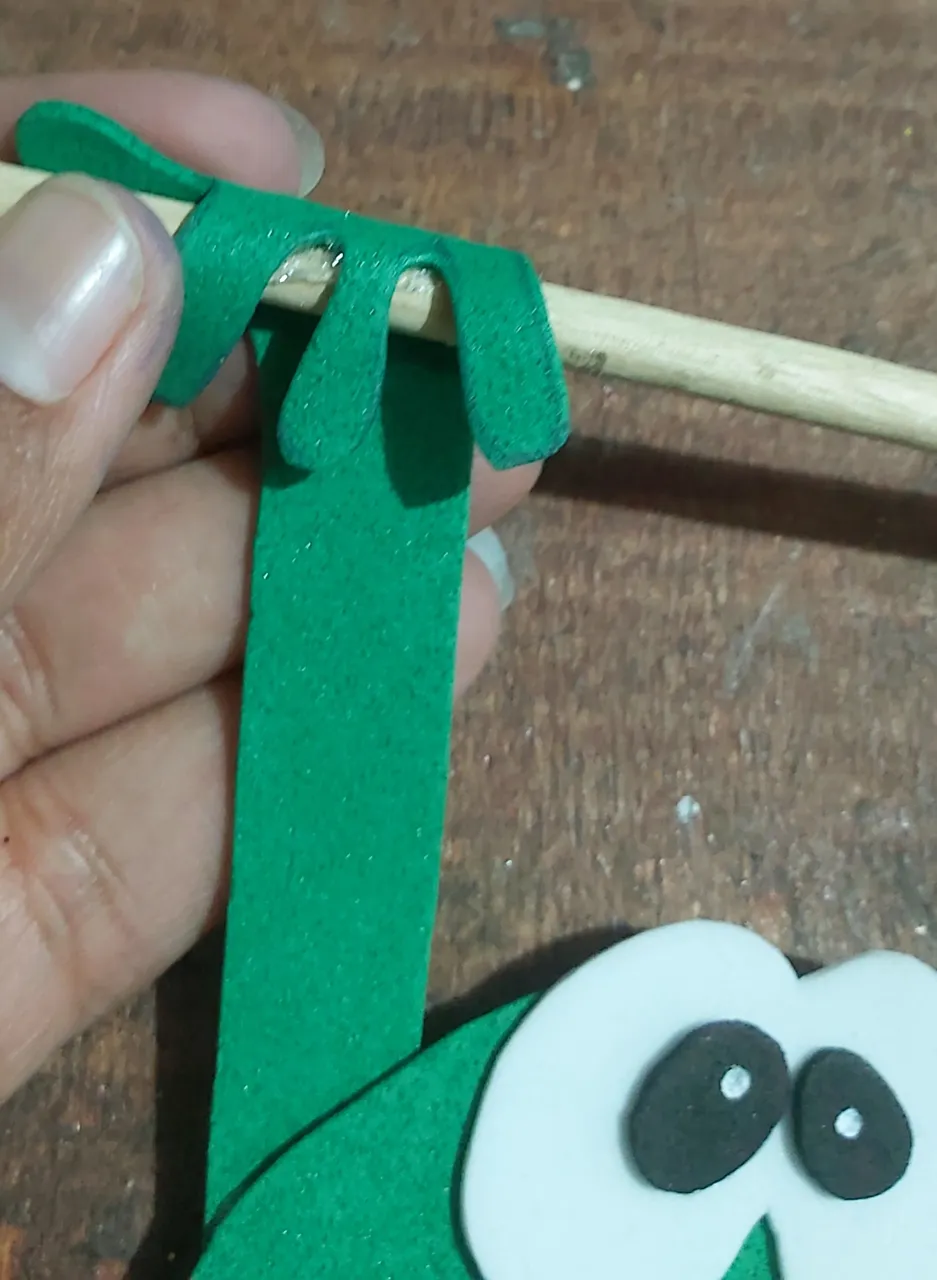
7). Pegamos las manitos en el palo de pincho, haciendo un dobles a los dedos para que se sujete la rana
7). We glue the little hands on the skewer stick, making a double to the fingers to hold the frog.
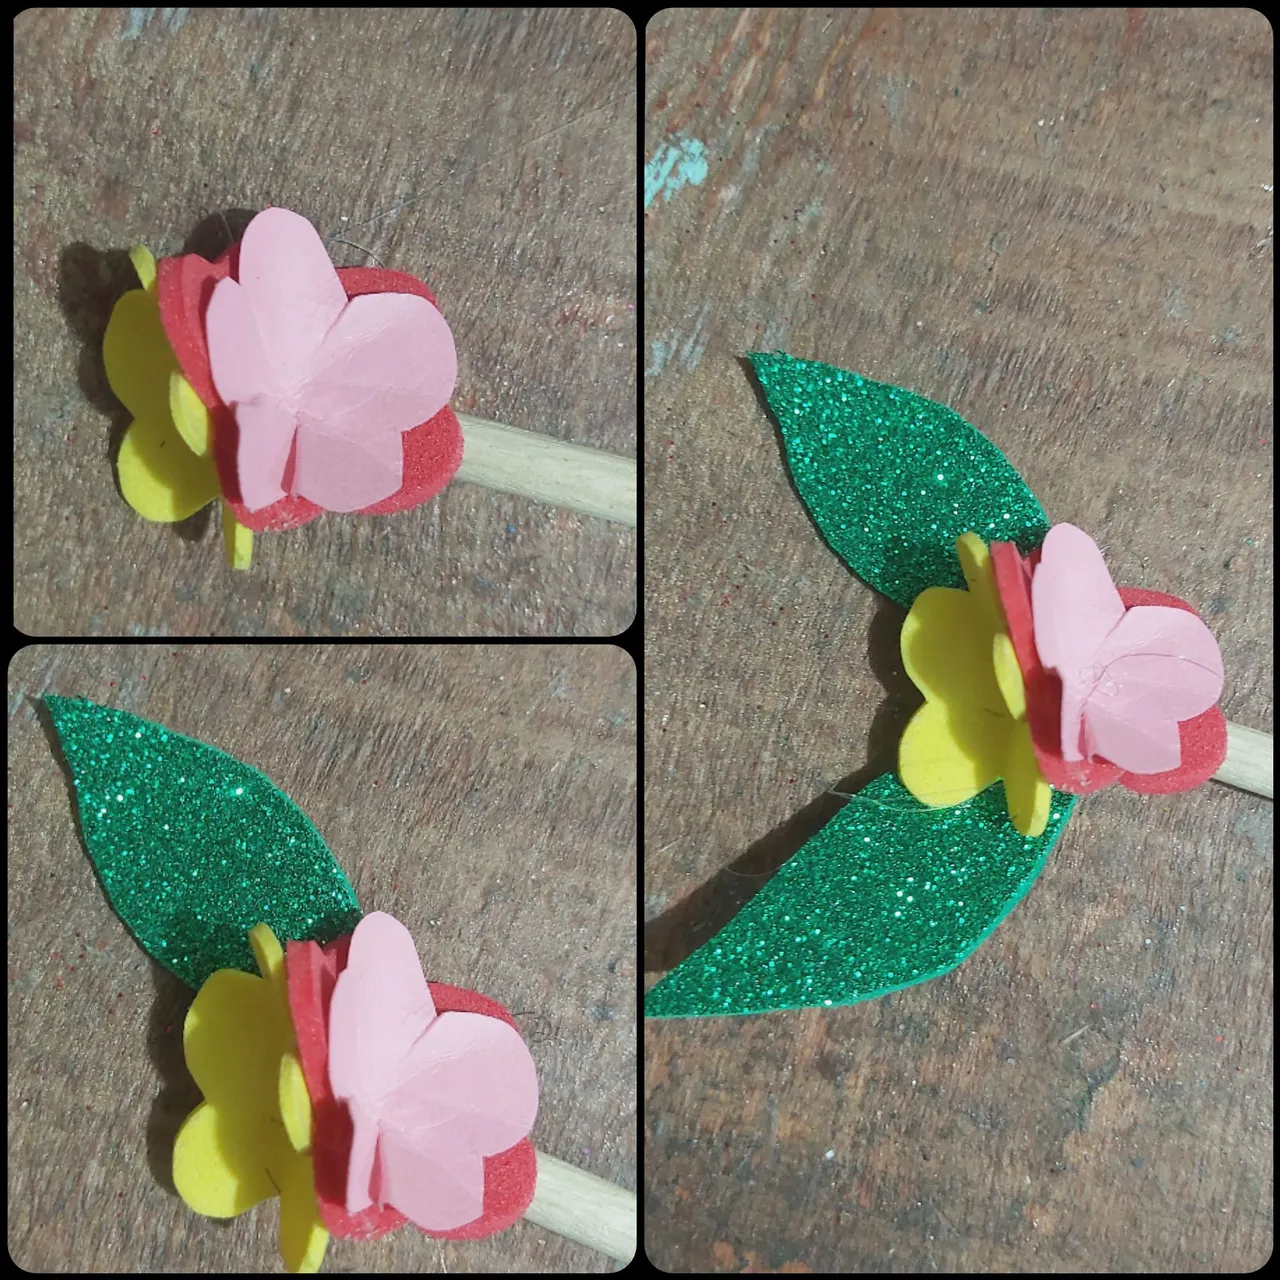
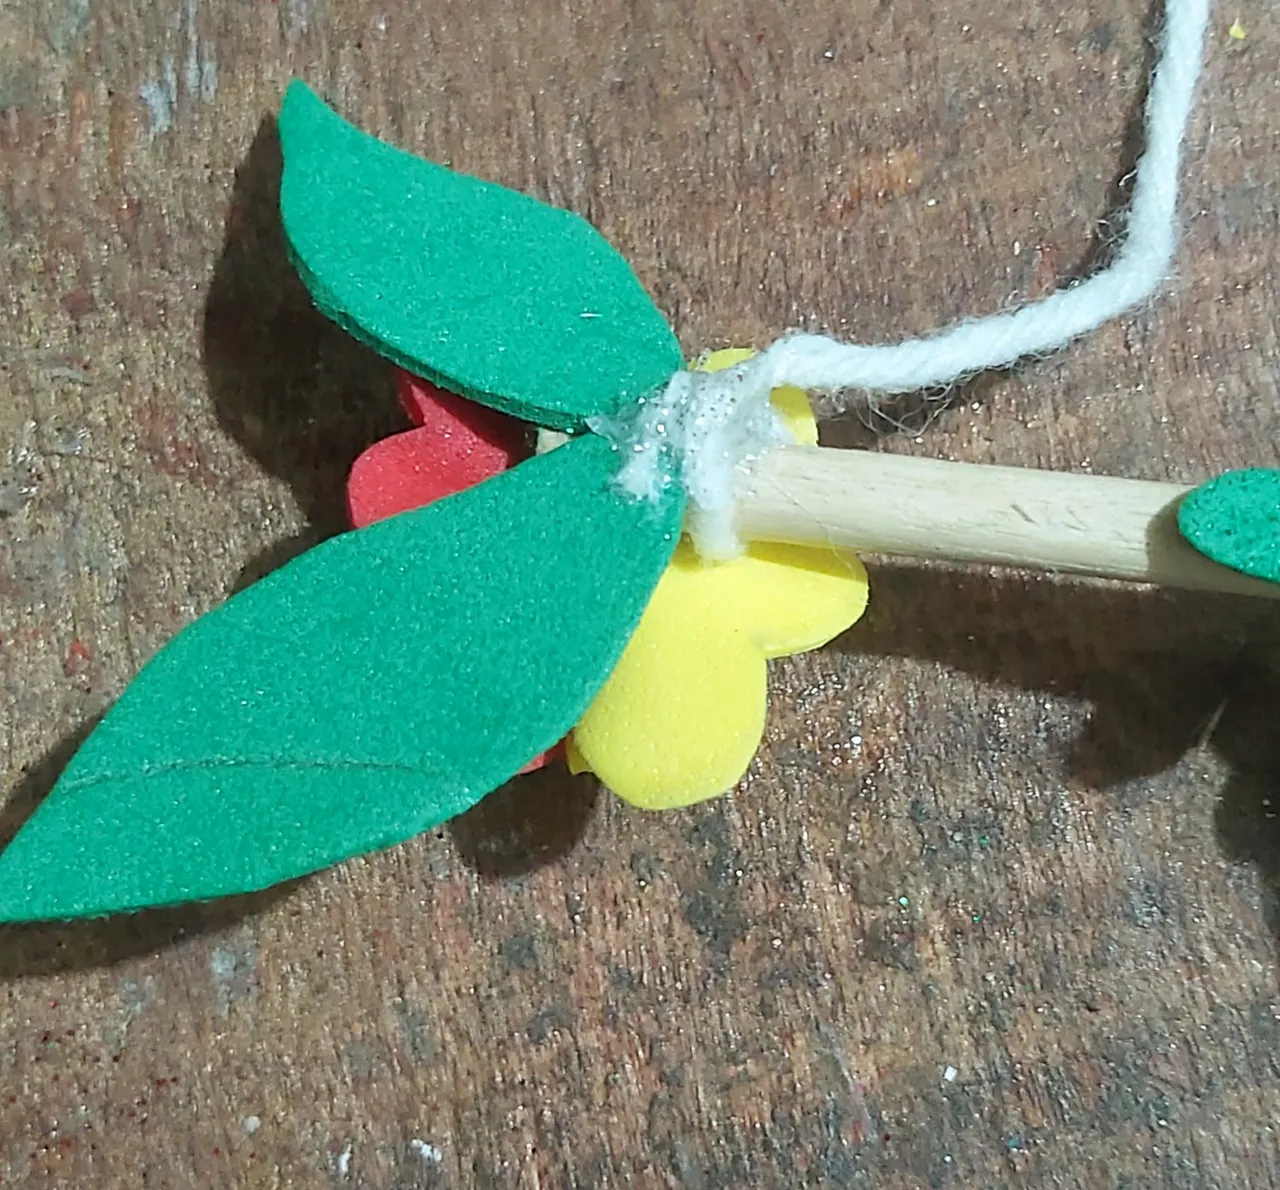
8). Pegamos las flores y las hojas en cada lado del palo de pincho, también colocamos el estambre para colgarlo.
8). Glue the flowers and leaves on each side of the skewer stick, also place the yarn to hang it
9). Por último hacemos detalles con con Corrector en los ojos y la barriga de la rana.
9). Finally we make details with Concealer on the frog's eyes and belly.
Gracias por ver mi trabajo, espero les guste, hasta luego
Thanks for watching my work, I hope you like it, see you later