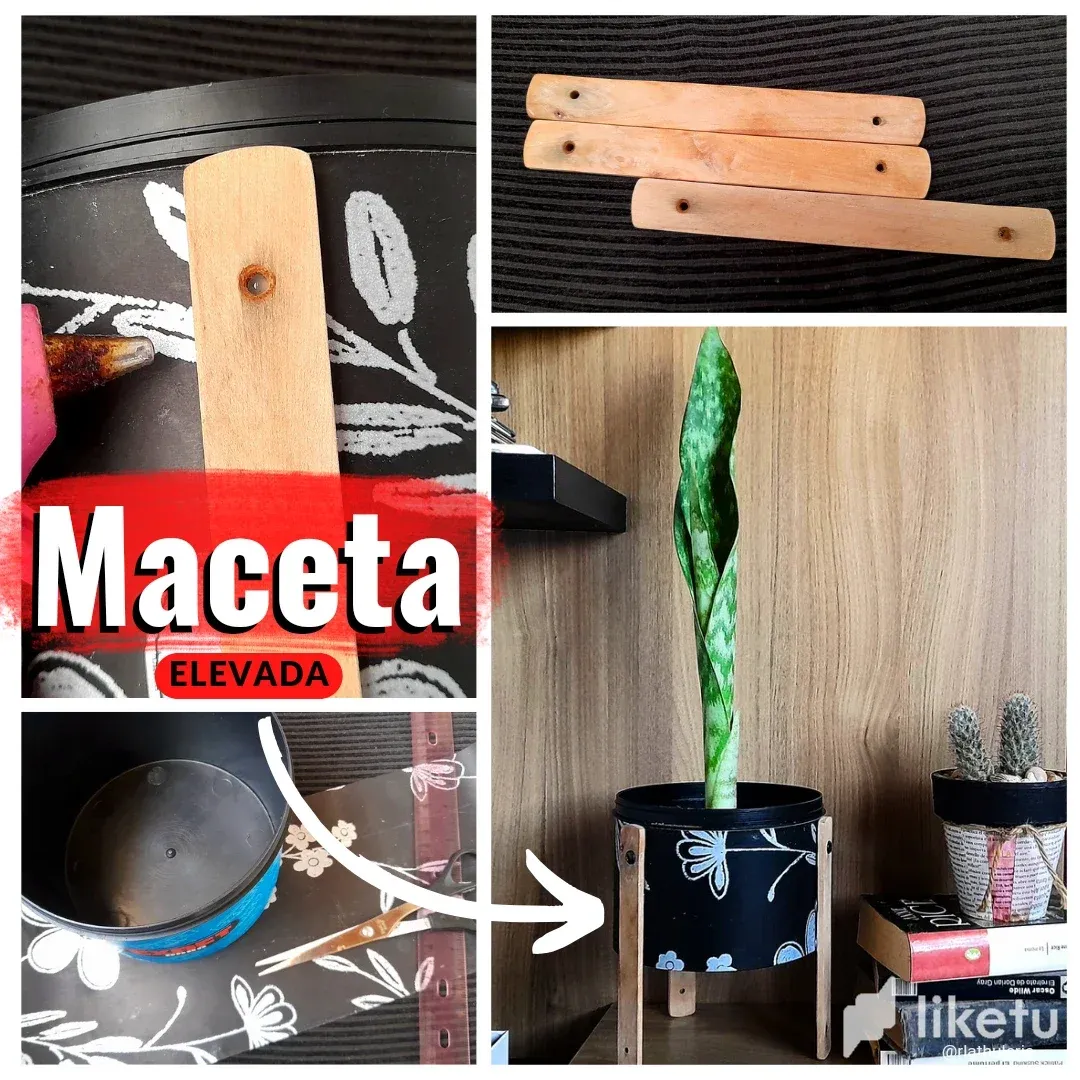

Las macetas dejaron de ser el simple receptor de nuestras plantas, y hoy día forman parte de la decoración de nuestro hogar. Las podemos encontrar en un sin fin de diseños hermosos, que hacen que nuestros espacios en casa luzcan mucho más lindos. Y hace bastante tiempo vi unas que me estaban guiñando el ojo.
Se trata de unas macetas con soporte de madera que son todo un espectáculo. La verdad es que en la isla no las he visto, pero de igual modo es algo en lo que no puedo gastar pues tenemos otras prioridades, pero si me han leído antes saben que siempre busco la manera de hacer lo que deseo, y con algo de creatividad claro que se puede. Y hace unos días me activé en eso.
Estuve mirando algunas opciones en pinterest, y pude ver que no solo se usaban grandes, como para colocar en el piso, sino que vi una gran variedad en ese estilo pero más pequeñas, y pensé que esa sería mi oportunidad de probar.
Como siempre la idea era no gastar sino usar cosas que tuviese en casa, así que solo tenía que buscar y aquí les cuento lo que utilicé.
MATERIALES
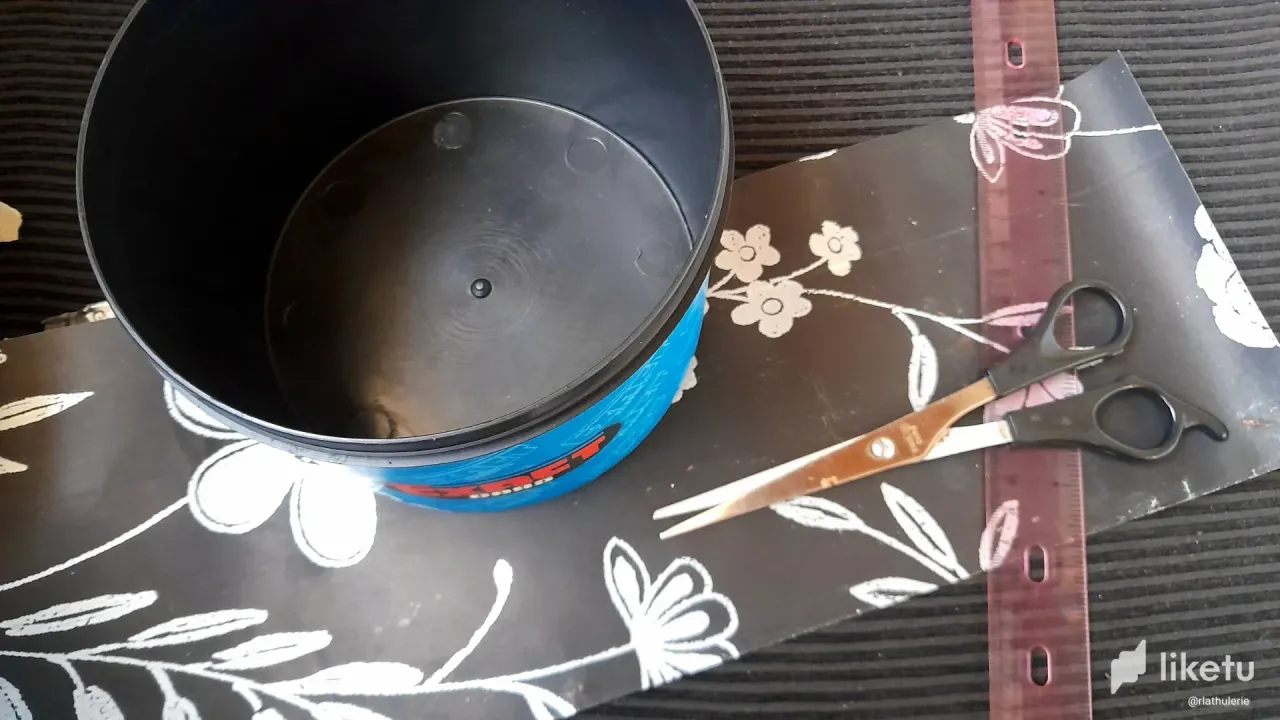
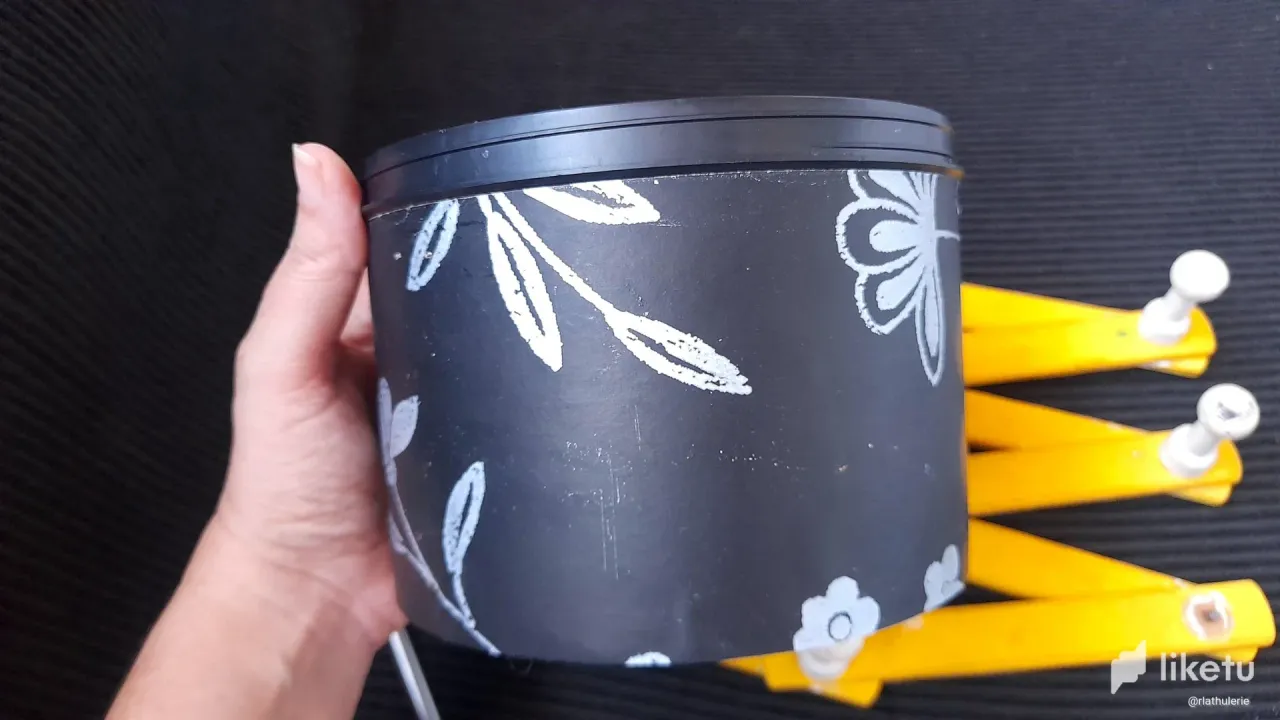
1 envase plástico
Papel tapiz
3 tablitas de madera
Pega blanca
Silicón en barra
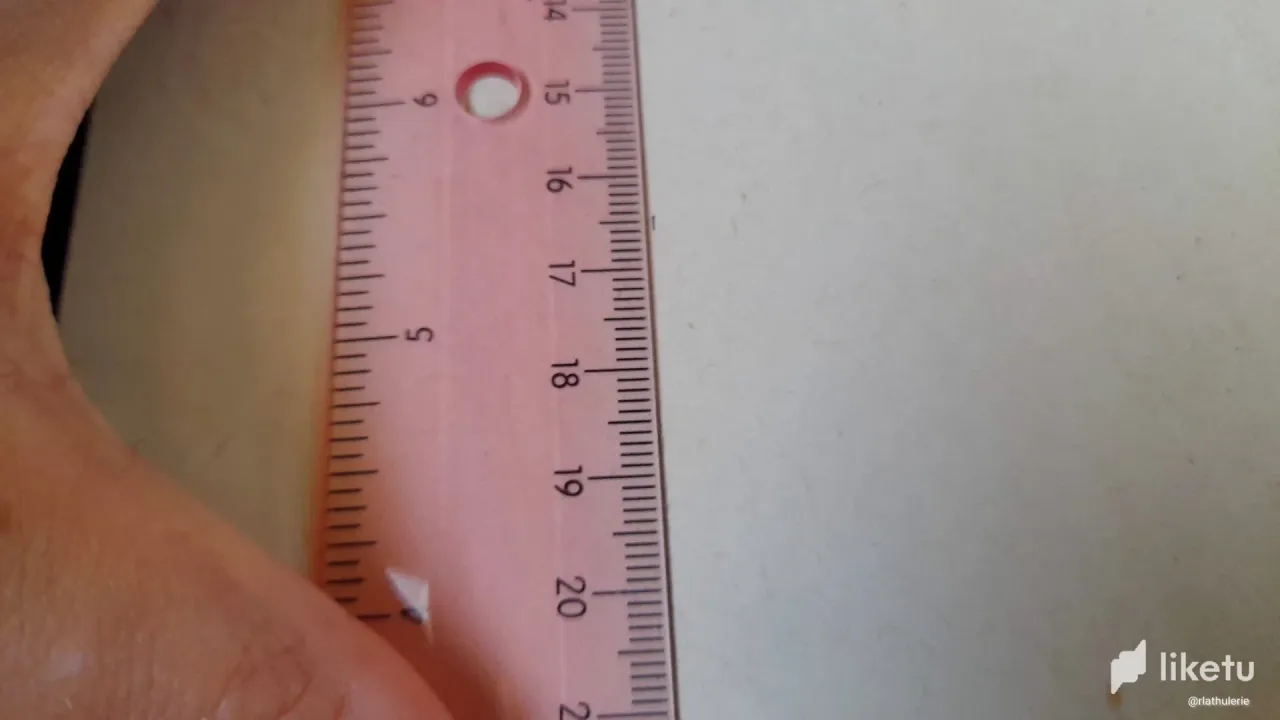
Regla
Tijera
Lápiz
3 tornillos
PROCEDIMIENTO
Realizar esta maceta es súper sencillo, de hecho me demoré más buscando los materiales que haciéndola.
Paso 1
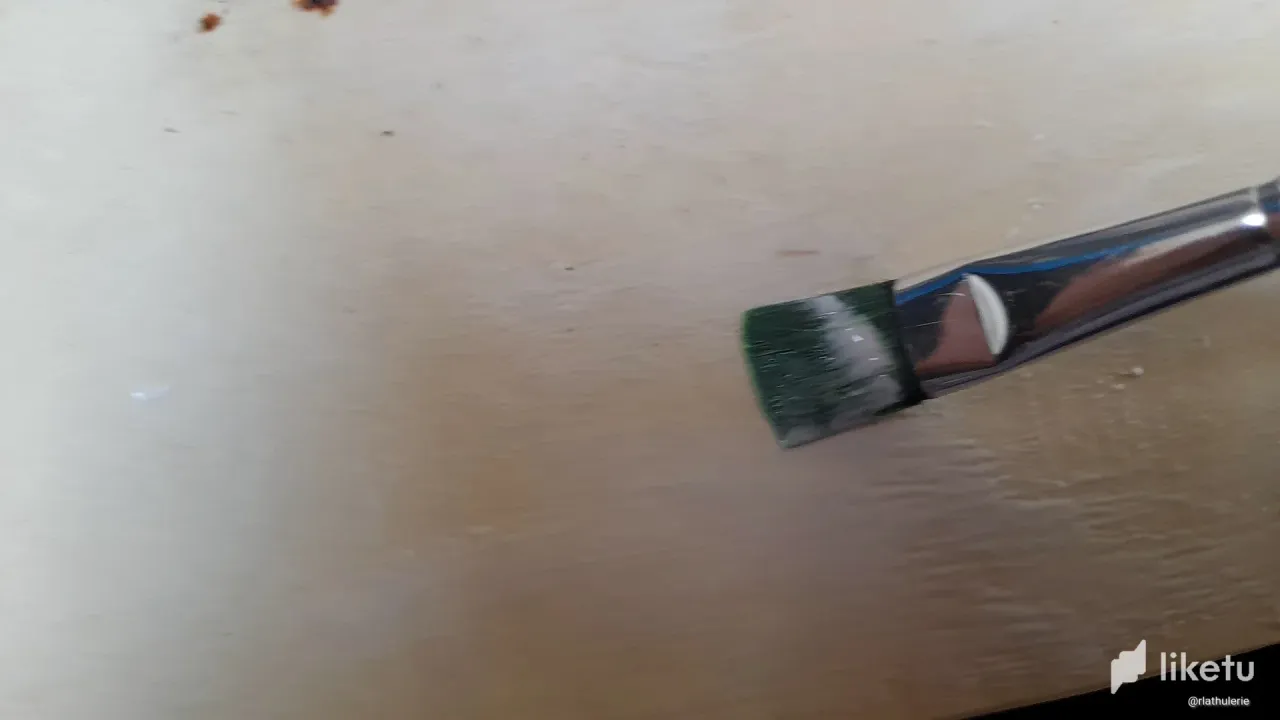
Medir y recortar el papel tapiz y forrar el envase con ayuda de pega blanca y un pincel.
Si no tienen papel tapiz pueden utilizar tela, hojas de revista, periódico, o simplemente quitar el papel del envase y dejarlo tal cual está.
También pueden utilizar latas de metal y tendrán el mismo resultado. Se trata de utilizar lo que tengamos a la mano.
Paso 2
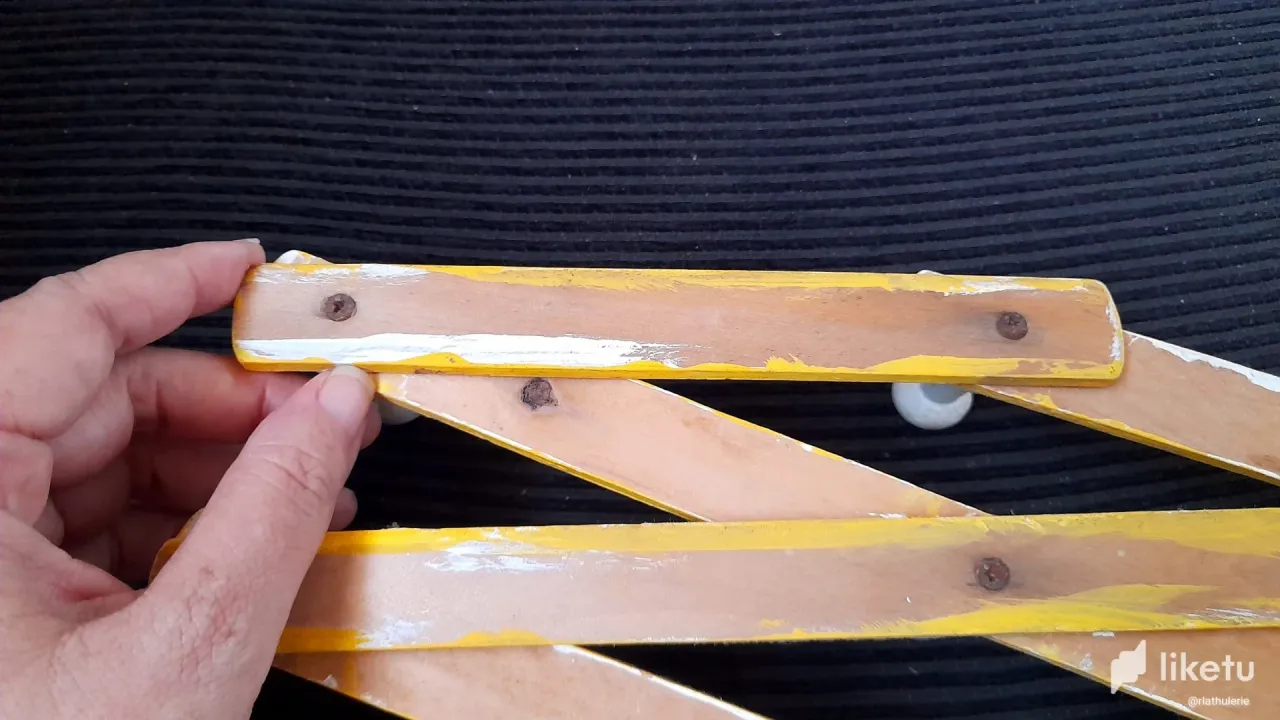
Para las patas utilicé un perchero que encontré en casa, y ya que no estaba en uso, decidí darle una nueva utilidad.
Lo que hice fue desarmarlo y lijar para quitar el color amarillo que tenía y listo.
También en casa pueden usar trocitos de madera, e incluso paletas, de hecho vi varios modelos donde unían varias y con eso hacían las patitas. Una vez más, es cuestión de creatividad.
Paso 3
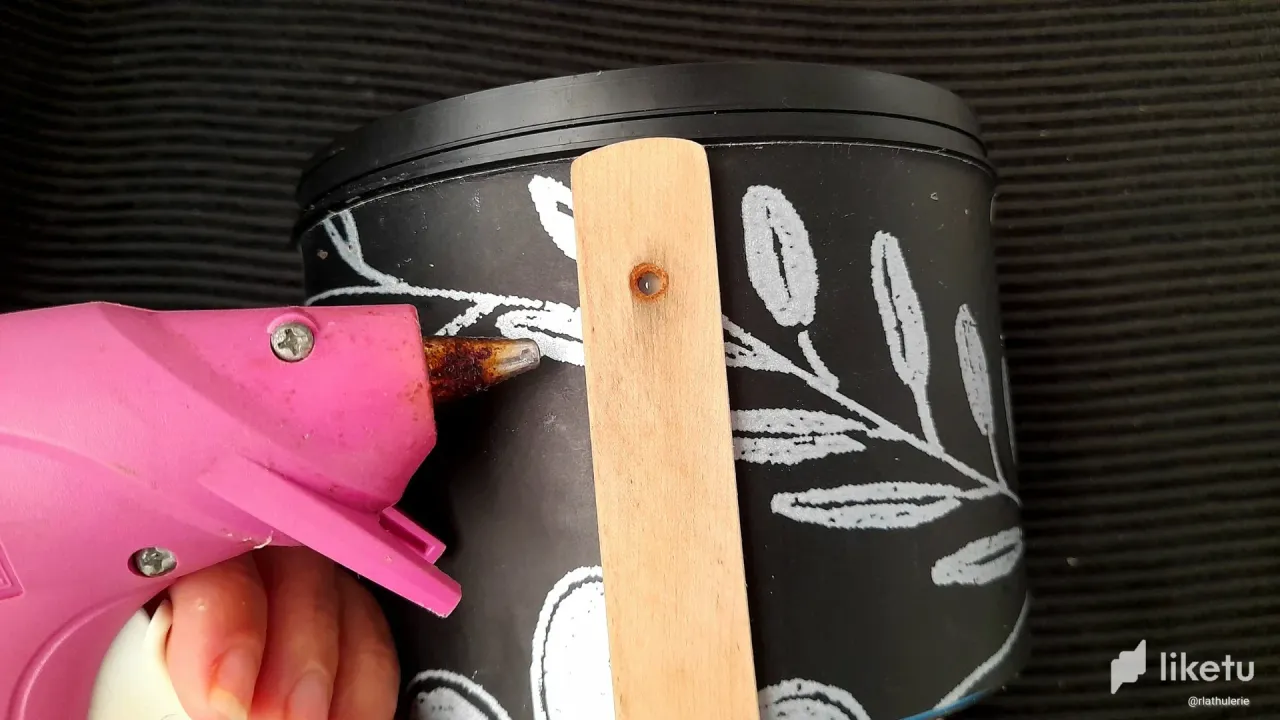
Pegar las patas con ayuda de silicón caliente, para esto agregamos una buena cantidad de manera que queden bien firmes.
Paso 4
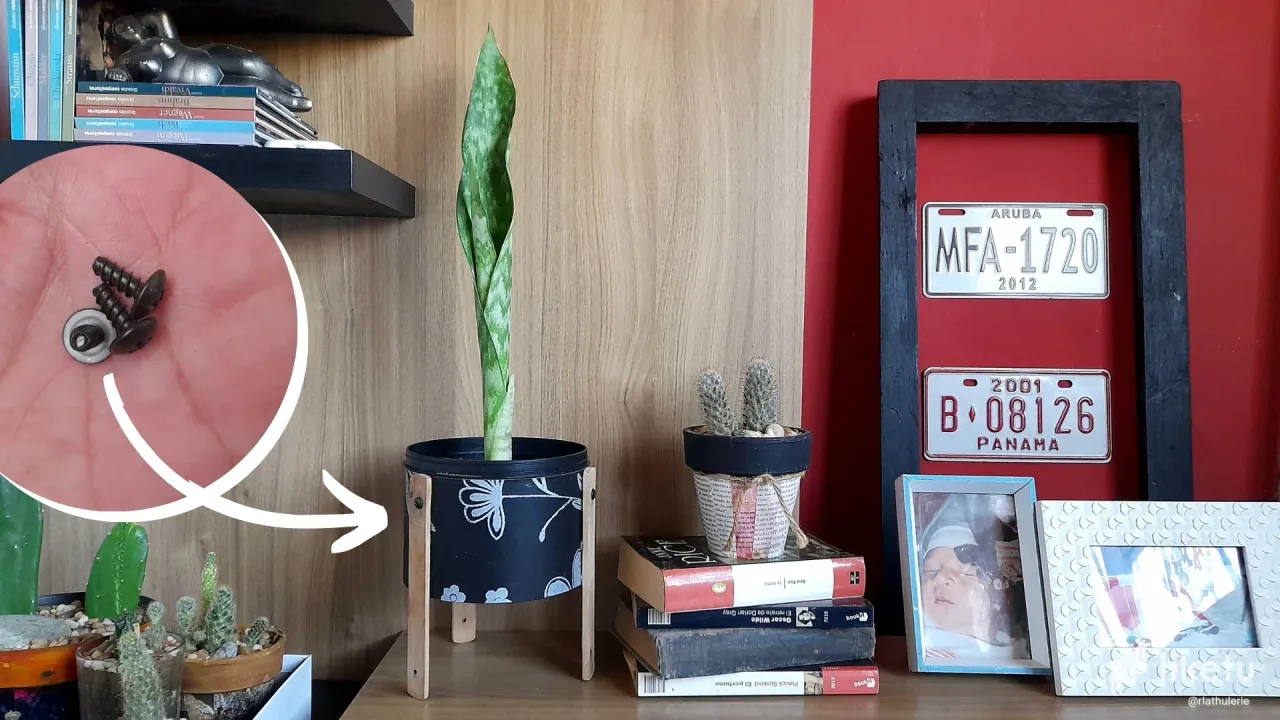
Para finalizar y darles un toque decorativo, usé tres tornillos negros, que coloqué en la parte superior de cada pata y con eso estuvo lista la maceta.
Abrí tres huequitos en la parte de abajo con ayuda de un destornillador caliente para que drene el agua del riego, y trasplanté mi plantita lengua de suegra que tenía tiempo esperando por una maceta linda para ella.
Como ven amigos, solo necesitan tener una idea de lo que desean y ganas de hacer las cosas.
ENG 
Pots are no longer the simple recipient of our plants, and today are part of the decoration of our home. We can find them in an endless number of beautiful designs, which make our home spaces look much prettier. And some time ago I saw some that were winking at me.
They are pots with wooden supports that are quite a spectacle. The truth is that I haven't seen them on the island, but it's something I can't spend money on because we have other priorities, but if you have read me before you know that I always look for ways to do what I want, and with some creativity of course you can. And a few days ago I got active in that.
I was looking at some options on pinterest, and I could see that they were not only used large, as to place on the floor, but I saw a variety in that style but smaller, and I thought that would be my chance to try.
As always the idea was not to spend but to use things I had at home, so I just had to search and here I tell you what I used.
MATERIALS
1 plastic container
Wallpaper
3 small wooden boards
White glue
Silicone stick
Ruler
Scissors
Pencil
3 screws
PROCEDURE
Making this planter is super simple, in fact it took me longer to find the materials than it did to make it.
Step 1
Measure and cut out the wallpaper and line the container with white glue and a paintbrush.
If you do not have wallpaper, you can use fabric, magazine pages, newspaper, or simply remove the paper from the container and leave it as it is.
You can also use metal cans and you will have the same result. It's all about using what you have on hand.
Step 2
For the legs I used a coat rack that I found at home, and since it was not in use, I decided to give it a new use.
What I did was to take it apart and sand it to remove the yellow color it had and that was it.
Also at home you can use small pieces of wood, and even pallets, in fact I saw several models where they joined several of them and with that they made the little legs. Once again, it is a matter of creativity.
Step 3
Glue the legs with the help of hot silicone, for this we add a good amount so that they are very firm.
Step 4
To finish and give them a decorative touch, I used three black screws, which I placed at the top of each leg and with that the pot was ready.
I opened three little holes in the bottom with the help of a hot screwdriver to drain the water from the irrigation, and transplanted my little mother-in-law's tongue plant that had been waiting for a nice pot for her for a long time.
As you can see friends, you just need to have an idea of what you want and the will to do things.