Hola apreciados amigos creativos!🥰Hello dear creative friends!
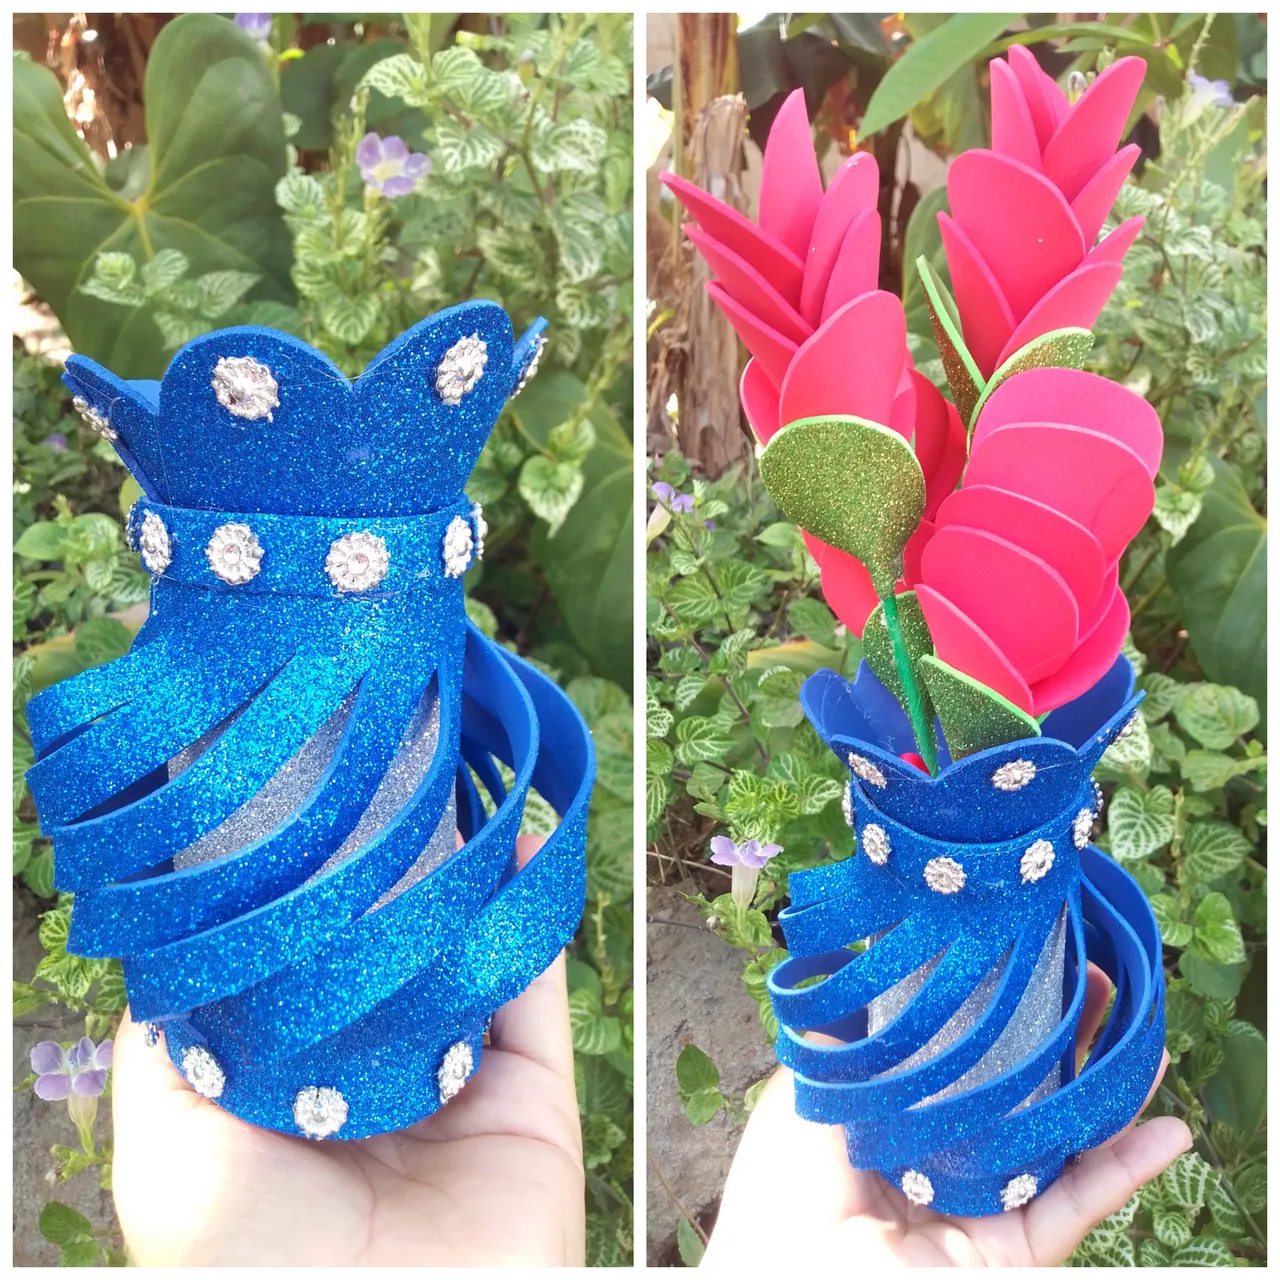
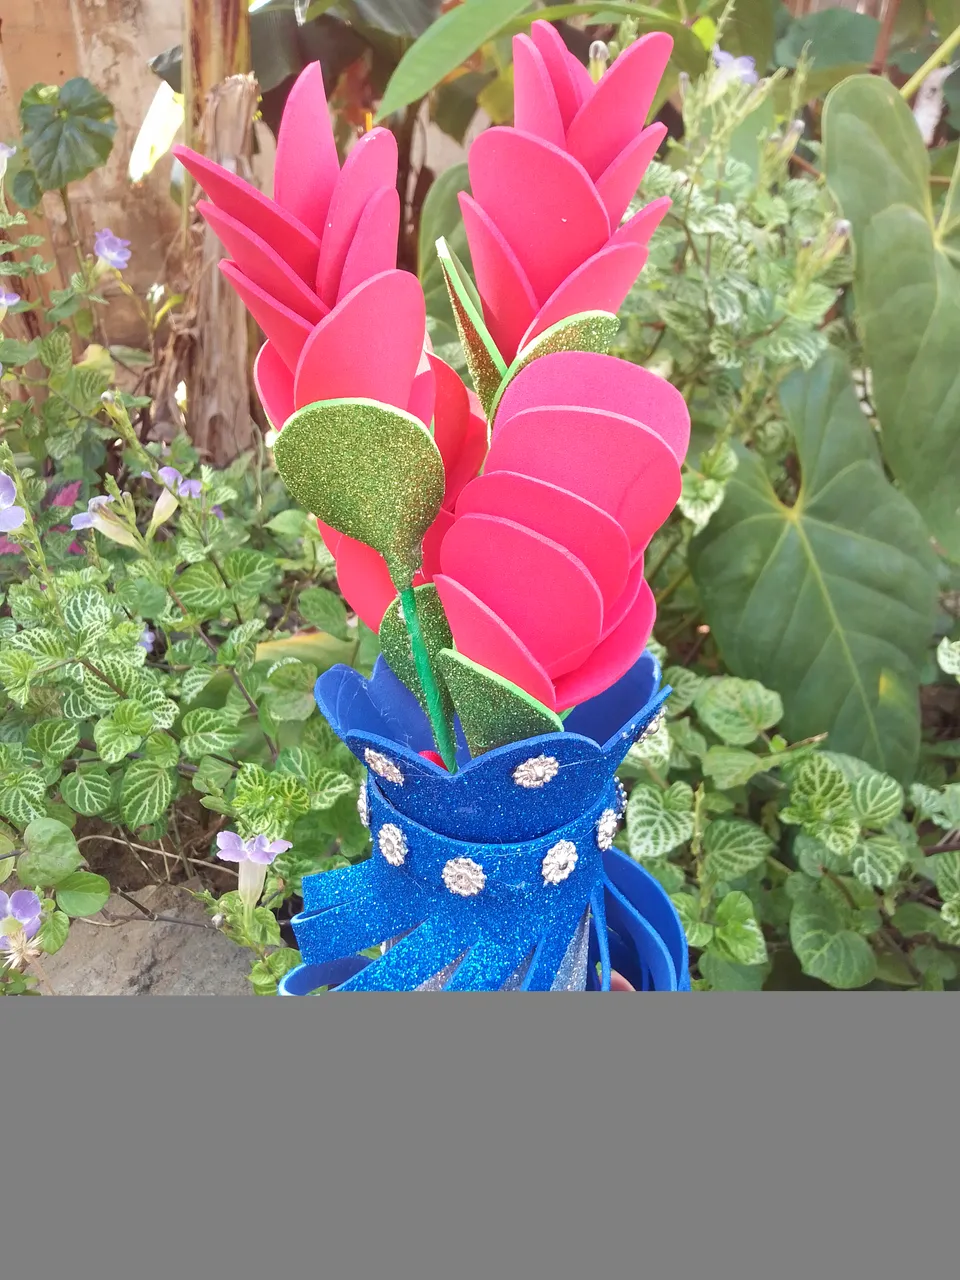
It is a pleasure to be with you again sharing my skills and contributing ideas that help us grow as a community.🤗 This time I want to show you how to make a beautiful foami vase by recycling a cardboard tube, ideal for decorating our tables at home. So I invite you to stay and see how I did!
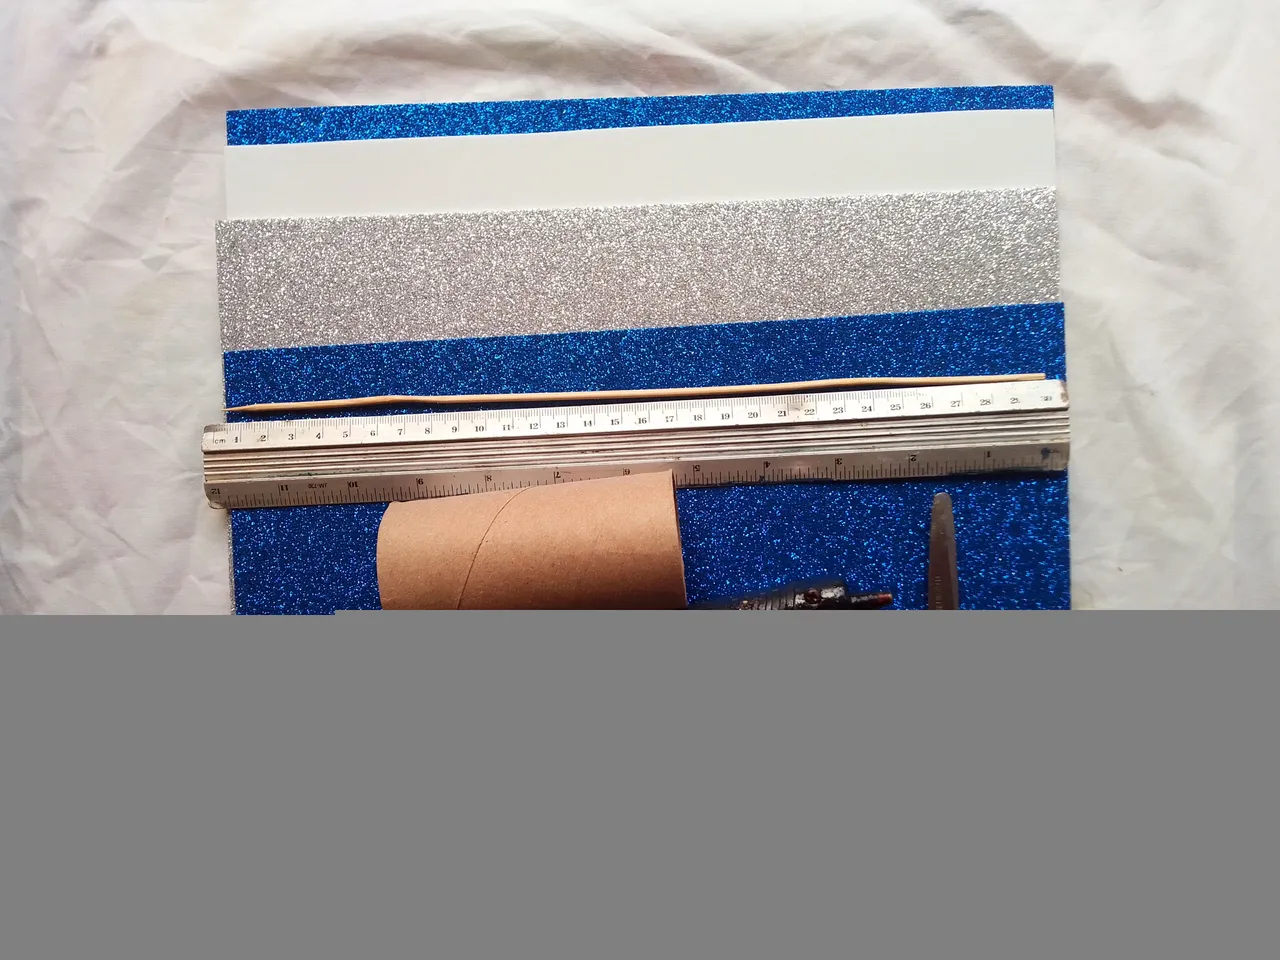
Materiales.
- Rollo de cartón.
- Foami con escarcha (del color de tu preferencia).
- Foami dorado.
- Tijera.
- Silicón.
- Palillos de altura.
- Piedras doradas.
- Regla métrica.
Materials.
- Cardboard roll.
- Foami with glitter (the color you prefer).
- Gold foam.
- Scissor.
- Silicone.
- Height sticks.
- Golden stones.
- Metric ruler.
Pasos a seguir.
Paso 01.
Para iniciar nuestro proyecto manual, cubrimos el rollo de papel con foami dorado y fijamos con silicón.
Step 01.
To start our manual project, we covered the roll of paper with gold foami and fixed it with silicone.
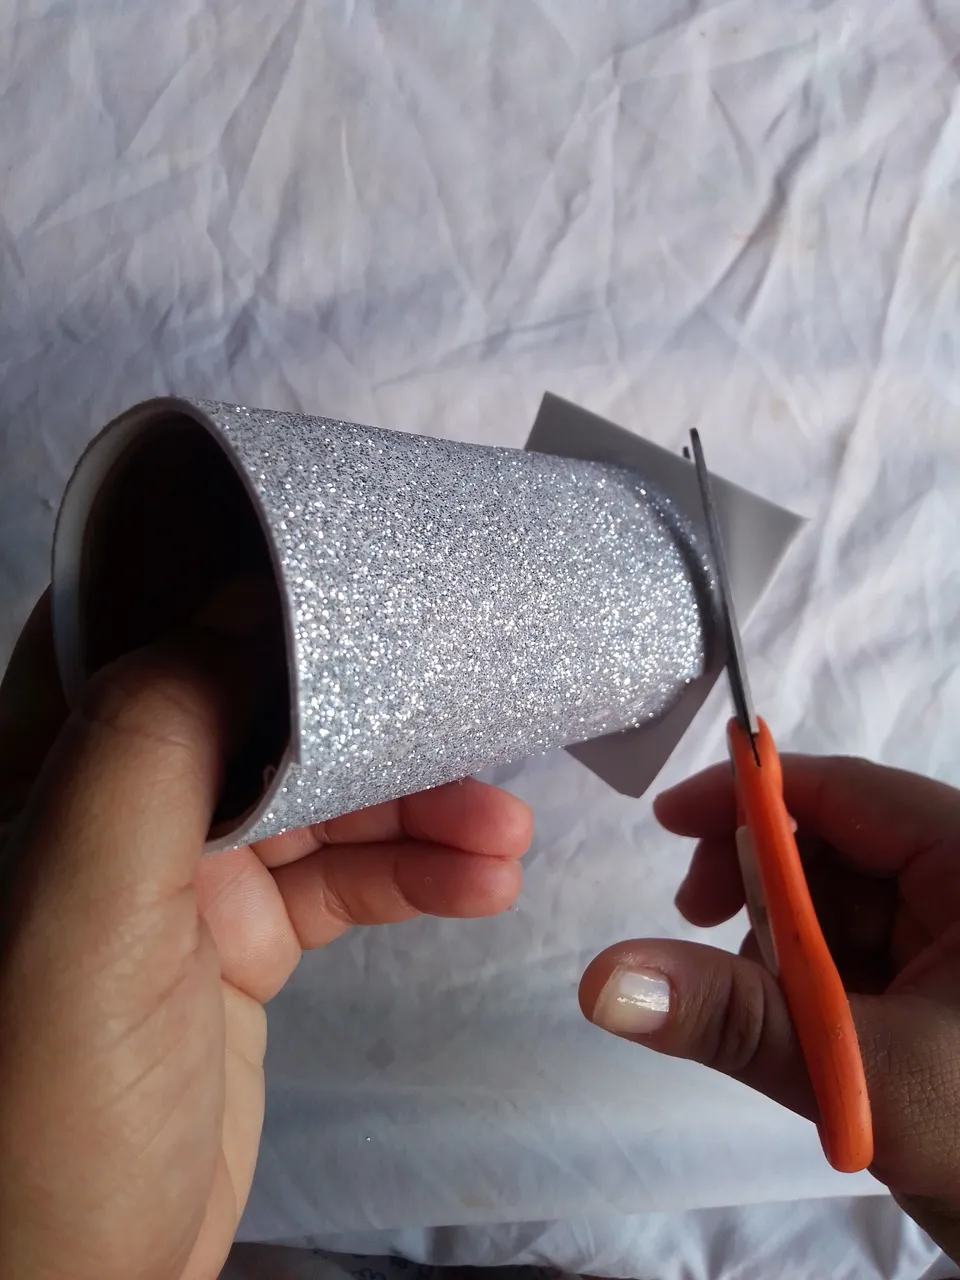
Paso 02
Pegamos un cuadrado en uno de los extremos y cortamos el sobrante para hacer la base del florero.
Step 02
We glue a square on one of the ends and cut the excess to make the base of the vase.
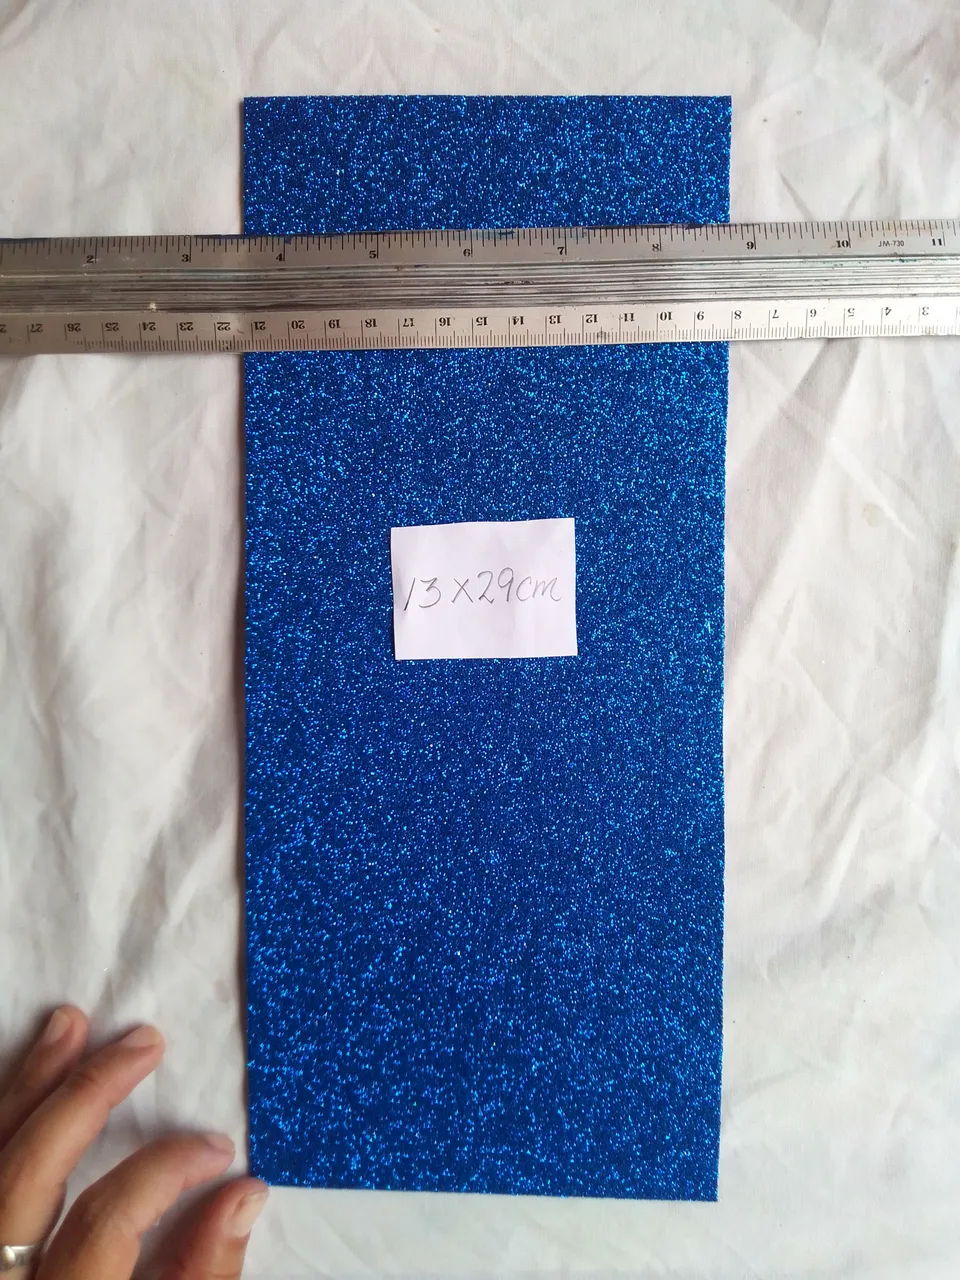
Paso 03
Con ayuda de una regla métrica, marcamos y cortamos un rectángulo de foami con escarcha de 13x29cm.
Step 03
With the help of a metric ruler, we mark and cut a 13x29cm rectangle of foami with glitter.
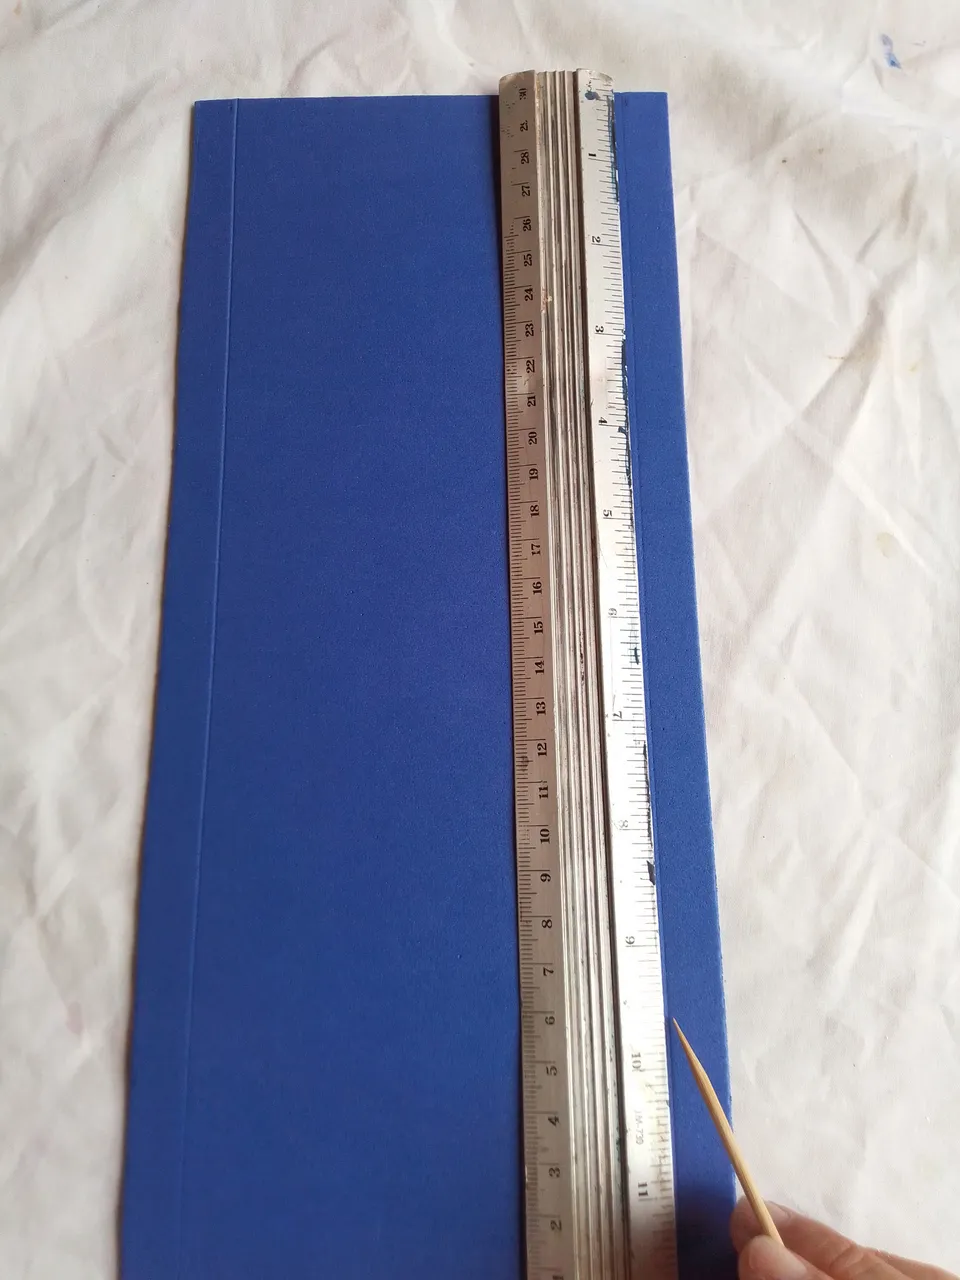
Paso 04
Luego marcamos dos líneas de 1cm de ancho en ambos bordes.
Step 04
Then we mark two lines 1cm wide on both edges.
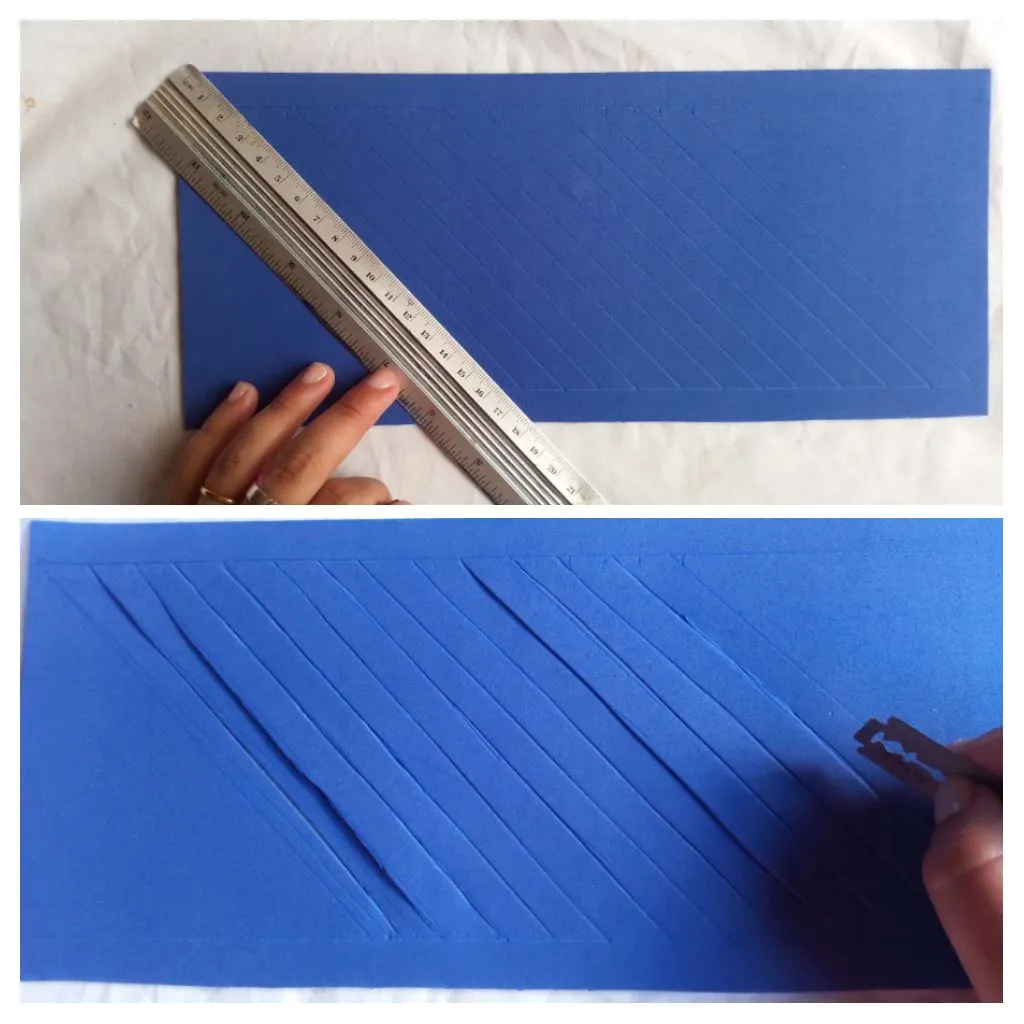
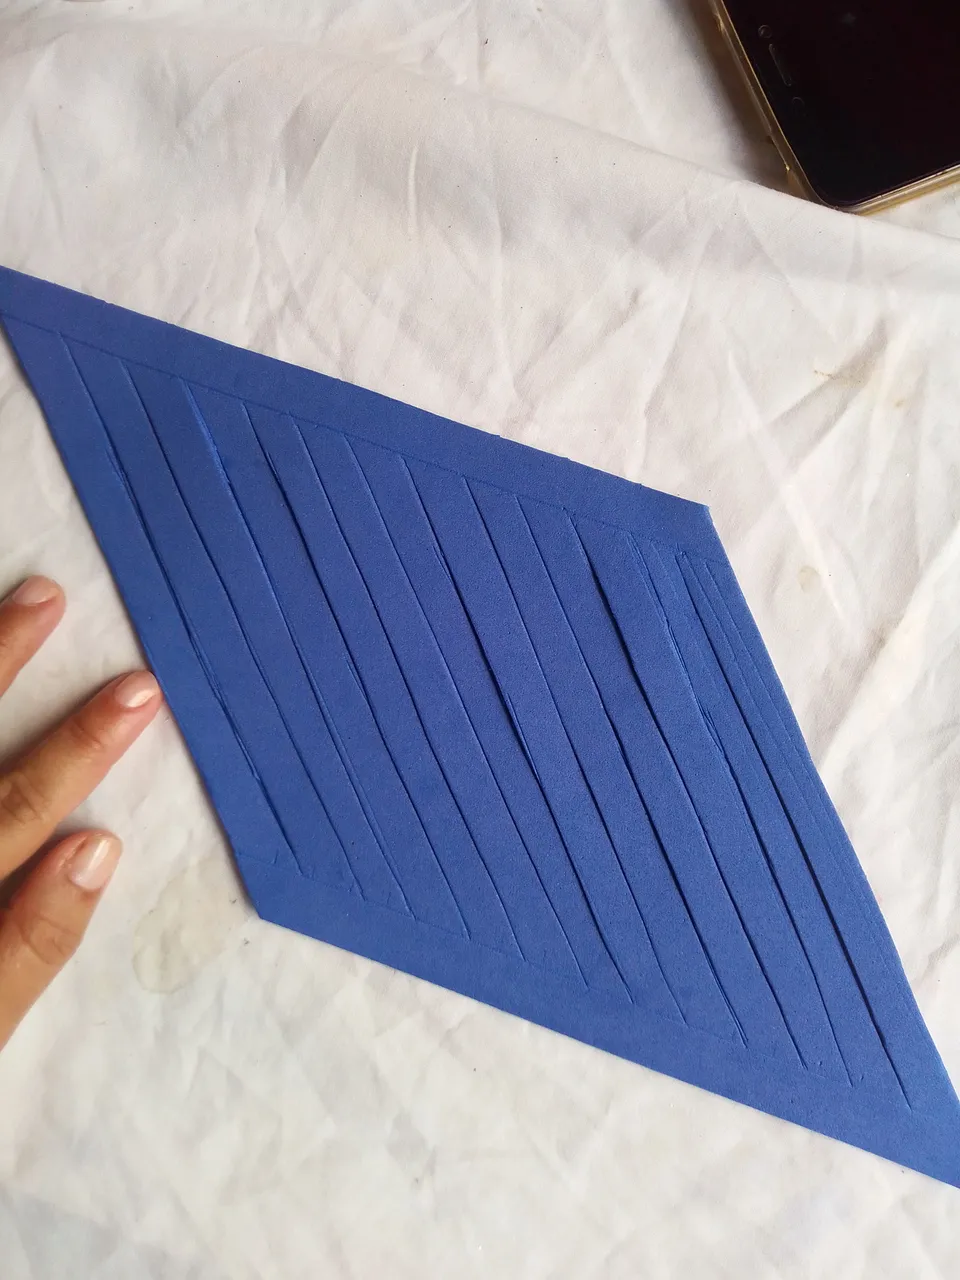
Paso 05
Step 05
Once again we use the ruler to mark 1 cm cross lines in the middle of the rectangle and ith a cutter we separate each line, making several strips.
Paso 06
Seguidamente cortamos los extremos quedándonos de esta manera.
Step 06
Then we cut off the ends, leaving it like this.
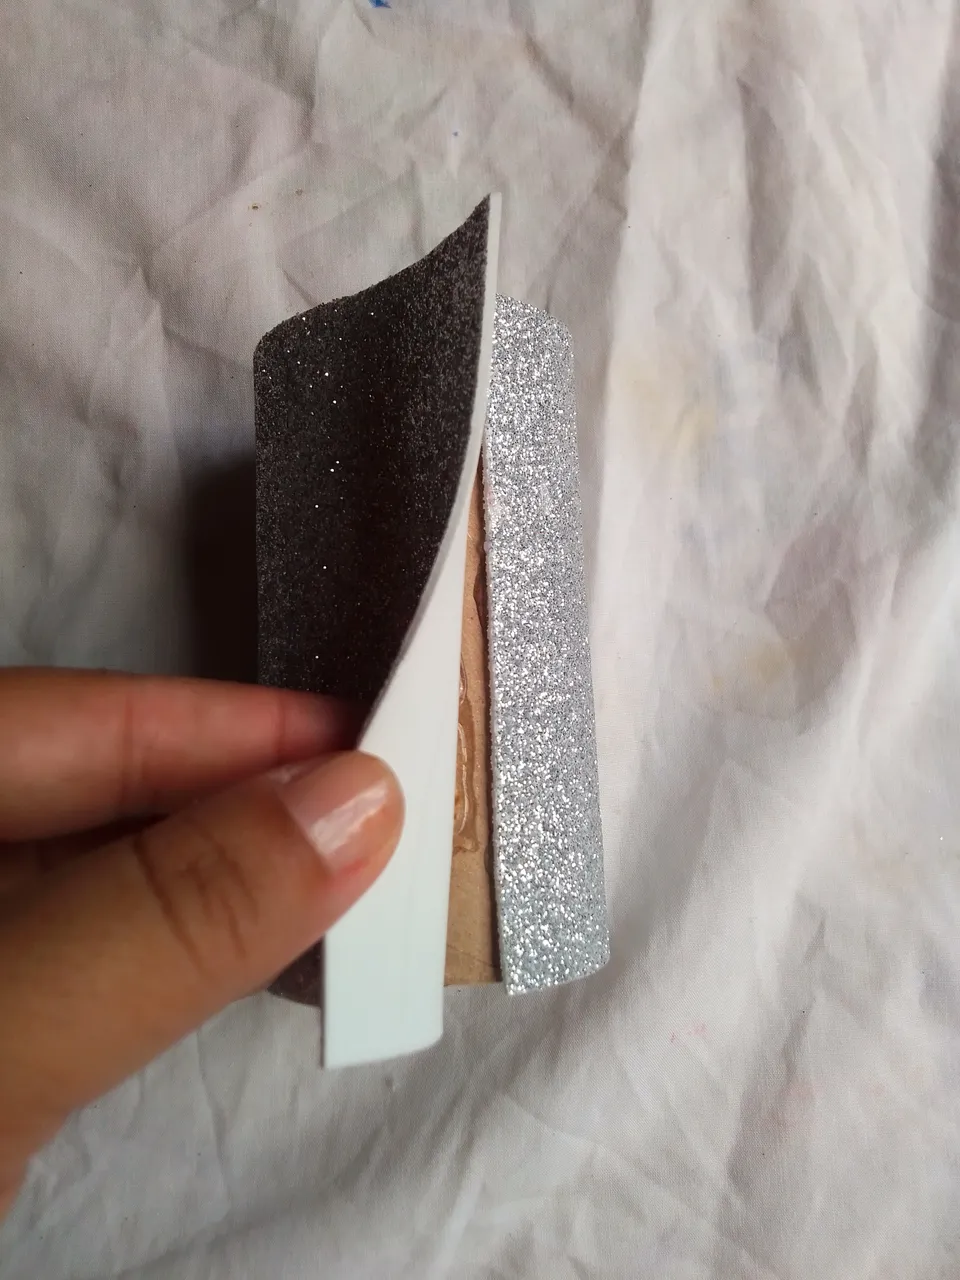
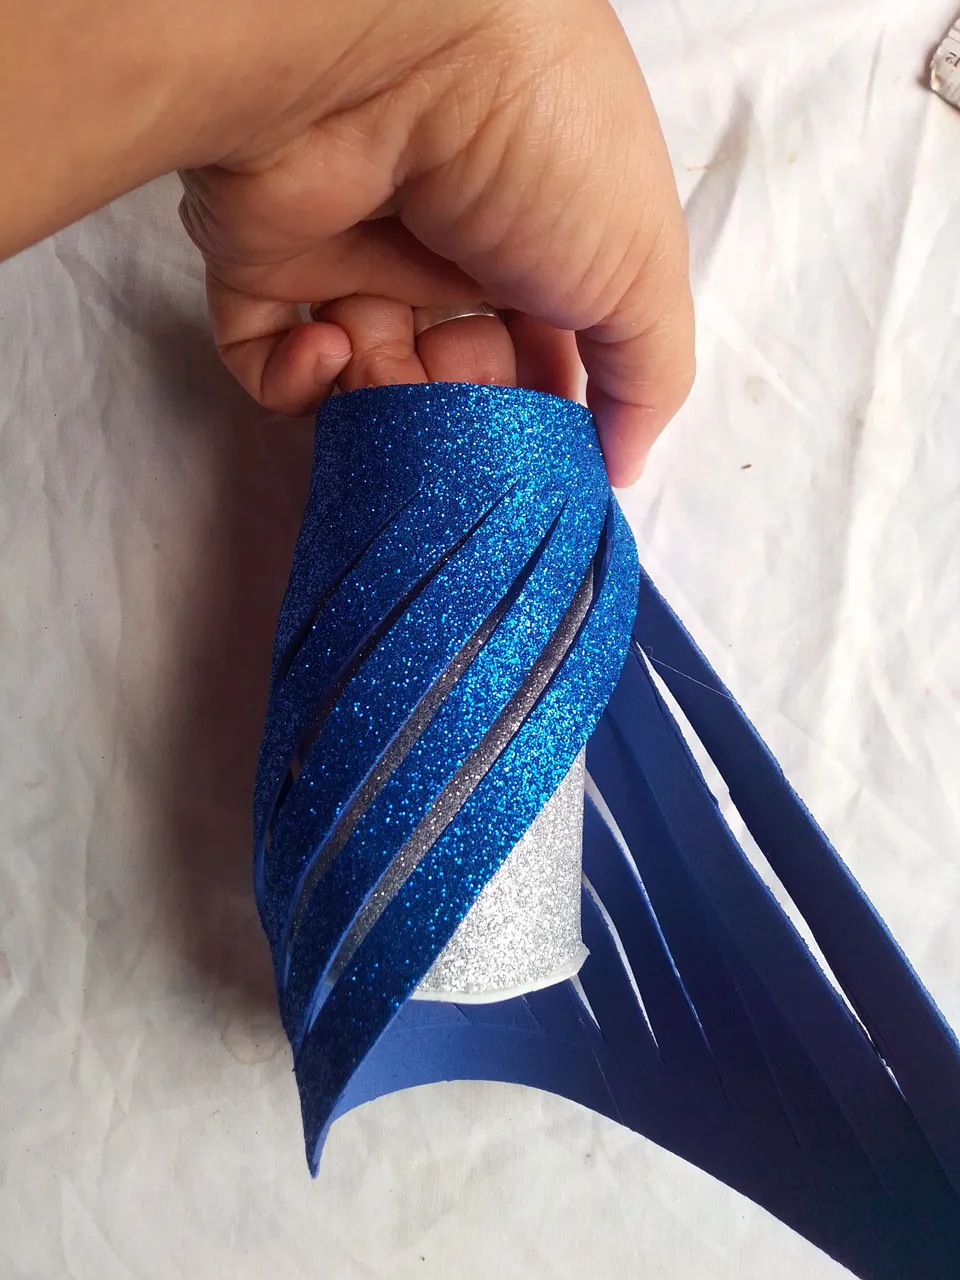
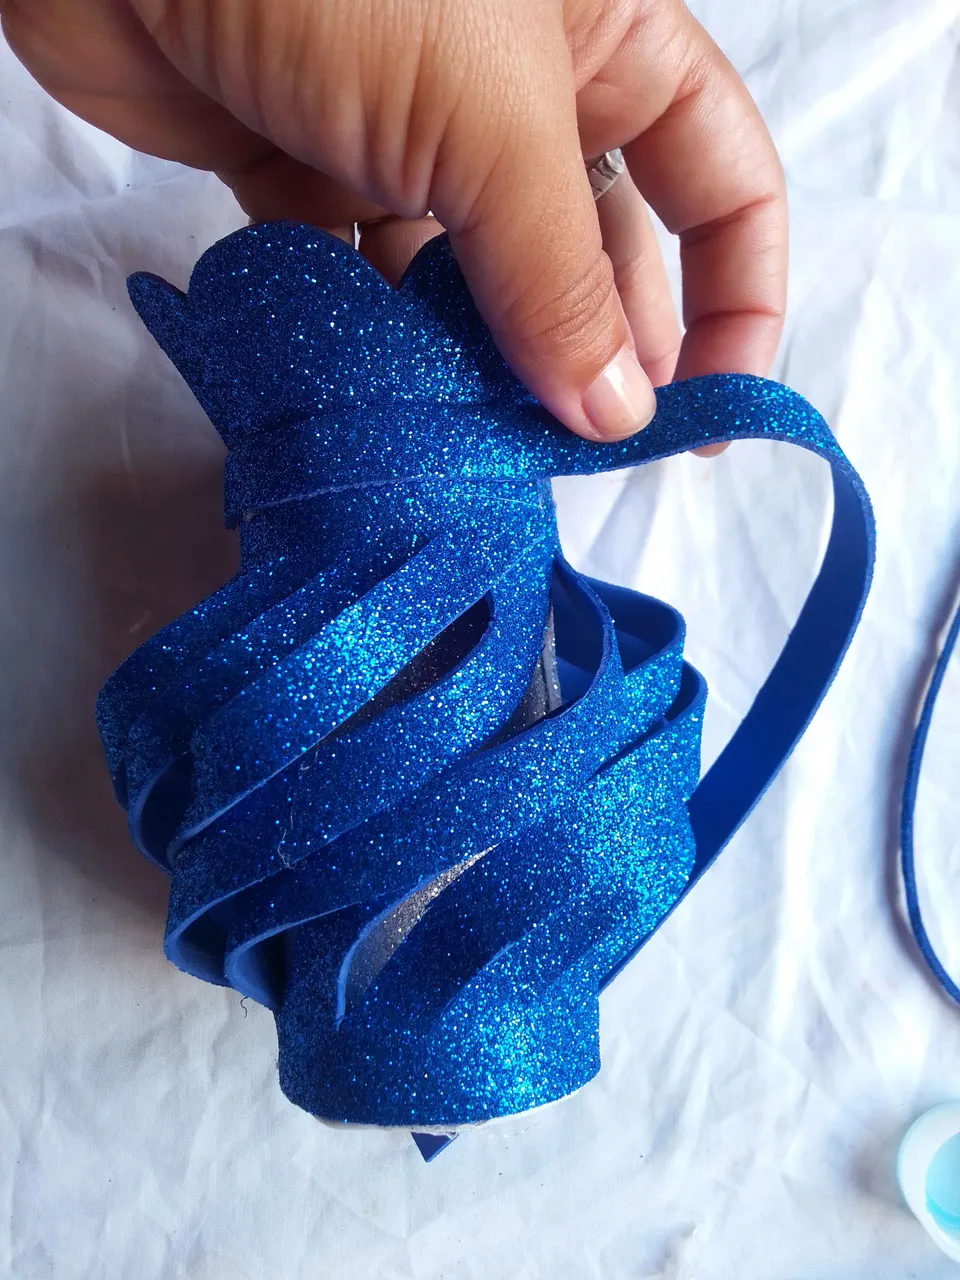
Paso 07
Lo siguiente que haremos se pegar está pieza alrededor del rollo de papel dorado.
Step 07
The next thing we will do is glue this piece around the roll of gold foil.
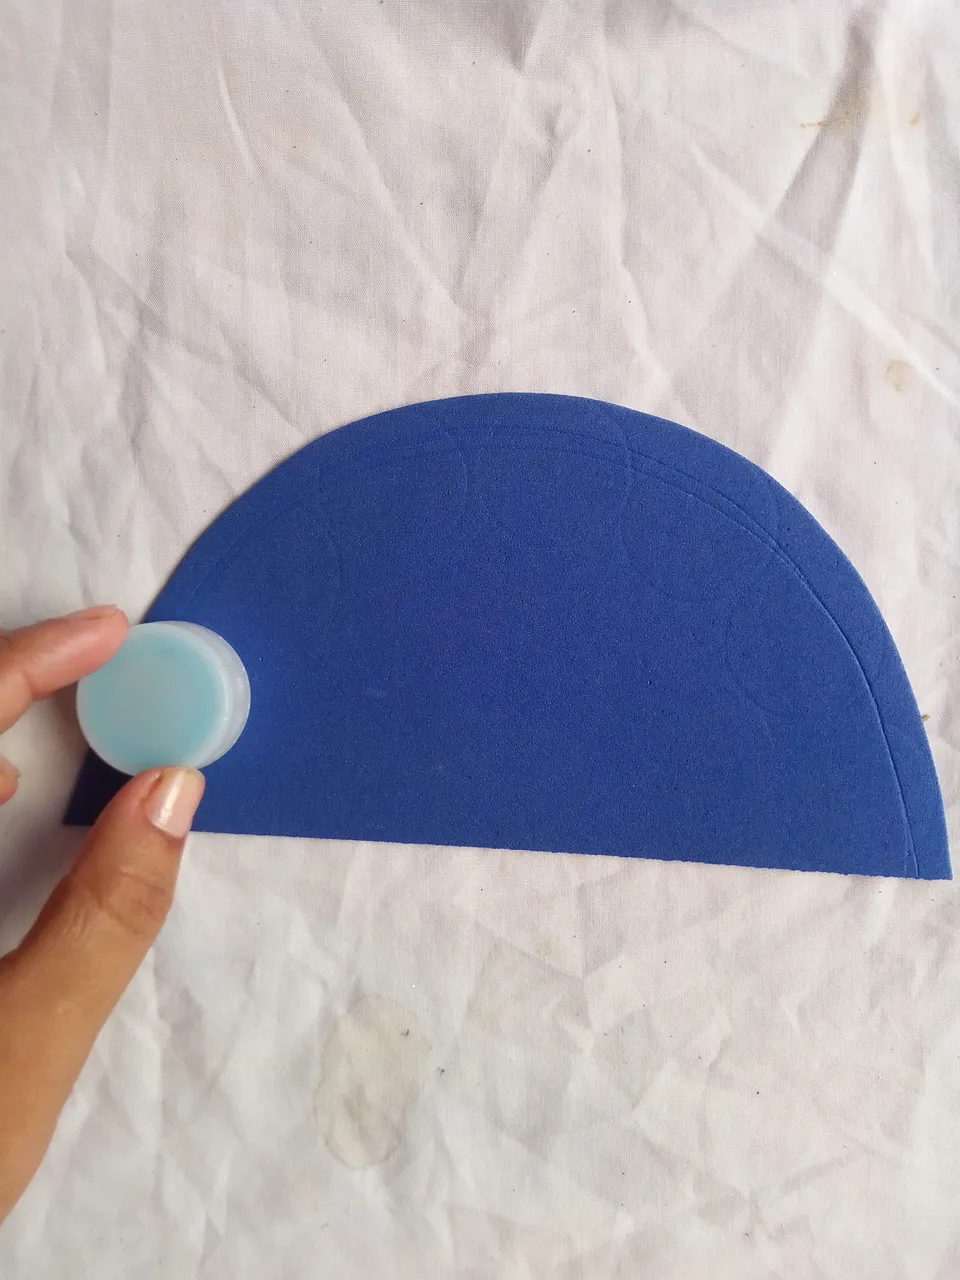
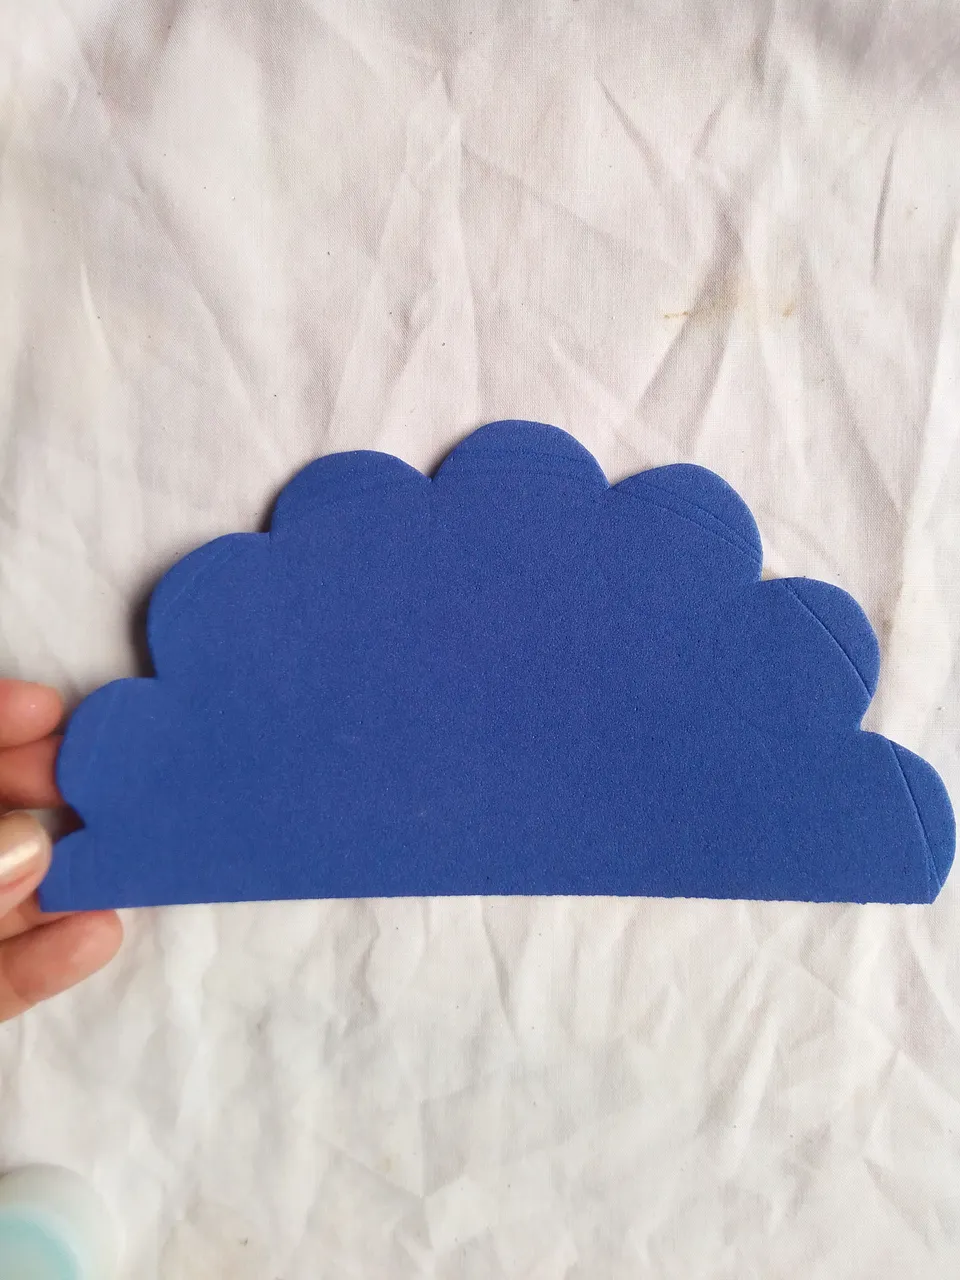
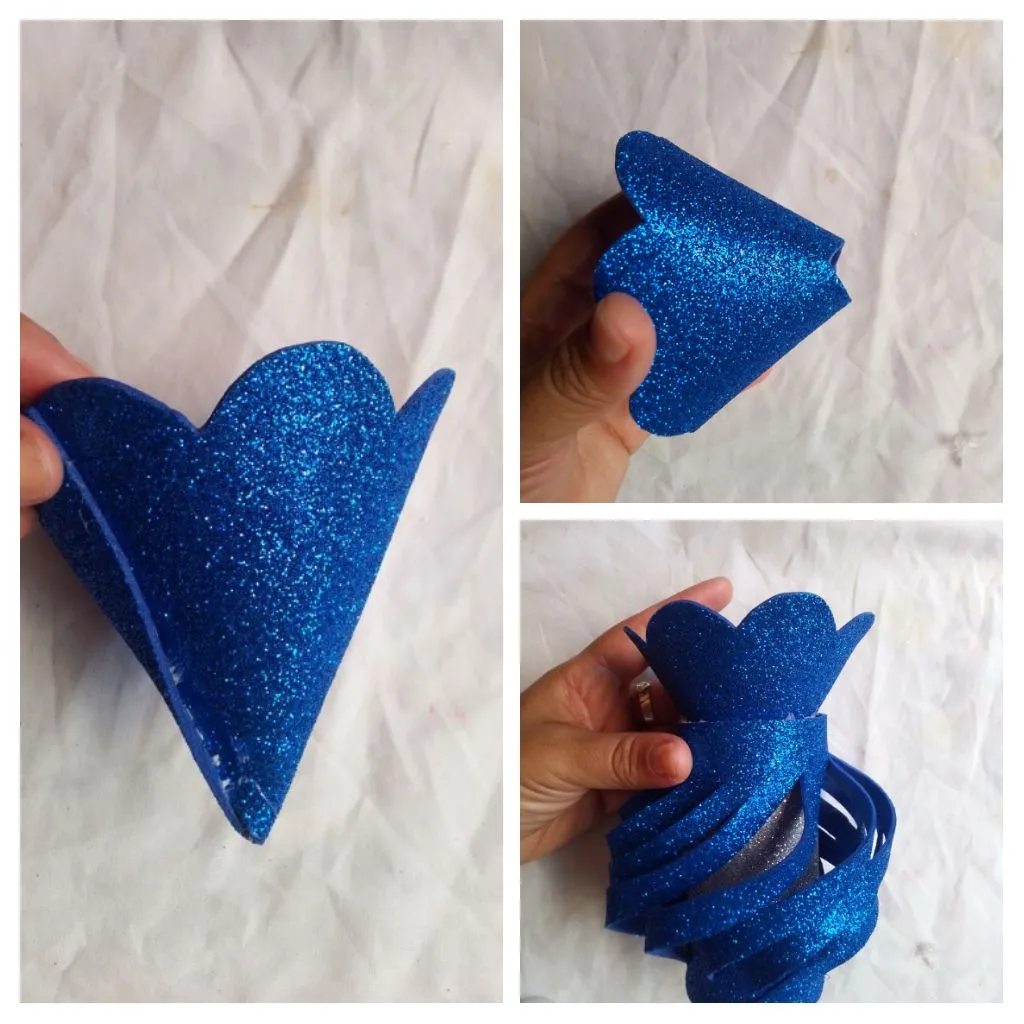
Paso 08
Step 08
We cut a semicircle of the same color of foam and with a lid we mark waves around it. Then we cut.
Paso 9
Step 9.
We fold and glue forming a cone, to which we will then cut the tip and glue it to the previous piece of the vase.
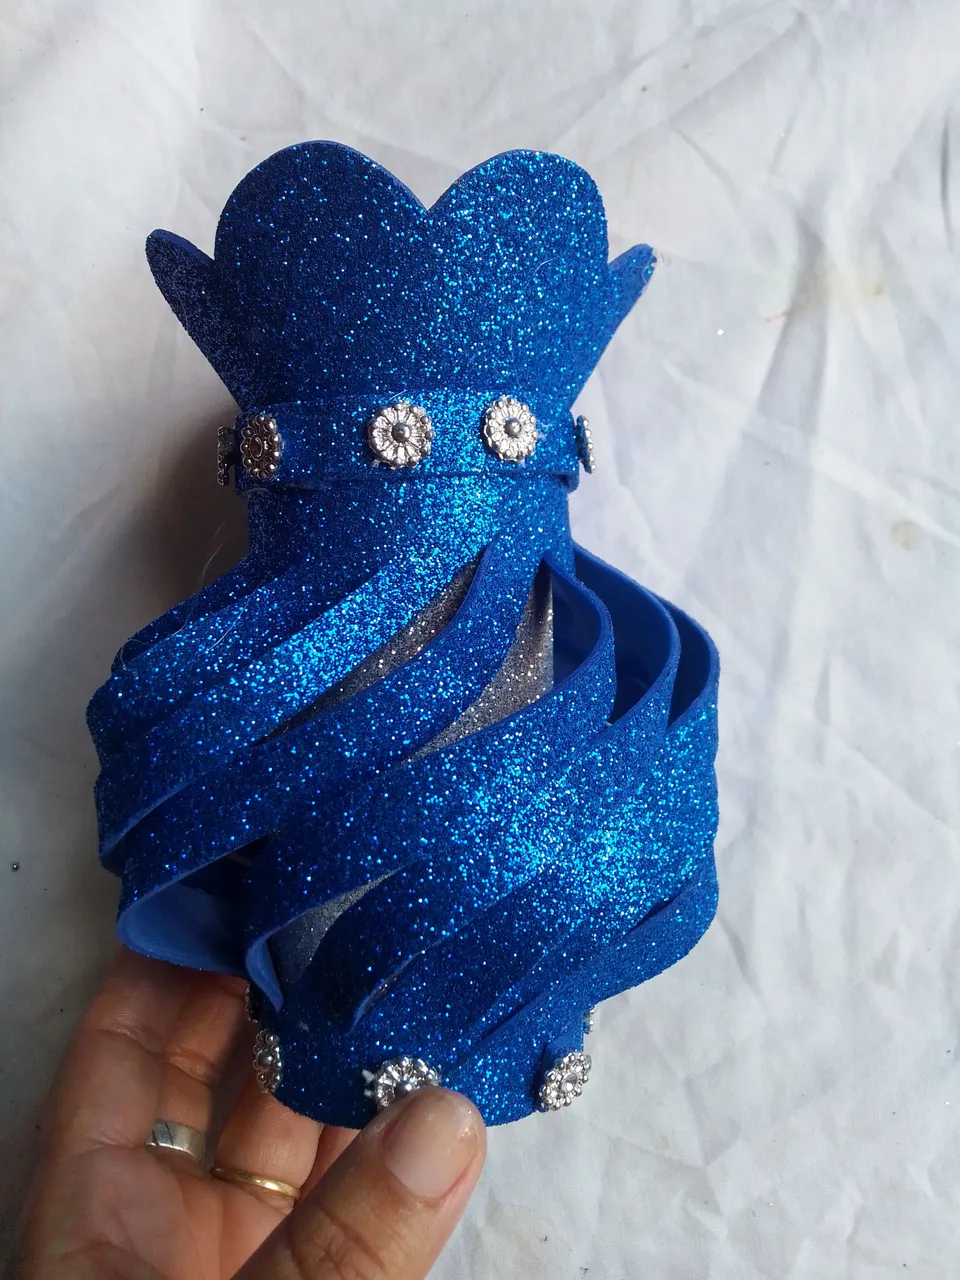
Paso 10.
Cortamos una tira de foami y pegamos alrededor de ambas piezas para cubrir los detalles.
Step 10.
Paso 11.
Step 11.
Finally we placed silver stones throughout our vase.
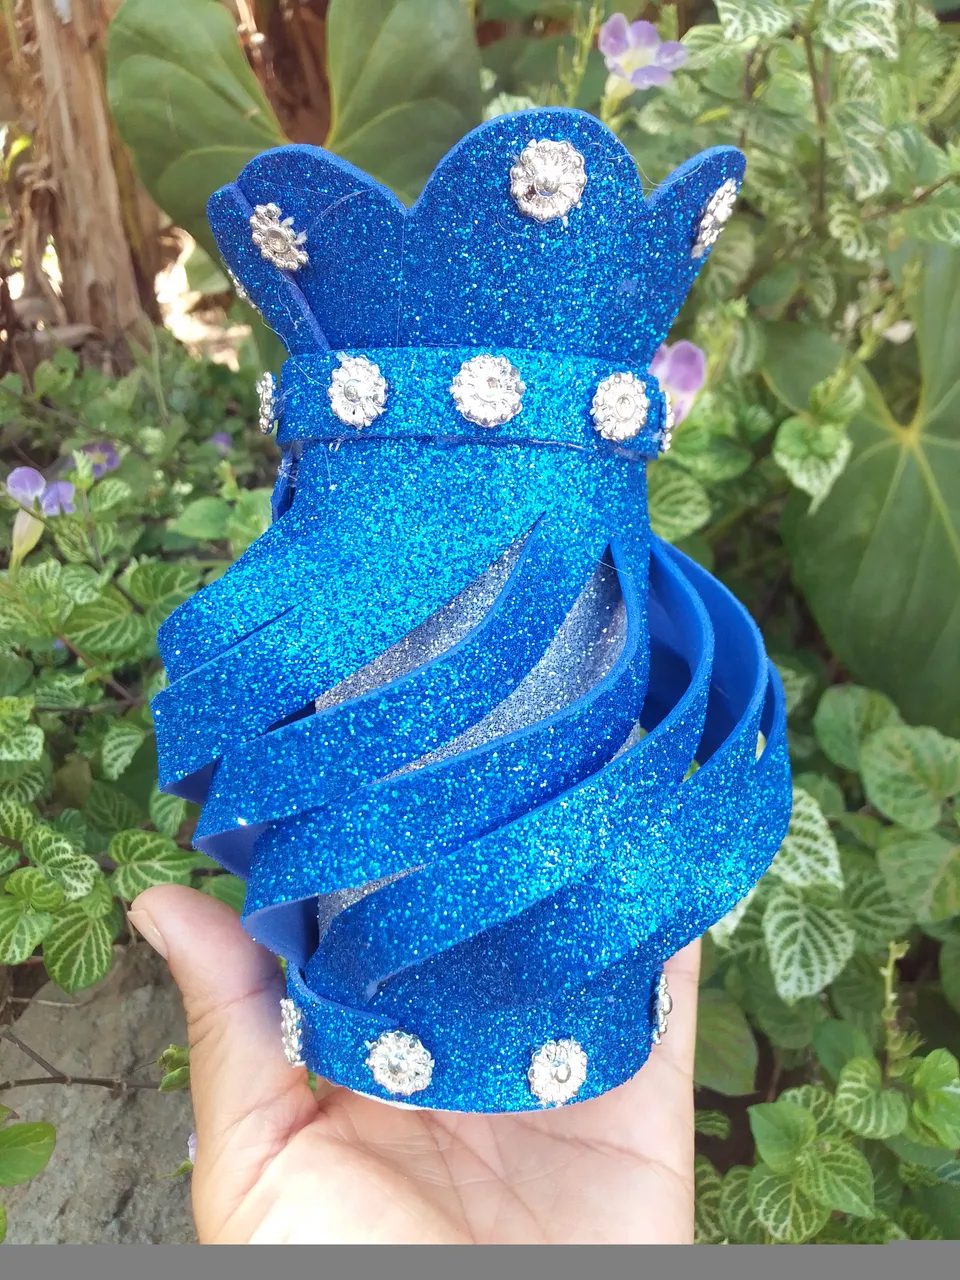
Resultado Final!
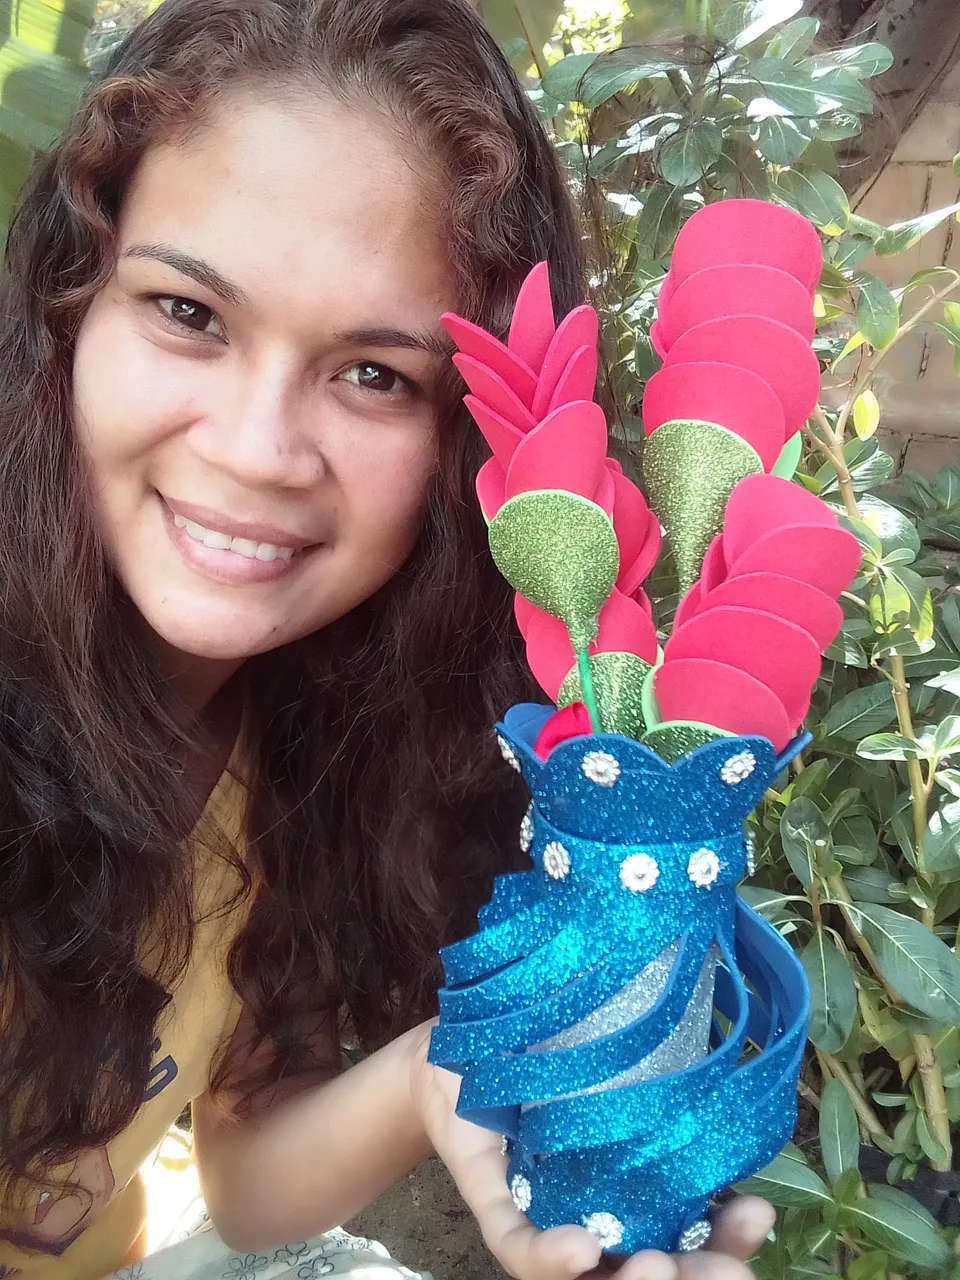
Gracias por mirar mi publicacion!
I say goodbye to you with great affection, thanking you for all the support, God bless you. Until next time!! 💁🏻♀️🤭
Todas las fotografías son de mi autoría capturadas con mi celular Smooth 6.5 y editas en PicsArt.
All the photographs are my own, captured with my Smooth 6.5 cell phone and edited in PicsArt.