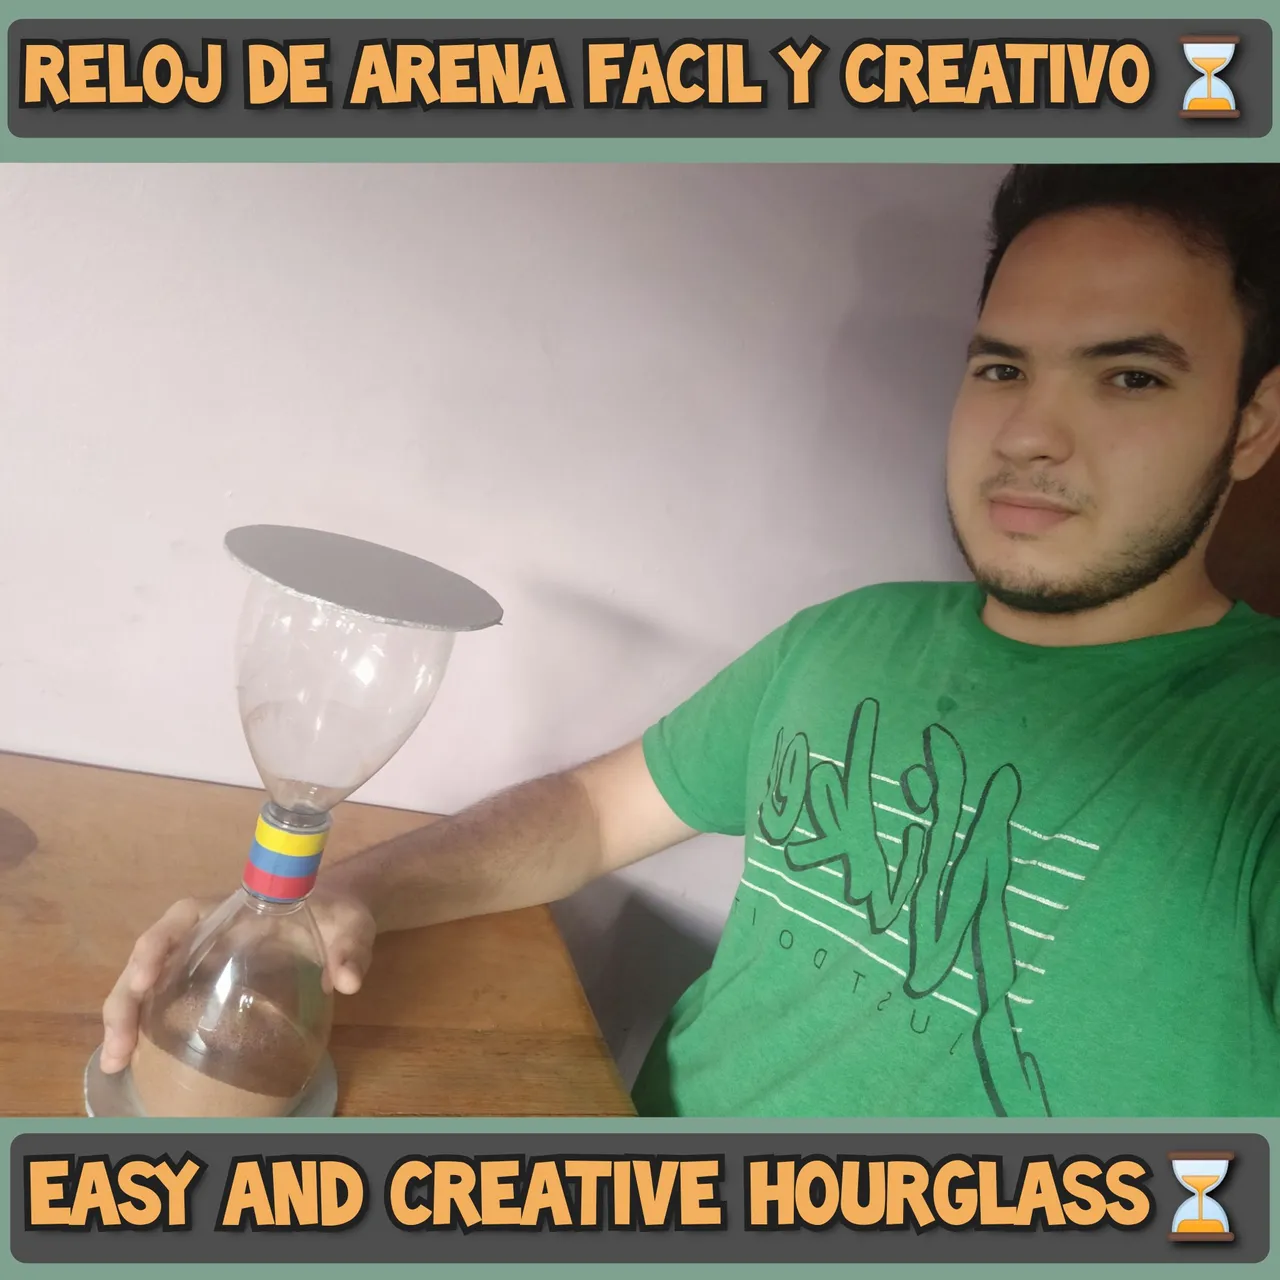
Hola Amigos de esta gran comunidad, espero que todos se encuentren muy bien, quiero compartirles como hice un Reloj de Arena Fácil, creativo y con materiales reciclados y reutilizables. Ideal para hacerlo en nuestro tiempo libre con algún familiar o amigo.
Hello Friends of this great community, I hope you are all very well, I want to share with you how I made an Easy, creative Hourglass with recycled and reusable materials. Ideal to do it in our free time with a family member or friend.
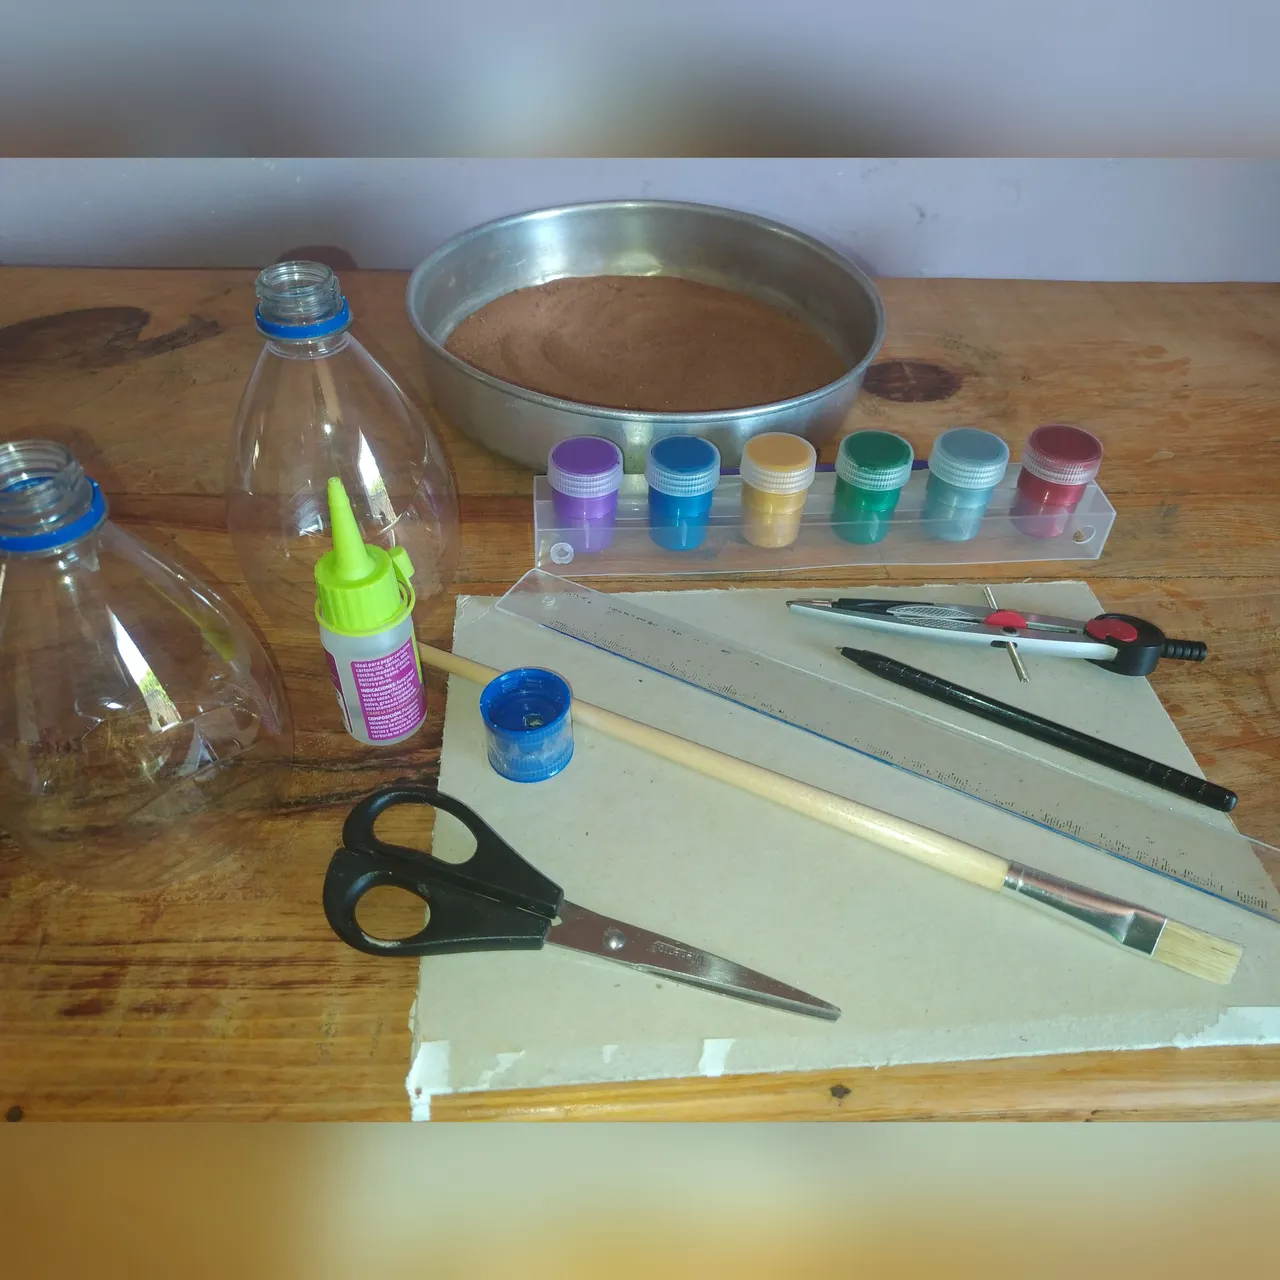
Los Materiales a utilizar son:
• 2 Envases de Plástico (Puede ser de Agua o Refresco) y con sus respectivas tapas
•Cartón
•Arena
•Silicón Líquido o cualquier otro pegamento
•Tijera
•Cinta Adhesiva
•Pintura
•1 Pincel
•1 Compás
•1 Lápiz o Lapicero
•Cinta para decorar.
*The Materials to be used are:
•2 Plastic Containers (It can be Water or Soft Drink) and with their respective lids.
•Paperboard.
•Sand.
•Liquid Silicone or any other glue.
•Scissor.
•Scotch tape.
•Painting.
•1 Brush.
•1 Compass.
•1 Pencil or Pen.
•Ribbon to decorate.
Procedimiento
Procedure.
Paso 1: Consigue dos botellas de plástico transparentes del mismo tamaño y forma. Corta ambas botellas a la medida de tu preferencia.
•Para lograr un reloj de arena más realista, usa botellas con forma de bombilla, evita las que tienen deformidades.
• Asegúrate de quitarles las etiquetas. Usa agua tibia y jabón para retirar todos los residuos.
Step 1: Get two clear plastic bottles of the same size and shape. Cut both bottles to the size of your preference.
•For a more realistic hourglass, use lightbulb-shaped bottles, avoid those with deformities.
•Make sure you remove the labels. Use warm soapy water to remove all residue.
Paso 2: Quítale las tapas, pegalas juntas y deja que el pegamento se seque. Ten cuidado de no poner pegamento en el centro o no podrás hacer el hoyo. Asegúrate de que las superficies de ambas tapas se estén tocando. Solo deberías poder ver la parte de adentro de cada una de ellas. Y luego rodea las dos tapas con un poco de cinta adhesiva para lograr más resistencia.
•Usa un pegamento resistente, como silicón líquido o caliente. El pegamento escolar no es lo suficientemente resistentes.
Step 2: Take off the caps, glue them together, and let the glue dry. Be careful not to glue the center or you won't be able to make the hole. Make sure the surfaces of both caps are touching. You should only be able to see the inside of each of them. And then surround the two caps with some masking tape for extra strength.
•Use a strong glue, such as liquid or hot silicone. School glue is not strong enough.
Paso 3: Haz un hoyo a través del centro de las tapas pegadas. Puedes usar un destornillador, o un taladro eléctrico o un martillo y un clavo para hacer el hoyo. Experimenta con hoyos de diferentes tamaños. Considera que cuanto más grande sea, más rápido caerá la arena y, cuanto más pequeño, más lento será el flujo de esta.
•Si eres un niño, pídele a un adulto que te ayude con este paso.
•Algunas tapas tienen un disco de plástico en el interior. Esto podría dificultar la perforación del hoyo. Usa un destornillador de punta plana para sacar este disco antes de hacer el hoyo.
Step 3: Punch a hole through the center of the glued caps. You can use a screwdriver, or an electric drill, or a hammer and nail to make the hole. Experiment with holes of different sizes. Consider that the larger it is, the faster the sand will fall, and the smaller it is, the slower the flow of the sand will be.
•If you are a child, ask an adult to help you with this step.
•Some caps have a plastic disc inside. This could make it difficult to drill the hole. Use a flat-head screwdriver to remove this disk before drilling the hole.
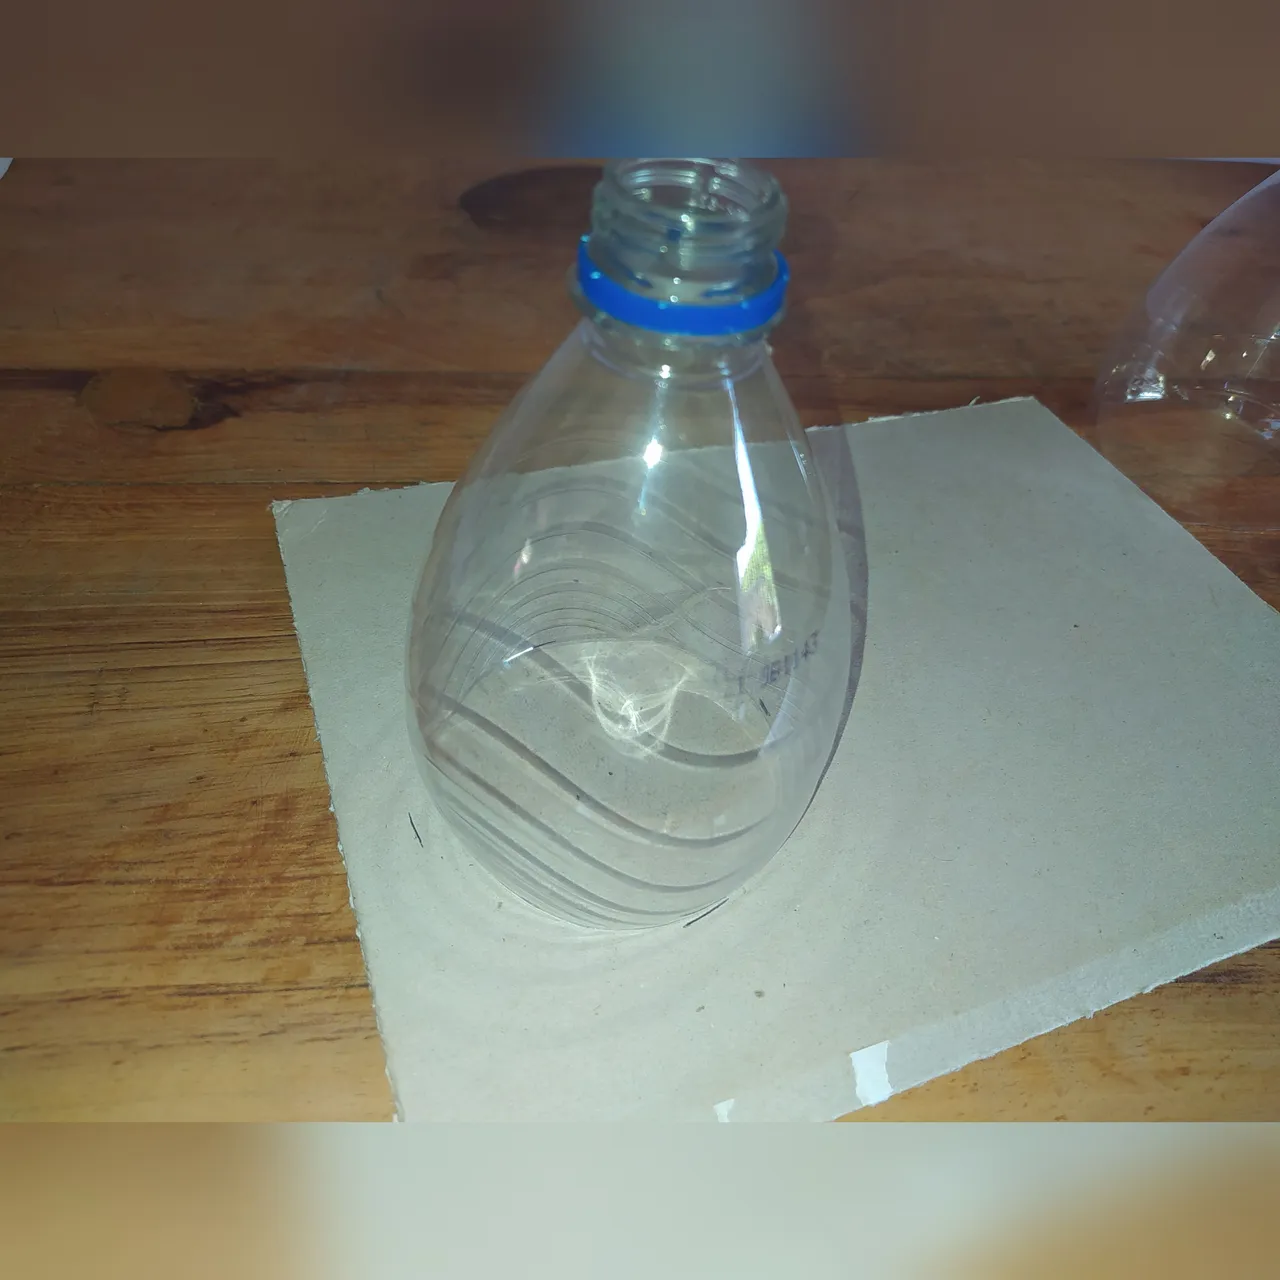
Paso 4: Para la Base de nuestro Reloj de Arena usamos la botella de plástico ya cortada y la apoyamos sobre el cartón, medimos y marcamos su centro y su ancho.
Step 4: For the Base of our Hourglass we use the plastic bottle already cut and we support it on the cardboard, we measure and mark its center and its width.
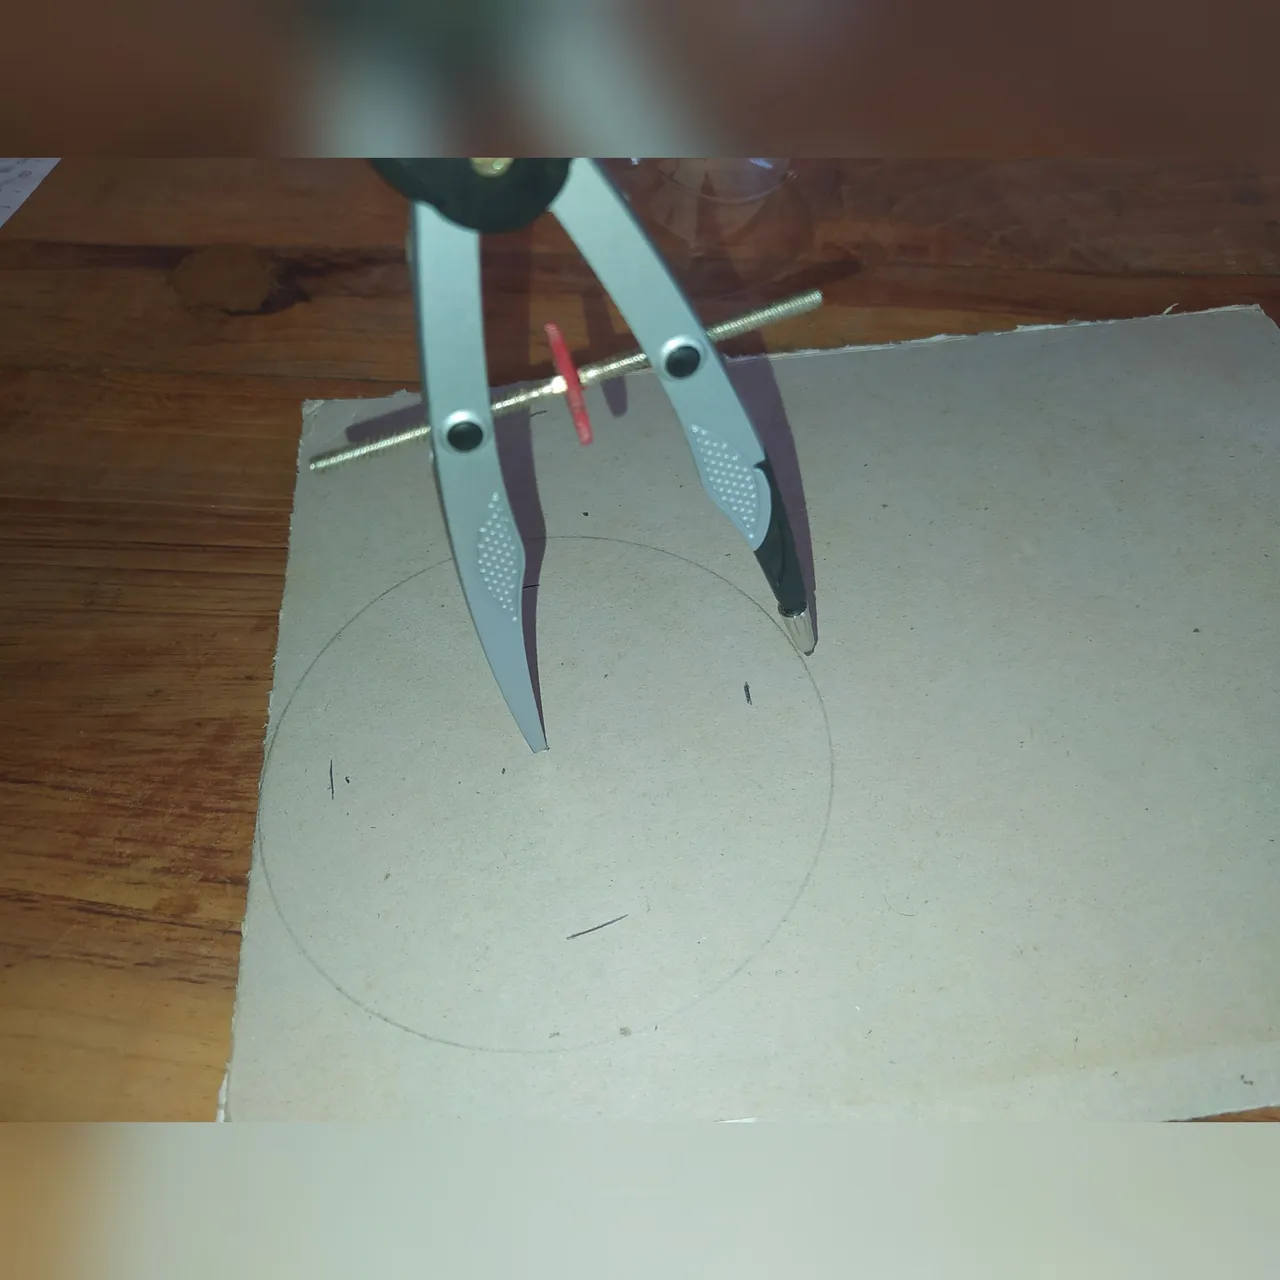
Paso 5: Luego que marcamos el centro de la botella con la ayuda de un Compás, hacemos una circunferencia del tamaño deseado (Tamaño y medidas son estilo libre)
Step 5: After we mark the center of the bottle with the help of a compass, we make a circumference of the desired size (Size and measurements are free style).
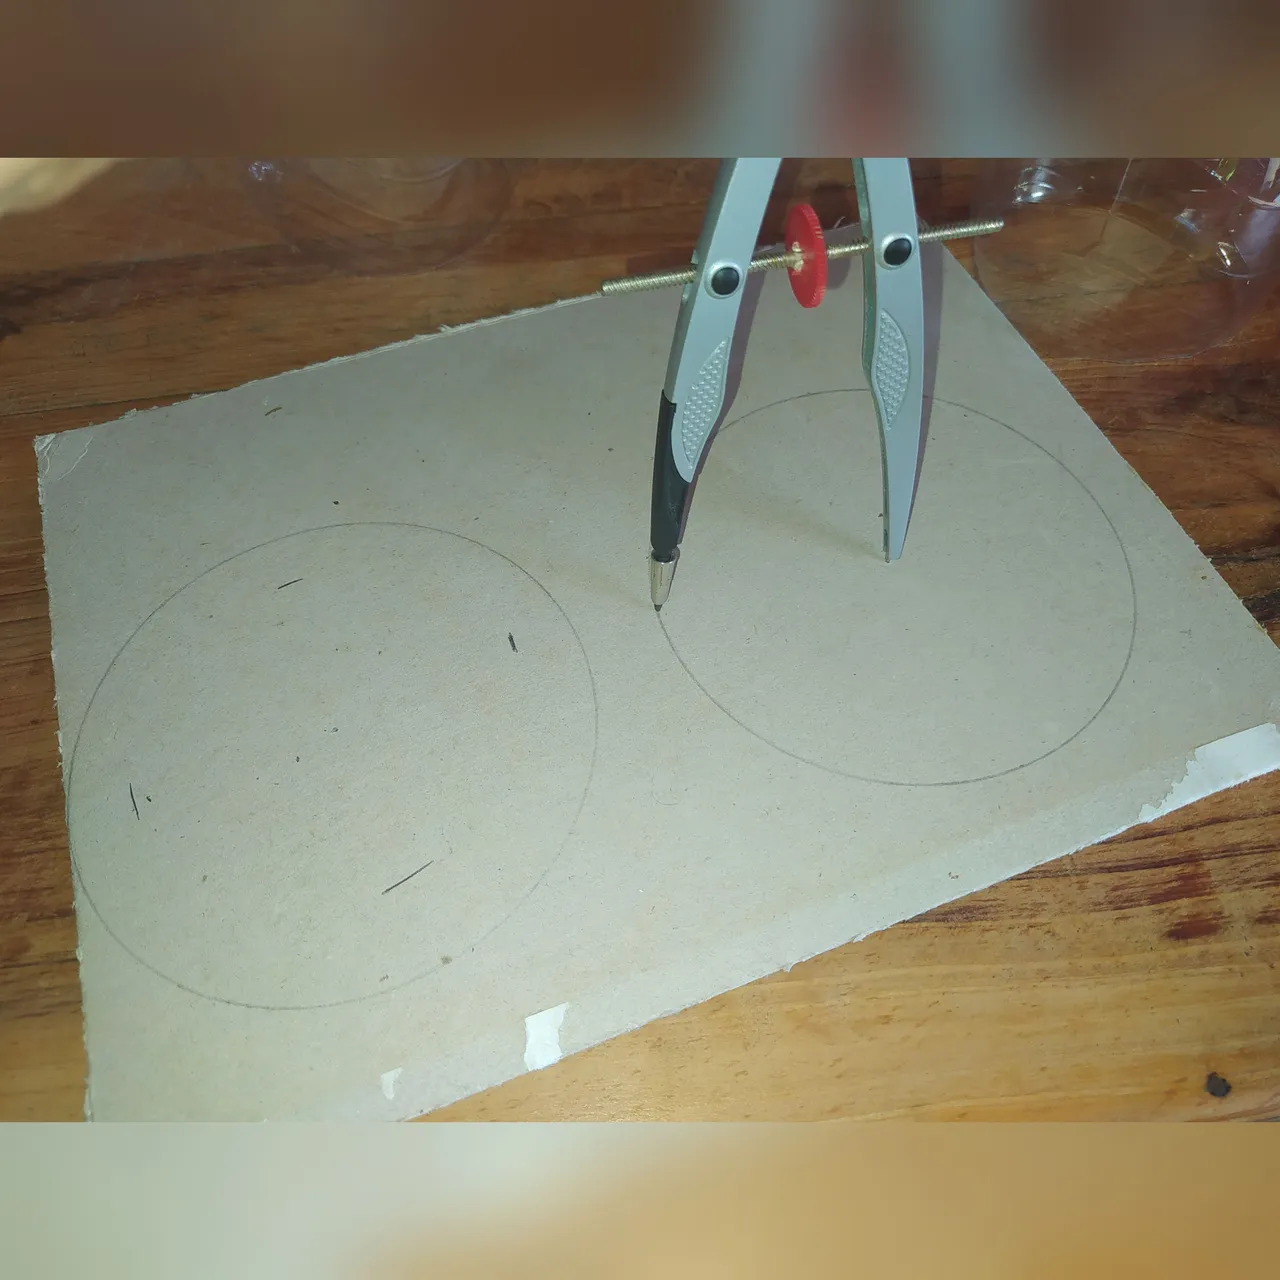
Paso 6: Con la medida establecida en nuestro Compás, repetimos el mismo paso para así de esta forma tener las dos bases de nuestro Reloj del mismo tamaño.
Step 6: With the measurement established in our Compass, we repeat the same step in order to have the two bases of our Clock the same size.
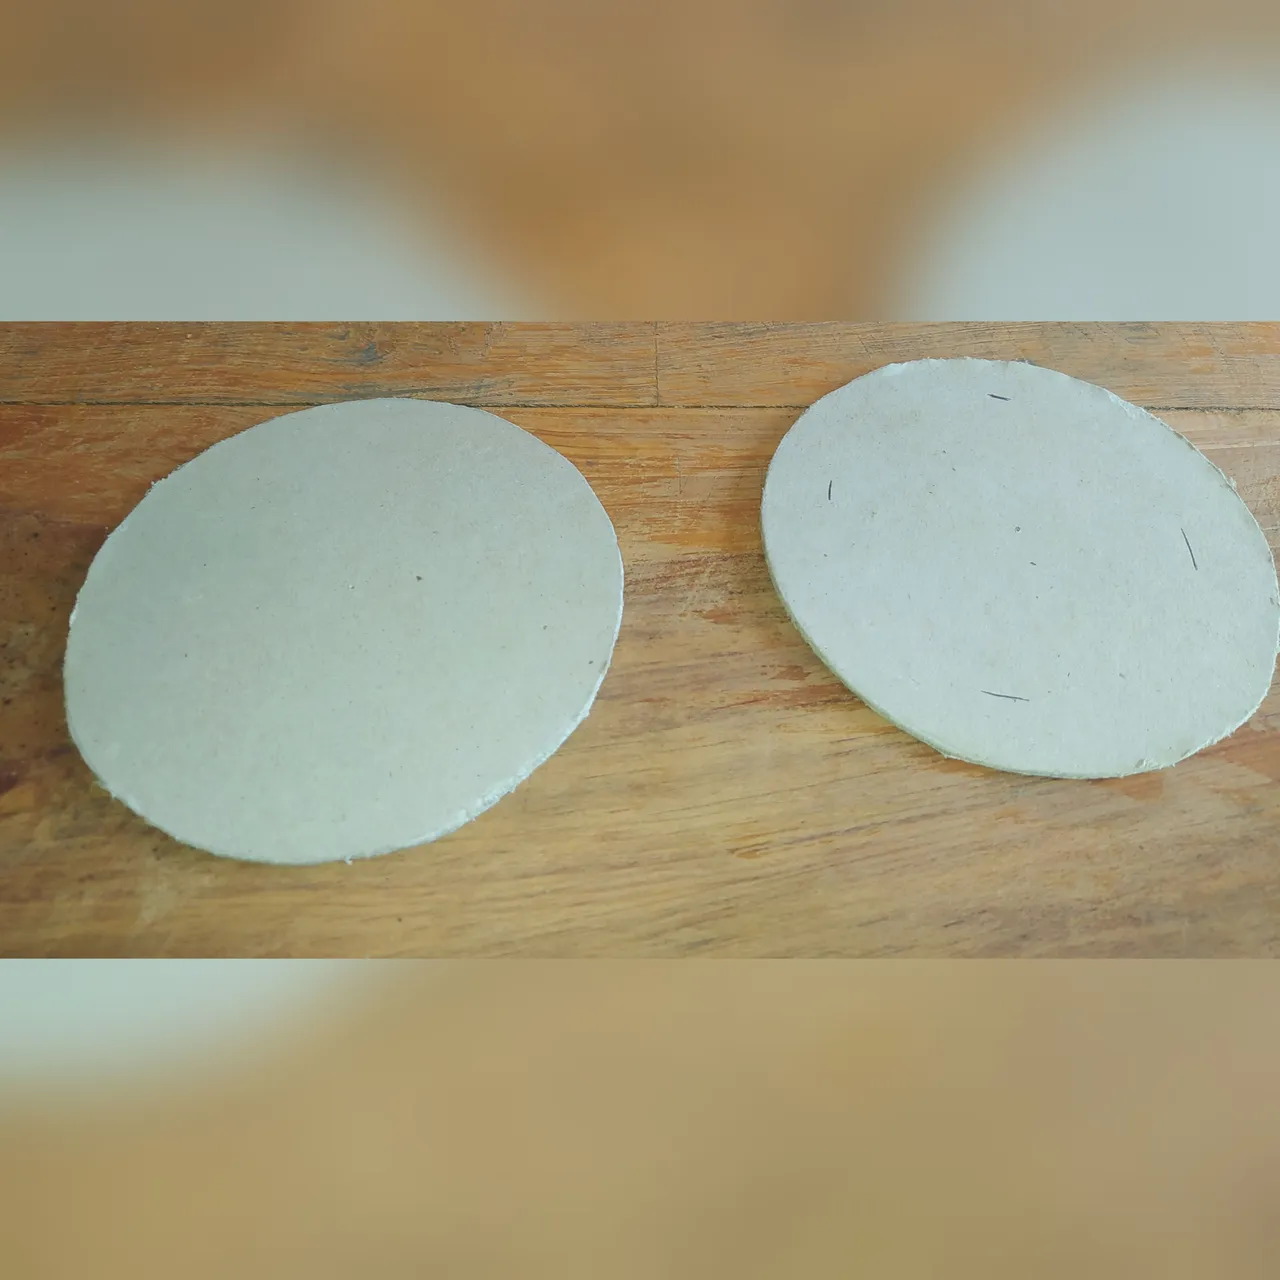
Paso 7: Lo siguiente que hacemos es recortar las dos circunferencias marcadas en el cartón con la ayuda de una tijera
• Si eres un niño, pídele a un adulto que te ayude con este paso.
Step 7: The next thing we do is cut out the two circles marked on the cardboard with the help of scissors.
•If you are a child, ask an adult to help you with this step.
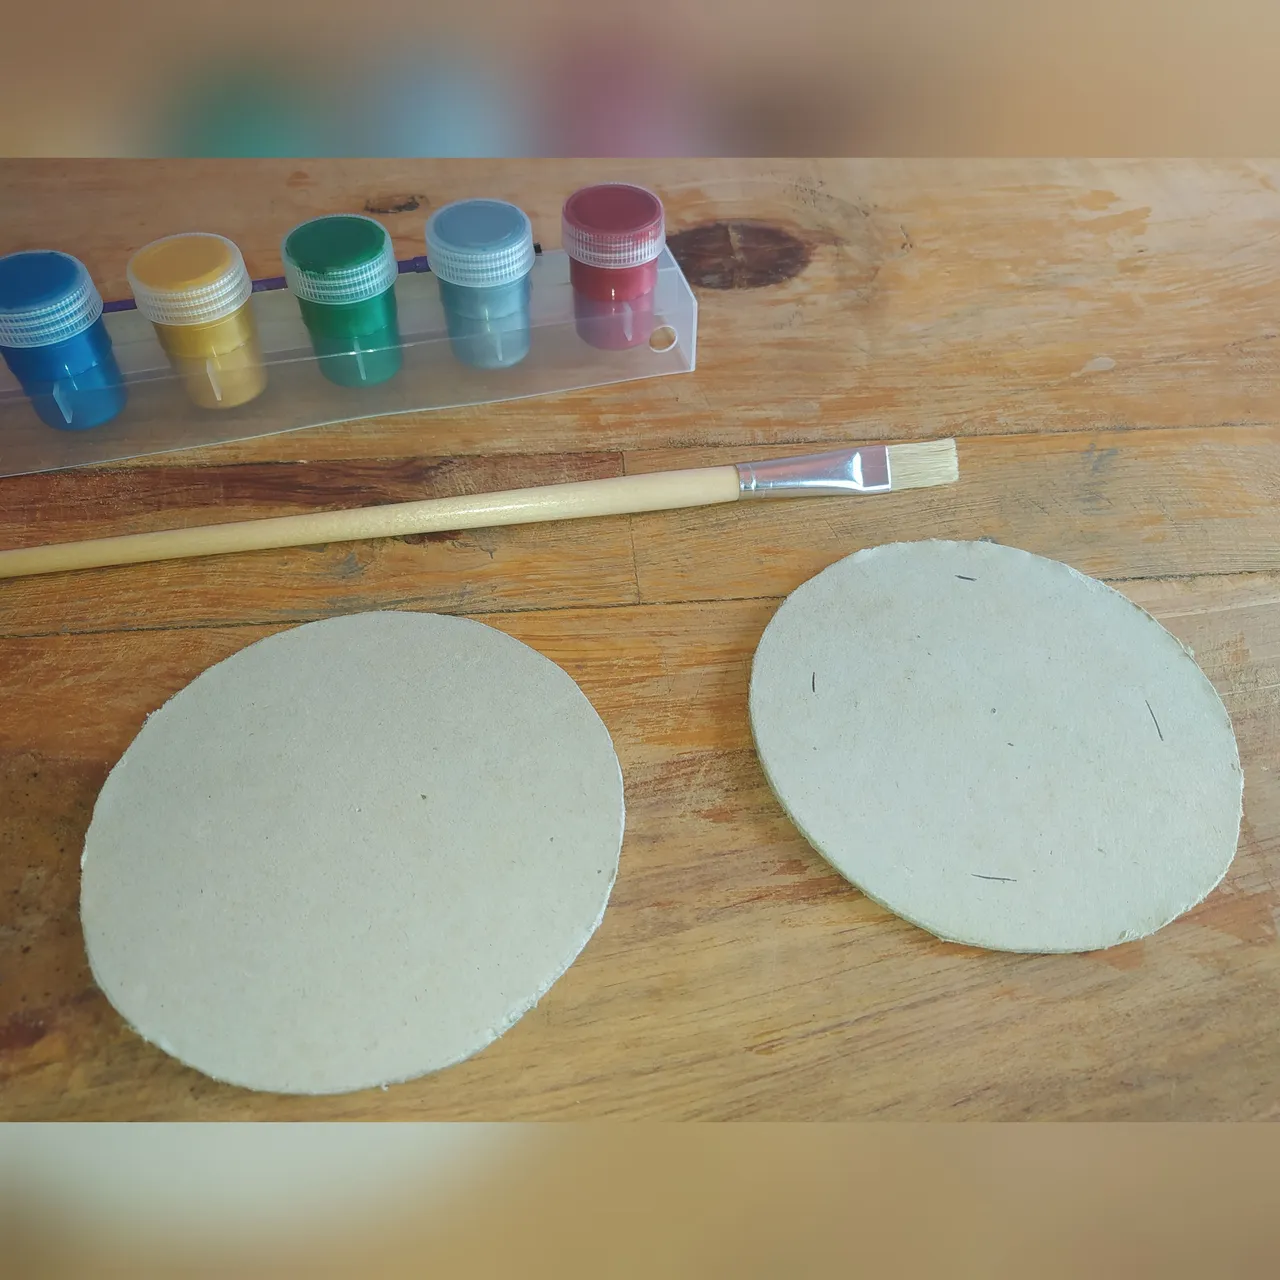
Paso 8: Posteriormente elegimos el color de pintura de nuestra preferencia o simplemente usamos la que tenemos disponible en casa y así pintamos las dos circunferencias ya recortadas.
• Se debe pintar por ambos lados cada circunferencia.
Step 8: Later we choose the paint color of our preference or we simply use the one we have available at home and thus paint the two already cut circles.
•Each circumference must be painted on both sides.
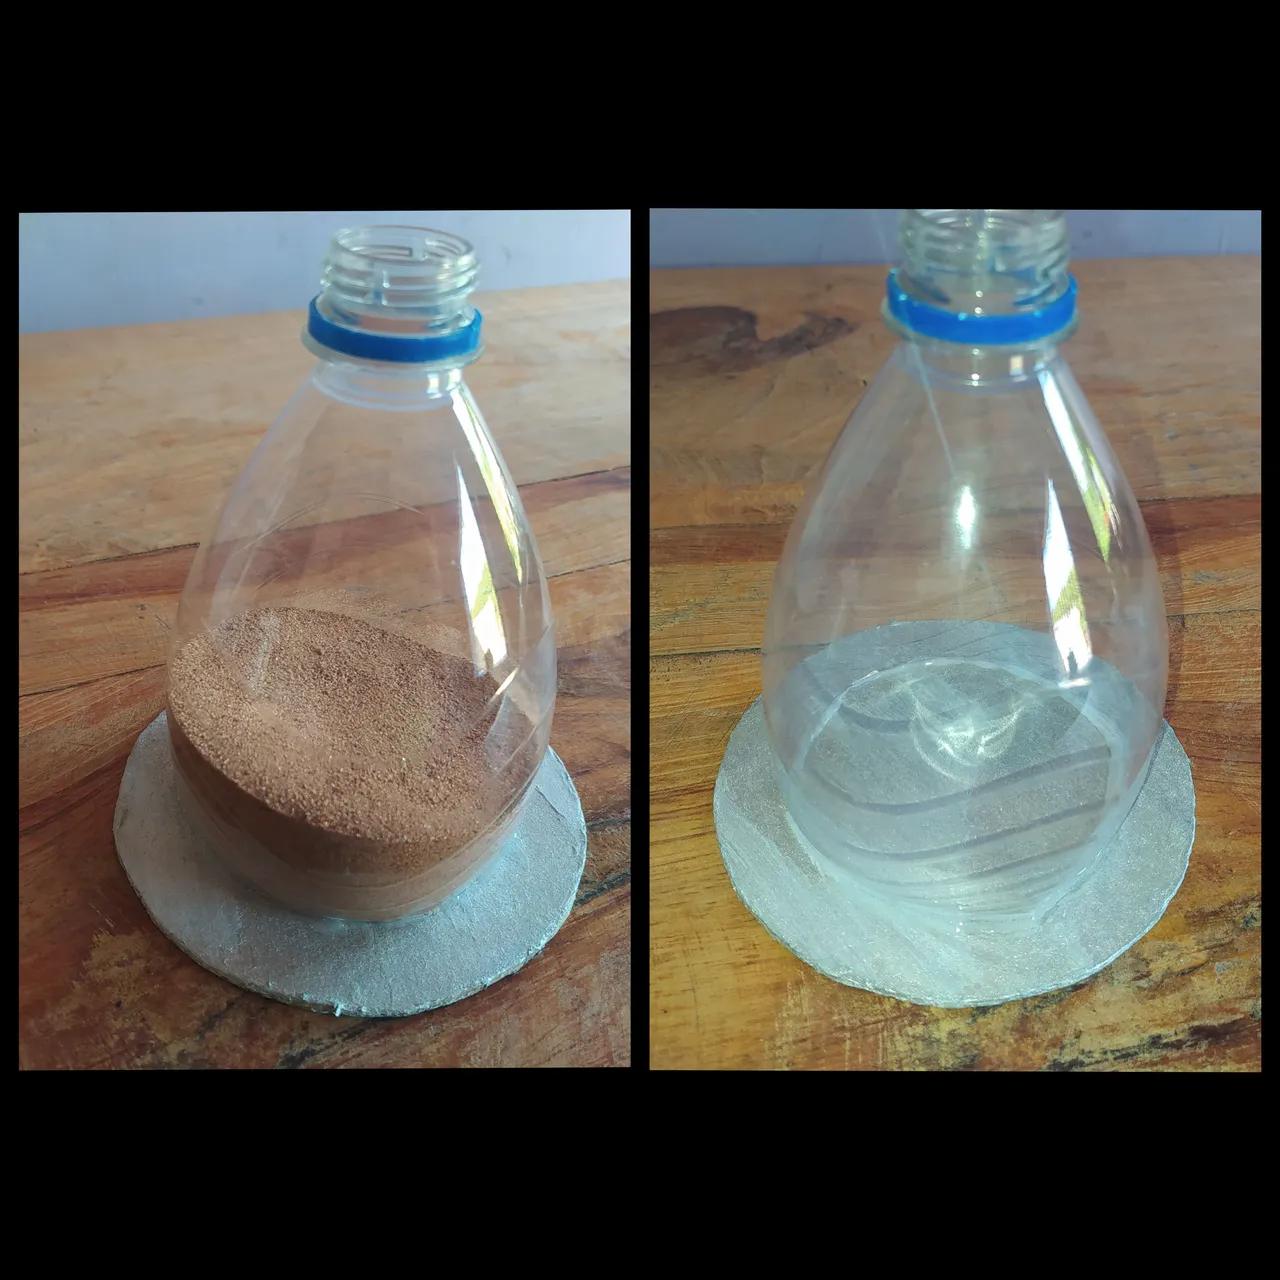
Paso 9: Agarramos nuestros envases de plástico y le vamos colocamos pegamento por todo el borde y lo pegamos en las dos bases ya pintadas.
• Procedimiento a realizar en ambos lados del reloj.
Step 9: We take our plastic containers and we place glue all over the edge and stick it on the two already painted base.
•Procedure to be performed on both sides of the watch.
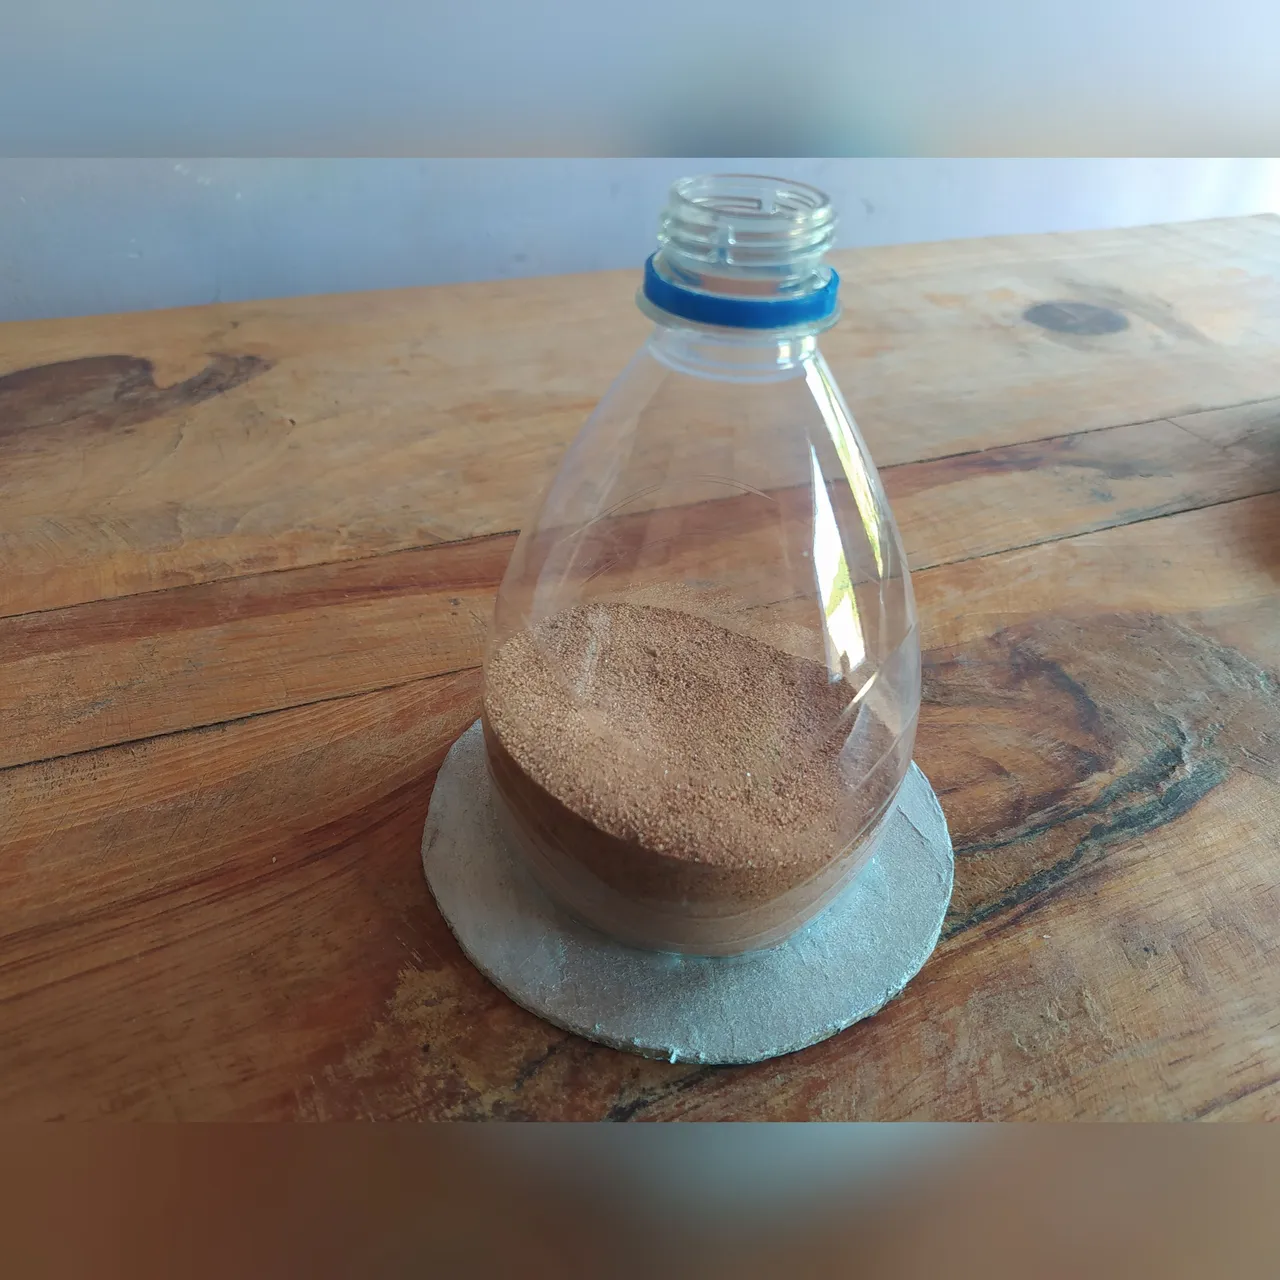
Paso 10: Luego que han secado cada lado del reloj, escoge uno y agrégale la arena
• Evita usar el envase plástico con el pegamento húmedo porque de esta forma la arena quedará pegada en el pegamento y no bajará.
Step 10: After each side of the clock has dried, choose one and add the sand.
•Avoid using the plastic container with the wet glue because in this way the sand will stick to the glue and it will not go down.
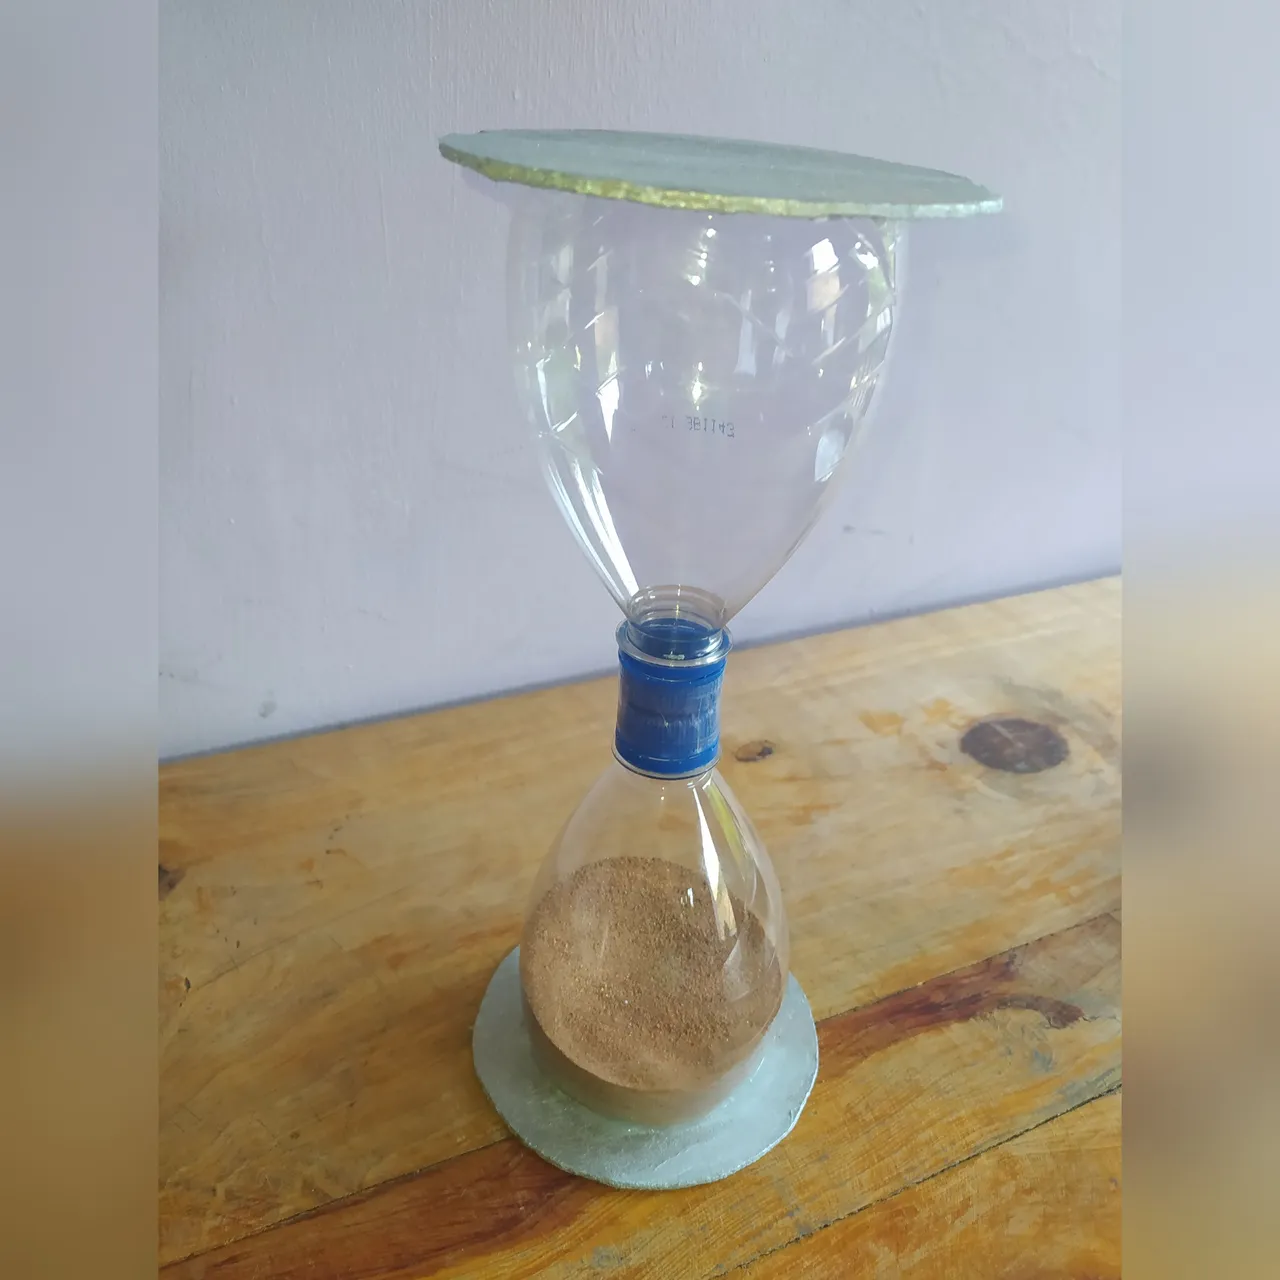
Paso 11: Une con las tapas ambos lados del reloj y prueba que tiempo tarda en caer totalmente la Arena de un lado al otro.
• En mi caso, mi Reloj tiene una duración de 3 minutos en caer totalmente la arena de un lugar a otro.
Step 11: Join both sides of the clock with the caps and test how long it takes for the sand to completely fall from one side to the other.
•In my case, my watch lasts 3 minutes for the sand to fall completely from one place to another.
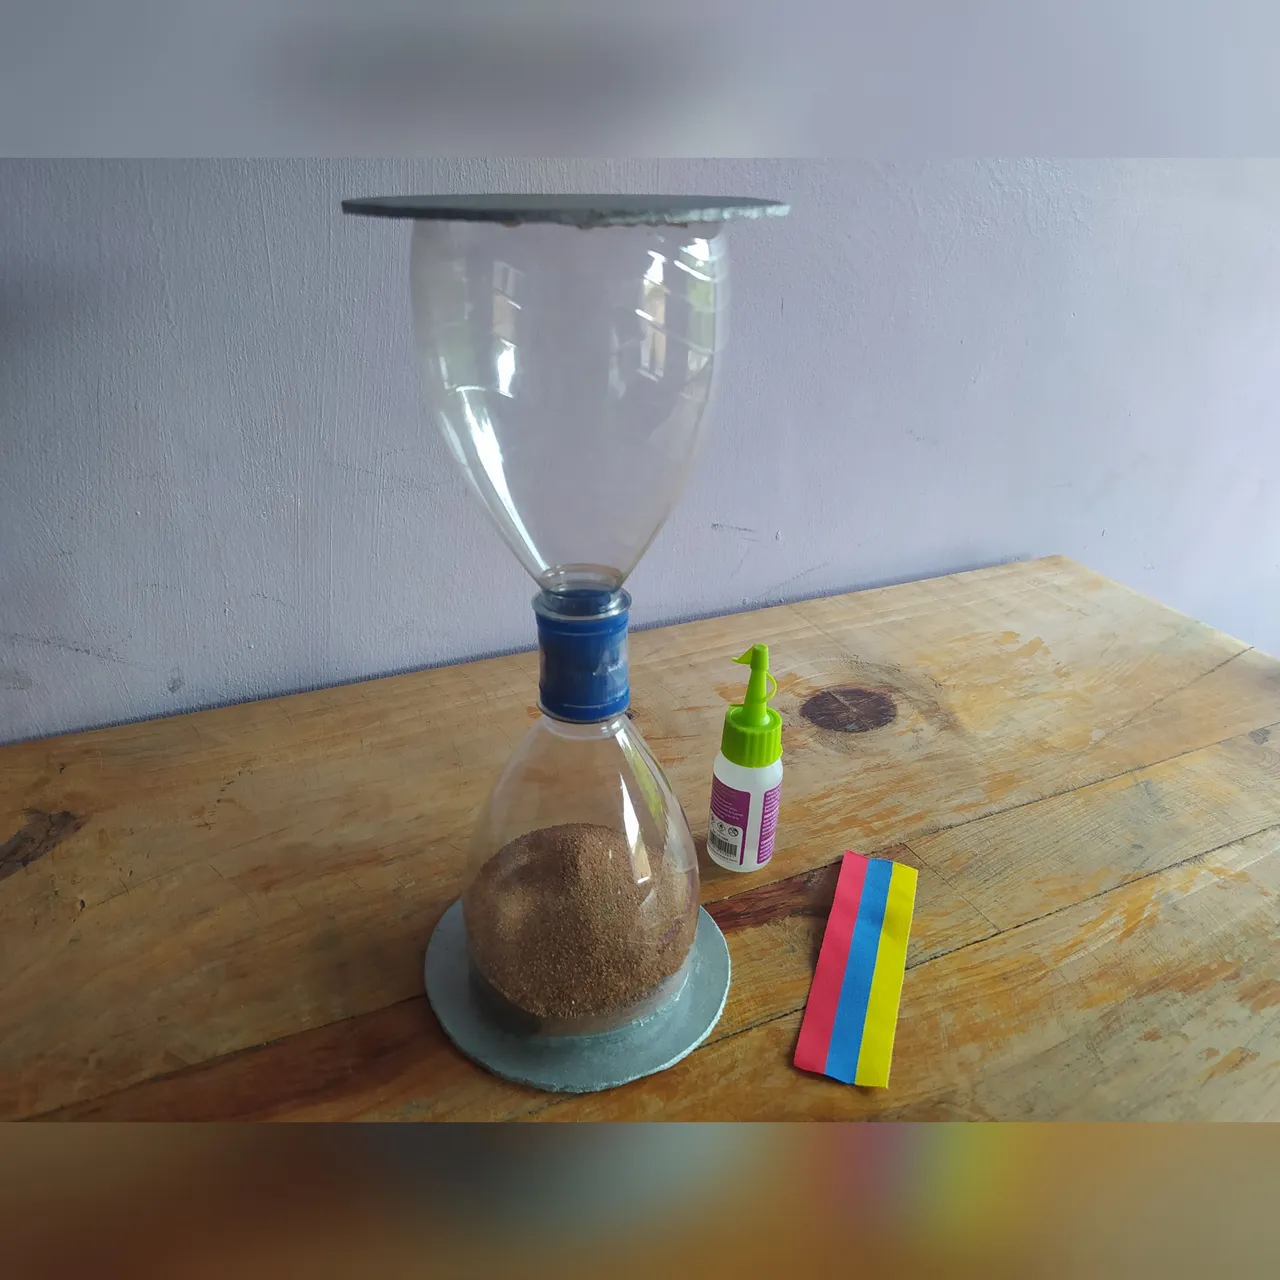
Paso 12: Y por último decora tu Reloj con tu material de preferencia o con algún material que ya no lo estés usando.
• En mi caso, yo use una cinta de color de la bandera de mi país que tenía en desuso en mi casa y quise darle utilidad para así evitar botarla.
• Recuerda que puedes decorar tu Reloj de Arena a tu manera, puedes usar calcomanías que brillen en la oscuridad o puedes usar pegamento con purpurina o escarcha o con el que tengas a la mano, estoy seguro que quedará muy bien.
Step 12: And finally, decorate your Clock with your preferred material or with some material that you are no longer using.
•In my case, I used a ribbon colored by the flag of my country that I had in disuse at my house and I wanted to use it to avoid throwing it away.
•Remember that you can decorate your Hourglass in your own way, you can use stickers that glow in the dark or you can use glitter or glitter glue or whatever you have on hand, I'm sure it will look great.

Y listo de esta forma logramos hacer en casa un Reloj de Arena Fácil y creativo y lo mejor de todo es que usamos materiales Reciclados y evitamos así más contaminación.
And ready in this way we can make an Easy and creative Hourglass at home and the best of all is that we use Recycled materials and thus avoid more contamination.
Esto ha sido todo, espero que les haya gustado mucho. Cuidense y Dios los Bendiga.
This has been all, I hope you liked it a lot. Take care and God Bless you.

Las fotos fueron tomadas con mi celular
Ediciones de imagen y banner fueron realizadas con Cymera y Canva
Traducido con Deepl
the photos were taken with my cell phone
Image and banner edits were made with Cymera and Canva
translate with Deepl.