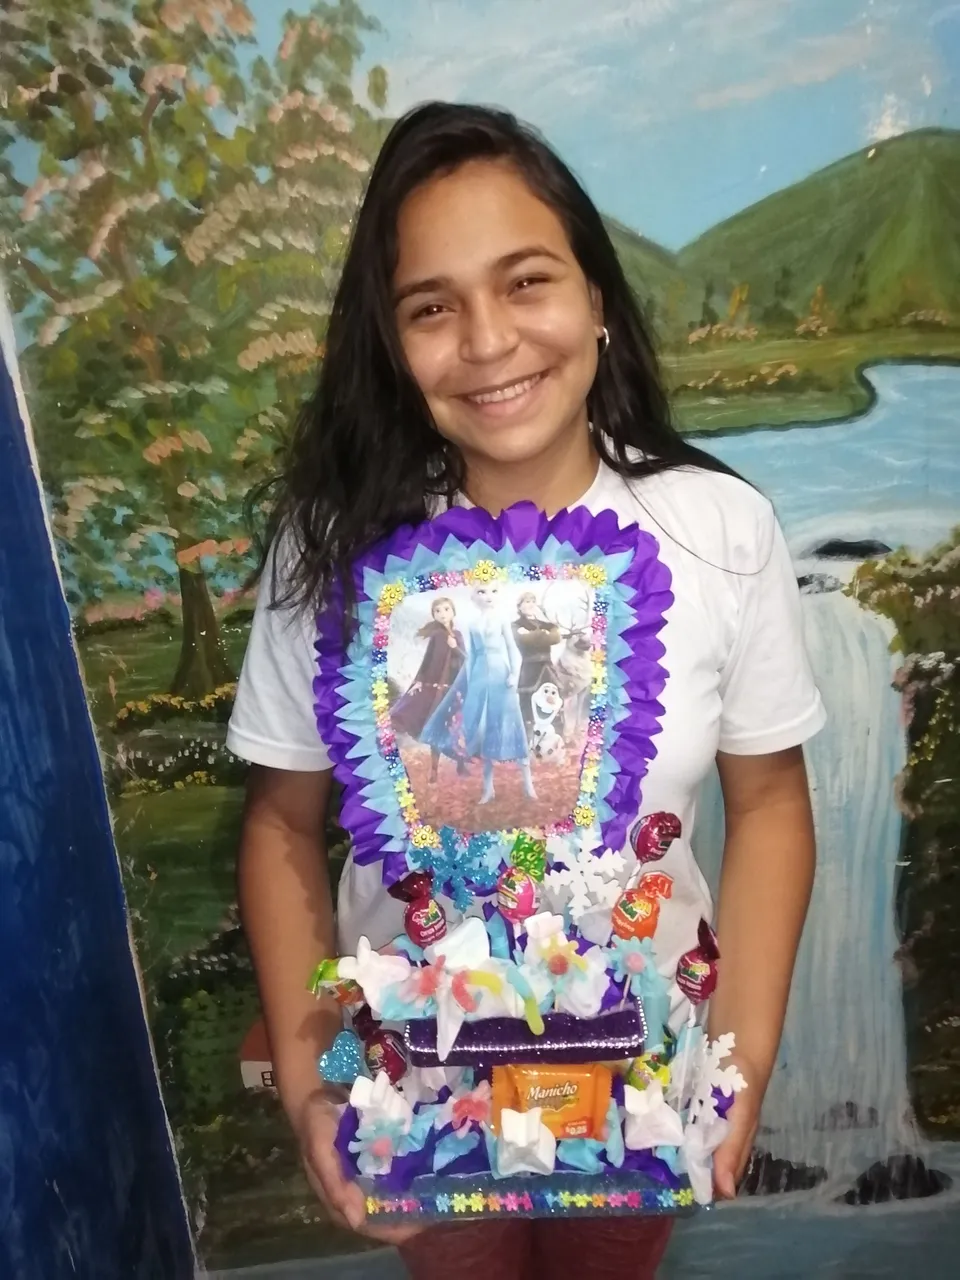
Bendecida y linda comunidad Dios me los bendiga y me les cuide siempre
El día de hoy les presento algo muy especial un lindo centro de mesa basado en la temática de frozen II todo esto con el motivo de participar en mi primer concurso party kisd.
Blessed day beautiful community God bless you and take care of you always.
Today I present to you my easy and beautiful project pen or pencil vase.
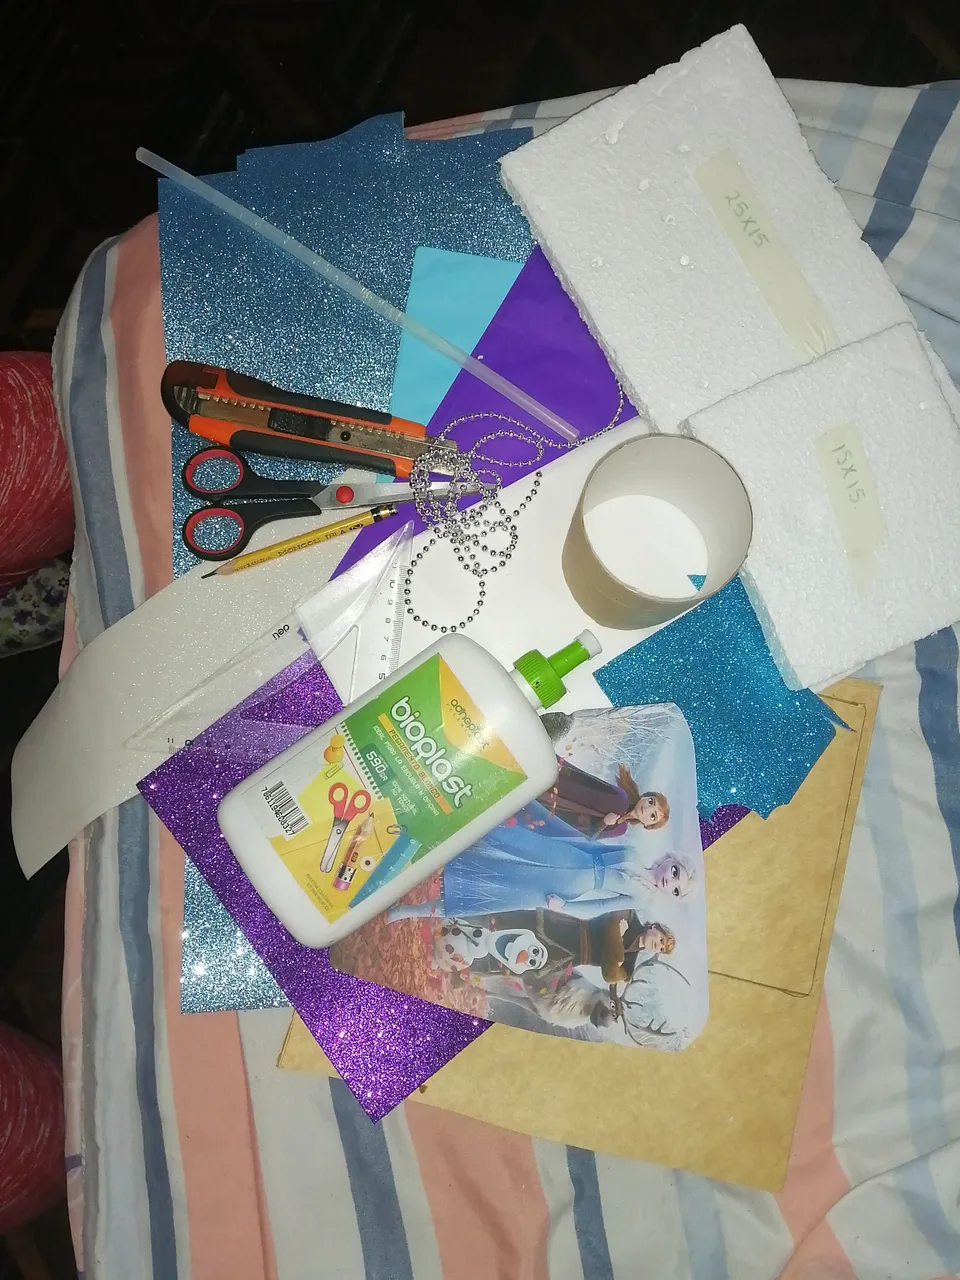
Materiales
Impresión de la temática frozen
Foami Escarchado blanco,morado y azul
Carton
Tijera
Pistola de silicon
Silicon
Estile, exacto o cuter.
Lapiz
regla
Papel de ceda color morado, blanco, azul
Cinta
Perla corrida tubo de papel
anime
Materials
Green frosted Foami
Red, green and yellow Foami
Cardboard
Scissors
Silicone gun
Silicon
Stylus, exacto or cutter
Pencil
ruler
Pencil or pencil
Procedimientos
1er paso
Cortar los moldes de copos, rectángulos de 25x18 y de 15x15en cartón y anime.
Procedures
1st step
Cut the molds of the flowers, the eyelet, and the base circle.
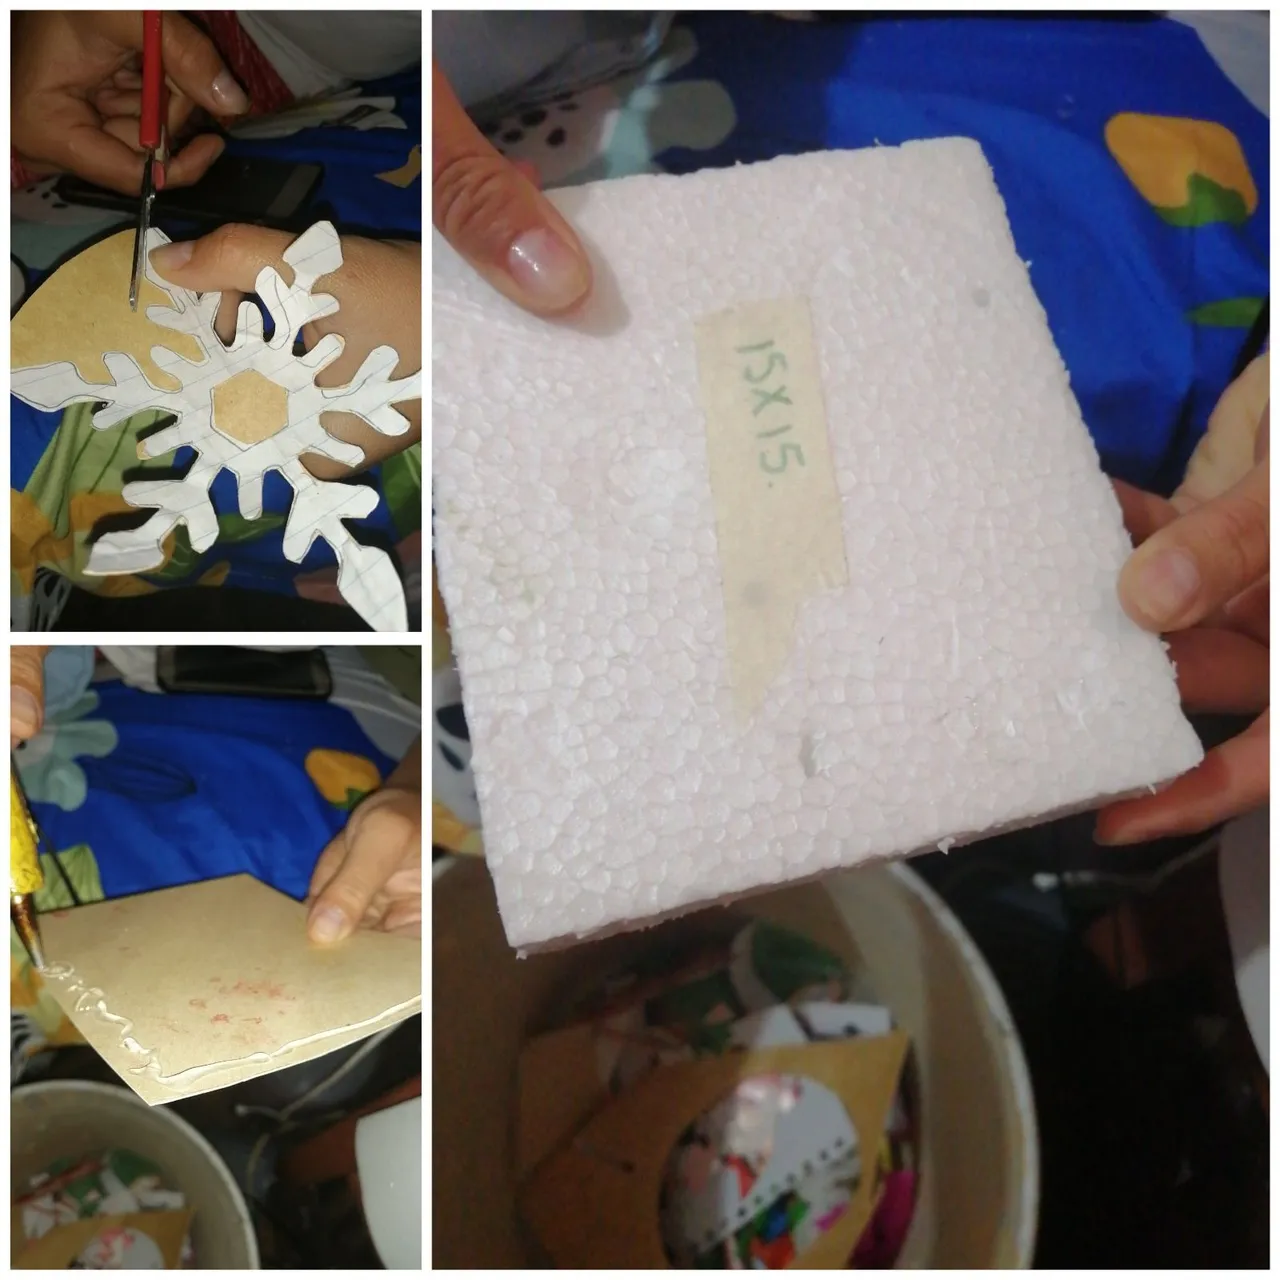
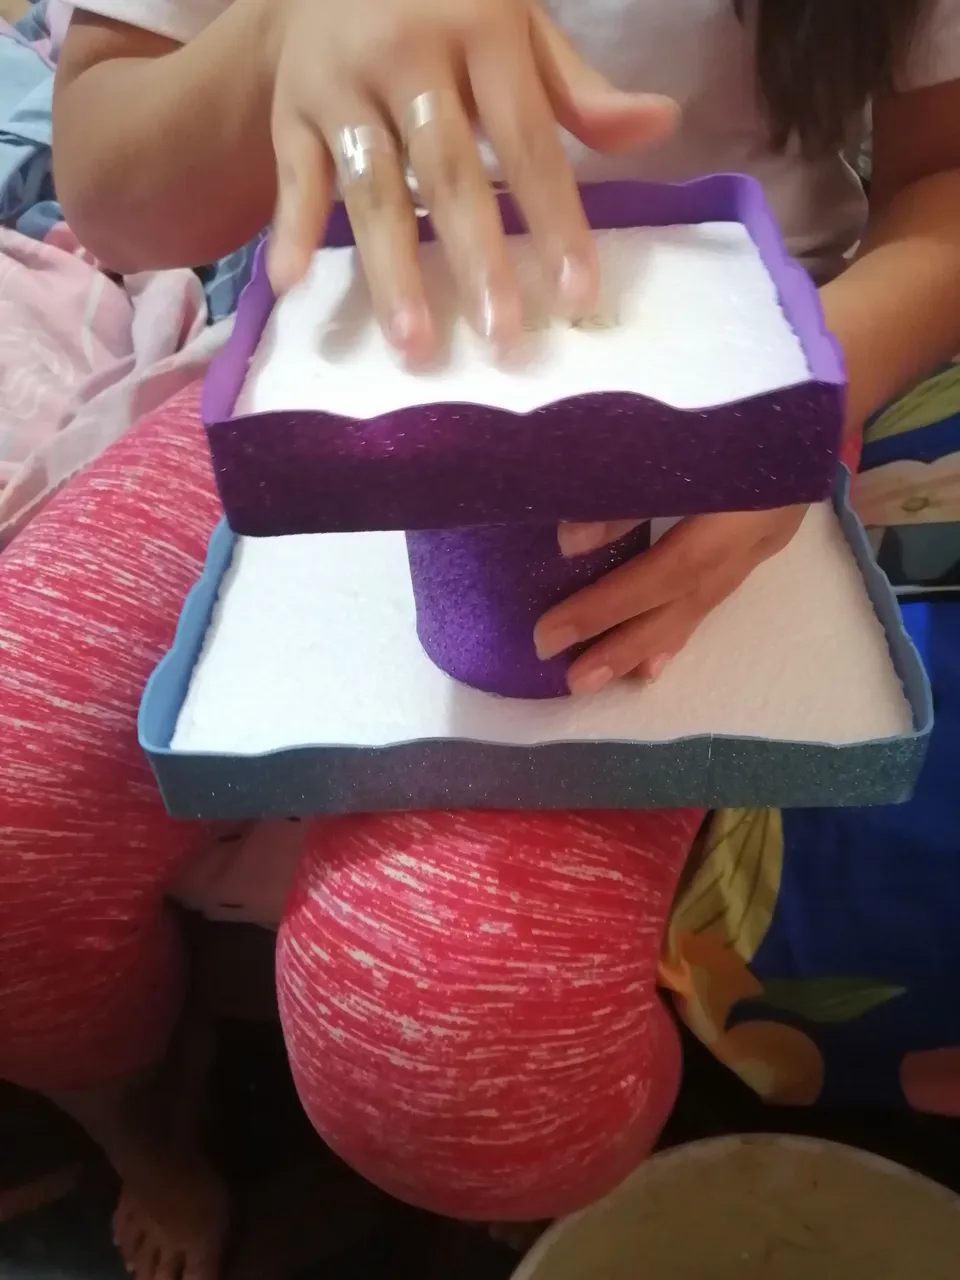
2do paso
Con los moldes ya cortados procedemos a pegar los rectángulos de cartón con el anime del mismo tamaño
2nd step
Mark and cut the molds in the different colors of foami.
3 pieces of the small flower, 6 pieces of the large flower and 3 leaves for the base of the flowers and 2 for the base of the arrangement.
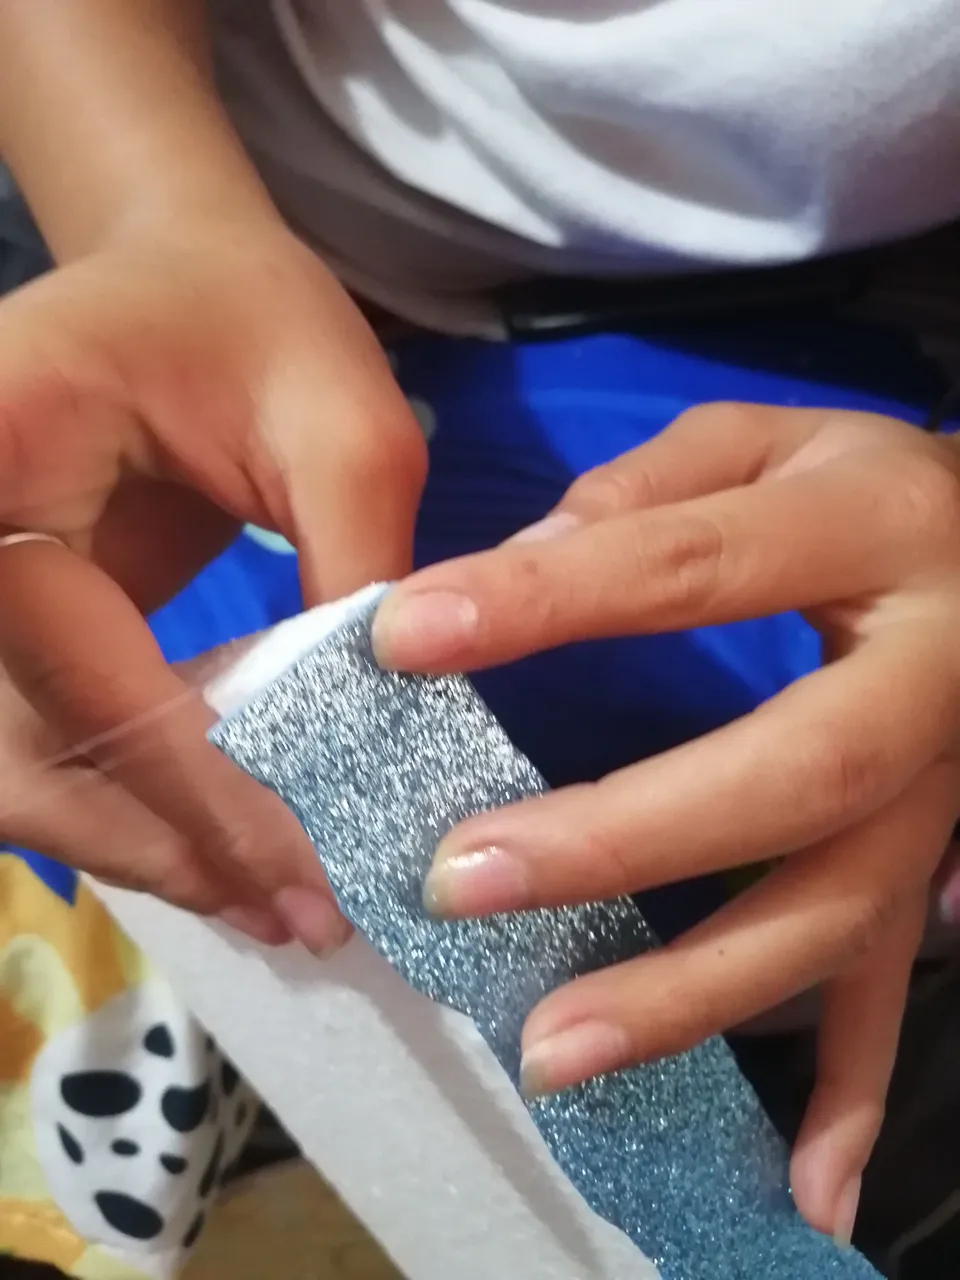
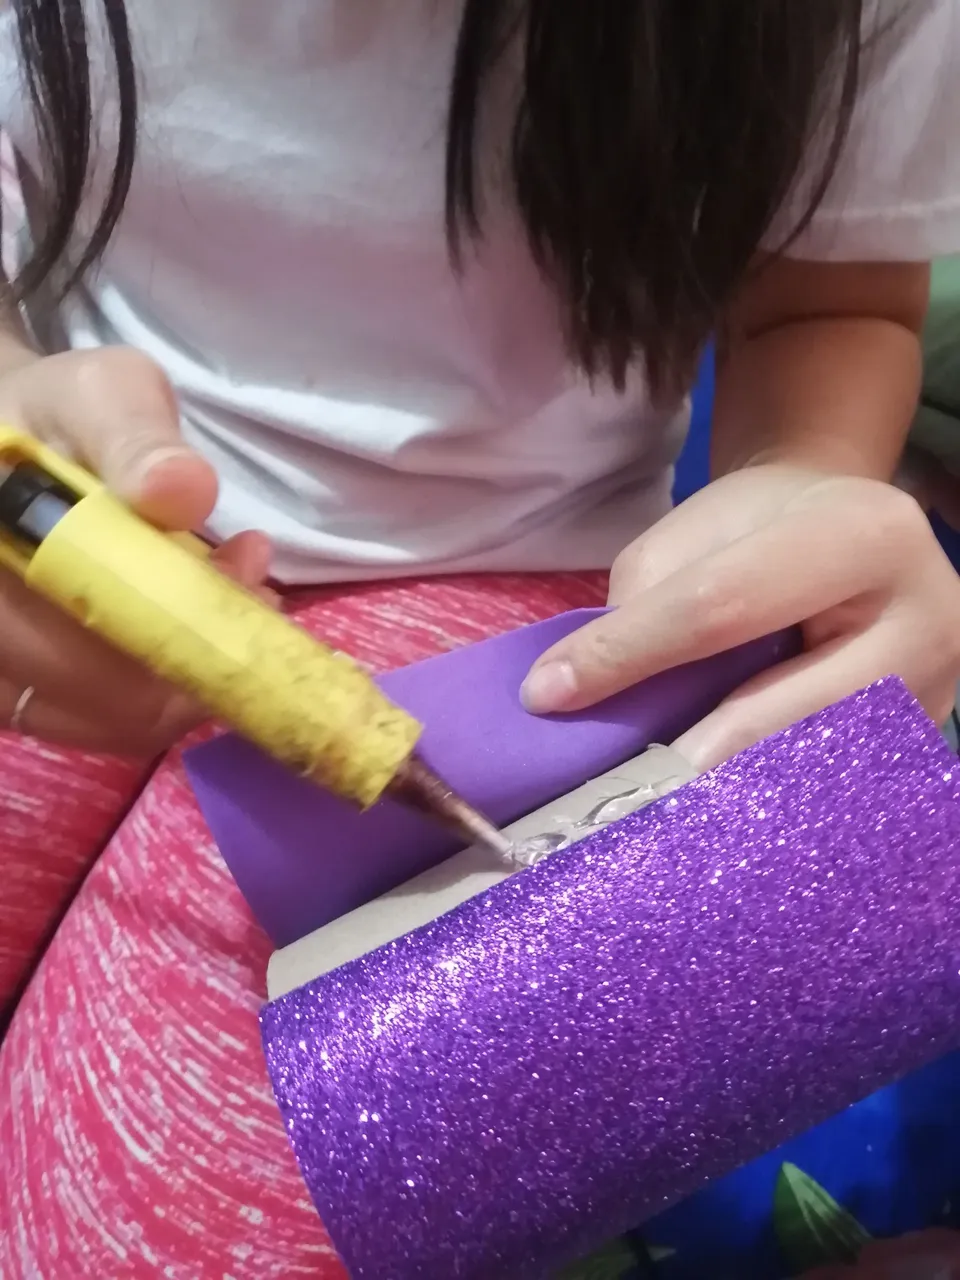
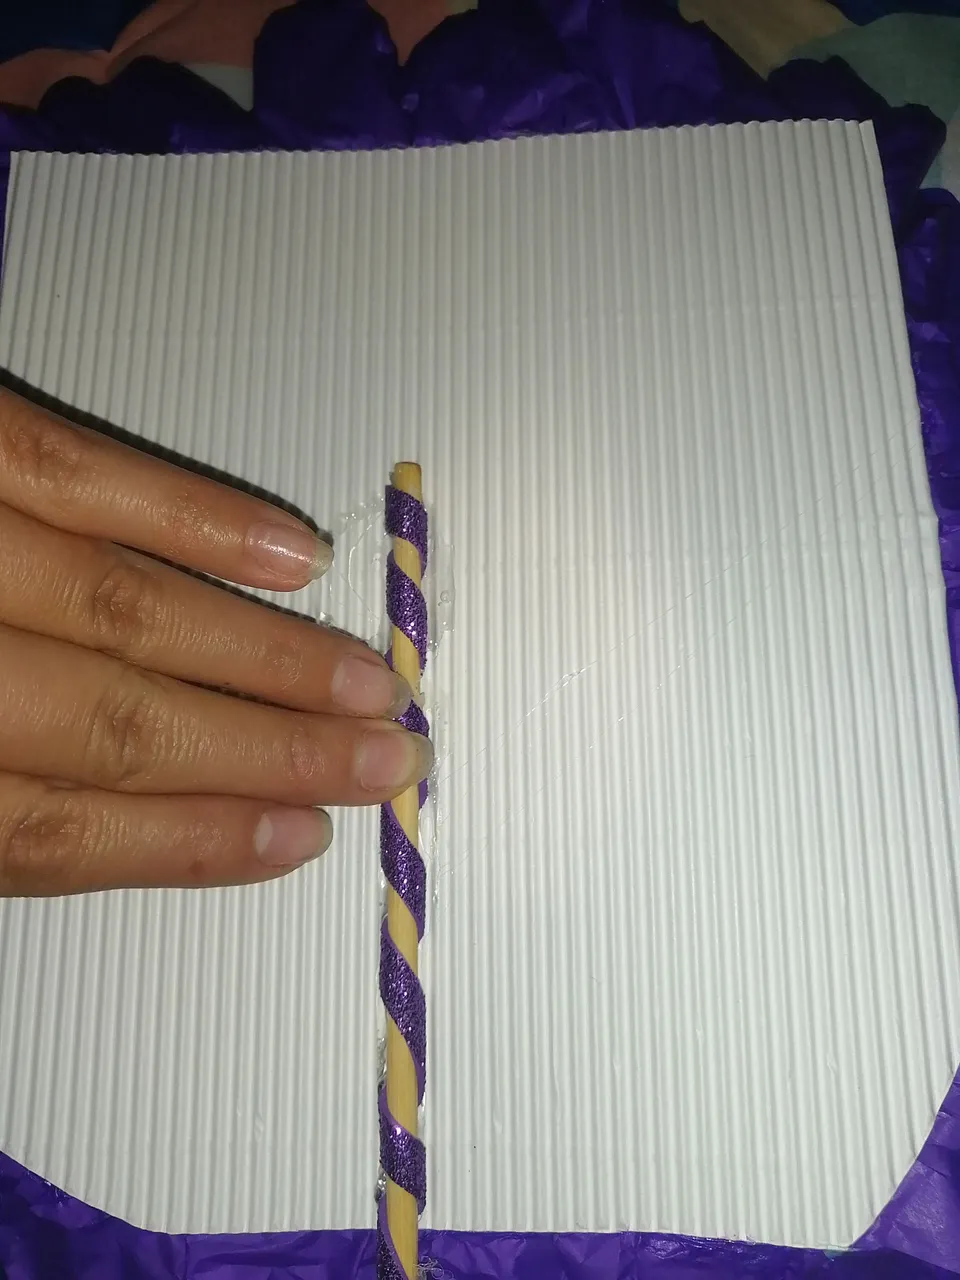
3er paso
Procedemos a armar: pegamos foami escarchado de color morado al rededor del rollo de papel, pegamos tiras de 3 cm en el borde del anime ya pegado esto Sera nuestra base.
3rd step
We proceed to decorate the pencil for this we cut strips of foami of 1 cm and glue little by little around the pencil to the edge of the lid of the same then we do the same with the lid.
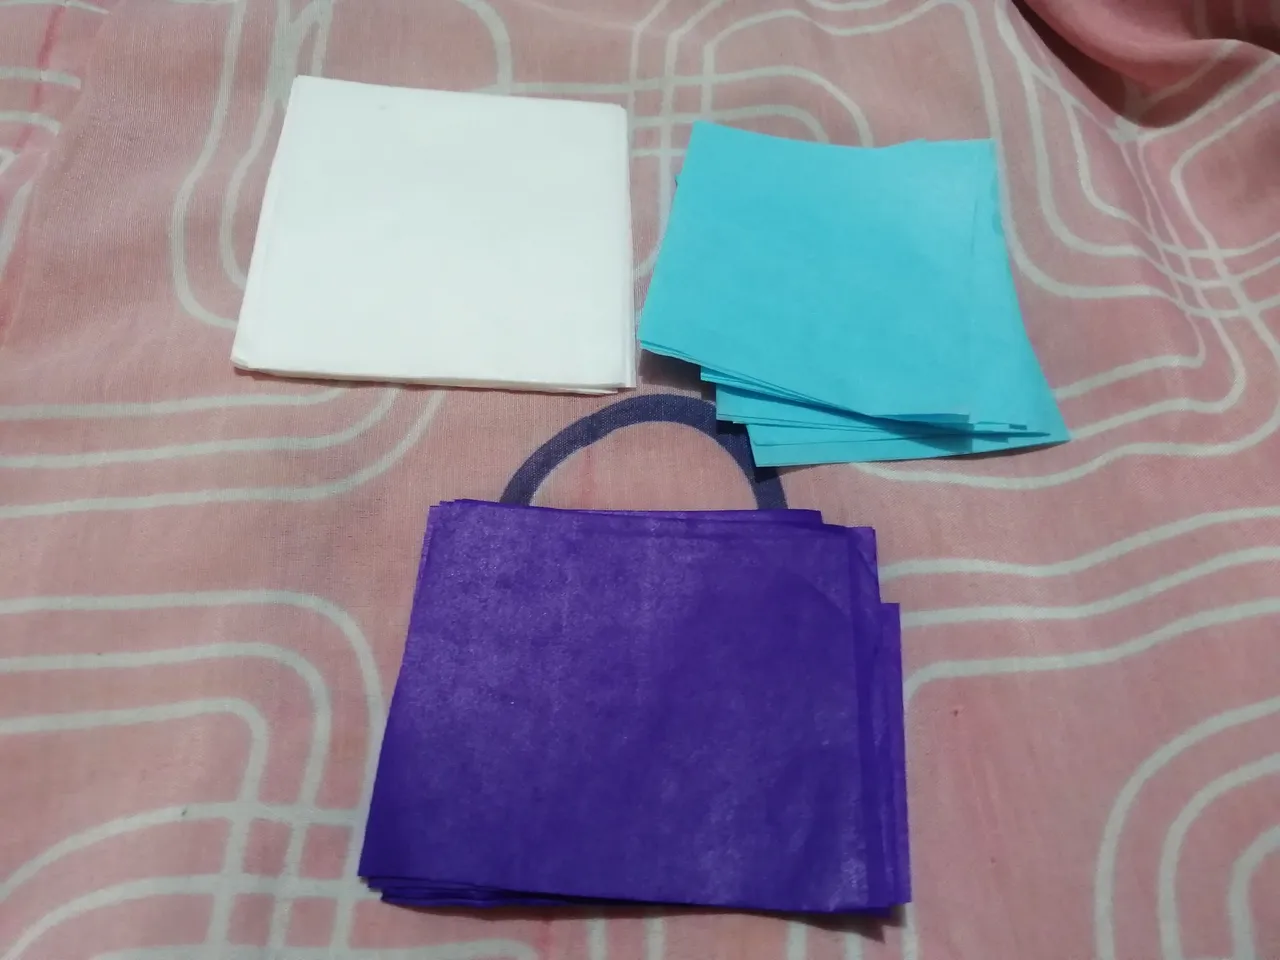
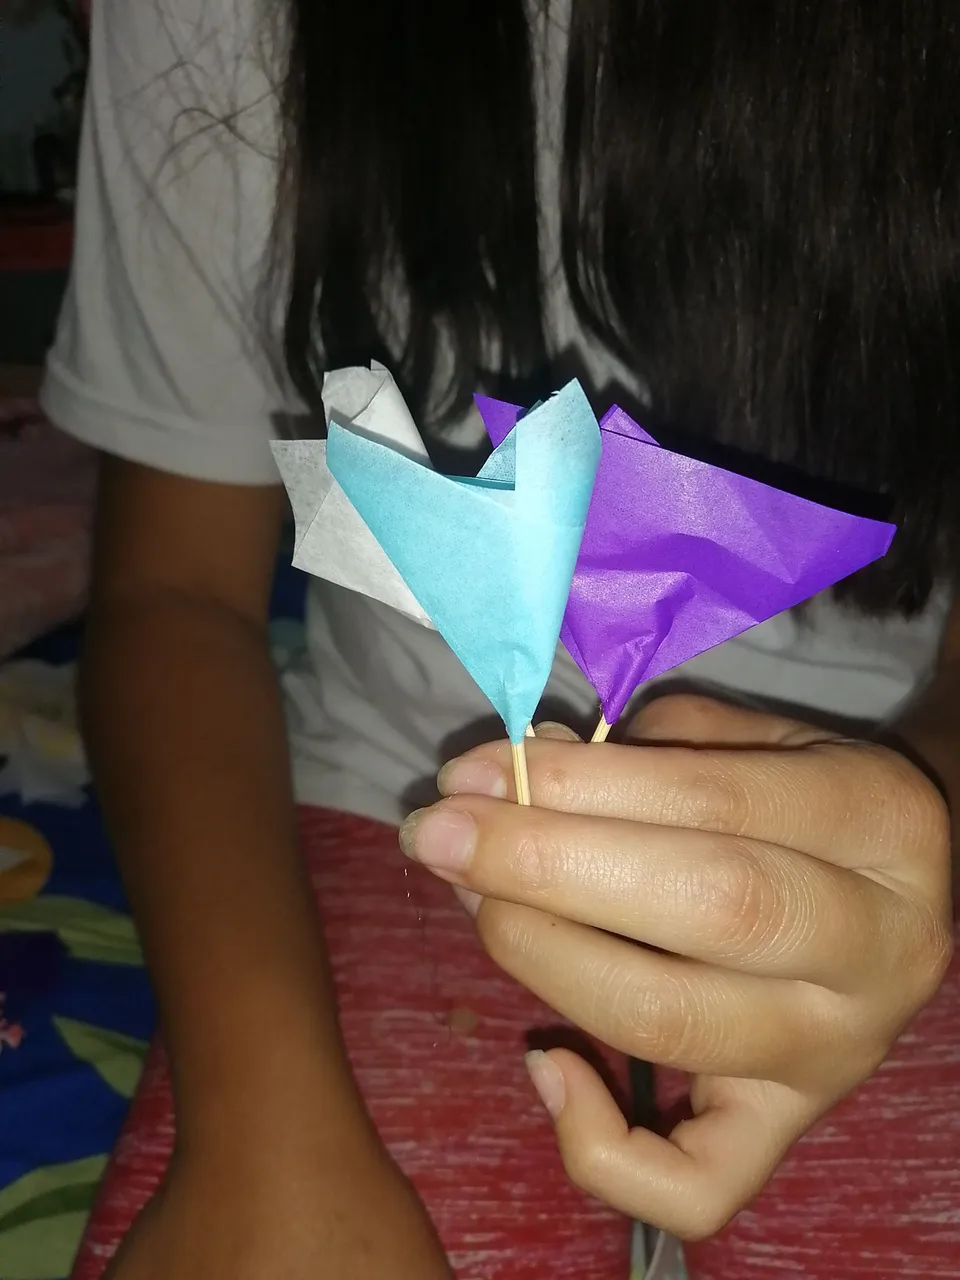
4to paso
Cortamos cuadros pequeños de color azul claro, morado y blanco, doblamos por la mitad y le pegamos palillos de madera formando flores.
4th step
Cut out 3 circles of 12 cm in cardboard and one in yellow foami for the base, glue the cardboard circles one on top of the other, then the foami circle, cut a yellow strip and glue it on the edge to cover the cardboard, cut a 3 cm foami strip, roll it up and glue it in the middle of the base.
5to paso
Cortamos unas tiras de color azul y morado y pegamos alrededor de la imagen luego le pegamos la cinta y decoramos a nuestro gusto.
5th step
Once the flowers are cut out of the red foami we proceed to fold and glue forming the flower after this we take the frosted foami leaves and pass a hair iron to mold the leaves and proceed to glue them.
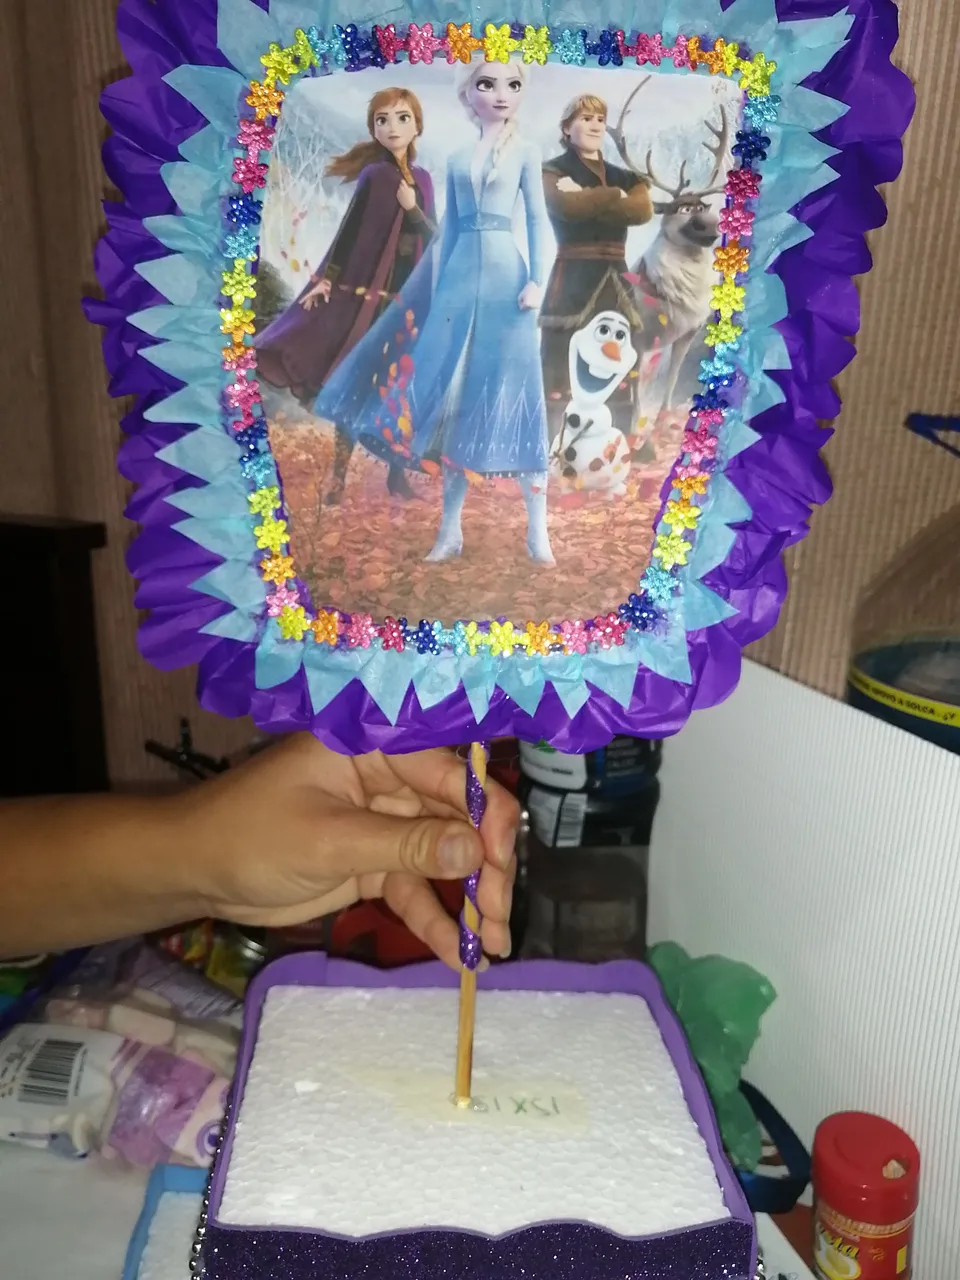

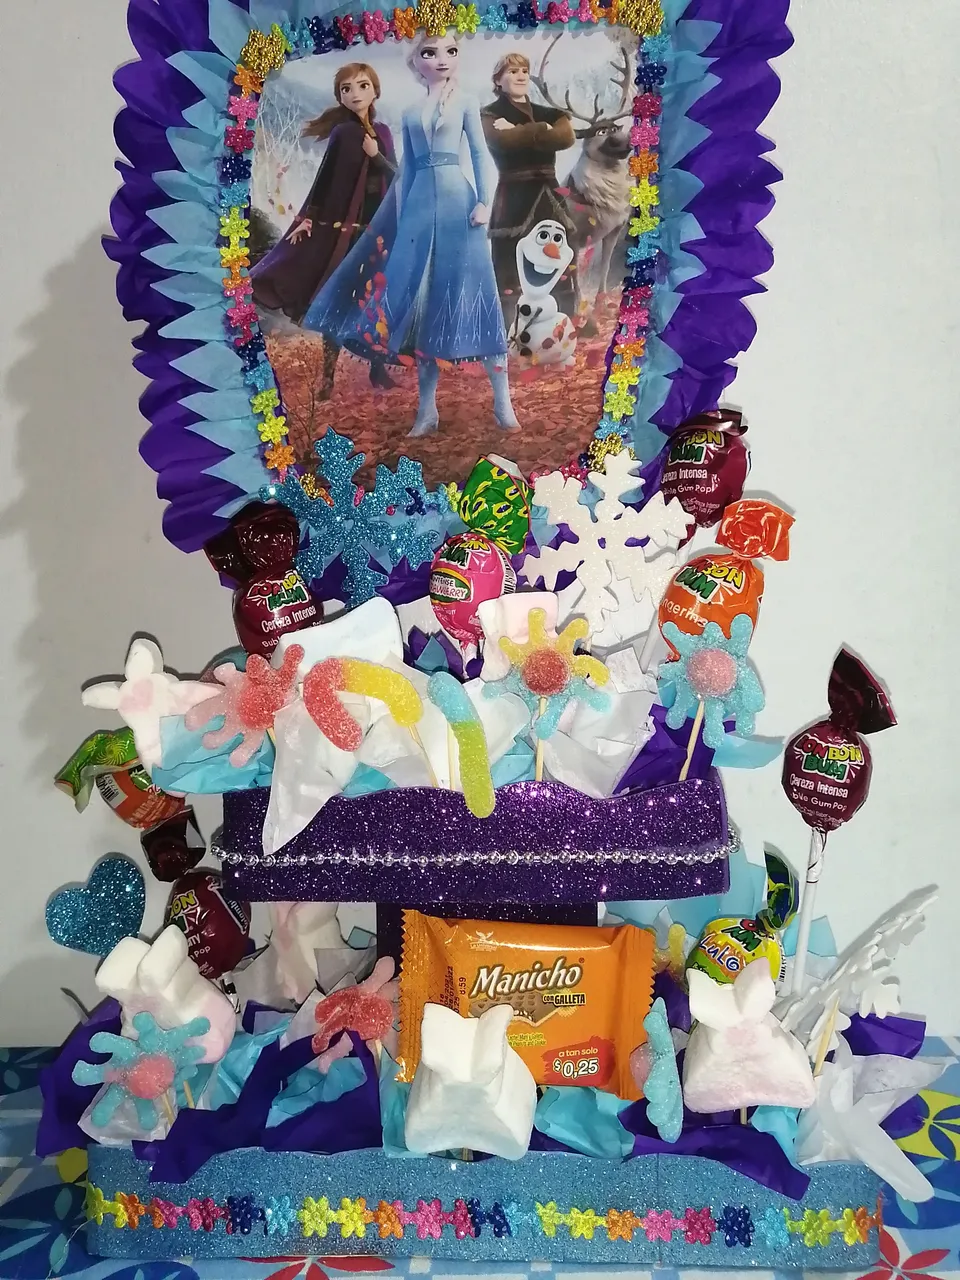
Resultado final
Final result