Bienvenidos | Welcome
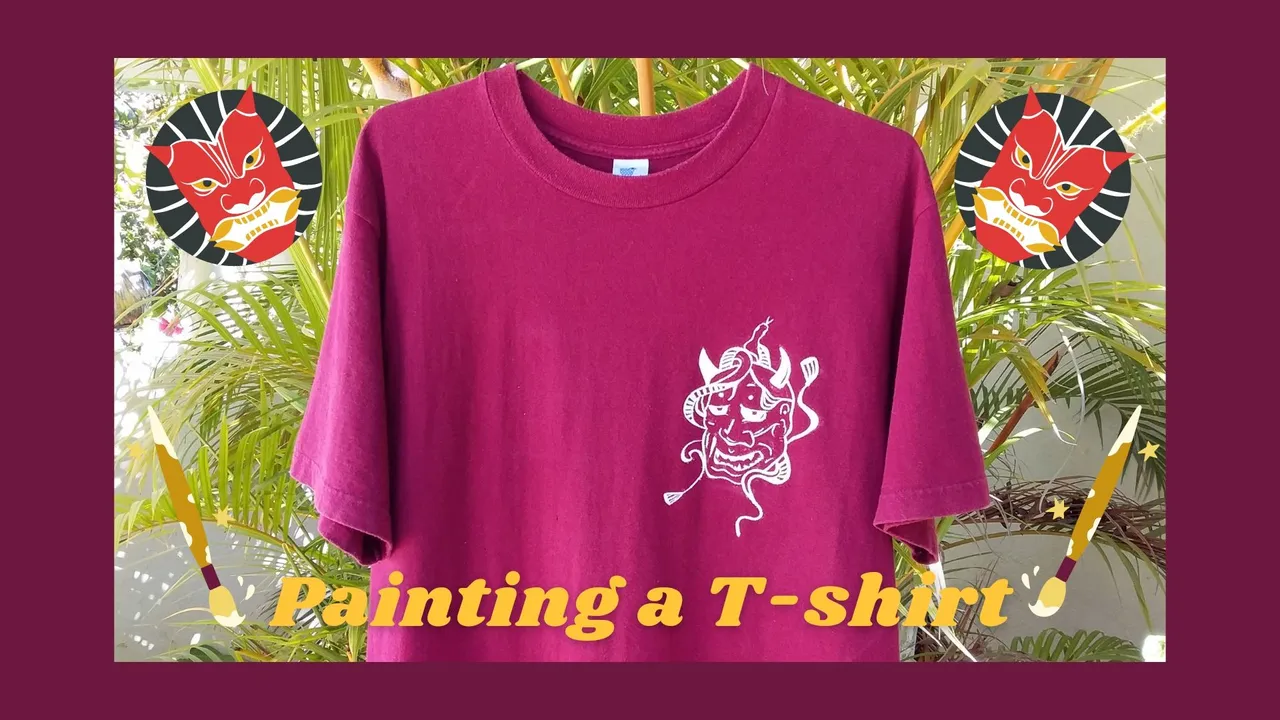
Holaaa, gente linda de Hive, espero que se encuentren muy bien 😊💖. El día de hoy compartiré con ustedes un tutorial donde les enseñaré cómo pintar una camiseta paso a paso con algunos tips✨👕🖌 espero que les guste mucho y les sea de utilidad💖
Sin más que decir, comencemos.
Hellooooo, beautiful people of Hive, I hope you are feeling great 😊💖. Today I will share with you a tutorial where I will show you how to paint a t-shirt step by step with some tips✨👕🖌 I hope you like it very much and it will be helpful💖.
Without more to say, let's get started.
Materiales | Materials:
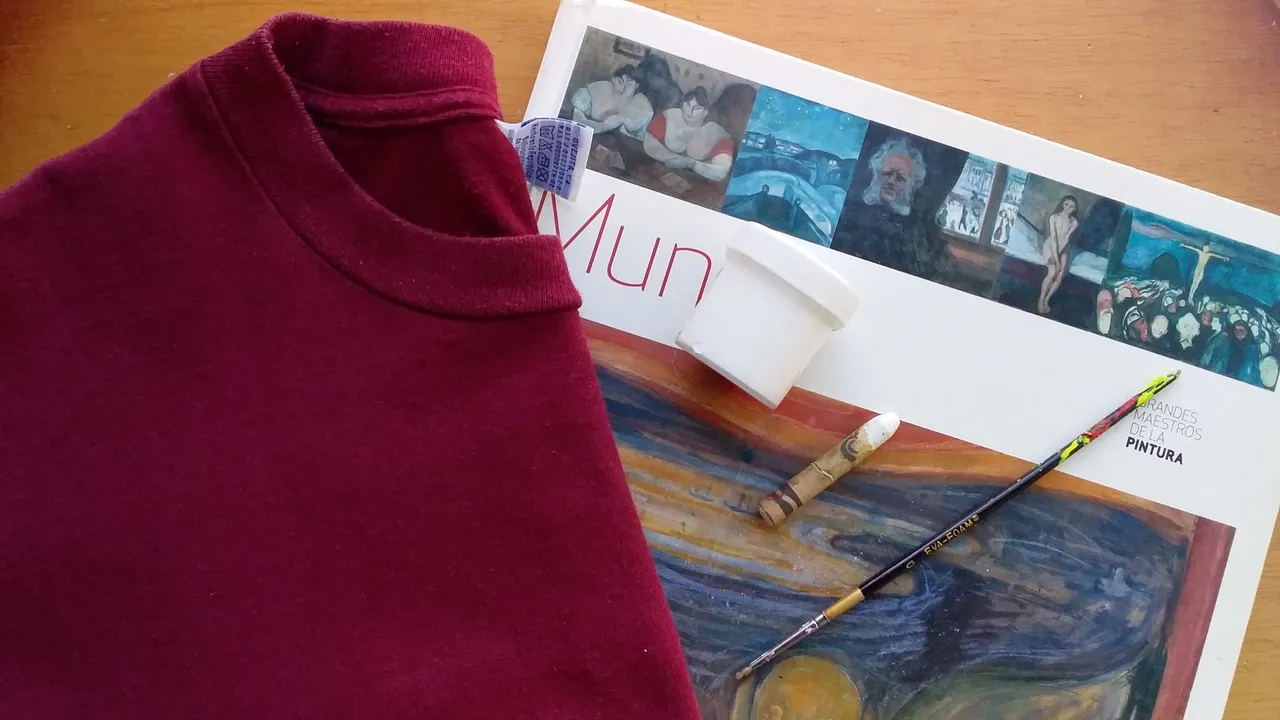
| Camiseta | Pintura para tela | Crayón |
|---|---|---|
| Libro | Pincel |
| T-shirt | Fabric paint | Crayon |
|---|---|---|
| Book | Brush |
👹Proceso | Process👹
Paso 1 | Step 1
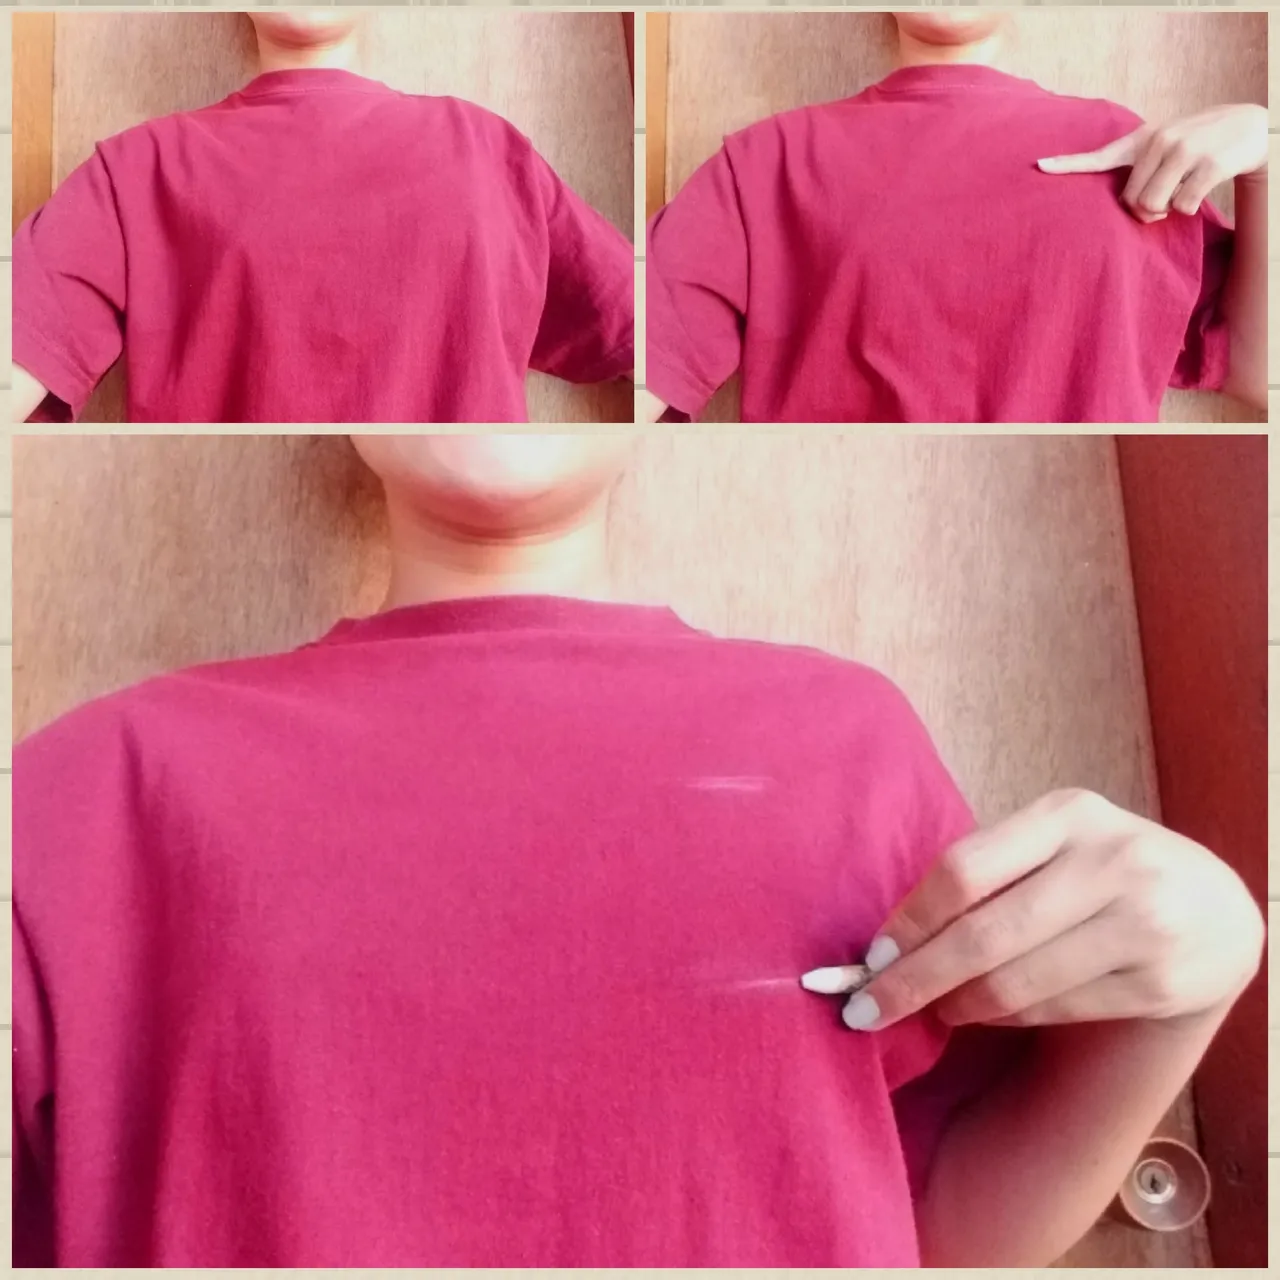
Lo primero que haremos será ponernos nuestra camiseta y marcar con un crayón donde y de qué tamaño queremos nuestro diseño.
The first thing we will do is put on our T-shirt and mark with a crayon where and how big we want our design.
Paso 2 | Step 2
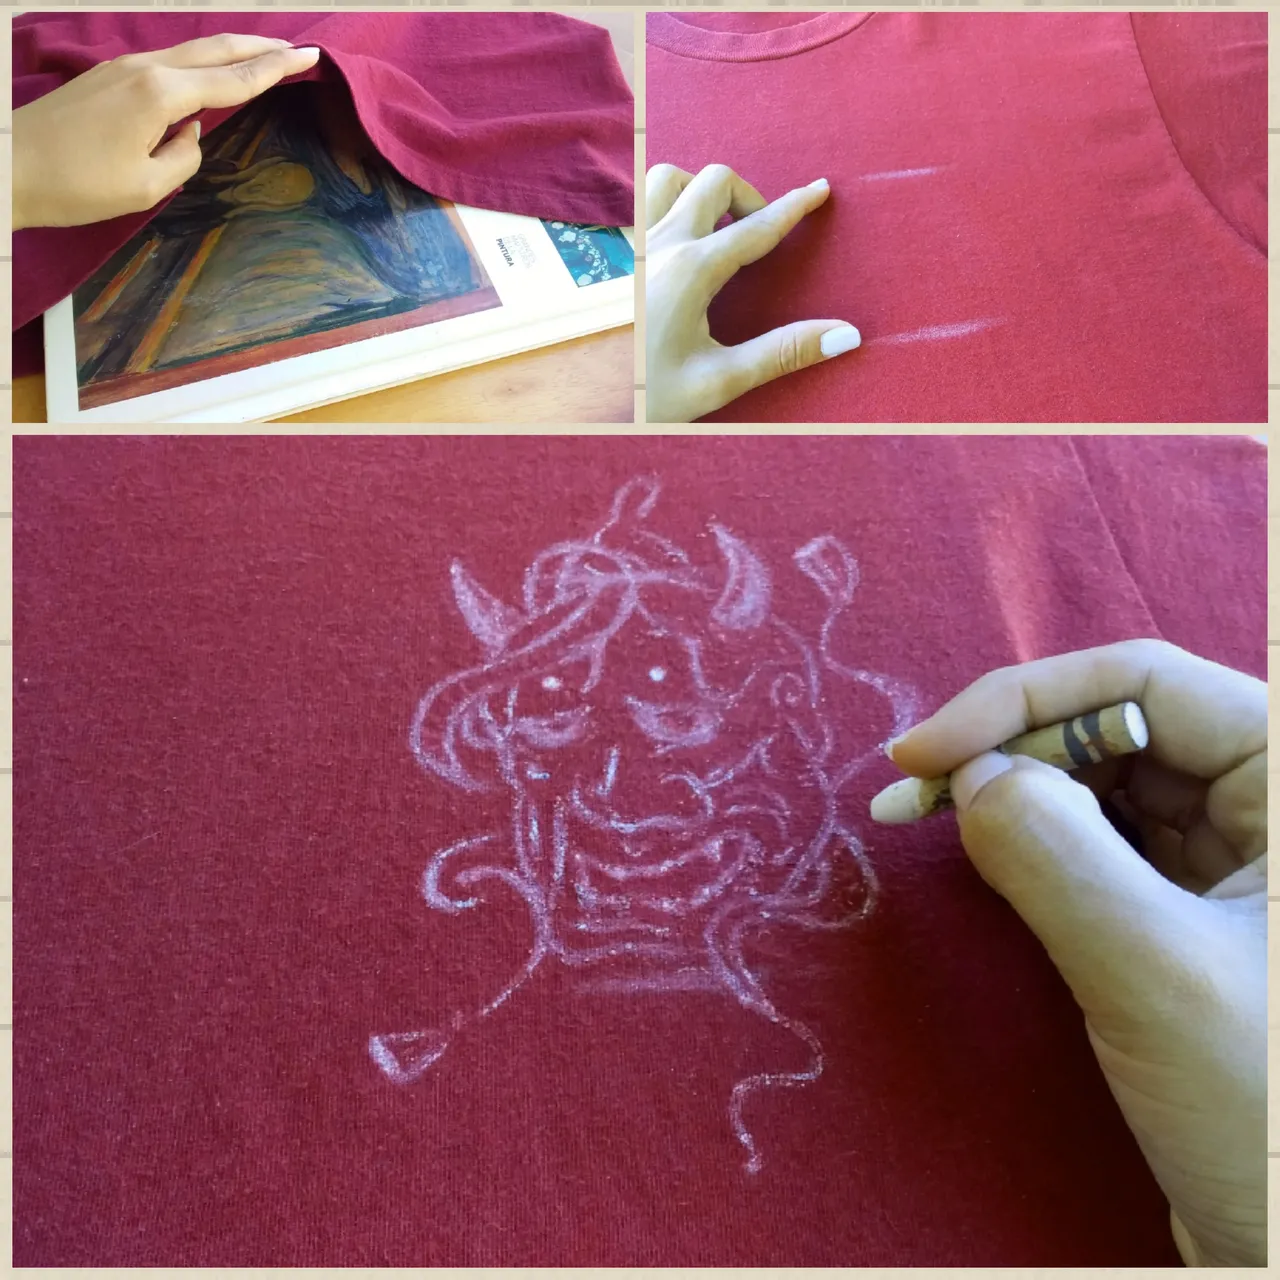
Pondremos el libro dentro de la camiseta y luego empezaremos a dibujar.
Nota:
Te recomiendo que en vez de un trozo de cartón, utilices un libro, ya que su peso nos ayudará a mantener la camiseta en su lugar y además será un buen soporte a la hora de pintar.
Next we will put the book inside the T-shirt and then we will start drawing.
Note:
I recommend that instead of a piece of cardboard, you use a book, because its weight will help us to keep the T-shirt in place and it will also be a good support when painting.
Paso 3 | Step 3

Ahora, pintaremos.
Nota 2:
Evita usar agua para diluir o extender la pintura🚫 esto puede perjudicar su calidad y prolongar el tiempo de secado, además que se corre el riesgo de obtener vetas en cada capa que se aplique.
Now, we will paint.
Note 2:
Avoid using water to dilute or spread the paint🚫 this can impair its quality and prolong the drying time, plus you run the risk of getting streaks in each coat you apply.
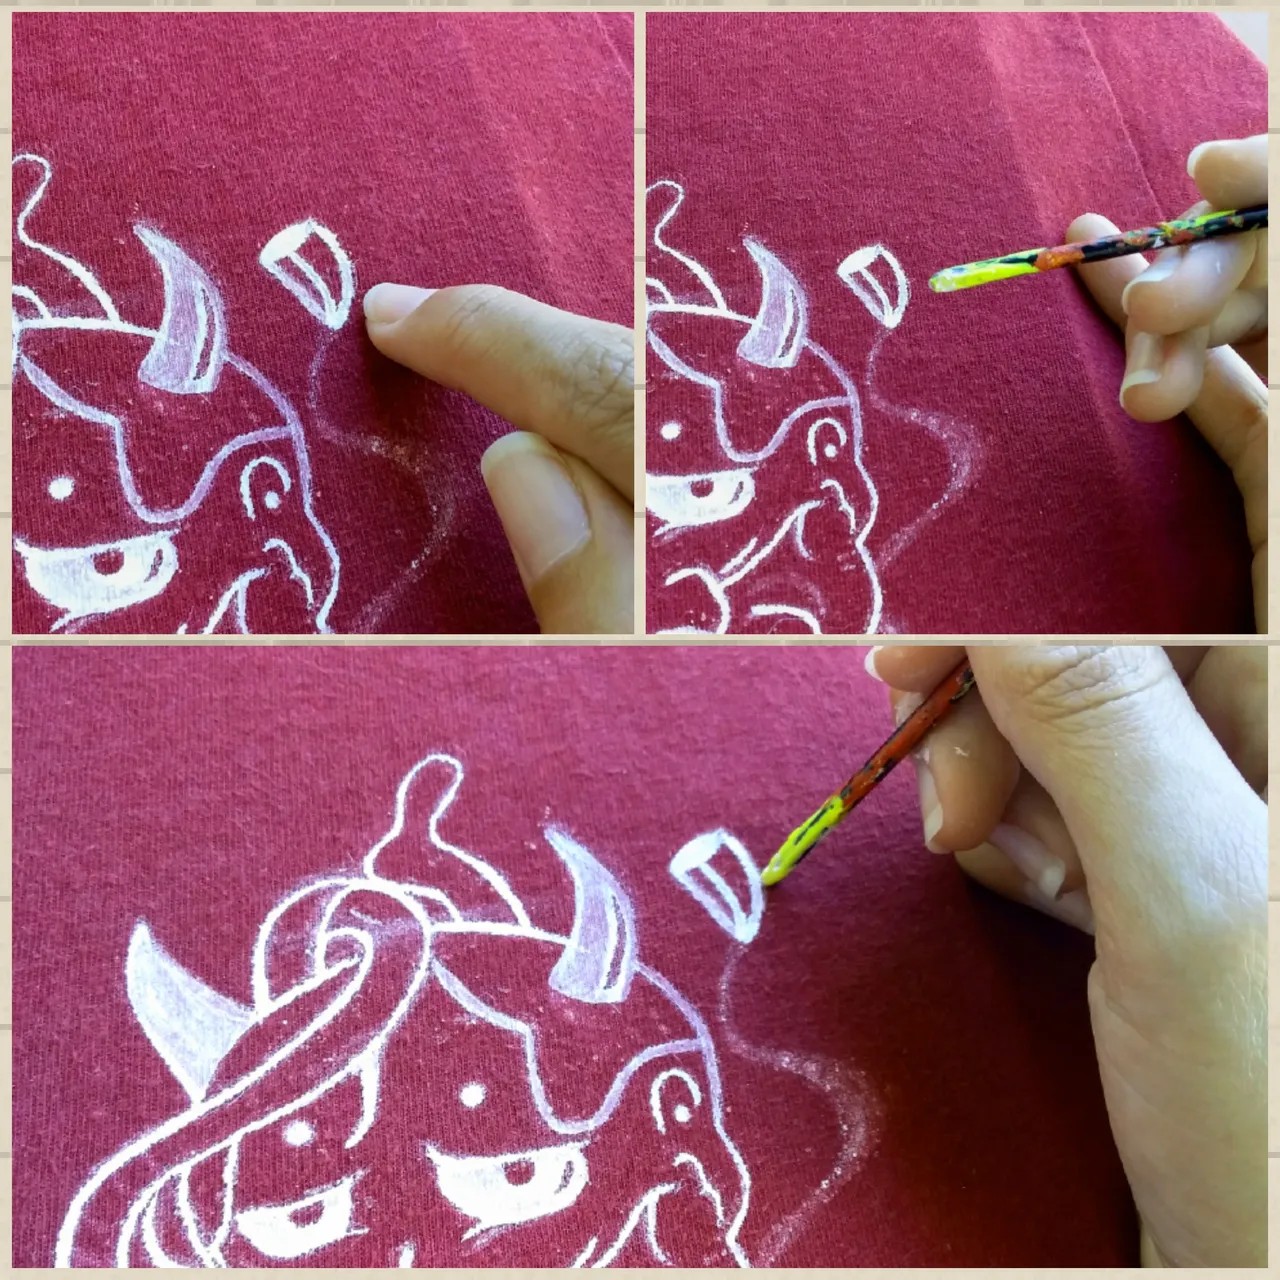
Nota 3:
Si sientes que algunas líneas quedaron un poco toscas, puedes suavizarlas con la punta del mango del pincel.
Note 3:
If you think some lines are a little rough, you can soften them with the tip of the brush handle.
Paso 4 | Step 4
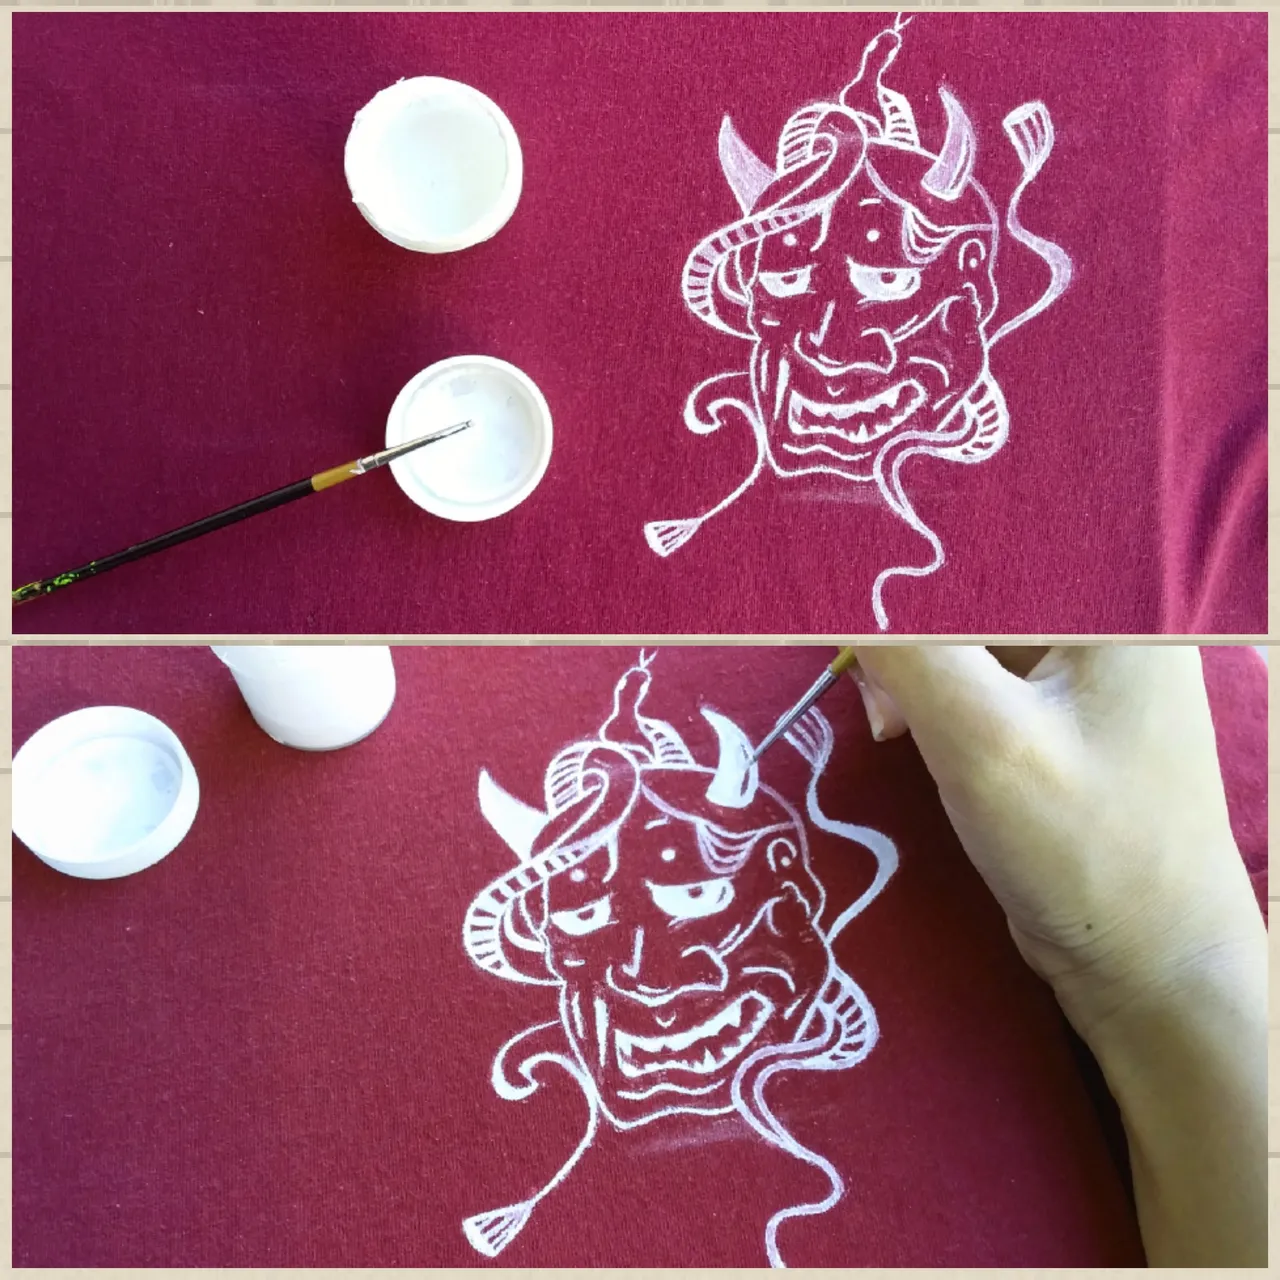
Una vez lista la primera capa de pintura, dejaremos secar y luego retocaremos. En mi caso solo requerí darle 2 capas, pero tu puedes darle las que quieras hasta obtener un color sólido.
Once the first coat of paint is ready, let it dry and then touch it up. In my case I only needed 2 coats, but you can apply as many as you want until you get a solid color.
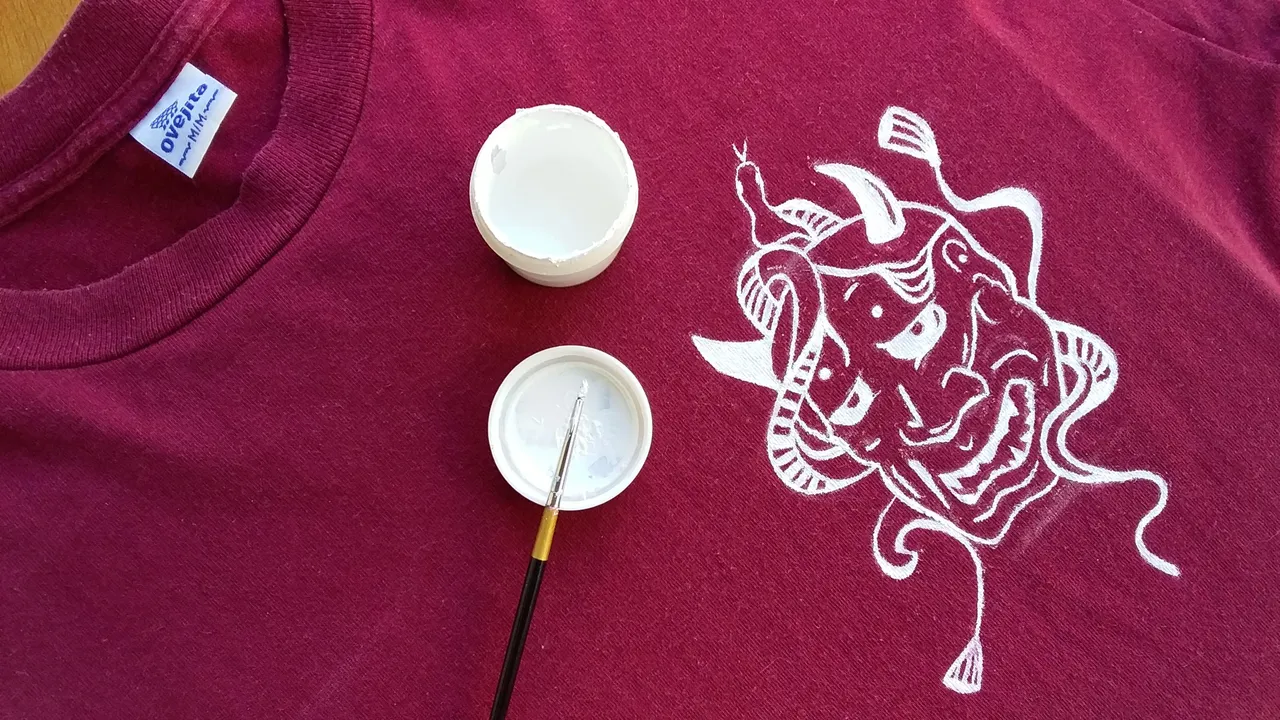
Dejaremos secar y listo!
Let it dry and that's it!
🖌Resultado | Result🖌
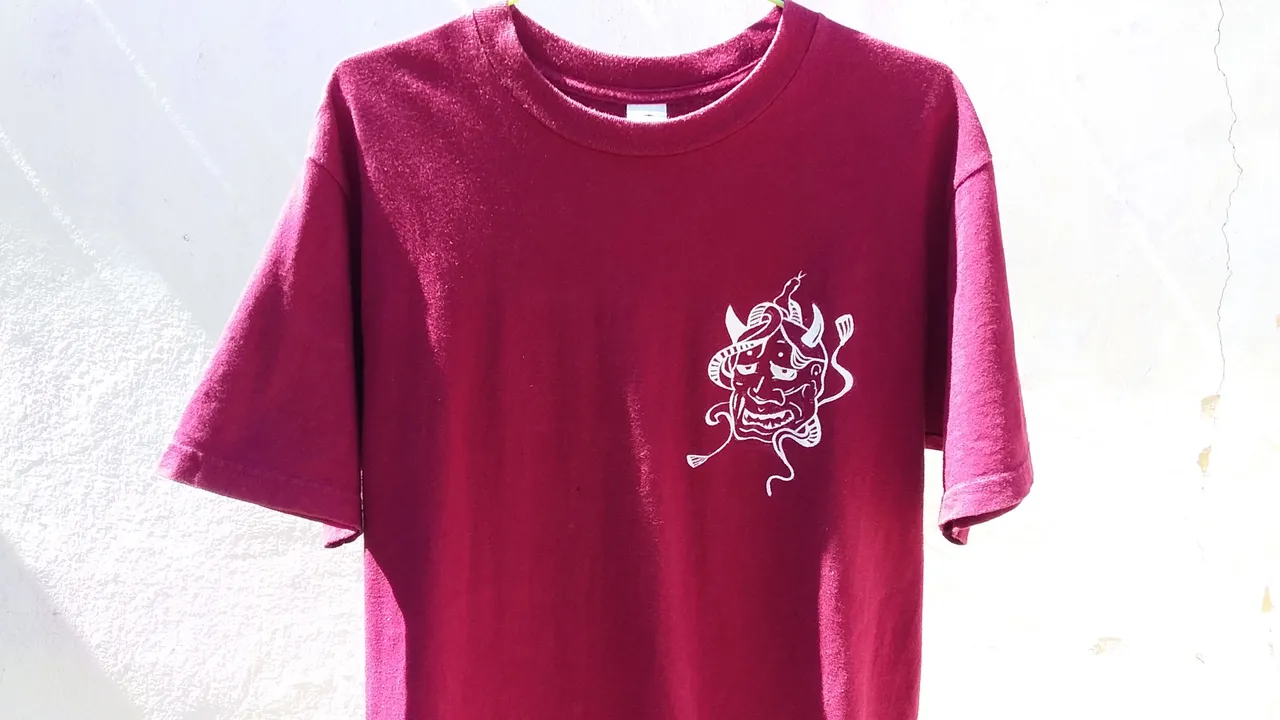
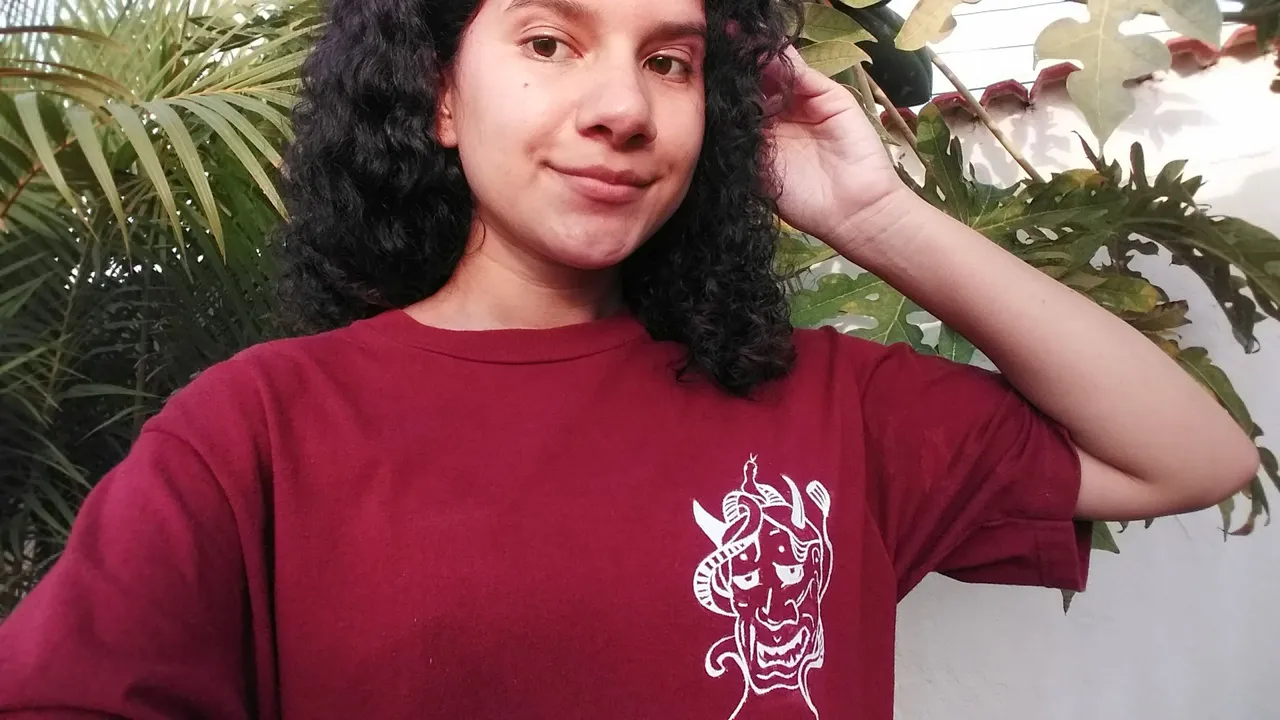
Este es el resultado, espero que les haya gustado!
Si tienen alguna duda, pueden dejarla en los comentarios.😊
Muchas gracias por leerme💖
This is the result, I hope you liked it!
If you have any questions, you can leave them in the comments 😊.
Thank you very much for reading me💖.