
Hi, today I'm here to do something I've always wanted to do and honestly I don't know what I'm going to use it for 😂
I am going to make a reading lamp with recycled materials. And when I say recycled materials they are real recycled materials, ugly, beaten and damaged. From my humble point of view, this is how a recycling project should be, where more than 80% of the materials are recycled materials.
Hola, hoy vengo a hacer algo que siempre había querido hacer y que honestamente no se que uso le voy a dar 😂
Voy a realizar una lámpara de lectura con materiales reciclados. Y cuando digo materiales reciclados son materiales reciclados de verdad, feos, golpeados y dañados. Desde mi humilde punto de vista, así debe ser un proyecto de reciclaje, donde mas del 80% de los materiales, sean materiales reciclados.
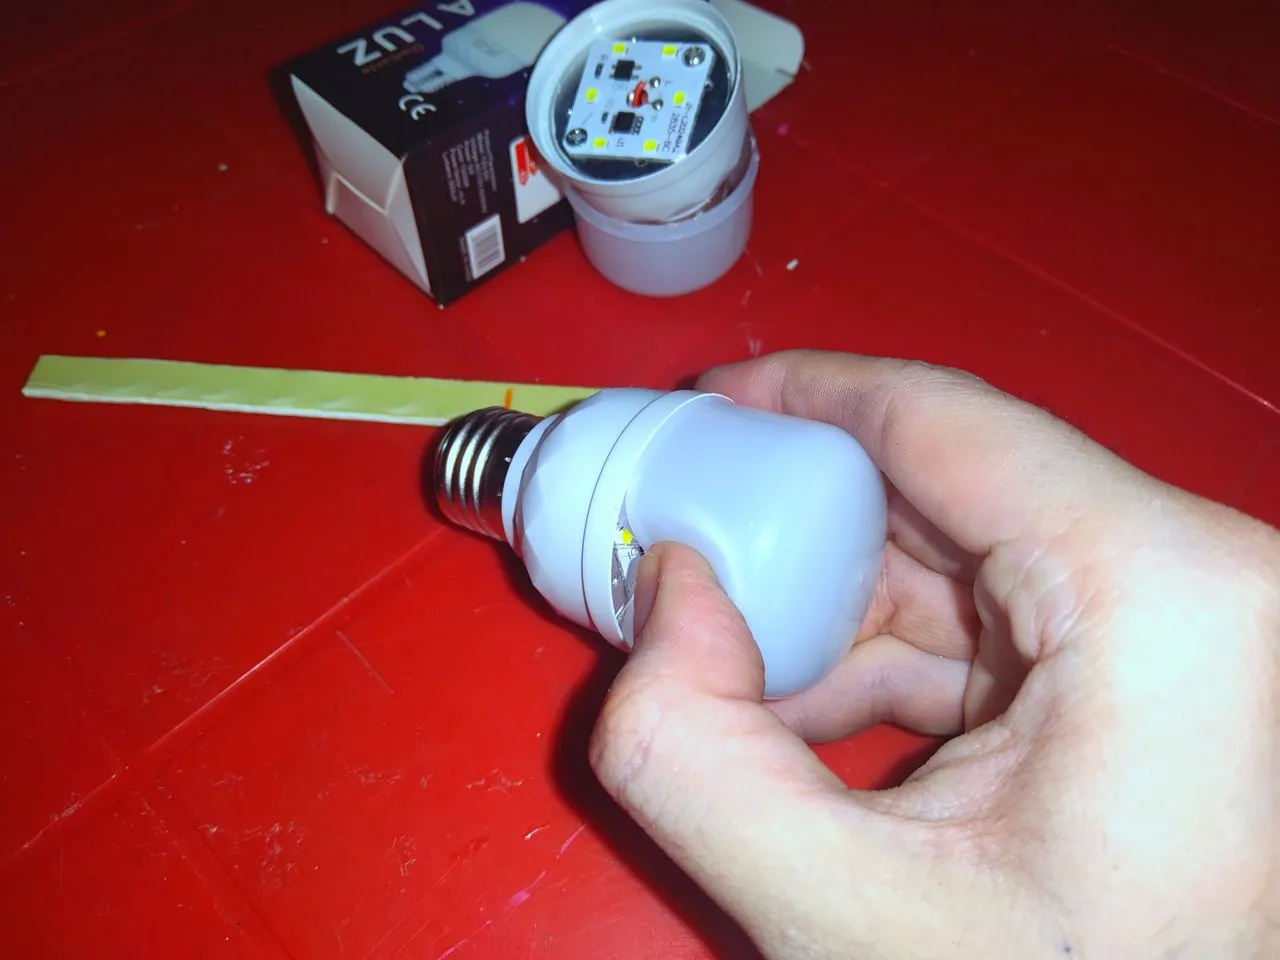
There are only two things that I am going to use that are really new. One of them is a silicone bar that you will see later and the next thing is what you are seeing. A small led bulb of the most economical that I could get, specifically it cost me 0.63$ USD.
In general, all these light bulbs work the same, they come with a plate where the LEDs are soldered and a circuit that may or may not be integrated on the same plate. In this case it is, which means that I have to struggle a little less to get it out, I just have to take off the heatsink that is attached and cut the cables with a pair of pliers ☺️
Hay solo dos cosas que voy a utilizar que son realmente nuevas. Una de ellas es una barra de silicón que verán mas adelante y lo siguiente es ésto que están viendo. Un pequeño bombillo led de los mas económicos que pude conseguir, en concreto me costó 0.63$ USD.
En general todos estos bombillos funcionan igual, traen una placa donde están soldados los led y un circuito que puede o no estar integrado en la misma placa. En éste caso lo está, lo que significa que tengo que batallar un poco menos para sacarlo, simplemente debo despegar el disipador que viene pegado y cortar los cables con unas tenazas ☺️
If you were surprised by the price of this bulb, then here is the answer, it does not even have thermal paste between the led plate and the heatsink, that is one of the reasons why they are damaged so quickly, they overheat easily and the led more weak ends up damaging itself and opening the circuit. The temporary repair is simple, bridge the damaged led with a drop of tin and wait for the same thing to happen again 😂
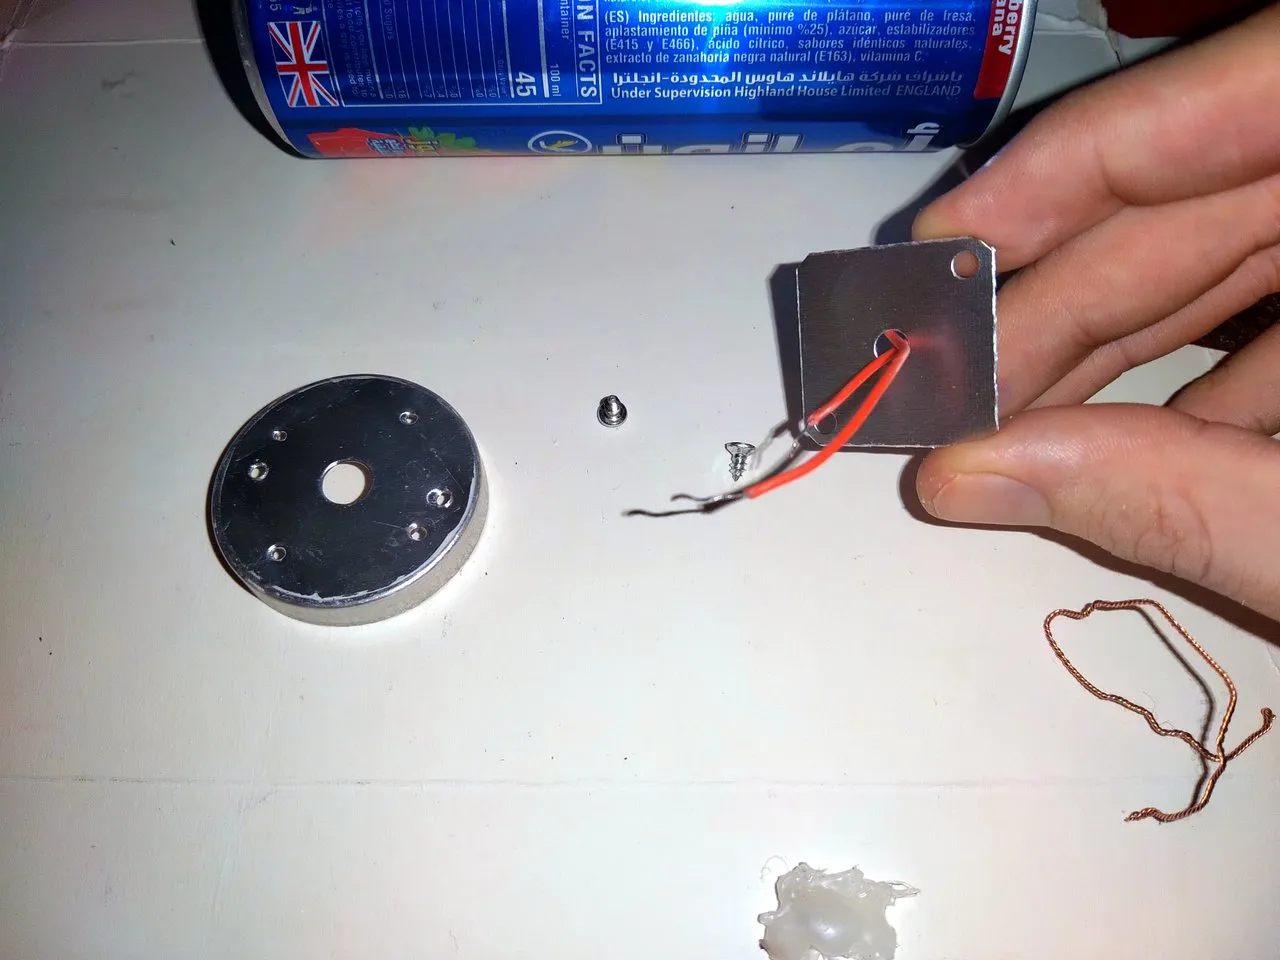
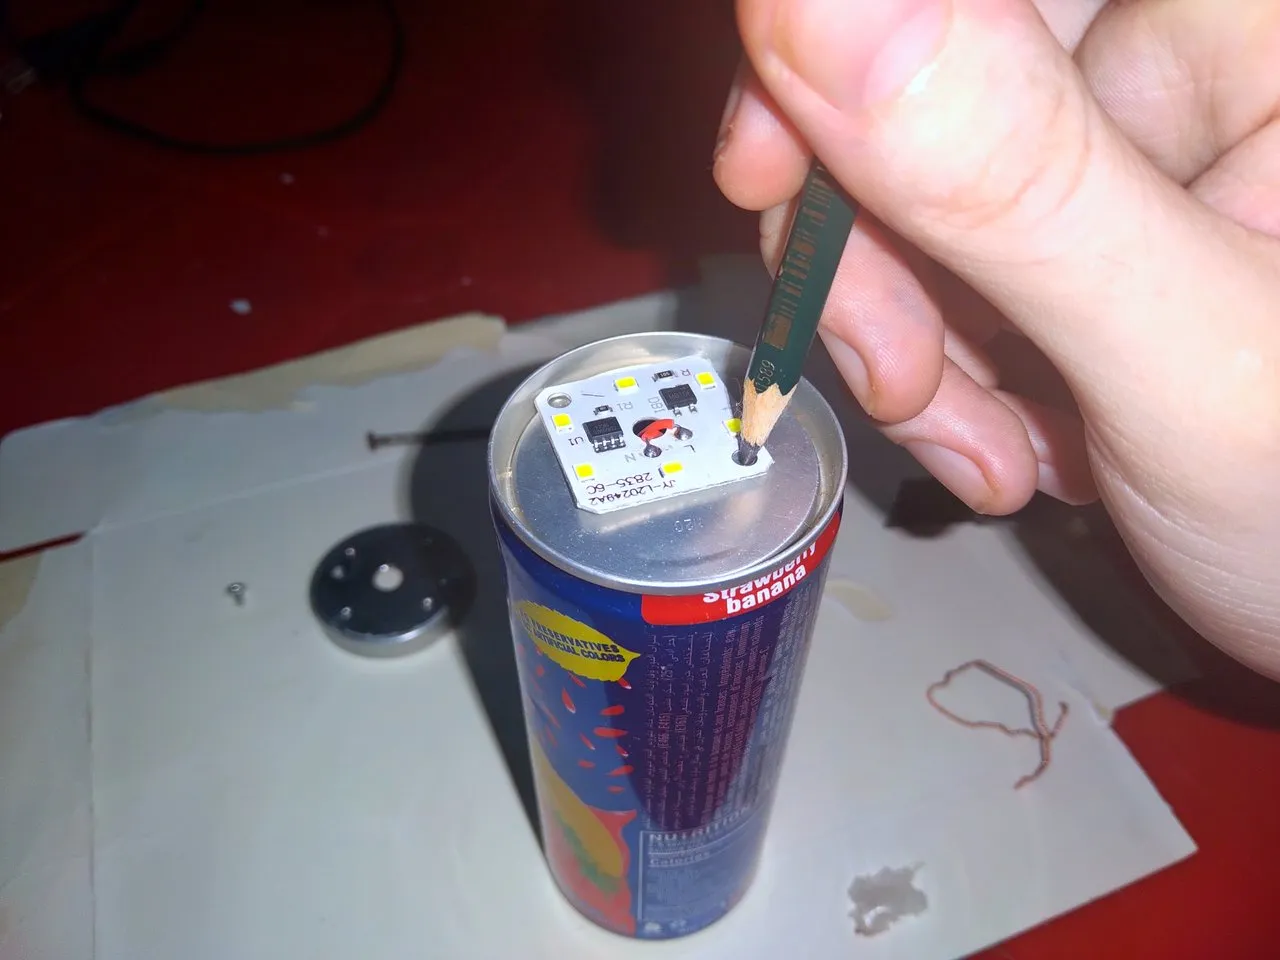
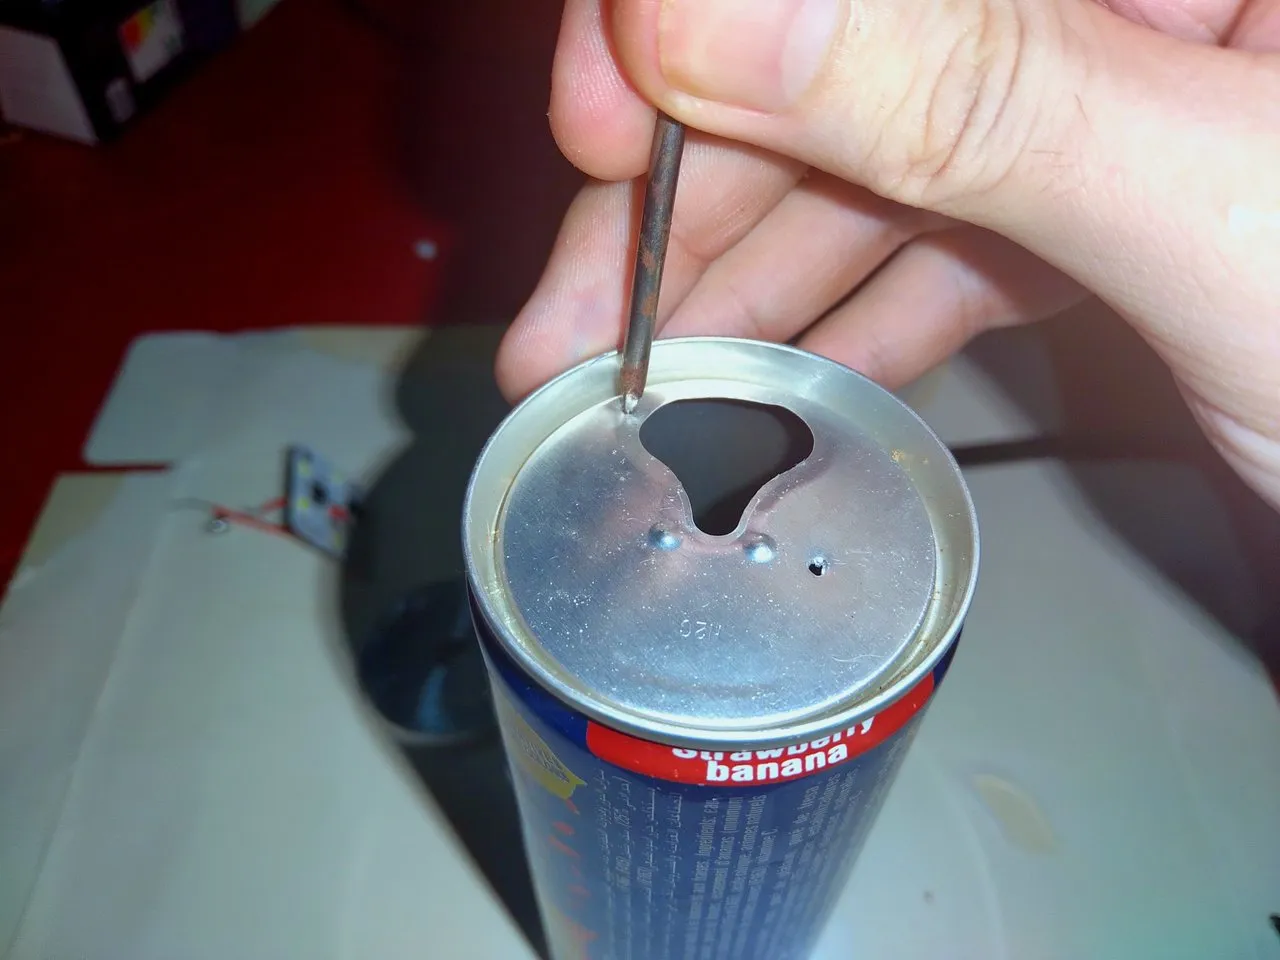
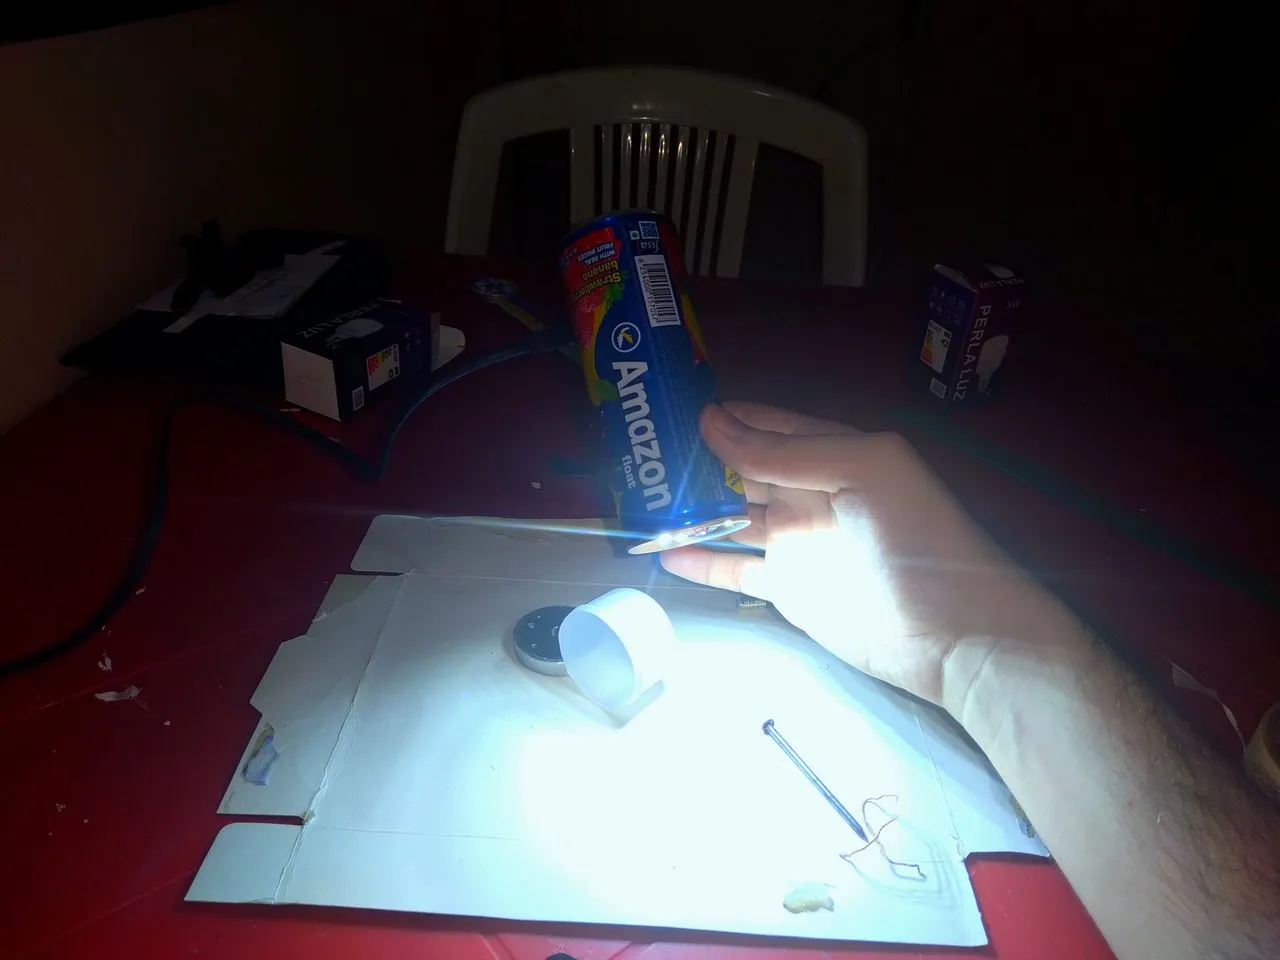
Although today the post is not about that. Continuing with the project, I'm going to be recycling a juice can, honestly I don't know where it came from, I just know that I liked the fact that it said Amazon on one of the sides, so I decided to use it to stick the plaque just removed from the bulb and being partly aluminum will serve better than the previous heatsink.
Si te sorprendió el precio de éste bombillo, pues aquí está la respuesta, ni siquiera trae pasta térmica entre la placa led y el disipador, esa es una de las razones por las que se dañan tan rápido, se sobre calientan fácilmente y el led más débil termina dañandose y abriendo el circuito. La reparación temporal es simple, puentiar el led dañado con una gota de estaño y esperar a que vuelva a ocurrir lo mismo 😂
Aunque hoy el post no se trata de eso. Siguiendo con el proyecto, yo voy a estar reciclando una lata de jugo, honestamente no se de dónde salió, solo sé que me gustó el hecho de que dijera Amazon en uno de los lados, asi que decidí utilizarla para pegar la placa recién extraída del bombillo y al ser en parte de aluminio servirá mejor que el disipador anterior.
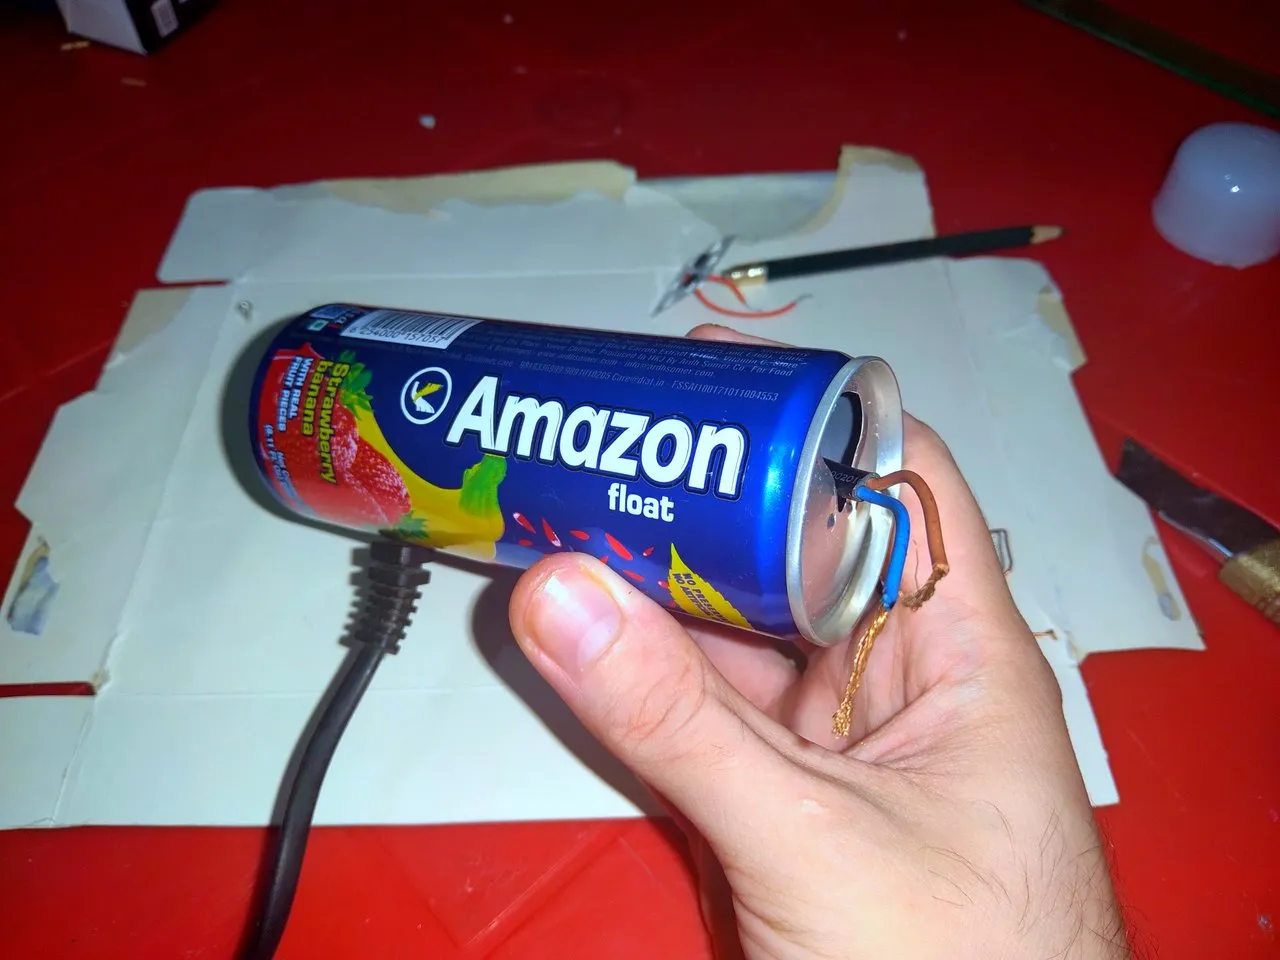
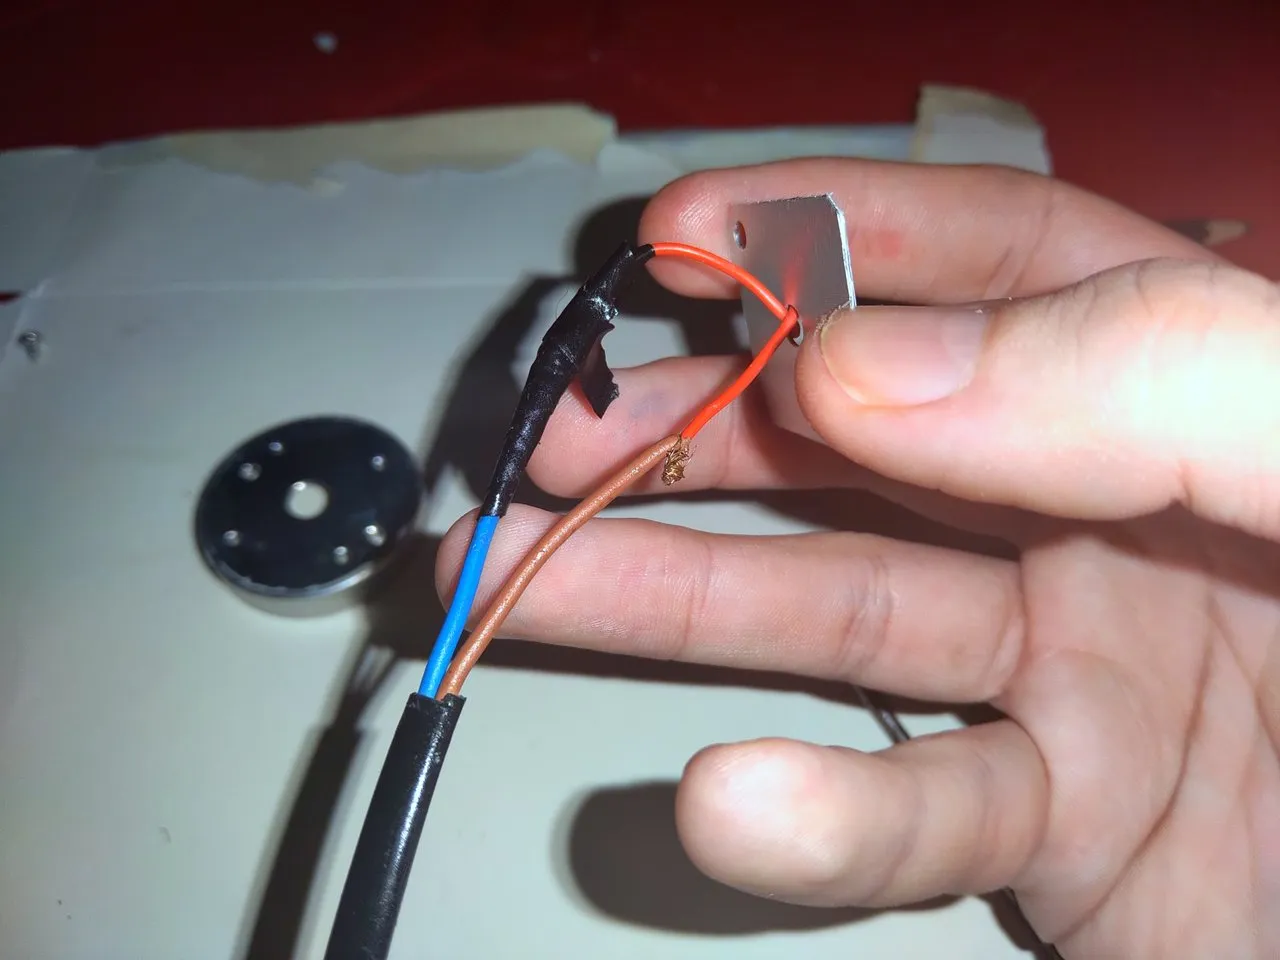
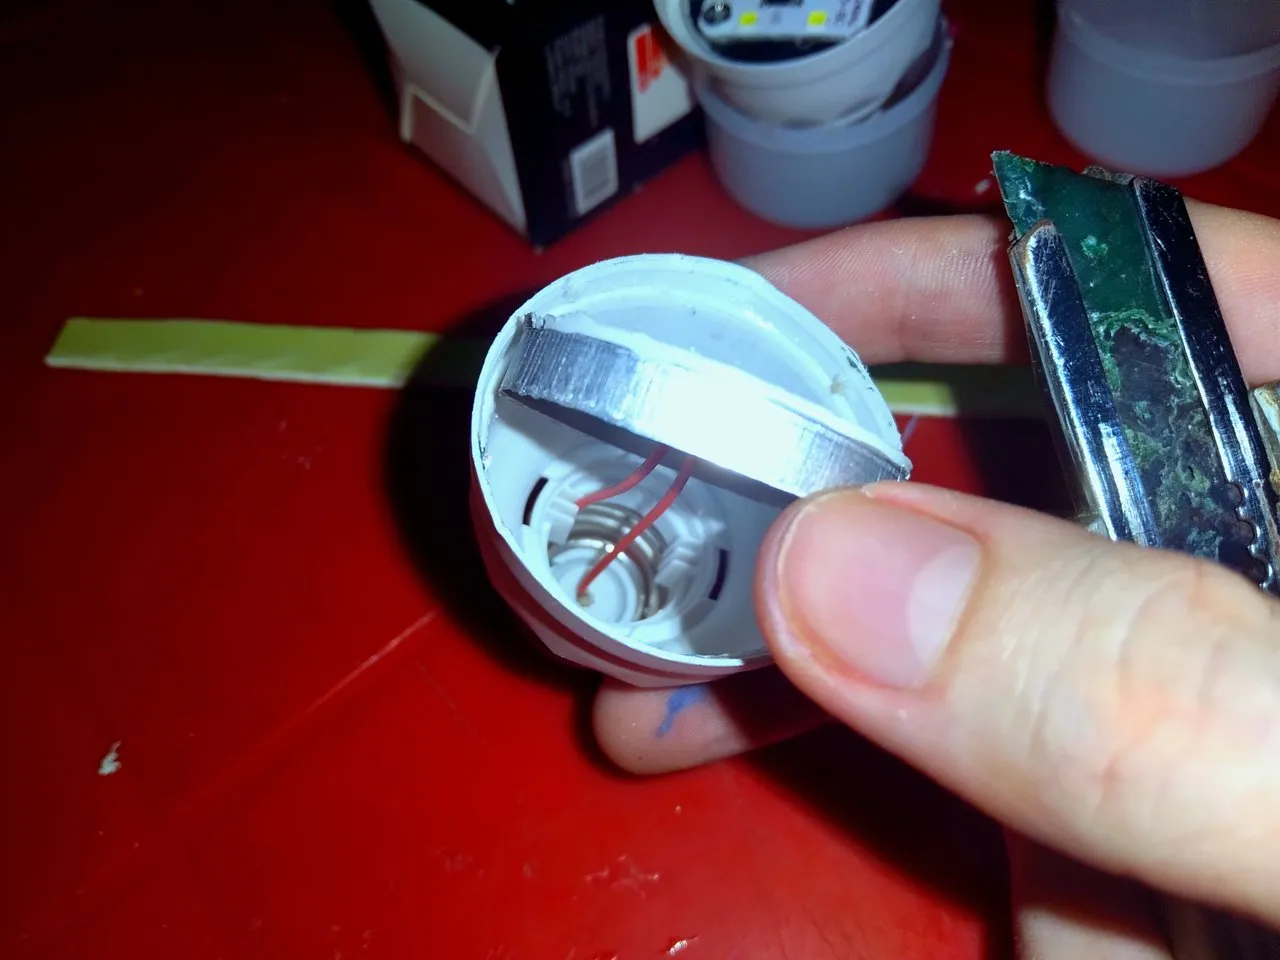
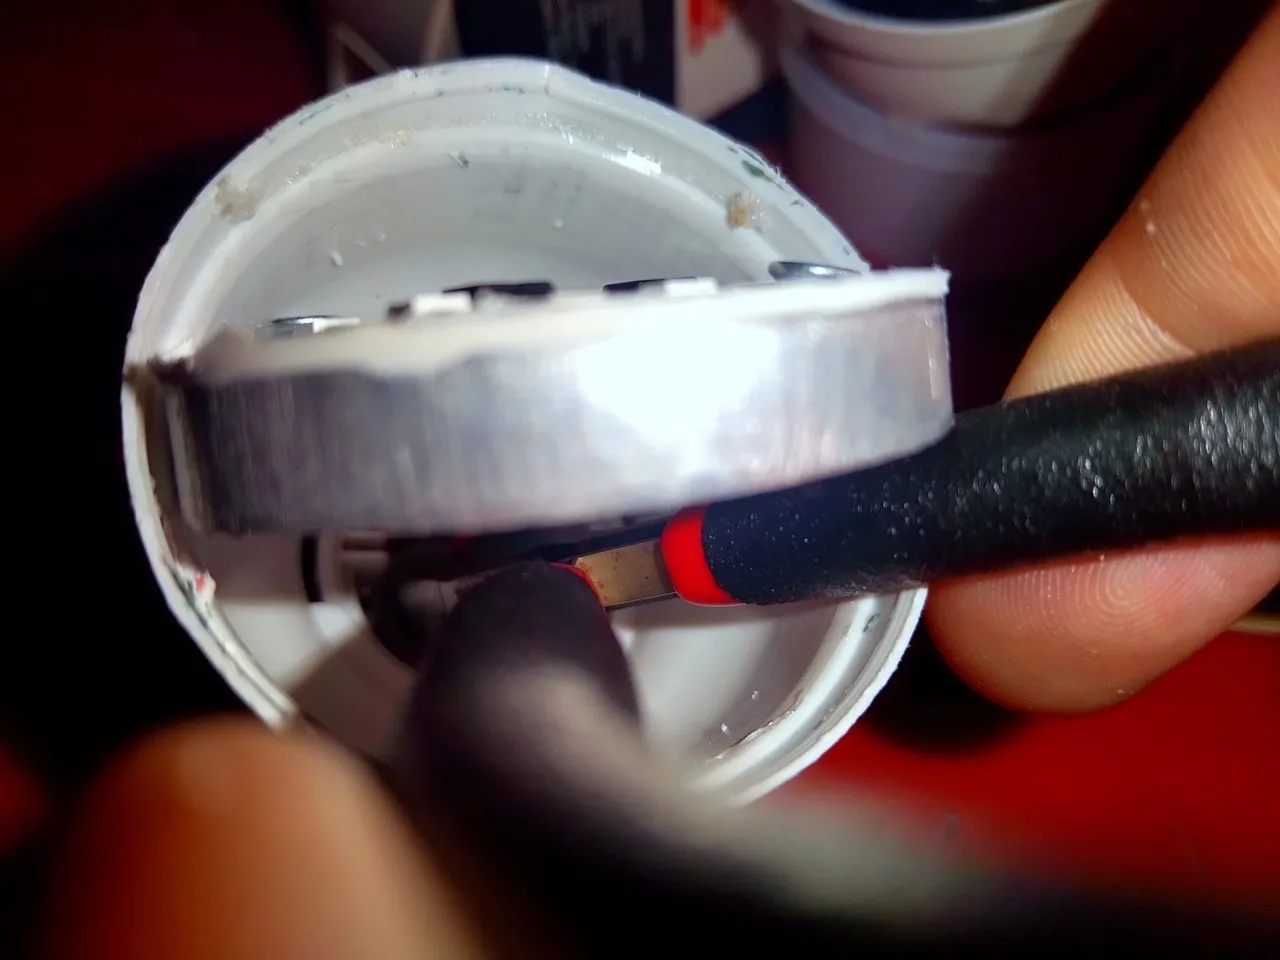
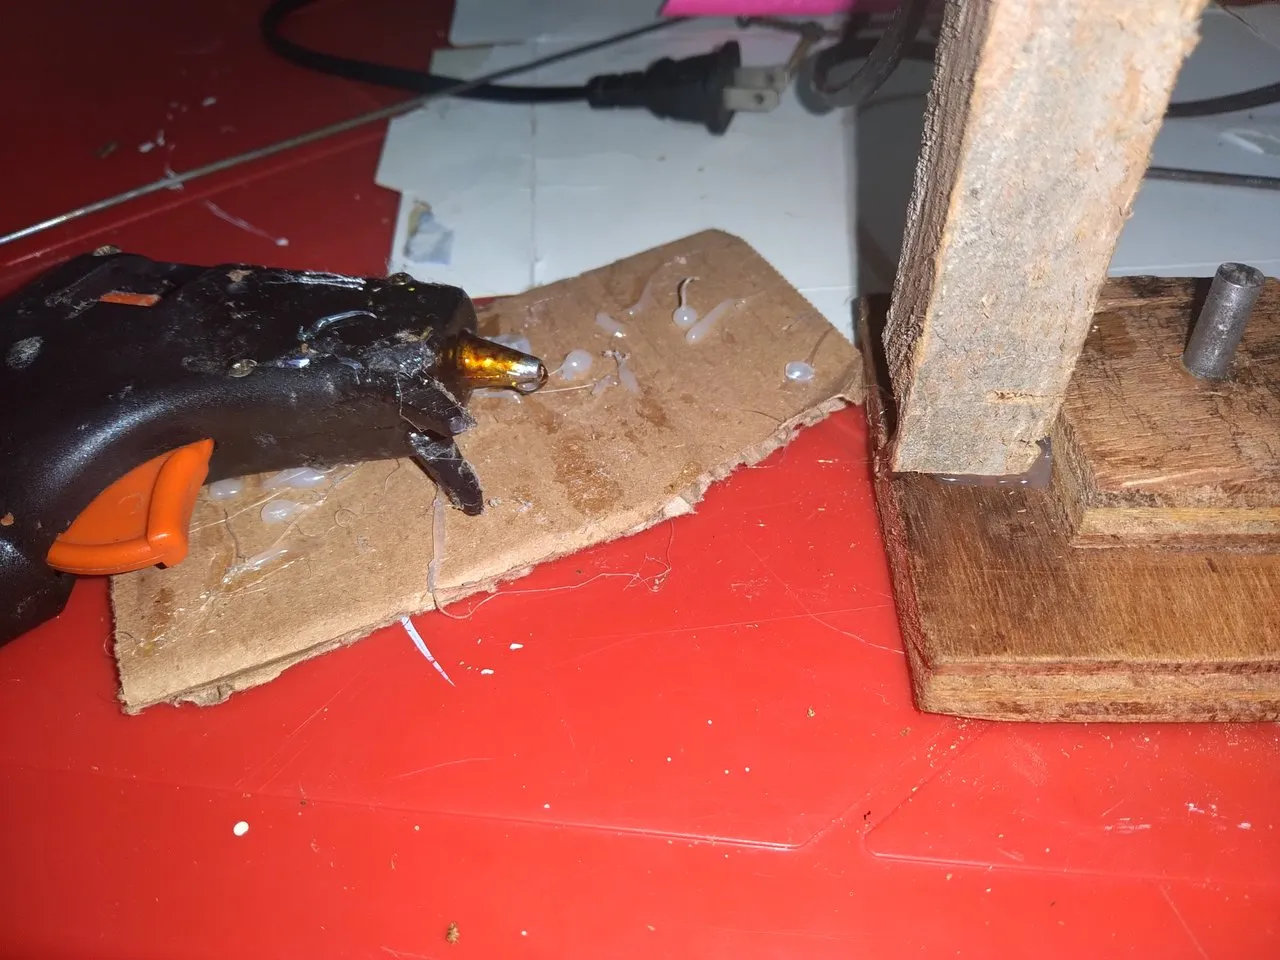
The next step is really very simple, I passed a cable that I took from a damaged TV and connected it to the two cables that come out of the Led board. In this case, the polarity does not matter, so I connected without distinguishing between one cable or another. Logically you have to isolate them and the idea would be to use a shrink sleeve, but unfortunately I don't have one at the moment, so I used the classic and always reliable black insulating tape.
El siguiente paso es realmente muy simple, pasé un cable que saqué de un Televisor dañado y lo conecté a los dos cables que salen de la placa de Led. En este caso la polaridad da igual, así que conecté sin hacer distinción entre un cable u otro. Lógicamente hay que aislarlos y lo idea seria utilizar funda termo retractil, pero lamentablemente yo no tengo en este momento, así que utilicé la clásica y siempre confiable cinta aislante negra.

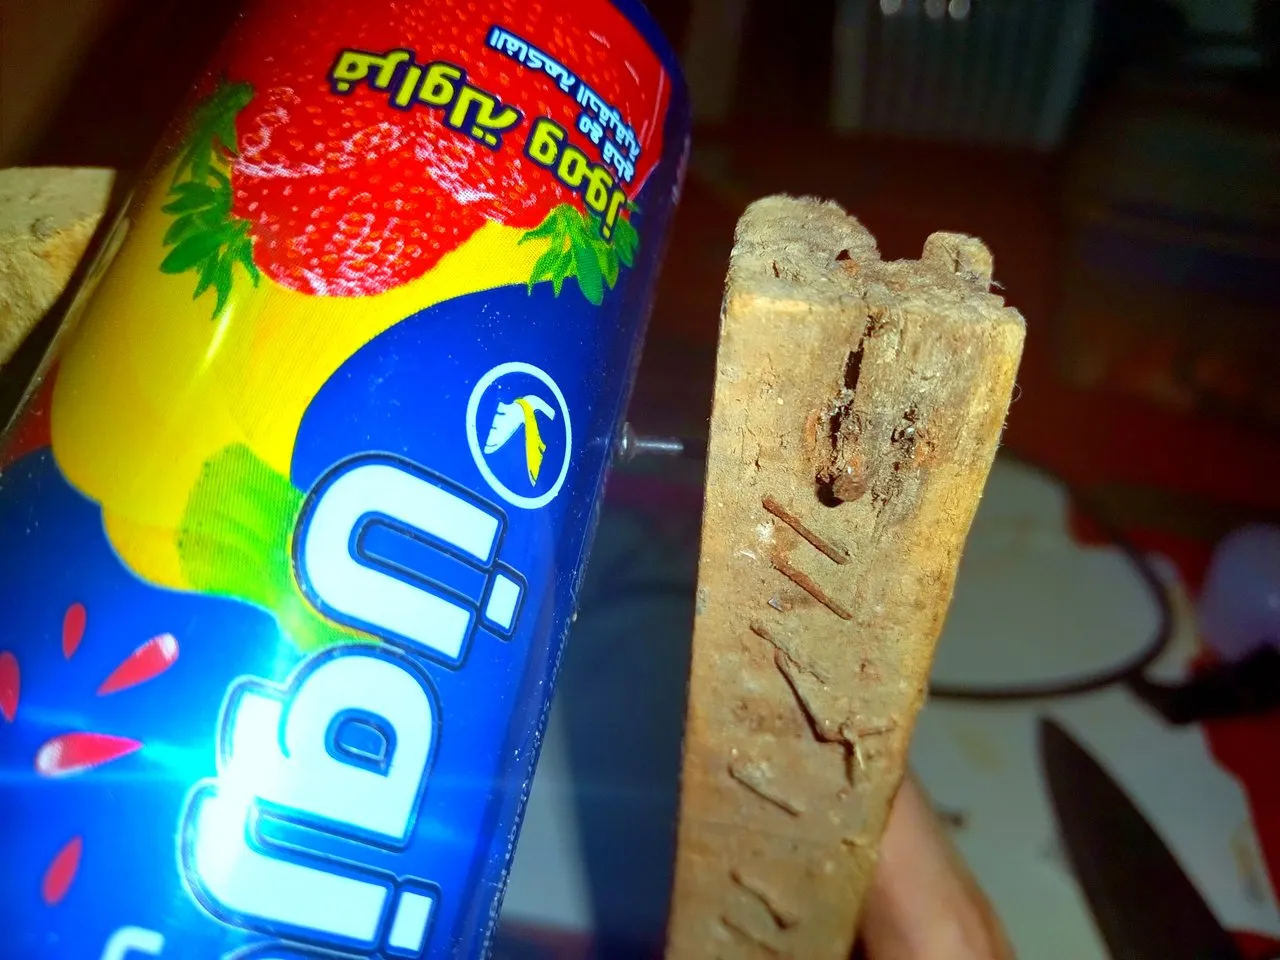
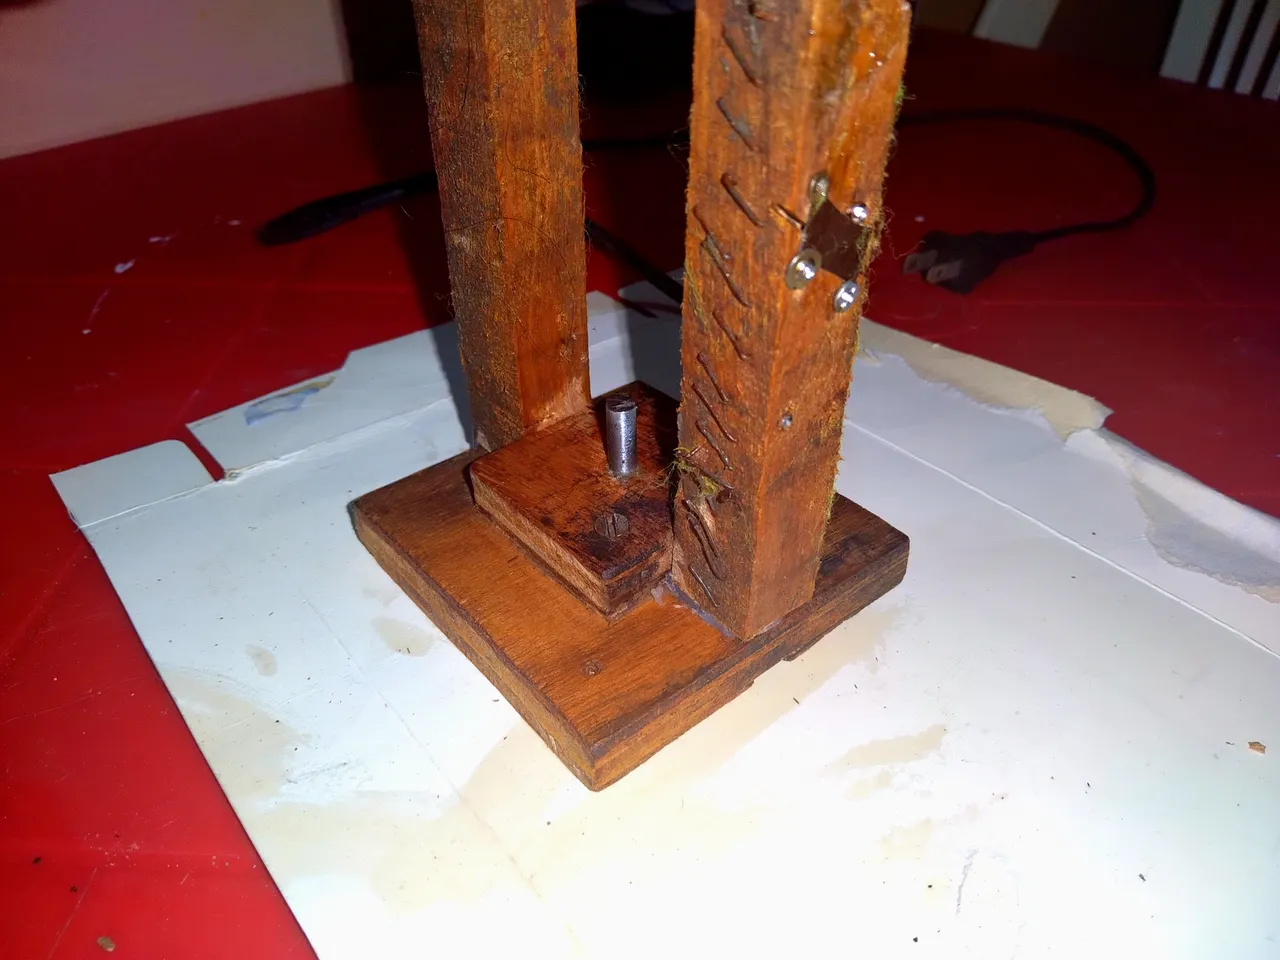
For the base I made it even simpler, I went to the patio of my house and got a couple of wooden slats to make the vertical supports, I think they were originally used for something related to art and later with masonry, since it has many staples on one of its sides and on another it has traces of cement.
Something curious is that despite its appearance, it is pine wood and although it is very worn on the outside, inside it still even has sap or resin, the truth is that I do not know the correct term. Unfortunately I can't say the same about the base, a square of plywood, I don't know where it came from, although it will be useful ☺️
Para la base lo hice mas simple aun, me fuí al patio de mi casa y conseguí un par de listones de madera para hacer los soportes verticales, creo que originalmente se utilizaron para algo relacionado con el arte y posteriormente con la albañilería, ya que tiene muchas grapas en uno de sus lados y en otro tiene rastros de cemento.
Algo curioso es que a pesar de su aspecto, es madera de pino y aunque por fuera esté muy desgastada, por dentro sigue incluso teniendo sabia o resina, la verdad desconozco el término correcto. Lamentablemente no puedo decir lo mismo de la base, que un cuadrado de madera contrachapada, desconozco de donde salió, aunque me será útil ☺️
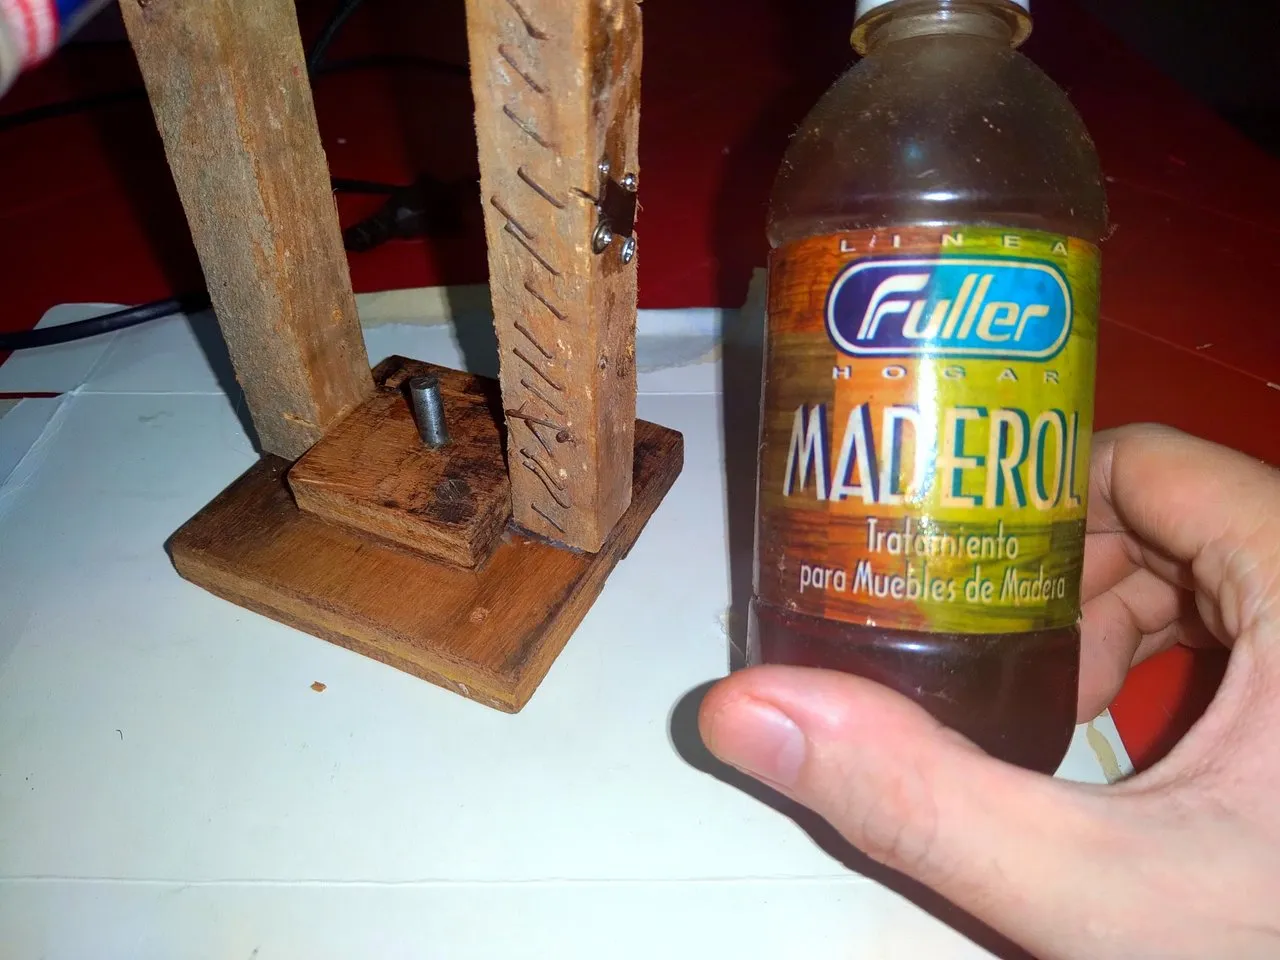
Although I am against using paint in this type of project, since I think it would cover the history of the material that is being used. I am going to allow myself to use a little bit of wood moisturizer, which will simply bring out the different nuances of the wood, which as I said before, is still alive inside.
Si bien yo estoy en contra de utilizar pintura en éste tipo de proyectos, ya que creo que seria cubrir la historia del material que se está utilizando. Me voy a permitir utilizar un poco de hidratador de madera, que simplemente va a resaltar los diferentes matices de la madera, que como dije anteriormente, aún está viva por dentro.
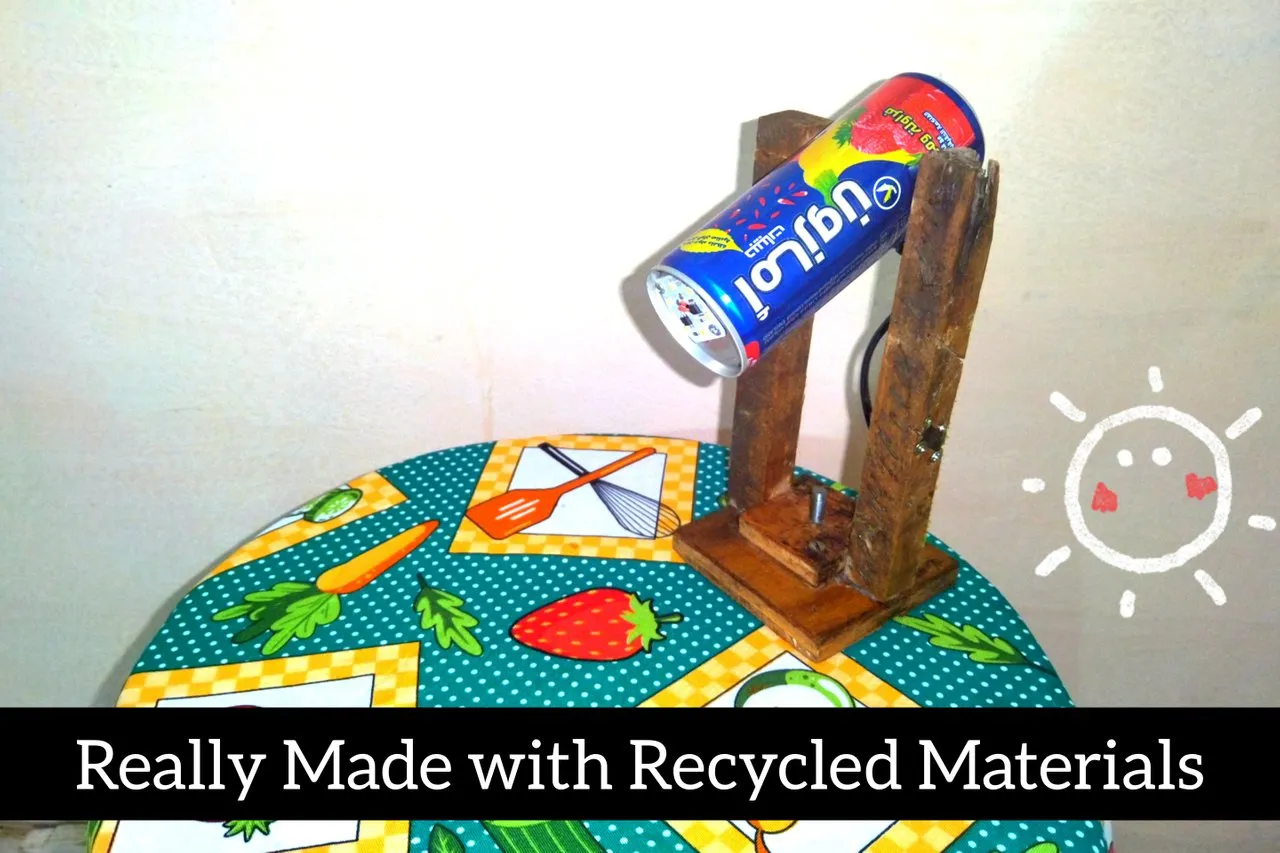
Once the moisturizer that we apply has dried, we would have our little lamp ready. These projects generally have two audiences, those who love them and those who hate them and I am one of those who loves them.
I love reusing materials, I think they have a much better history, which makes their appearance take a backseat. So yes, that's how we finished a reading lamp with recycled materials, which for one thing and another, will be at least curious for many ☺️
Una vez se haya secado el hidratante que aplicamos, ya tendríamos lista nuestra pequeña lámpara. Estos proyectos tienen generalmente dos públicos, lo que los aman y los que los odian y yo soy de los que los ama.
Me encanta reutilizar materiales, considero que tienen mucha mejor historia, lo que hace que su aspecto quede en parte en segundo plano. Asi que si, asi terminamos una lámpara de lectura con materiales reciclados, que por una cosa y otra, resultará al menos curiosa para muchos ☺️