Hello DIYers!
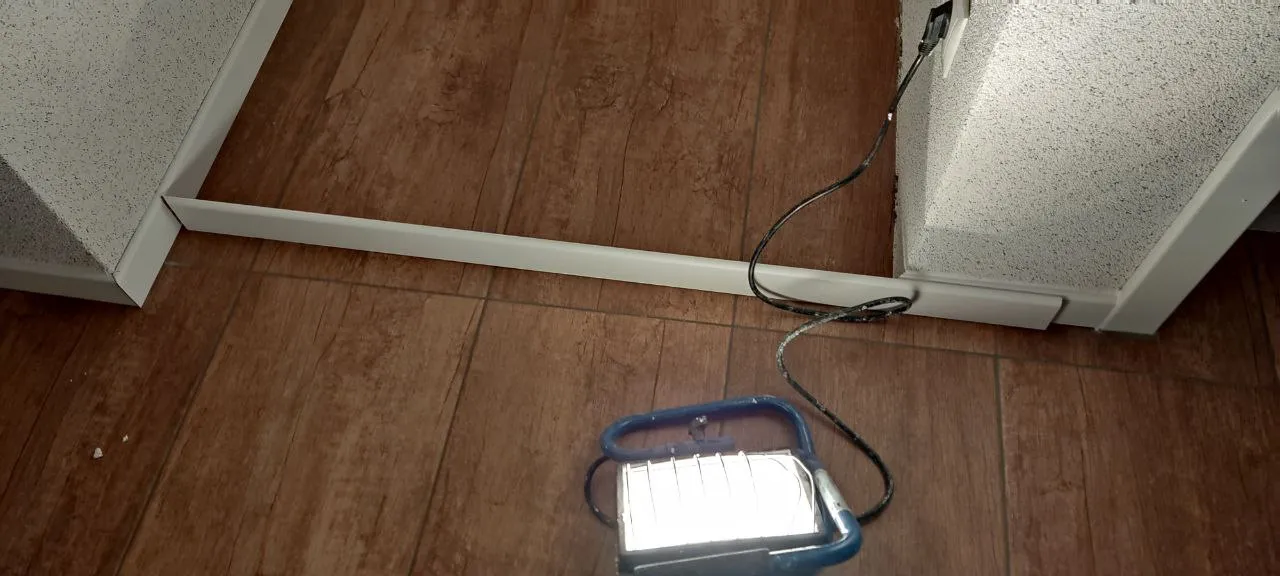
It has been a while since I last made a post, but I have still been busy with my trusty tools and doing jobs around the house. This week I come to you with a nice little DIY job to fit some skirting board. We had a big renovation recently and the guys did not finish the skirting board as the plastering needed to dry. Therefore I decided to finish it up myself.
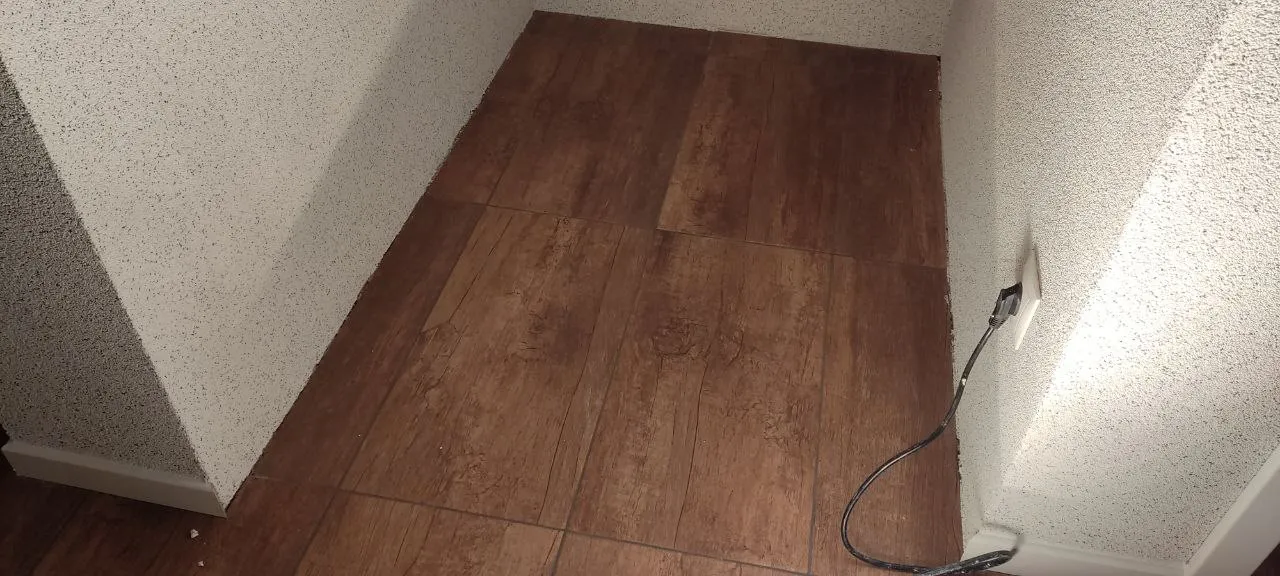
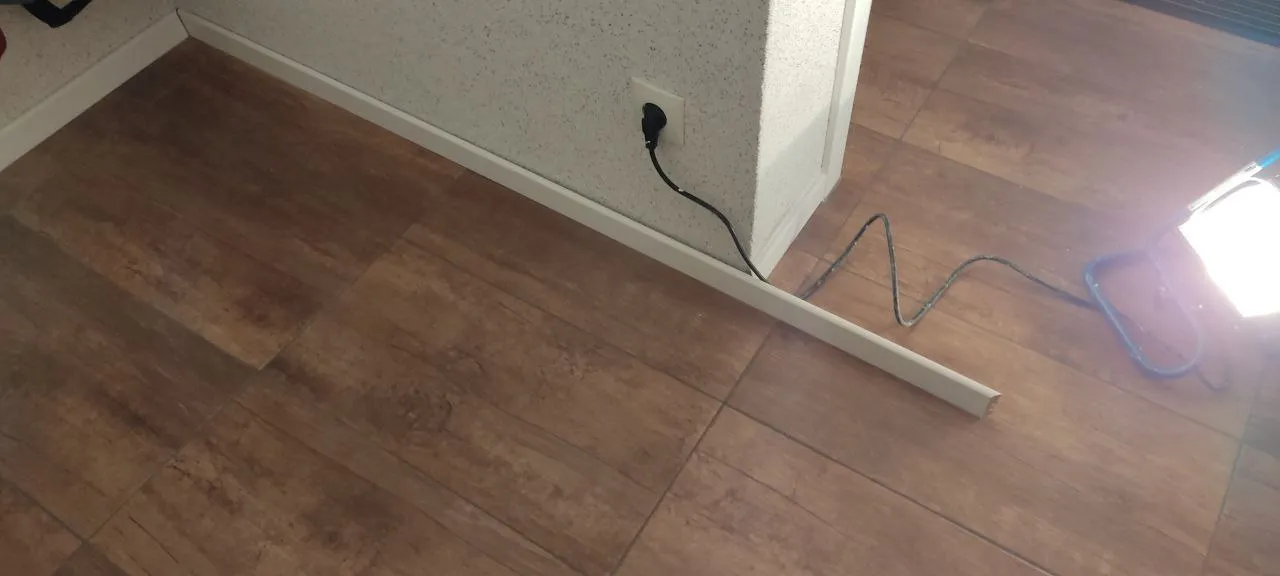
It is just a small corner that needs to be done. 3 pieces in a nice rectangle shape should be easy enough and a good excuse to get out the mitre saw and start cutting some wood.
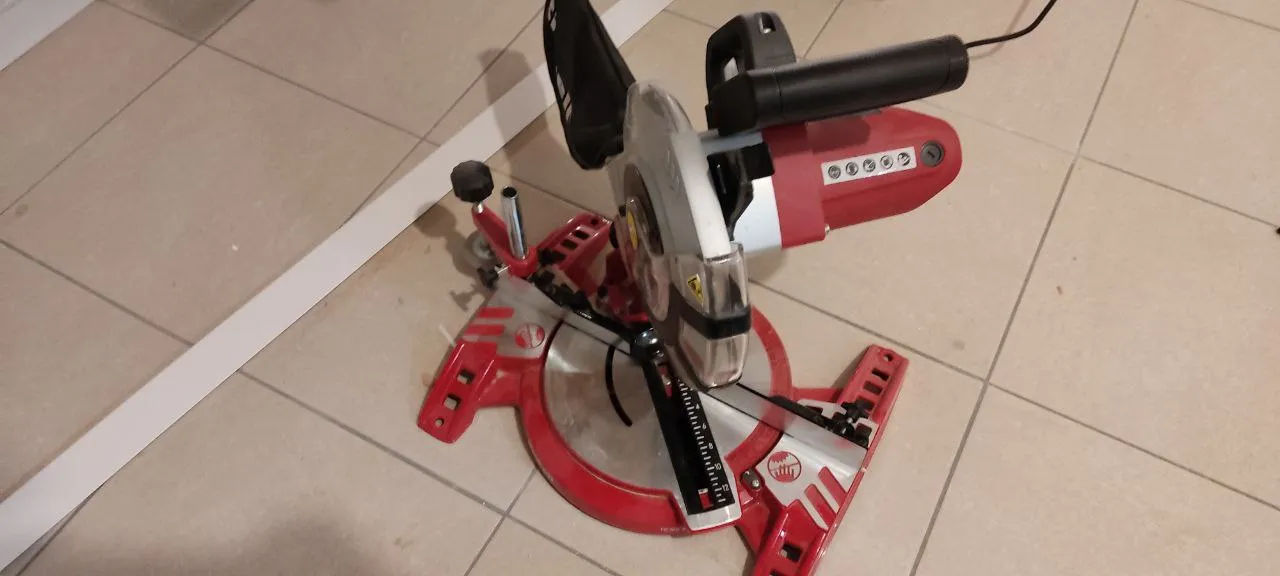
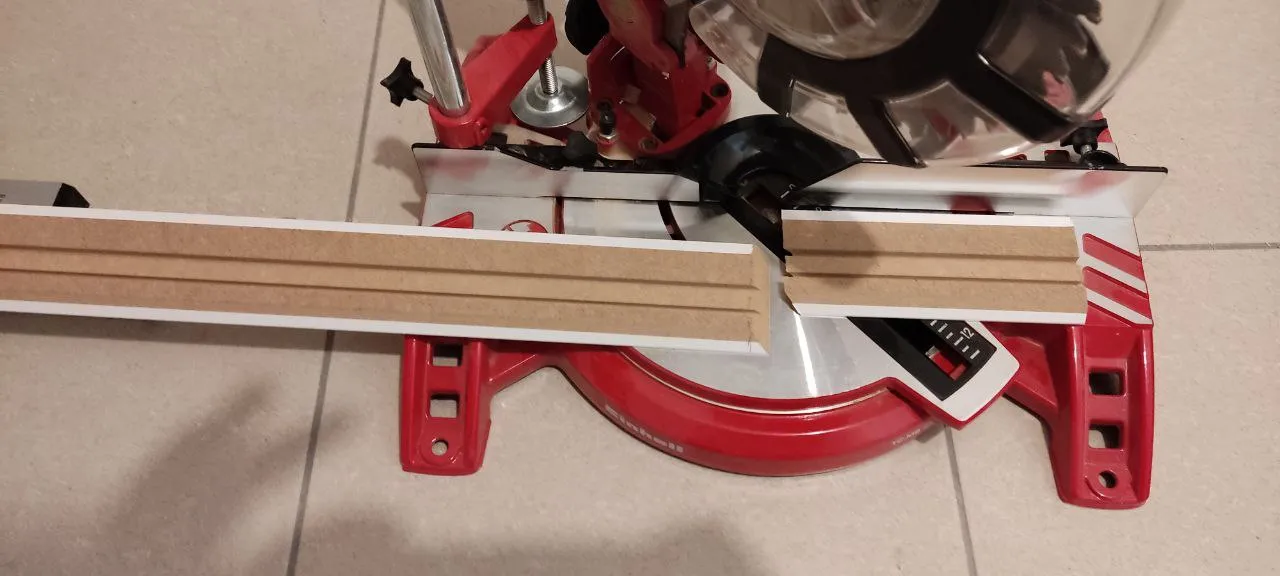
I found a nice place where I could cut the skirting without any problems and that it would be easy to clean up afterward. I have an Einhell mitre saw that I picked up cheap from Amazon. This one does the job for me for the little use that it gets.
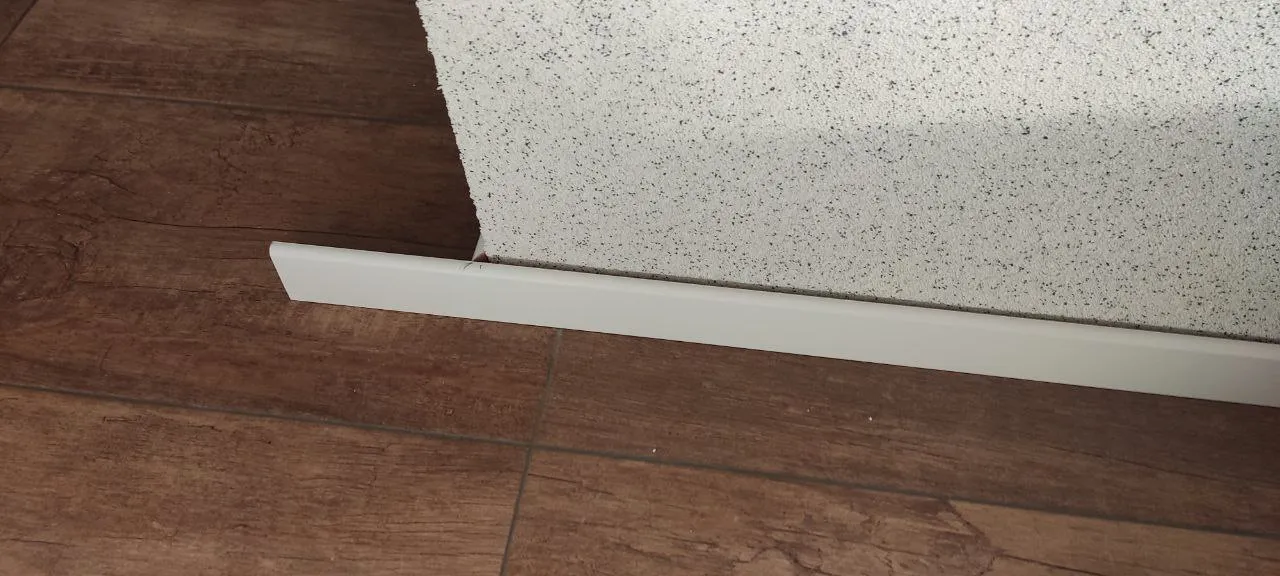
I then took the first piece of skirting and lined it up where I wanted it to be and marked off the edge with my pencil.
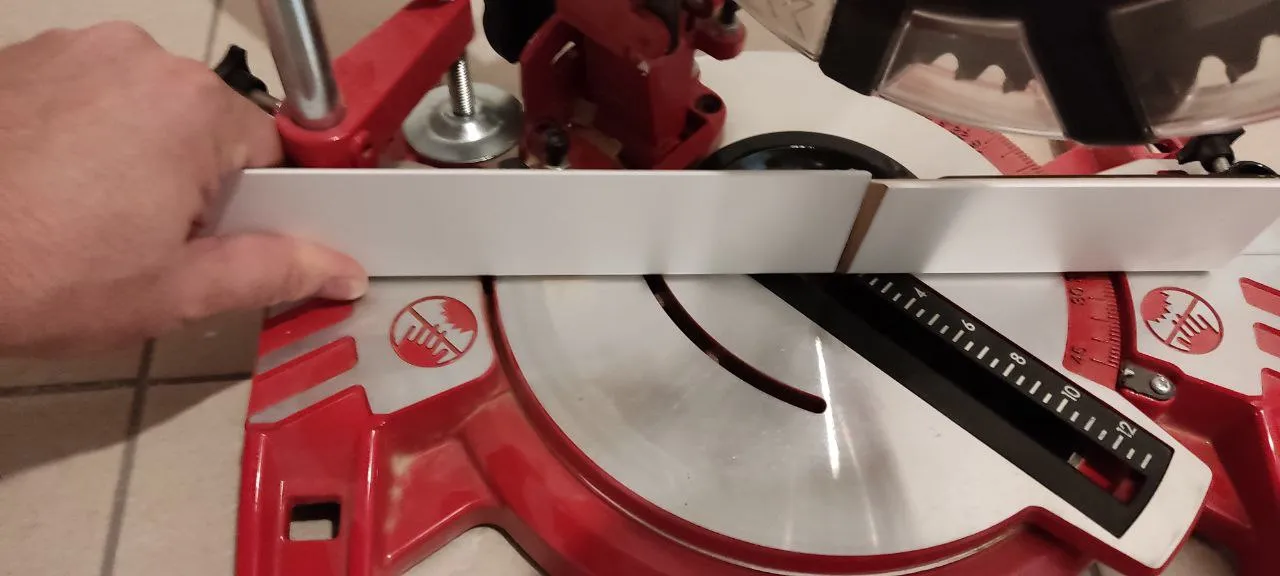
After lining up my mitre saw to 45° (half of the 90° angle), I was ready to cut my first piece of skirting board. It did a nice clean cut and felt good. You can't beat the sound of a mitre saw working.
With the skirting cut, I could then take it and check that it fits in ok.
The first cut was too long, so I needed to trim it down a tiny bit.
Once done, it fit in quite well and I was almost ready to start my 2nd piece already.
First I needed to cut the other side also by 45° for it to fit against the other one. It is important to make sure you cut it in the right direction by 45° so they fit together 😀.
Next I lined up for the middle piece. As it was too long, you could measure the length and cut or I just took the measurements from the outside bit like here.

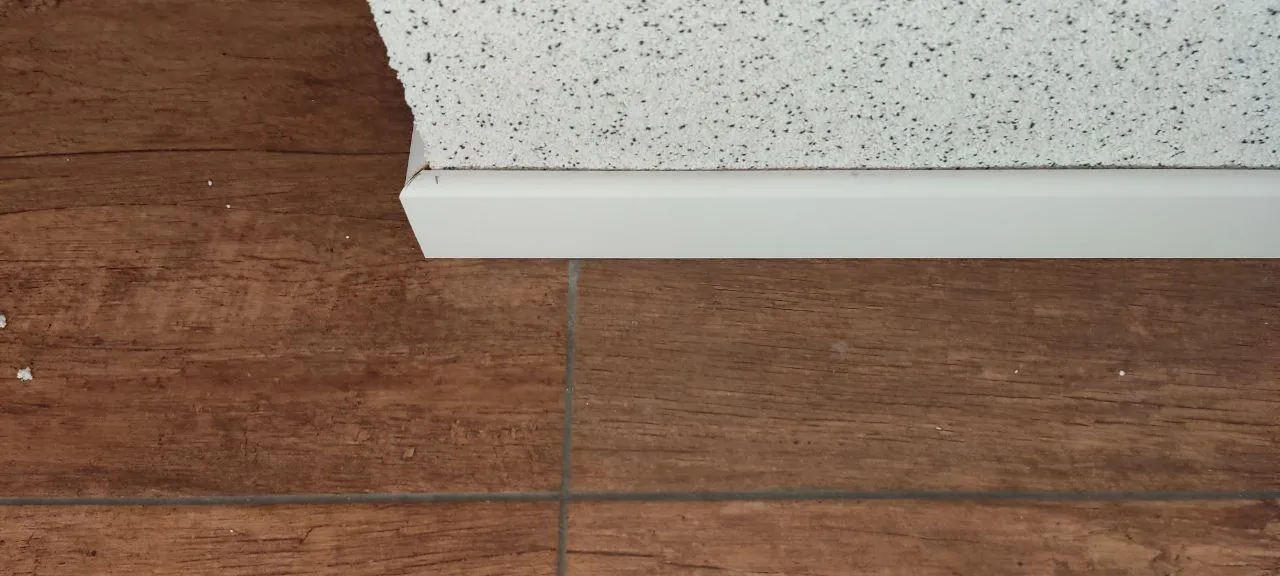
With that cut on both ends, I checked and it fit in nicely. I was ready for the final piece.
I had one big piece for the last one and so cut it in approximate half and then lined it up to take the measurements where to cut.

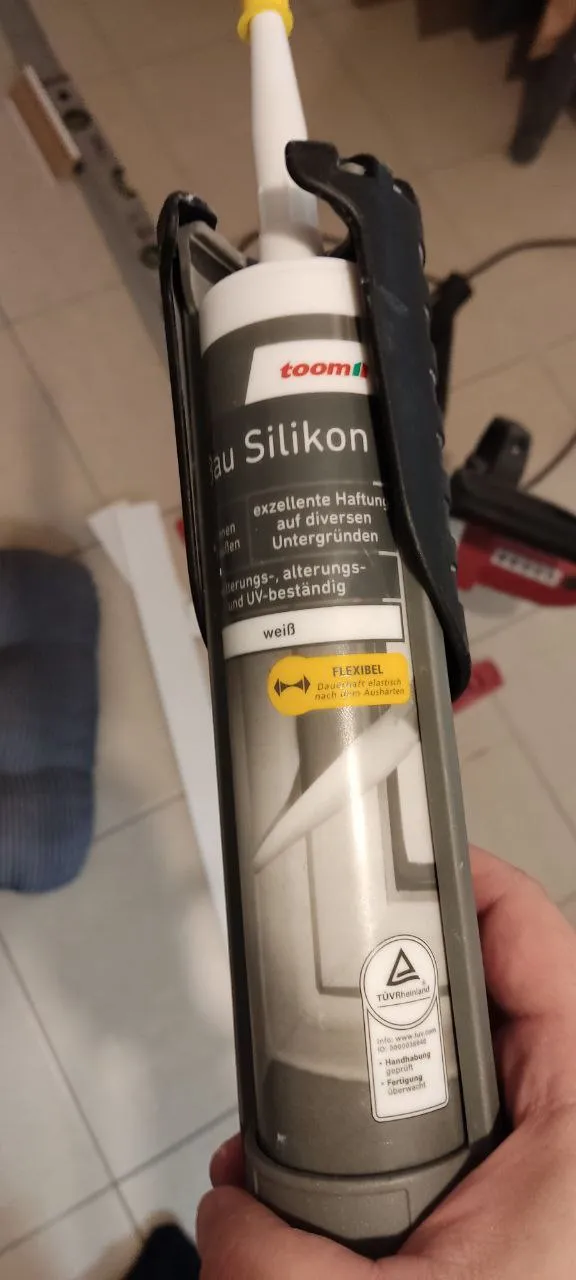
With all the pieces cut and fitting together nicely, I was ready to glue them to the wall. This requires some fast sticking glue and super strong! I have used silicon before which seemed to work fine, but this time I went for some proper glue and gave it a try.
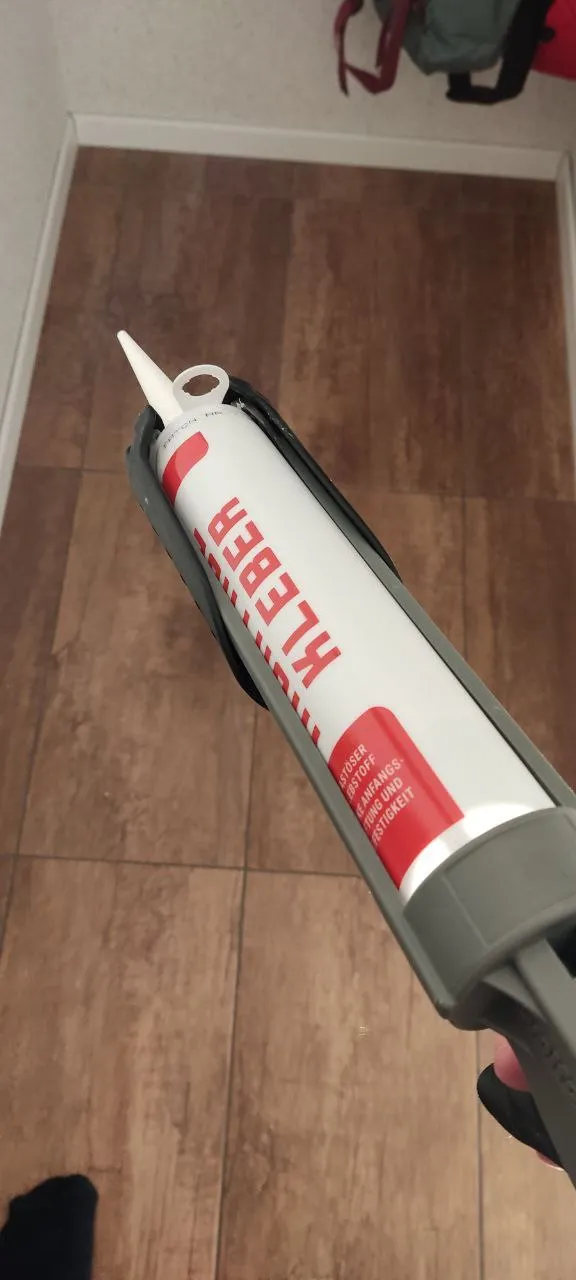
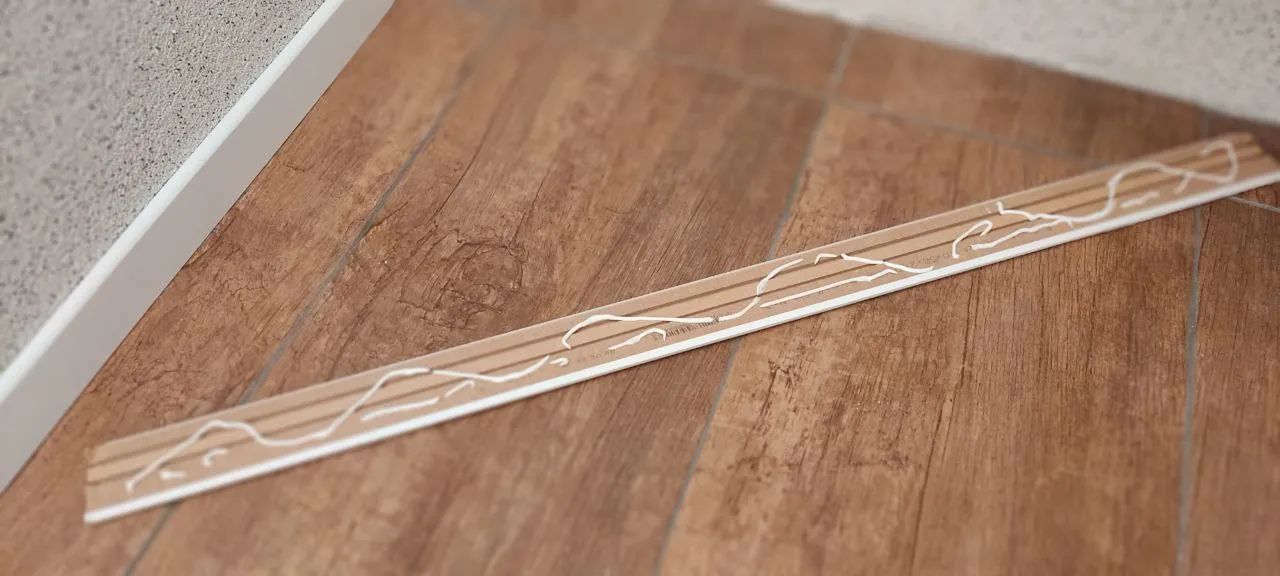
I grabbed my carton of glue and started to glue the first skirting board piece.
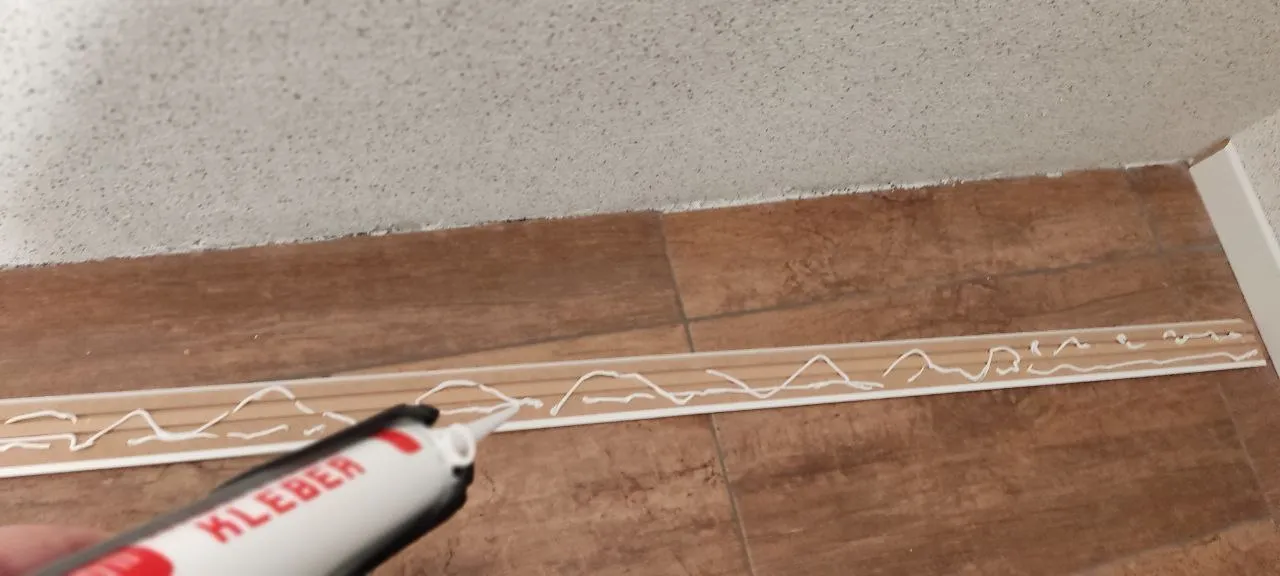
I probably used more than you need to here, but I wanted to be sure it glued tight!
I glued the middle piece and stuck it on.
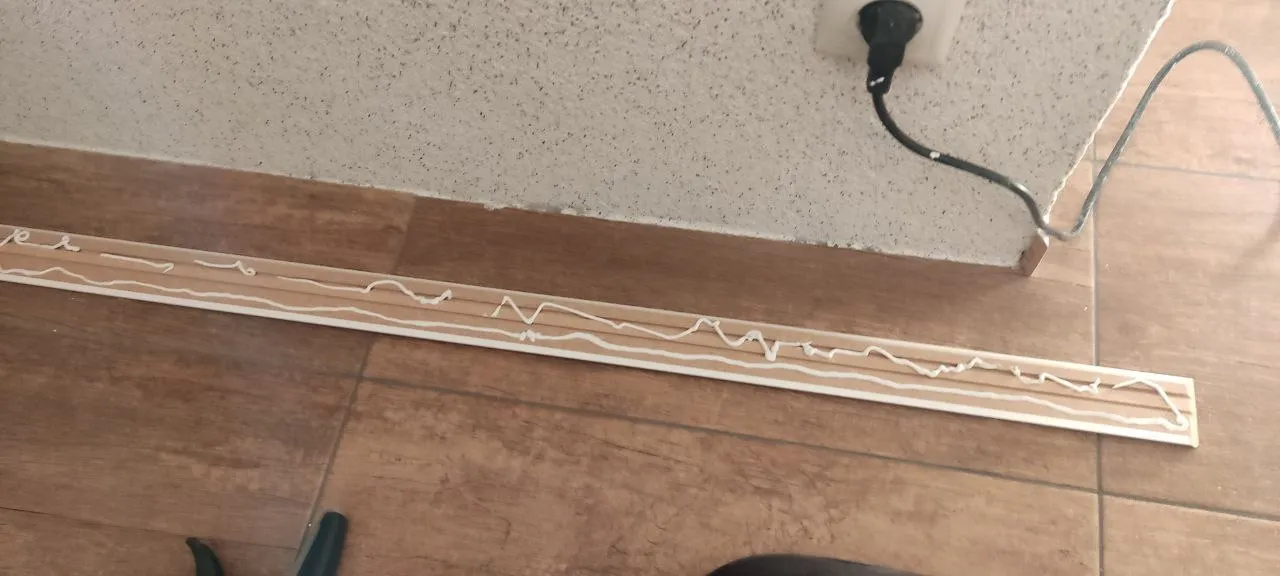
I then glued and stuck on the final piece and it was then ready for the final stage, filling in the gaps.
I kept them held in place until I was sure they were nicely stuck to the wall. I then decided to grab some white silicon to fill in the edges. I have before used acryl, but it is getting dirty and not properly protecting and looking as nice, so decided to use silicon this time.
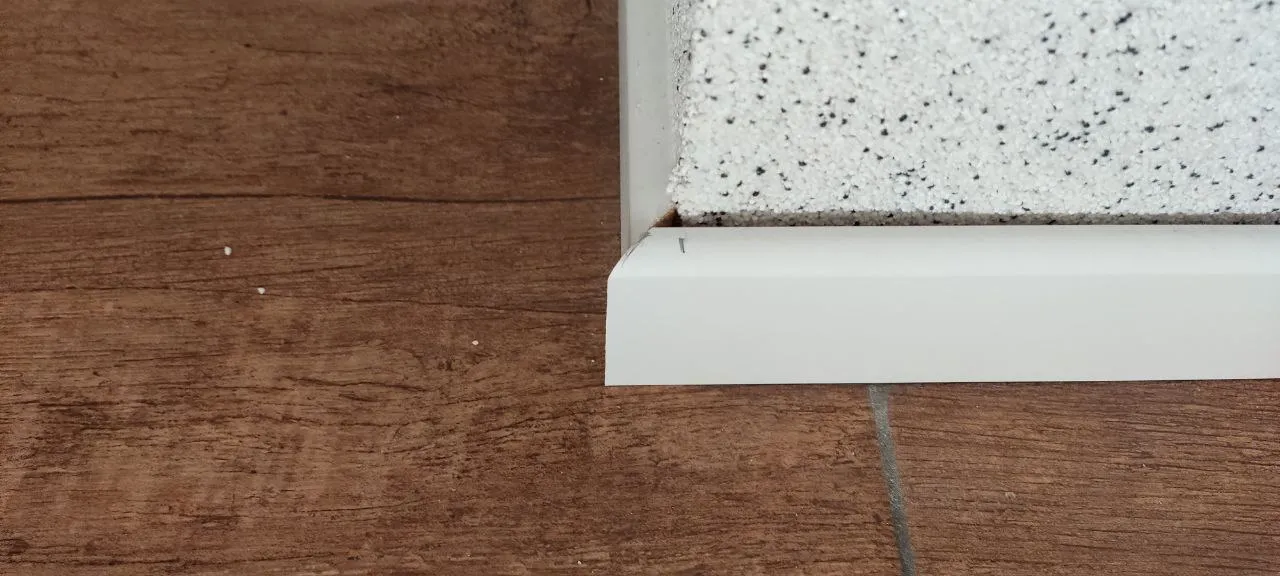
Before adding silicon, you can see the gaps which is not so nice.
I hate working with silicon as it gets everywhere and can be a nightmare to get off. Maybe acryl is worse, but I seem to get it everywhere when I use it! I guess thats cos Im not a professional yet! 😀
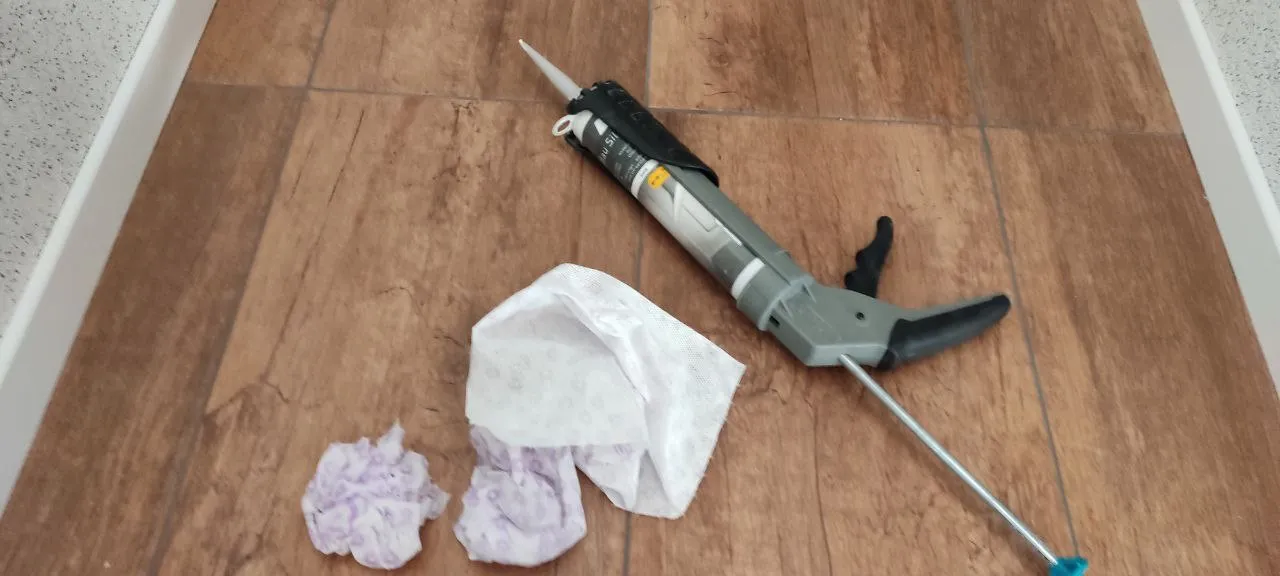
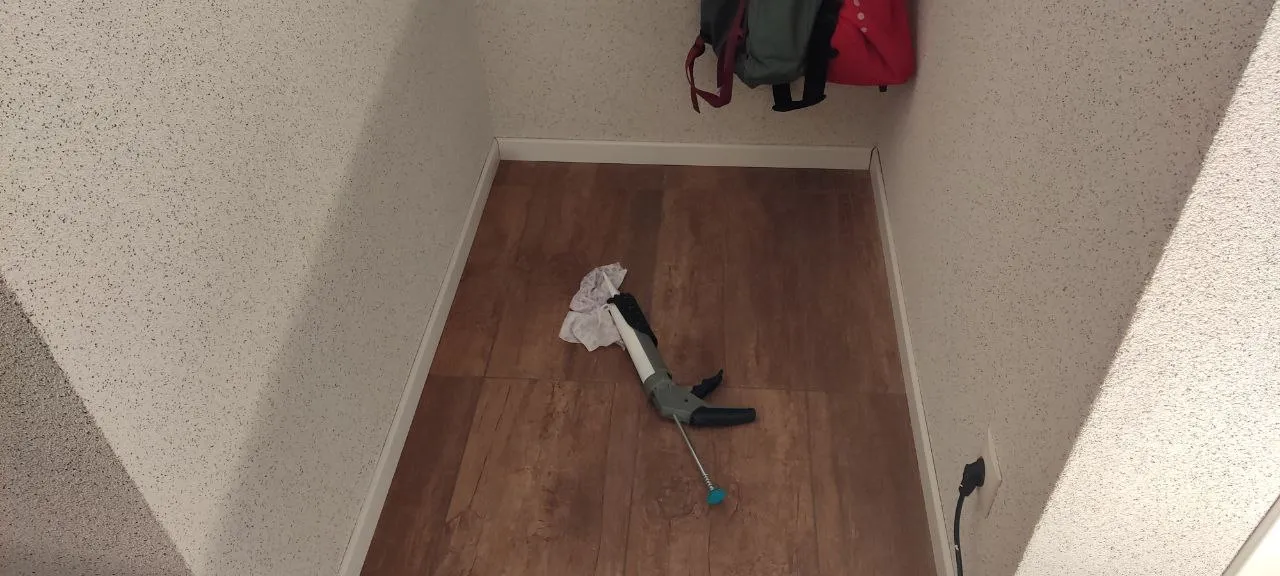
I decided to grab a few cloths extra anyhow to help with the cleanup.
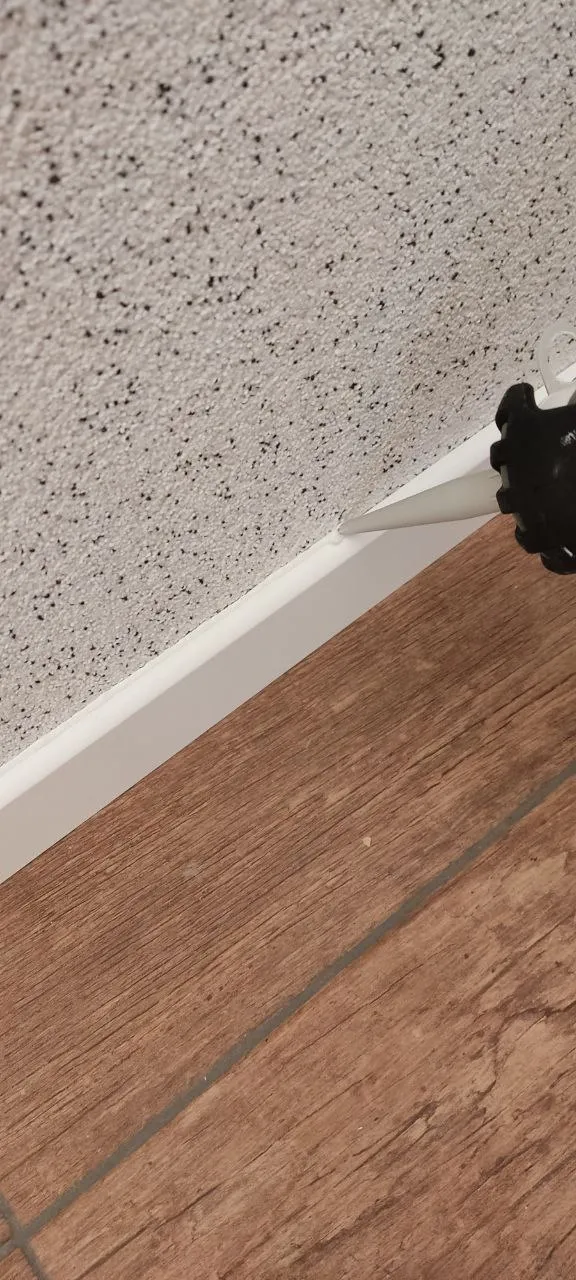
I start applying the silicon and then follow up with a cloth to make it all look nice after.
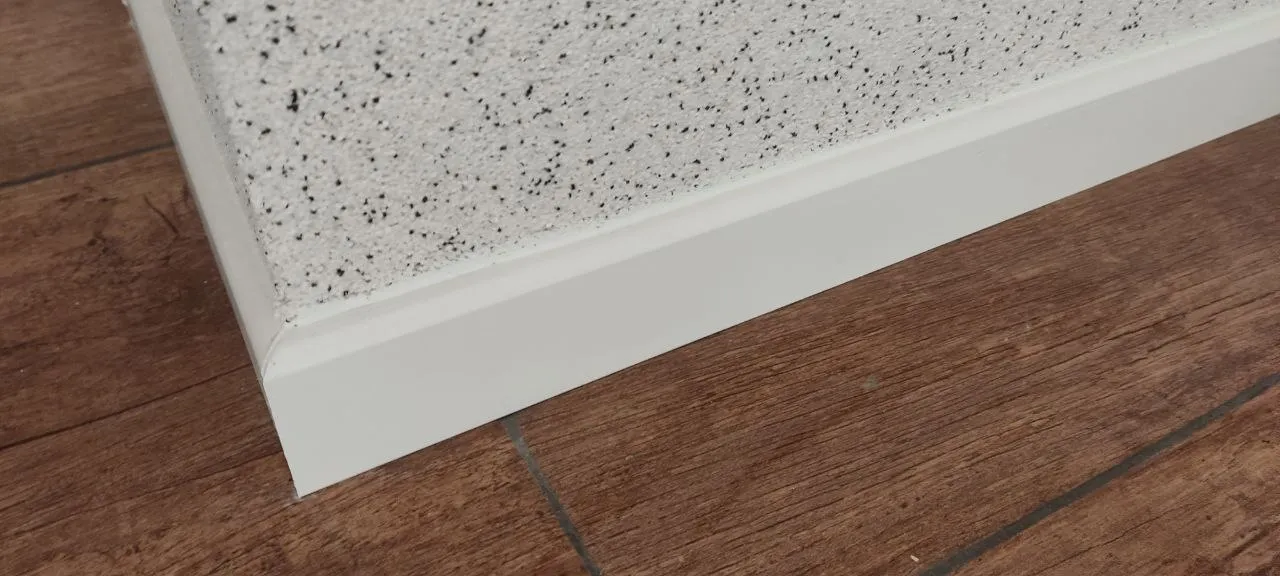
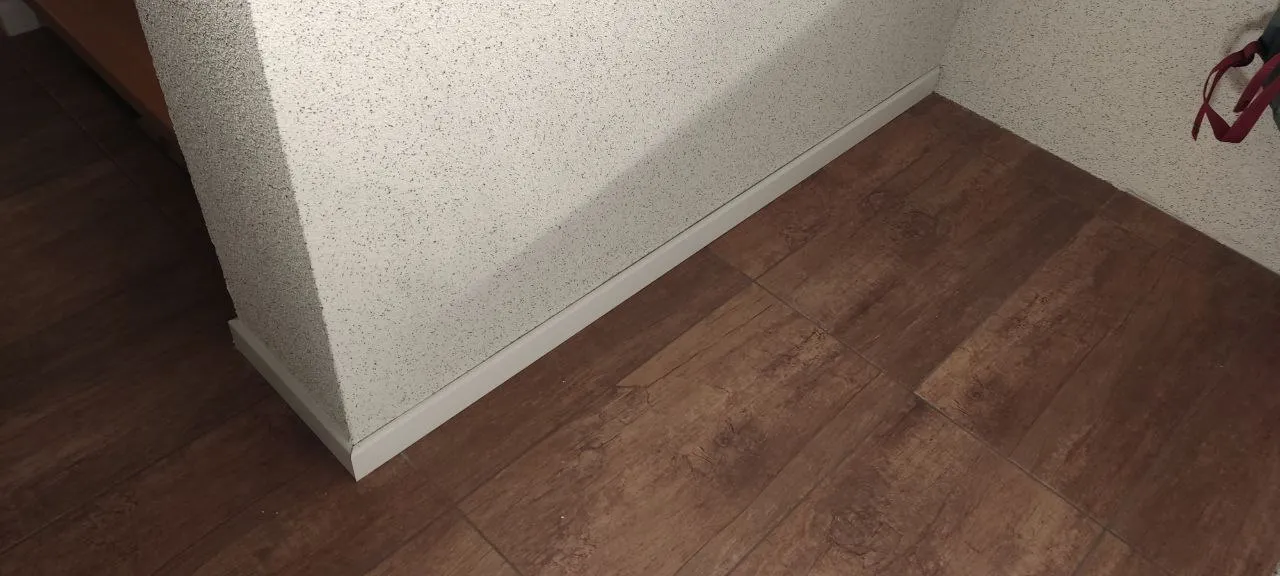
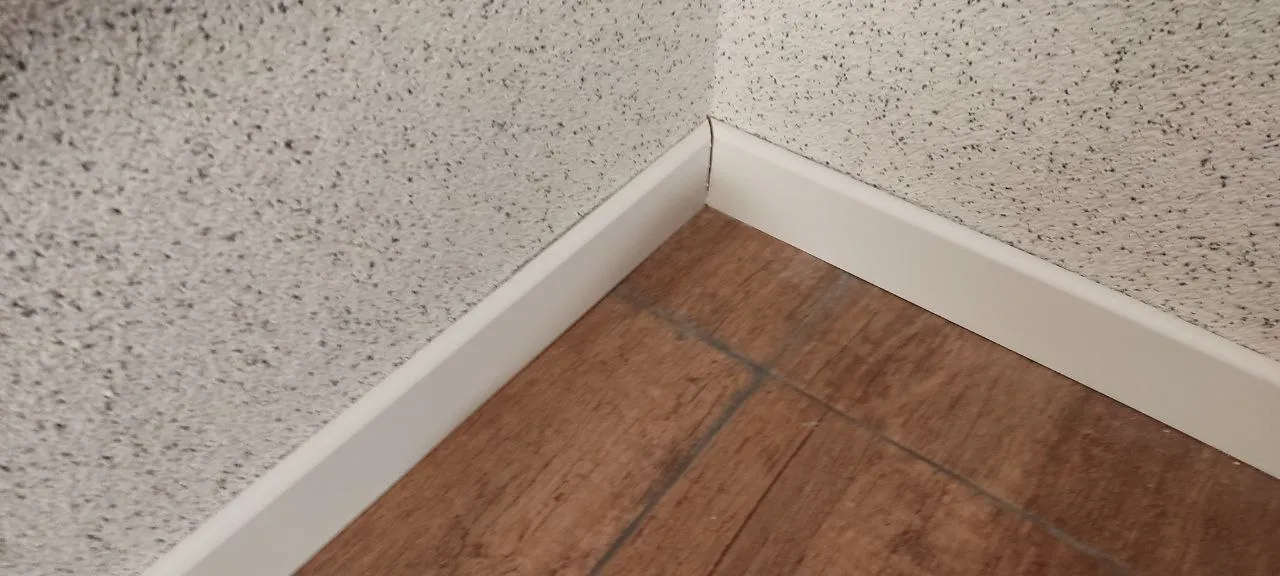
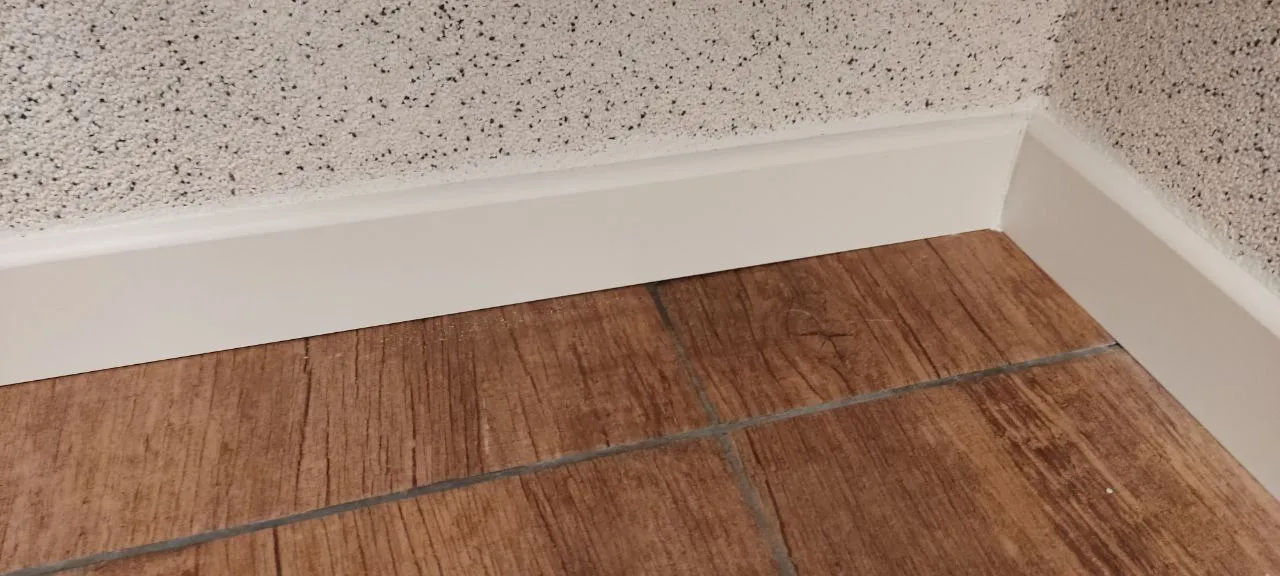
When finished it looks good with no gaps.
The wife was pleased with the results which was good. Happy Wife = Happy Life as they say! With this job done, that was another DIY job crossed off of my ToDo list and it felt good to get the list shorter. Next up I have a few lights to install! A DIYer's life is never done!
Thanks for reading.

Credits:
All Photos are my own.
Ecency Waves banners by @irisworld.
Let's connect : mypathtofire
