Hello DIYers!
I have been considering whether to replace my 7 year old lawnmower recently after having some problems with the old blade. I also saw some good offers which were quite tempting, but then I had the nagging feeling in the back of my head that this is really bad consumerism and waste when I have a perfectly good lawnmower that I can make like new again by just replacing the blade, so thought I would try this before thinking of buying anything new.
We have enough plastic and metal created, without unnecessarily adding to this pile. I know people like to buy robots now and there could be more fancy mowers available, but I think as long as it cuts grass, thats good enough.
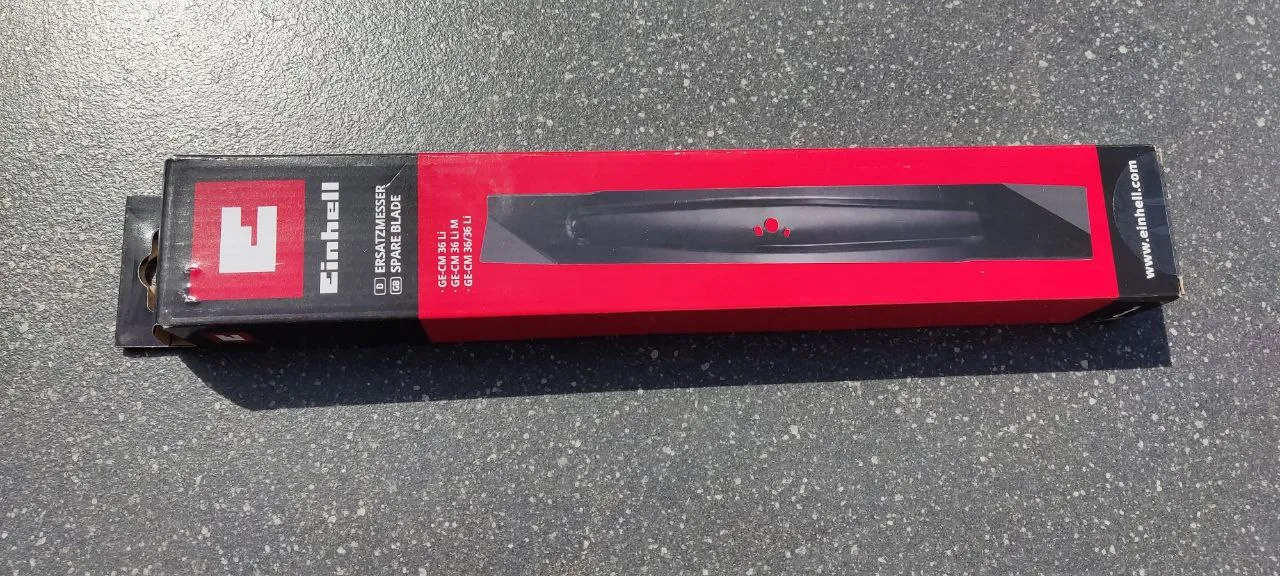
The first thing I did was to order the replacement blade that cost around €12, which wasn't too bad. It arrived promptly and I was waiting for a beautiful day like today to get to work in the garden.
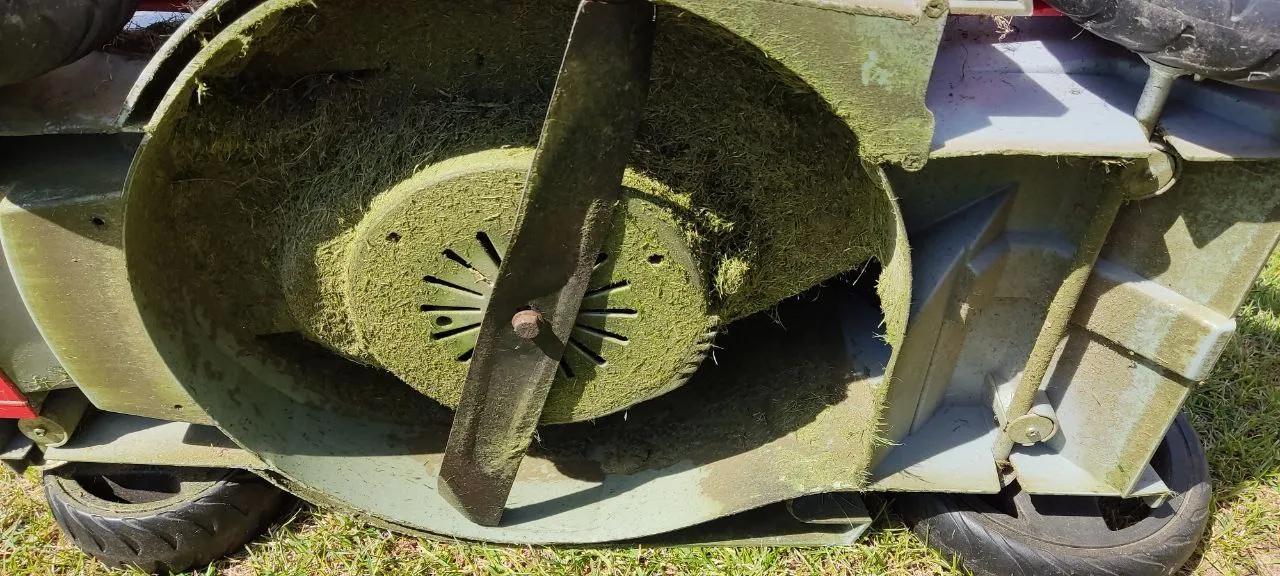
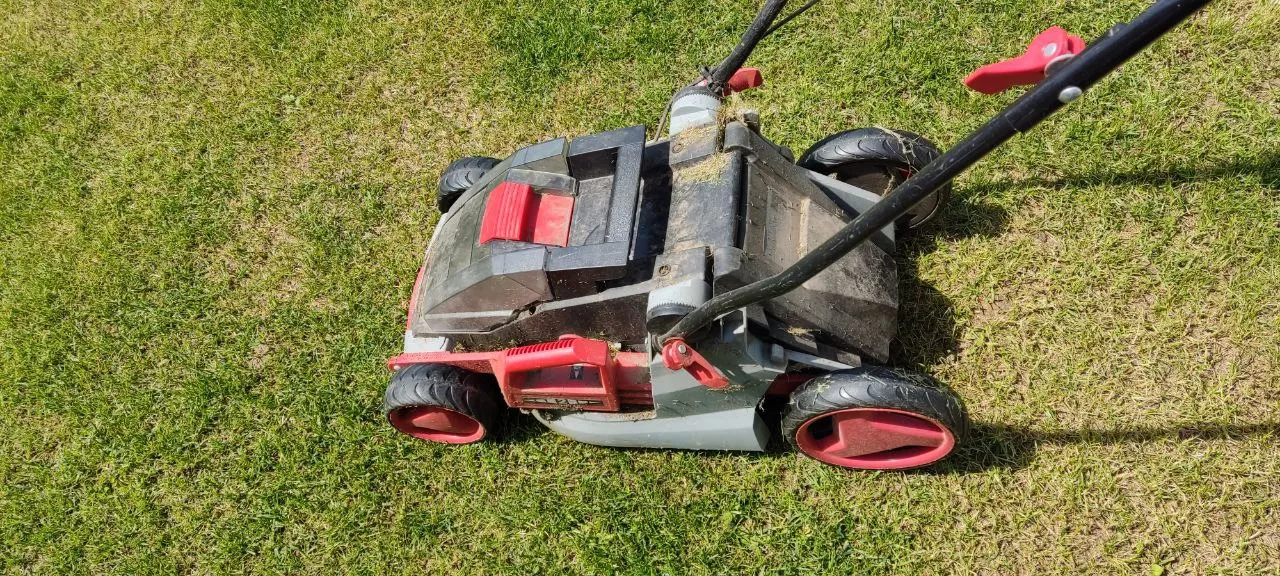
Turning the lawnmower over, you can see the blade is quite well worn and bent out of shape, I think it was also doing some damage to the motor casing.
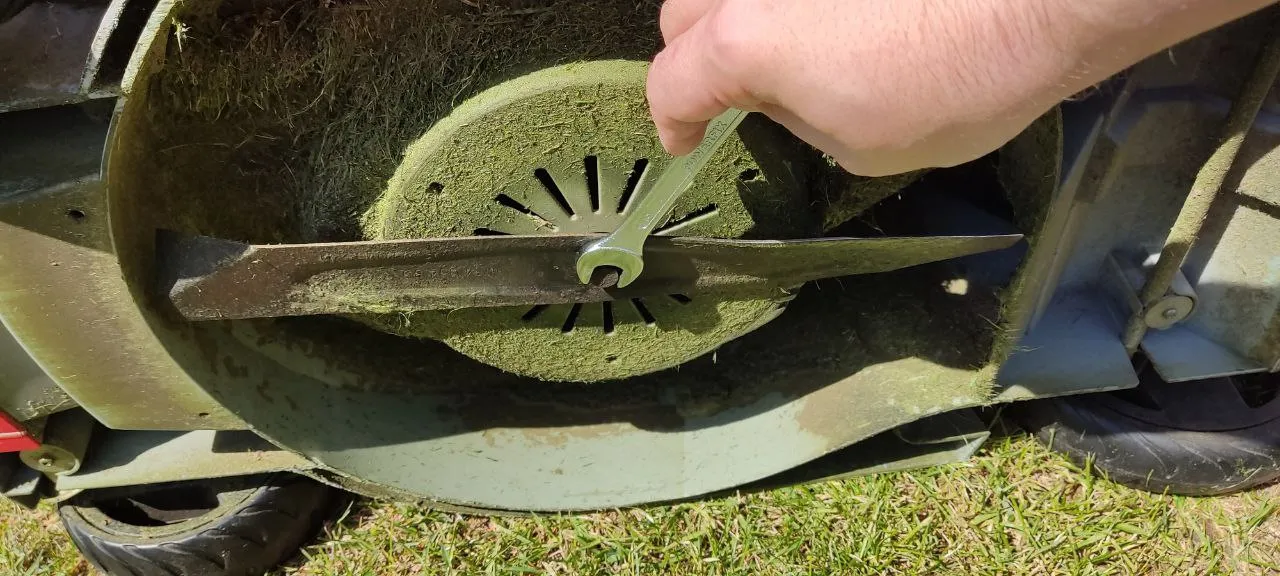
Last week I took the blade off to examine it and found that it needed a number 13 spanner to remove. So I grabbed my number 13 spanner and removed the old blade.
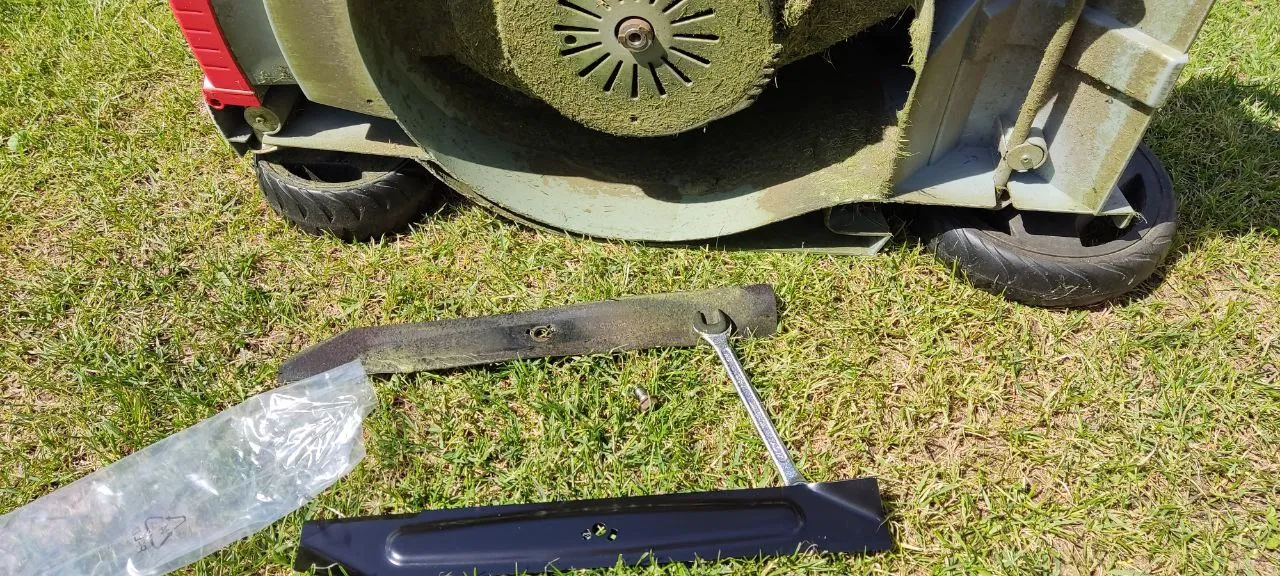
Here you can see the old and new blade next to each other. The blade can only be fitted on correctly one way which you find out when you attach with the 2 holes for the 2 placeholders on the motorcasing.

I screwed on the new blade nice and easily. It is quite rusted on the outside and I am thinking if I should buy a new one, but this one is still fine so far, but will keep a lookout in case I see one.
This was a nice easy and low cost job that increased the life span of my lawnmower and helps the environment. Straight away I tested the mower and it purred really great and cut perfectly with the fresh blades.
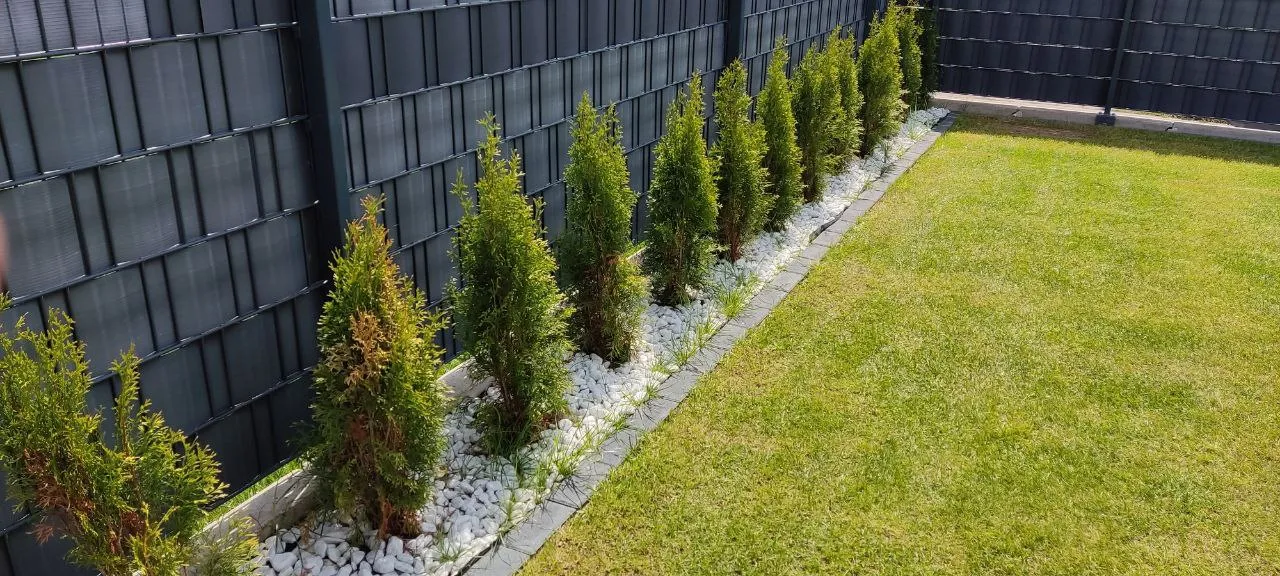
You can see the grass cut well here. With the grass borders, mowing is now much more a pleasure on the edges than it used to be. I still have some work to do in the garden to de-weed under my Thujas.
This is the first winter for my freshly planted Thujas from last year and this side is doing really well. I found that my Thujas that I bought had some sort of blight, so I bought some special spray treatment for them and also gave extra fertiliser to help them through the winter.
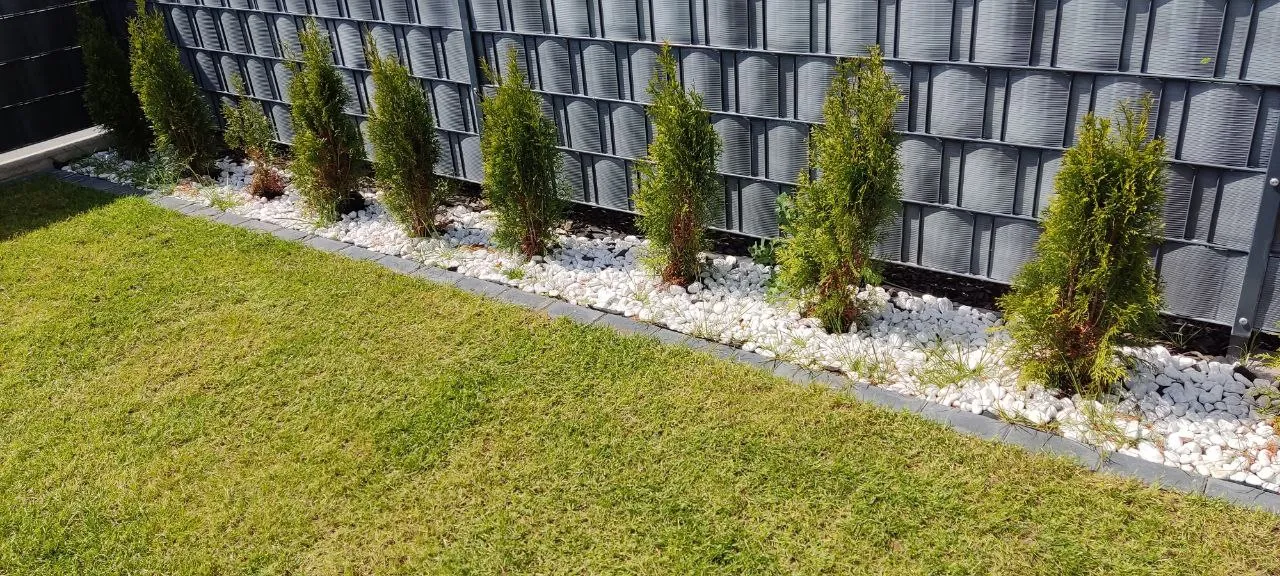
On the other side it is not doing so well. I had to cut back one really almost completely from dead branches. Possibly I will replace this one if it doesn't bloom as expected.
Overall though, despite the blight, I didn't want to discard them and tried to save them. My next job in the garden will be to de-weed further under the plants and top up the stones.
Thanks for reading.

Credits:
All Photos are my own.
Let's connect : mypathtofire