
Hola mis queridos compañeros y compañeras de la colmena, tengan todos un feliz inicio de semana lleno de energía y bendiciones, hoy les quiero mostrar mi práctico y sencillo gato portalápices hecho con material de provecho para guardar y decorar, espero les gusten, les mostrare paso a paso como hacerlo, ¡es rápido!
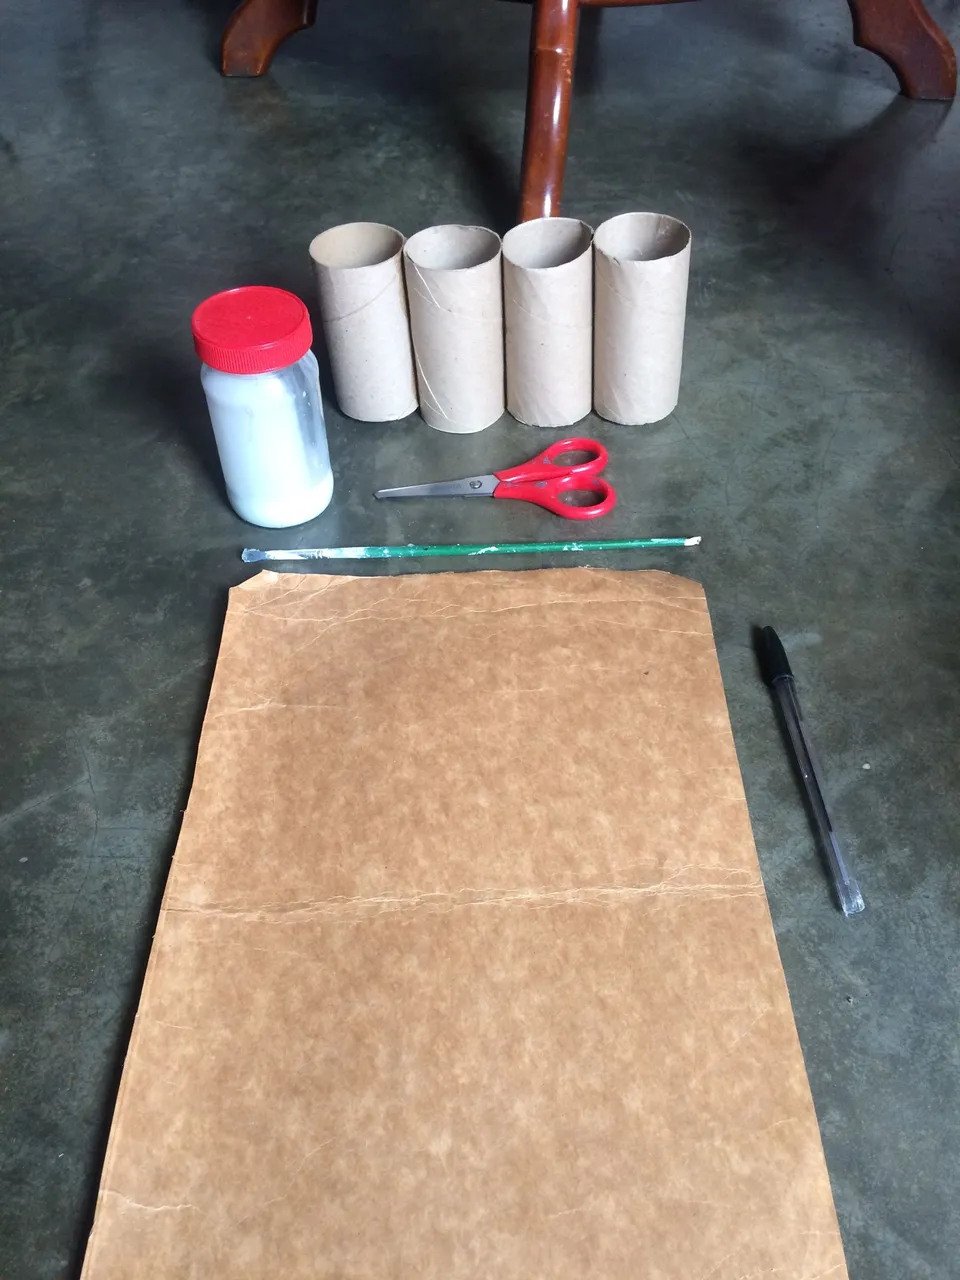
Materiales:
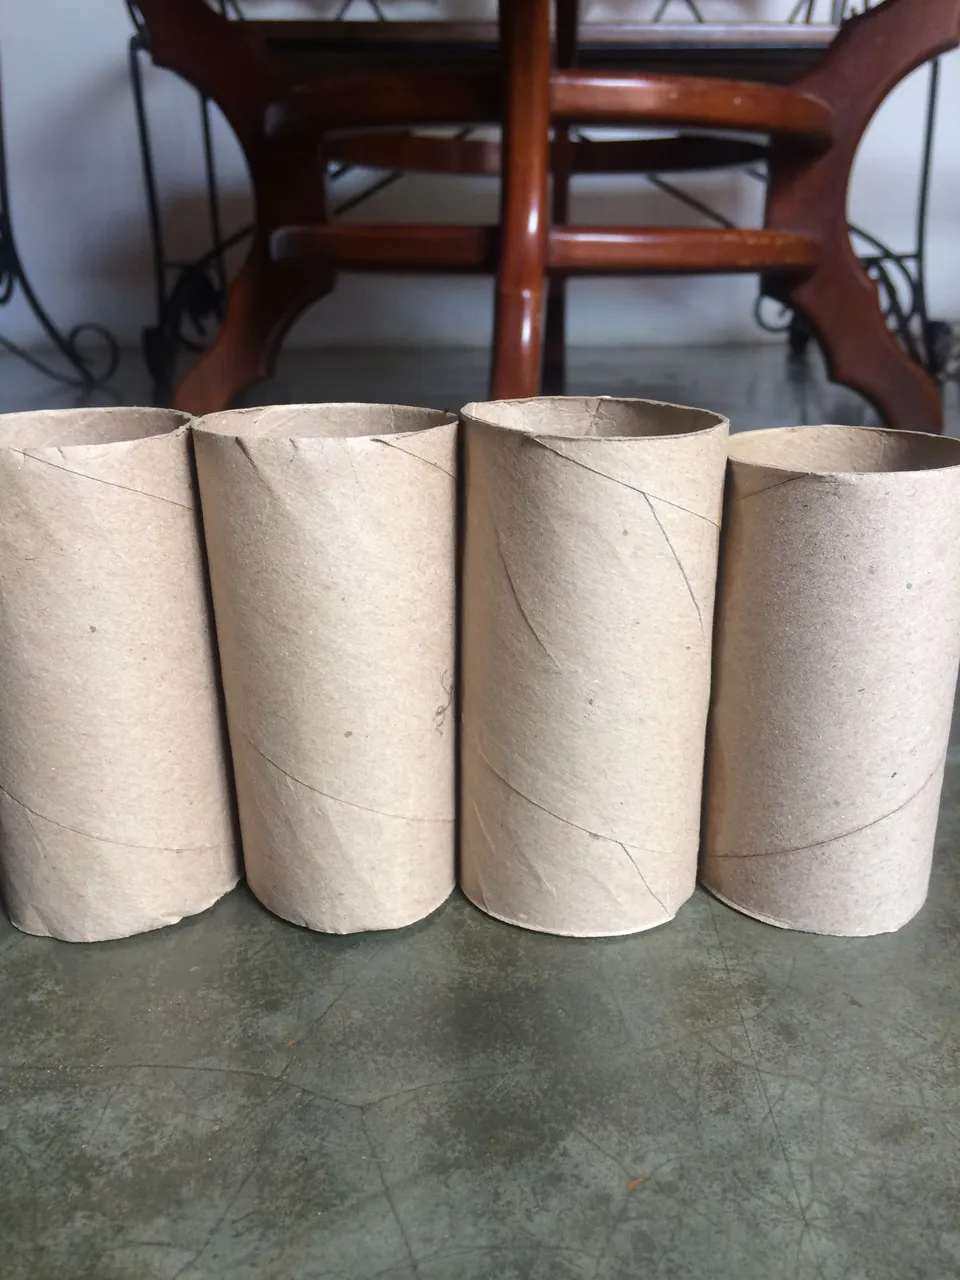
4 rollos de cartón
Cartón
Lápiz
Tijera
Pega
Retazos de hojas de colores.
Paso a Paso:
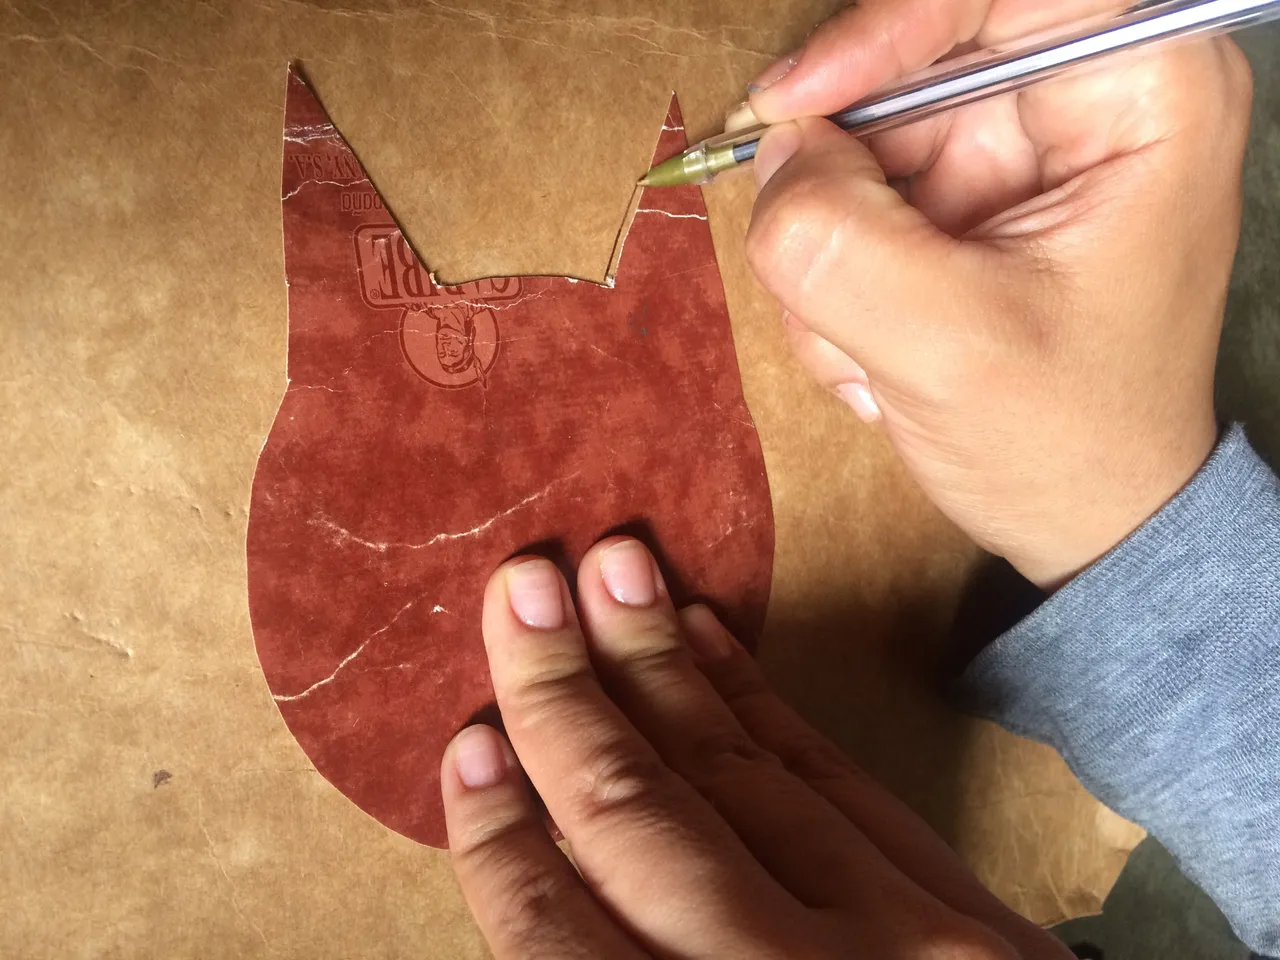
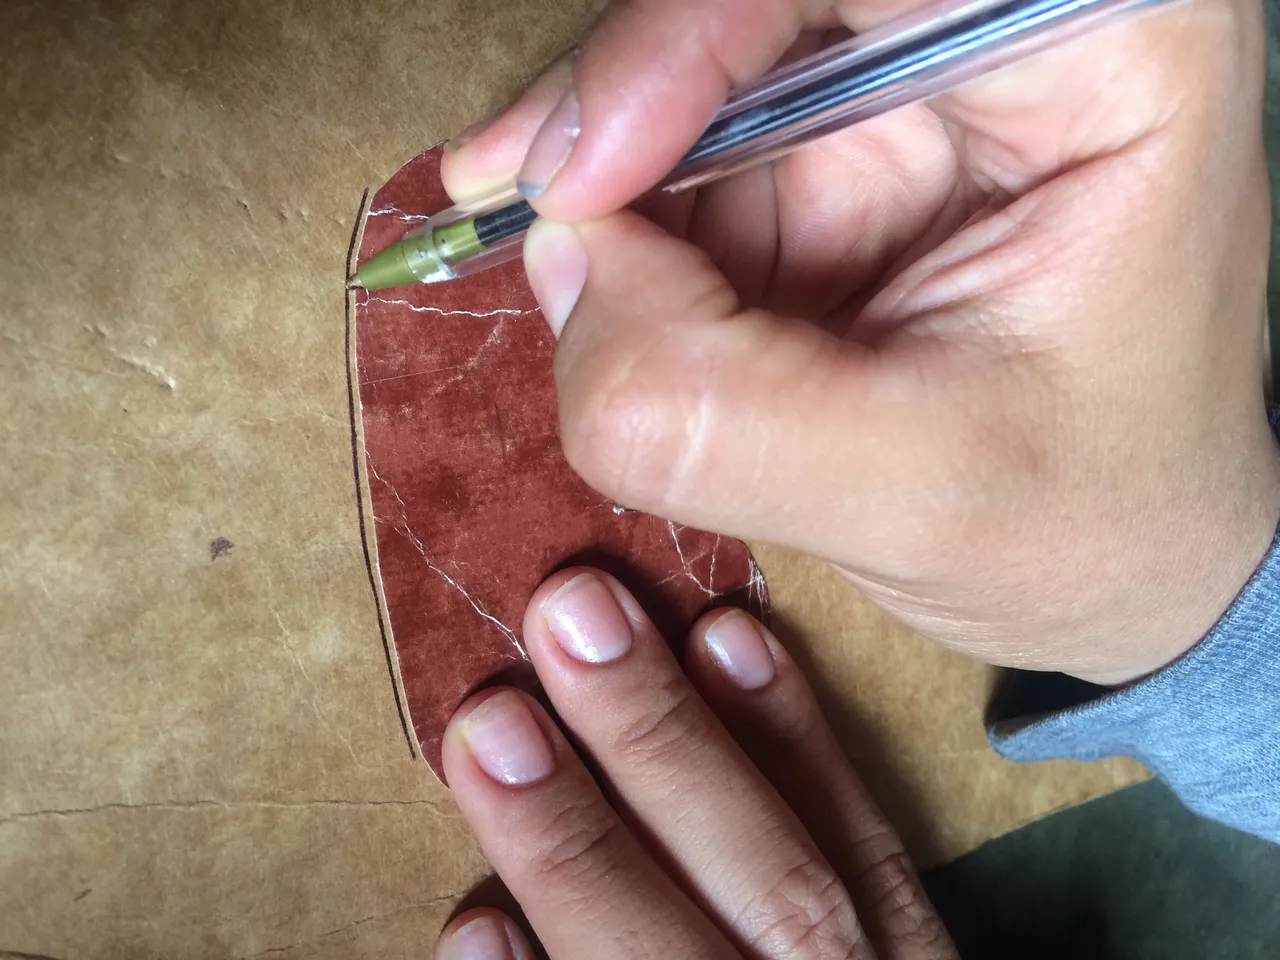
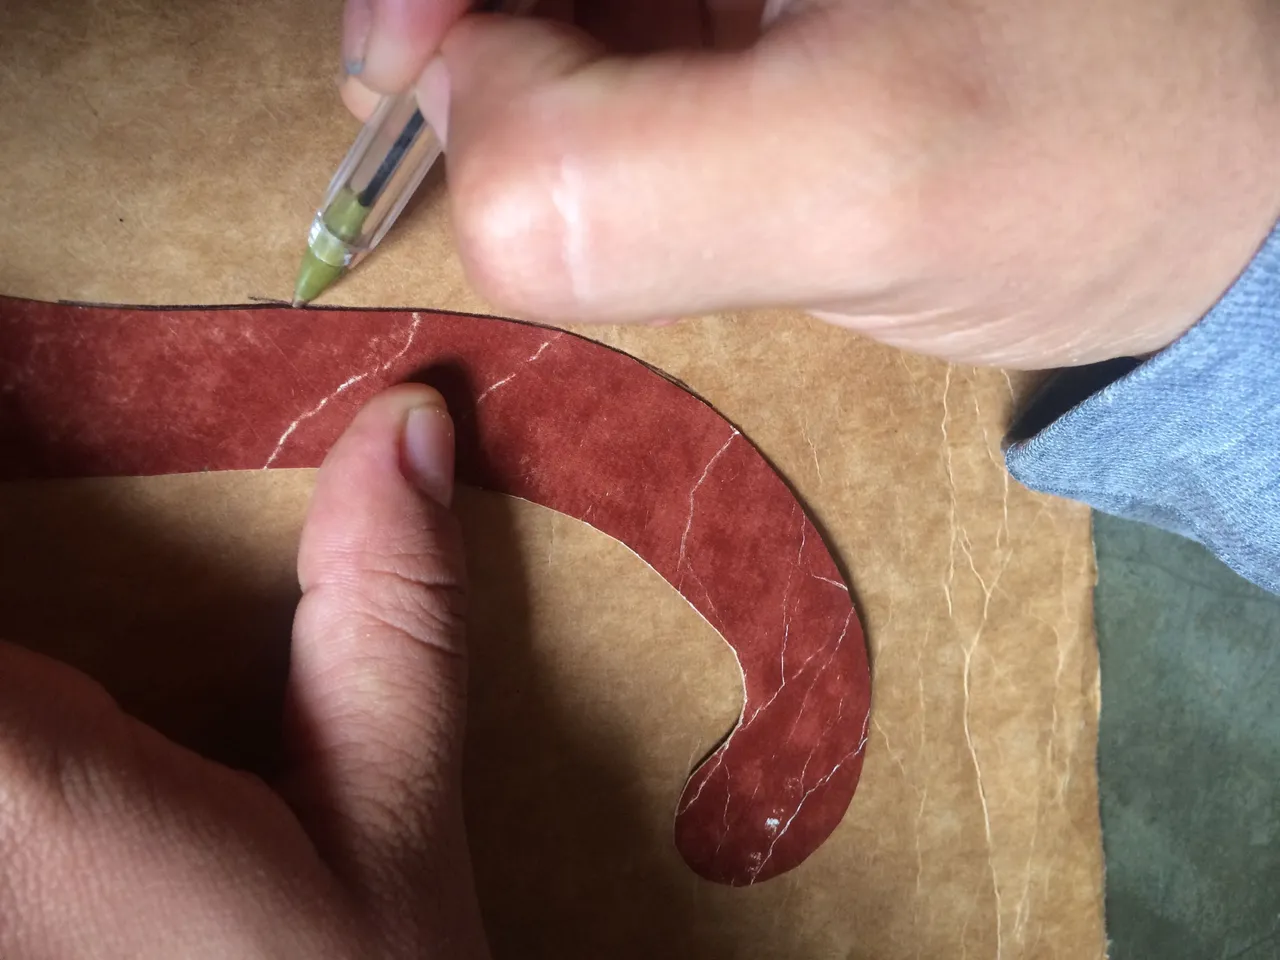
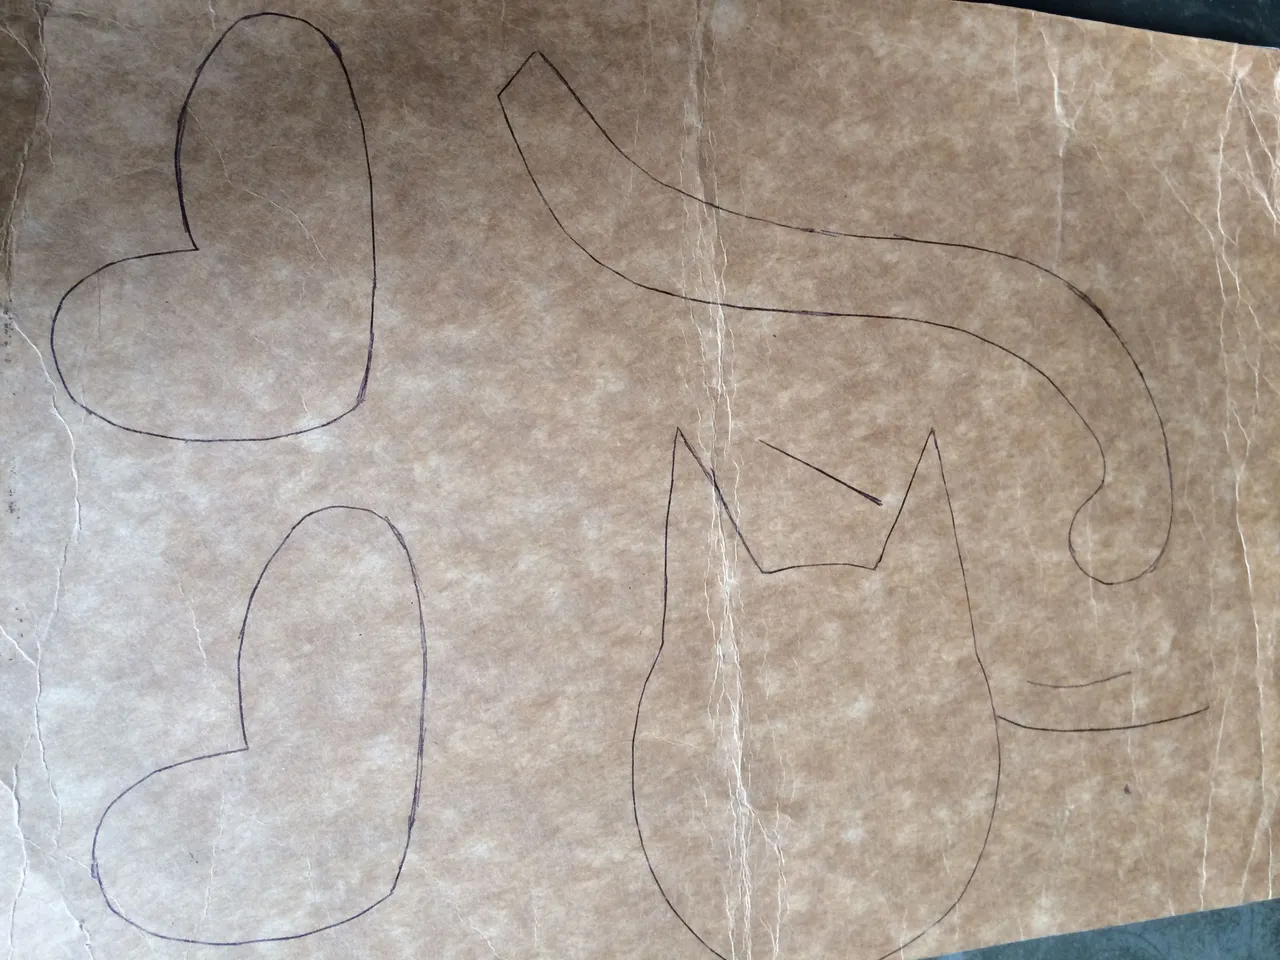
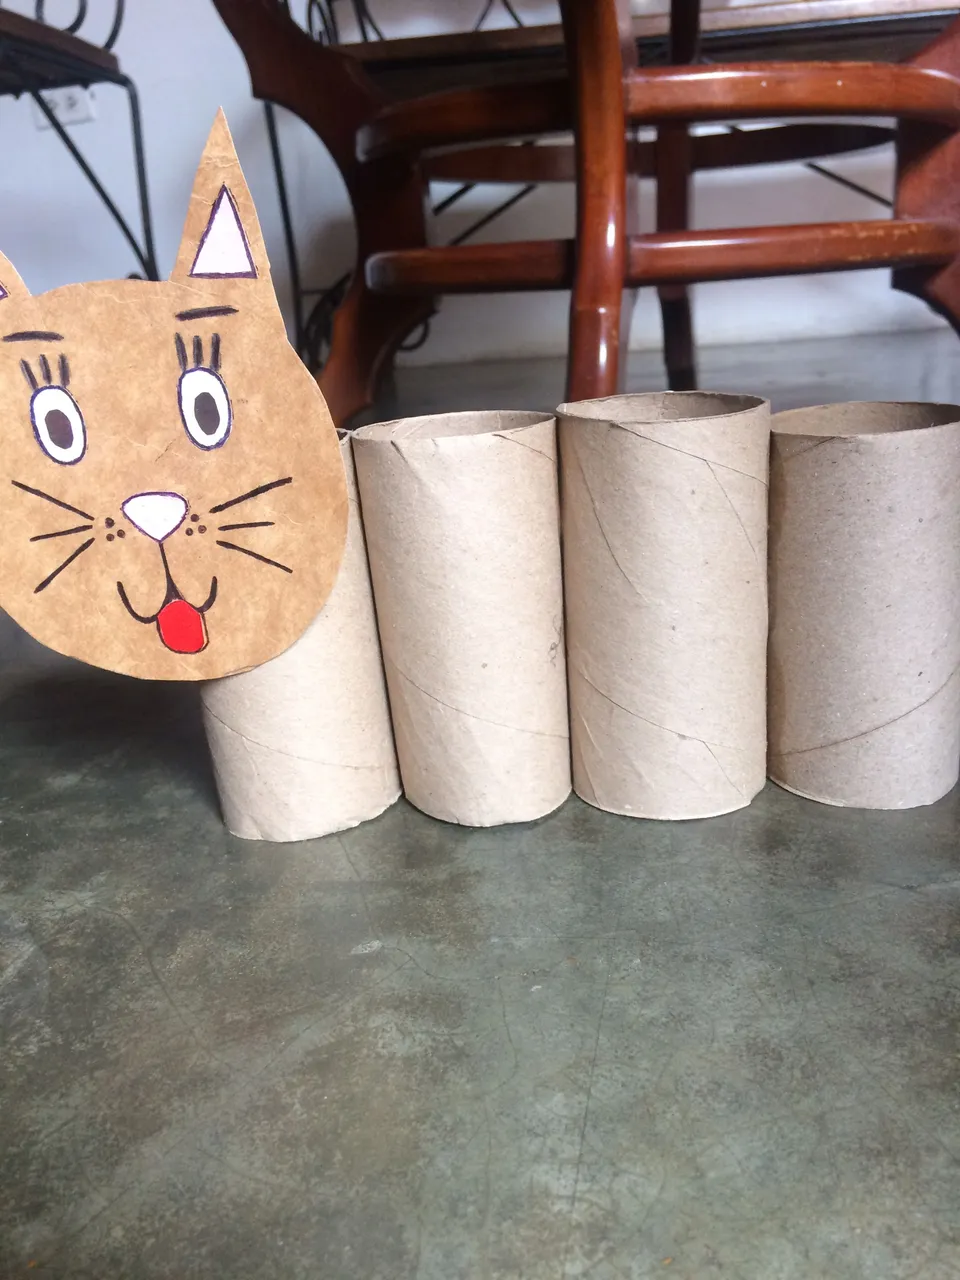
1.Comienza uniendo y pegando los rollos de cartón. Luego en el otro cartón dibuja la cola, la cabeza, las patitas del gato y recorta.
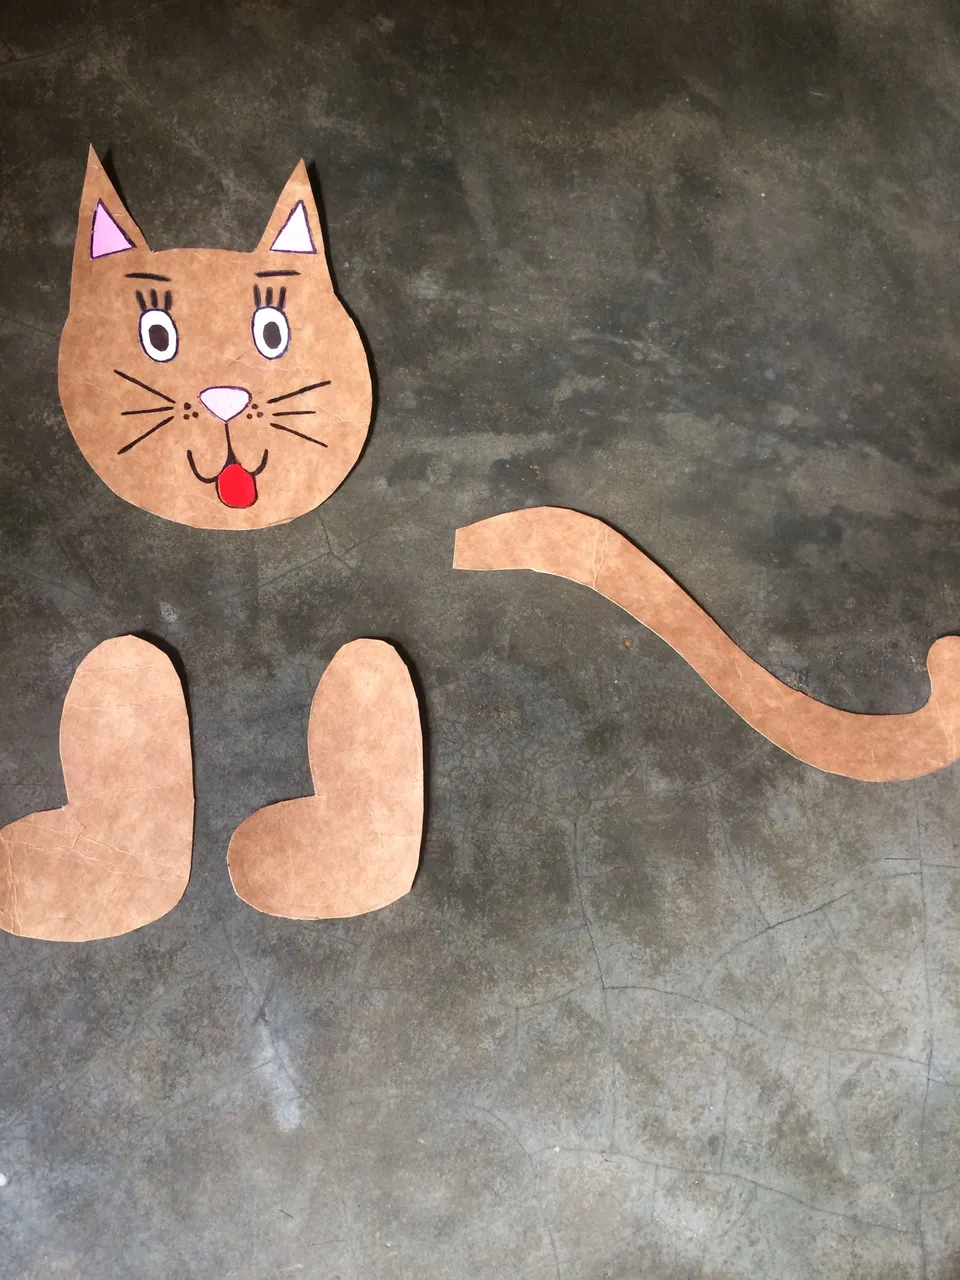
2.Pinta la carita del gato y con retazos de papel de color haz las orejas, los ojos, la lengua y pega.
3.Para terminar pega la carita la cola y las patas en el cuerpo del gato, guarda tus lapices y ¡listo! así termino mi portalápices.
Espero les haya gustado mi creación este es un utensilio muy importante para guardar y mantener en un lugar fijo y ordenado nuestros lápices, colores, tijeras y otros pequeños utensilios así como también tener la facilidad de ubicarlos y decorar, pronto seguiré compartiendo ideas prácticas, útil y sencillas, saludos mi gente.
[ENGLISH]
Hello my dear colleagues from the hive, have everyone a happy start to the week full of energy and blessings, today I want to show you my practical and simple pencil holder cat made with useful material to store and decorate, I hope you like them, I will show you step by step how to do it, it's fast!
Materials:
4 cardboard rolls
Paperboard
Pencil
Scissor
Job
Patchwork of colored leaves
Step-by-Step:
1.Start by joining and gluing the cardboard rolls. Then on the other cardboard draw the tail, the head, the legs of the cat and cut out.
2.Paint the face of the cat and with pieces of colored paper make the ears, the eyes, the tongue and paste.
3.To finish, stick the face, the tail and the legs on the cat's body, put away your crayons and that's it! This is how I finish my pencil holder.
I hope you liked my creation this is a very important utensil to store and keep in a fixed and orderly place our pencils, colors, scissors, crayons and other small utensils as well as having the ease of locating and decorating them, soon I will continue to share practical ideas , useful and simple, greetings my people.