✨Bienvenidos|| Welcome✨

Las fiestas infantiles sin duda alguna requieren muchos preparativo y detalles el día de hoy quiero compartir con ustedes como elaborar unos hermosos centros de mesa con temática de cupcakes para ello vamos a necesitar:
Today I want to share with you how to make some beautiful cupcake themed centerpieces for your children's parties. For this we are going to need:

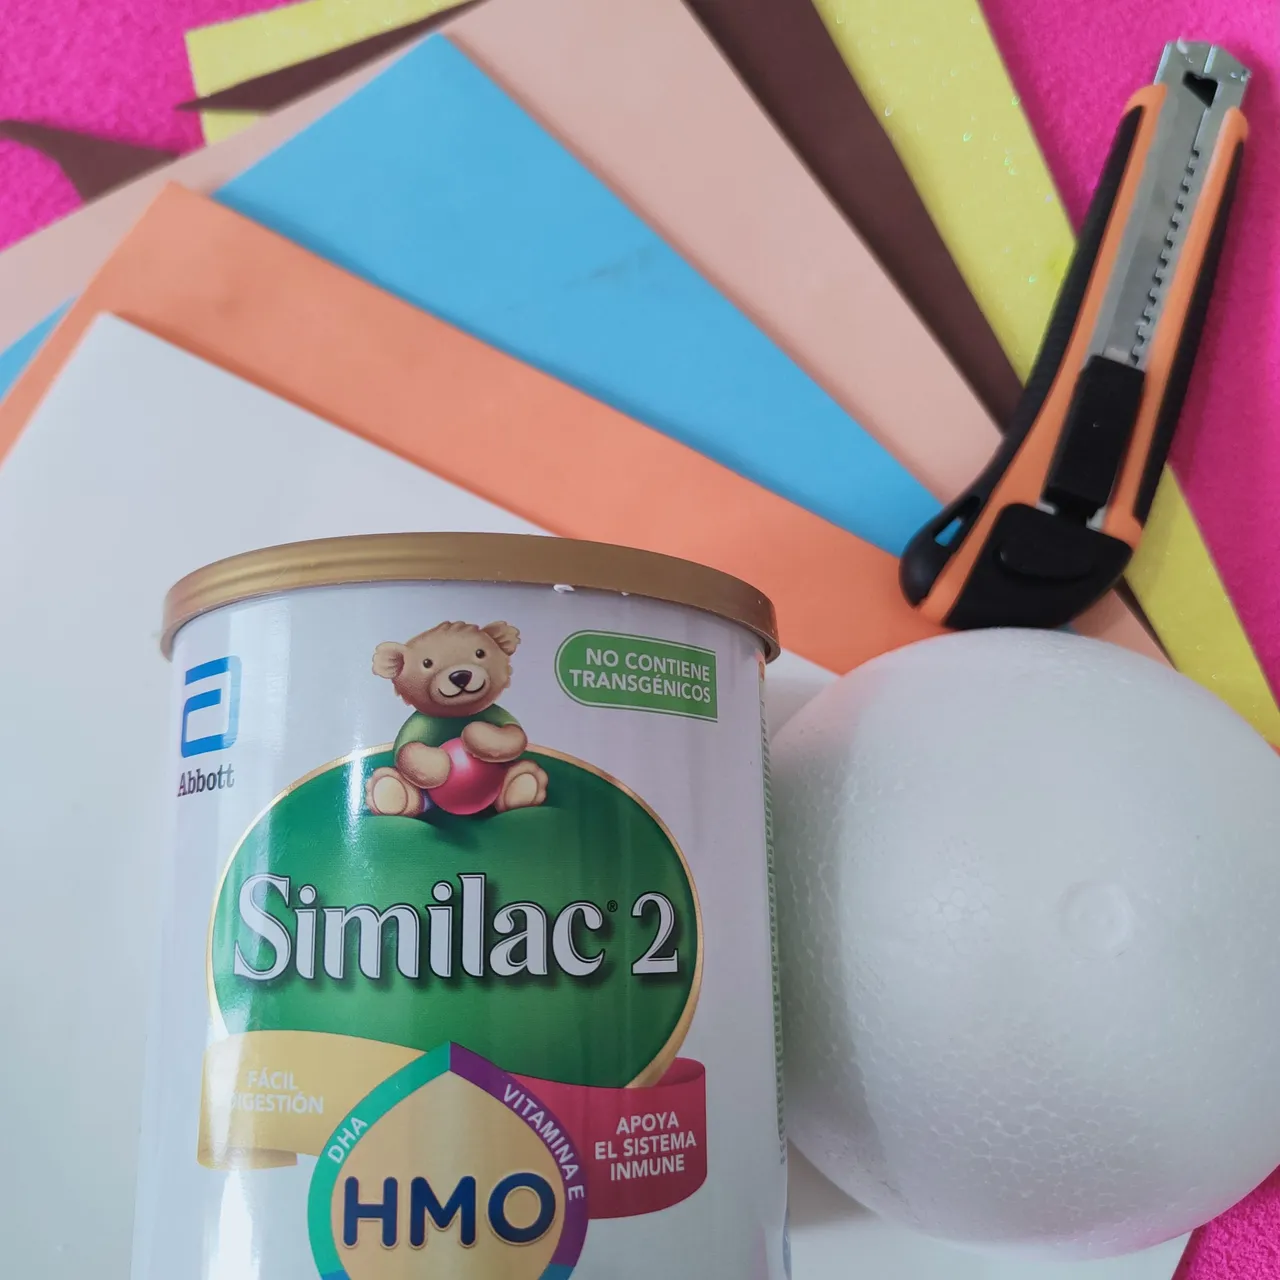
Materiales || Materials
🧁 Foamy de los colores de tu preferencia.
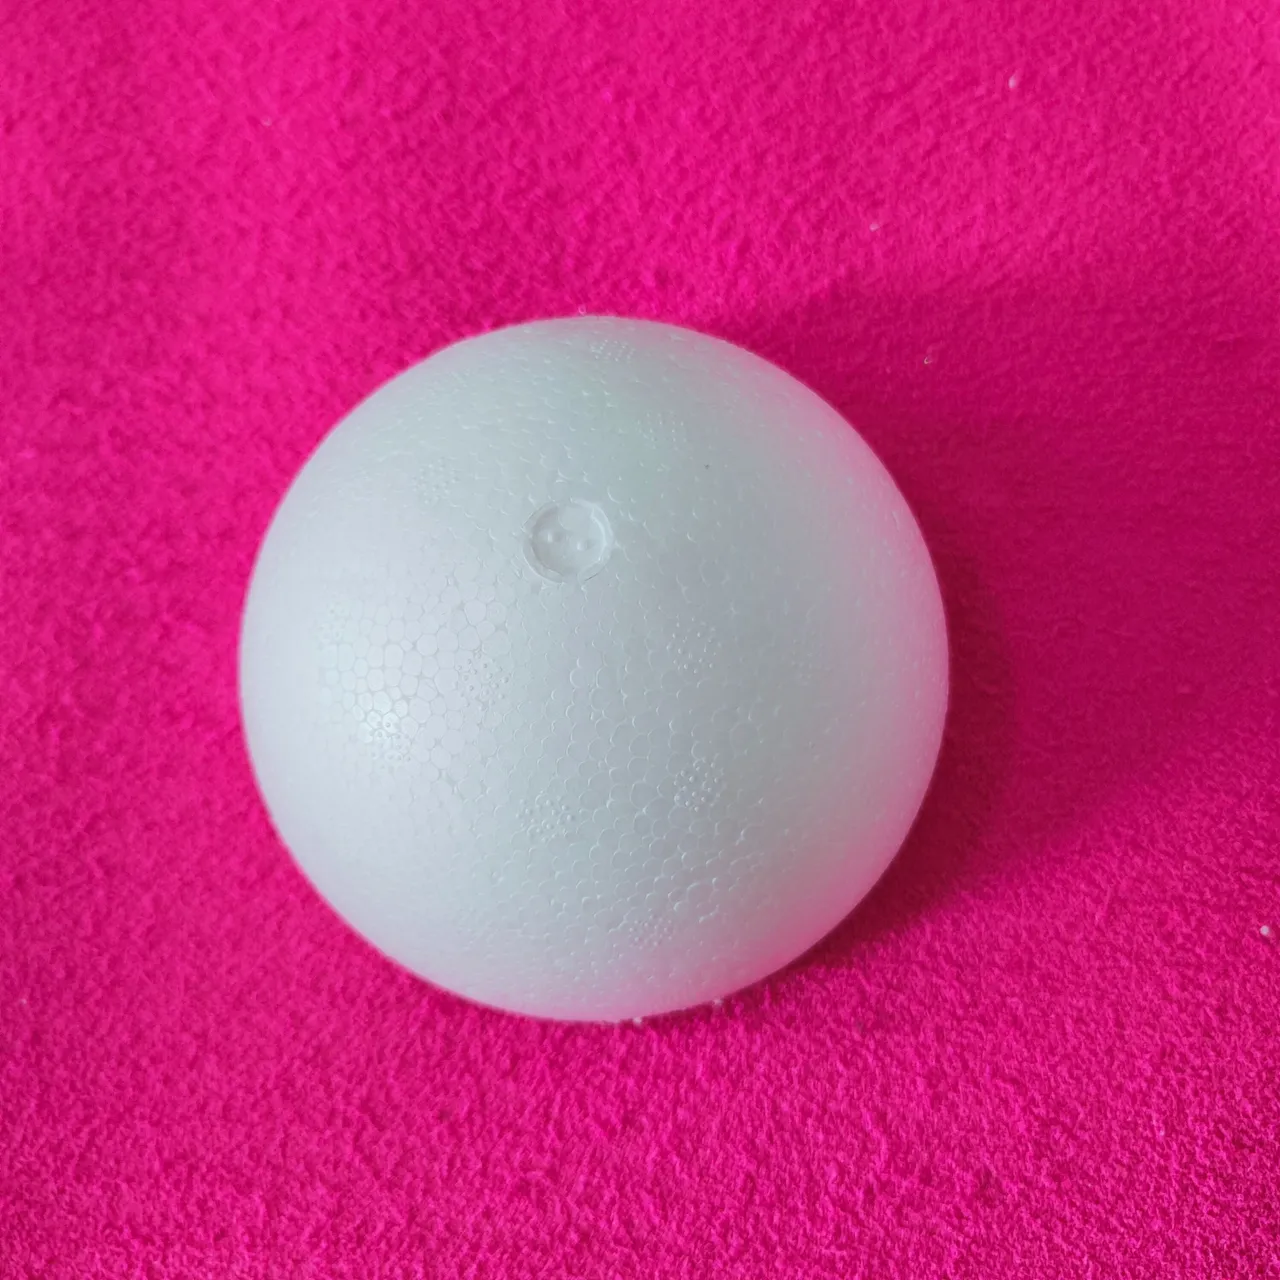
🧁 Media esfera de anime o espuma Flex.
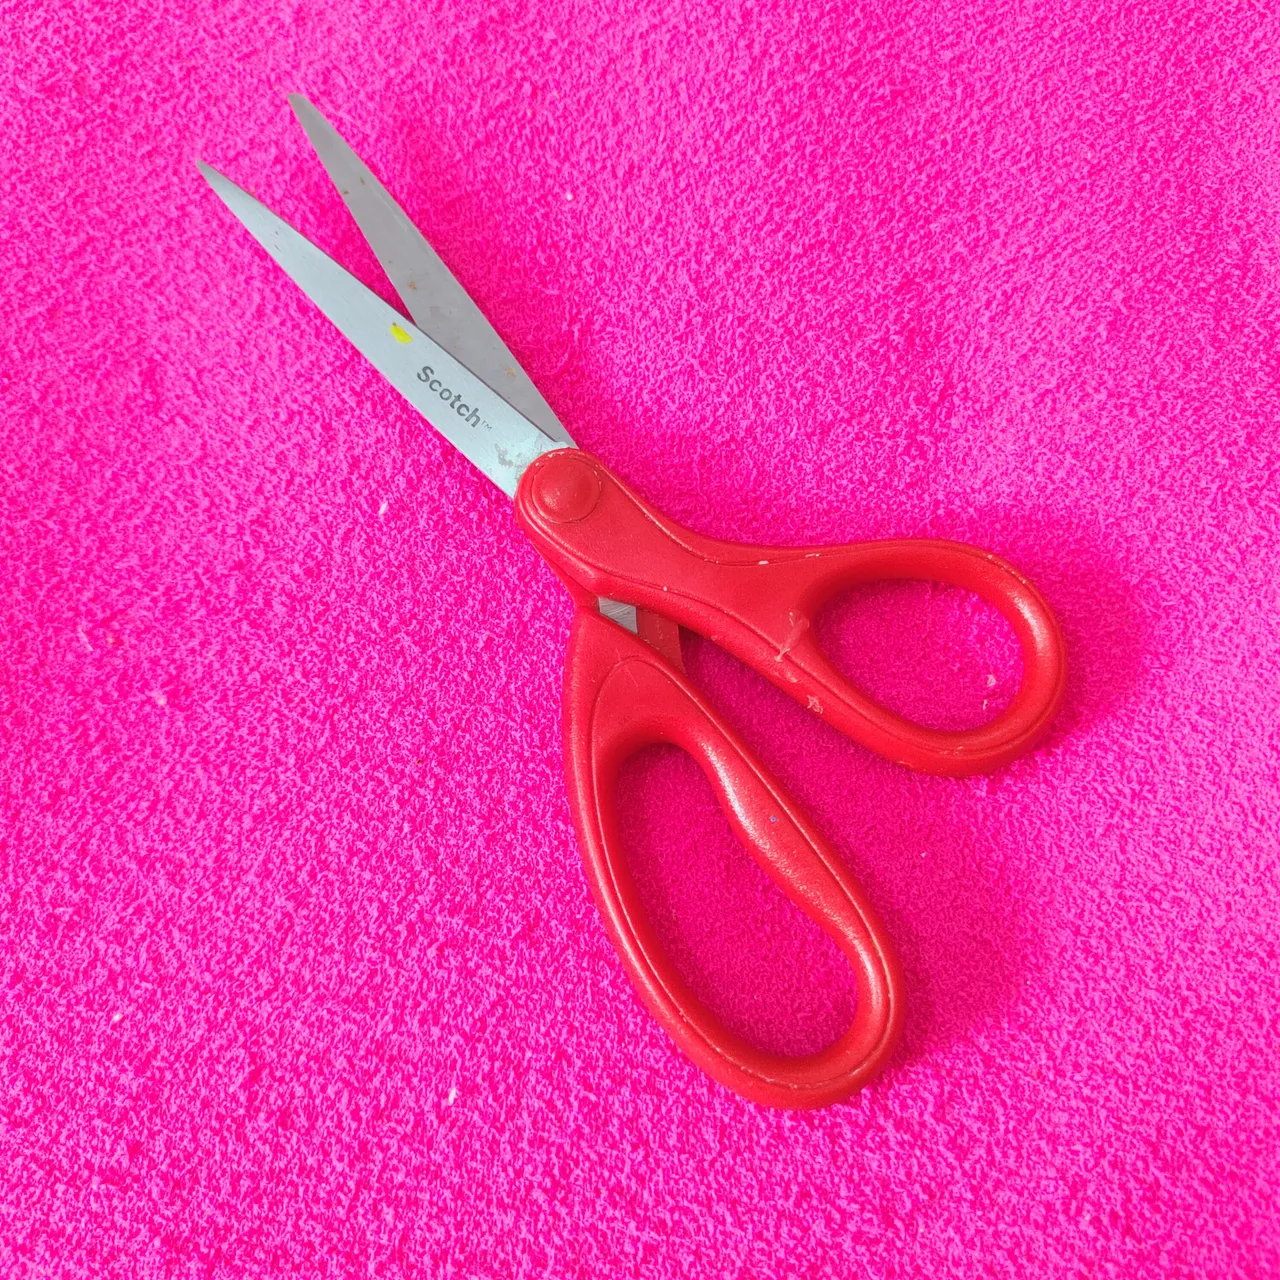
🧁 Tijera o estilete.
🧁 Una lata pequeña de leche.
🧁 Plancha.
🧁 Silicon en barra.
🧁 Foamy in the colors of your choice.
🧁 Anime half sphere or Flex foam.
🧁 Scissors or stiletto.
🧁 A small can of milk.
🧁 Iron.
🧁 Silicon stick.
Pasos || Steps
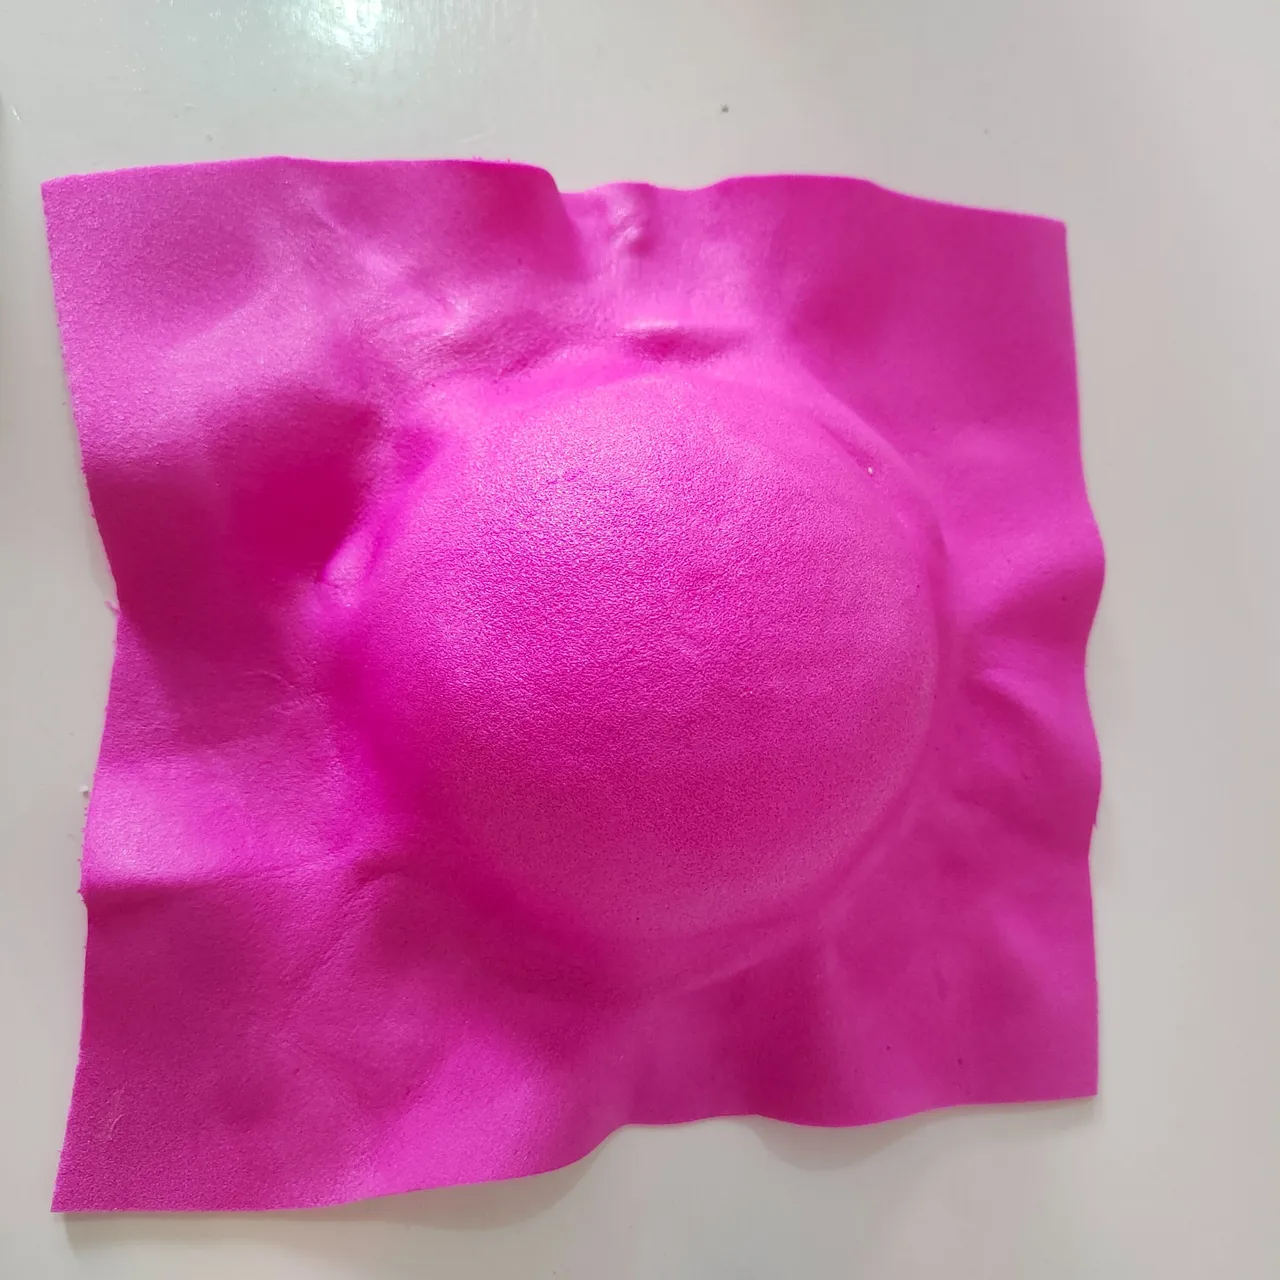
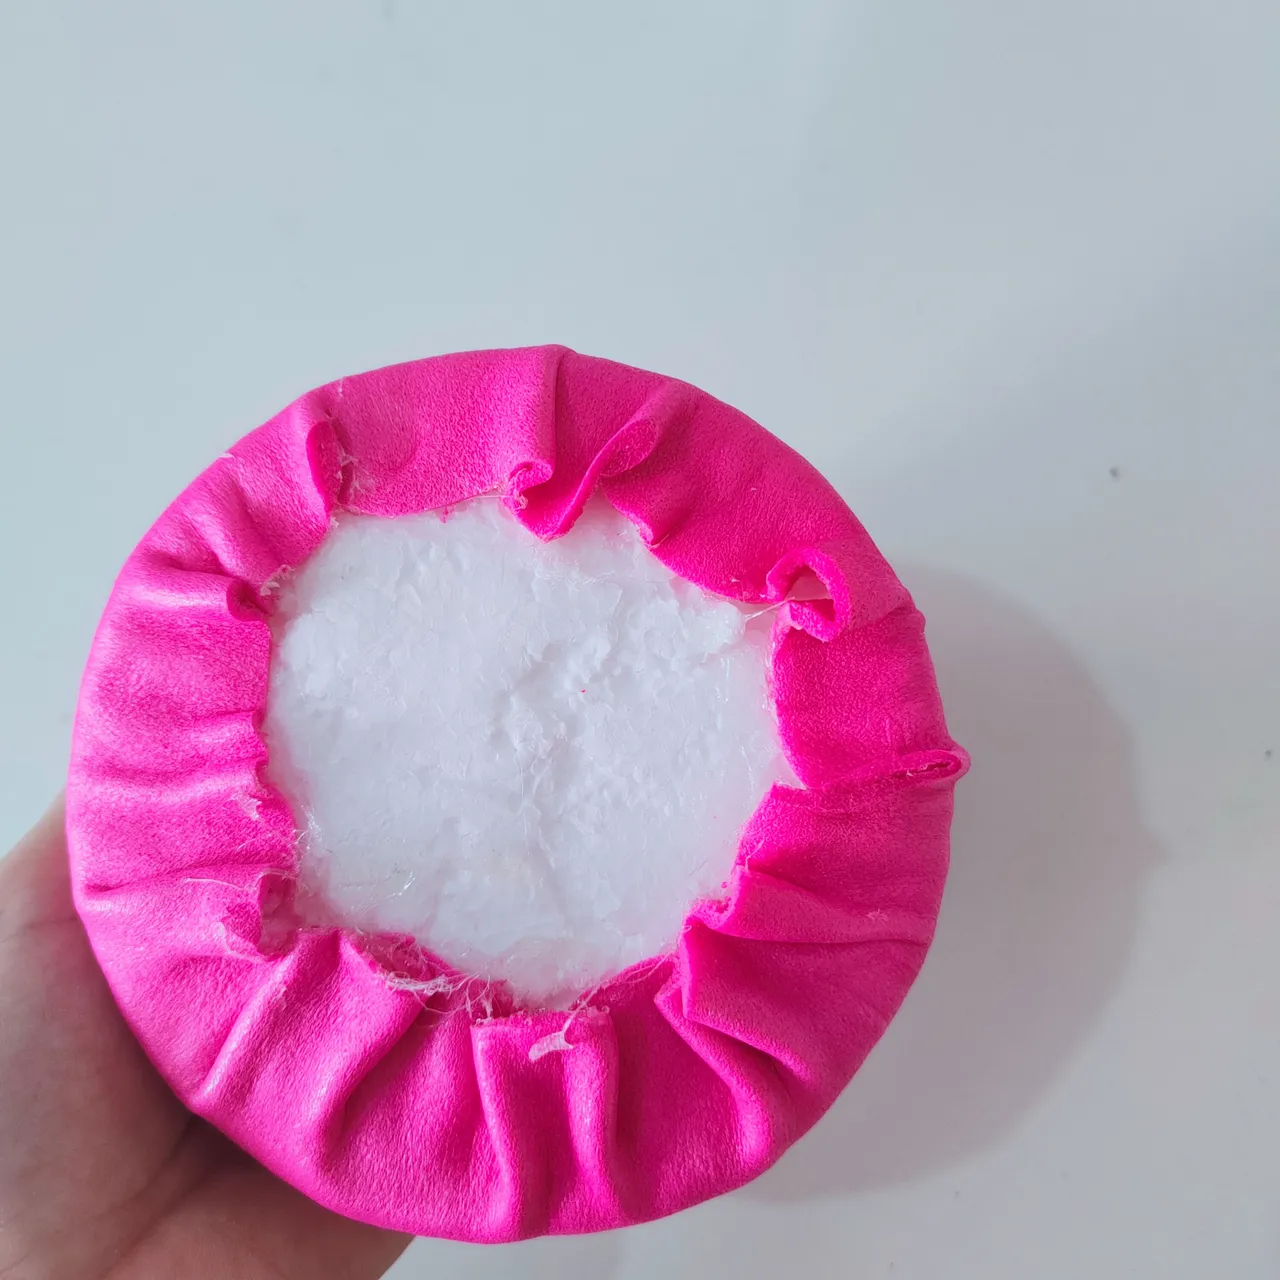
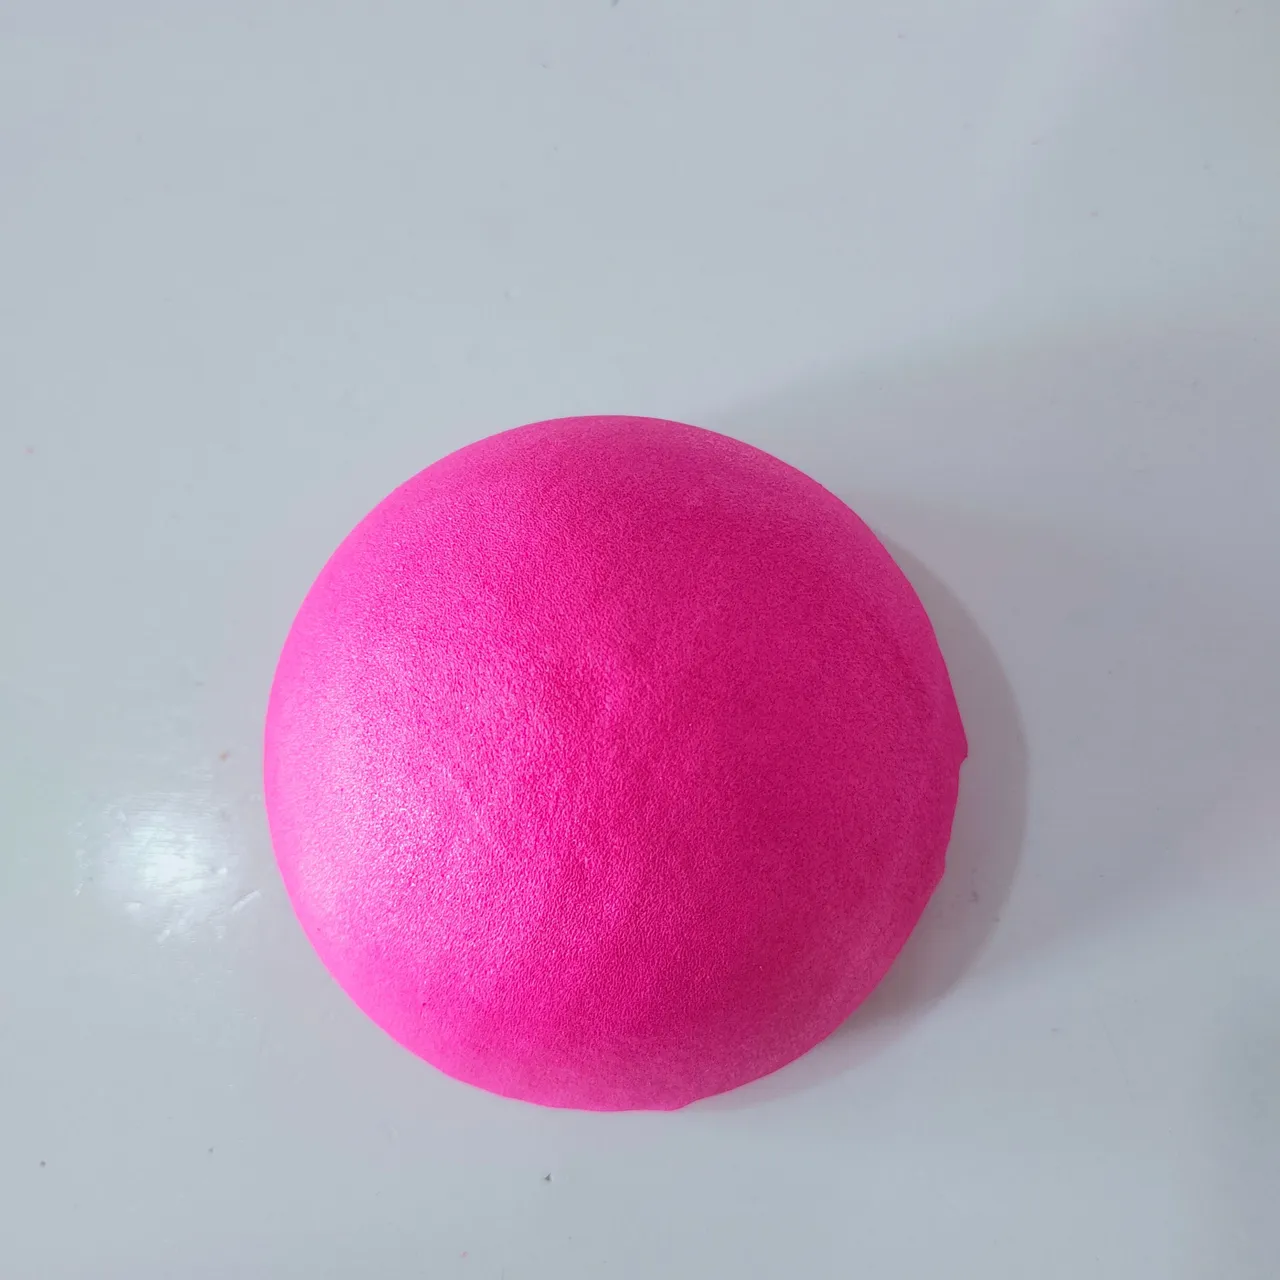
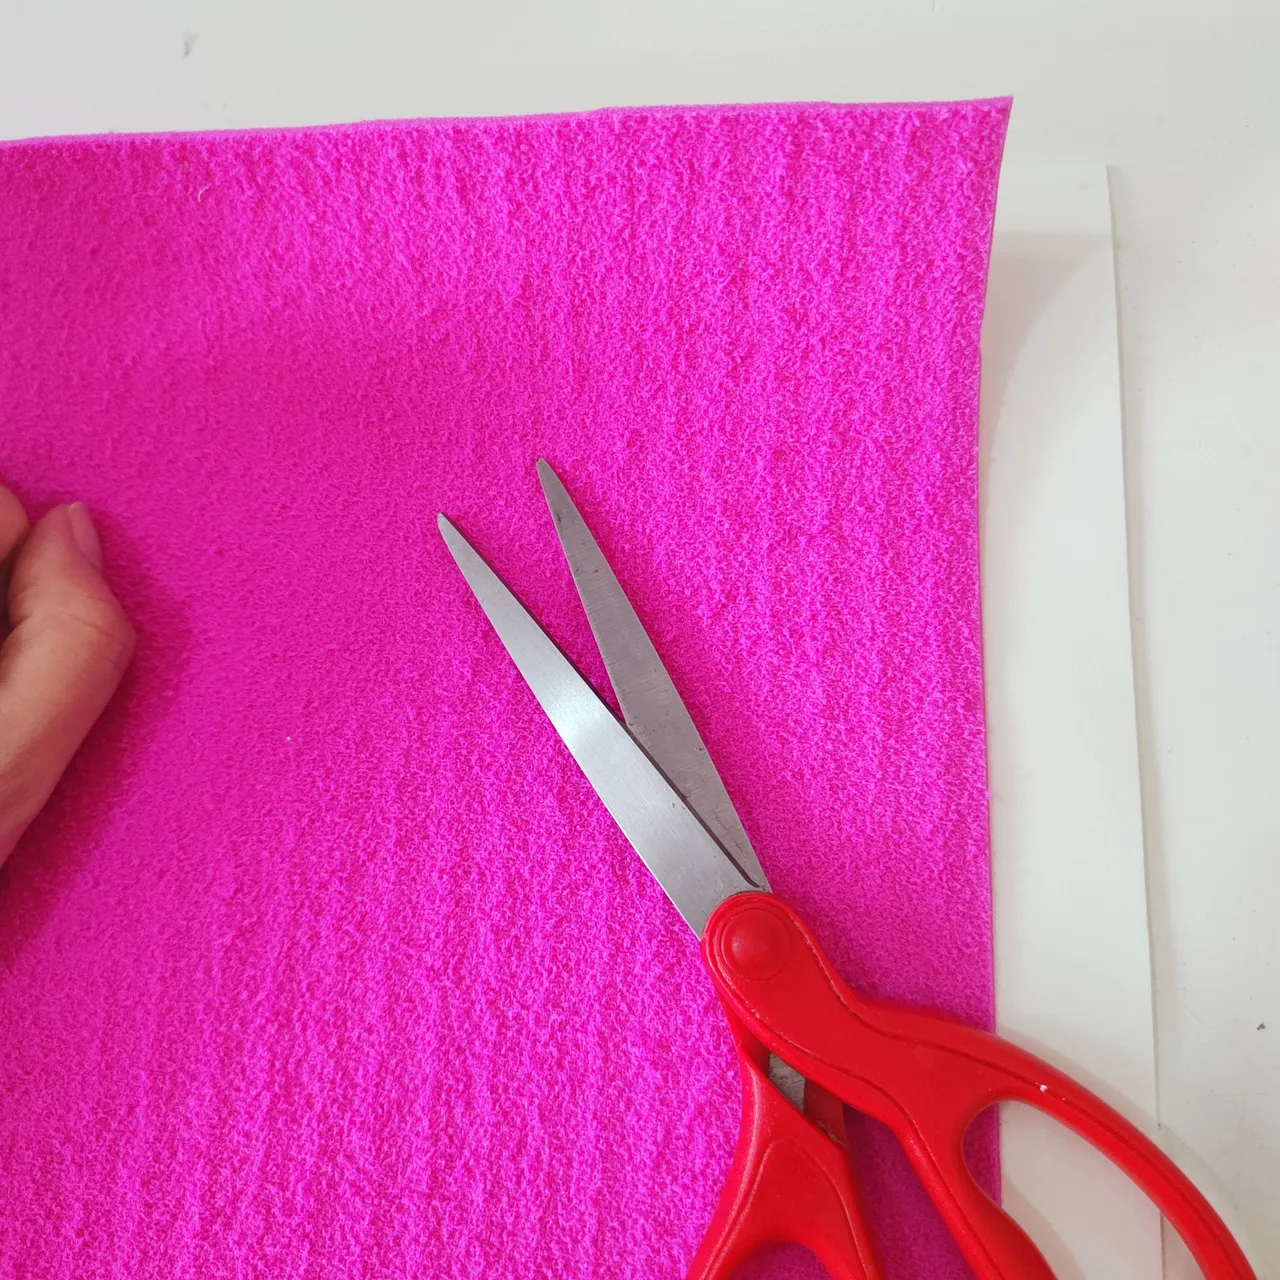
🧁1.| Iniciaremos tomando el Foamy que será la base del cupcake, en mi caso elegí el color fucsia y vamos a calcular cuál será la cantidad que vamos a requerir para cubrir nuestra pieza de anime o espuma Flex, una vez que ya sabemos, procedemos a cortar la cantidad que vamos a utilizar de foamy y procedemos a colocarle la plancha previamente calentada encima al foamy, esto hará que el foamy sea moldeable una vez que el foamy esta caliente colocamos sobre la pieza de anime o espuma Flex y moldeamos y vamos a ir fijandolo con el Silicon.
🧁1.| We will start by taking the Foamy that will be the base of the cupcake, in my case I chose the color fuchsia and we will calculate what will be the amount that we will require to cover our piece of anime or Flex foam, once we already know, we proceed to cut the amount that we will use foamy and proceed to place the previously heated plate on top of the foamy, this will make the foamy is moldable once the foamy is hot we place on the piece of anime or Flex foam and mold and we will go fixing it with the Silicon.

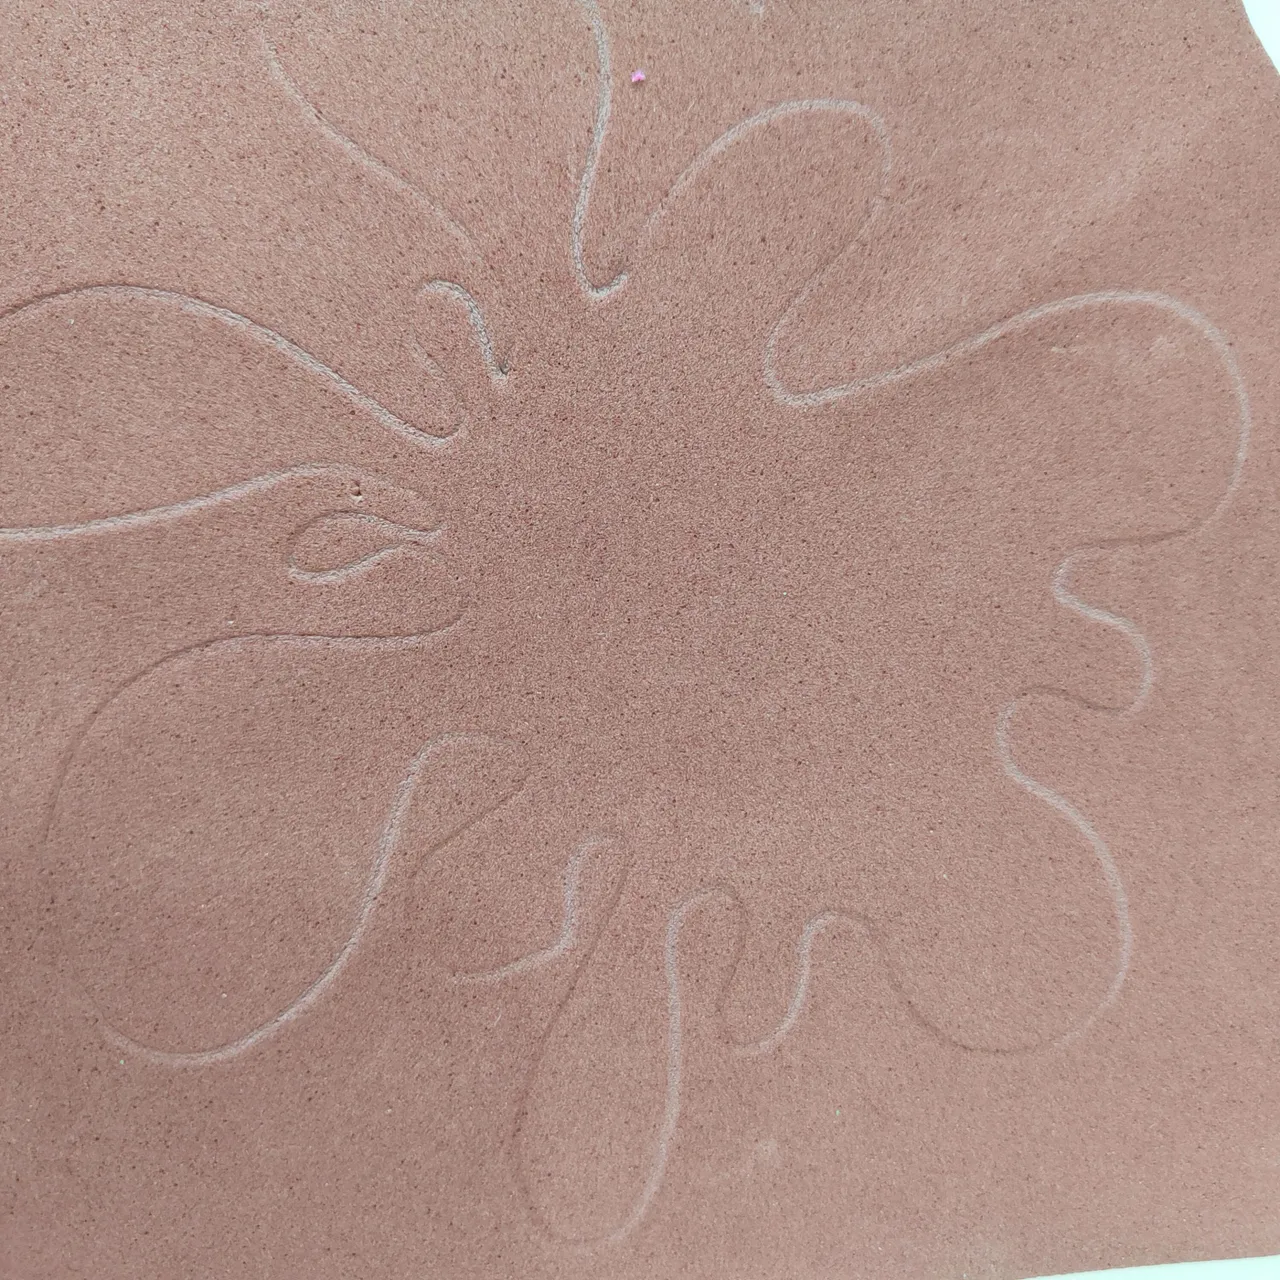
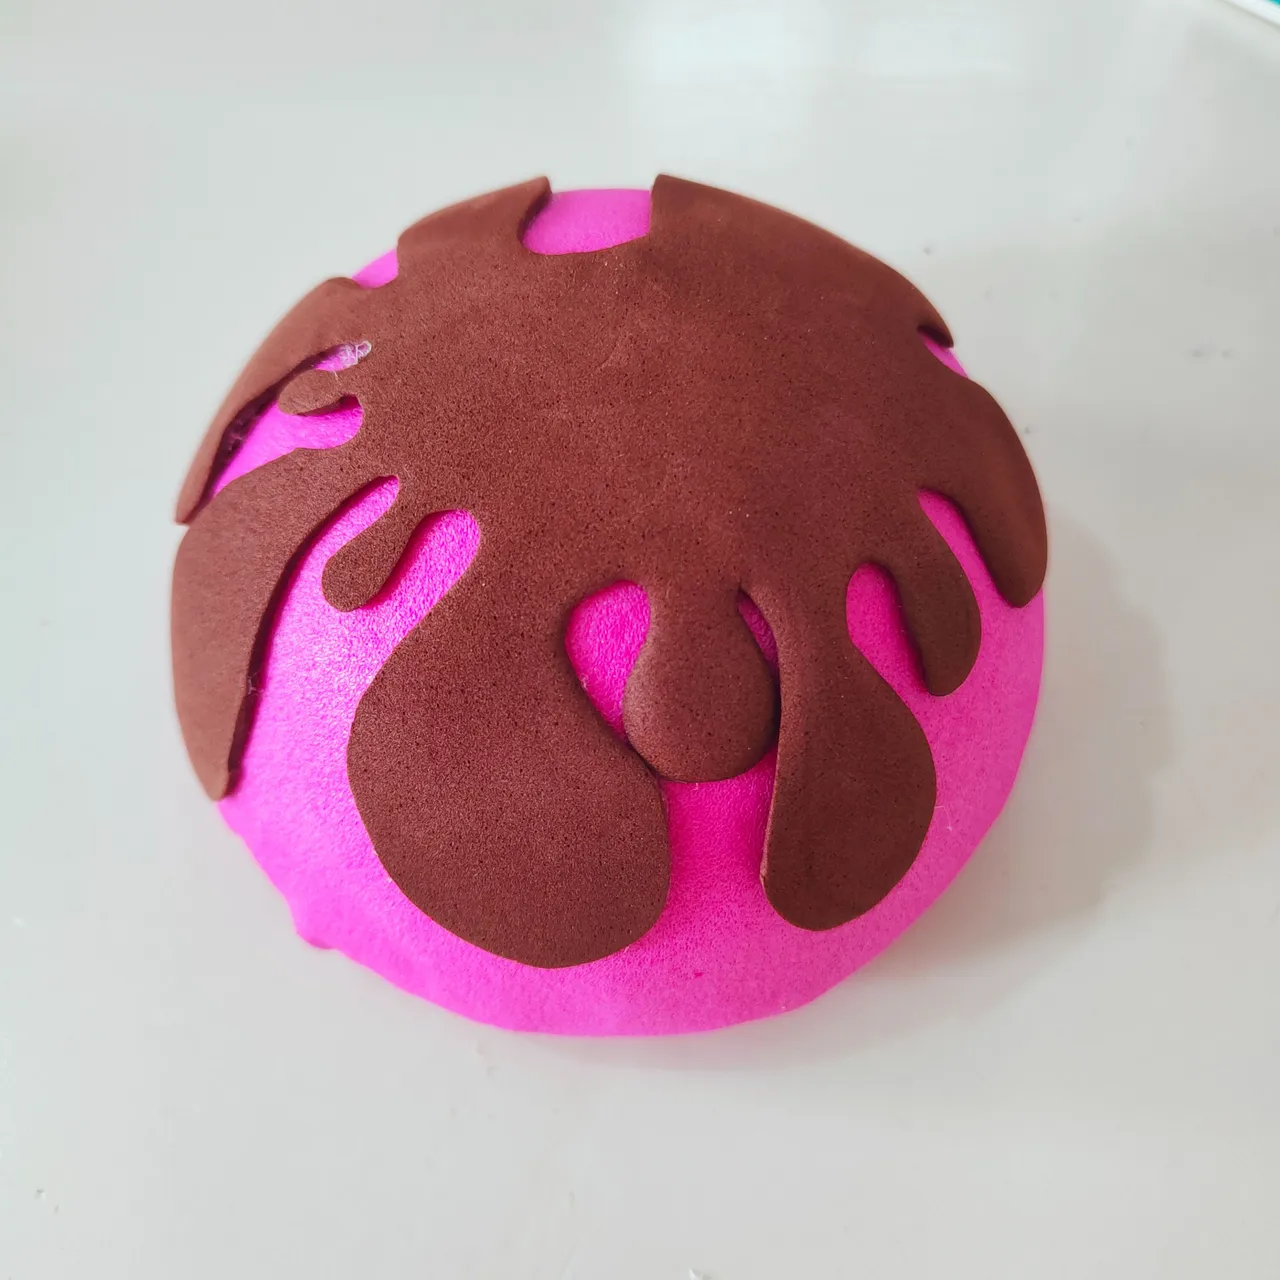
🧁.2| tomaremos el foamy marrón y en él dibujaremos el glaseado de chocolate que irá sobre el cupcake, recortamos, planchamos y fijamos sobre nuestra pieza pencipal.
🧁.2| we will take the brown foamy and on it we will draw the chocolate icing that will go on the cupcake, cut it out, iron it and fix it on our main piece.


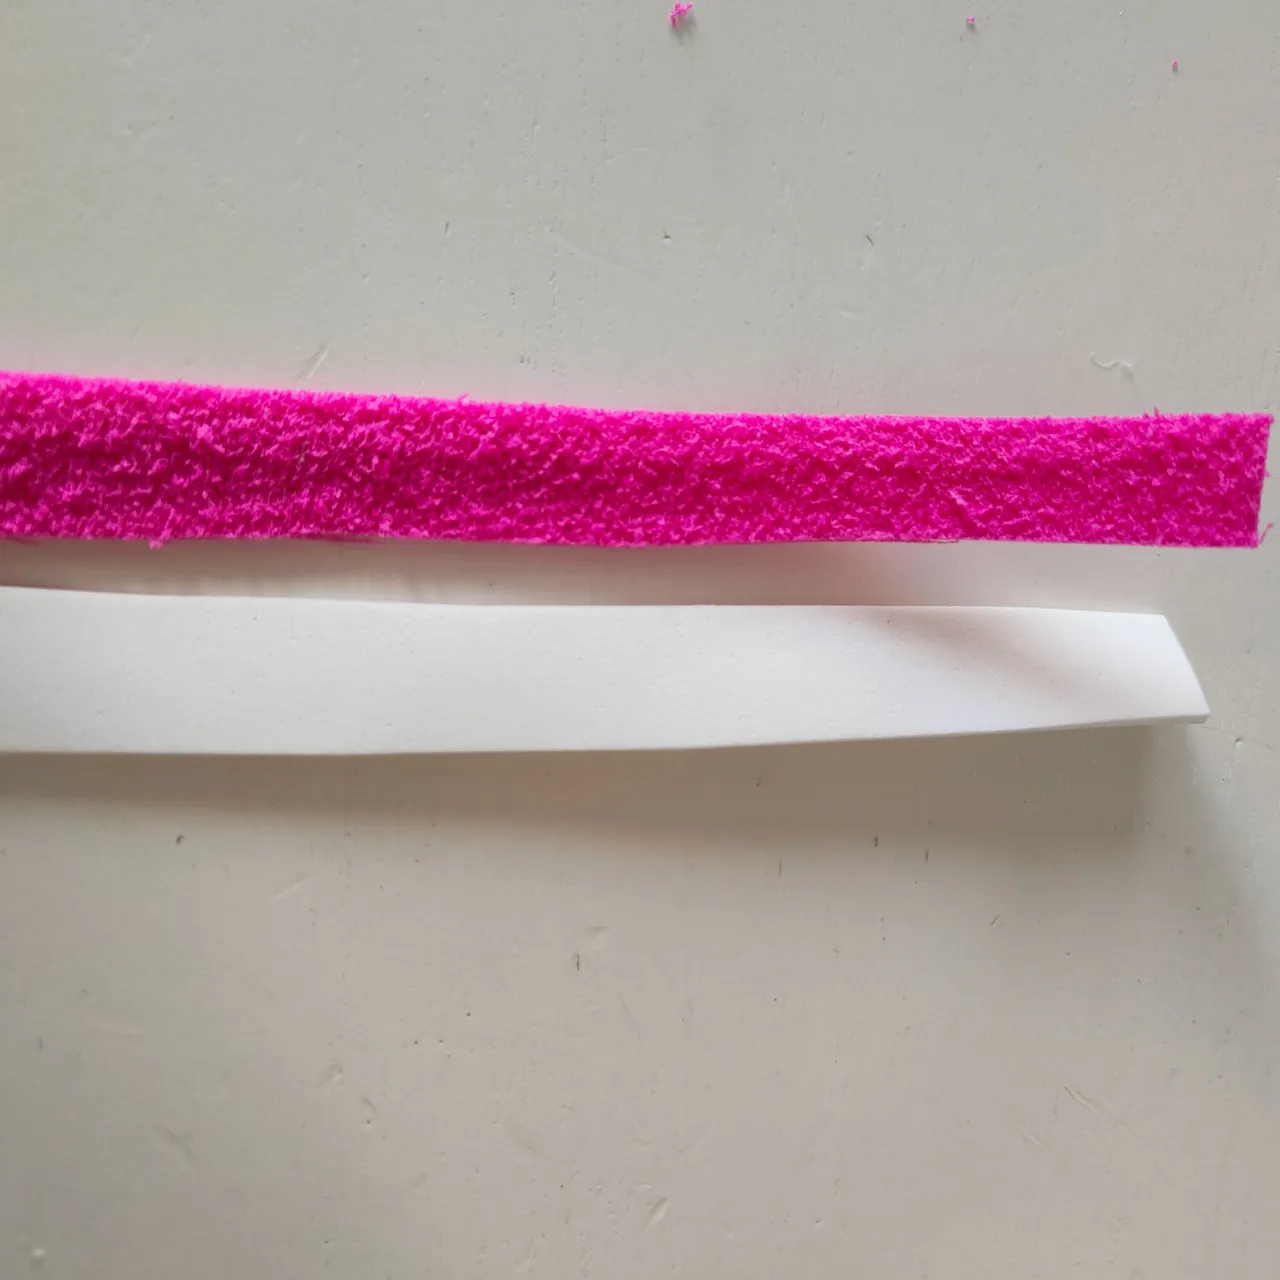
🧁3.| Seguidamente tomaremos el F
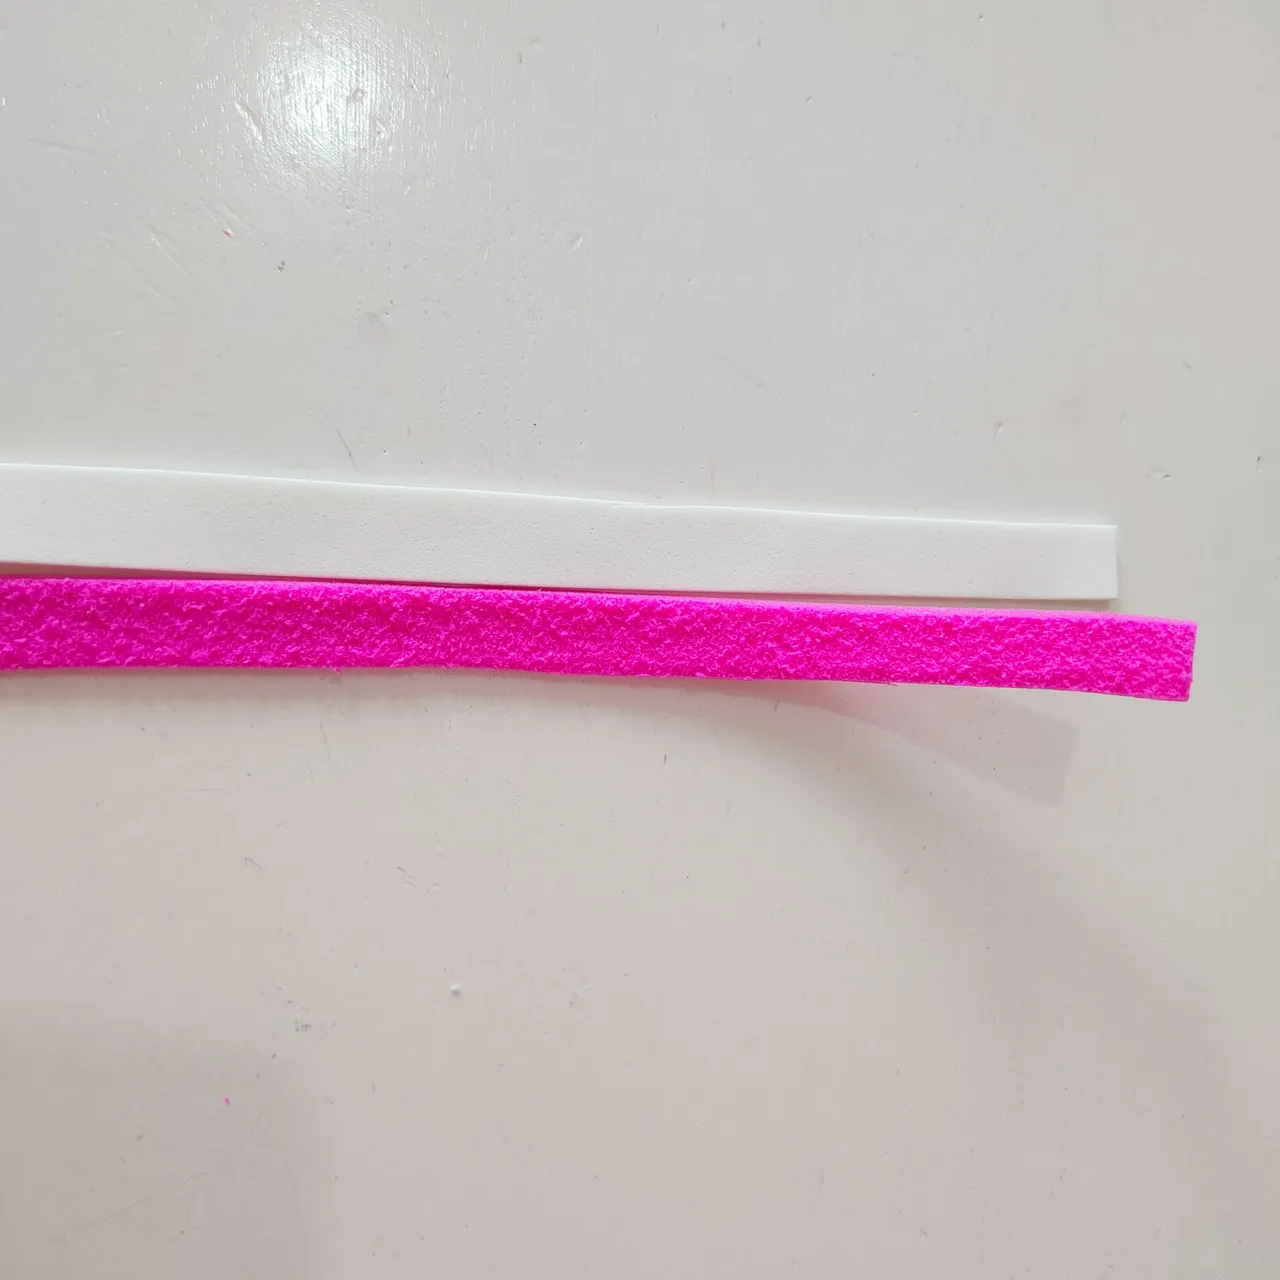
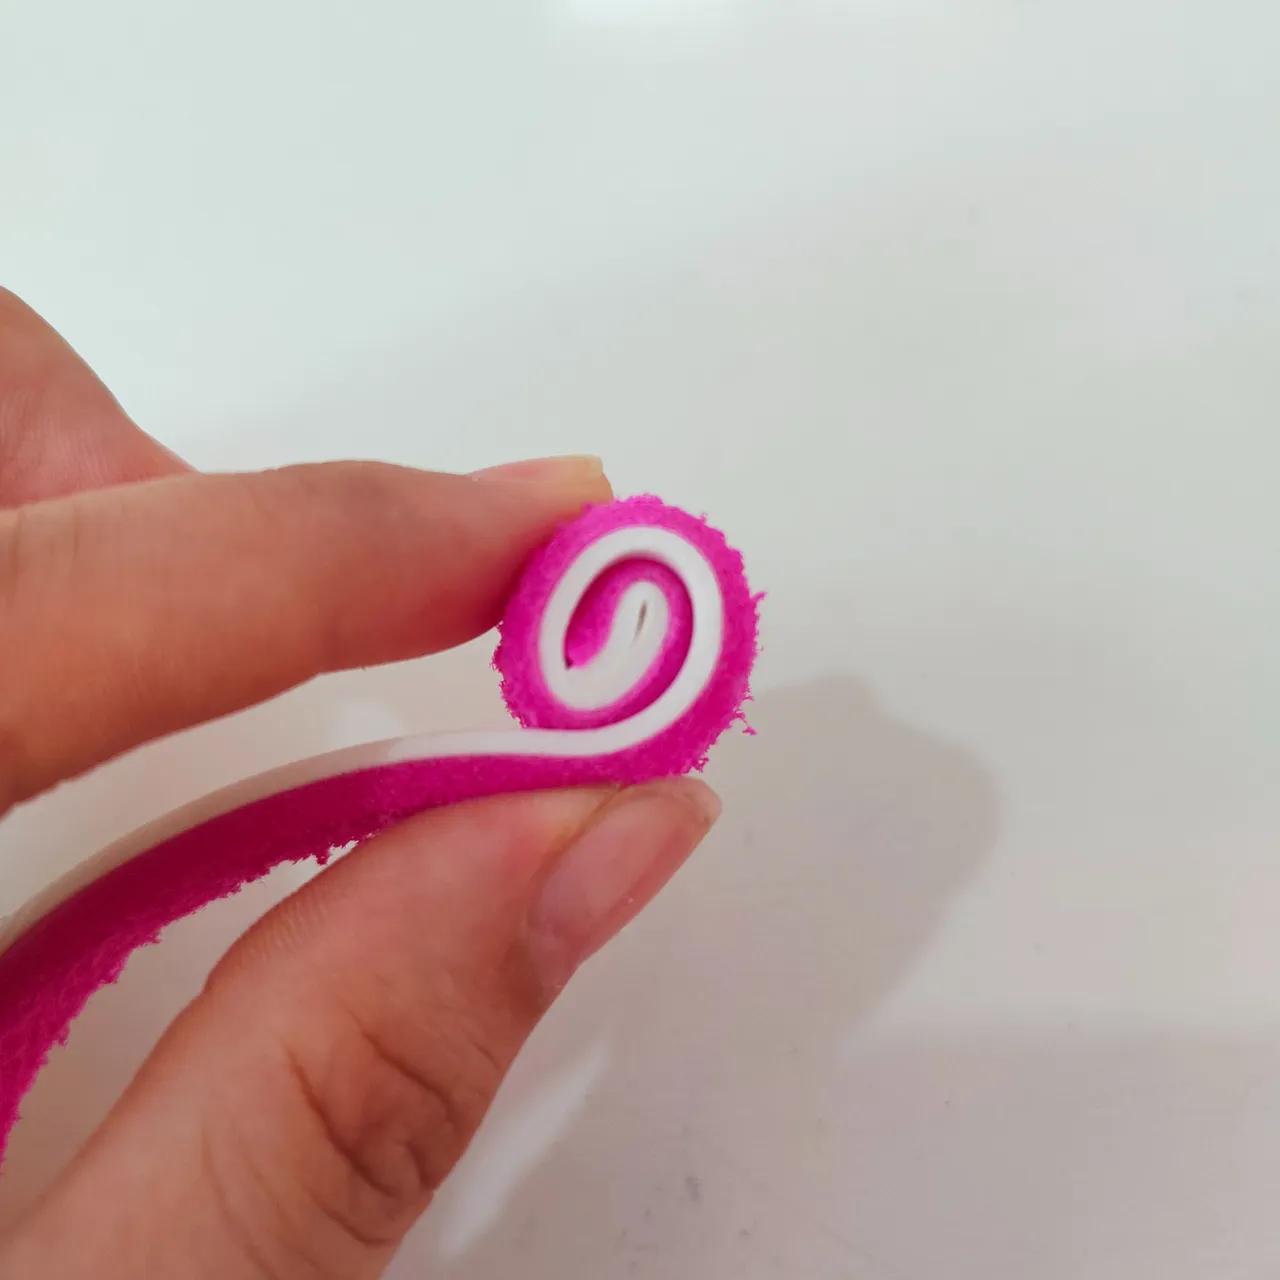
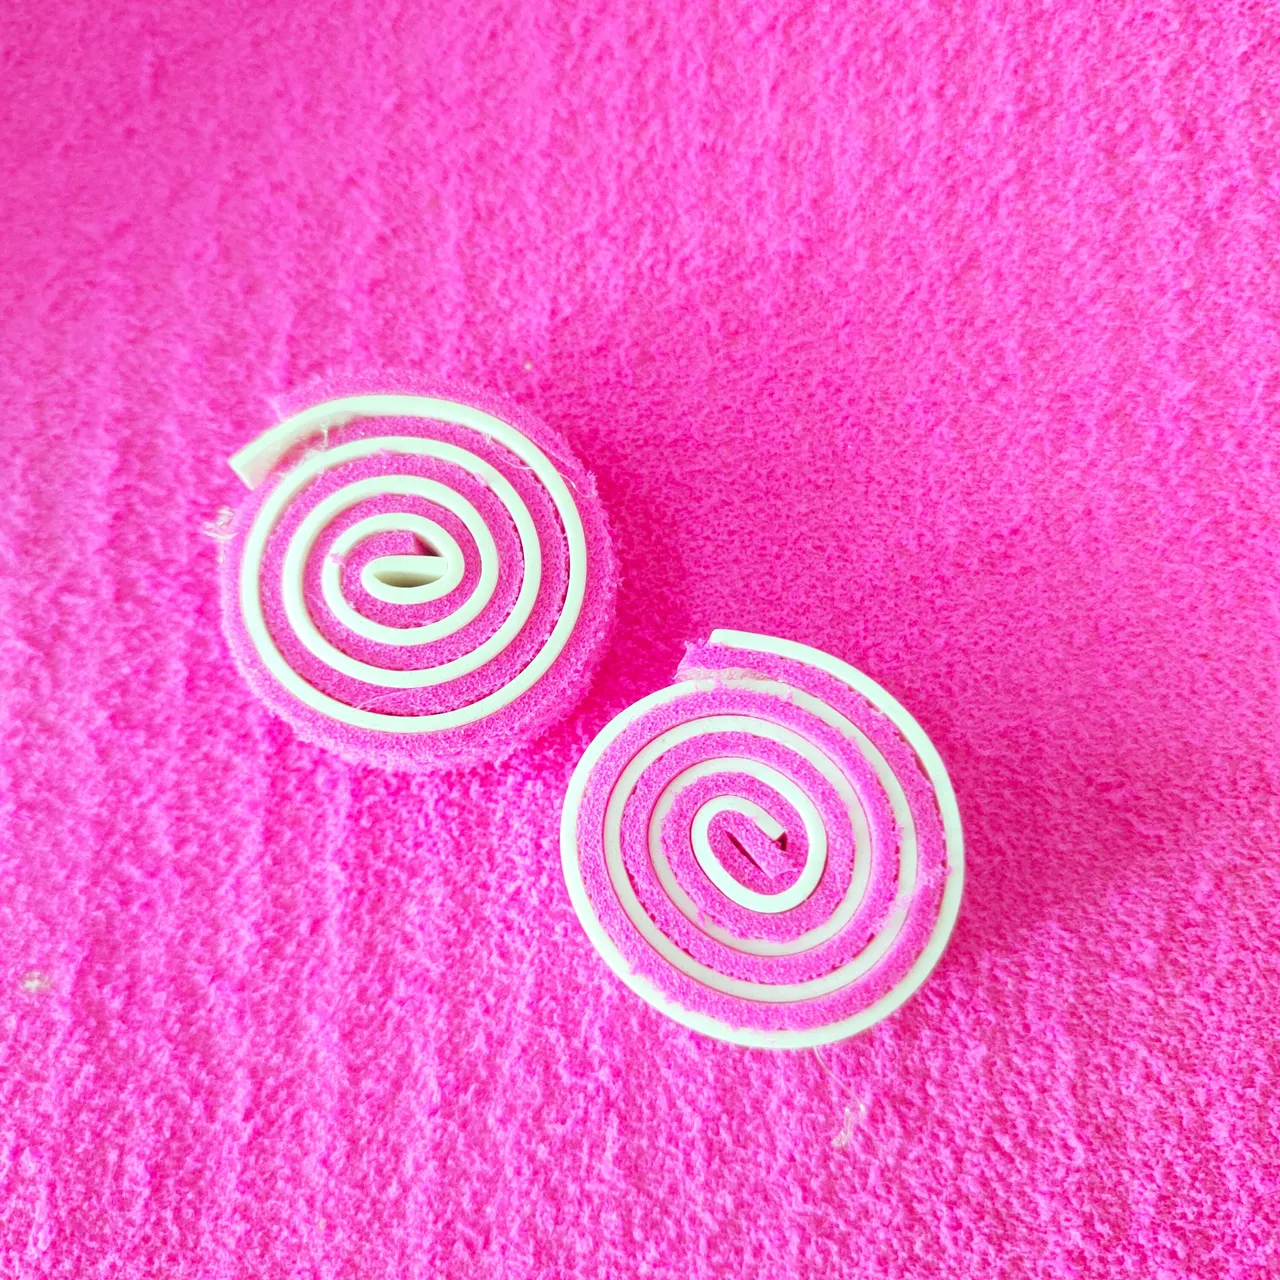
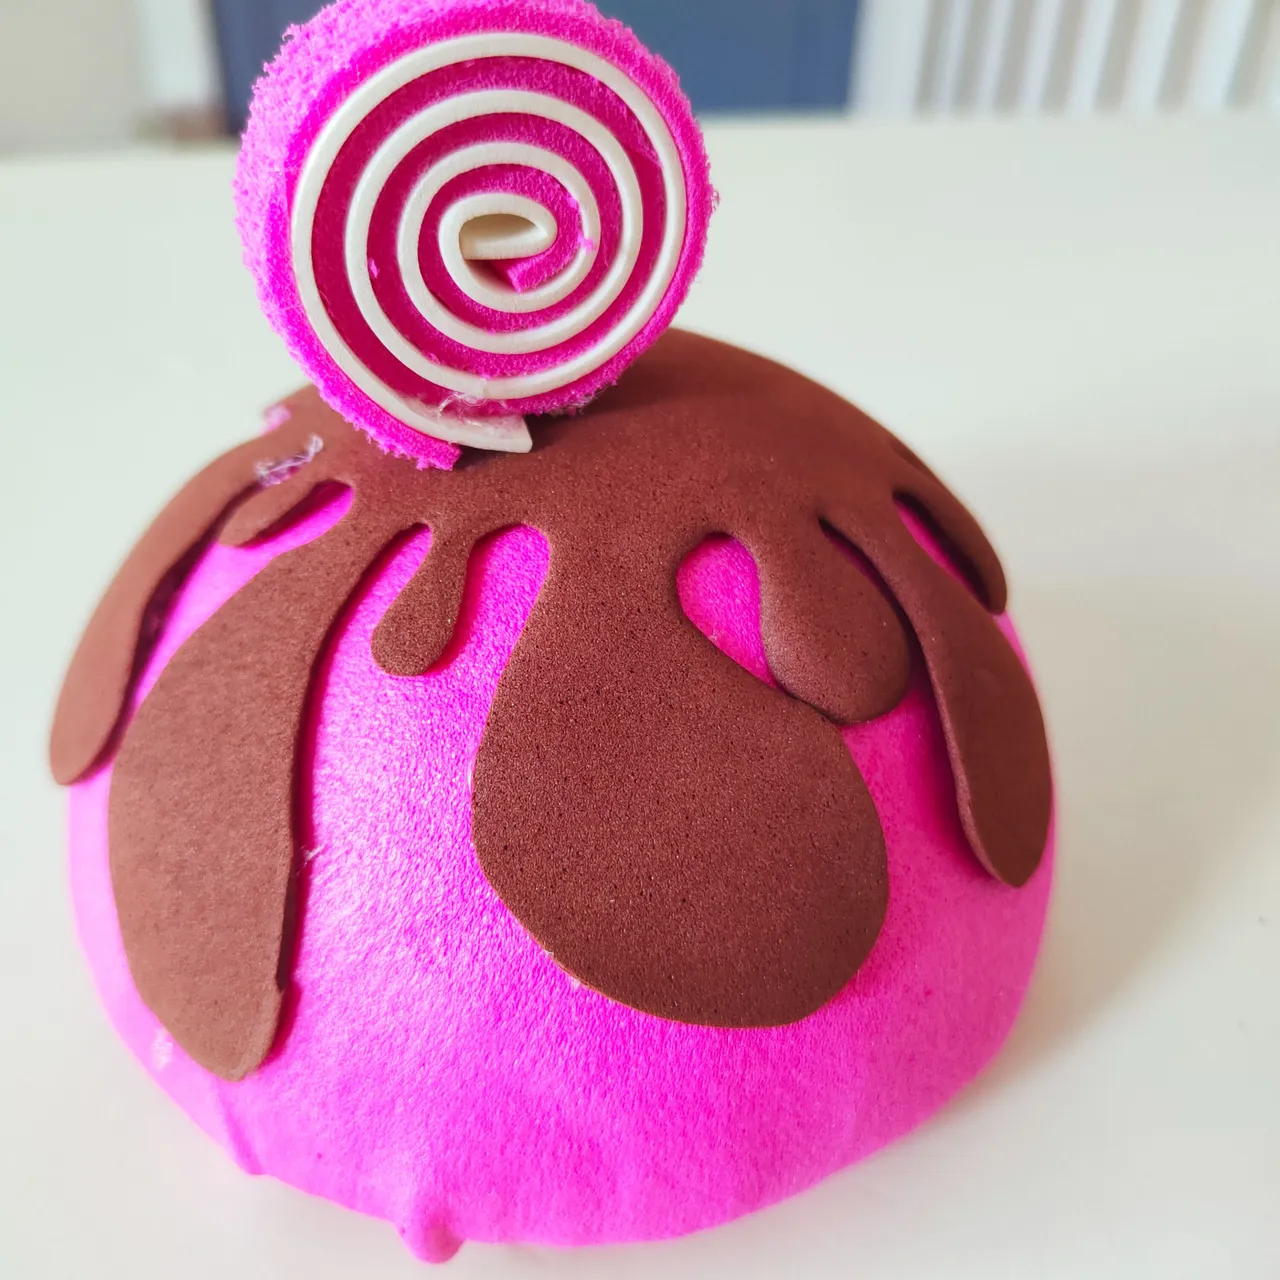
foamy blanco y fucsia y vamos a cortar 2 tiras de cada color, de 1 centímetro de ancho y 30 centímetros de largo, una vez que ya las tenemos cortadas, juntamos 1 de cada color y comenzamos a enrrollar, así haremos las galletas que van a decorar nuestro centro de mesa.
🧁3.| Next we will take the white and fuchsia F
white and fuchsia foamy and we will cut 2 strips of each color, 1 centimeter wide and 30 centimeters long, once we have them cut, we put together 1 of each color and begin to roll, so we will make the cookies that will decorate our centerpiece.
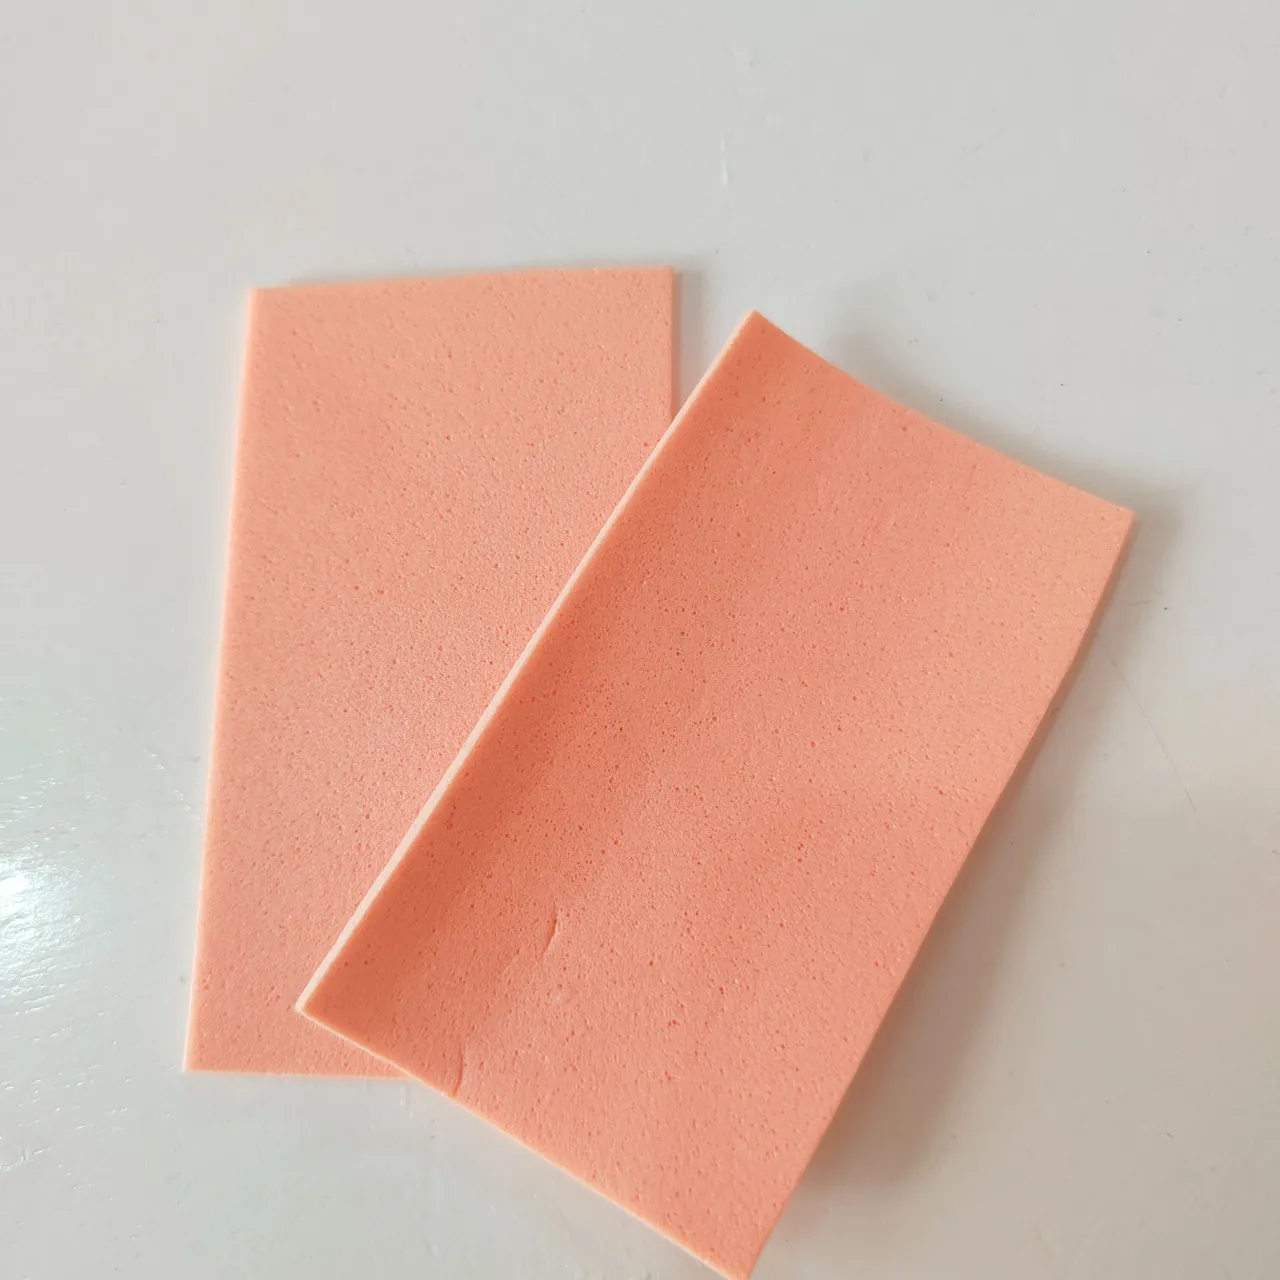
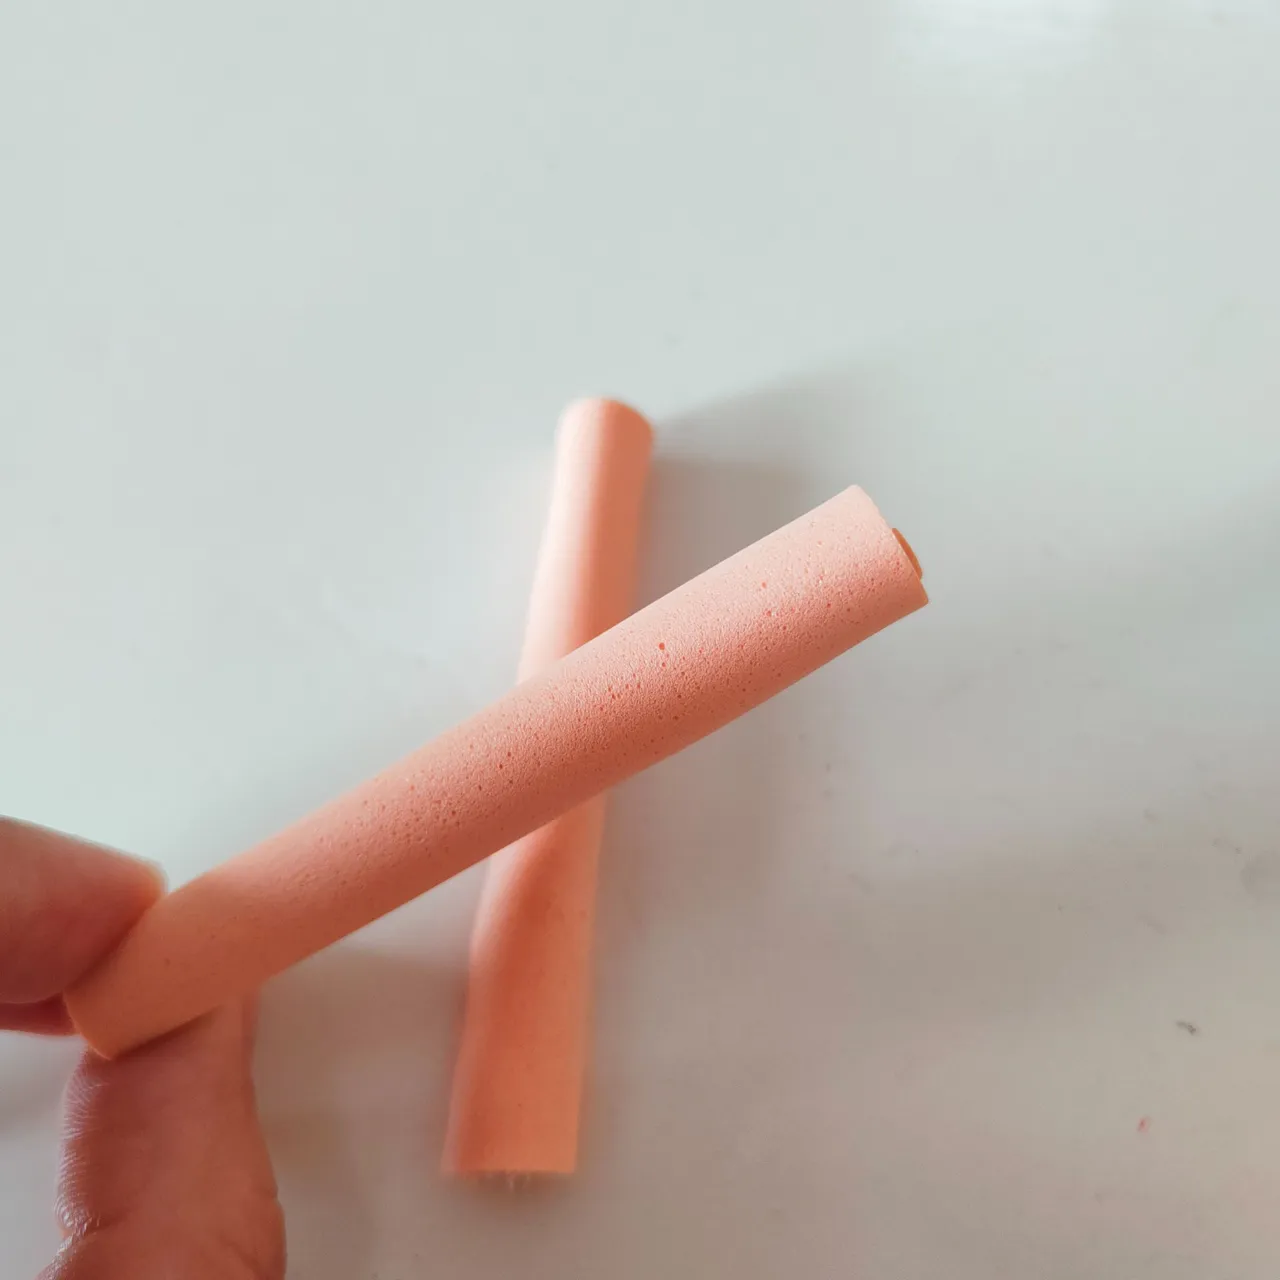
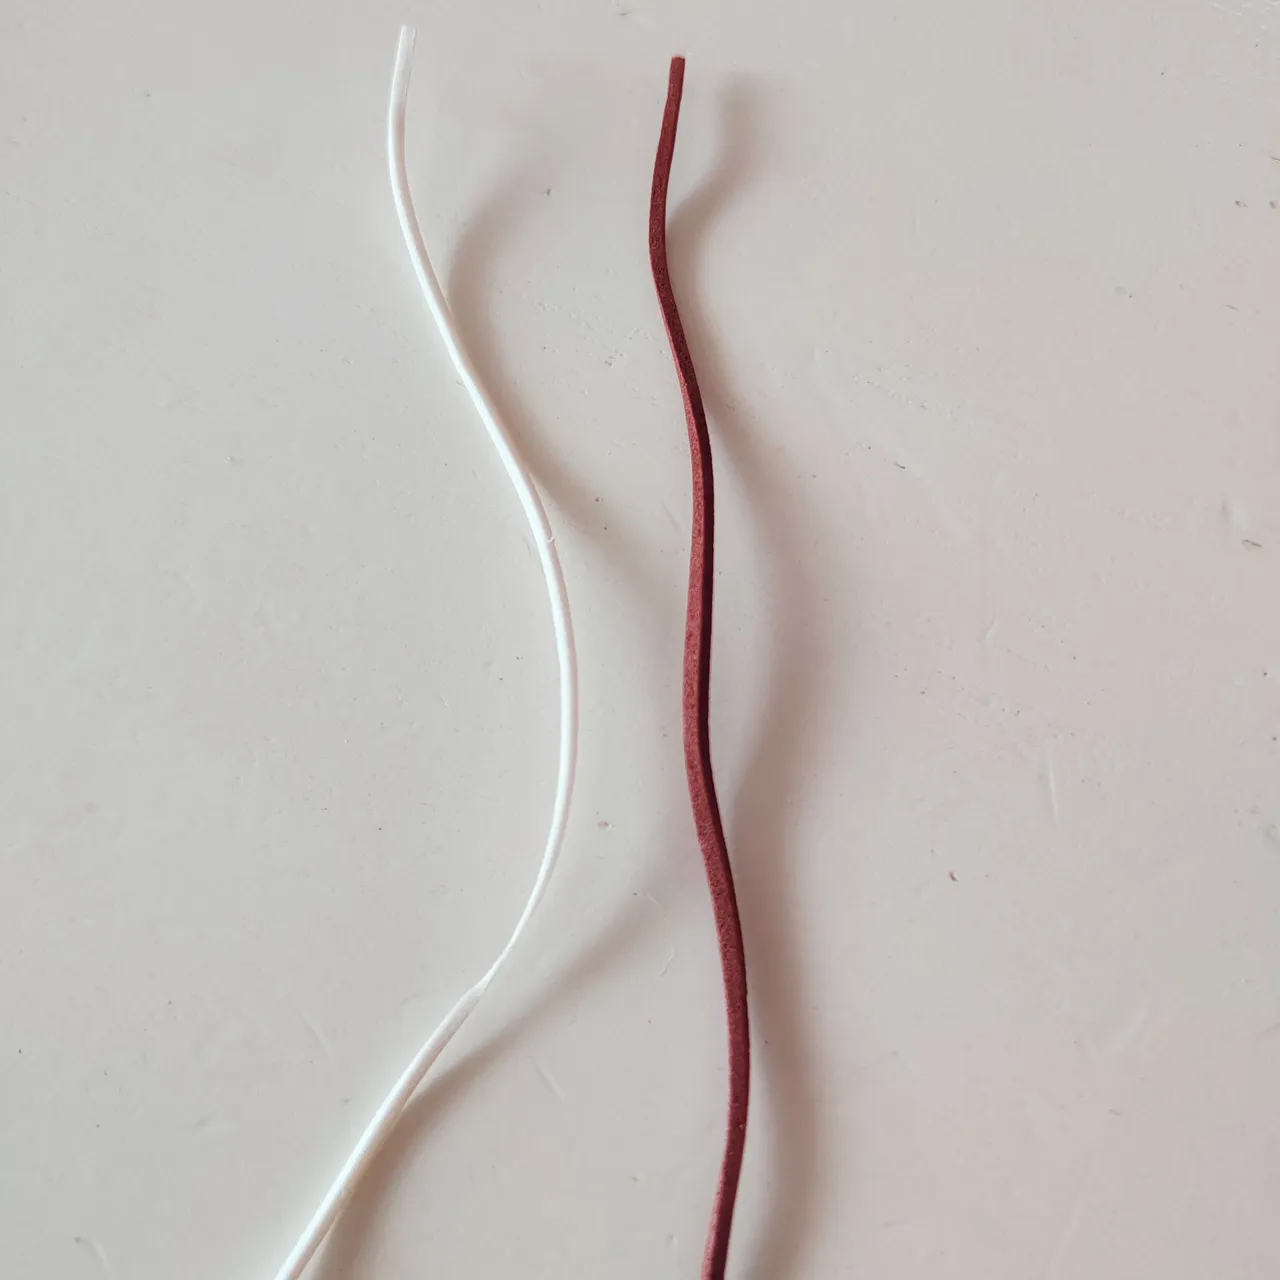
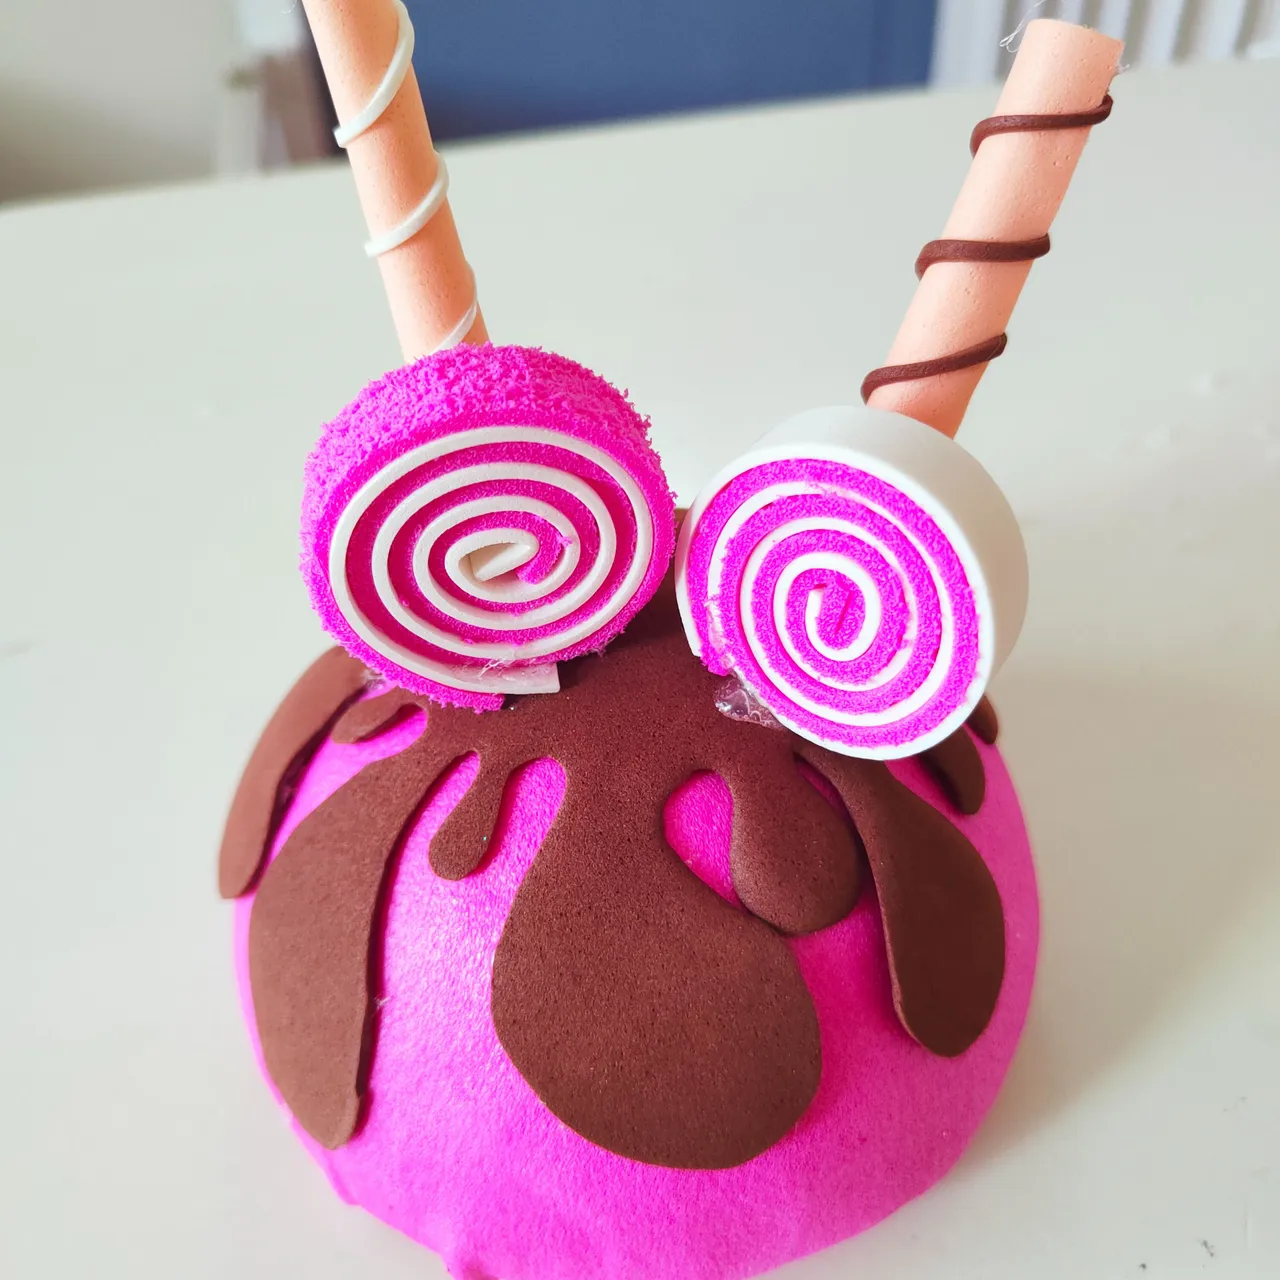
🧁4.| Ahora vamos a proceder a realizar los pirulines, vamos a recortar 2 rectángulos, enrollamos y fijamos con el silicon en barra y para darle un toque más realistas cortaremos 2 tiras de Foamy bastante delgadas en mi caso una fue blanca y la otra marrón,las vamos envolver alrededor de los piezas que hacen las veces de pirulin así tendrán un aspecto más real.
🧁4.| Now we will proceed to make the lollipops, we will cut out 2 rectangles, roll them up and fix them with the silicon stick and to give them a more realistic touch we will cut 2 strips of Foamy quite thin in my case one was white and the other brown, we will wrap them around the pieces that make the lollipop so they will have a more realistic look.

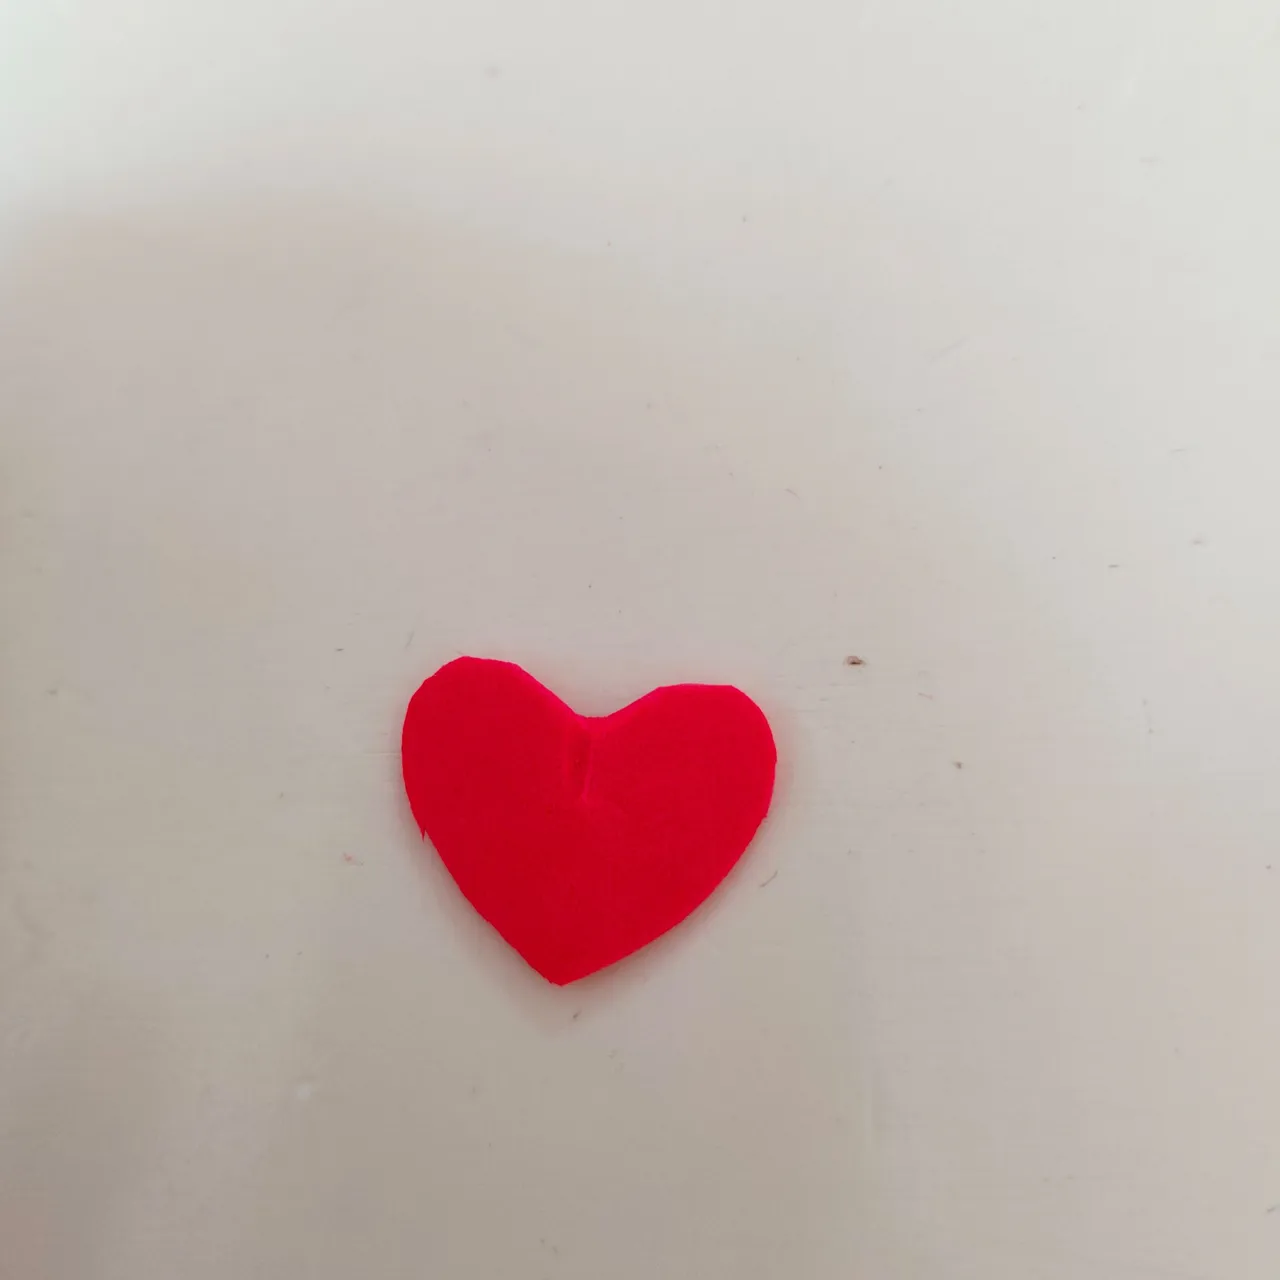
🧁5.| Seguidamente tomaremos un trozo de foamy rojo y con el haremos un corazón.
🧁5.| Next, take a piece of red foamy and make a heart out of it.
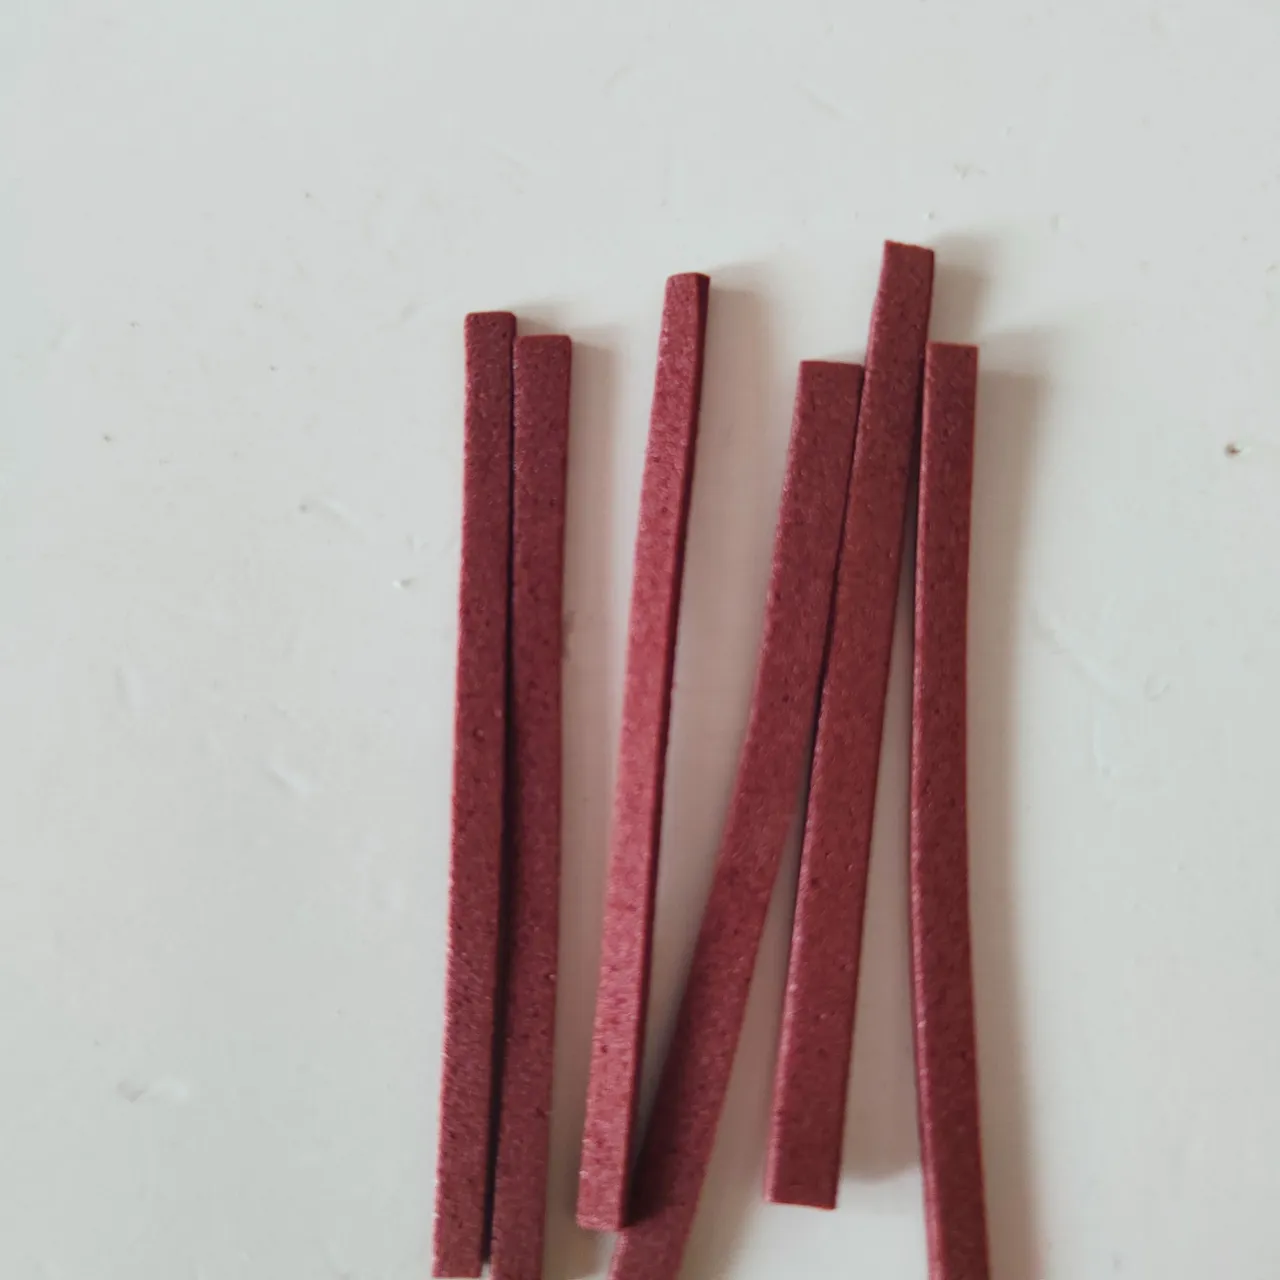
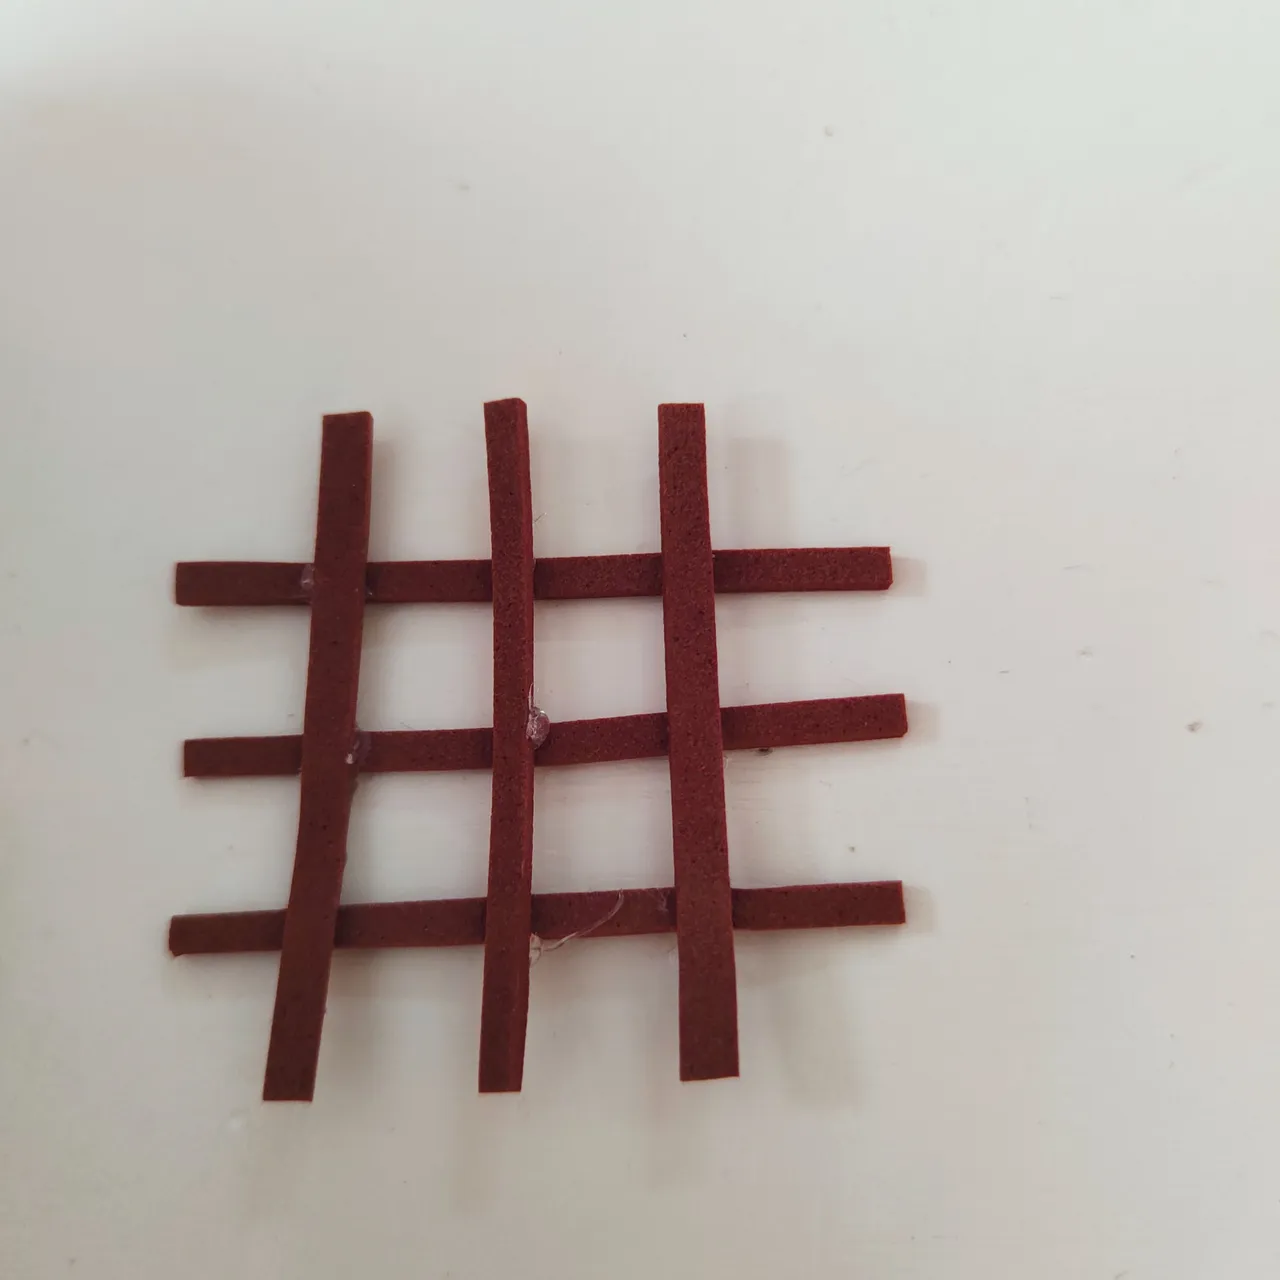
🧁6.| Seguidamente cortamos varias piezas de Foamy marrón con ellas vamos a formar una pieza parecida a un numeral #.
🧁6.| Next we cut several pieces of brown Foamy with them we are going to form a piece similar to a numeral #.
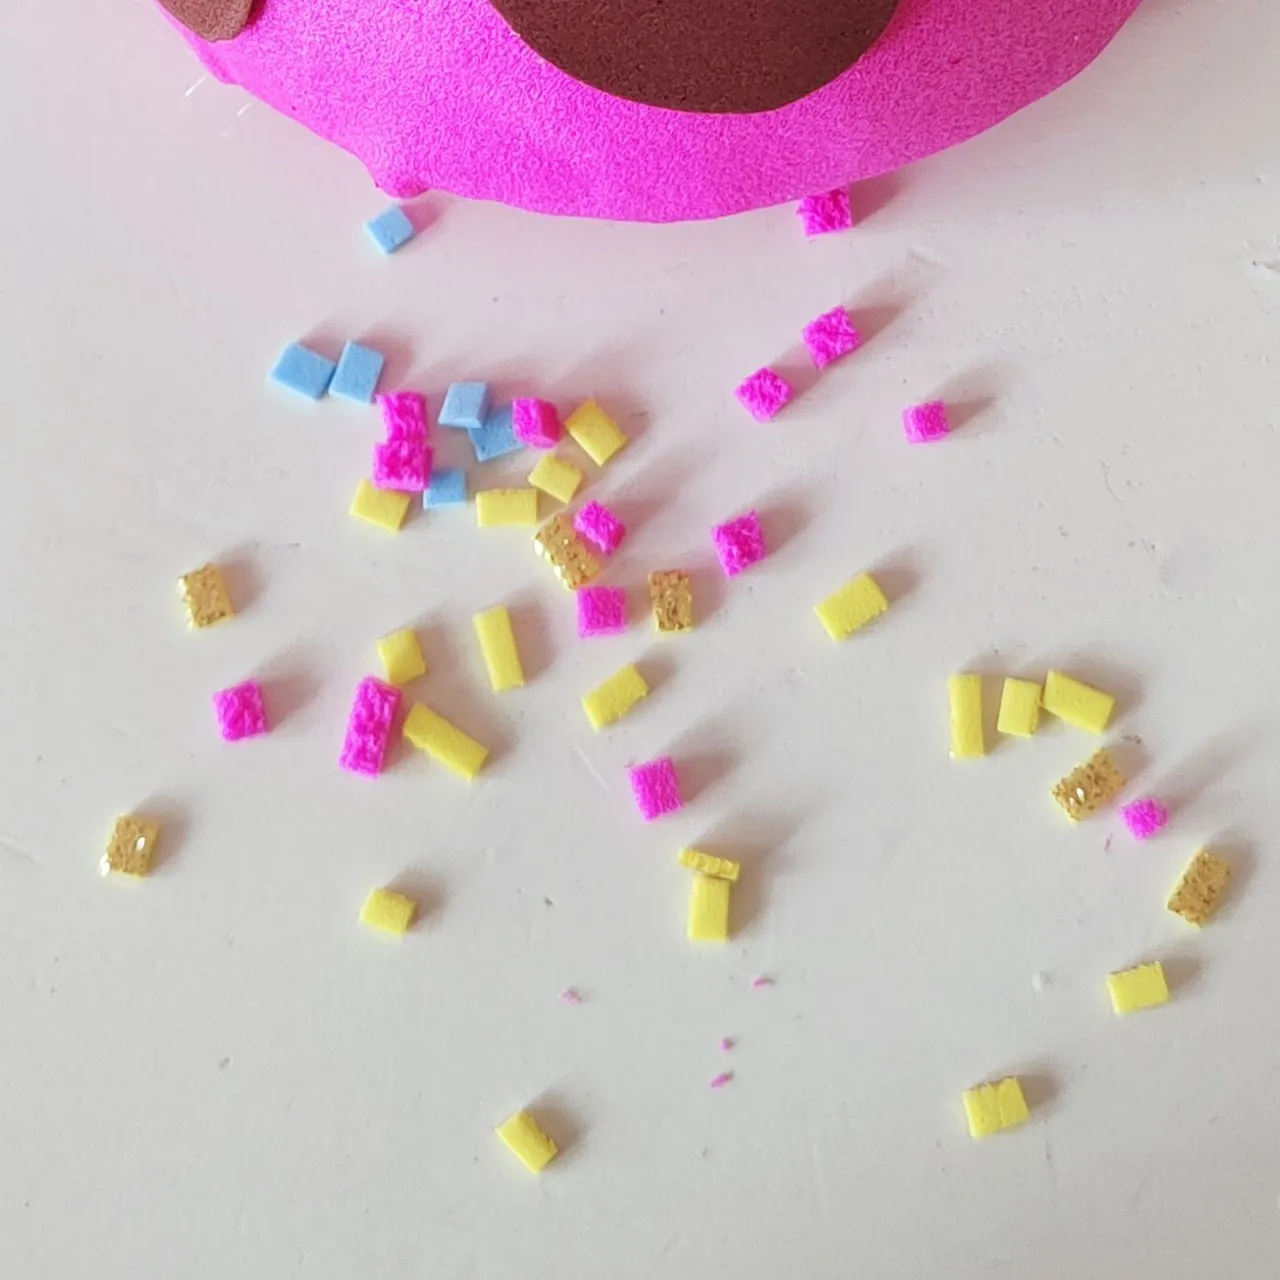
🧁7.| Ahora cortaremos varía tiras de foamy de diversos colores y seguidamente cortaremos en pequeños cuadritos , estos harán la función de lluvia de caramelos.
🧁7.| Now we will cut foamy strips of different colors and then we will cut them into small squares, which will be used as rain of candies.
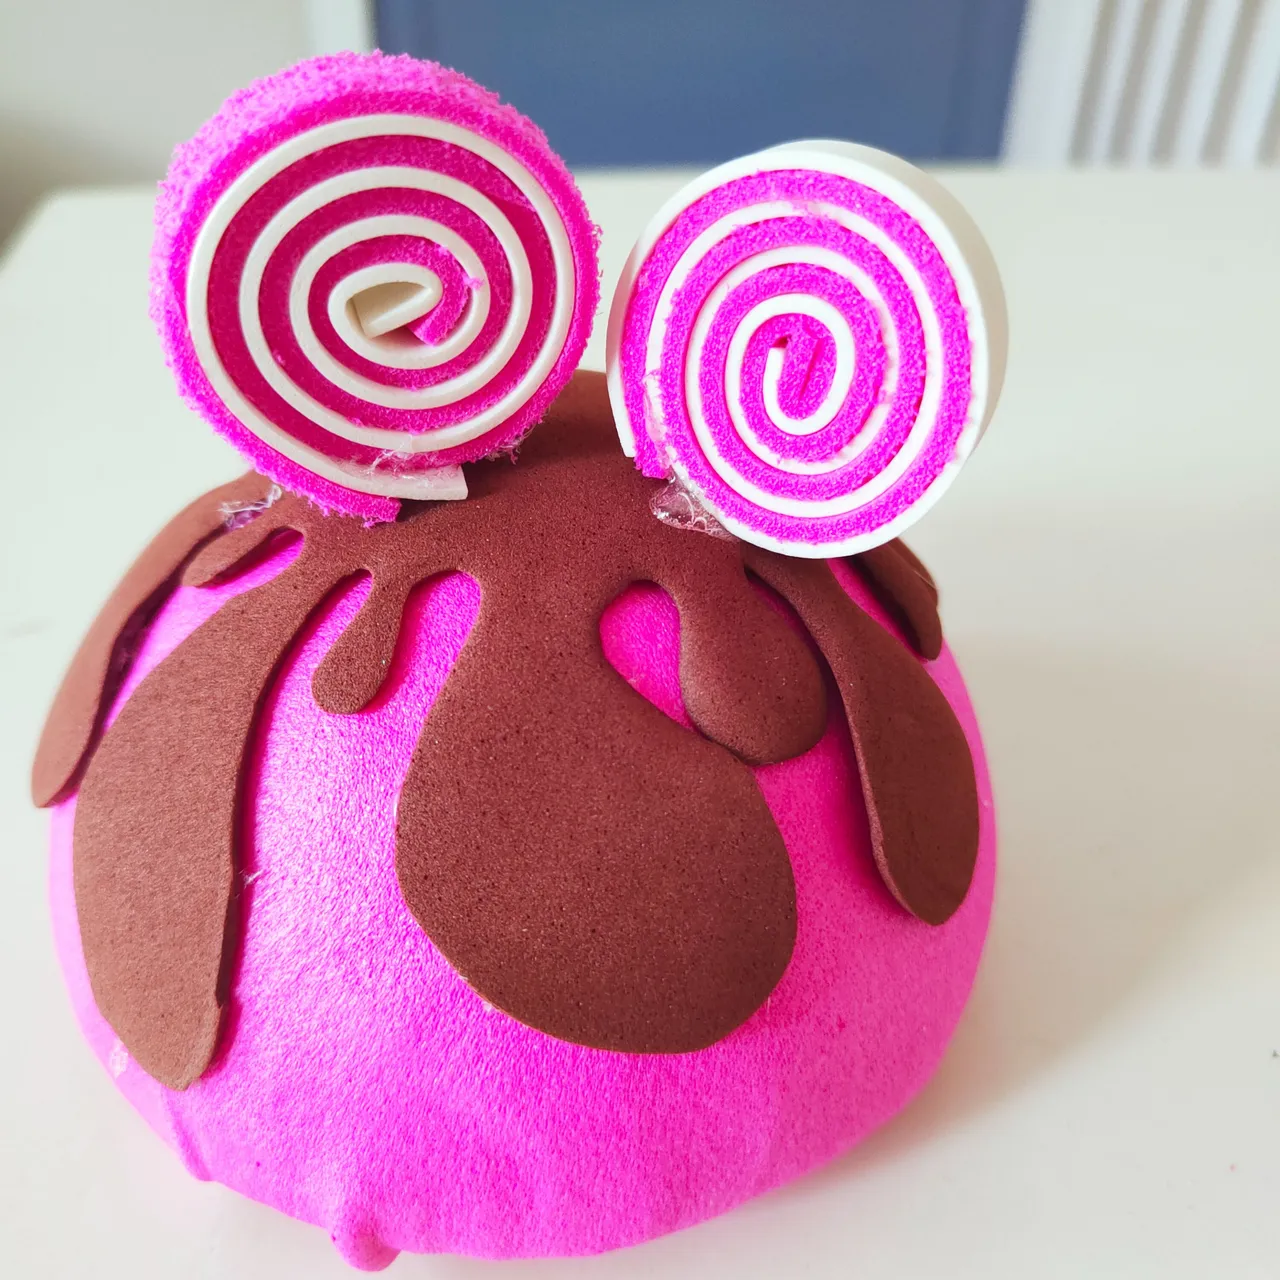
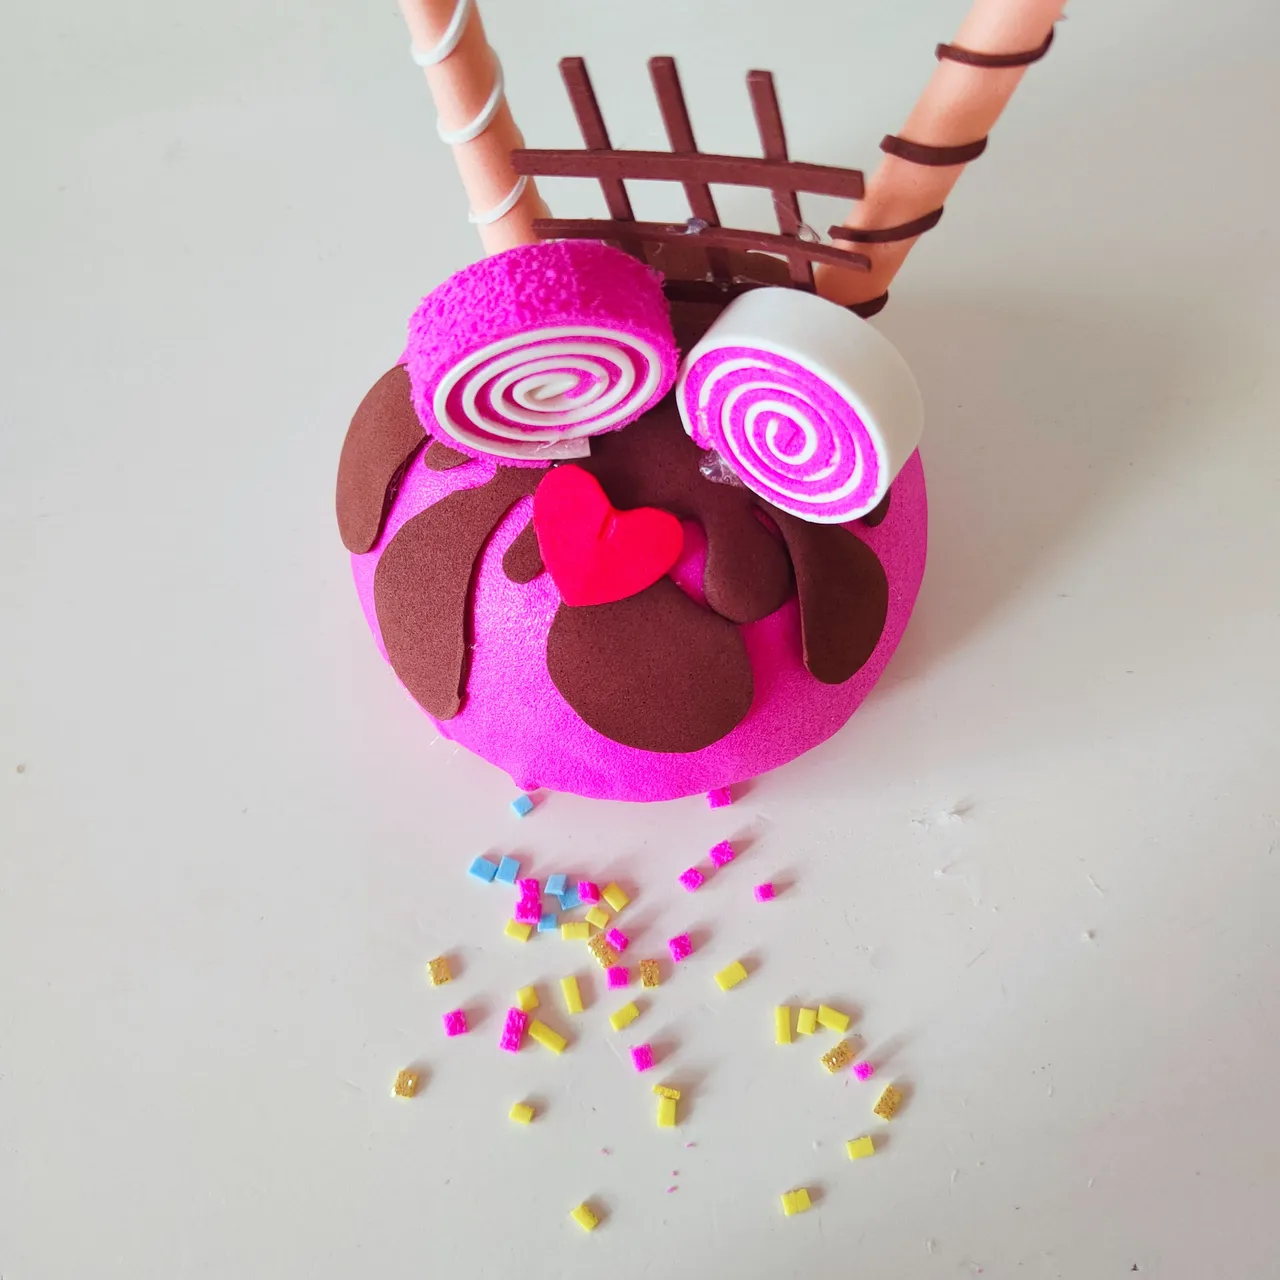
🧁8.| Ahora decoraremos nuestra pieza principal con todos los detalles realizados anteriormente.
🧁8.| Now we will decorate our main piece with all the details made earlier.

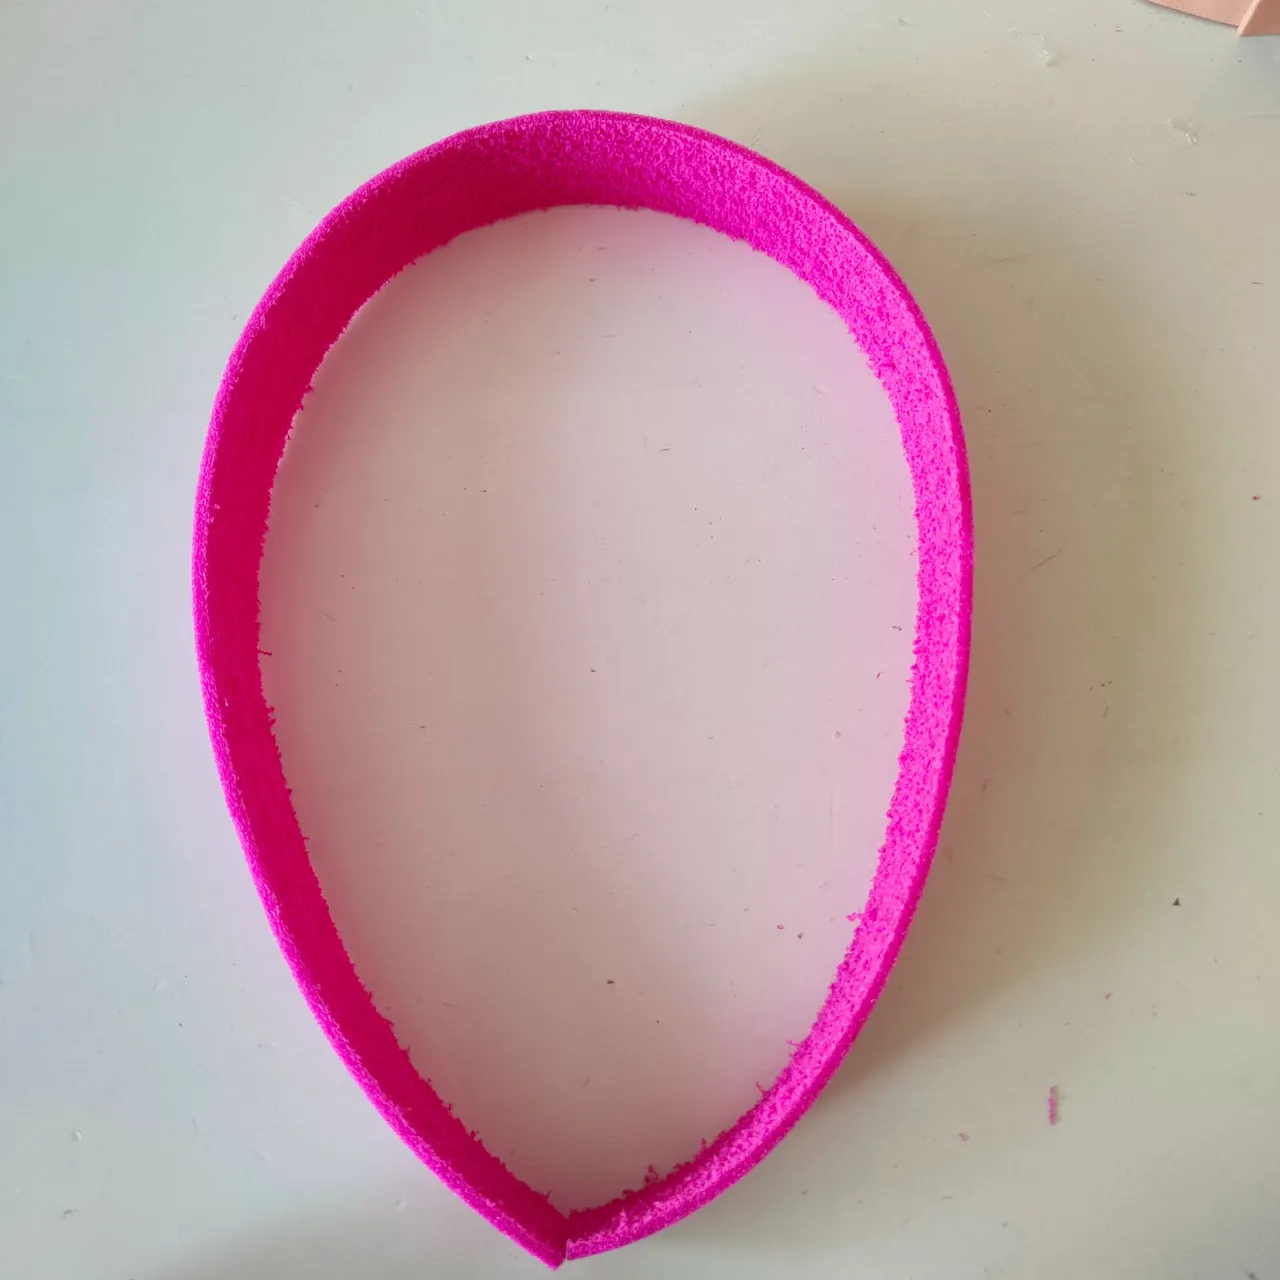
🧁9.| Para el borde de cupcakes vamos a cortar dos tiras de Foamy en mi caso fue una blanca y otra fucsia, estás las vamos a juntar y comenzaremos de girarlar,seguidamente fijarnos en el borde.
🧁9.| For the edge of cupcakes we will cut two strips of Foamy in my case was a white and a fuchsia, we will put them together and start turning, then look at the edge
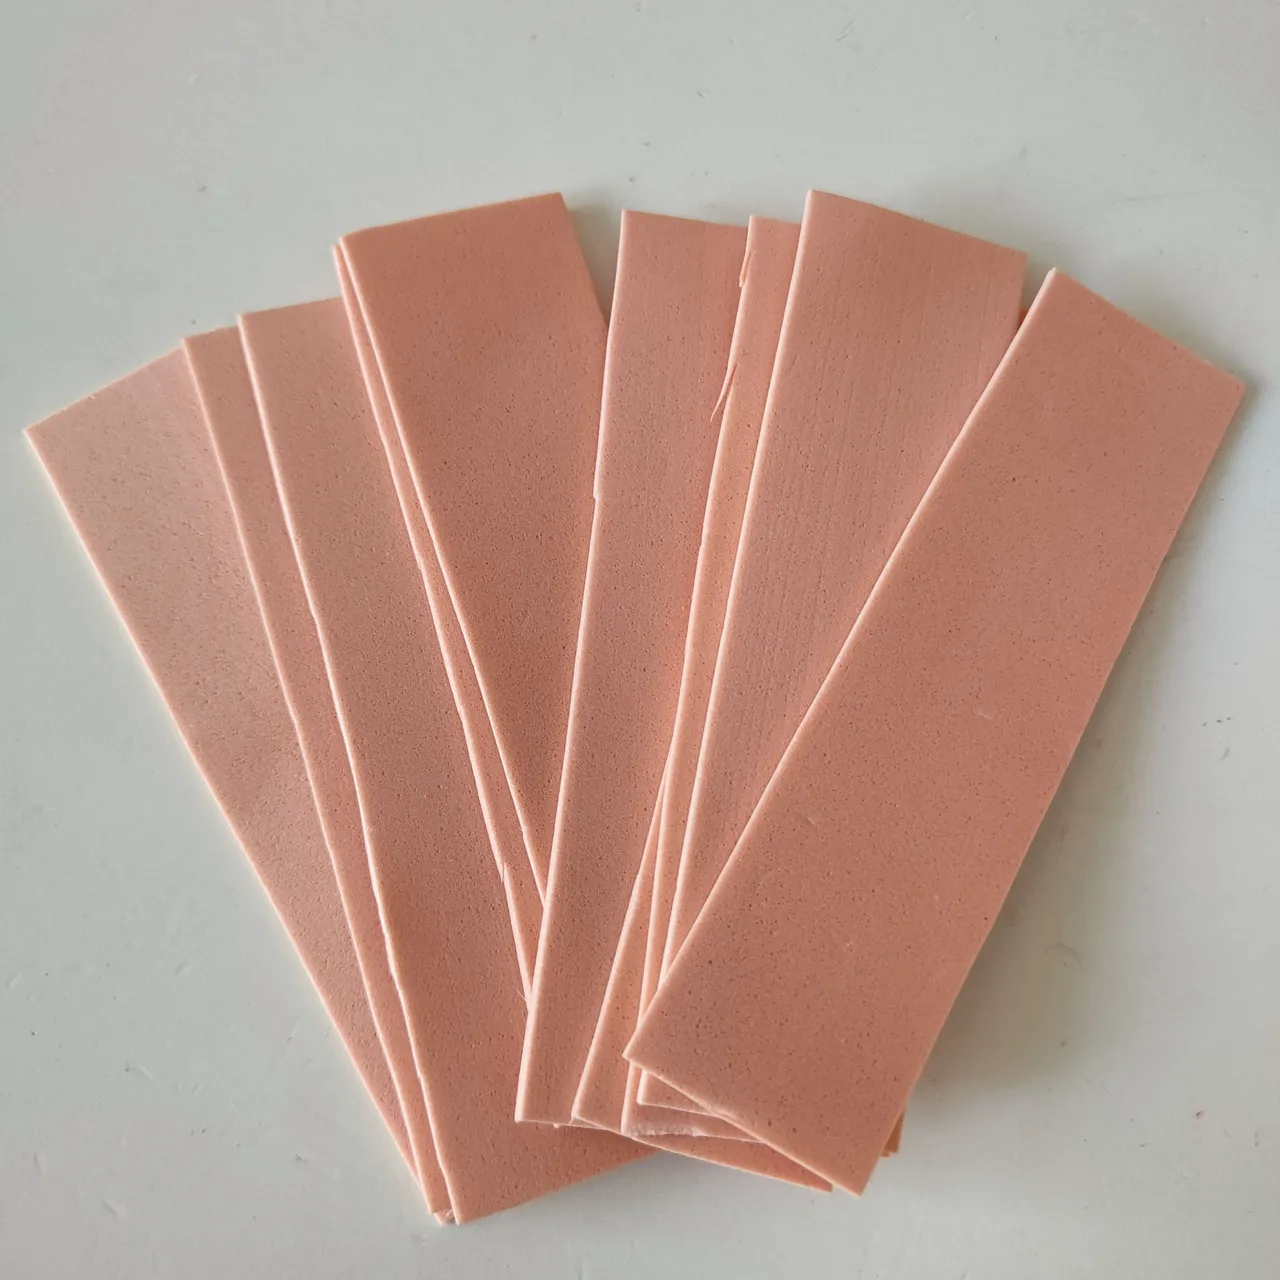
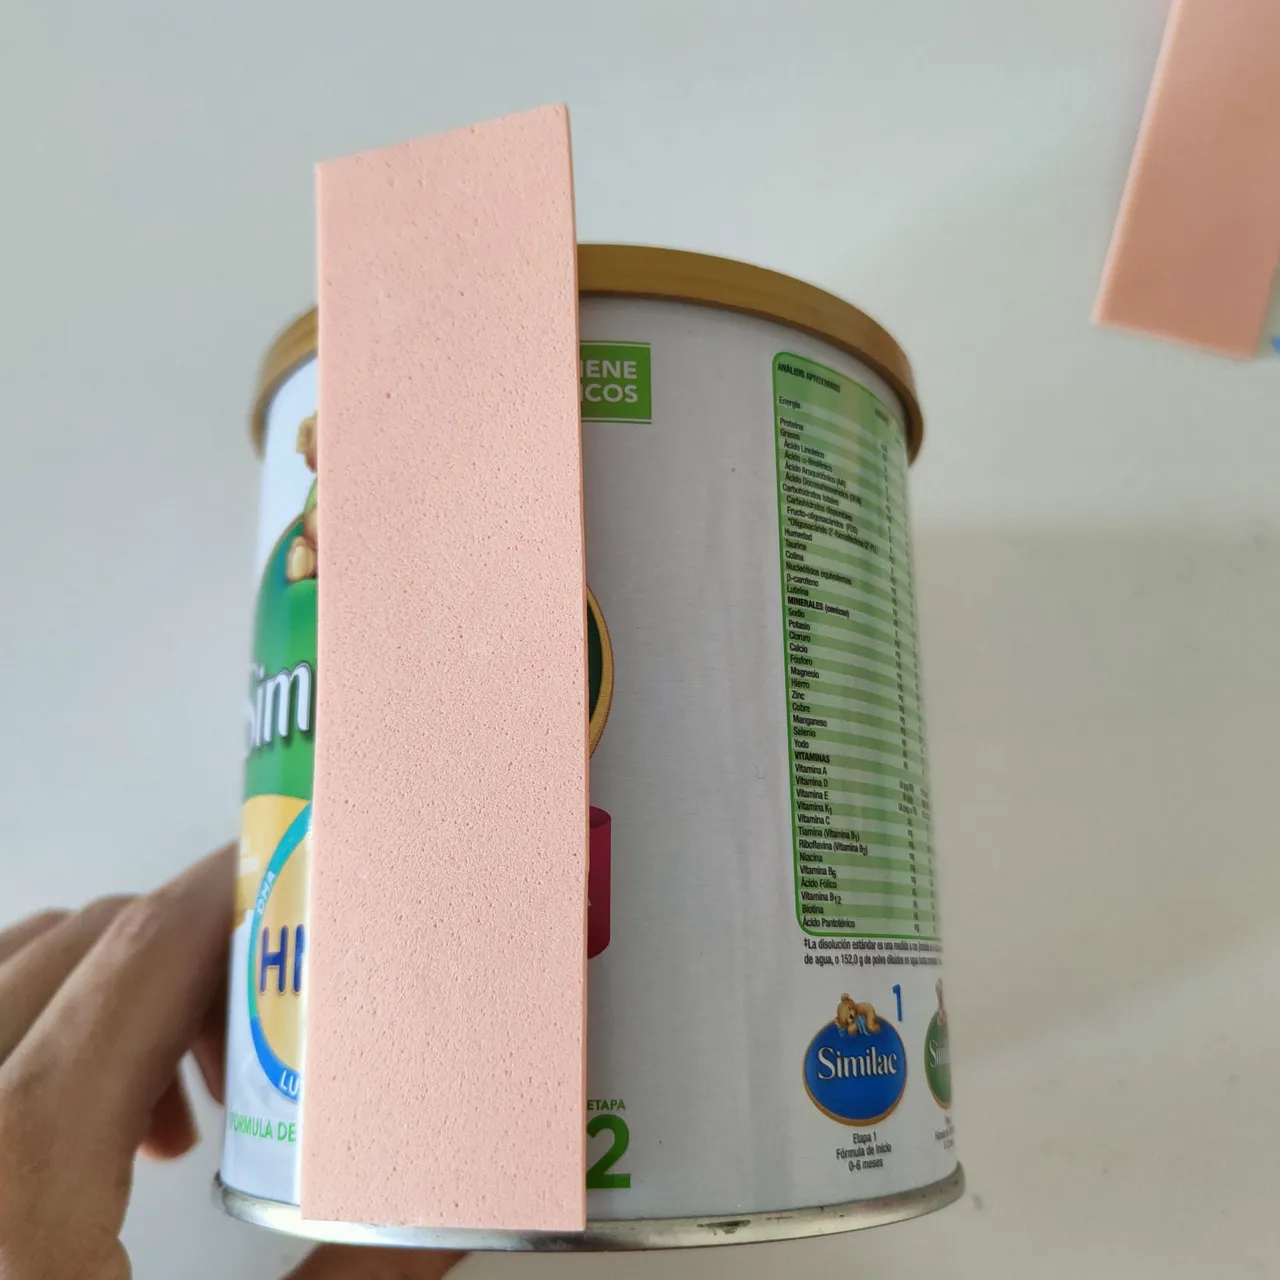
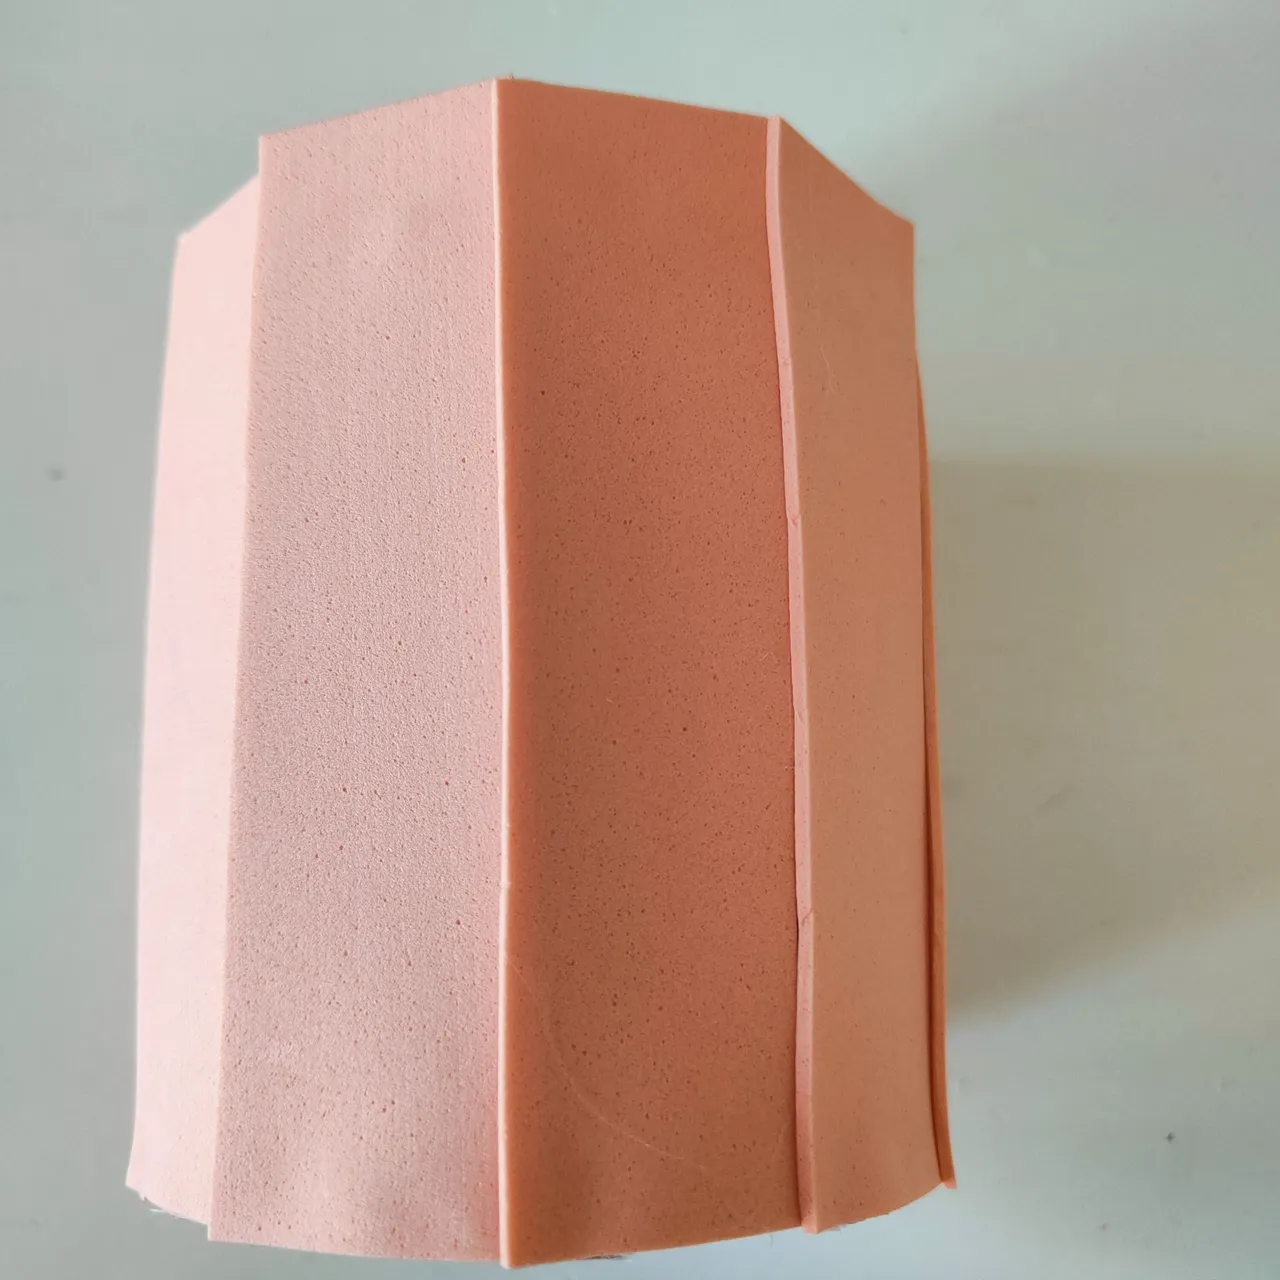
🧁10.| para decorar la lata vamos a cortar varios rectángulos de foamy de 2 centímetros de ancho y el largo deacorde el envase.
🧁10.| to decorate the can we will cut several foamy rectangles of 2 centimeters wide and the length deacorde the container.
🧁11.| Ensamblamos ambas piezas.
🧁11.| We assemble both parts.
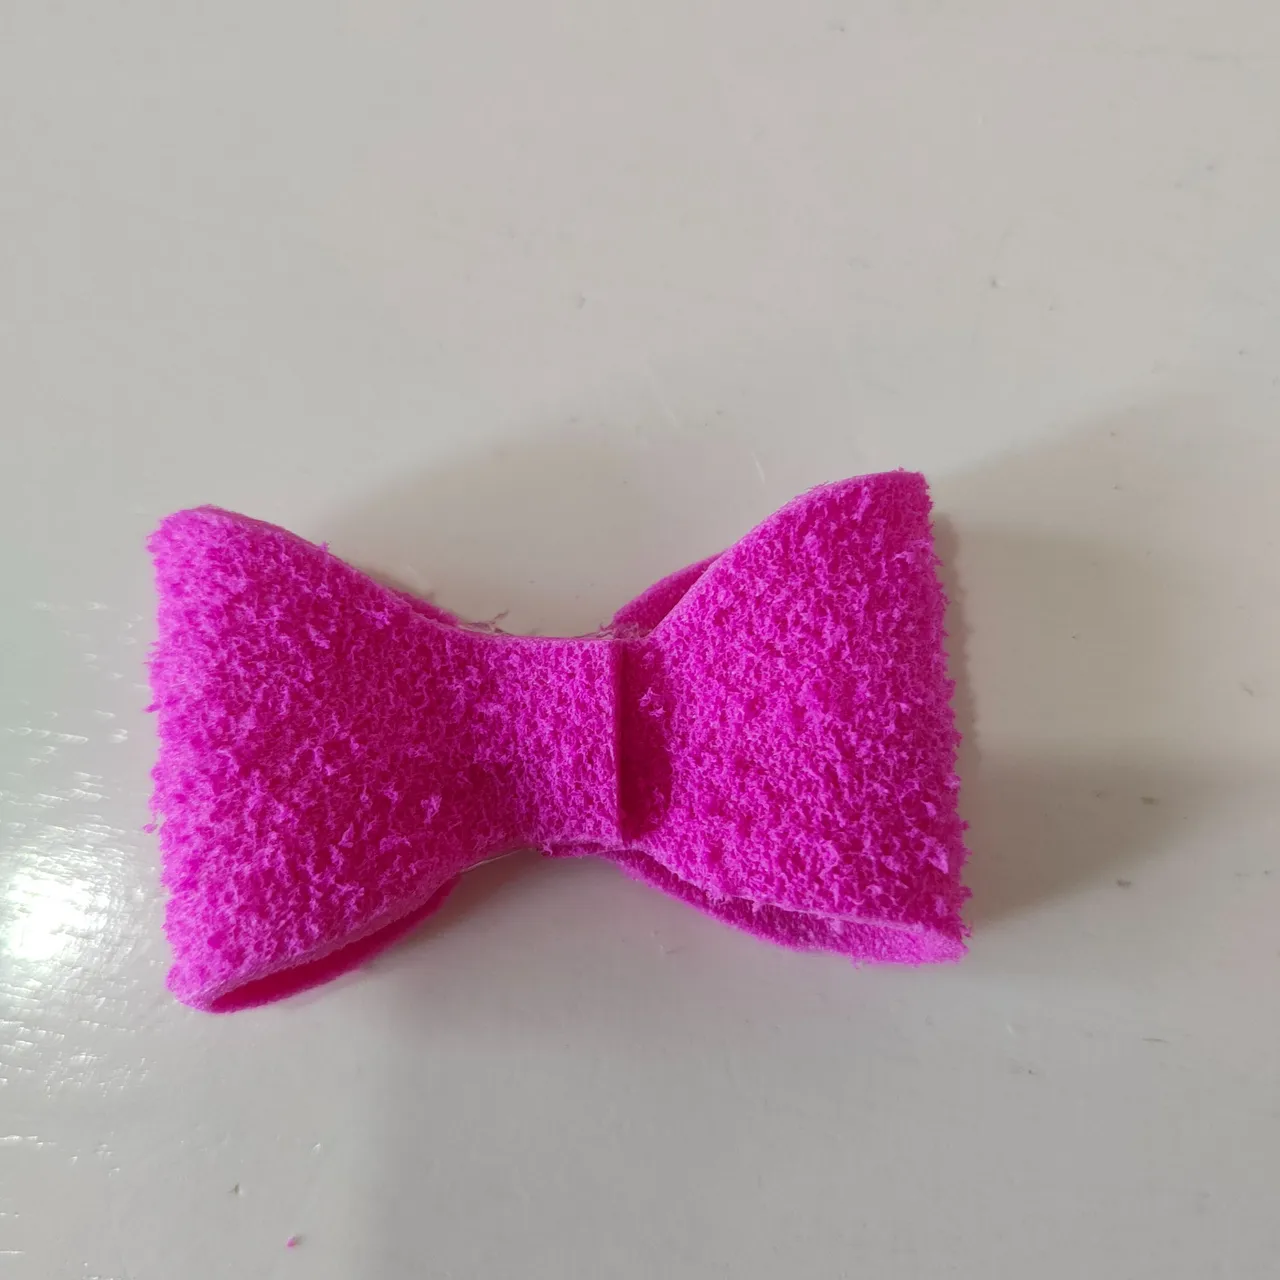
🧁12.| Para darle un toque aún más lindo, hacemos una cinta y una lazo con el foamy en color fucsia para decorar la parte baja.
🧁12.| To give it an even nicer touch, we make a ribbon and a bow with the foamy in fuchsia color to decorate the lower part.
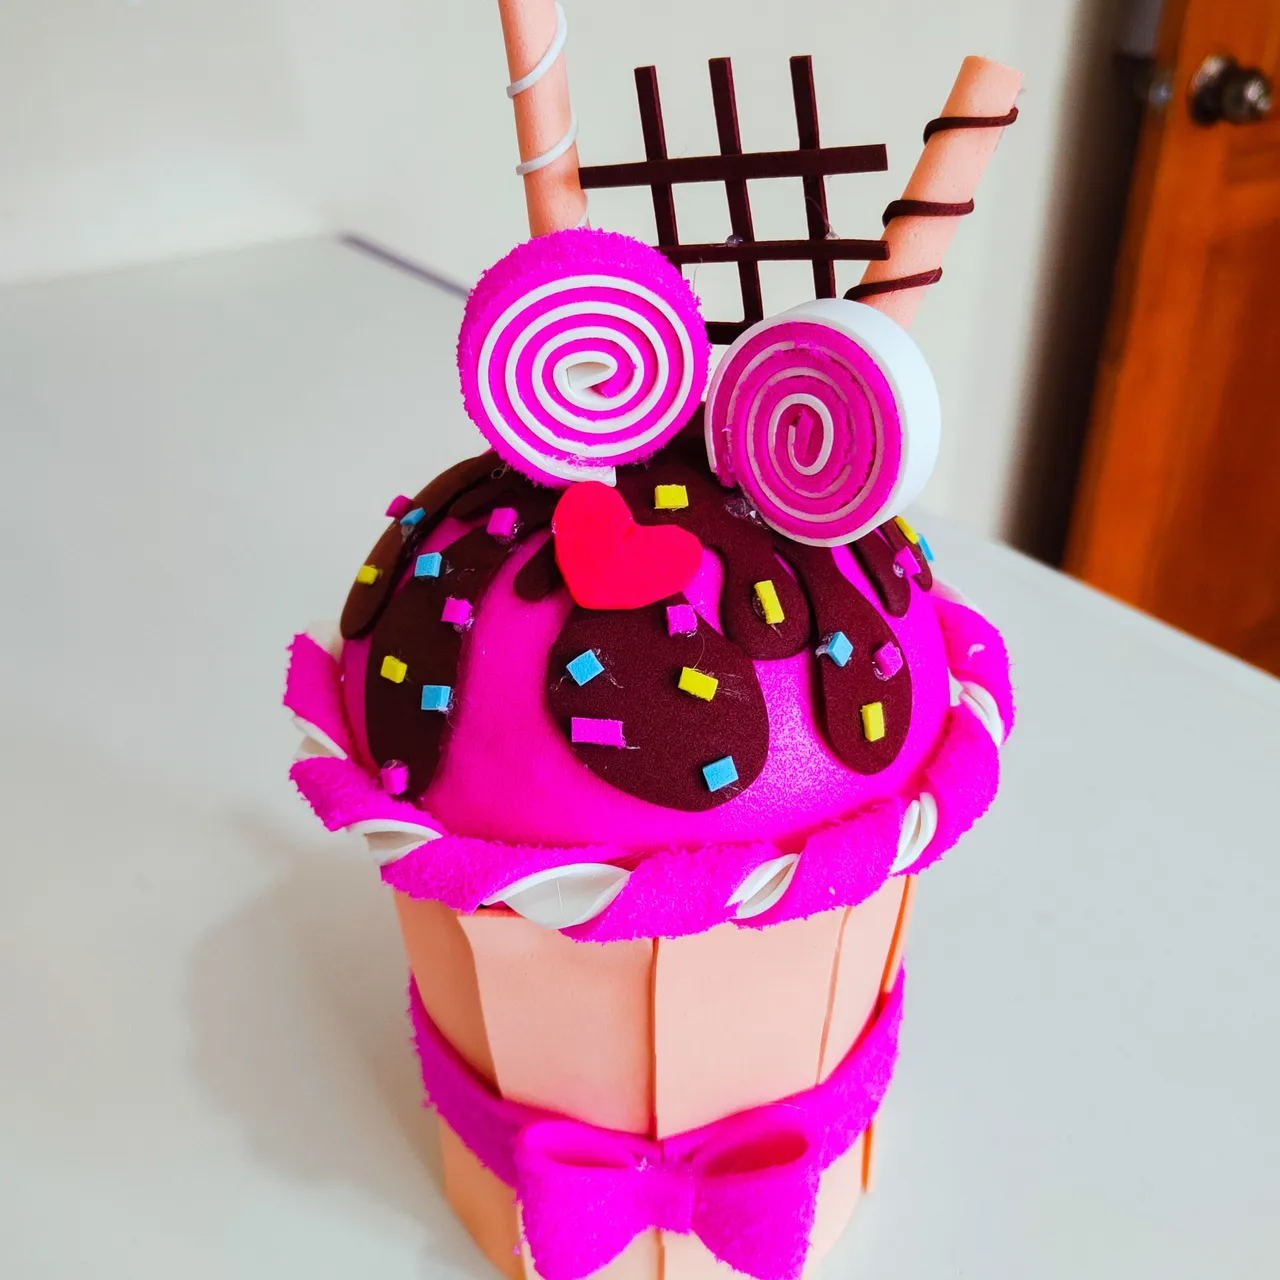
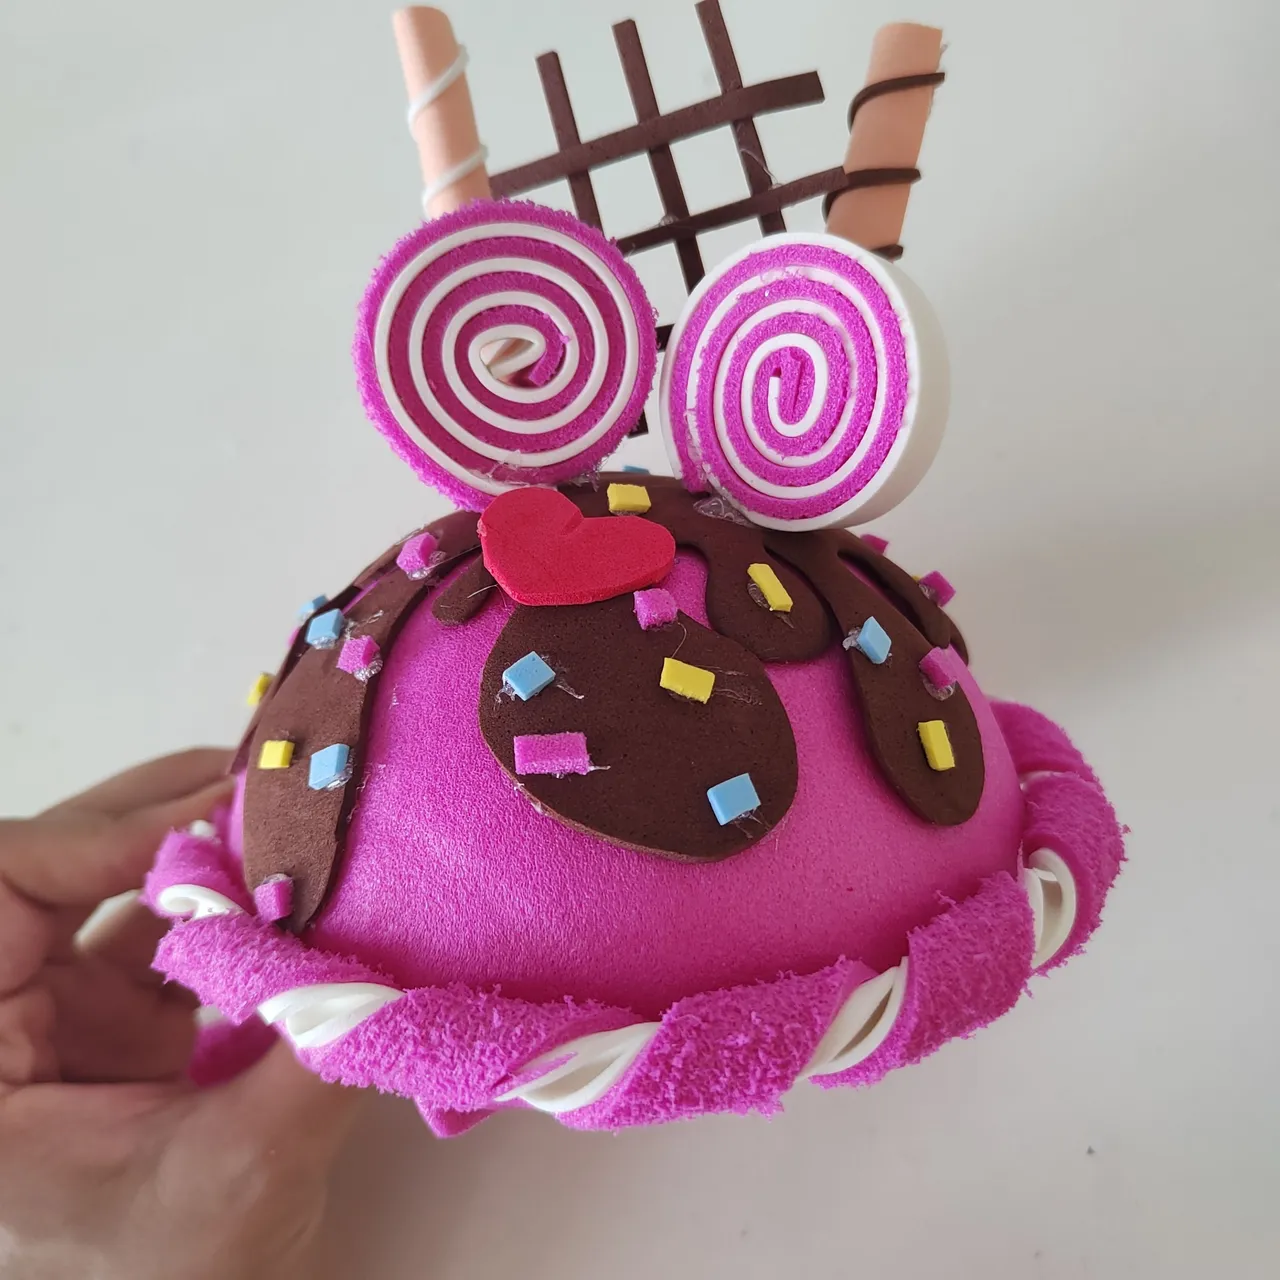
Resultado || Result
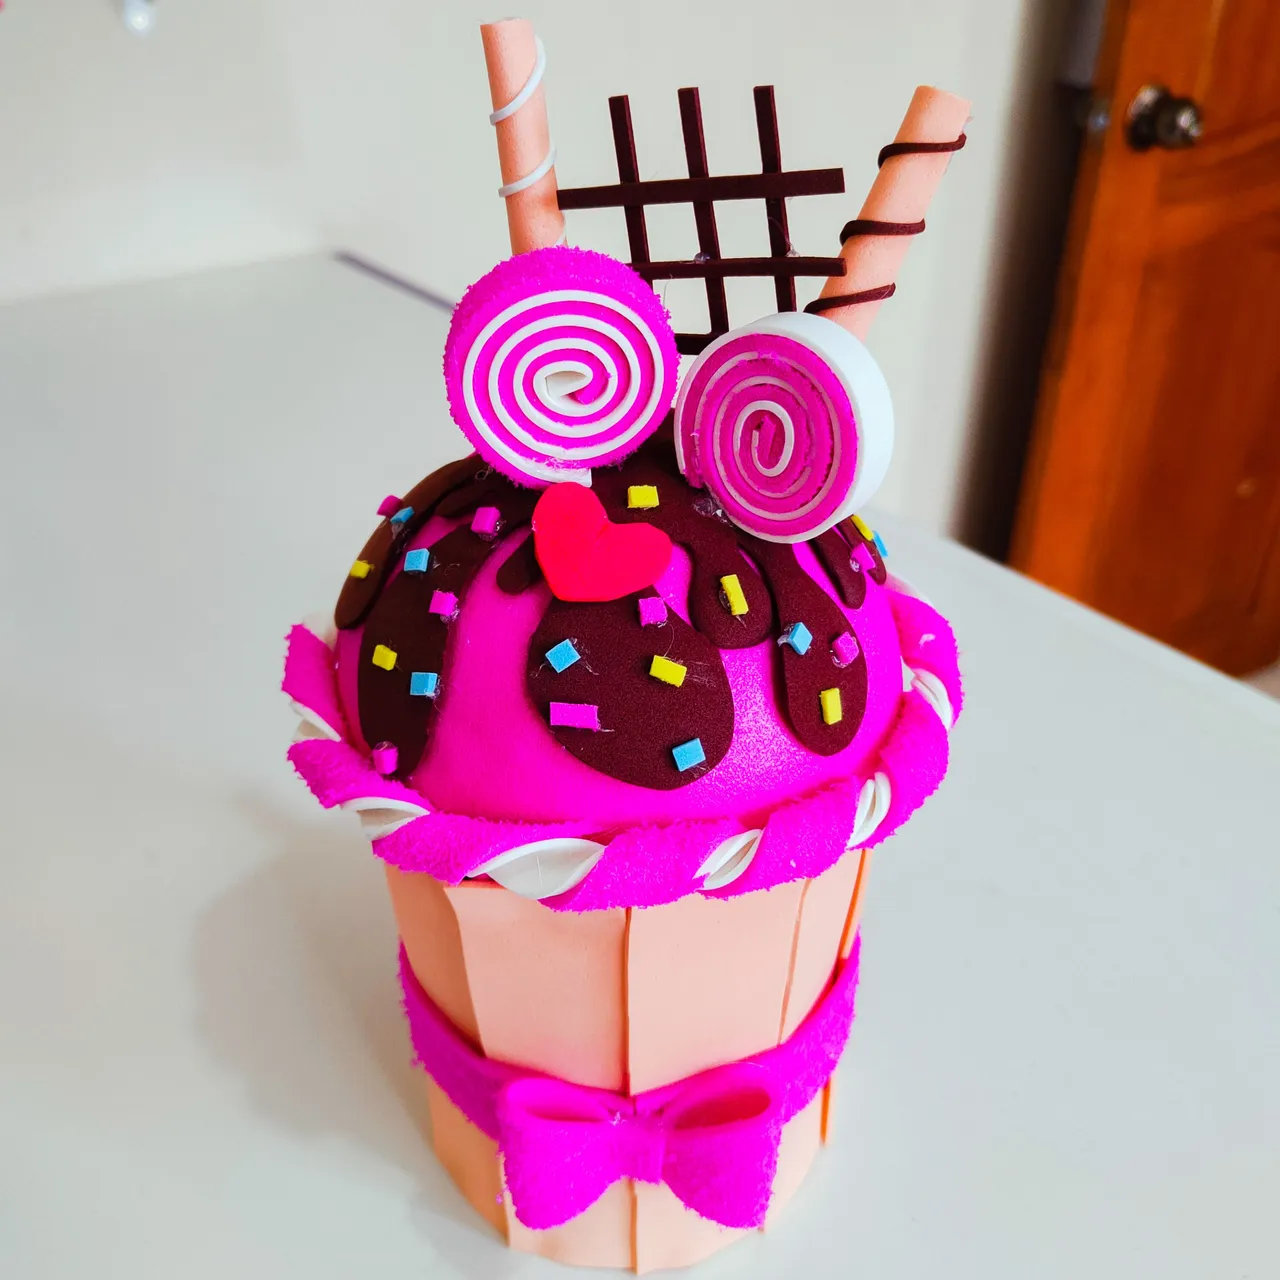
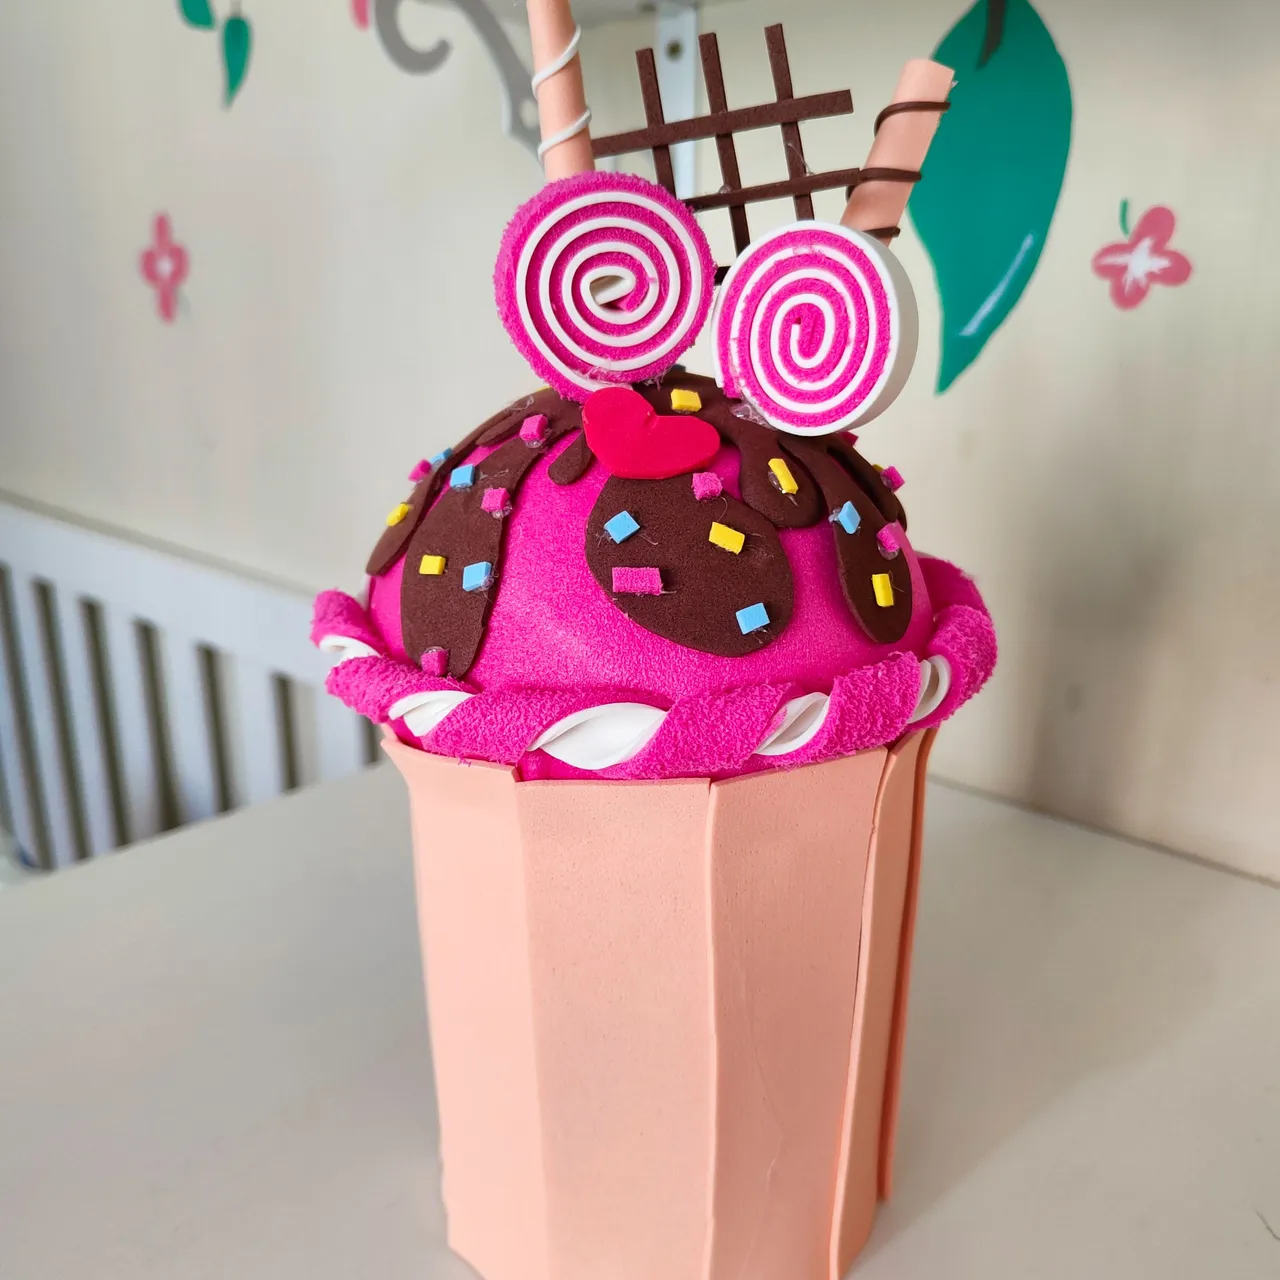
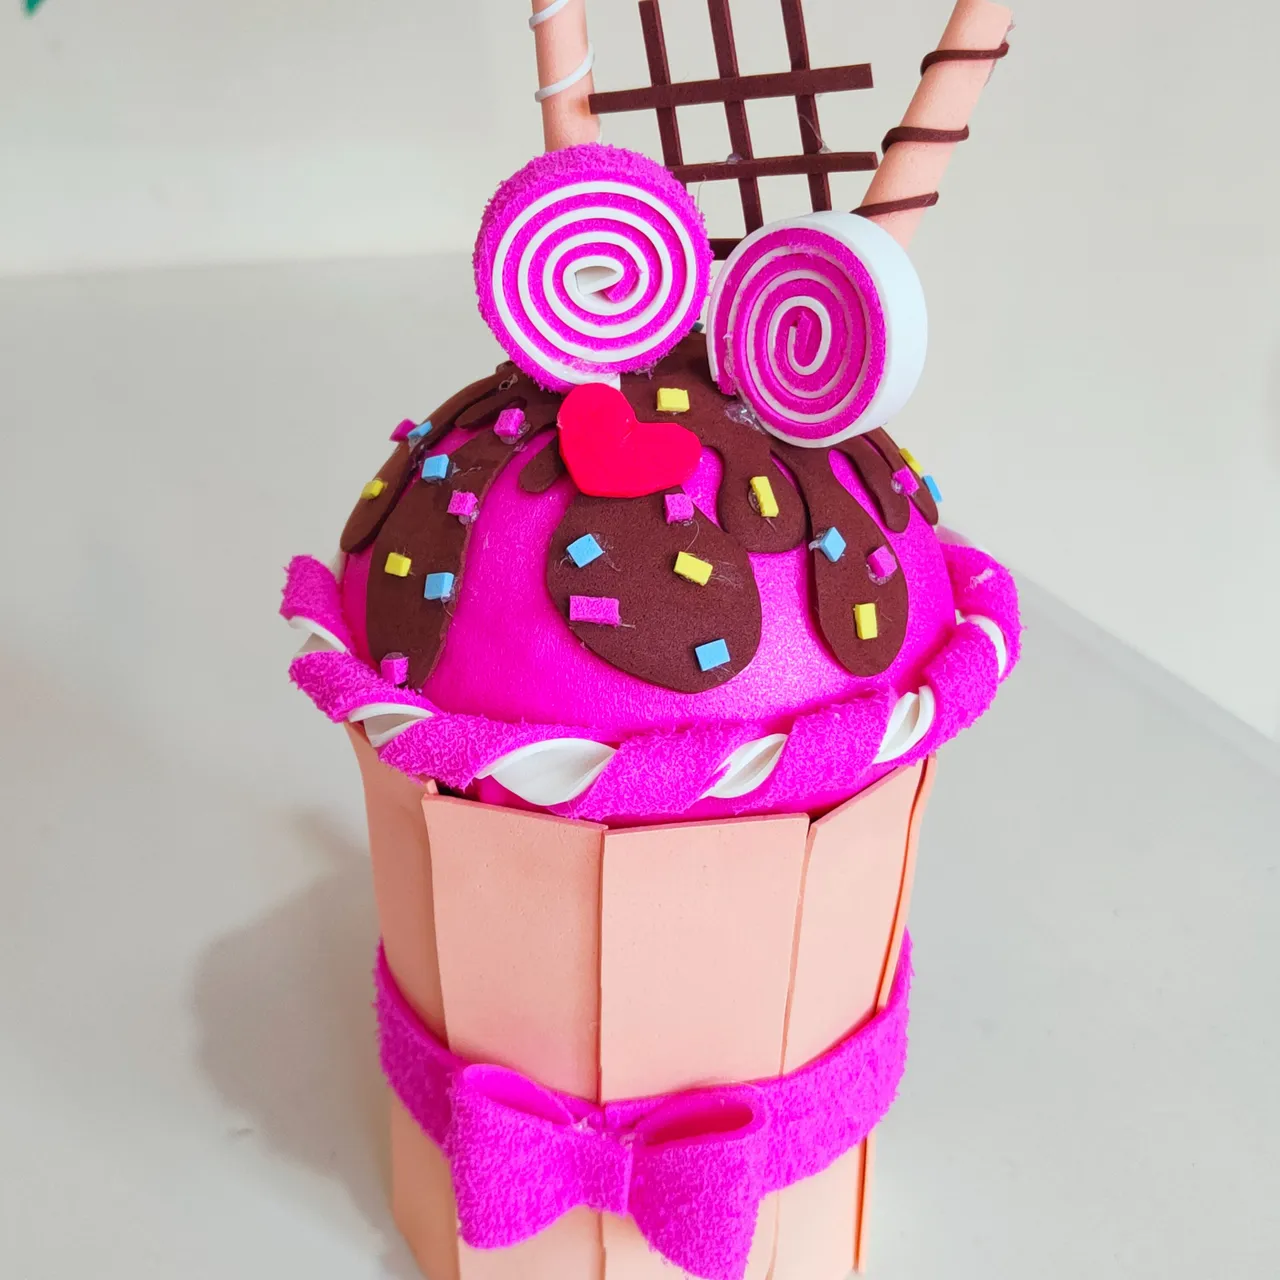
Sin duda un resultado sumamente perfecto e ideal para ser el centro de mesa en las fiestas infantiles, gracias por llagar hasta aquí, espero que fuese de su agrado mi trabajo y le sea de utilidad el tutorial, esperando que tengan un excelente fin de semana se despide quién suscribe besos y abrazos.
Undoubtedly an extremely perfect and ideal result to be the centerpiece at children's parties, thank you for coming here, I hope you liked my work and you find the tutorial useful, hoping you have a great weekend says goodbye who subscribes kisses and hugs.

Recursos utilizados.| Resources used. 📸Autoría del texto y todas las fotografías.| Authorship of the text and all photographs. @mili2801
✨Separadores.| Separators. Fuente1 Fuente2
🎥Imágenes creadas con: |Images created with: ToonMe | Canva|