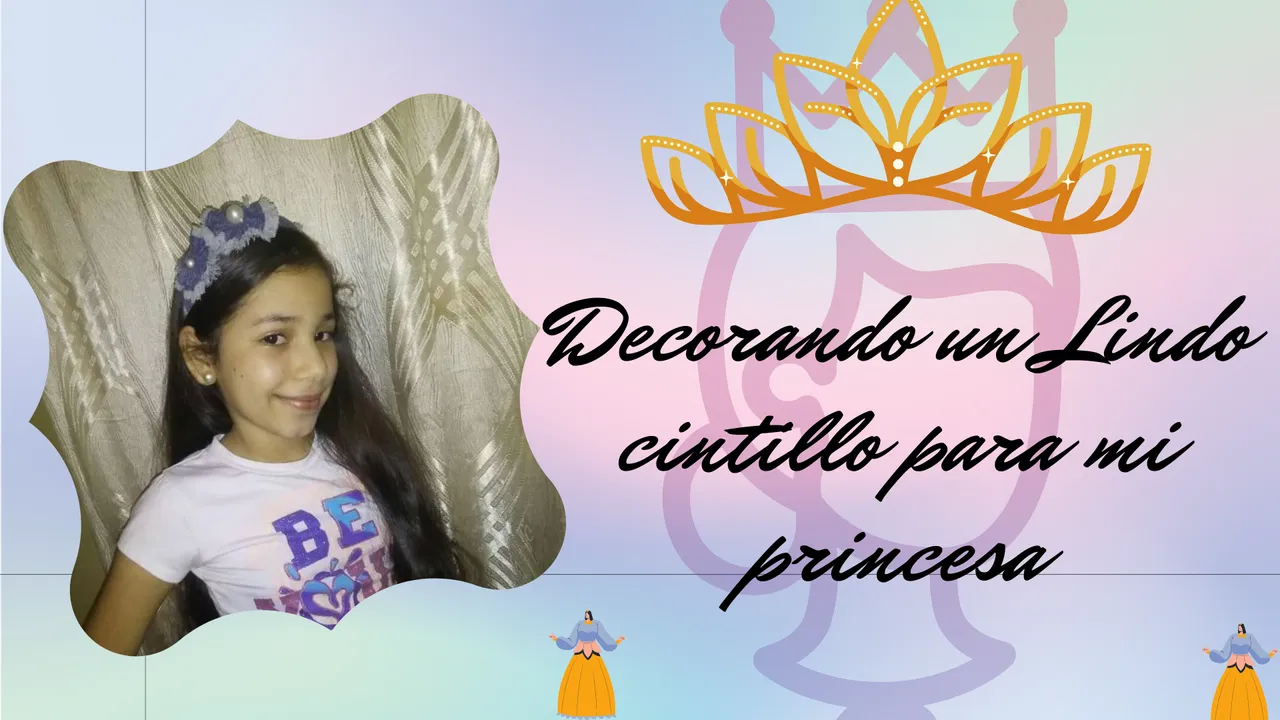
Reciban todos un gran saludo, mis estimados Hivers, el día de hoy vengo a compartir con ustedes el paso a paso para decorar un cintillo (diadema) para las princesas de la casa, de una forma fácil y sencilla y con muy pocos materiales.
Receive all a big greeting, my dear Hivers, today I come to share with you the step by step to decorate a headband for the princesses of the house, in an easy and simple way and with very few materials.

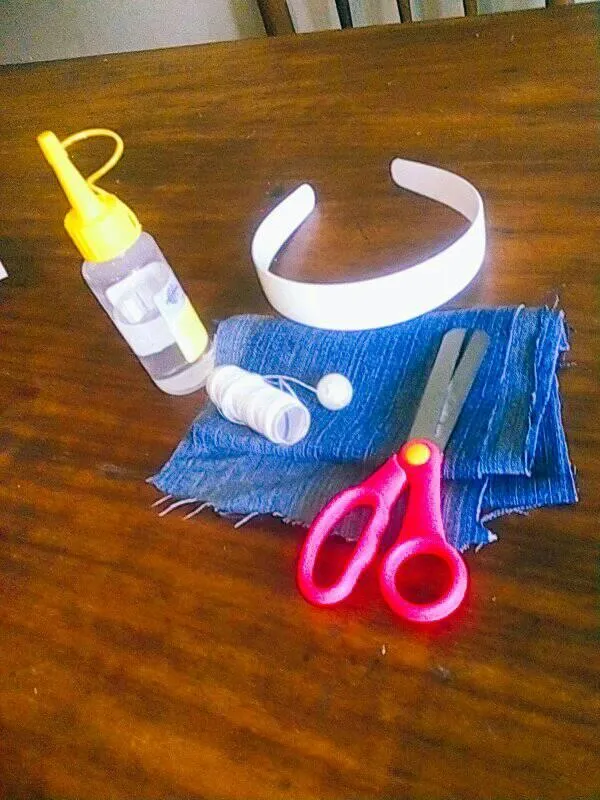
- Un cintillo plástico
- Tela de jeans
- Tijera
- Silicón
- Hilo y aguja
- Perlitas blancas
- A plastic headband
- Denim fabric
- Scissors
- Silicone
- Thread and needle
- White beads
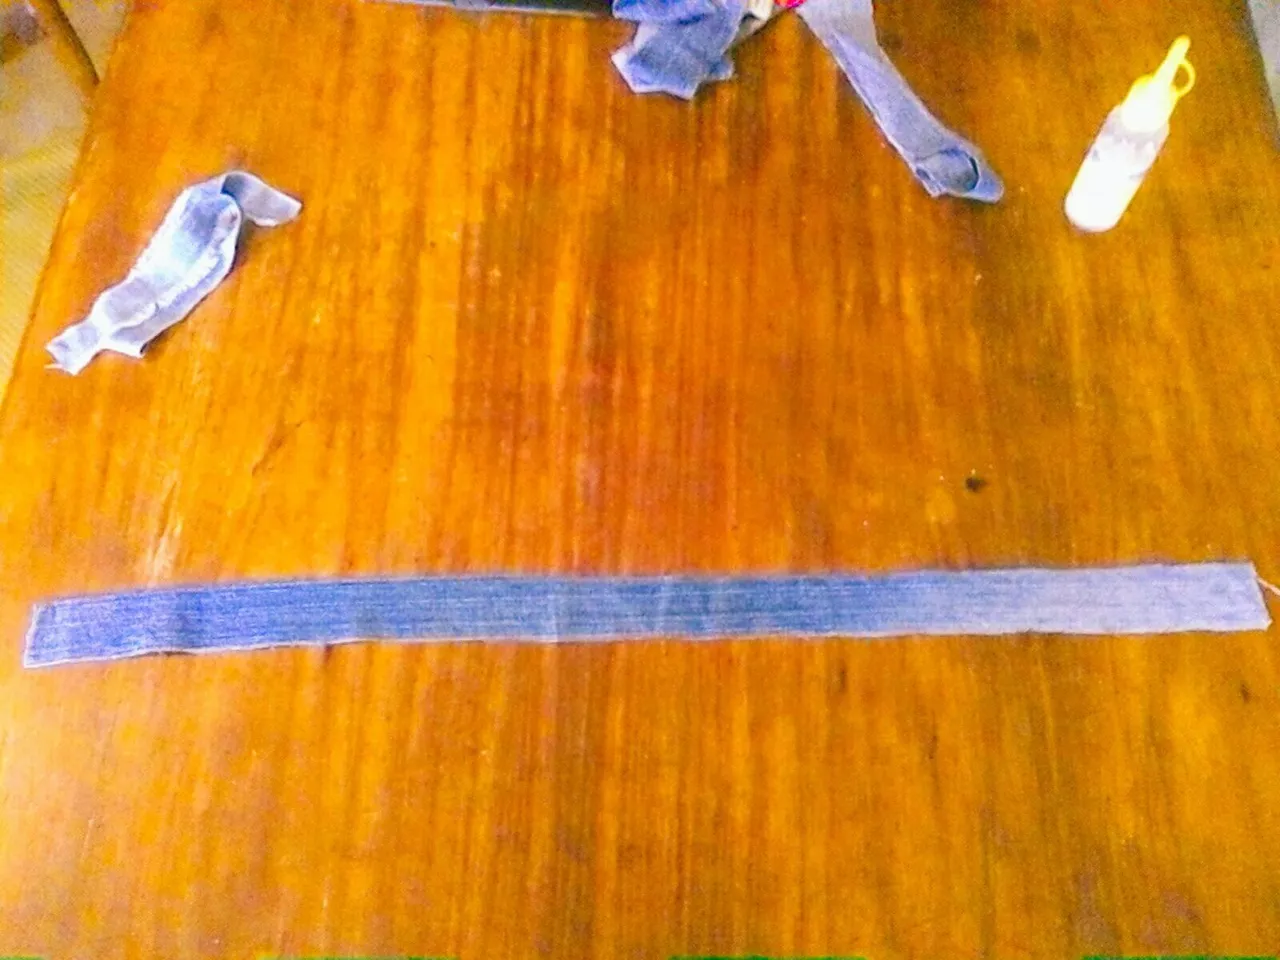
Iniciaré recortando de la tela de jeans una tira de 70 cm de largo y 4 cm de ancho.
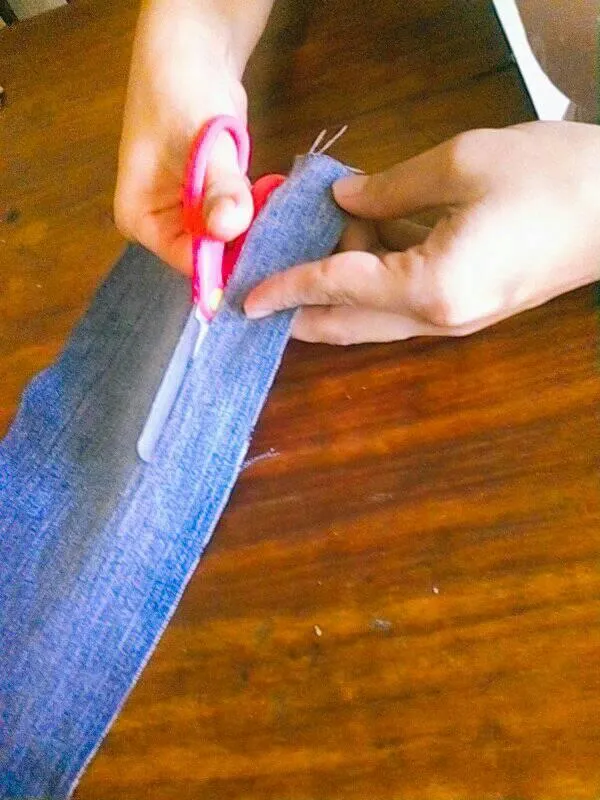
I will start by cutting a 70 cm long and 4 cm wide strip from the jeans fabric.
Luego con ayuda de la aguja sacaré flequillos por unos de sus lados.

Then with the help of the needle I will pull out bangs on one of its sides.
Posteriormente cortaré 2 piezas rectangulares pequeñas, las cuales usaré para forrar las puntas del cintillo, las pegaré con silicón.
Then I will cut 2 small rectangular pieces, which I will use to cover the ends of the headband, I will glue them with silicone.

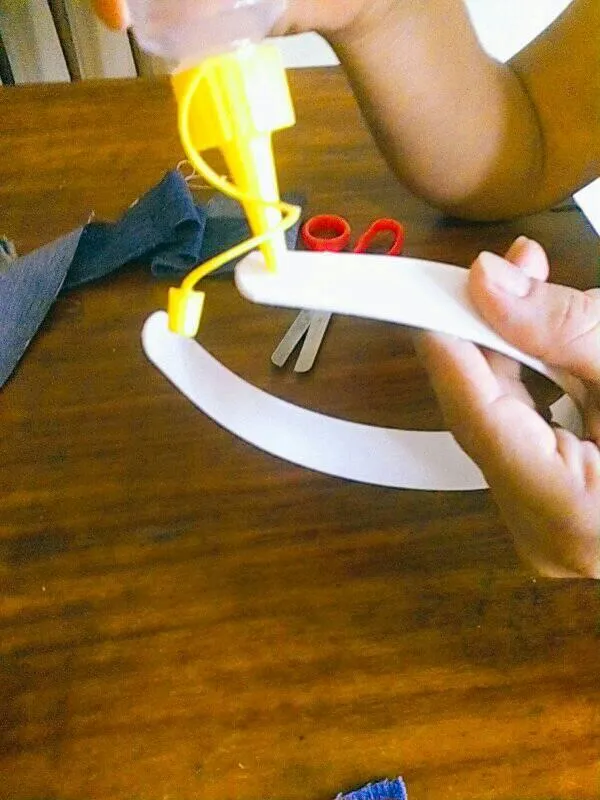
Seguidamente procedo a forrar el cintillo con la tira recortada anteriormente, lo haré de manera envolvente y que los flequillos queden visibles, empezando de una punta y terminando en la otra, juntamos en cada una silicón para fijar.
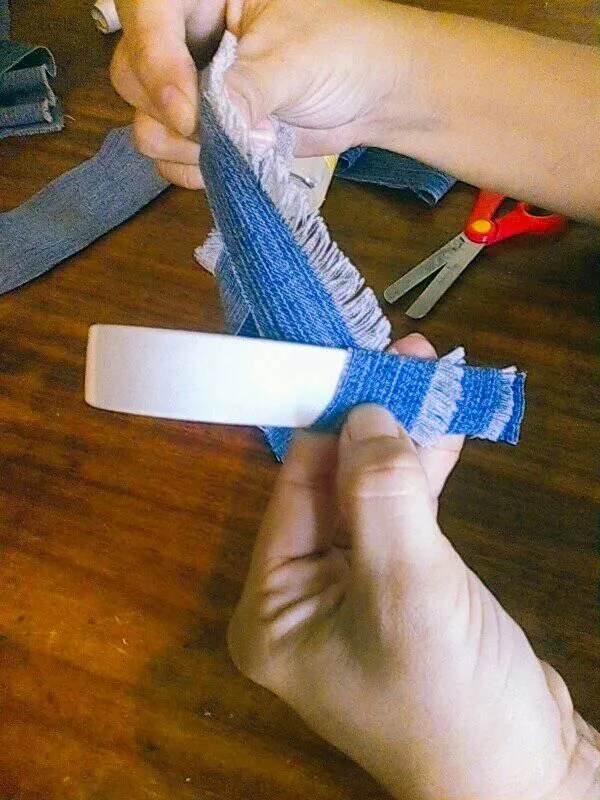
Then I will proceed to line the headband with the previously cut strip, I will do it in an enveloping way so that the bangs are visible, starting from one end and ending at the other, we will put silicone on each one to fix it.
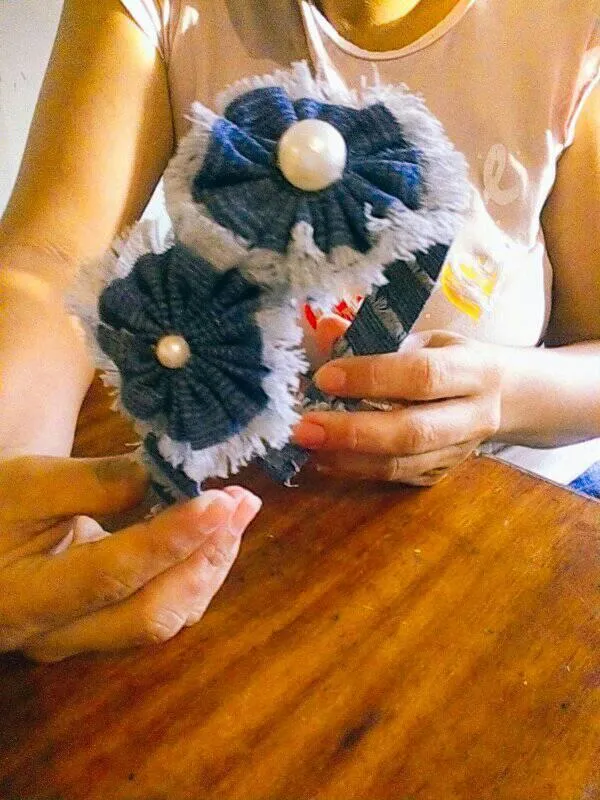
Una vez forrado el cintillo, recortamos dos tiras pequeñas e igualmente les sacamos flequillos, basteamos con hilo por sus bordes, corrugamos cada una para formar una flor y en el centro colocamos las perlitas blancas.
Once the headband is lined, we cut two small strips and remove the bangs, we baste them with thread along the edges, we corrugate each one to form a flower and in the center we place the little white pearls.
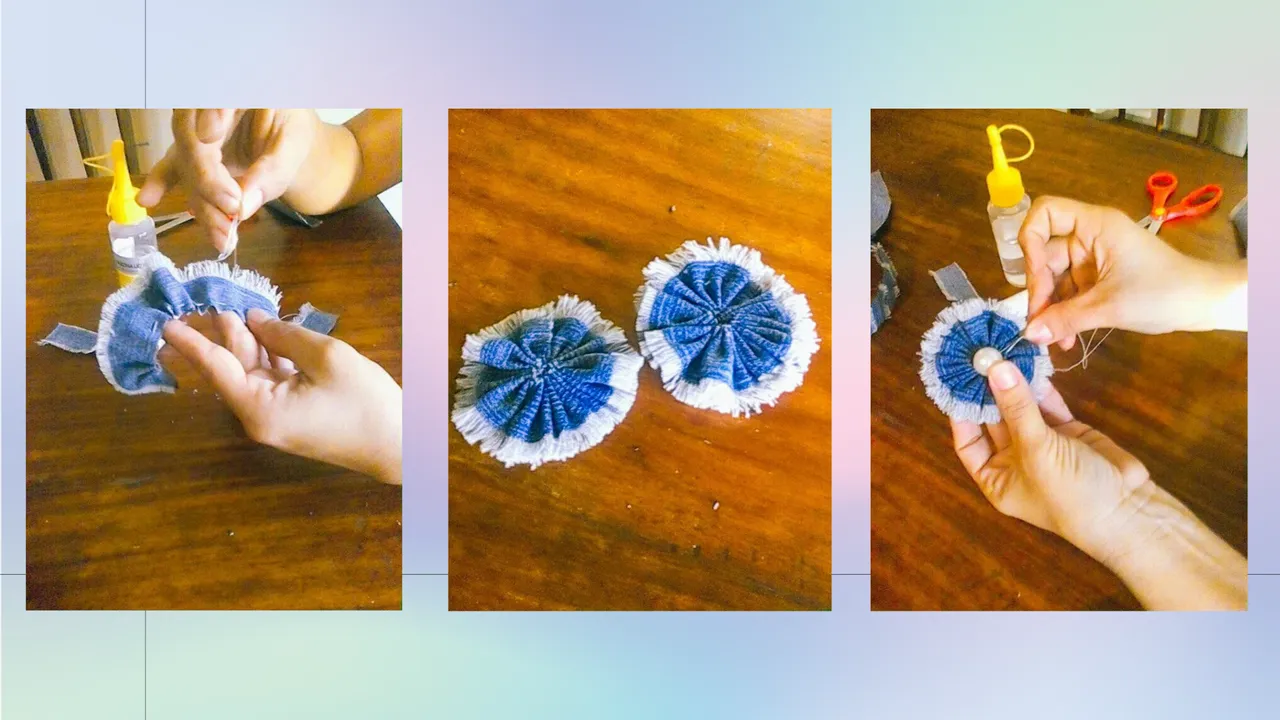
Por último decoramos, pegamos con silicón las flores al cintillo y obtenemos como resultado un lindo cintillo ideal para lucirlos las princesas de la casa.
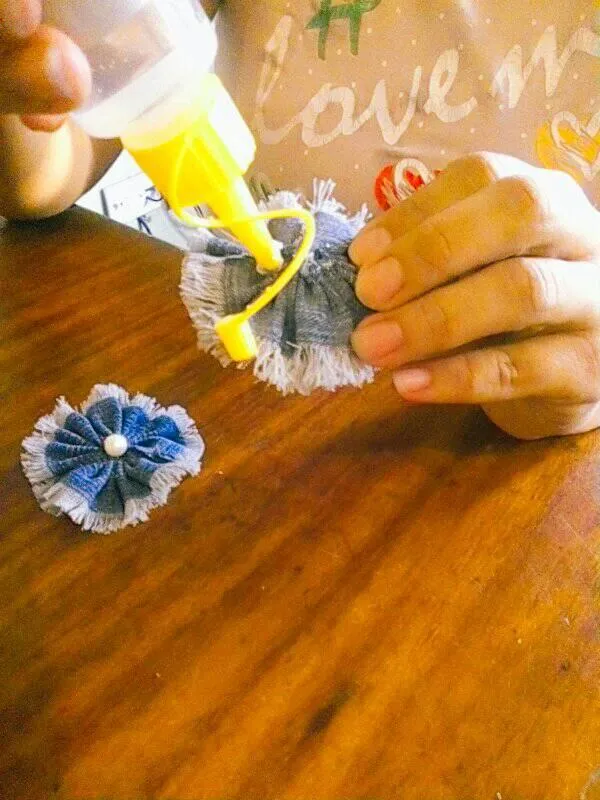
Finally we decorate, glue the flowers to the headband with silicone and get as a result a nice headband ideal for the princesses of the house.