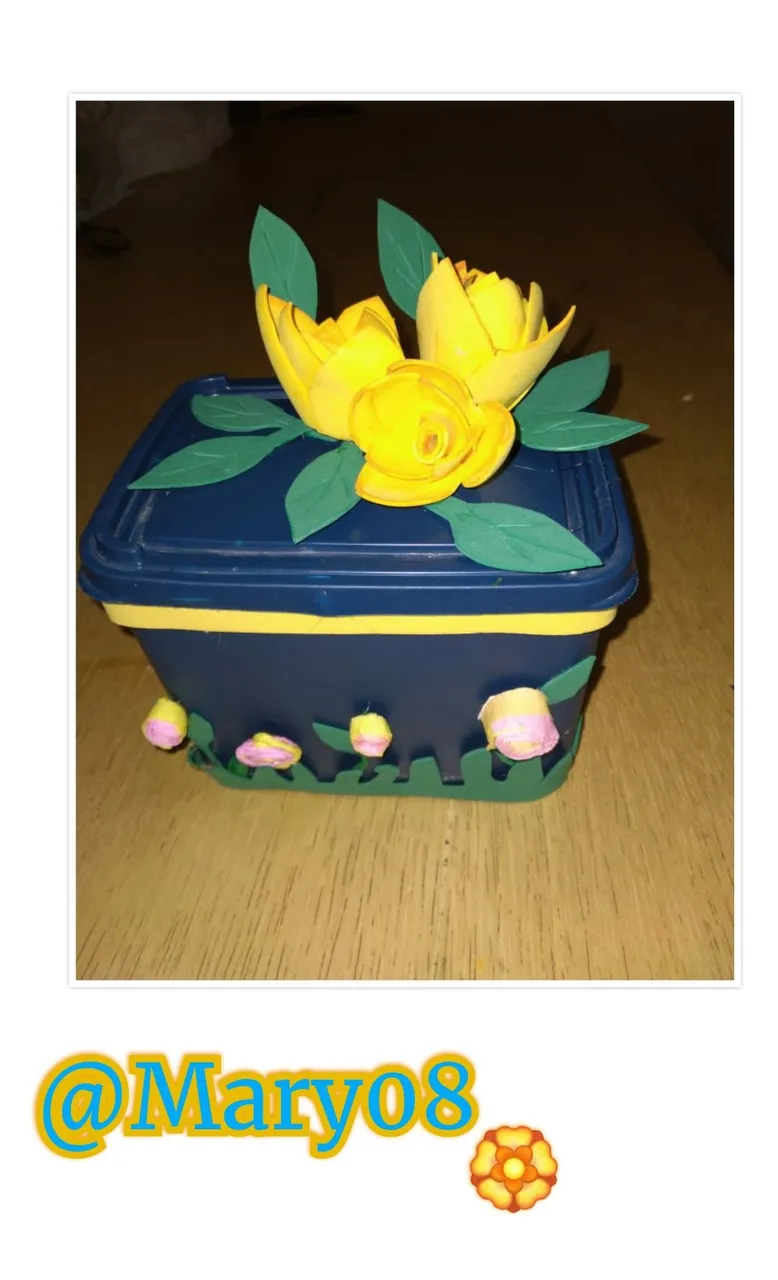
Hello good evening dear friends of #Hive here I am sharing with you one more creativity, which in this case is a cute little box decorated to store different objects.
Materiales:
• Un recipiente cuadrado con tapa
• Foami de tres colores distintos.
• Silicón caliente o frío.
• Pintura.
• Pincel.
• Cinta métrica.
Materials:
- A square container with a lid
- Foami of three different colors.
- Hot or cold silicone.
- Paint.
- Paintbrush.
- Measuring tape.
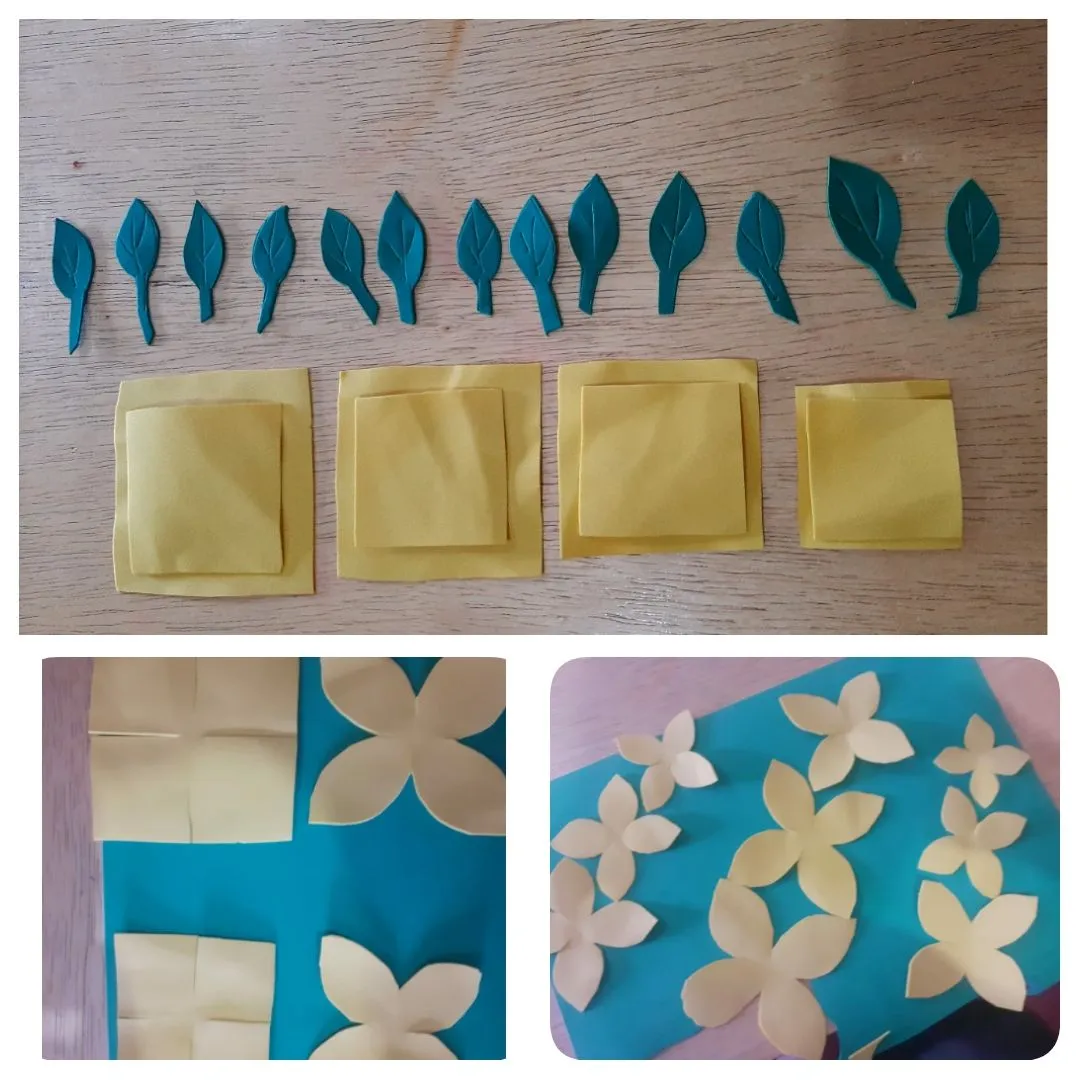
Primer paso
Cortamos una tira de foami de 2 cm de ancho y suficientemente larga para rodear el borde Superior de nuestro recipiente. También marcamos y cortamos hojas verde en miniatura y otra más grandecita según el tamaño de las flores qué queremos hacer, seguidamente se corta tres cuadrados por cada flor que deseamos realizar los Cuáles deben medir 2 cm de diferencia entre cada uno de ellos. Doblamos cada cuadrito a la mitad convirtiéndolo en un rectángulo luego volvemos a doblar a la mitad cortamos las uniones de los laterales sin llegar al final de manera que nos quedan cuatro cuadrados más pequeños unidos en el centro. Agarramos cada cuadrito lo doblamos y tomando como referencia el lado que lo une a los demás cuadros doblamos a la mitad cortamos de forma ovalada hacia la punta y allí tenemos nuestro primer pétalo seguimos el procedimiento con todos los cuadros y obtendremos cuatro pétalos Unidos por el centro continuamos con el proceso hasta tener todos los pétalos realizados.
First step
We cut a strip of foami 2 cm wide and long enough to surround the upper edge of our container. We also mark and cut miniature green leaves and another larger one according to the size of the flowers we want to make, then we cut three squares for each flower we want to make, which should measure 2 cm of difference between each of them. Fold each square in half, making it a rectangle, then fold it in half again, cut the joints of the sides without reaching the end so that we have four smaller squares joined in the center. We take each square we fold it and taking as a reference the side that joins it to the other squares we fold it in half we cut it in an oval shape towards the tip and there we have our first petal we follow the procedure with all the squares and we will obtain four petals joined in the center we continue with the process until we have all the petals made.
Translated with www.DeepL.com/Translator (free version)
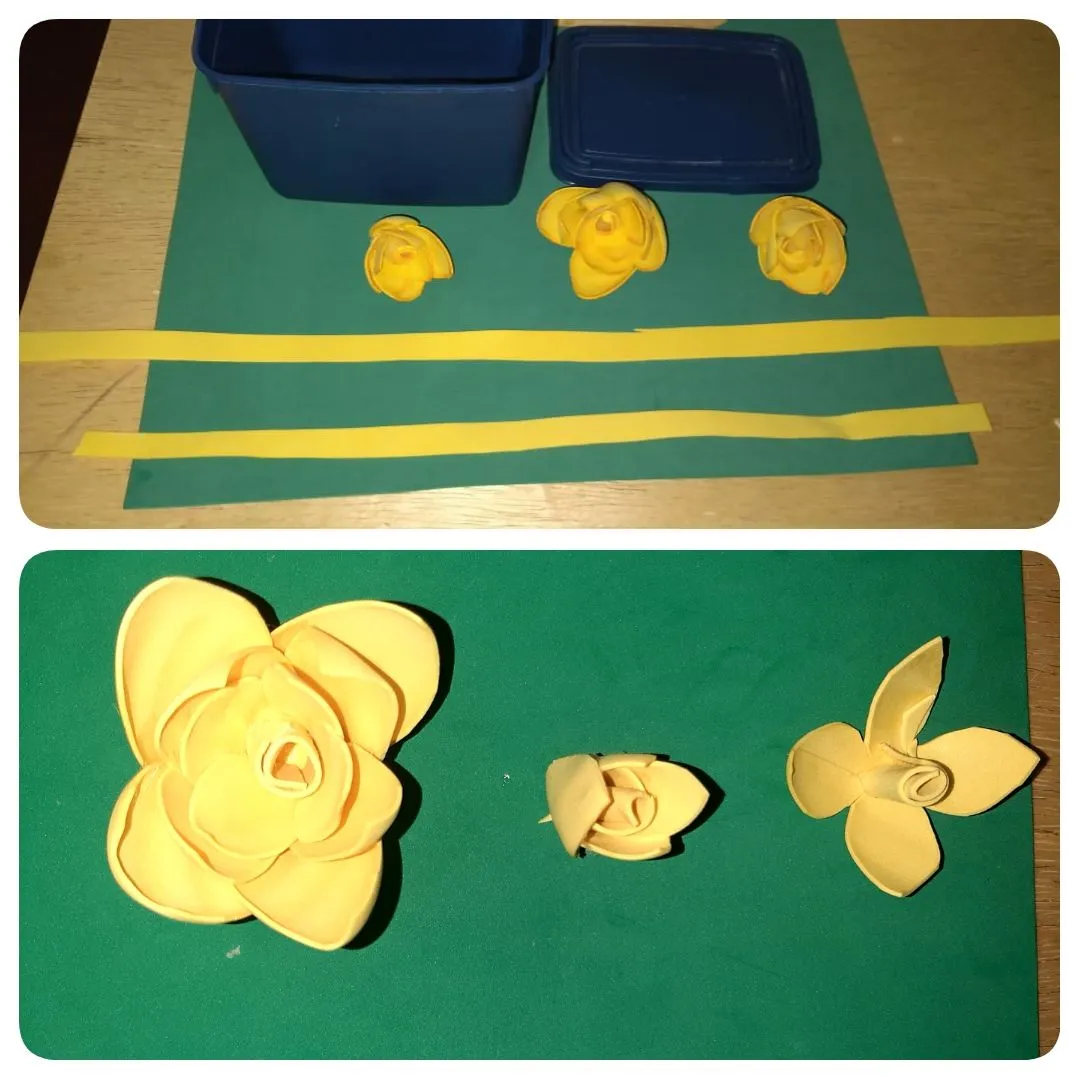
Segundo paso
Con ayuda de una plancha hacemos el proceso de termoforma con todos nuestros pétalos y hojas luego difuminamos las orillas, comenzamos a formar nuestras flores principales uniendo los pétalos del cuadro más pequeño uno encima de otro formando así el centro de la flor la cual pegaremos en el centro de los otros pétalos iremos pegando nuestros segundos pétalos un poco más hacia la orilla 1 de otros, agarramos nuestro último y más grande cuarteto de pétalos lo unimos pegándole los anteriores encima del centro y continuamos pegando cada uno más a la orilla de los pétalos del Cuarteto anterior.
cortamos tiritas muy delgada de foami de dos colores ponemos una al lado de la otra le damos vuelta formando una espiral, de la misma manera cortaremos foami verde y daremos forma de follaje o hierbas.
Second step
With the help of an iron we make the thermoforming process with all our petals and leaves then we blur the edges, we begin to form our main flowers joining the petals of the smallest square one on top of the other forming the center of the flower which we will glue in the center of the other petals we will go gluing our second petals a little more towards the edge 1 of others, We take our last and largest quartet of petals and glue the previous ones on top of the center and continue gluing each one more to the edge of the petals of the previous quartet.
We cut very thin strips of foami of two colors, put one next to the other and turn it around forming a spiral, in the same way we will cut green foami and shape it into foliage or grasses.
Translated with www.DeepL.com/Translator (free version)
Tercer paso
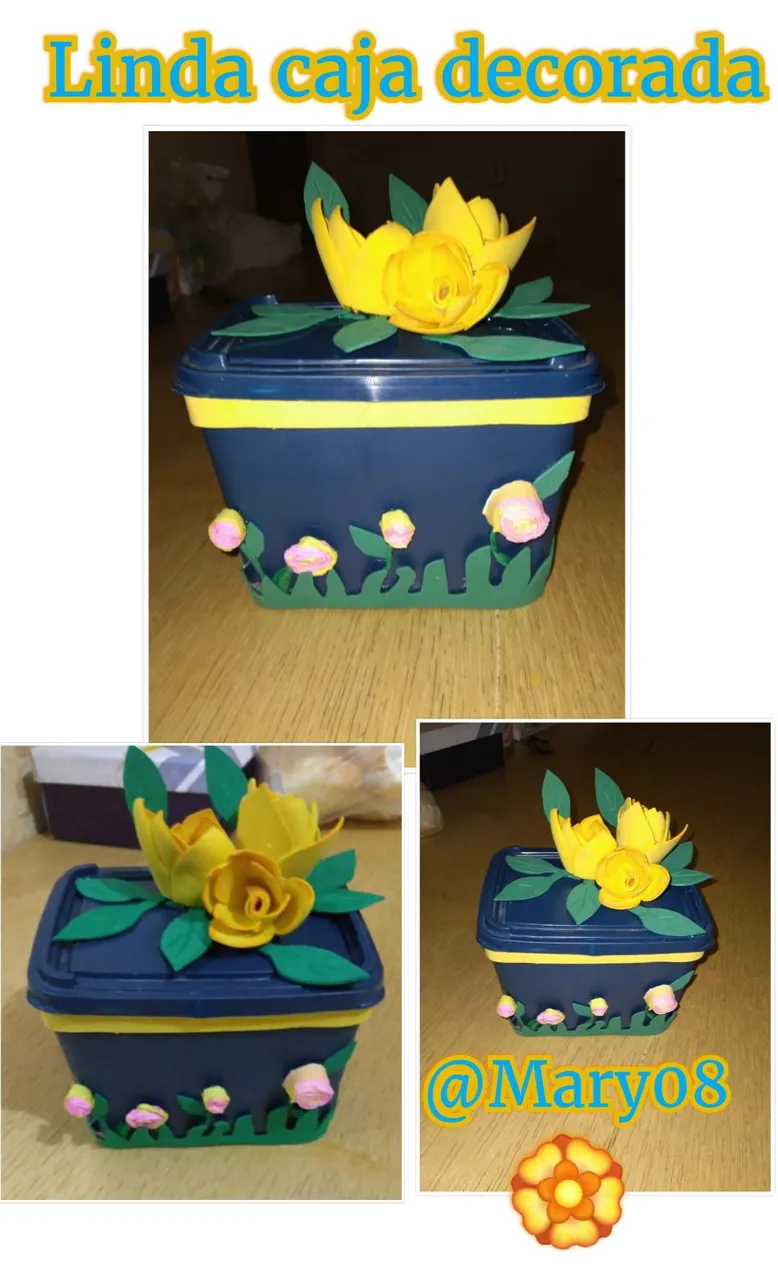
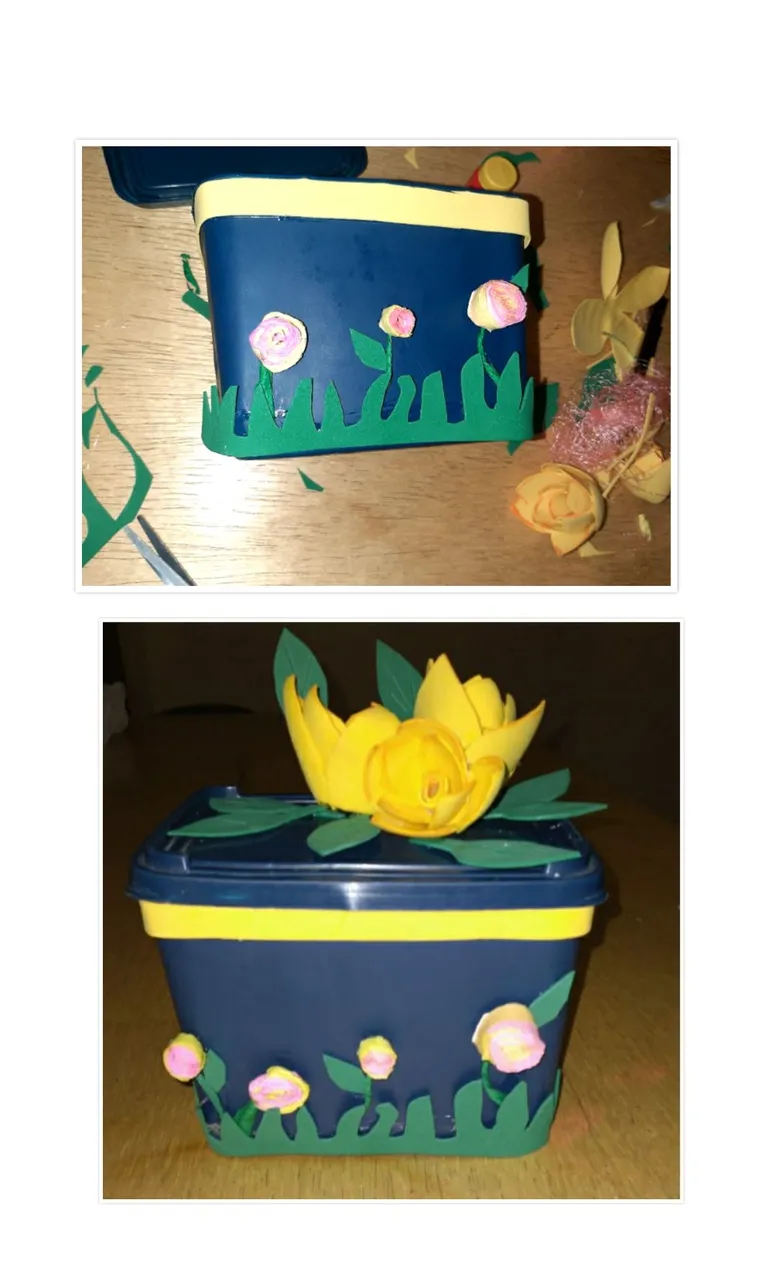
Agarramos nuestro envase bien limpio y seco en este caso uno de helado, le pegamos nuestra tira de foami en todo el contorno del borde superior luego en la parte inferior del mismo envase pegamos el foami en forma de hierba colocamos tiritas y en la punta las flores en forma de aspirar colocándole también las hojitas miniatura, continuamos pegando en la tapa del envase nuestras flores en este caso tres de distintos tamaños le colocamos tantas hojas cómo deseemos y así está culminada nuestra hermosa cajita decorada ideal para guardar instrumentos de costura. Pinturas. Pinzas y lazos de las niñas. O cualquier otra cosa que deseemos tener organizada
Third step
We take our clean and dry container in this case one of ice cream, we glue our strip of foami around the contour of the top edge then at the bottom of the same container we glue the foami in the form of grass we place strips and at the tip of the flowers in the form of aspire also placing the miniature leaves, we continue gluing on the lid of the container our flowers in this case three of different sizes we place as many leaves as we want and so is completed our beautiful decorated box ideal for storing sewing instruments. Paintings. Tweezers and ribbons of the girls. Or anything else we want to have organized
Translated with www.DeepL.com/Translator (free version)
Este es mi tutorial de hoy Espero que les sea de Gran utilidad. De antemano Gracias por leerme Se les quiere y se les agradece su receptividad
This is my tutorial for today. I hope you find it very useful. Thank you in advance for reading it. I love you and thank you for your receptivity.