Hola Amigos de Hive Diy!! Cuantas veces no tenemos una fiesta, o ahora que se acerca la época navideña y queremos dar una tarjeta, dar un regalo en dinero para alguna boda o fiesta de 15, o entregar una gift card y no tenemos donde dar ese detalle, pues les cuento que me paso hace un par de días mi mamá fue a un retiro y nos pidieron a los familiares cercanos que le escribiéramos una carta expresando nuestros sentimientos y agradecimiento. Todo bien hasta ahí, pero en casa no teníamos ni tarjetas ni sobres. Y como tenía un bloc de papel de colores, decidí hacer los sobres yo misma, hice dos modelos de sobres y les enseñare como hacerlos, lo mejor de todo es que no necesitarás ni pega.
Hello Friends of Hive Diy! How many times we do not have a party, or now that the Christmas season is approaching and we want to give a card, give a gift in money for a wedding or party of 15, or give a gift card and we have nowhere to give that detail, well I tell you that it happened to me a couple of days ago my mom went to a retreat and we were asked to close relatives to write a letter expressing our feelings and gratitude. Everything was fine up to that point, but at home we had no cards or envelopes. And since I had a pad of colored paper, I decided to make the envelopes myself, I made two models of envelopes and I will show you how to make them, the best of all is that you won't even need glue.
Materiales
Hojas de colores tamaño A4 (Carta)
Tijeras (opcional)
Calcomanías o vinil para decorar
Materials
A4 (Letter) size colored sheets
Scissors (optional)
Stickers or vinyl for decoration


Procedimiento / Procedure
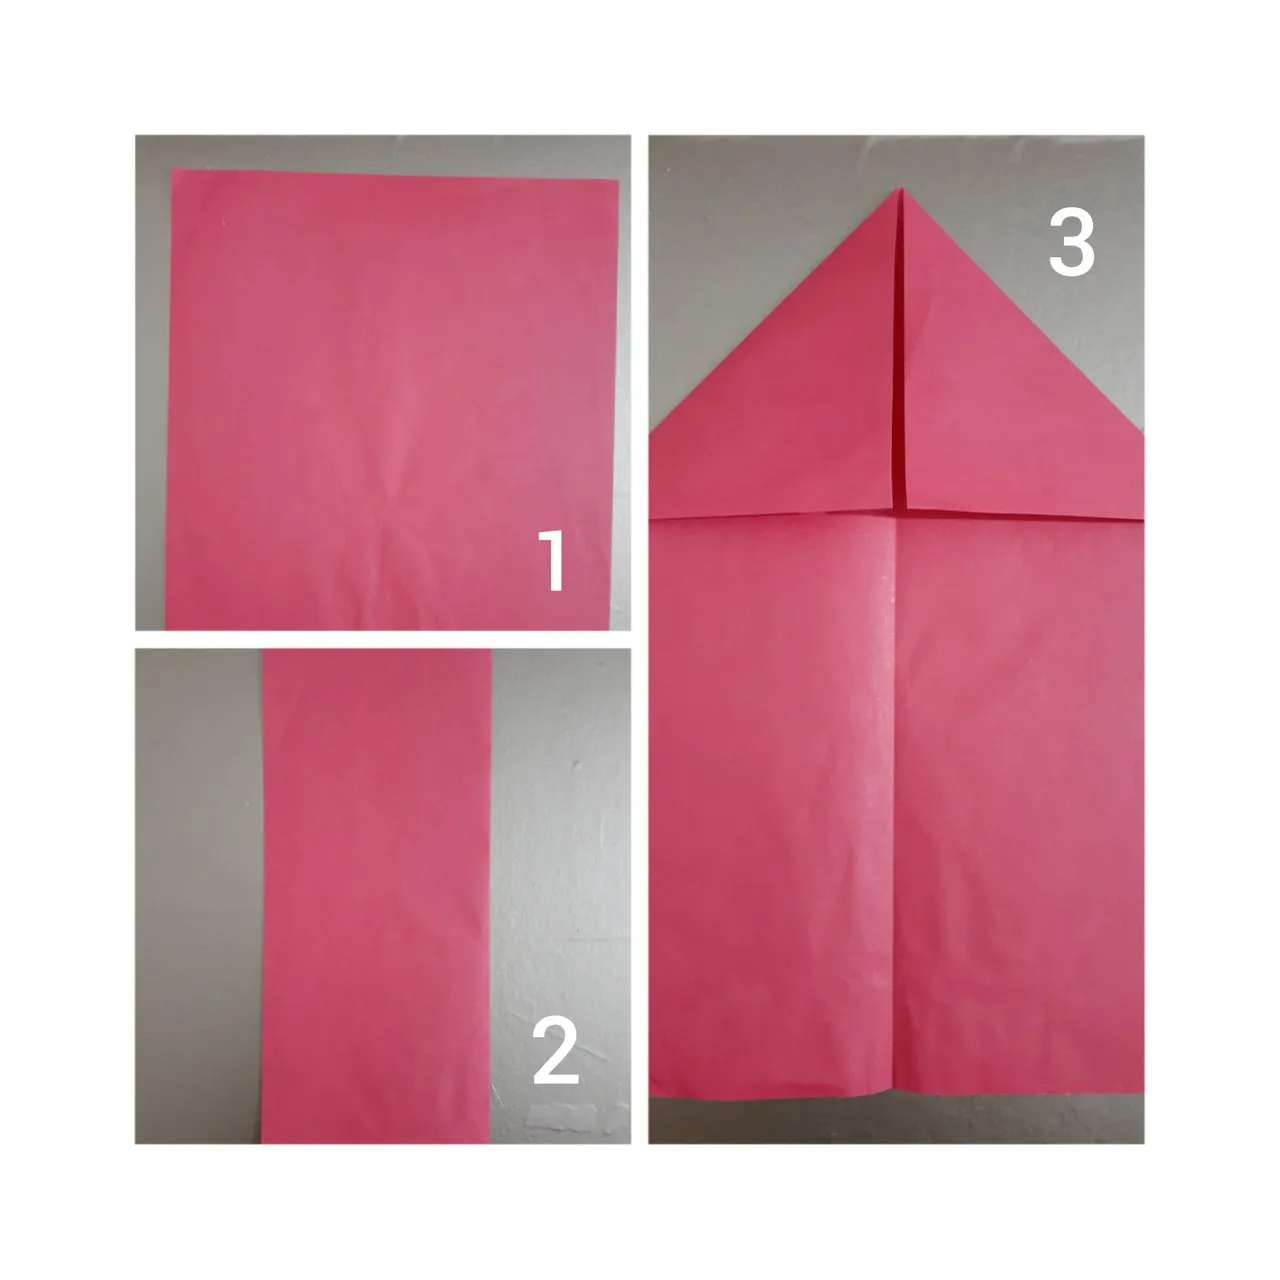
Vamos a tomar nuestra hoja y vamos a doblarla a la mitad (ver imagen)
We are going to take our sheet of paper and fold it in half (see image).

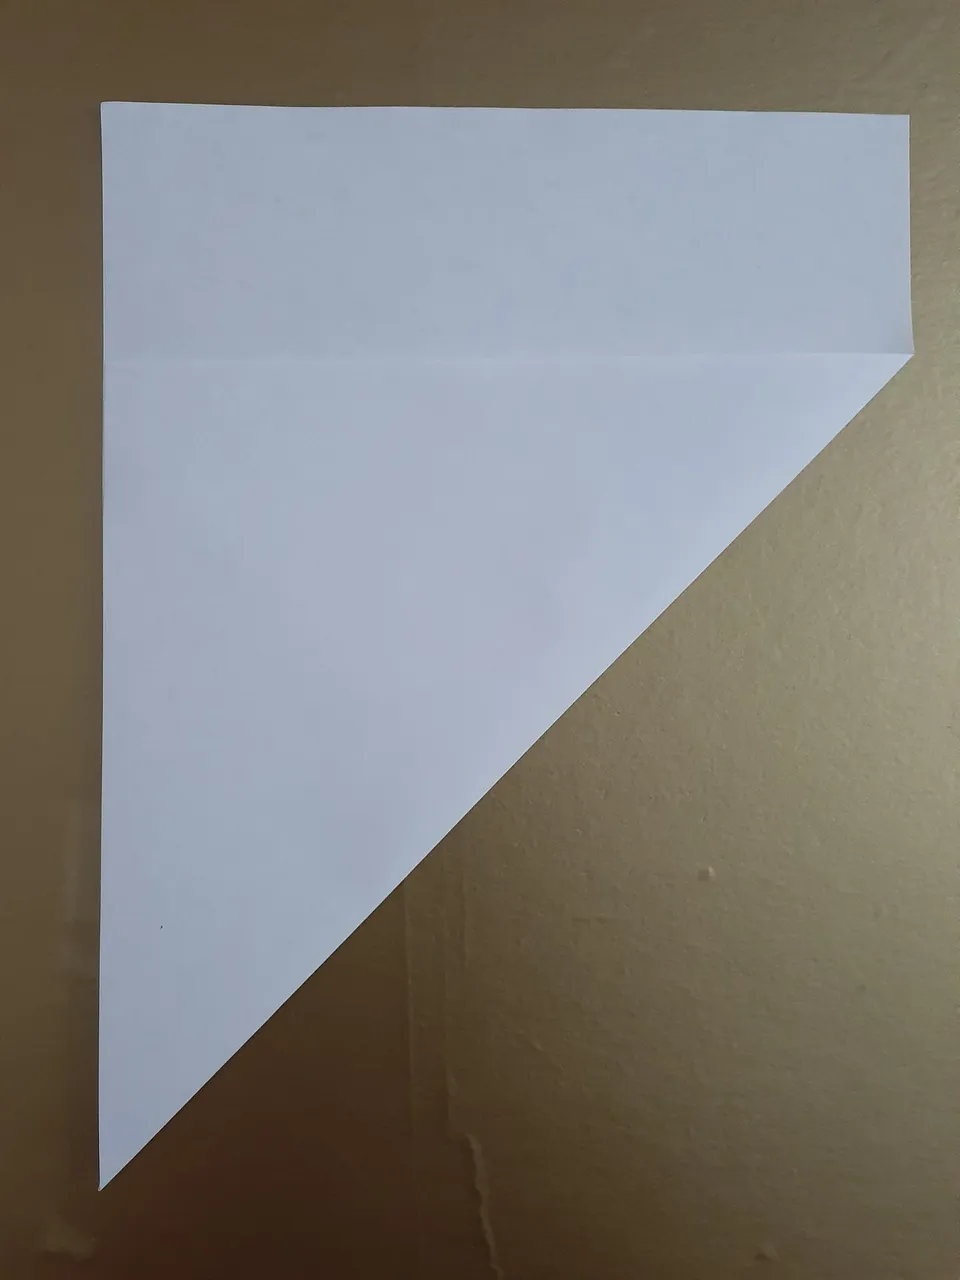
Abrimos y doblamos ambos extremos al centro, formando un triángulo (ver imagen)
Open and fold both ends to the center, forming a triangle (see image).
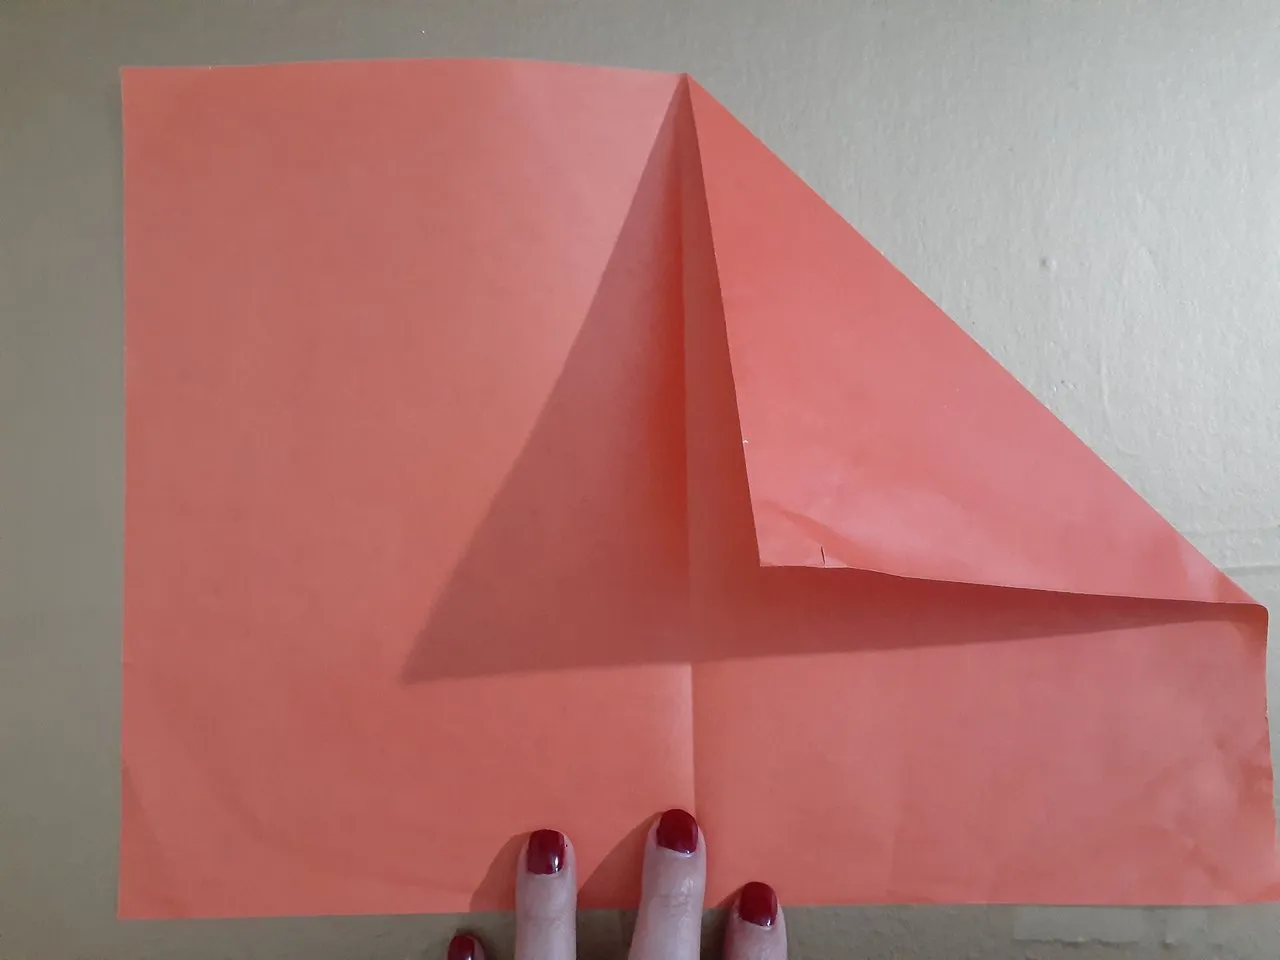

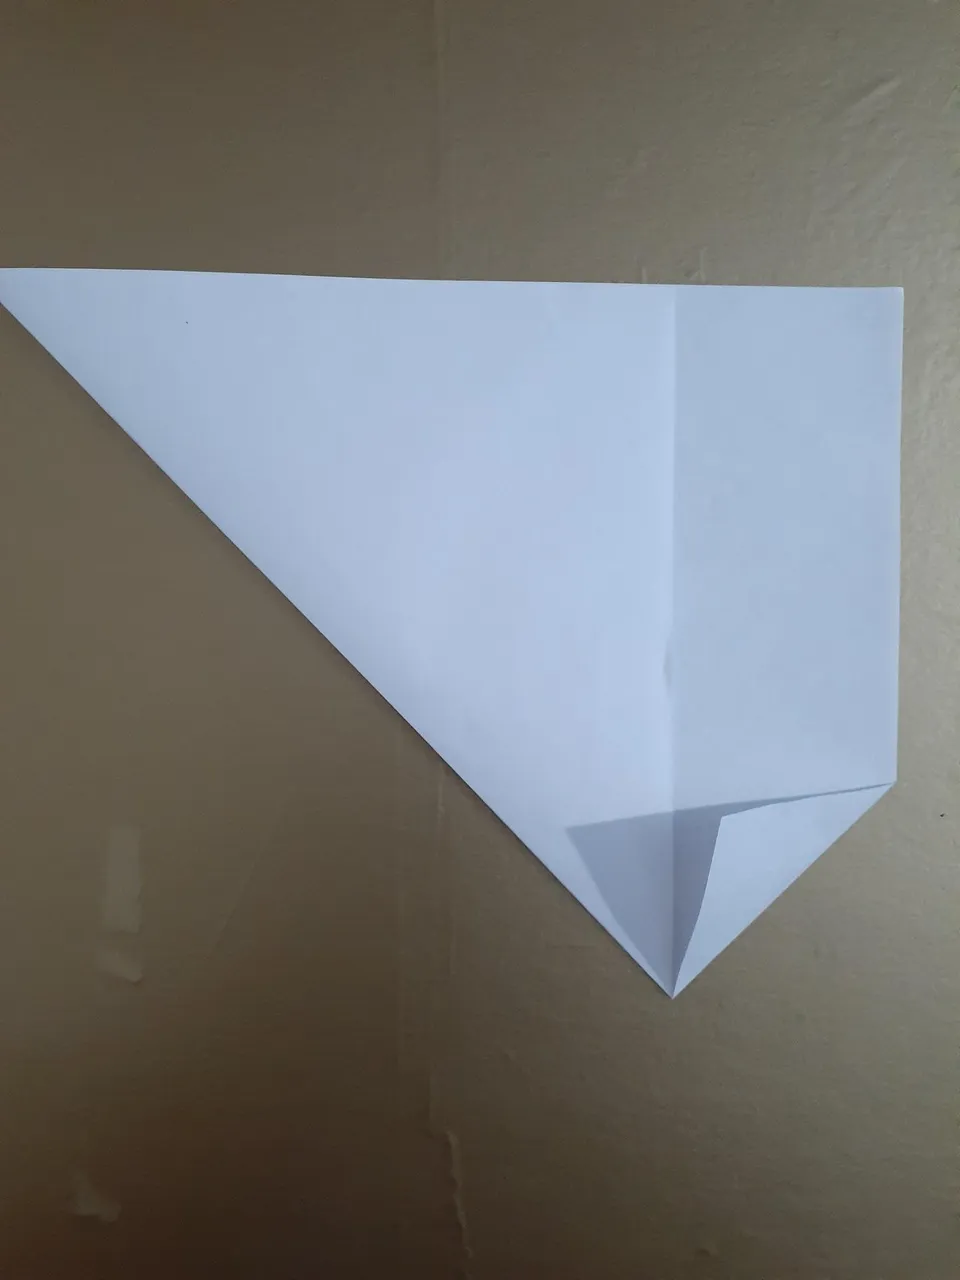
Tomamos nuestro extremo derecho y lo llevamos al centro (ver imágenes)
We take our right end and bring it to the center (see images).
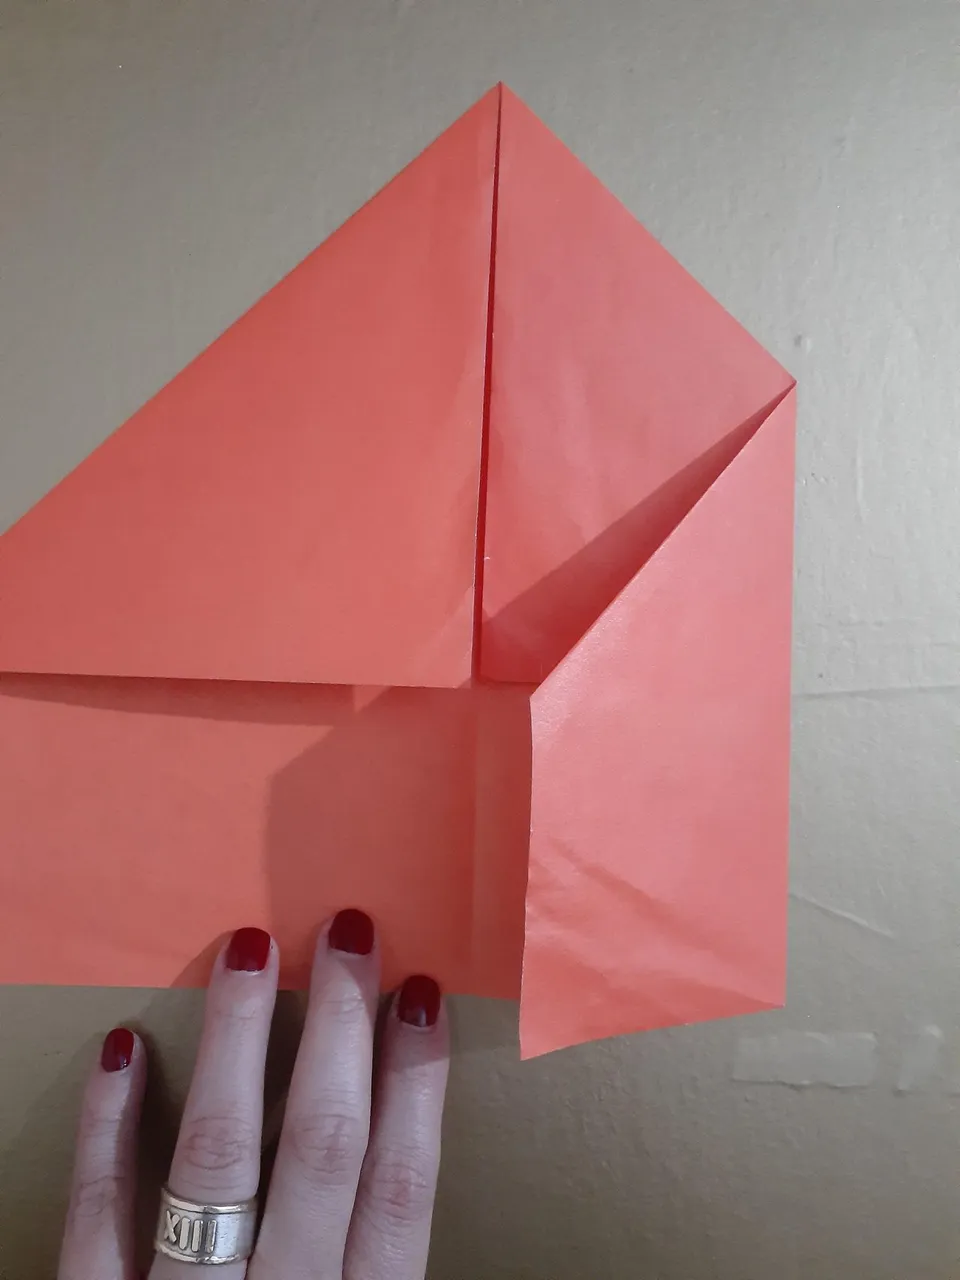
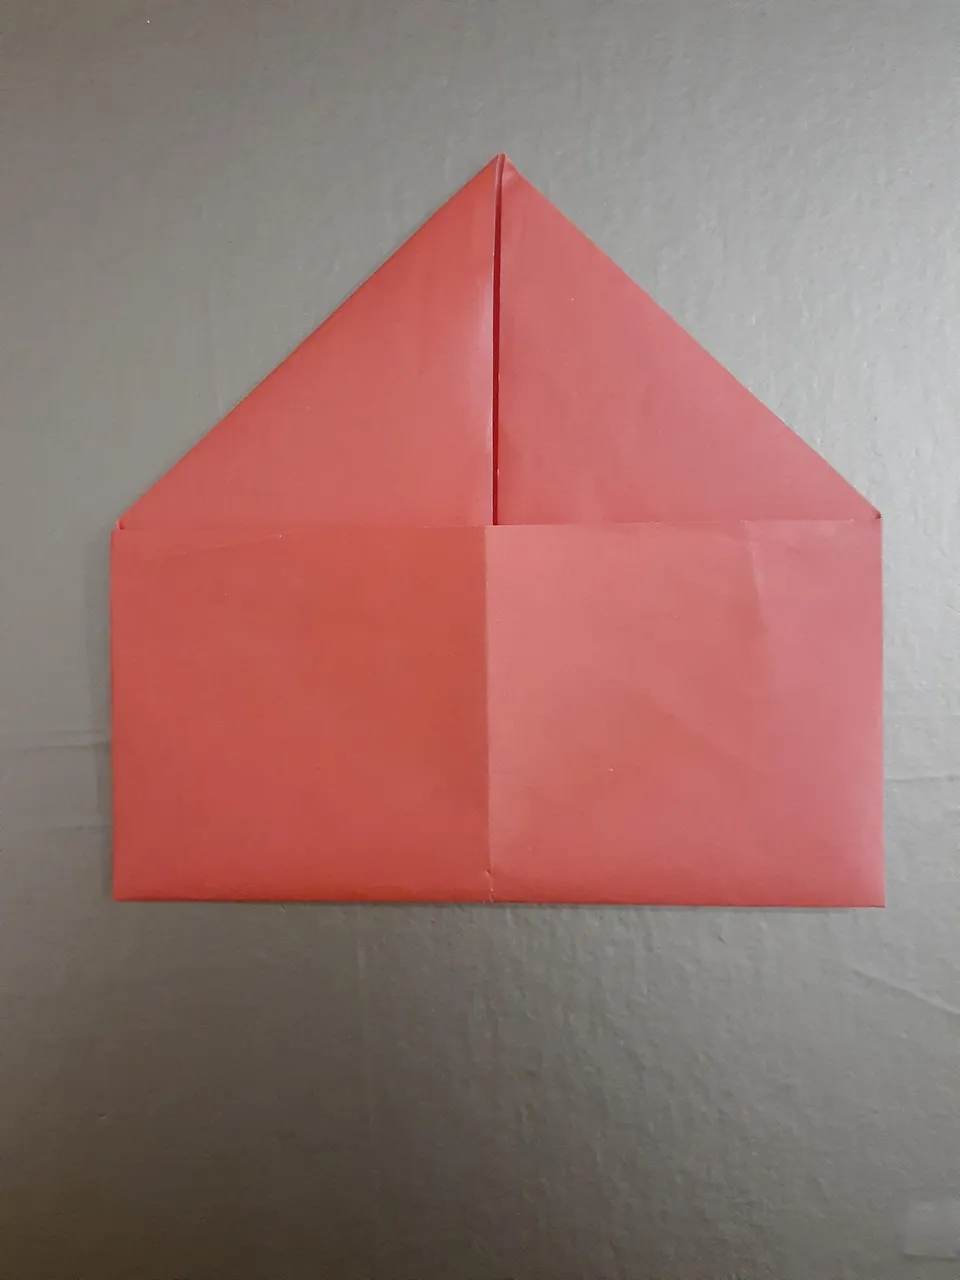
Luego, realizamos el mismo procedimiento del paso anterior del lado izquierdo, nos quedara algo como la imagen
Then, we do the same procedure as in the previous step on the left side, we will have something like the image below
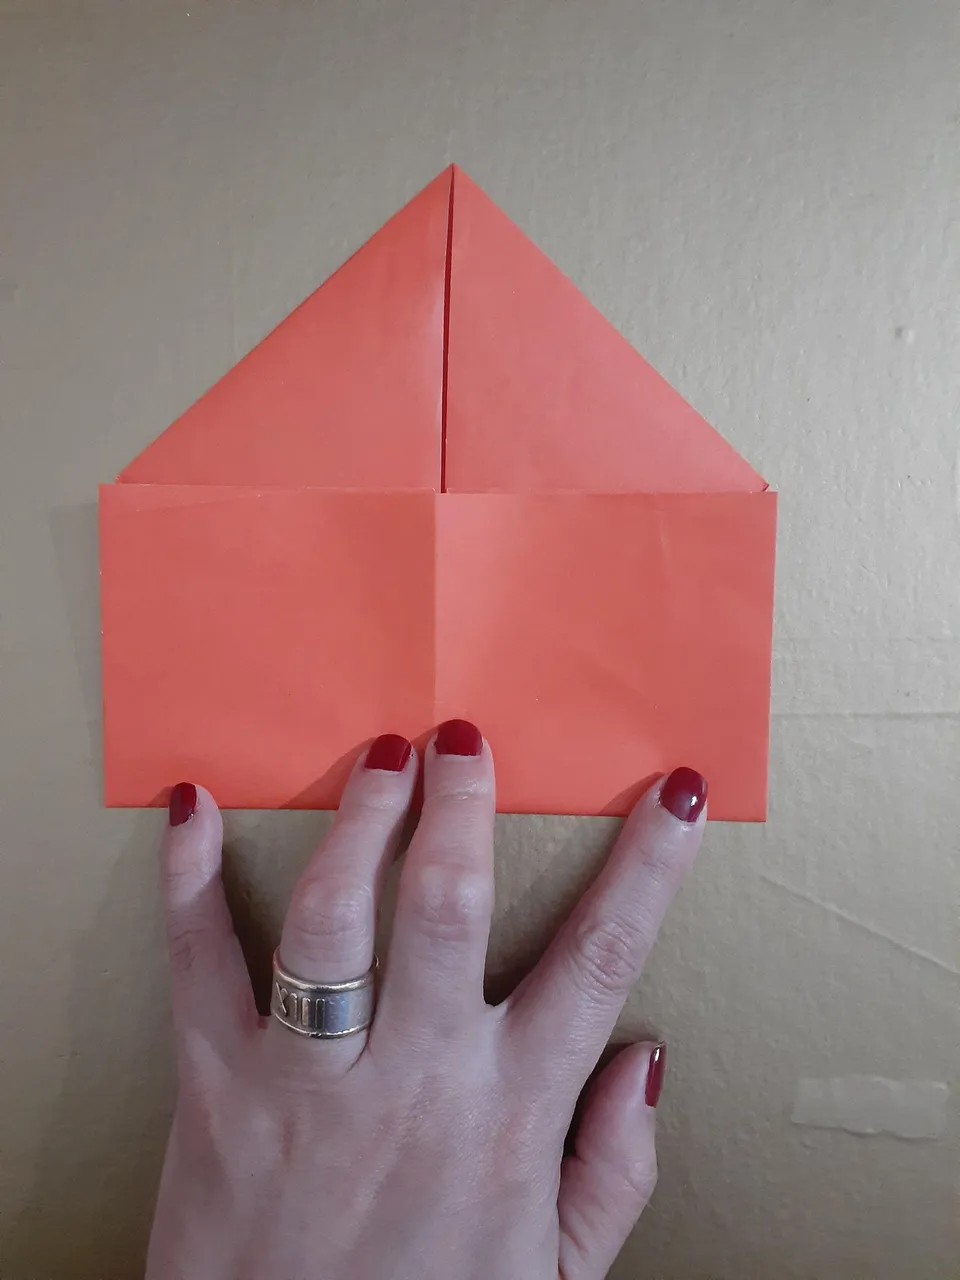
Vamos a tomar la parte inferior de nuestra hoja y la vamos a llevar a la mitad, uniendo con las esquinas superiores ( ver imágenes)
We are going to take the lower part of our sheet and we are going to take it to the middle, joining it with the upper corners (see images).
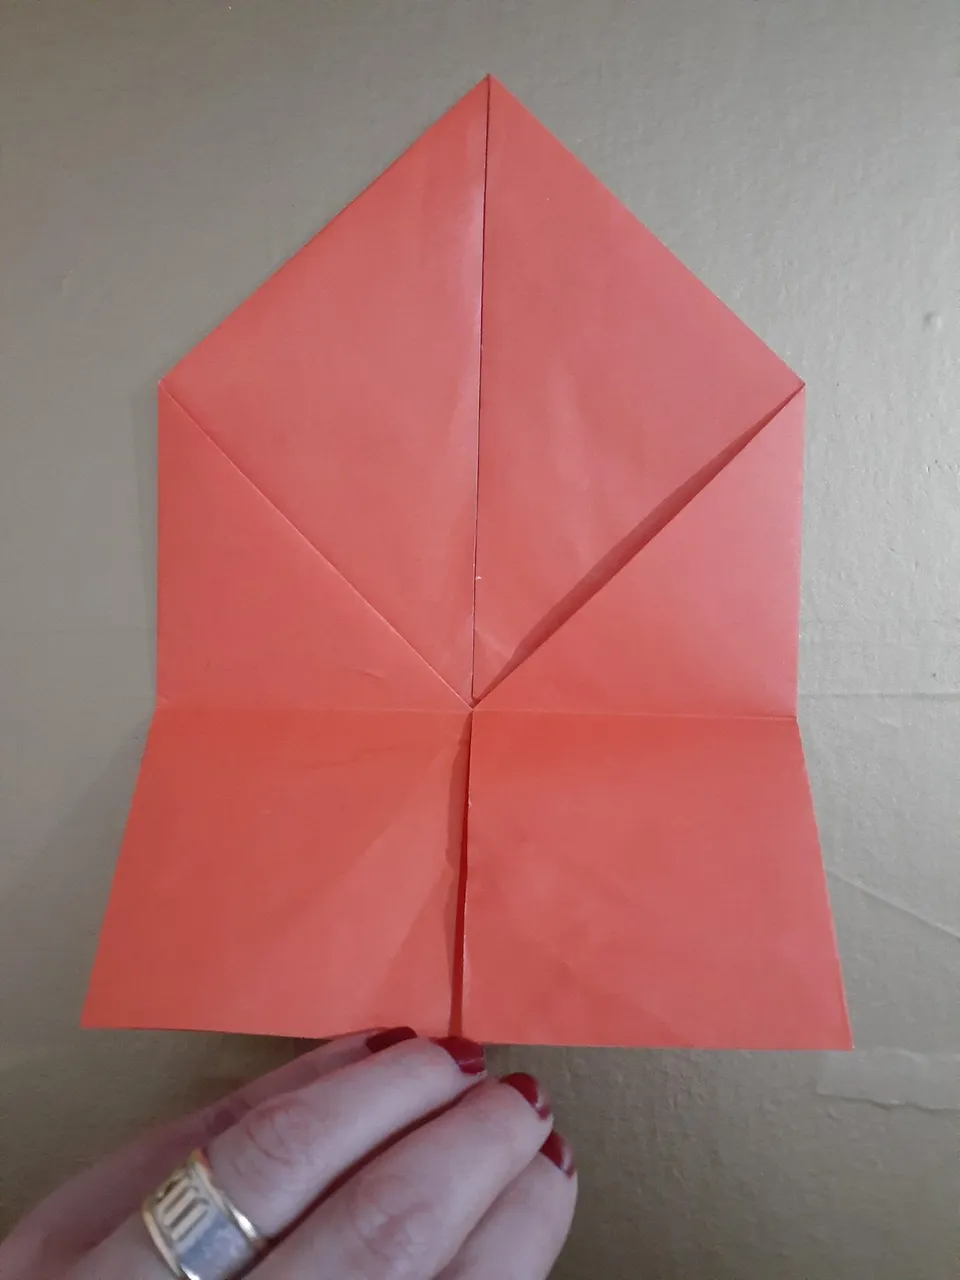
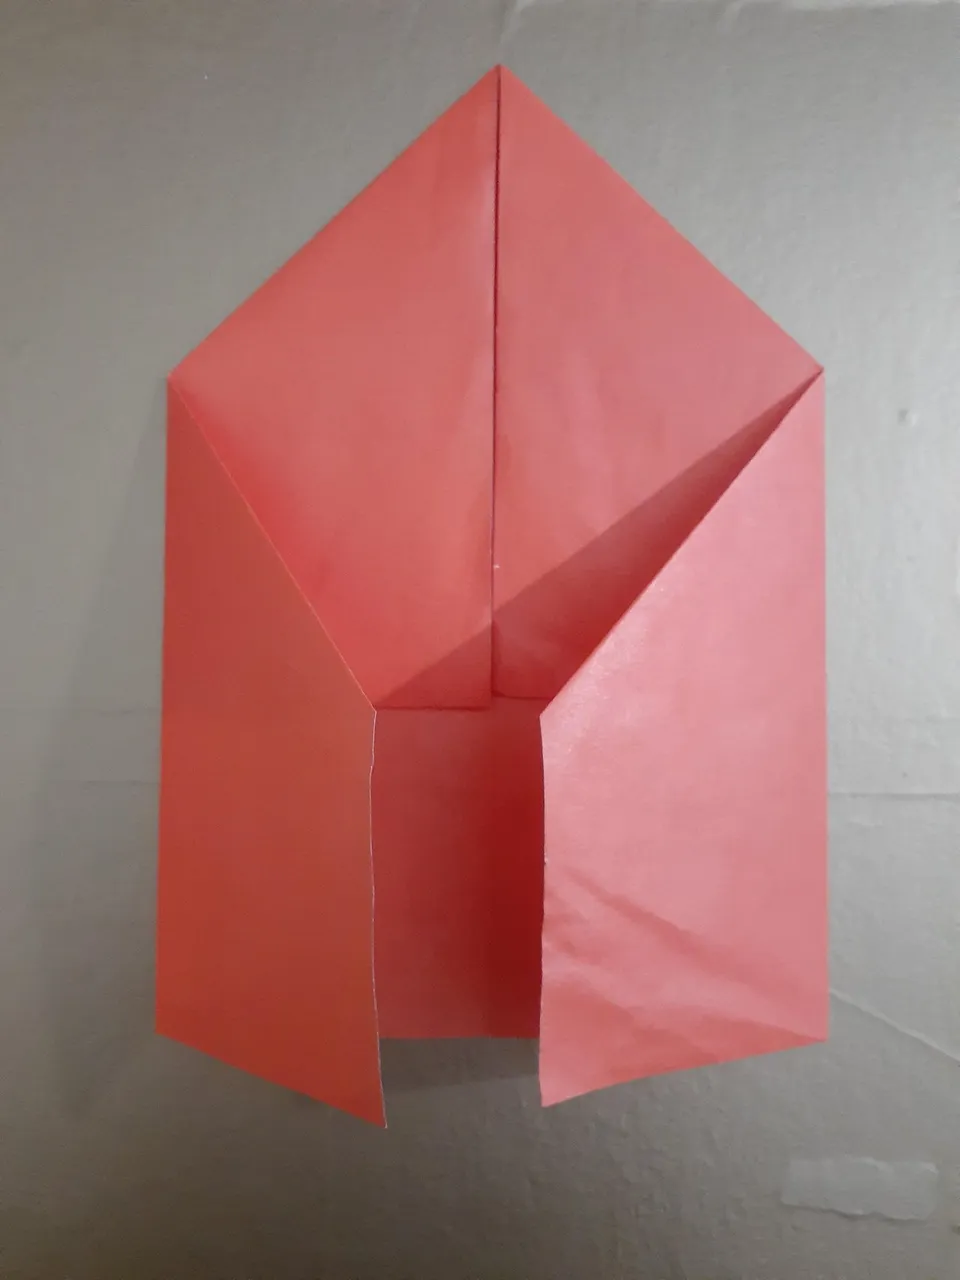
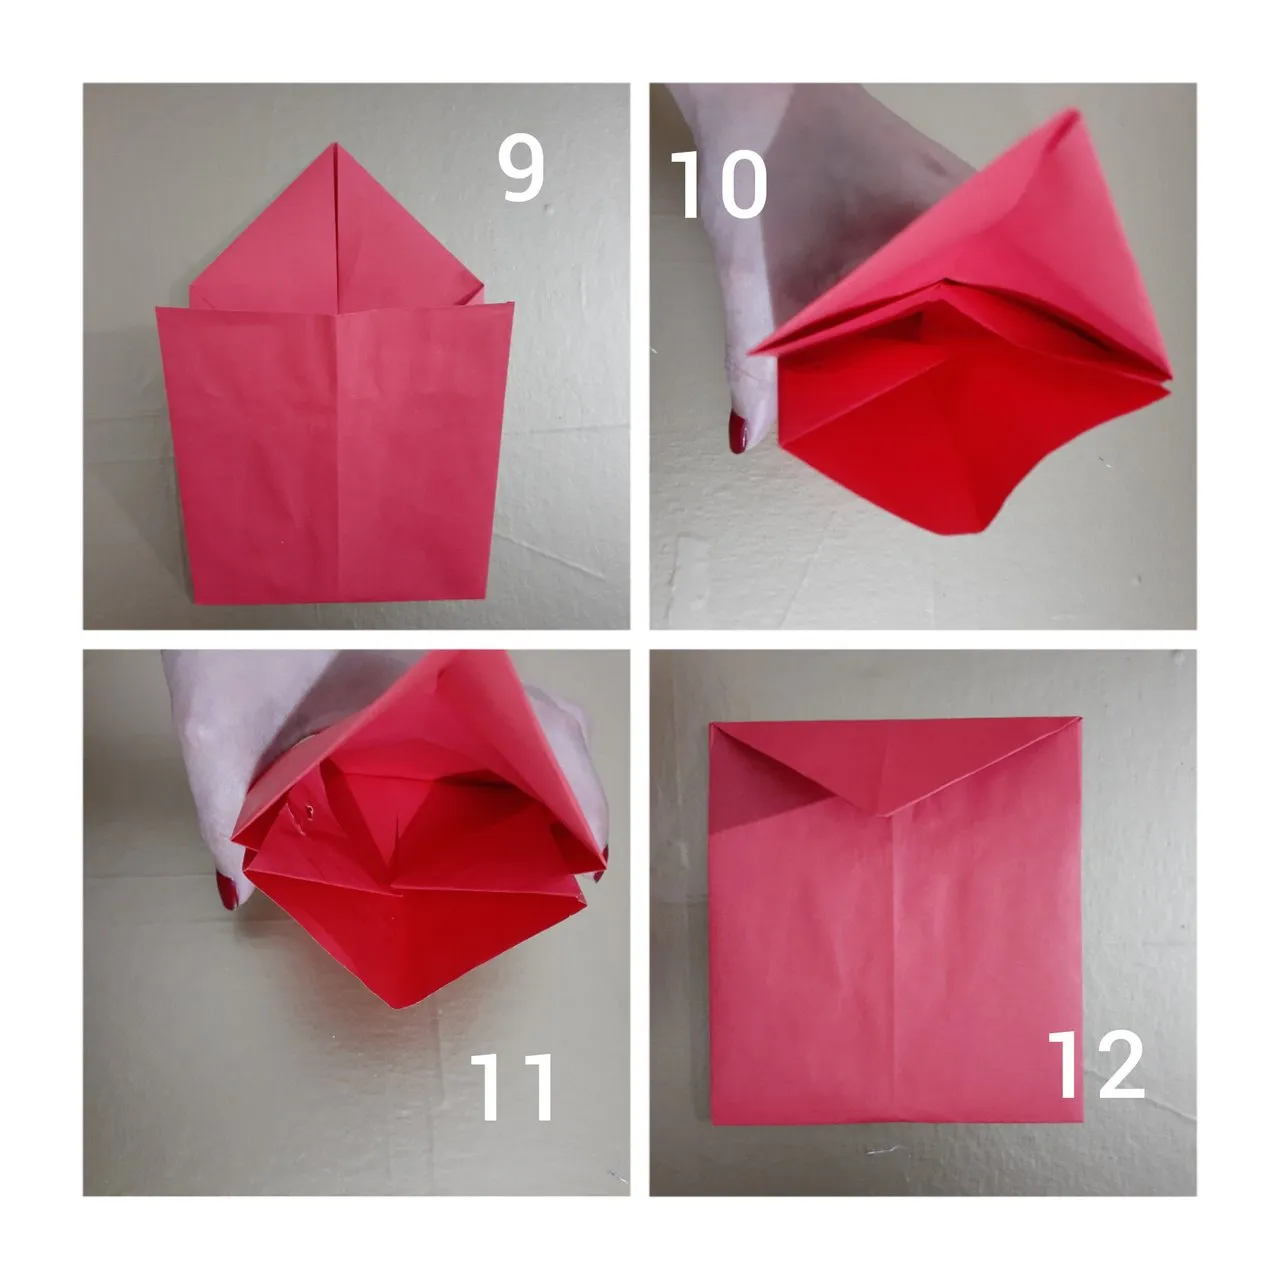
Luego, abrimos y vamos a formar un triángulo llevando la punta interior derecha hacia el lado derecho (ver imagen)
Then, we open it and we will form a triangle taking the right inner point to the right side (see image).
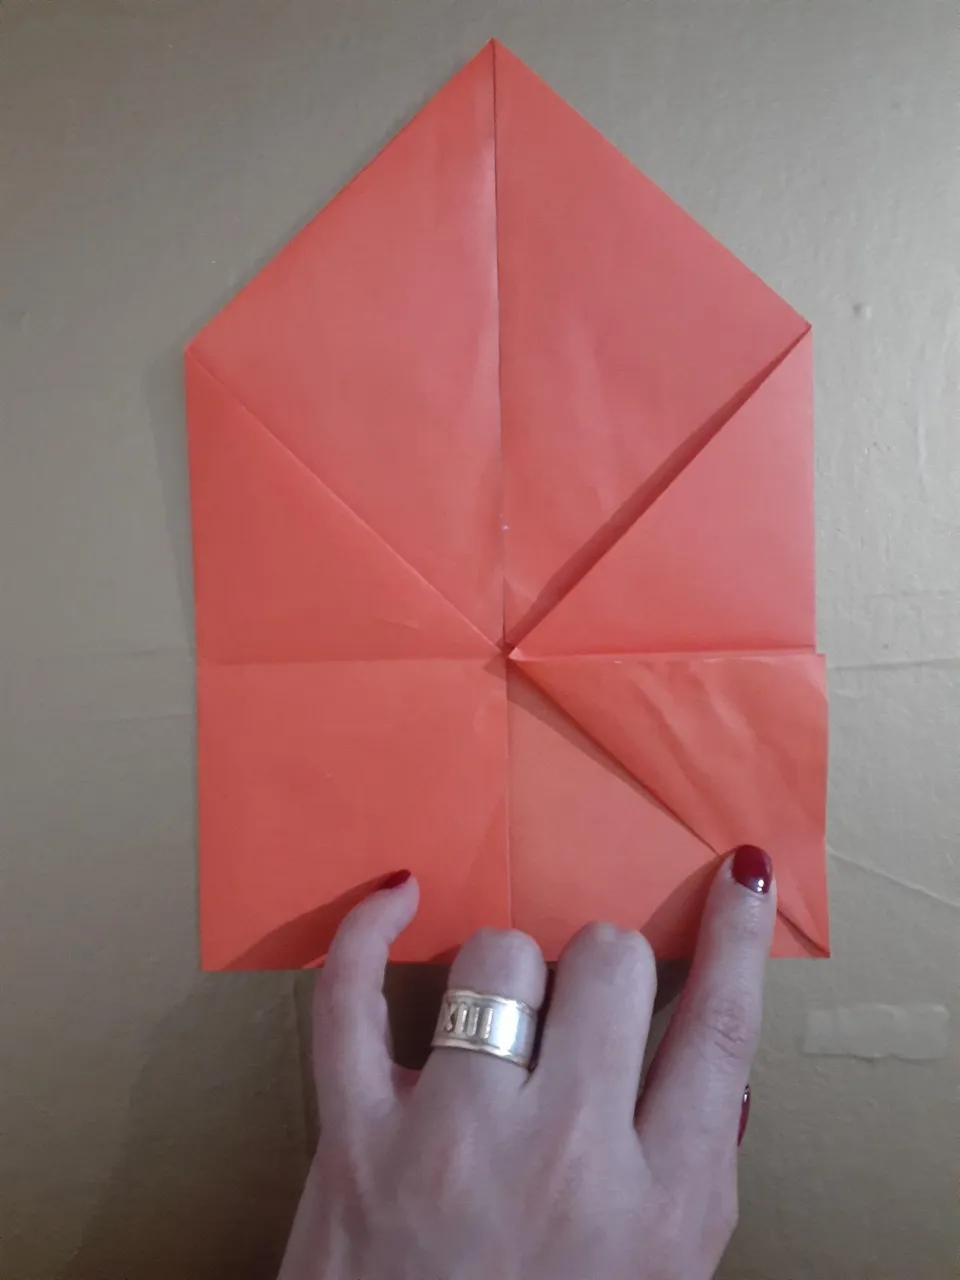
Repetimos el procedimiento del lado izquierdo y nos quedará así.
Repeat the procedure on the left side and we will have a triangle like this.
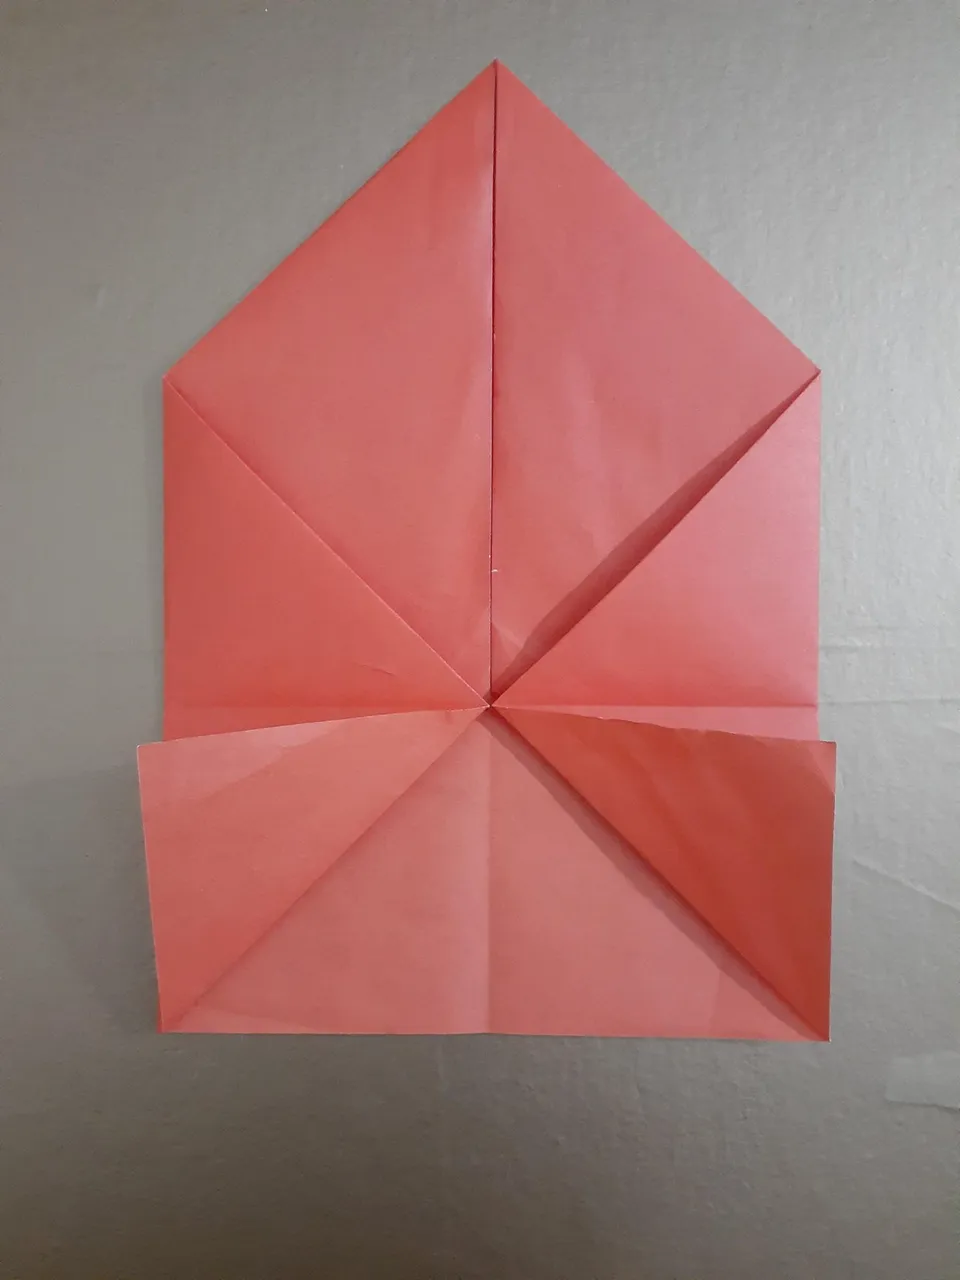
Vamos a finalizar el armado de nuestro sobre introducidos ambos extremos de los triángulos inferiores, por dentro de los triángulos que se formaron en la parte superior. Ajustamos bien adentro (ver imágenes)
We are going to finish the assembly of our envelope by inserting both ends of the lower triangles inside the triangles that were formed at the top. We adjust well inside (see images)

Volteamos y doblamos el triángulo grande hacia abajo .
Turn over and fold the big triangle downwards.

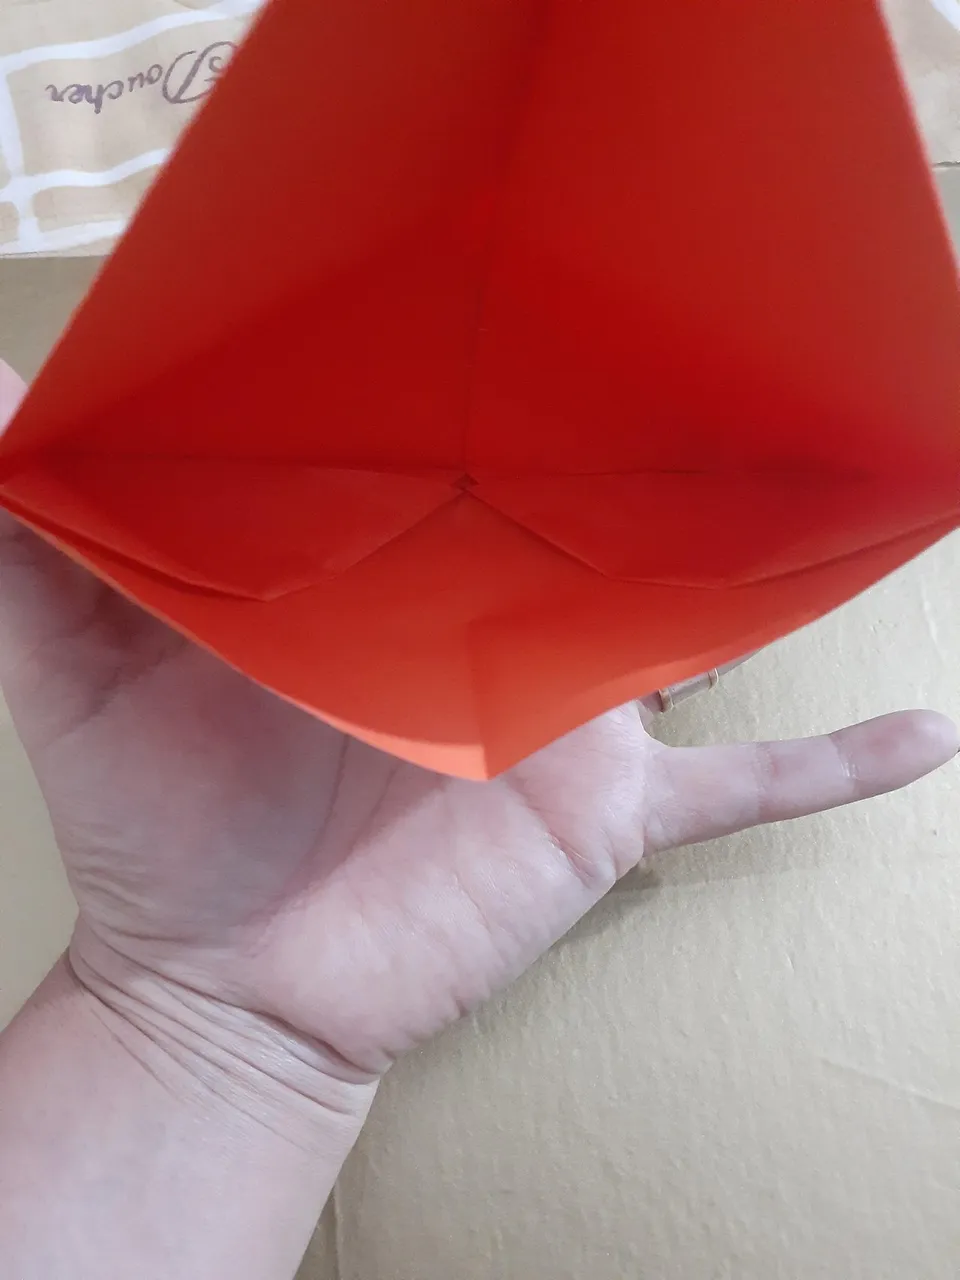
Sugerencia si quieren hacerlo más alto les dejo aquí las imágenes del paso a paso
Suggestion if you want to make it higher I leave here the images of the step by step.


Para decorar, yo corte con mi plotter Cricut Explore Air 2 algunas unas flores y unos corazones de vinil adhesivo, además, a parte también corte unas cartulinas para colocar algunas frases de motivación y agradecimiento.
To decorate, I cut with my Cricut Explore Air 2 plotter some flowers and some adhesive vinyl hearts, besides, I also cut some cardboard to place some motivational and thank you phrases.
Pueden en este paso, decorar sus sobres con calcomanías o pintar con marcadores.
You can decorate your envelopes with stickers or paint with markers.


Para nuestro Segundo Modelo de sobre:
For our second envelope model:
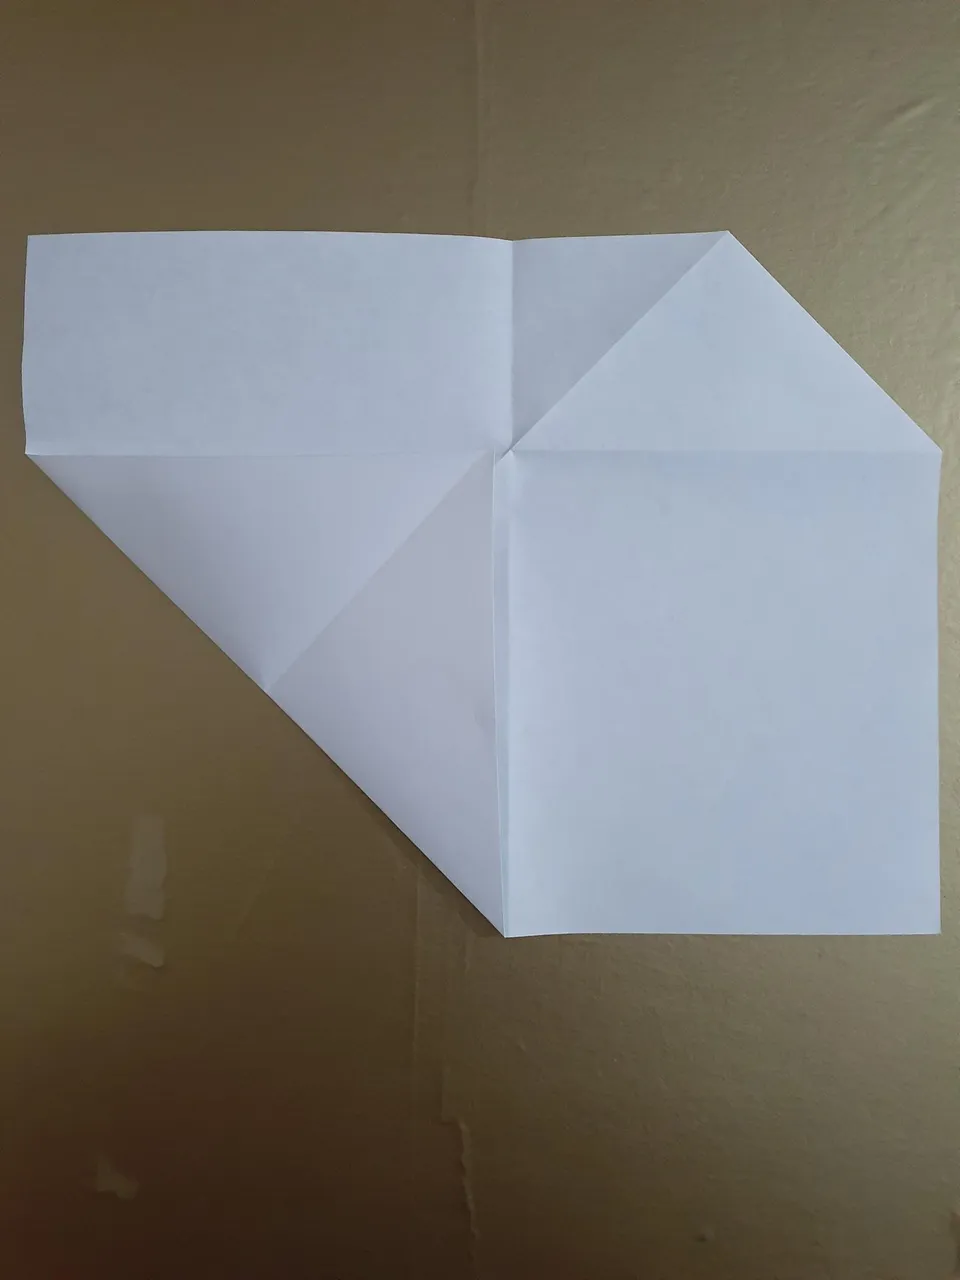
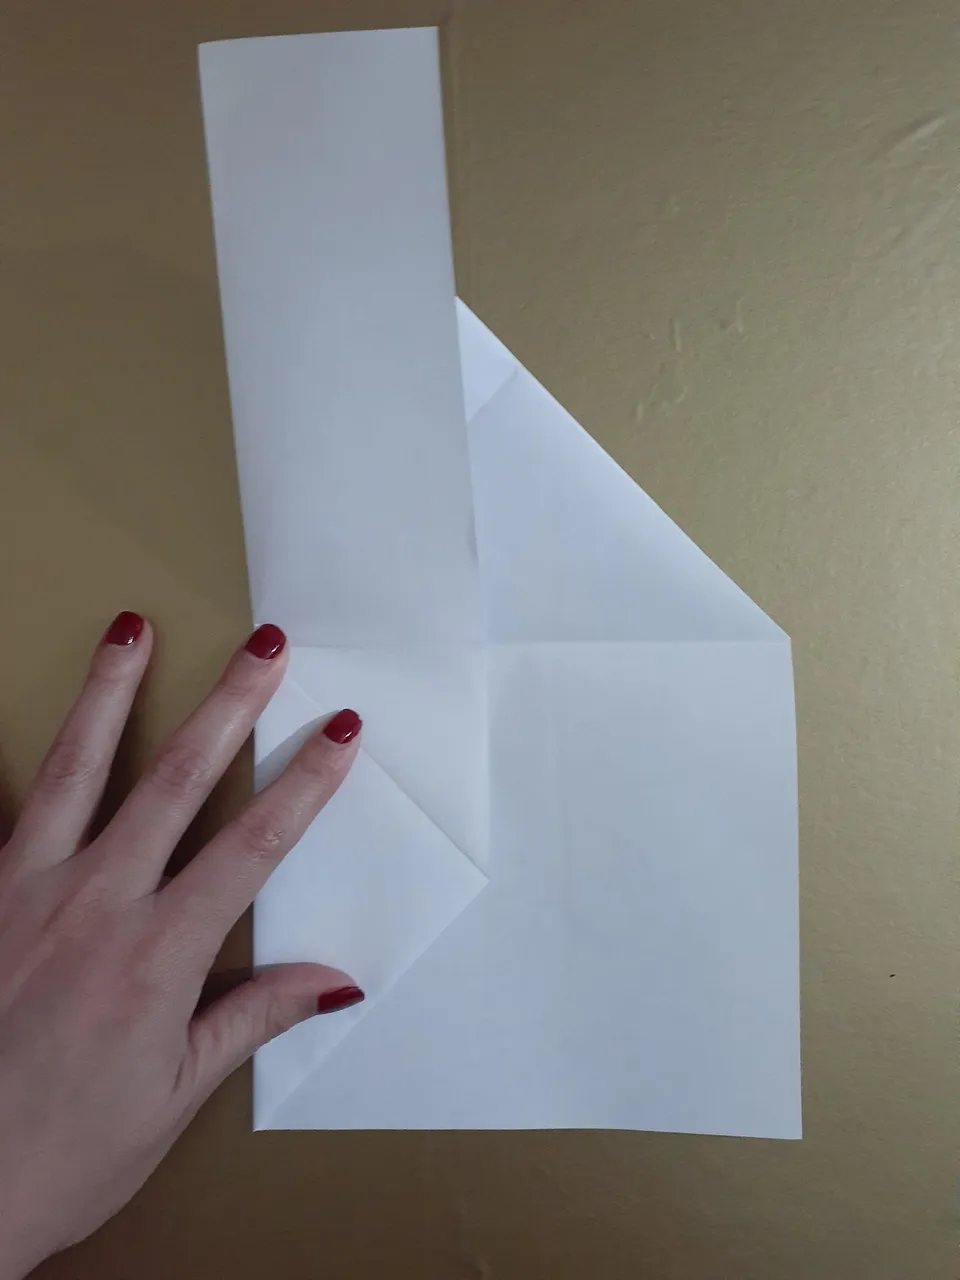
1.- Tomamos nuestra hoja y vamos a doblar hasta formar un triángulo, tal como se ve en la imagen
1.- We take our sheet and we are going to fold it until we form a triangle, as shown in the image.
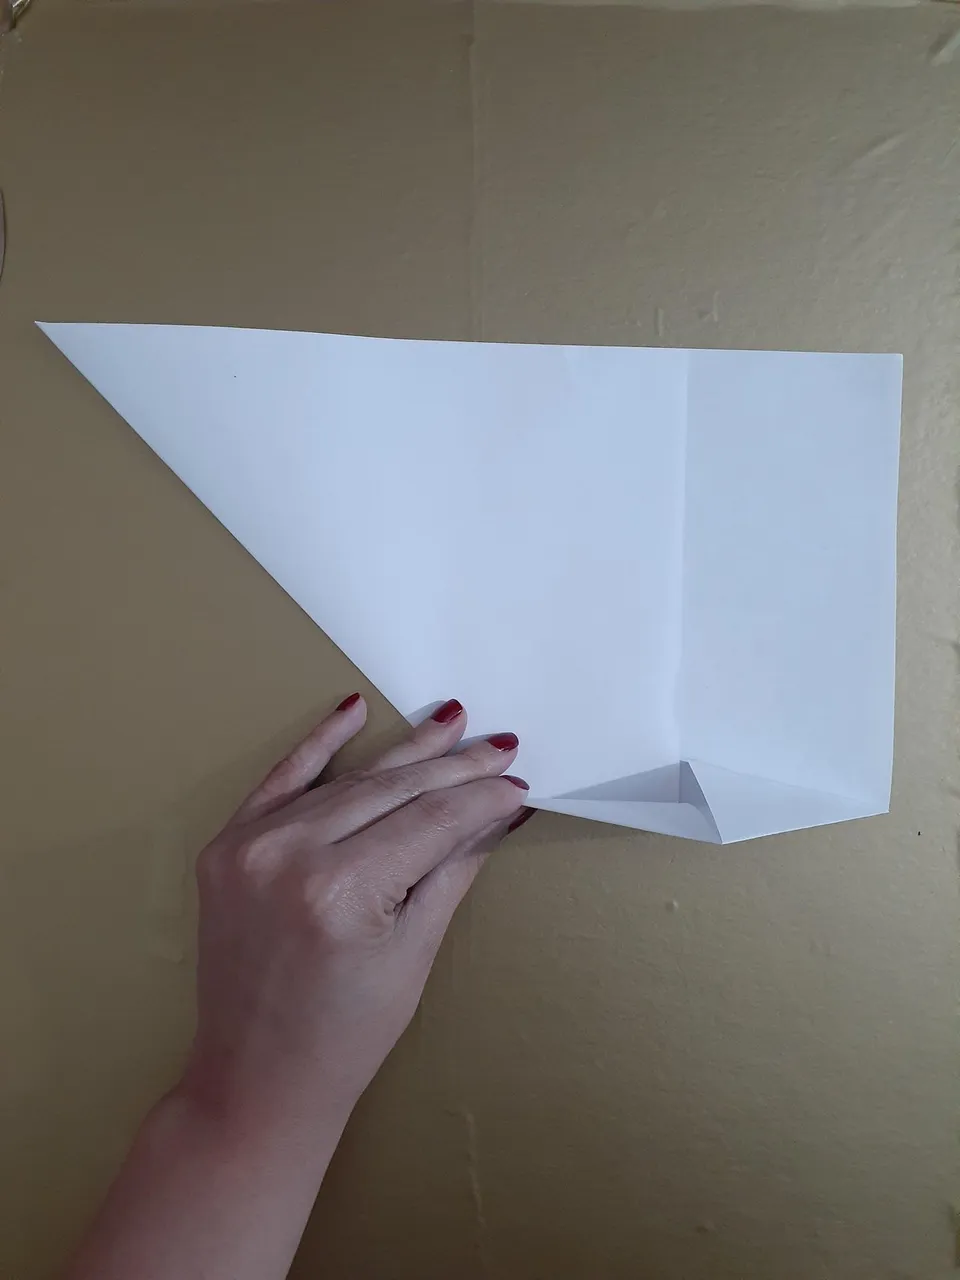
2.- Luego, vamos a doblar el extremo inferior derecho hasta el inicio de nuestro triangulo inicial, se va a formar un triángulo más pequeño (ver imágenes)
2.- Then, we are going to fold the lower right end until the beginning of our initial triangle, a smaller triangle will be formed (see images).
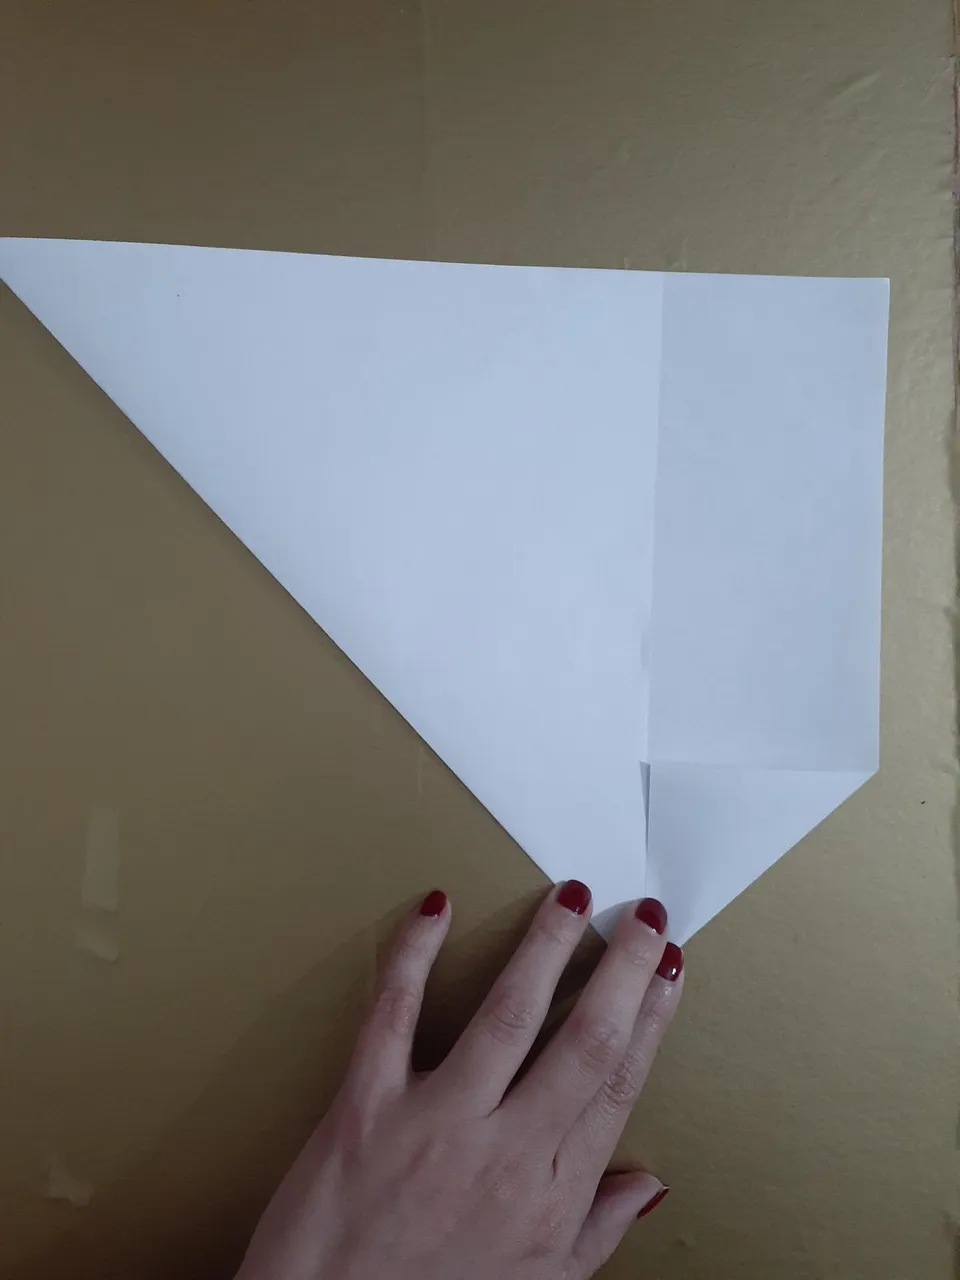
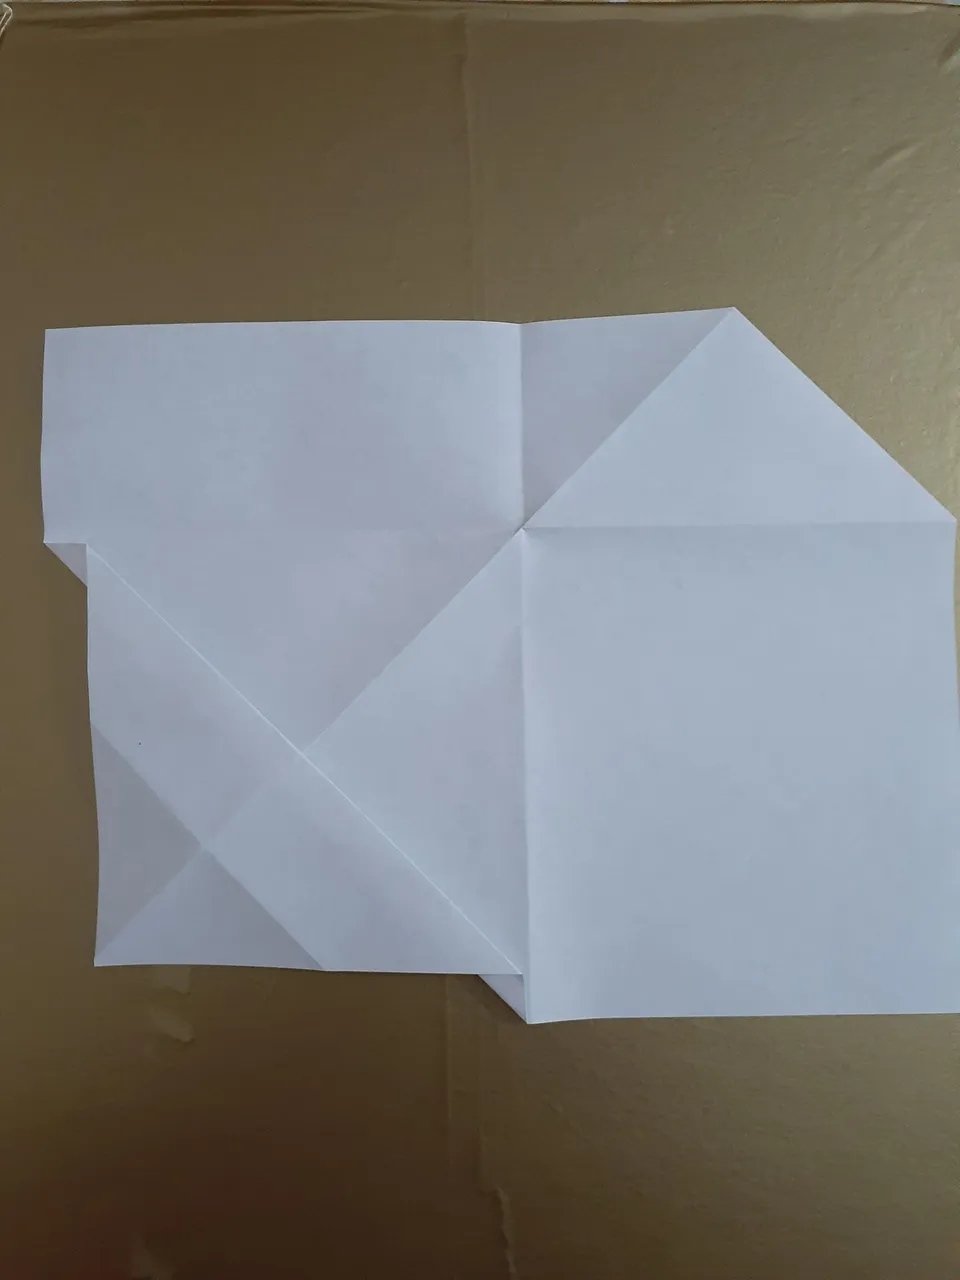
3.- Vamos a doblar, hasta el corte de nuestro triangulo pequeño, y se nos formara un tercer triangulo (ver imágenes)
3.- We are going to fold, up to the cut of our small triangle, and a third triangle will be formed (see images).
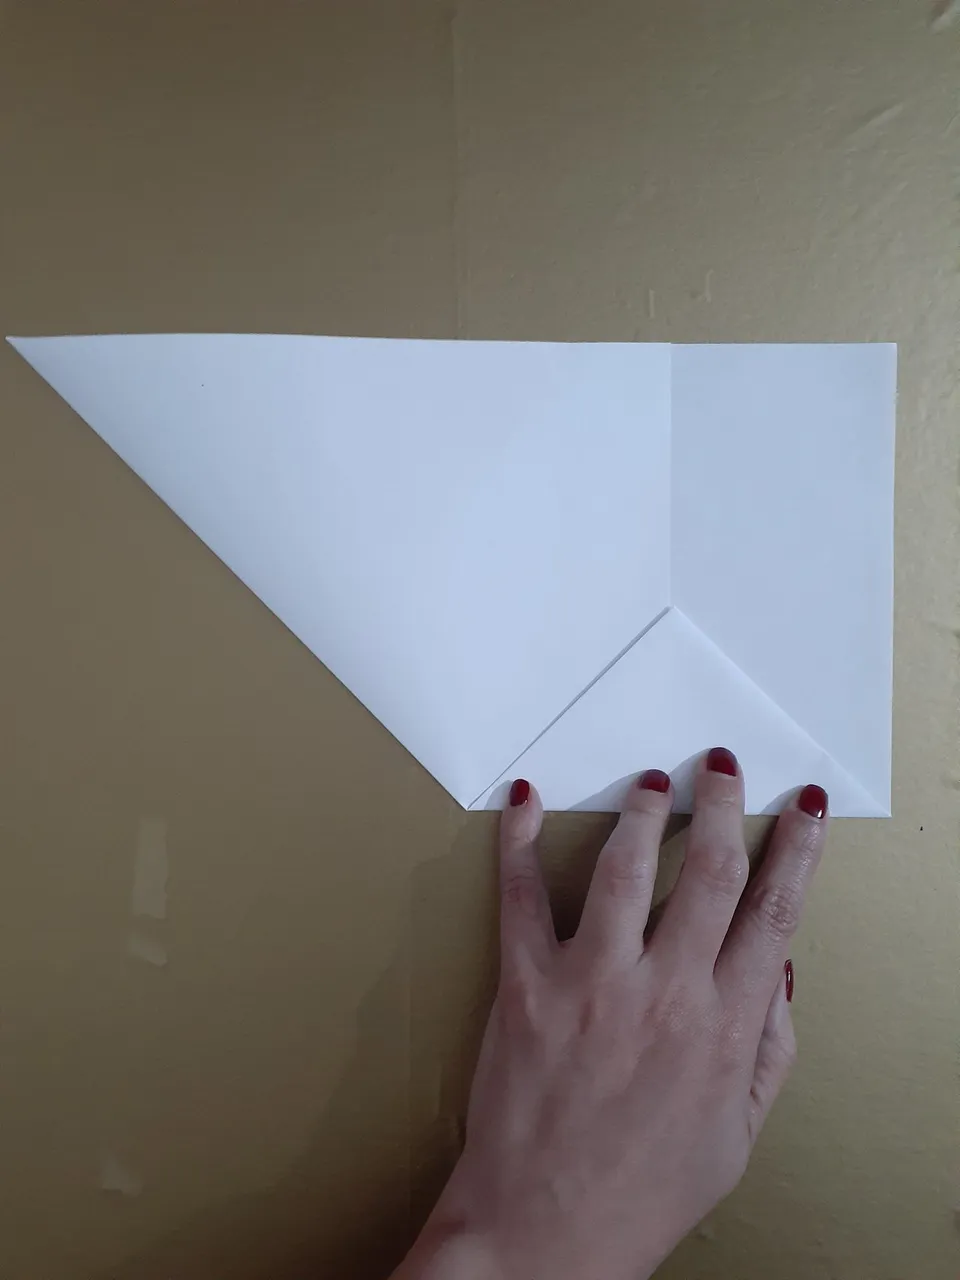
4.- vamos a doblar y unir nuestro triangulo o extremo derecho, y uniéndolo con el borde de nuestro triangulo pequeño (ver imágenes)
4.- we are going to fold and join our triangle or right end, and joining it with the edge of our small triangle (see images).

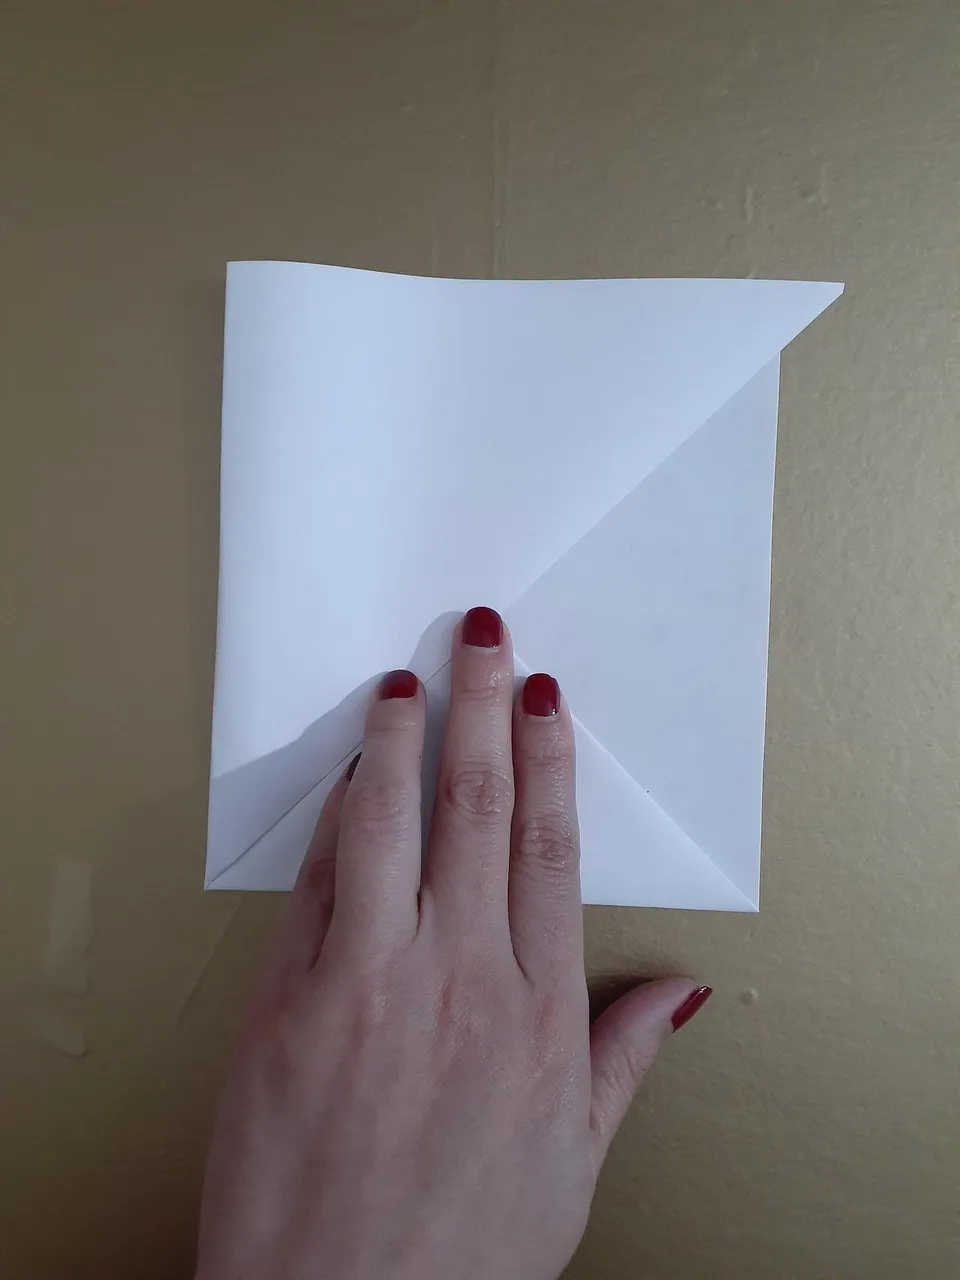
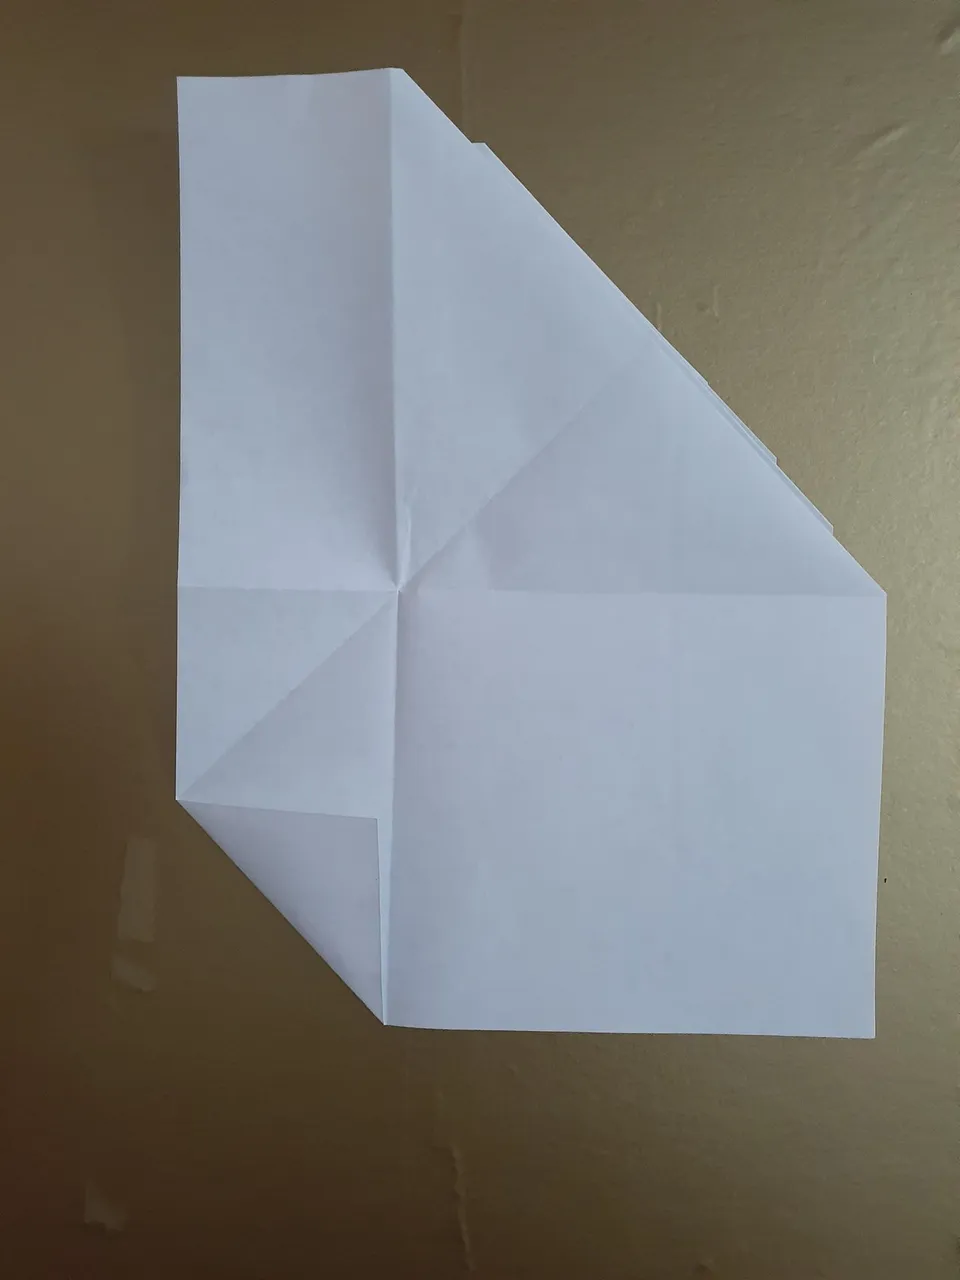
5.- abrimos y volteamos nuestra hoja dejando nuestro triangulo más pequeño en la parte inferior derecha (ver imagen)
5.- we open and flip our sheet leaving our smaller triangle on the lower right side (see image).
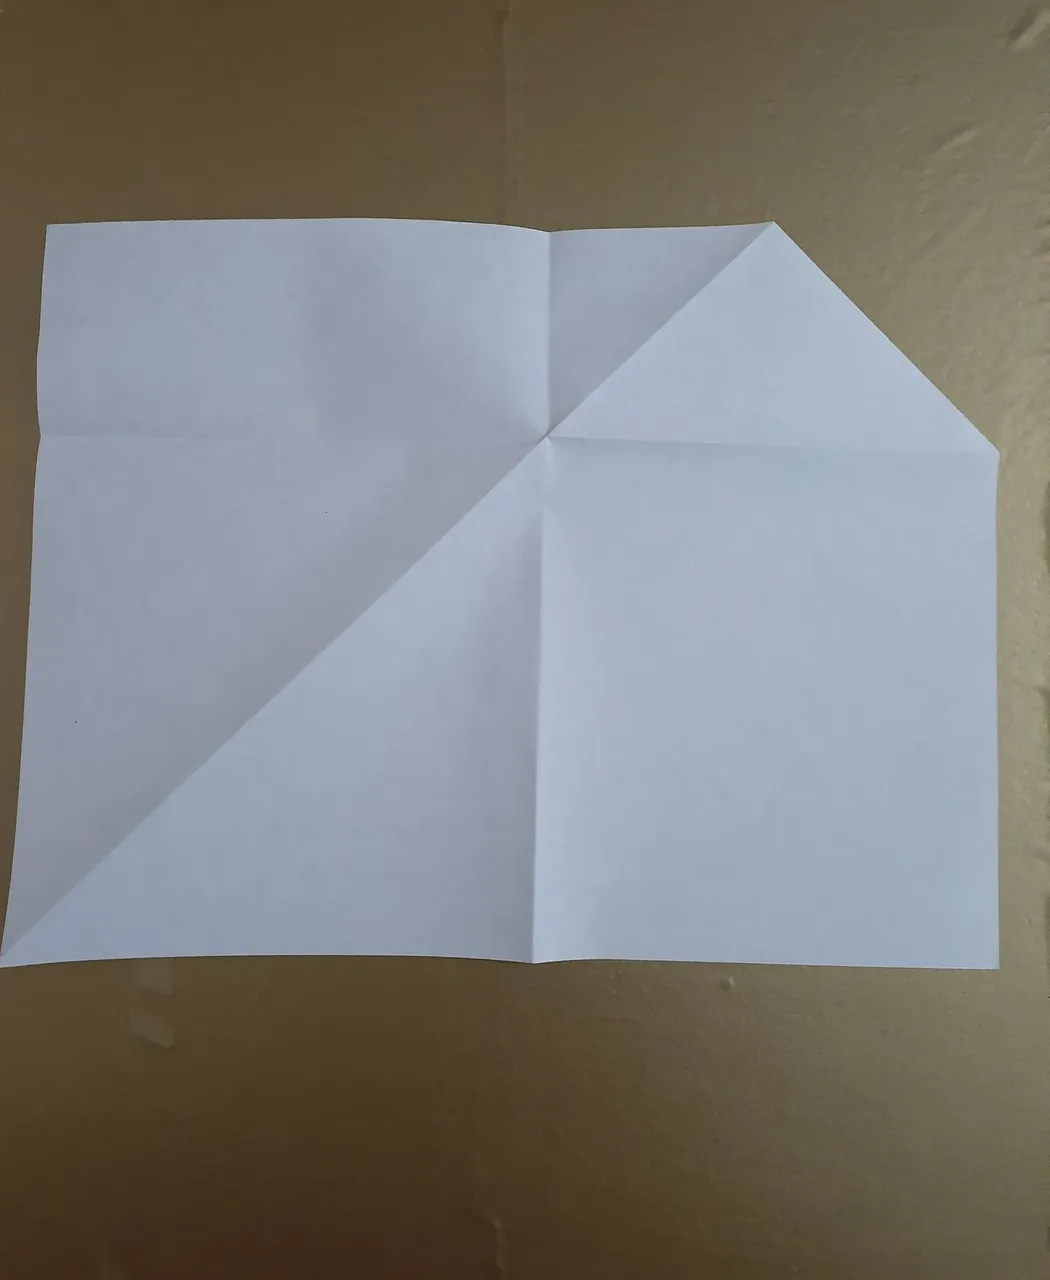
6.-Vemos como se nos forman dos triángulos, vamos a tomar ese extremo y lo vamos a llevar hacia el centro (ver imagen)
6.-We see how two triangles are formed, we are going to take that end and we are going to take it to the center (see image).

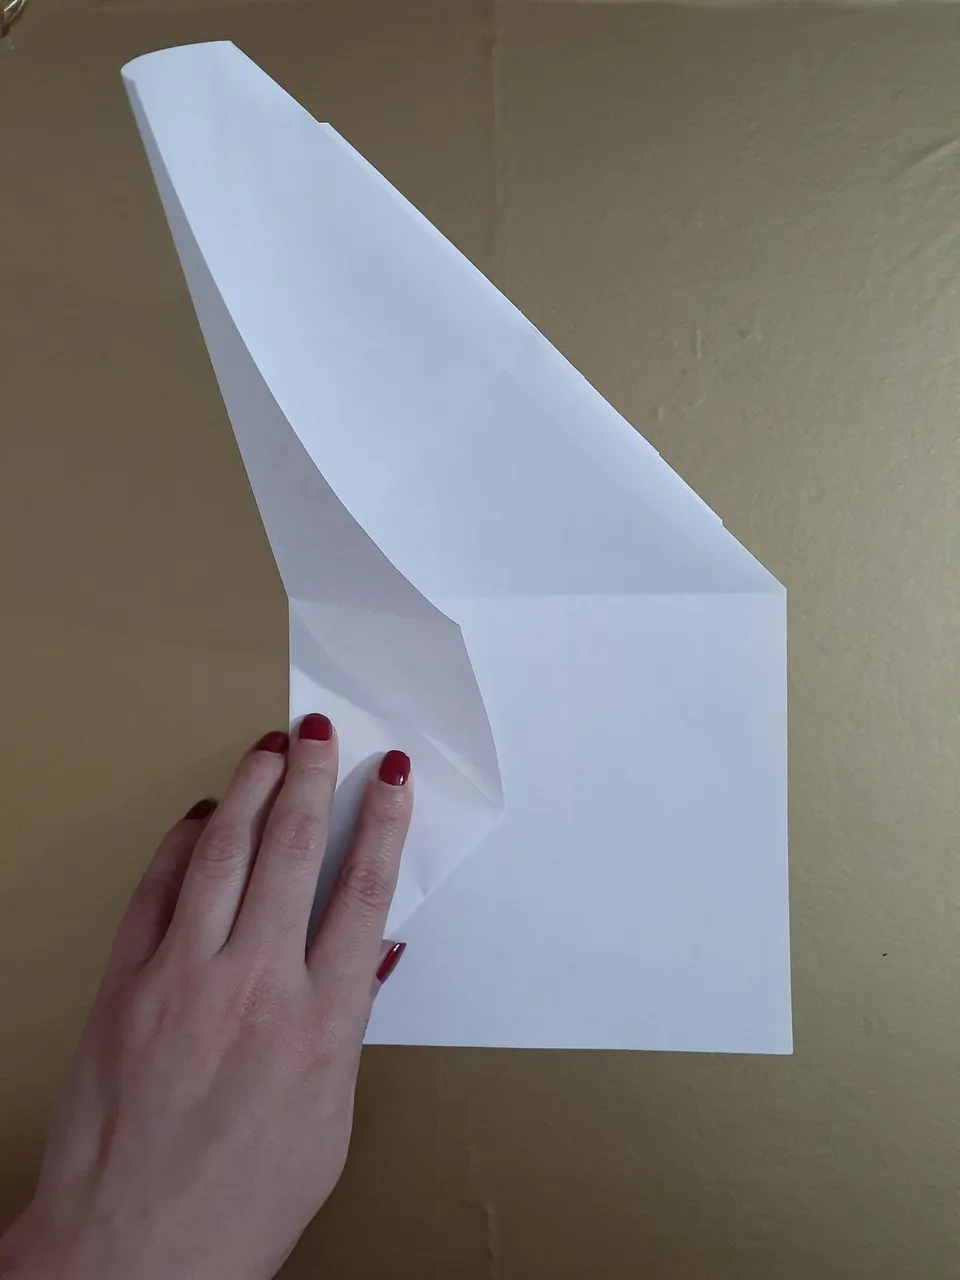
7.- vamos a comenzar a doblar tipo acordeón ese triángulo o extremo inferior izquierdo de la hoja (ver imágenes)
7.- we are going to start folding like an accordion the triangle or the lower left end of the sheet (see images).
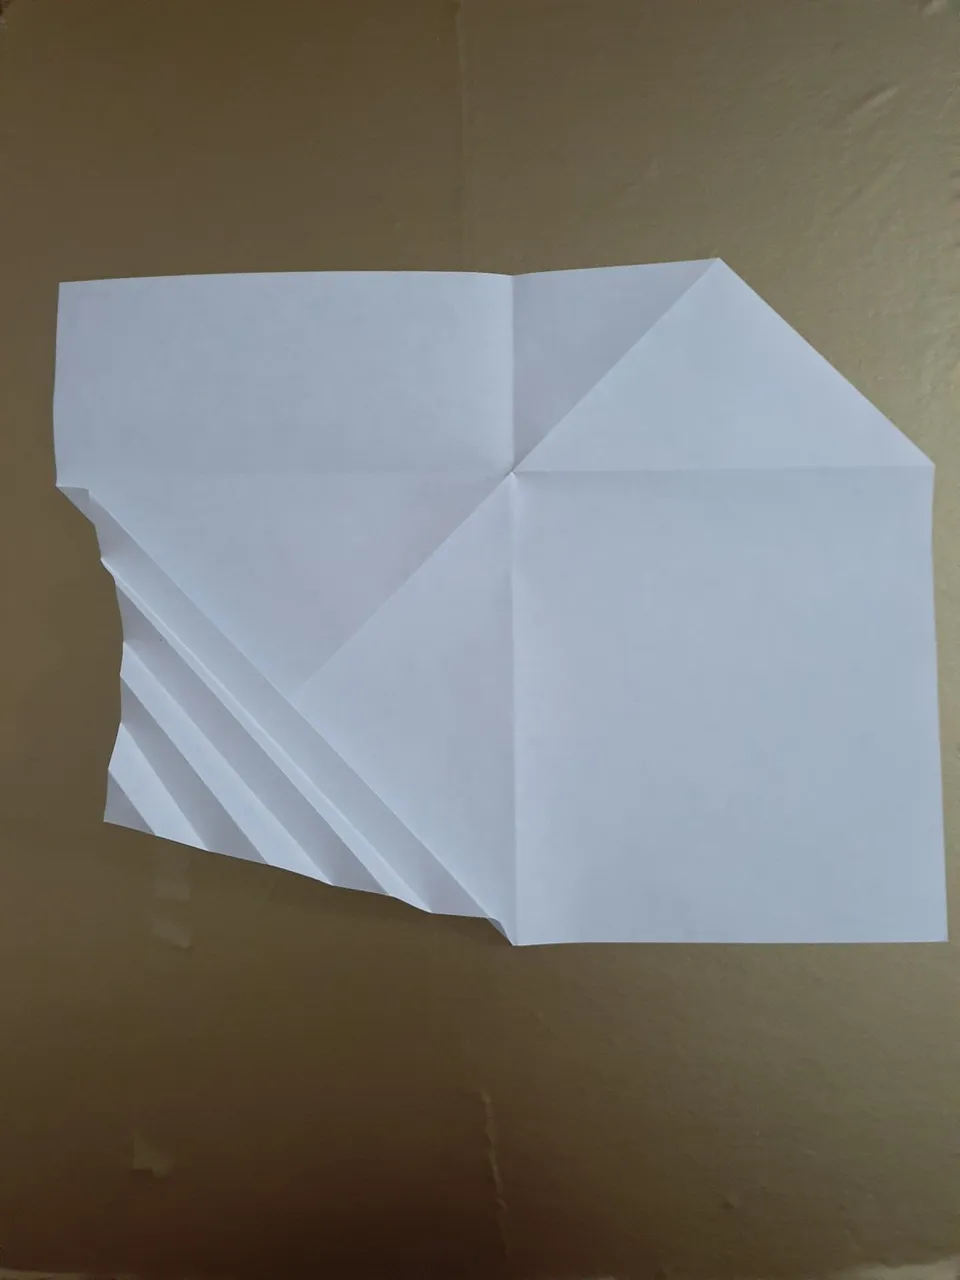
8.- vamos a voltear la hoja, de manera que quede nuestro acordeón hacia abajo y en la parte superior derecha (ver imagen)
8.- we are going to turn the sheet over, so that our accordion is down and on the upper right side (see image).
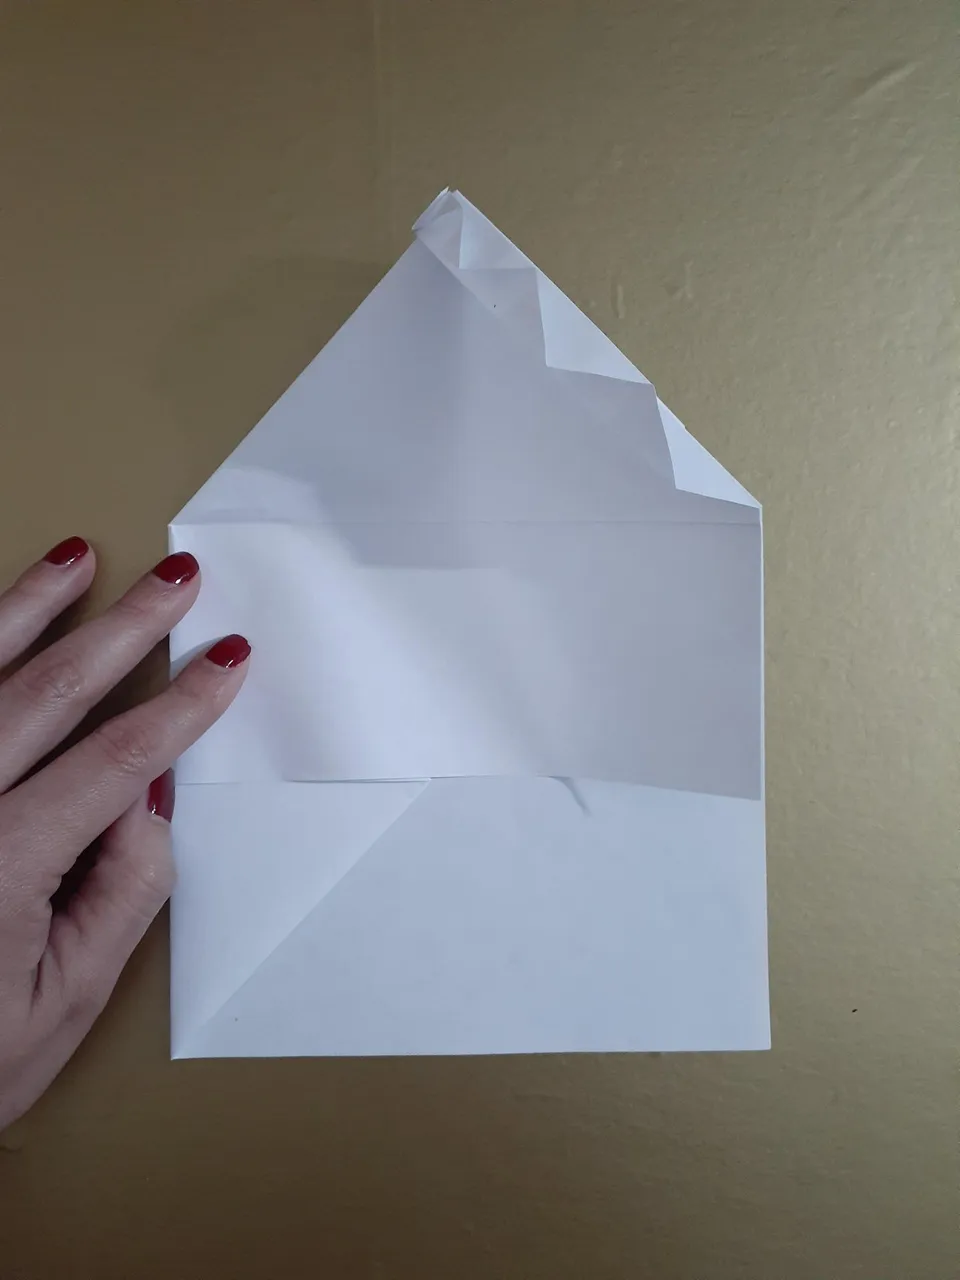
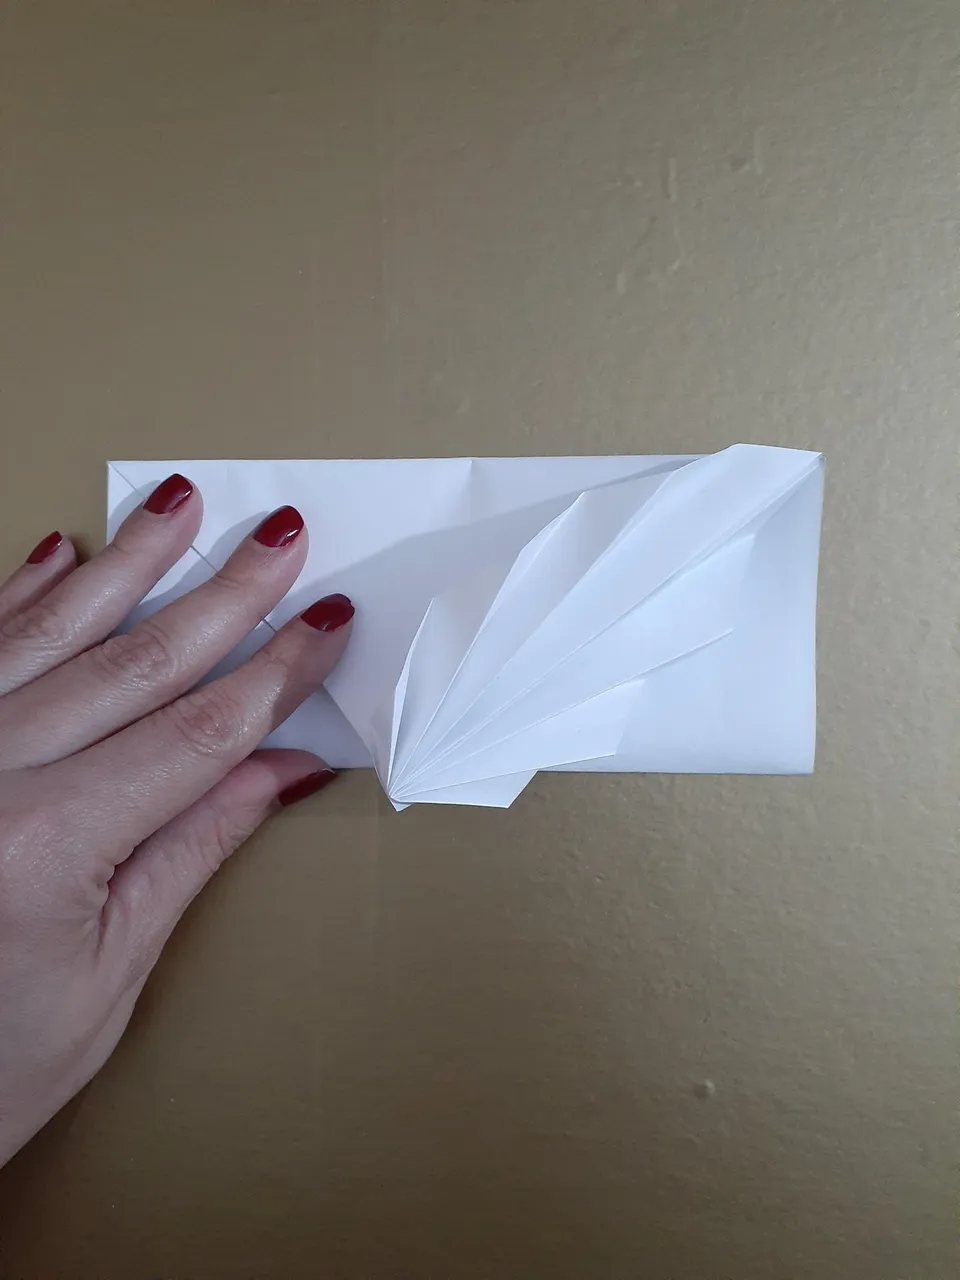
9.- vamos a comenzar a doblar por las líneas que se formaron doblando primero la central (ver imágenes)
9.- we are going to start folding along the lines that were formed by folding the central one first (see images).
Luego, la parte superior sobrante la vamos a doblar hacia adentro tomando como guía los dobleces que quedaron inicialmente (ver imágenes) y vemos cómo va tomando forma.
Then we are going to fold the remaining upper part inwards taking as a guide the folds that were initially left (see images) and we can see how it takes shape.
10.- la parte inferior la doblamos, hasta la línea donde empieza nuestro rectángulo, ajustamos muy bien (ver imagen)
10.- the lower part we fold it, up to the line where our rectangle begins, we adjust it very well (see image).
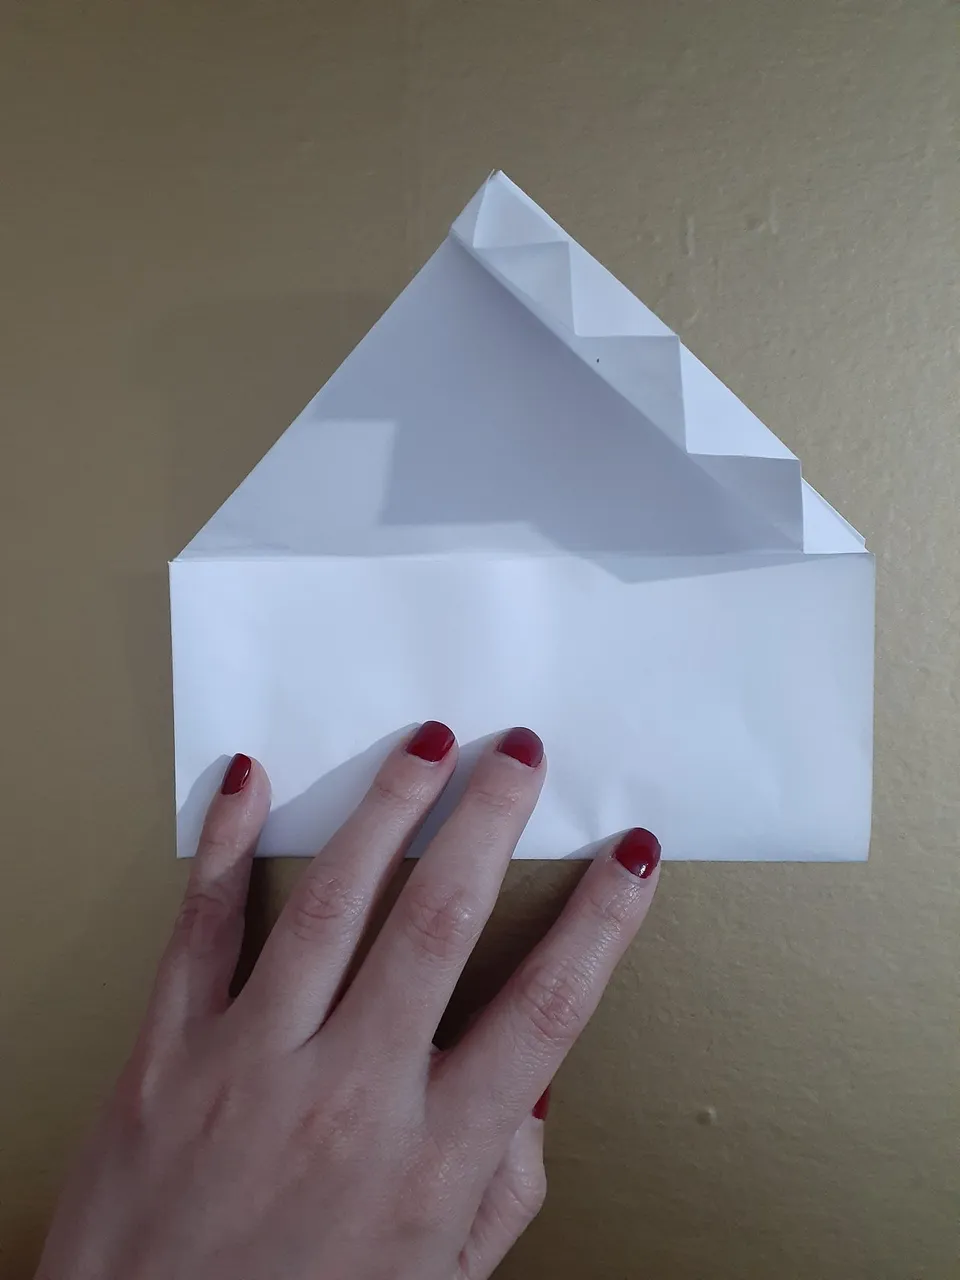
11.- Y por último doblamos nuestra tapa o cierre del sobre , ajustamos las líneas de nuestro hoja y listo nuestro sobre. Luego de que coloquemos el dinero o la tarjetita podemos colocar un poco de cinta o pega en barra.
And finally we fold our cover or closing of the envelope, we adjust the lines of our sheet and our envelope is ready. After we place the money or the little card we can put some tape or glue stick.
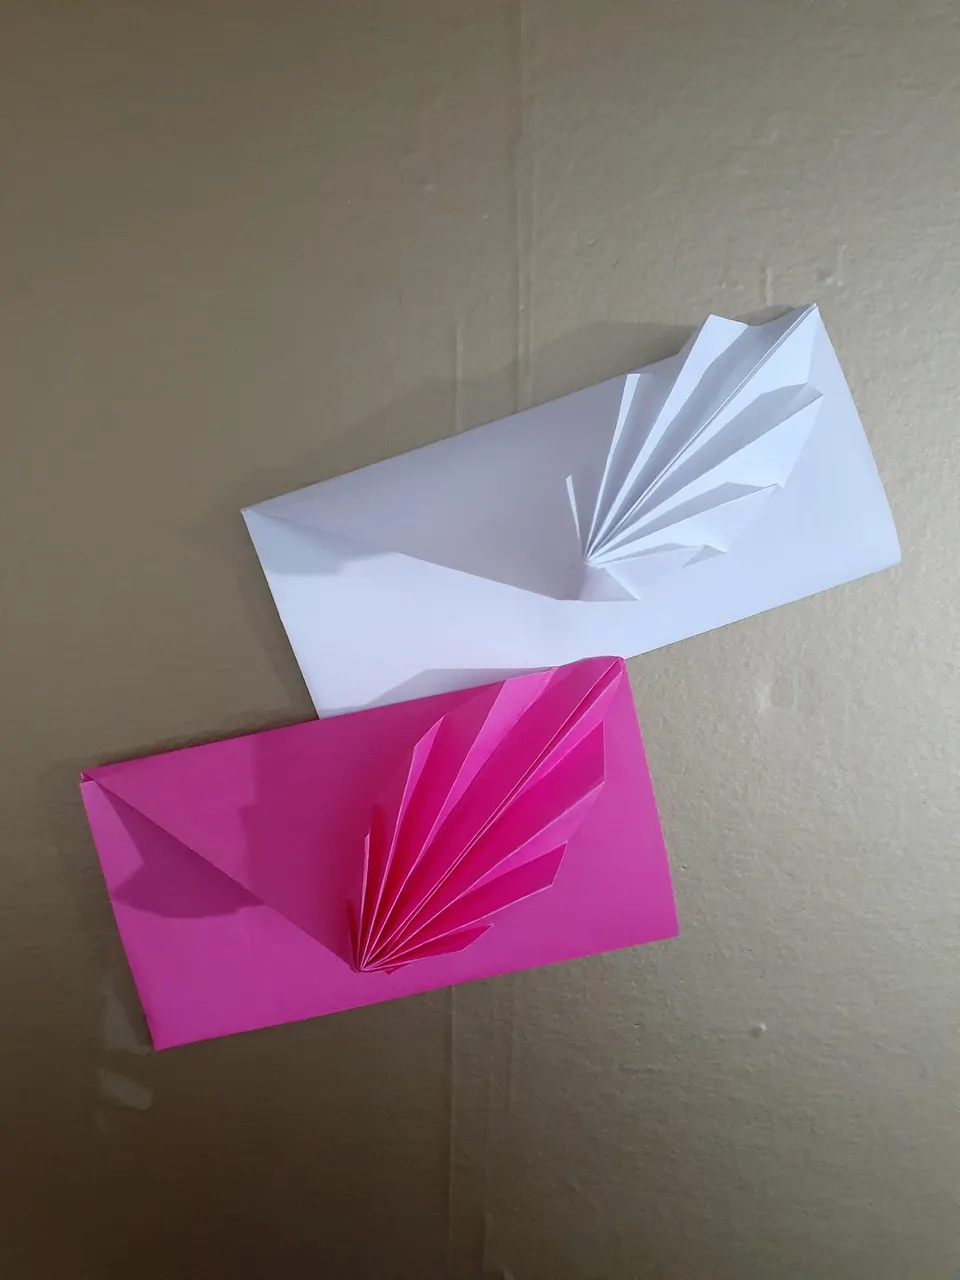

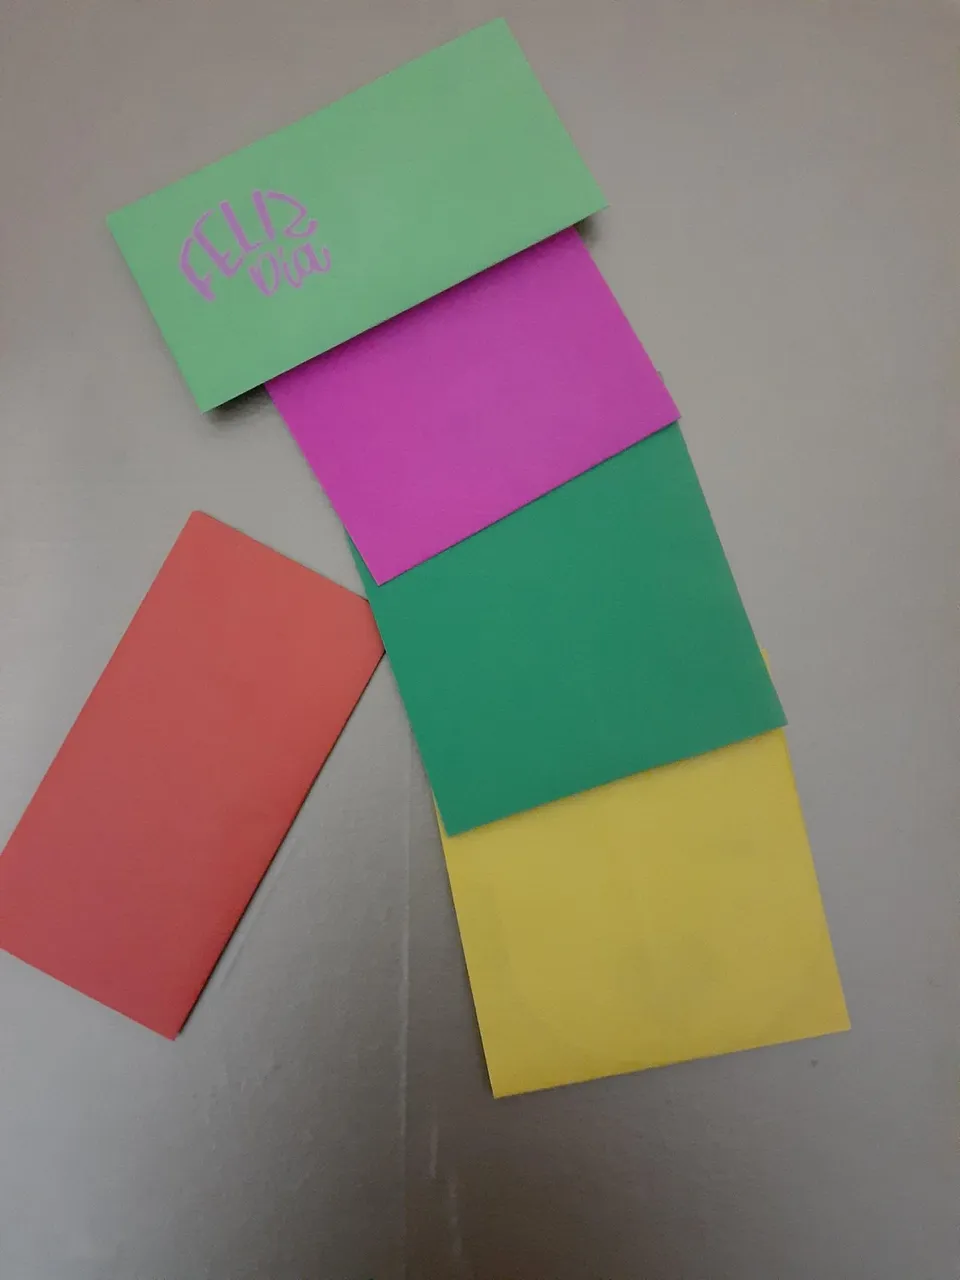
Estos sobres puedes realizarlos con papel de colores o utilizar hojas de revistas y también quedan súper originales.
You can make these envelopes with colored paper or use magazine pages and they are also very original.
Si tienes alguna duda te leo en los comentarios / If you have any questions I'll read you in the comments.
Las Fotografías fueron tomadas por mi / The pictures were taken by me