
Feliz, Bendecido y Productivo día para nuestra linda comunidad de Hive, hoy les traigo una actividad que realice con materiales de reciclaje; es un Porta-Tarjeta de abejas, ideal para guardar las tarjetas de vacunación de los niños en un lugar seguro y bonito Espero les sea de mucha utilidad y lo hagan.
Happy, Blessed and Productive day for our beautiful Hive community, today I bring you an activity that I do with recycling materials; It is a Bee Card Holder, ideal for storing children's vaccination cards in a safe and beautiful place. I hope it will be very useful for you and you will do so.
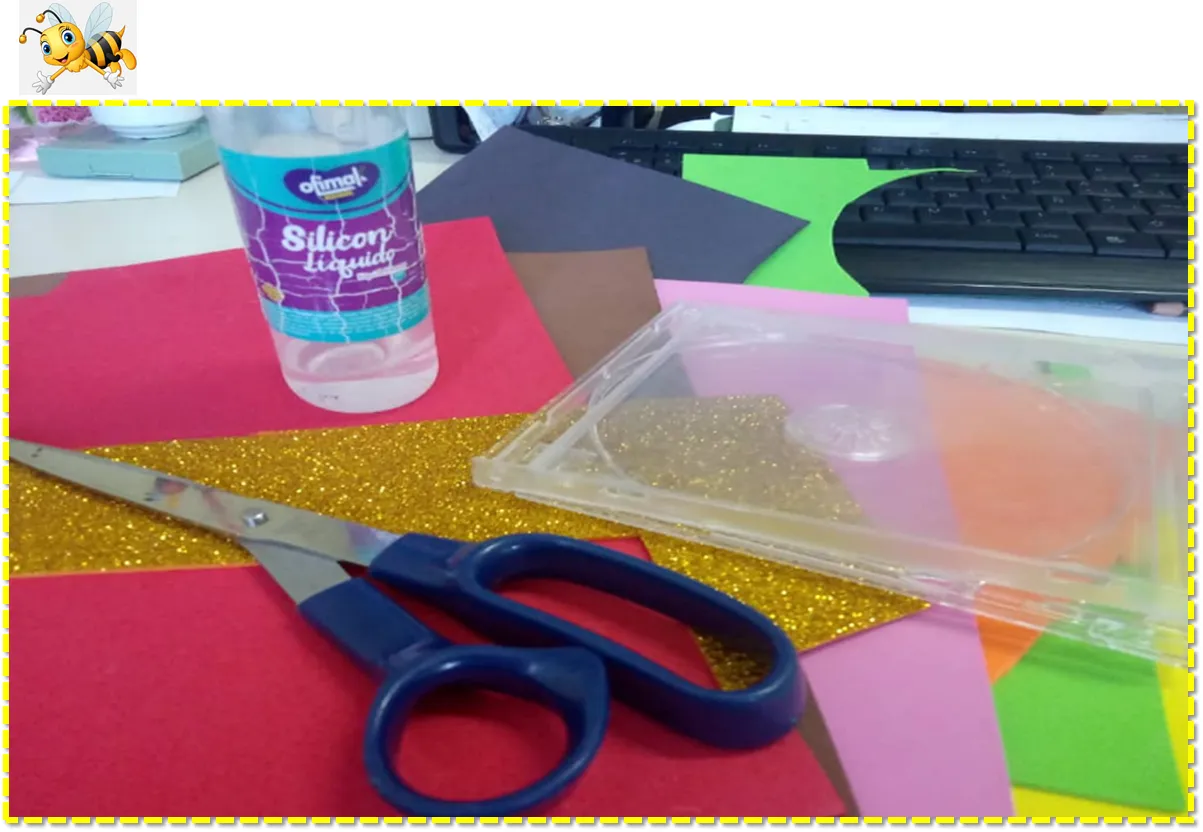
Materiales:
Porta CD
Foami (rosado, blanco, naranja, azul, amarillo, marrón)
Cartulina rosada
Pega
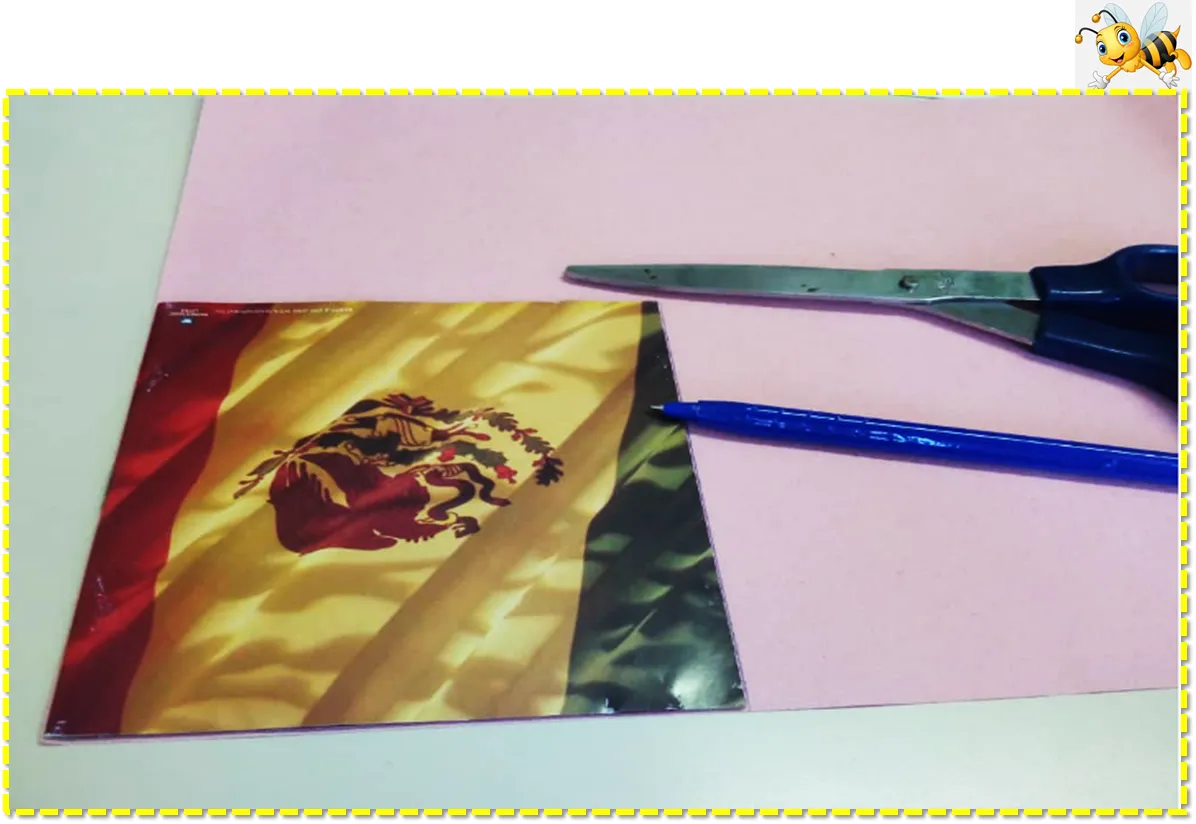
Tijera
Materials:
CD holders
Foami (pink, white, orange, blue, yellow, brown)
Pink cardstock
Job
Scissor
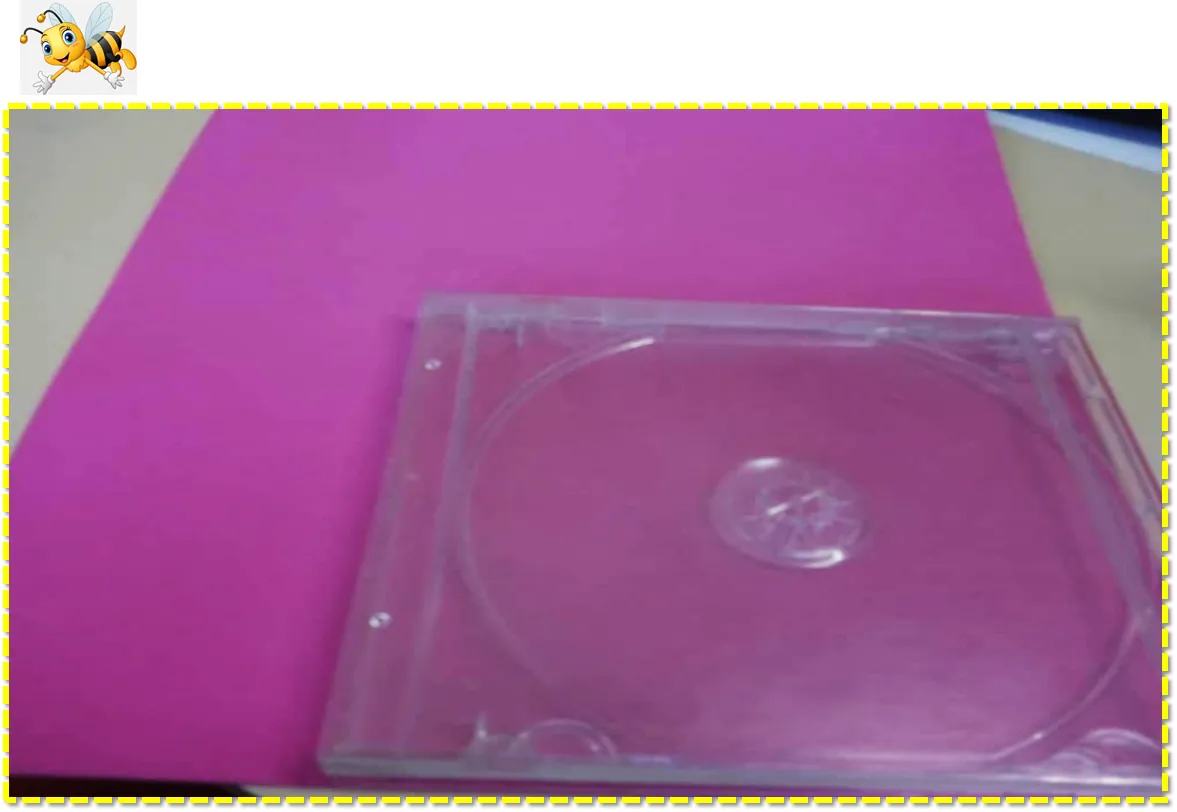
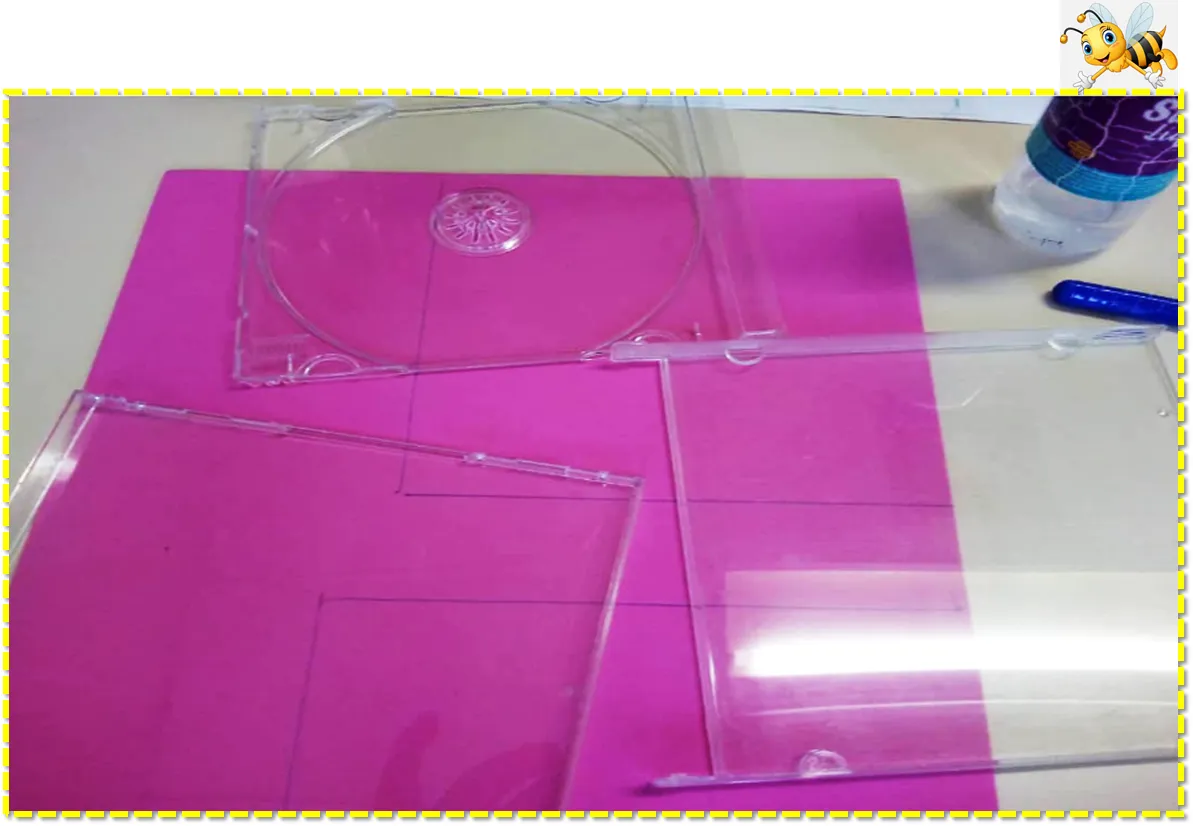
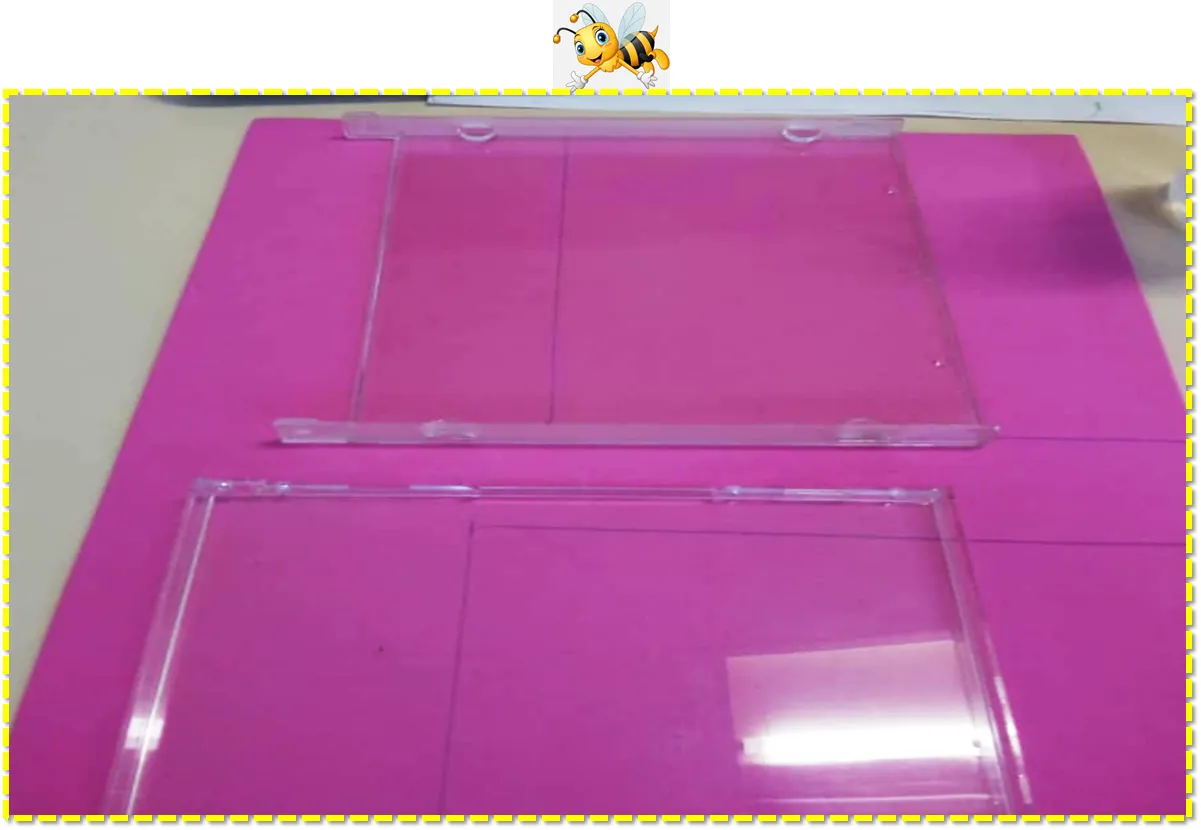
Pasos:
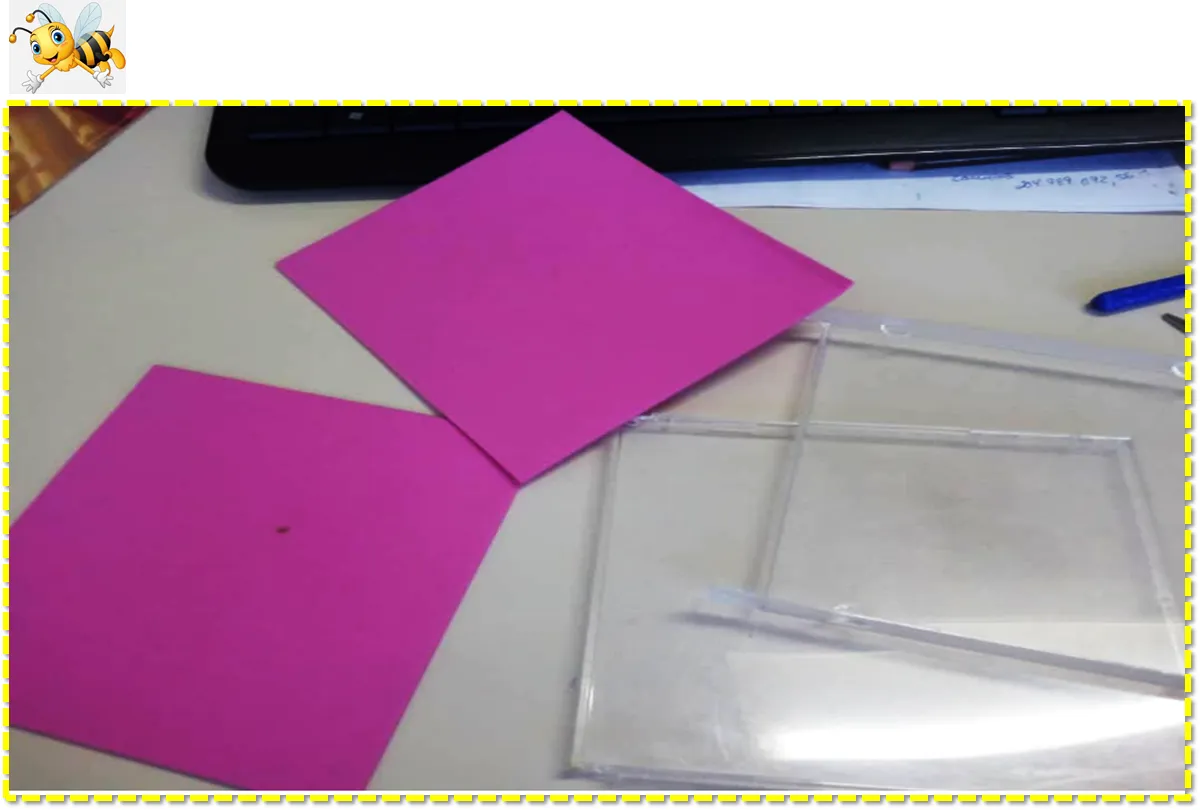
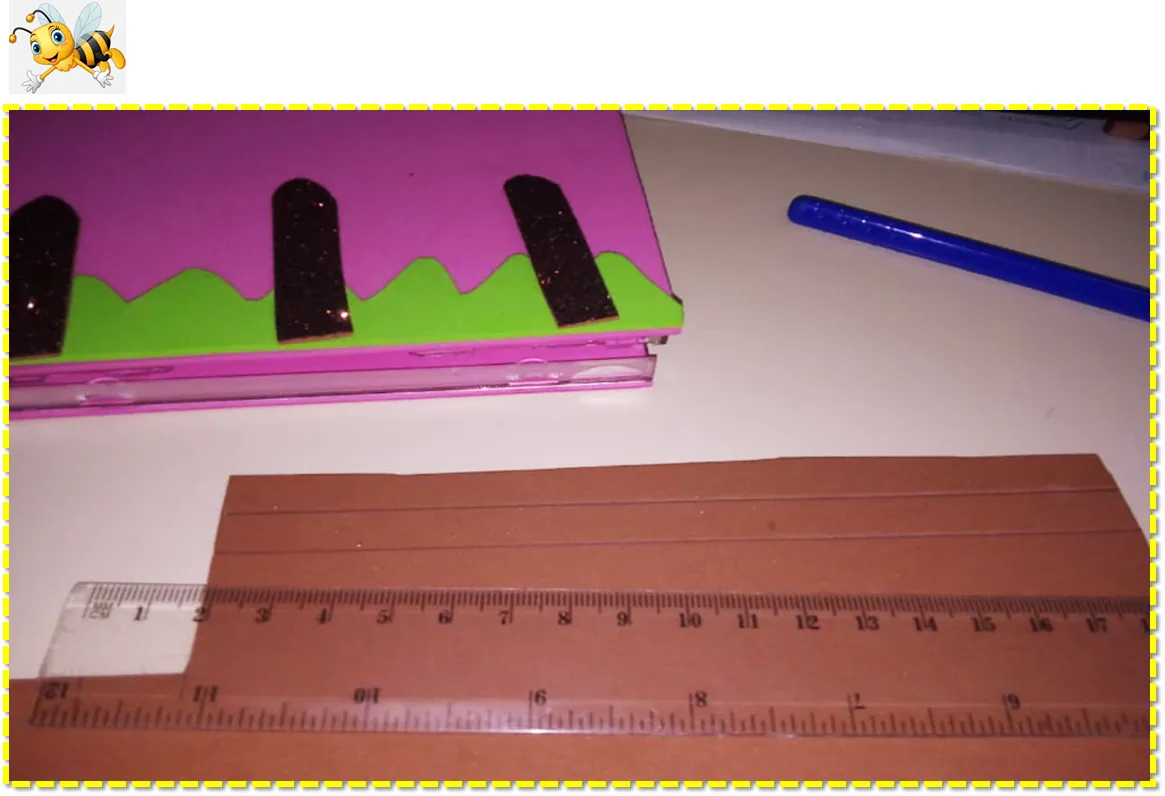
1.-En primer lugar desarmamos el porta CD, este tiene tres parte, la parte de adentro no la vamos a utilizar, luego marcamos la parte de adelante en el foami rosado y recortamos igualmente medimos y recortamos la cartulina rosada.
Steps:
1.-First we disassemble the CD holder, it has three parts, the inside part we are not going to use, then we mark the front part in the pink foami and we also cut, measure and cut the pink cardboard.
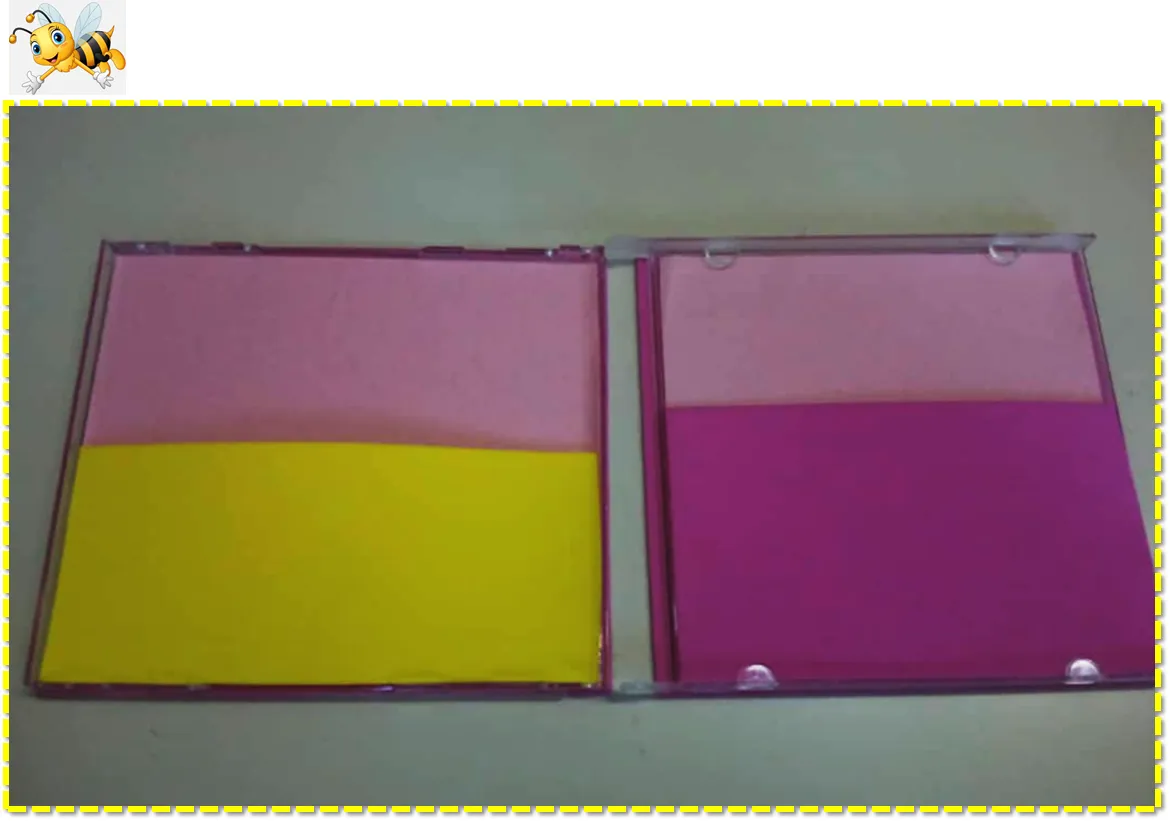
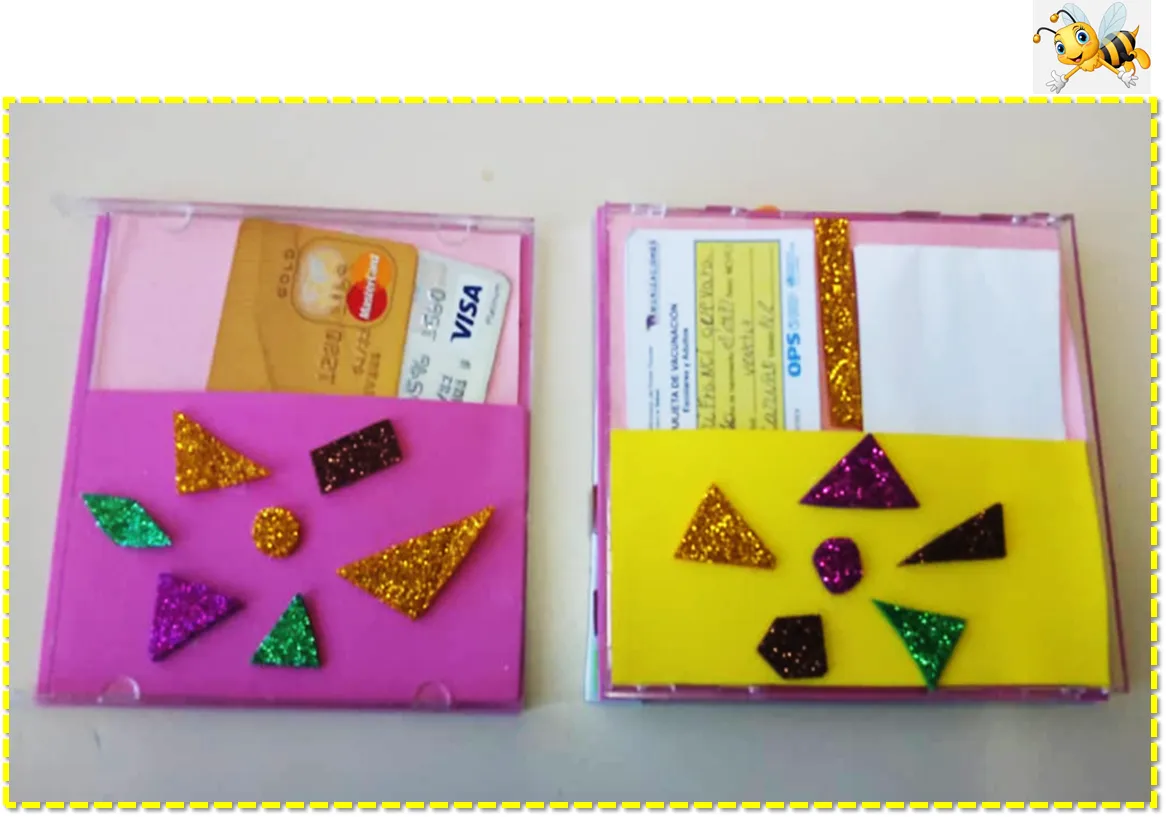
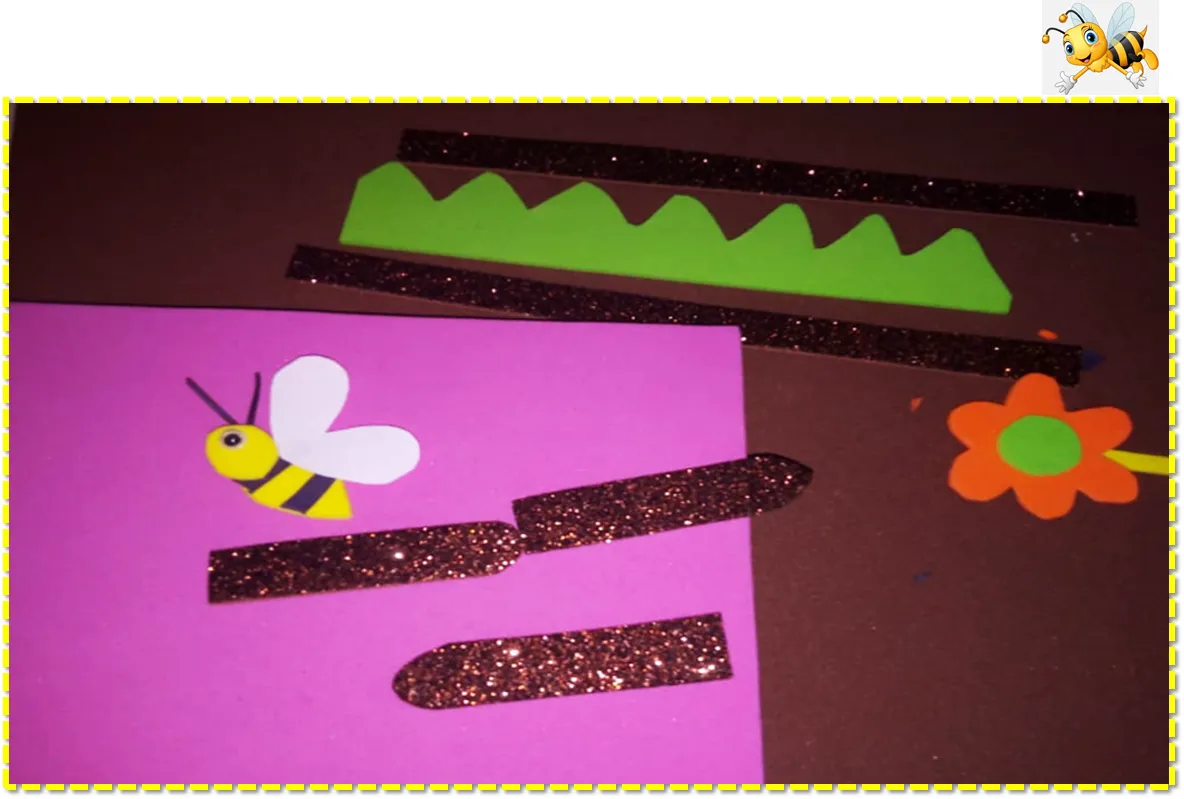
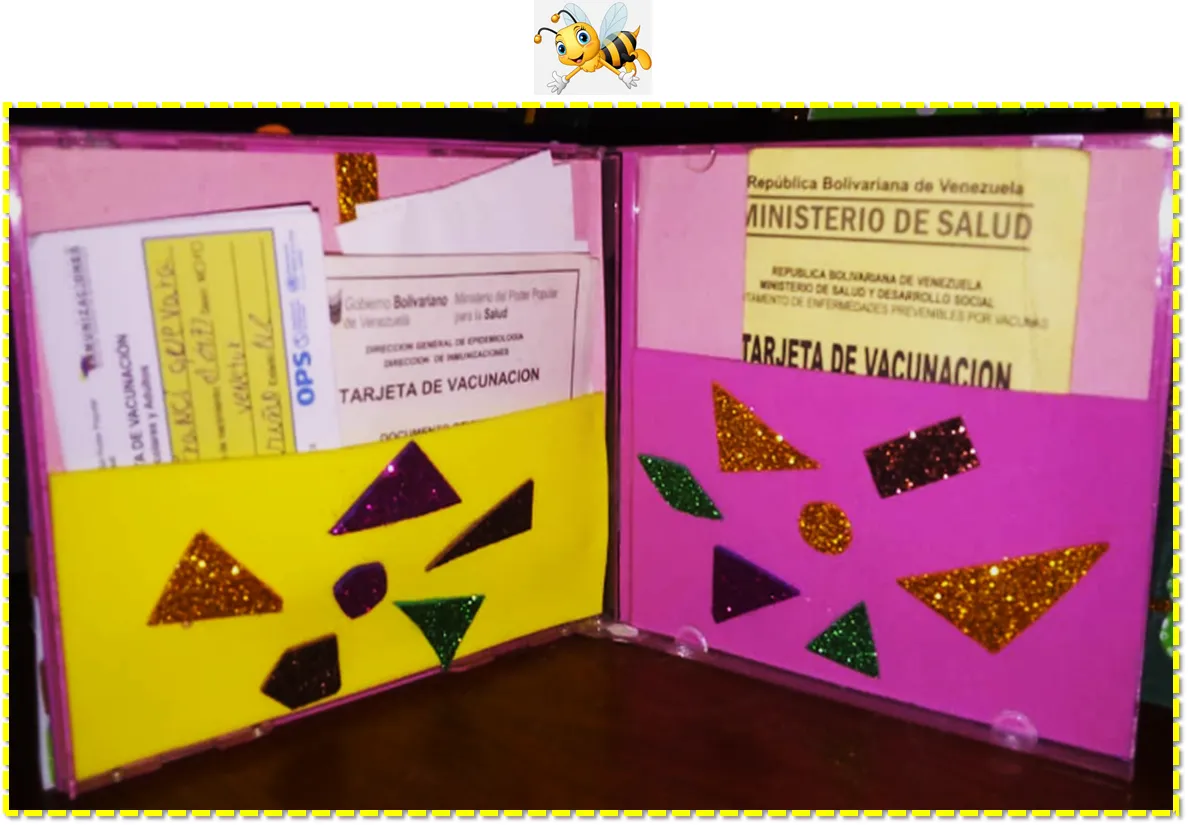
2.- Procedemos a pegar el foami fucsia en las partes externas del CD y la cartulina rosada en la parte interna. A la parte interna, seguidamente le pegamos por la mitad un pedacitos de foami fuccia y amarilla a la cartulina rosada para hacer el tarjetero y luego lo decoramos con foami de diferentes colores.
2.- We proceed to glue the fuchsia foam on the external parts of the CD and the pink cardboard on the internal part. On the inside, we then glued pieces of fuccia and yellow foam in half to the pink cardboard to make the card holder and then we decorate it with different colored foam.

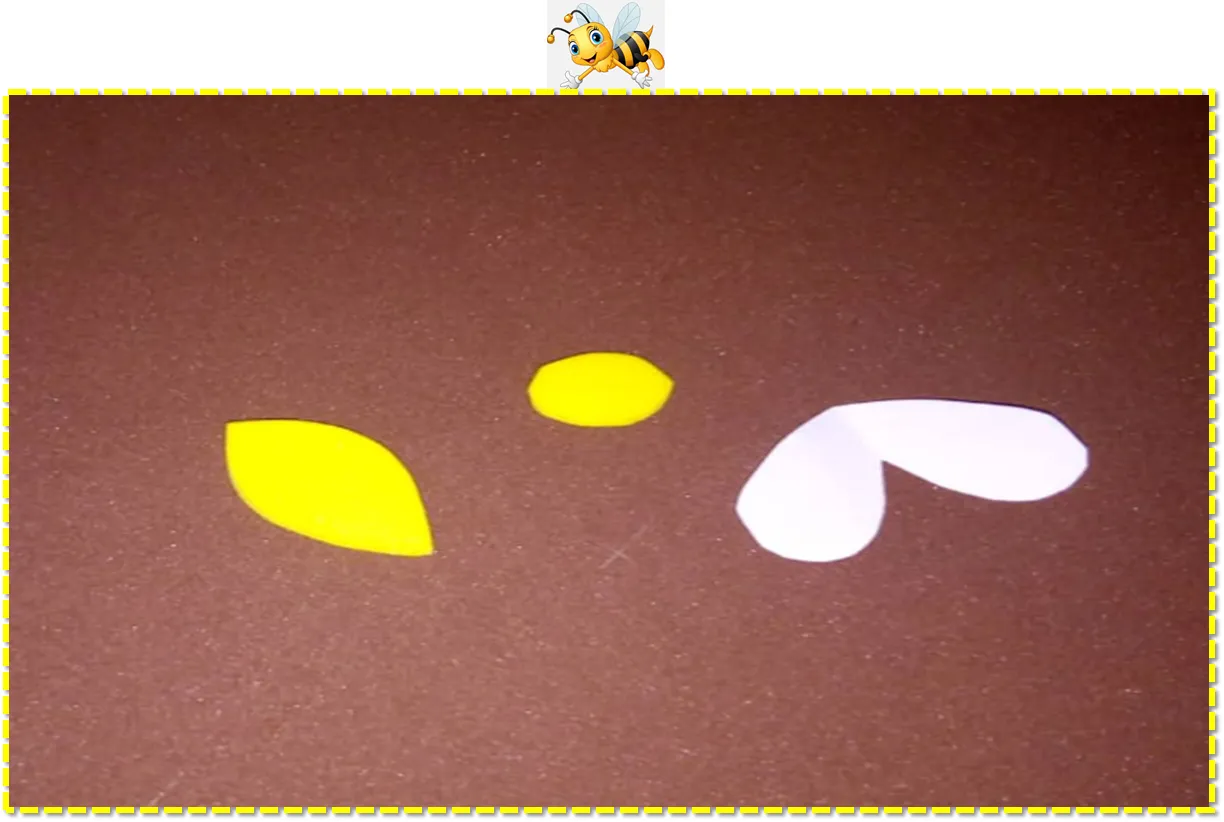
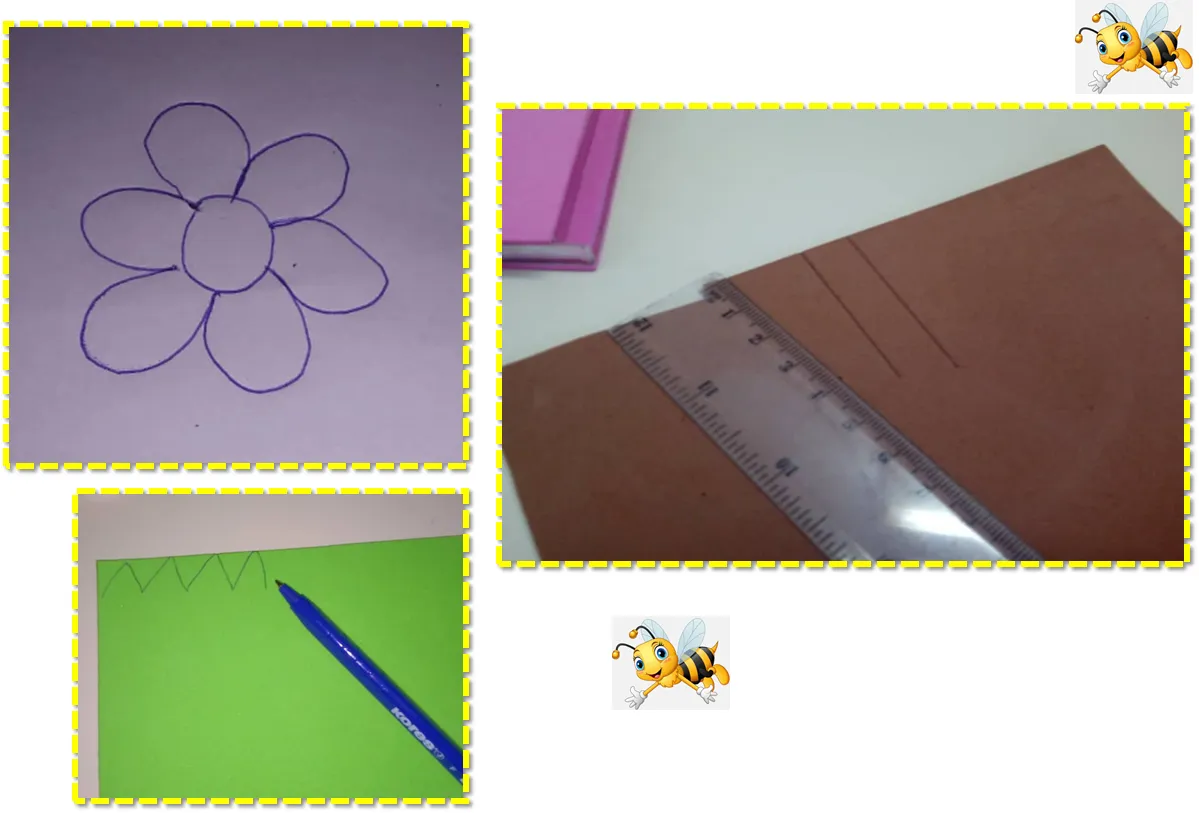
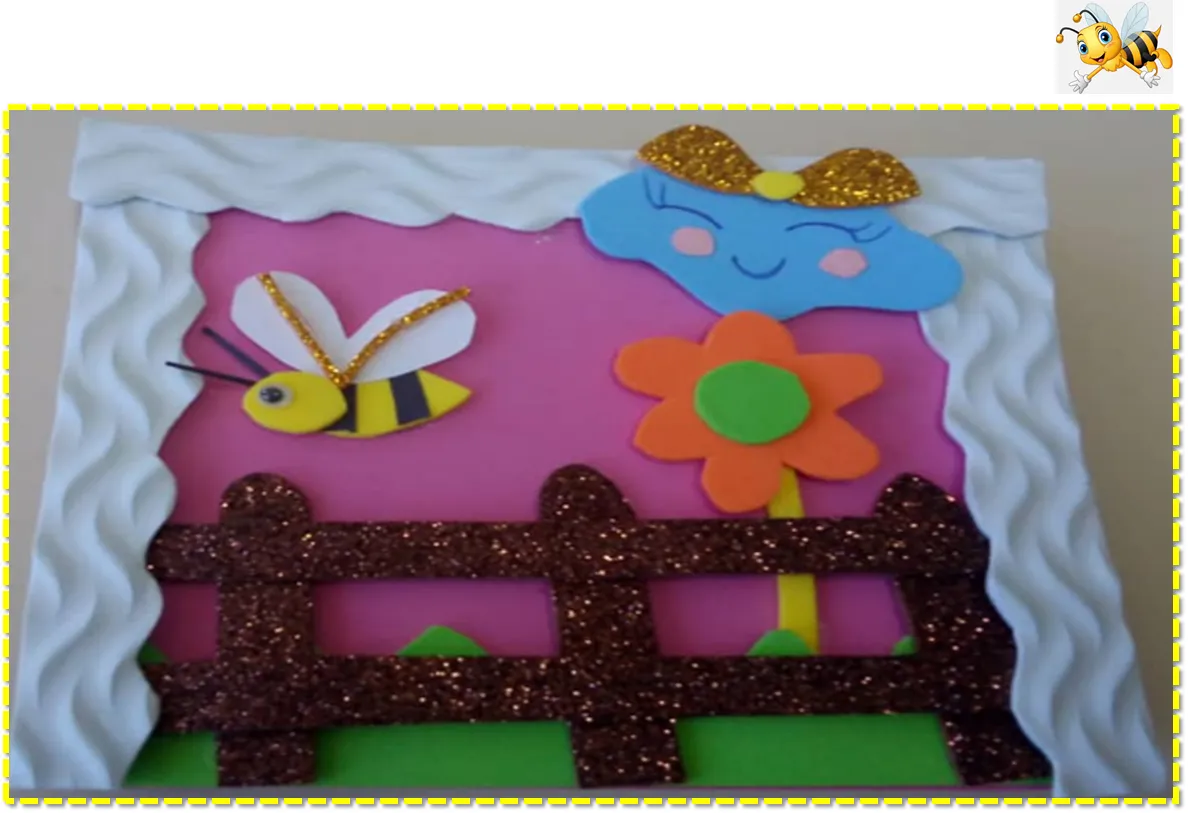
3.-Ahora procedemos a elaborar la parte de la portada de nuestro Pota-tarjeta de abeja.Dibujamos y recortamos la parte de la abeja, la flor, la nube, el corral y el lazo de la nube y finalmente recortamos un marco de color Blanco y lo que es la hierba.
3.-Now we proceed to elaborate the part of the cover of our Pota-bee card.We draw and cut out the part of the bee, the flower, the cloud, the corral and the cloud loop and finally we cut out a White frame and it which is grass.
4.-Finalmente ya armado y pegado todas las partes, así nos queda nuestro estupendo, Porta-tarjetas de abejas. Espero les haya gustado. ! hasta la próxima!
4.-Finalmente ya armado y pegado todas las partes, así nos queda nuestro estupendo, Porta-tarjetas de abejas. I hope you liked it. ! until next time!

Las fotografías fueron tomadas con un teléfono inteligente HUAWE Y5, el texto fue traducido al inglés con el traductor de Google.
The photographs were taken with a HUAWE Y5 smartphone, the text was translated into English with the Google translator.