SPANISH
Feliz tarde familia Hive y comunidad hivediy, espero que se encuentre feliz y disfrutando de una excelente salud.
Cómo ya muchos saben estoy dedica al emprendimiento verde y decorativo de las plantas, es un mundo realmente fascinante ya que puedo combinar mis dos pasiones sin ningún problema las plantas y la decoración. Poniendo la imaginación y creatividad a volar.
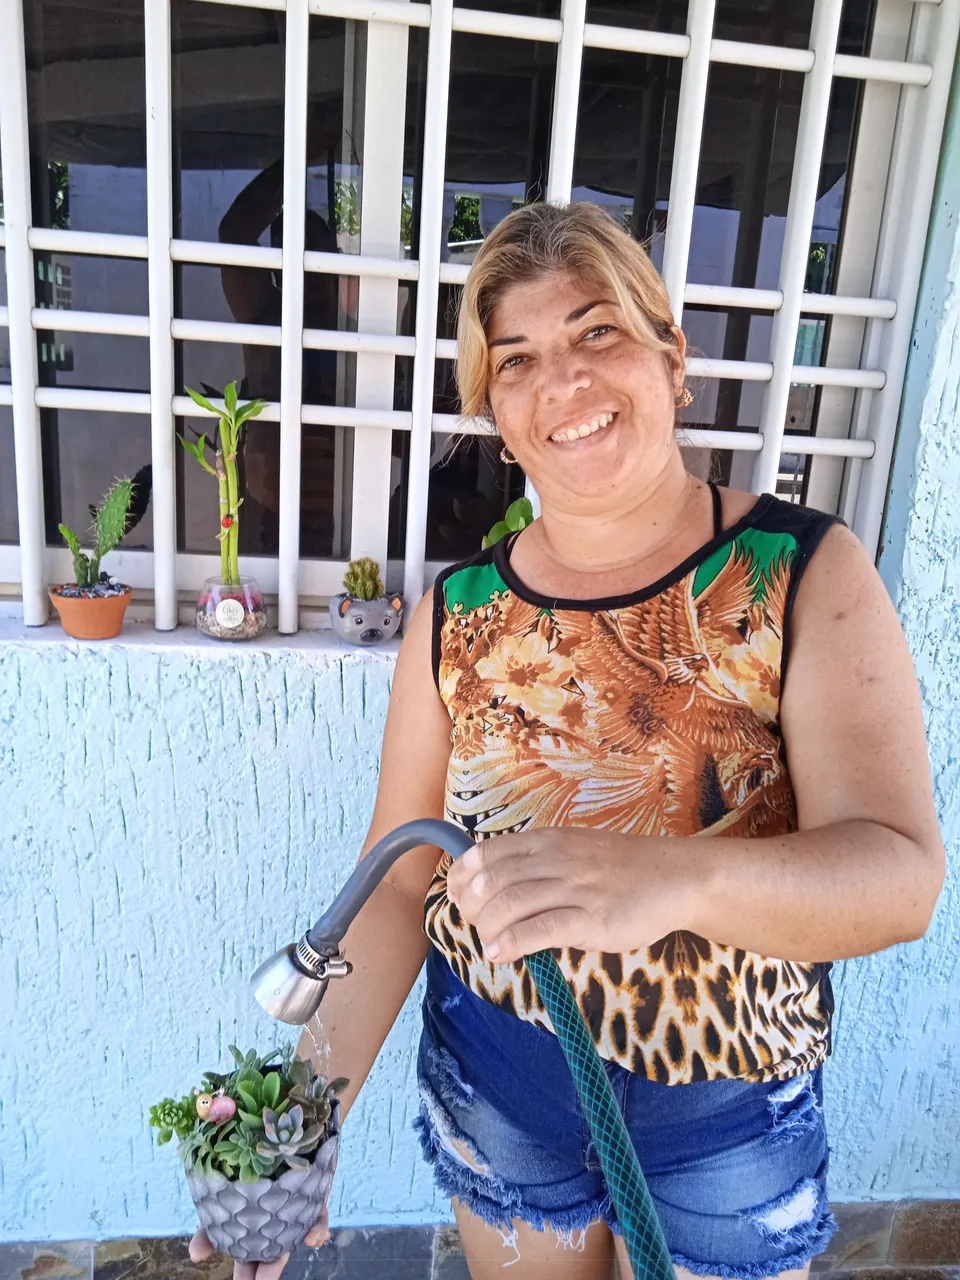
Hoy quiero compartir con ustedes la elaboración de un aspersor de riego fijo, lo necesitaba con mucha urgencia ya que regar mis plantas a veces se convertía en un caos. En el lugar donde vivo no disfrutamos del servicio de agua constantemente y regar las plantas con tobitos de agua a veces hacia que la tierra se dispersara por todos lados y esto no es lo mejor.
Trate de comprar uno yendo a las ferreterías, agropecuaria y hasta por internet, pero su valor oscila entre los 8 y 10 dólares los más económico, sin contar el costo del envío. En un país como Venezuela este tipo de cosas se hace complicada. Así que decidí hacer uno que me ayudara a resolver mi necesidad.
Aquí les muestro como lo hice.
ENGLISH
Happy afternoon Hive family and hivediy community, I hope you are happy and enjoying excellent health.
As many already know I am dedicated to green and decorative plant entrepreneurship, it is a really fascinating world because I can combine my two passions without any problem, plants and decoration. Putting imagination and creativity to fly.
Today I want to share with you the elaboration of a fixed sprinkler, I needed it very urgently because watering my plants sometimes became a chaos. In the place where I live we don't have constant water service and watering the plants with water sprinklers sometimes made the soil scatter all over the place and this is not the best thing to do.
I tried to buy one going to hardware stores, agricultural and livestock stores and even on the internet, but its value ranges between 8 and 10 dollars the cheapest, not counting the cost of shipping. In a country like Venezuela this kind of thing becomes complicated. So I decided to make one that would help me solve my need.
Here I show you how I did it.
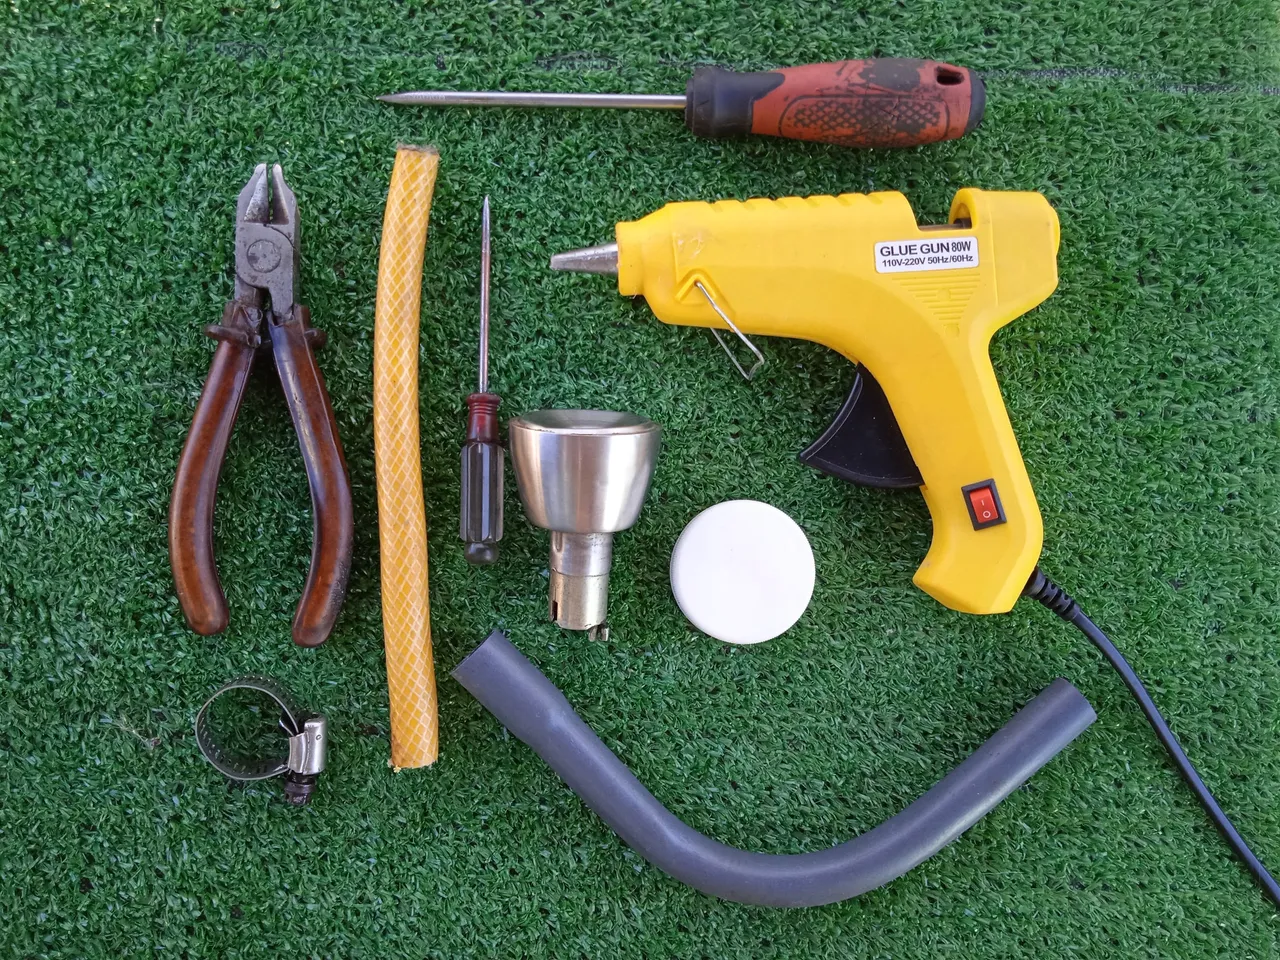
Los materiales que utilice para hacer mi regadera fueron:
✓Pomulo de puerta
✓Silicon
✓Tapa plástica
✓Abrazadera
✓Estonilladores
✓Piqueta
✓Tubo
✓Manguera
The materials I used to make my watering can were:
✓Door knob.
✓Silicon
✓Plastic lid
✓Clamp
✓Screwdrivers
✓Pick
✓Tubing
✓Hose
Los pasos para elaborarlo también fueron muy sencillos estoy segura te animaras hacer el tuyo comencemos:
Paso #1:
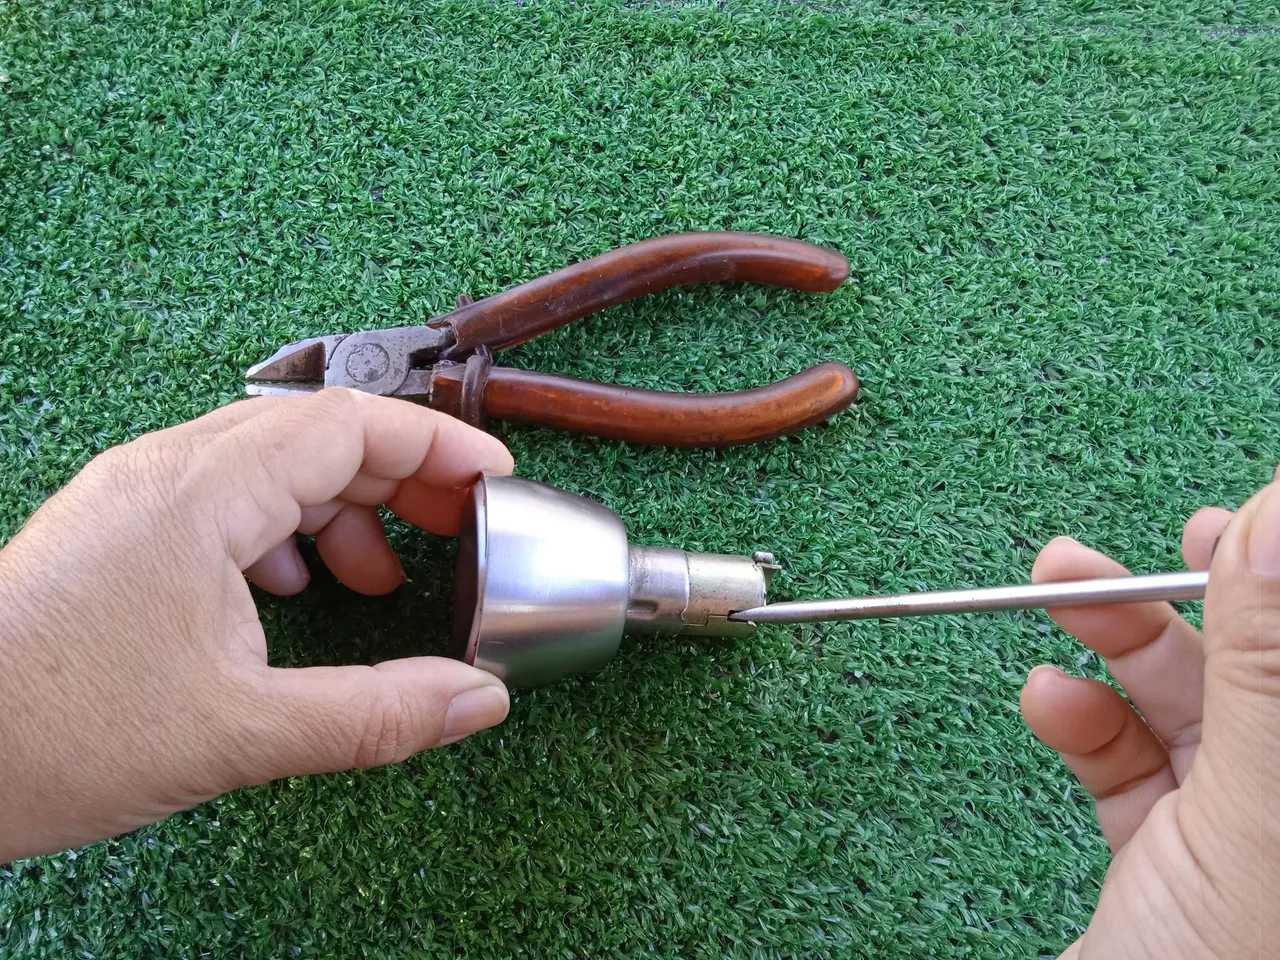
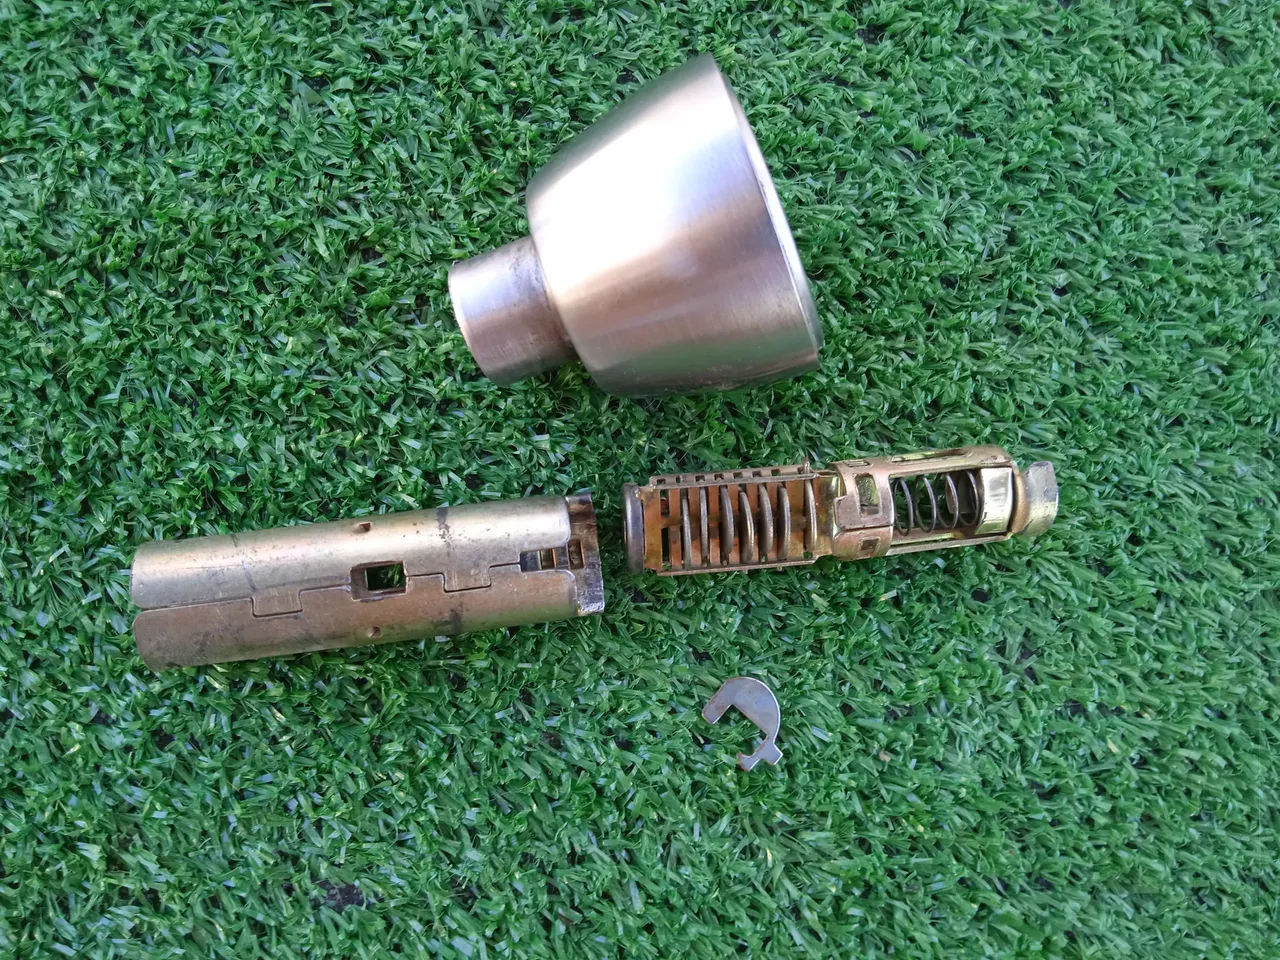
En mi opinión este es el paso con un grado más de dificultad o el que amerita más dedicación ya que se debe desarmar el pómulo de la puerta extrayendo todo el mecanismo hasta que quede hueco.
Con la ayuda del destornillador y piquete comencé por aflojar los seguros hasta desarmar todo aquí te dejo las fotos para mostrarte .
The steps to make it were also very simple, I'm sure you will be encouraged to make your own, let's start:
Step #1:
In my opinion this is the step with a higher degree of difficulty or the one that requires more dedication because you must disassemble the cheek of the door extracting the entire mechanism until it is hollow.
With the help of the screwdriver and pickaxe I started by loosening the locks until disassembling everything here I leave the photos to show you.
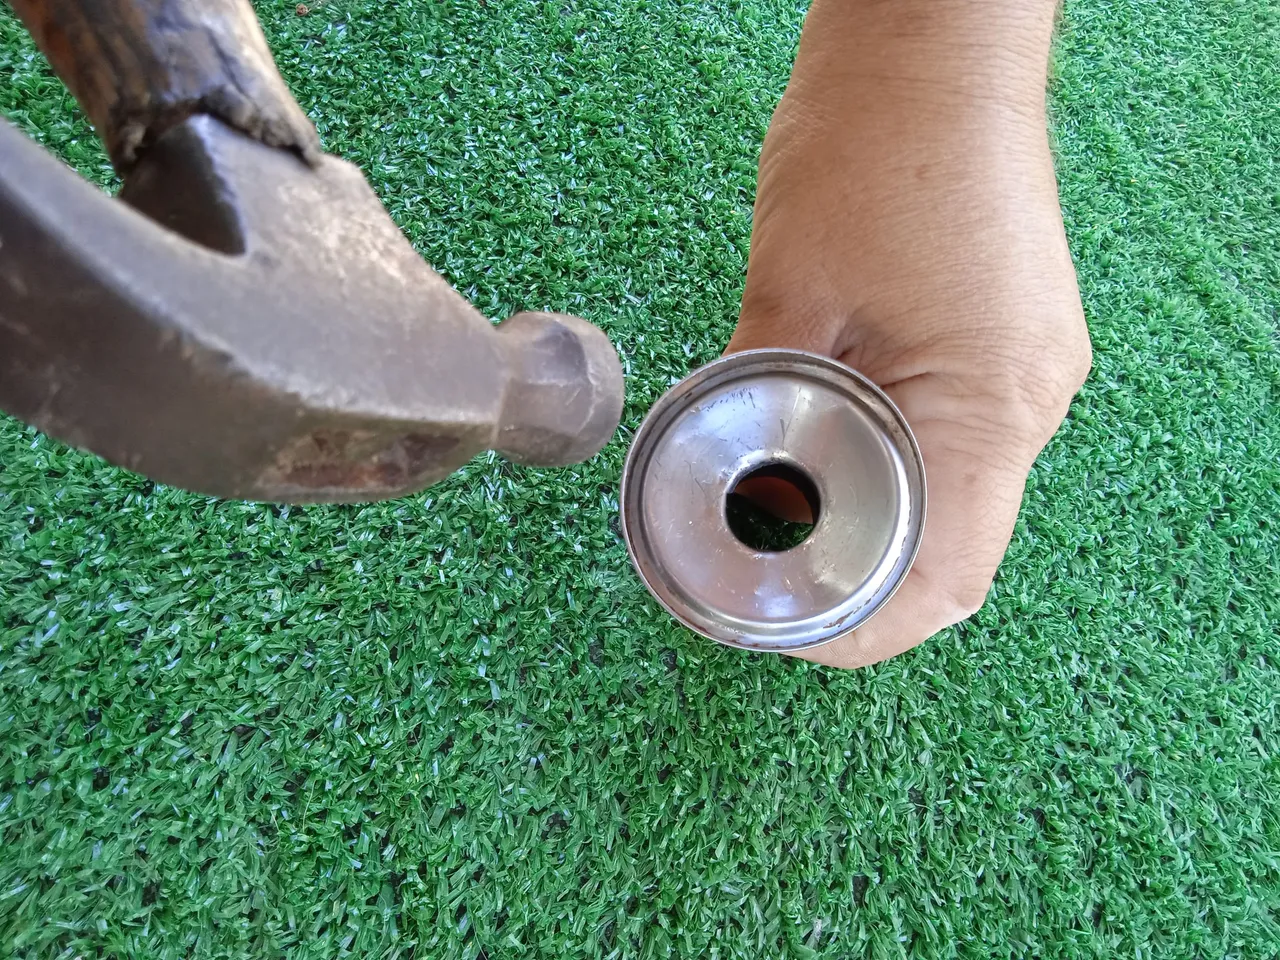
Paso #2:
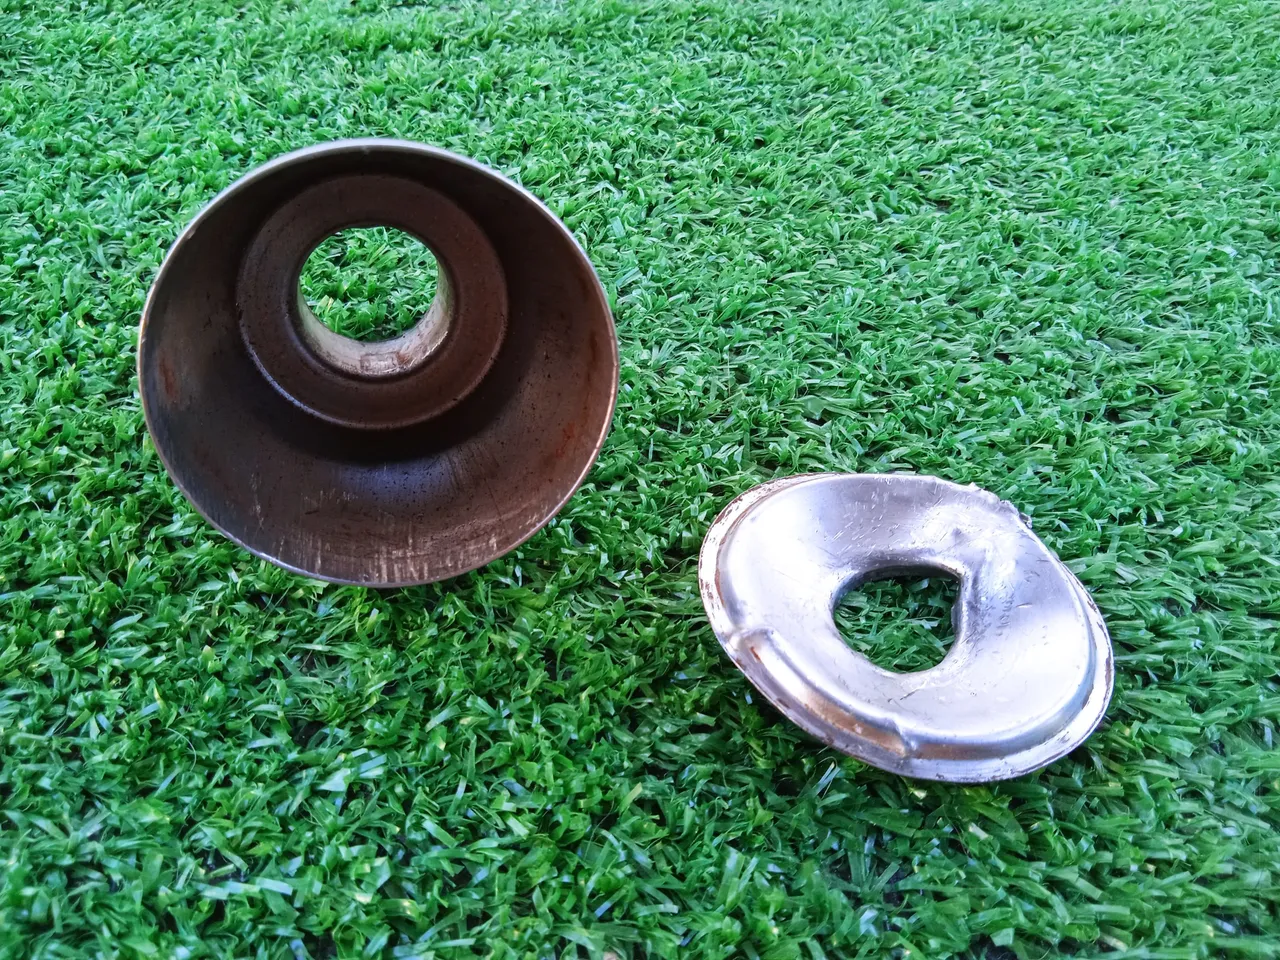
En este paso con con ayuda del martillo, golpeé varias veces la parte delantera del pómulo de la puerta donde se encuentra ubicado el cilindro para la llave. Al golpearlo seguidamente la tapa se desprendió, el resultado una cerradura hueca.
Tomé una tapa plástica en reciclaje de una pintura al frío esta es la medida perfecta para tapar el orificio, así que una vez la coloque con la pistola al frío la pegue para darle mejor estabilidad y evitar la presión del agua la saqué.
Step #2:
In this step with the help of the hammer, I tapped several times on the front of the door cheek where the cylinder for the key is located. The result was a hollow lock.
I took a plastic cover in recycling of a cold paint this is the perfect measure to cover the hole, so once I put it with the cold gun I glued it to give it better stability and avoid the water pressure I took it out.

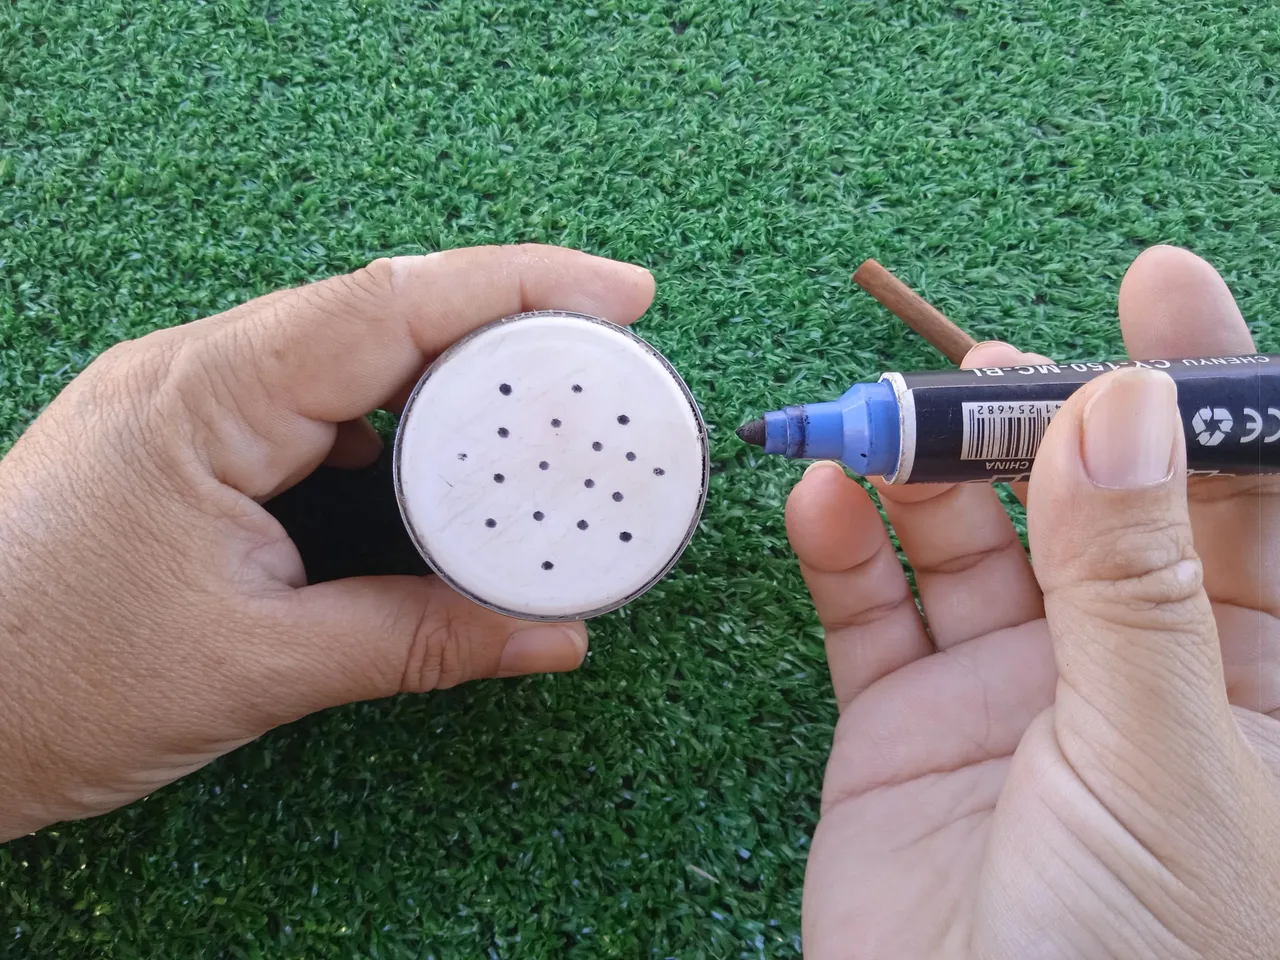
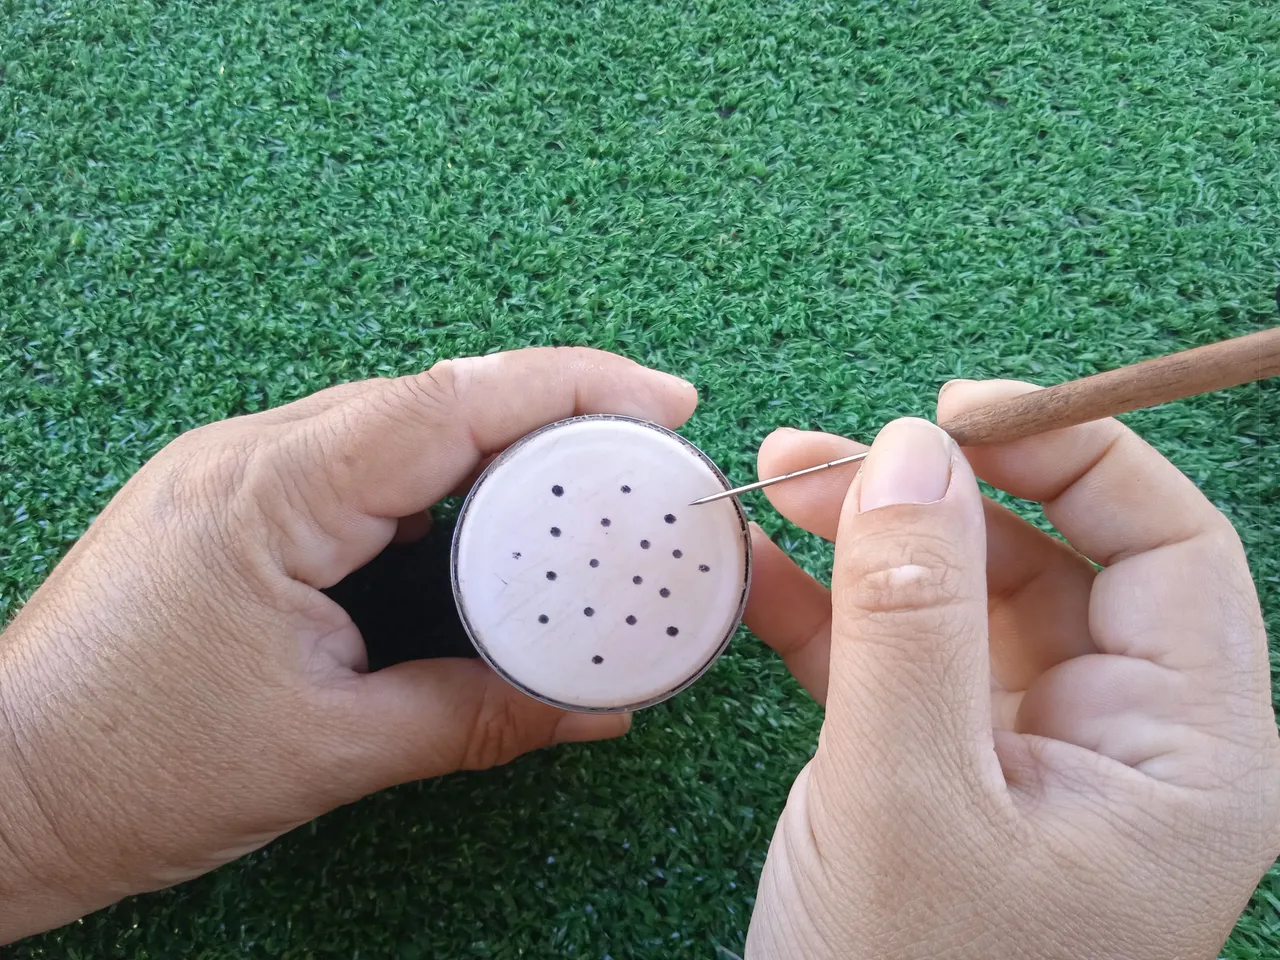
Paso 3#:
Una vez que la tapa está fija con un marcador, pinte varios puntos para guiarme a la hora de hacer los orificios que deben ser mínimos para ello me ayude con un punzón de elaboración case cuya punta es una aguja de acero.
Step 3#:
Once the lid is fixed with a marker, paint several dots to guide me in making the holes which should be minimal for this I help myself with a case making punch whose tip is a steel needle.
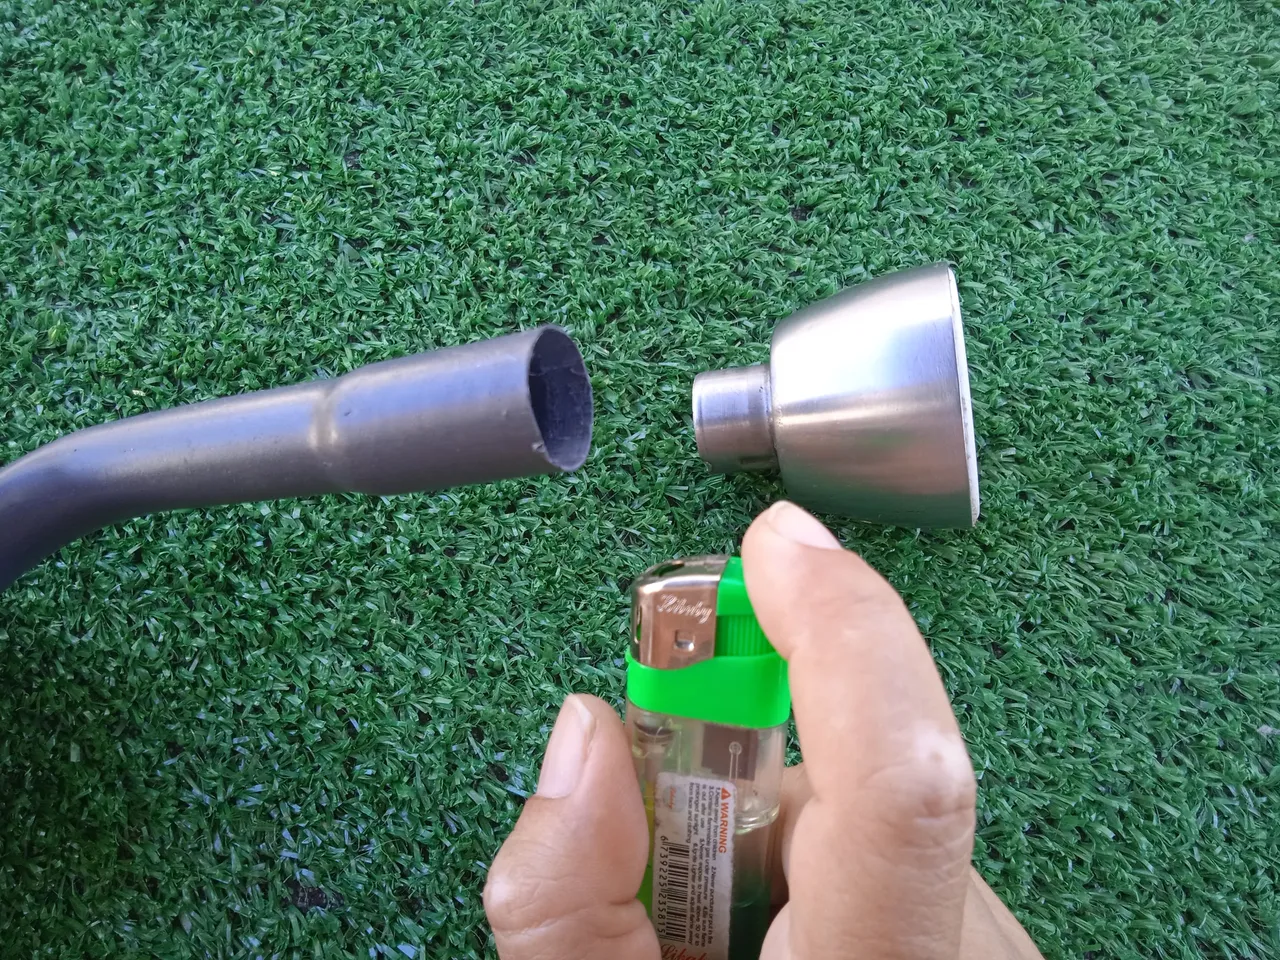
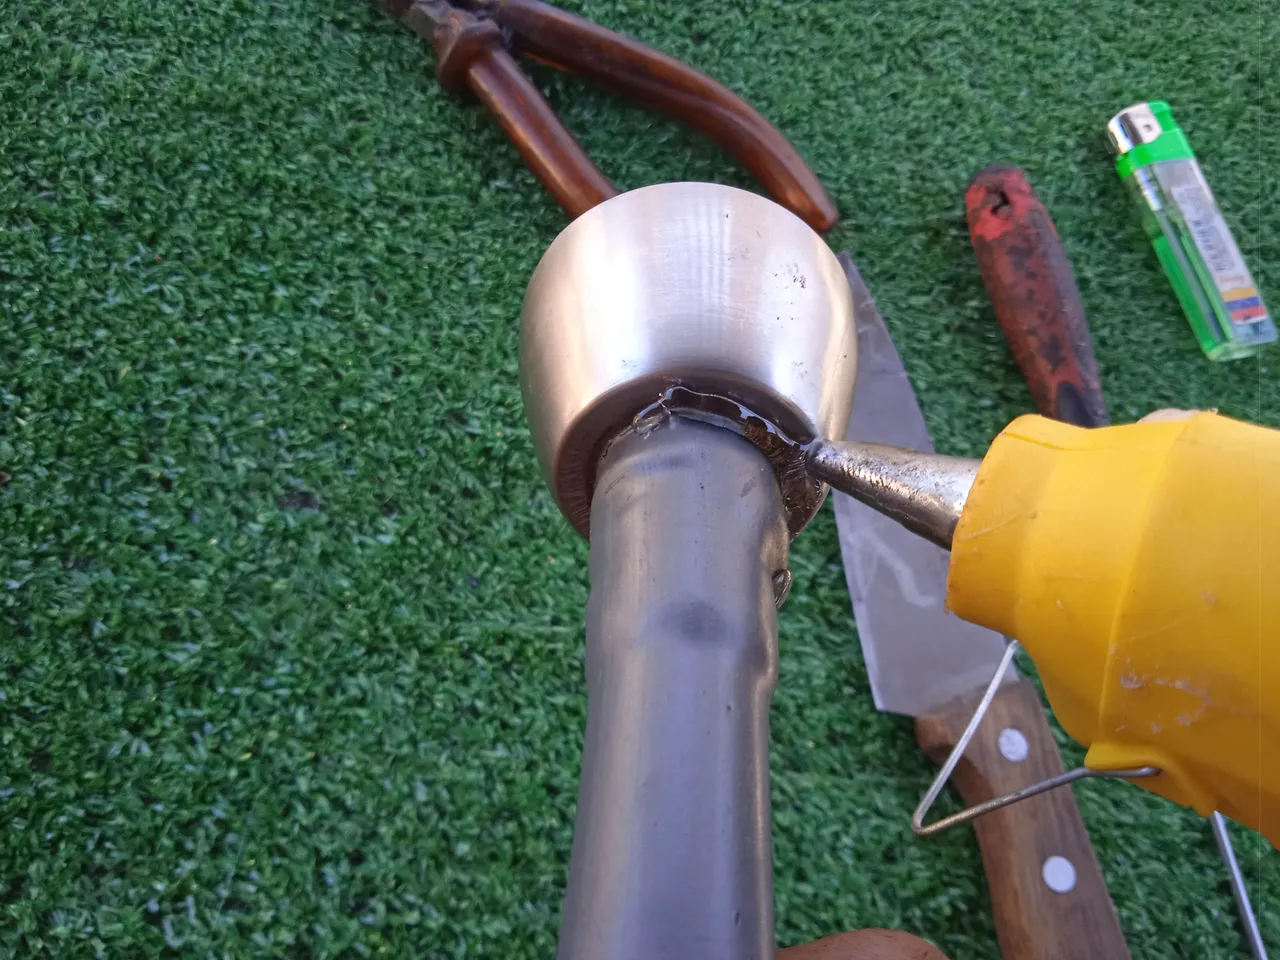
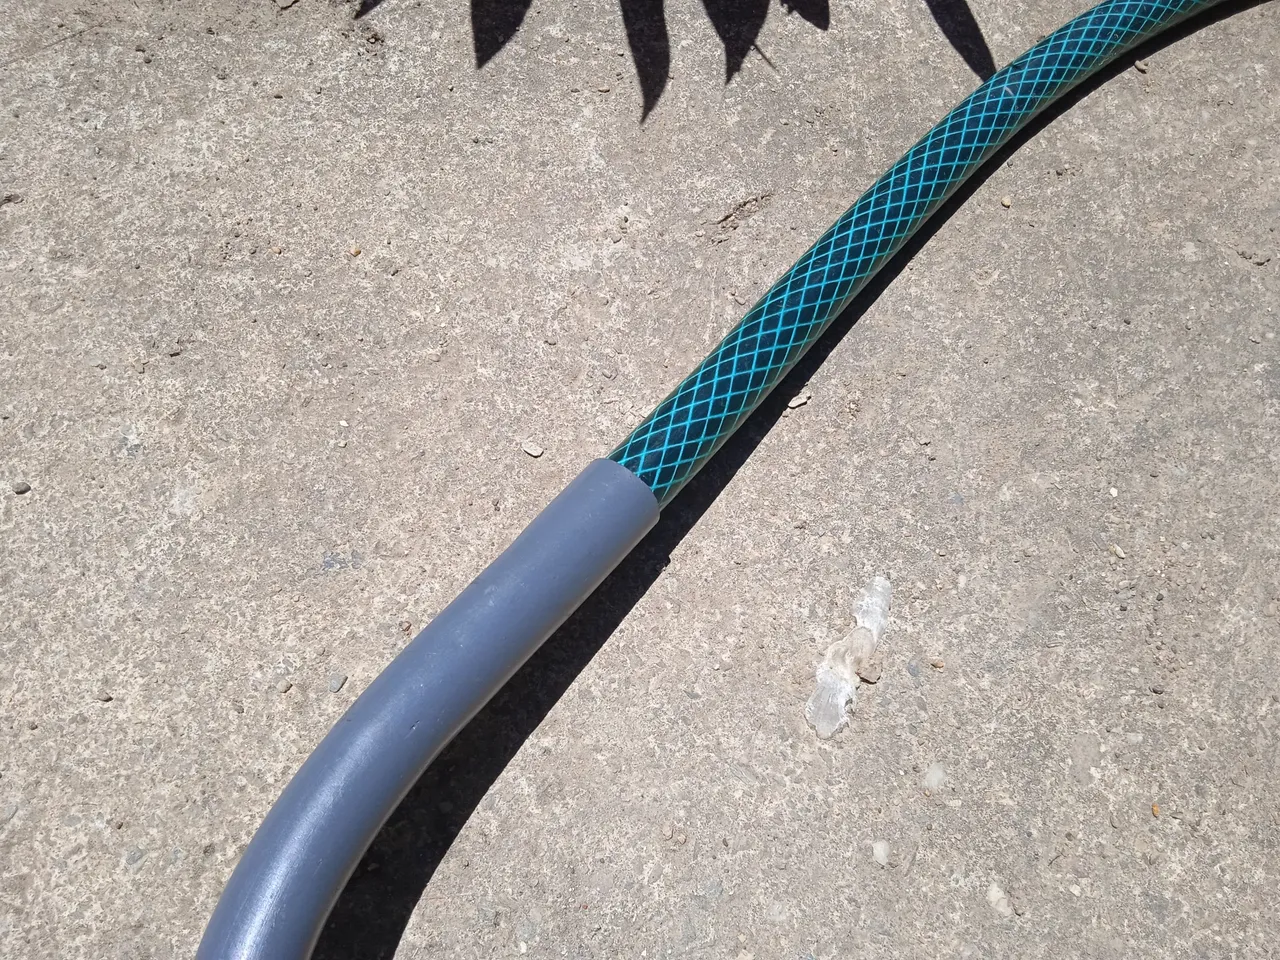
Paso #4:
Seguido a todo lo anterior teniendo ya lista la manilla, tomé el tubo y un calentador o yesquero para ayudarme a derretir el plástico del tubo y hacer el orificio más flexible y hacer que fuera más fácil anclar el pómulo al tubo.
Luego con el Silicon selle el empate.
Step #4:
Following all of the above having the handle ready, I took the tube and a heater or tinder to help me melt the plastic of the tube and make the hole more flexible and make it easier to anchor the cheekpiece to the tube.
Then with the silicon I sealed the joint.
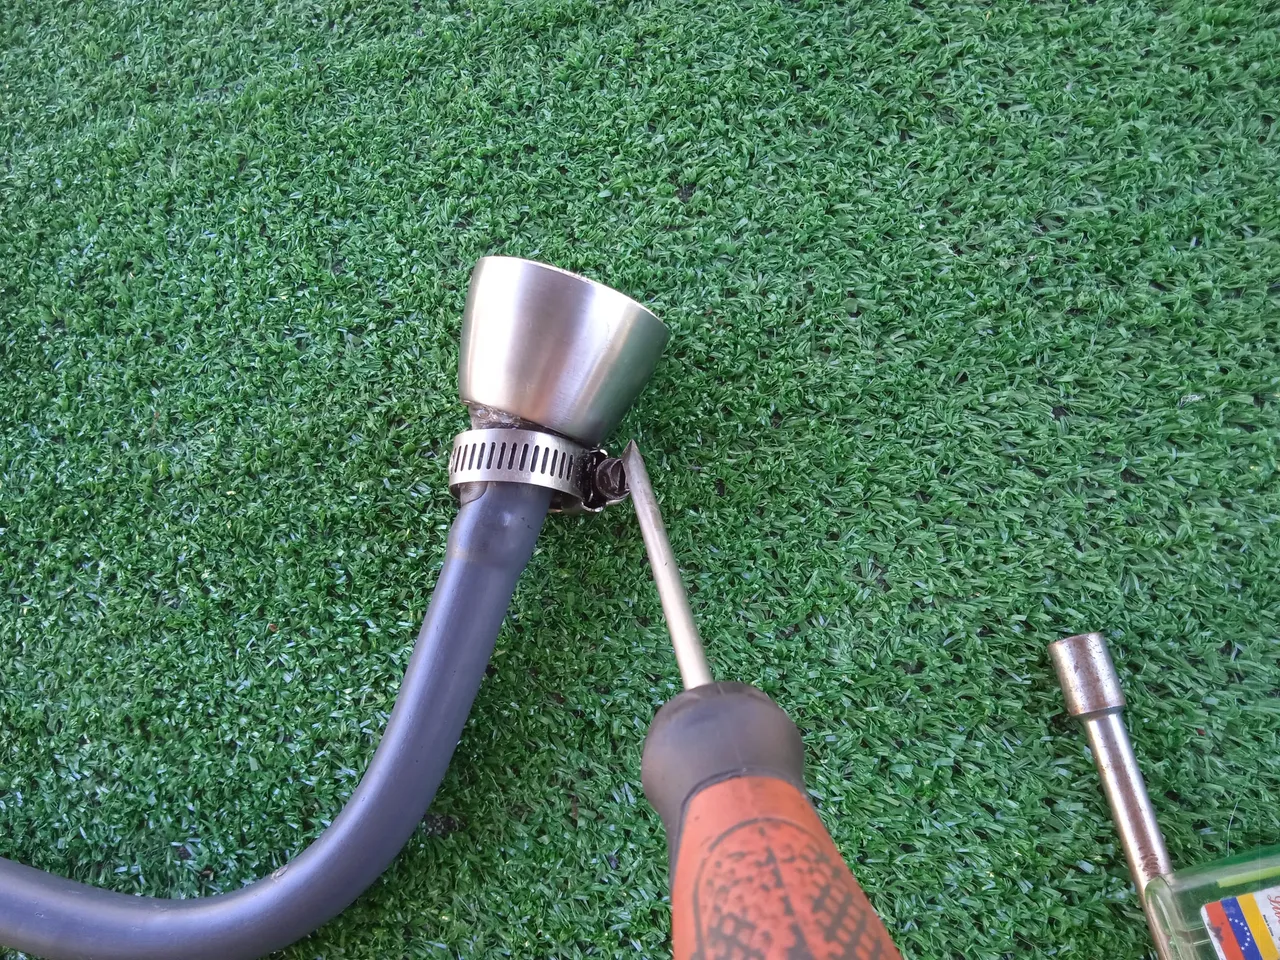
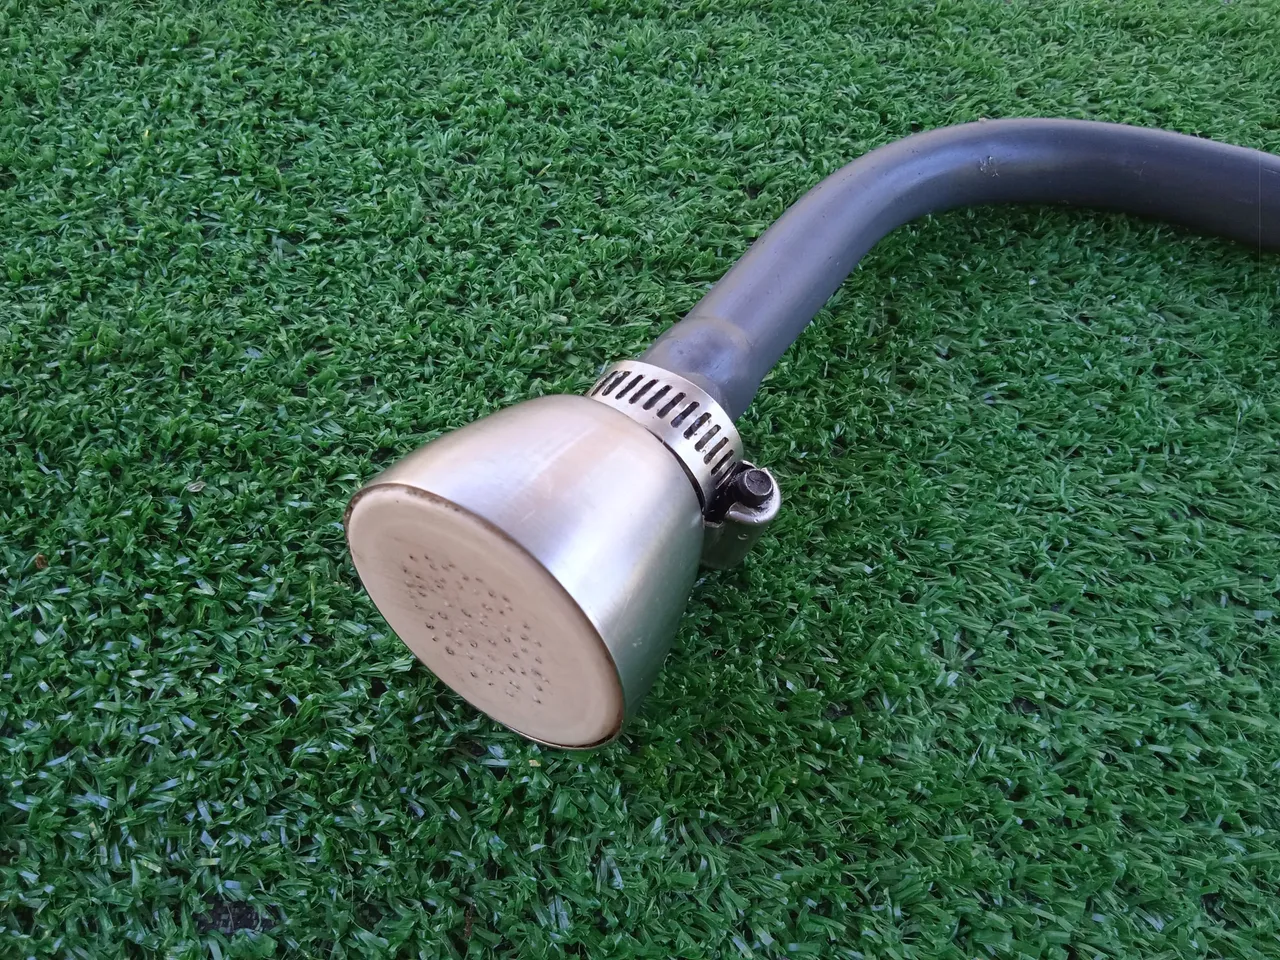
Paso #5:
Después de haber hecho la unión con el Silicon para darle más seguridad le coloque una abrazadera que reforzara dicha unión y así se evitará que el agua no tenga fuga por alli.
Step #5:
After having made the union with the Silicon to give it more security I placed a clamp that will reinforce the union and thus prevent water from leaking through there.
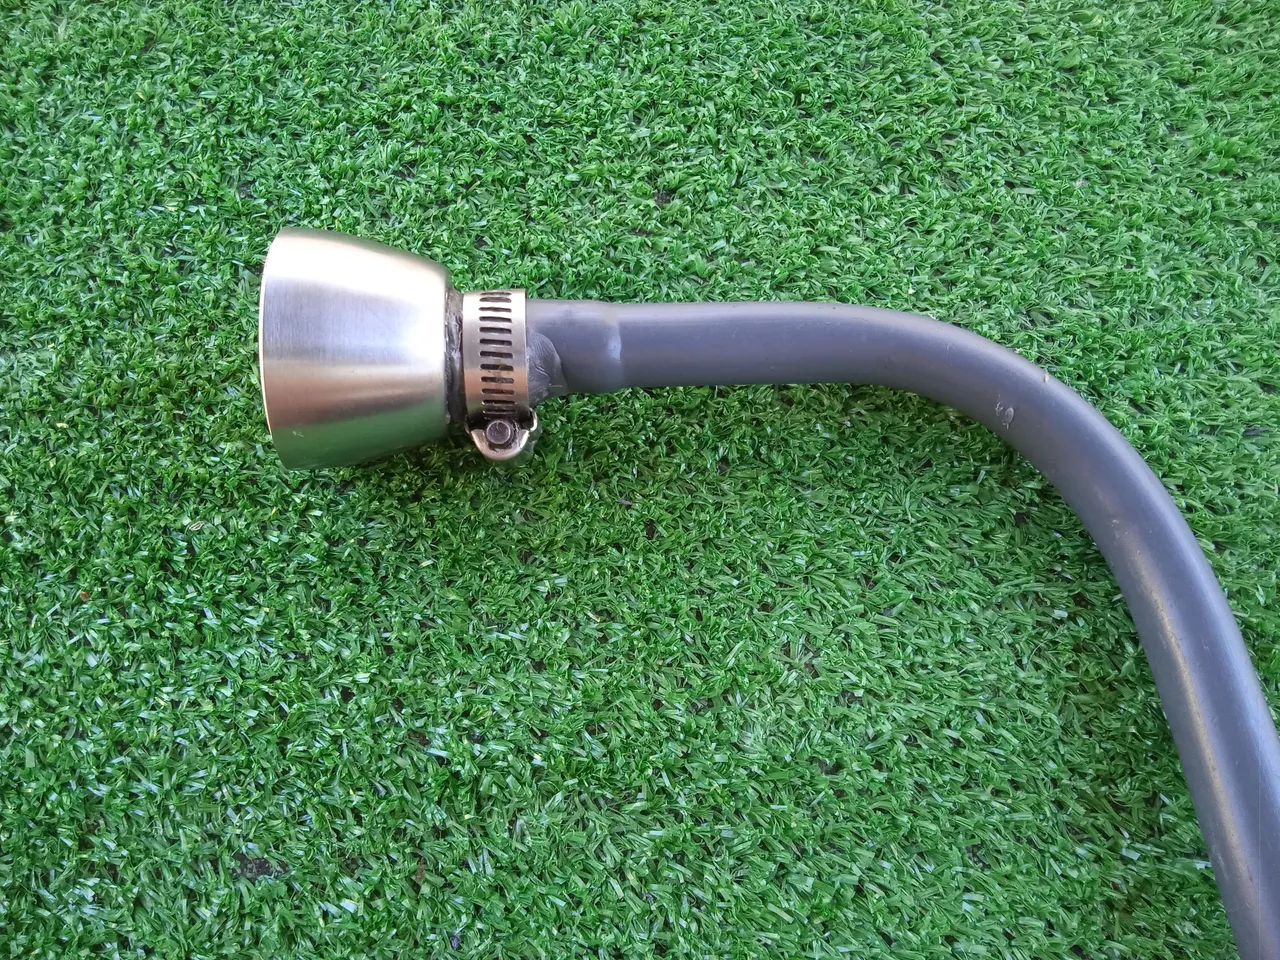
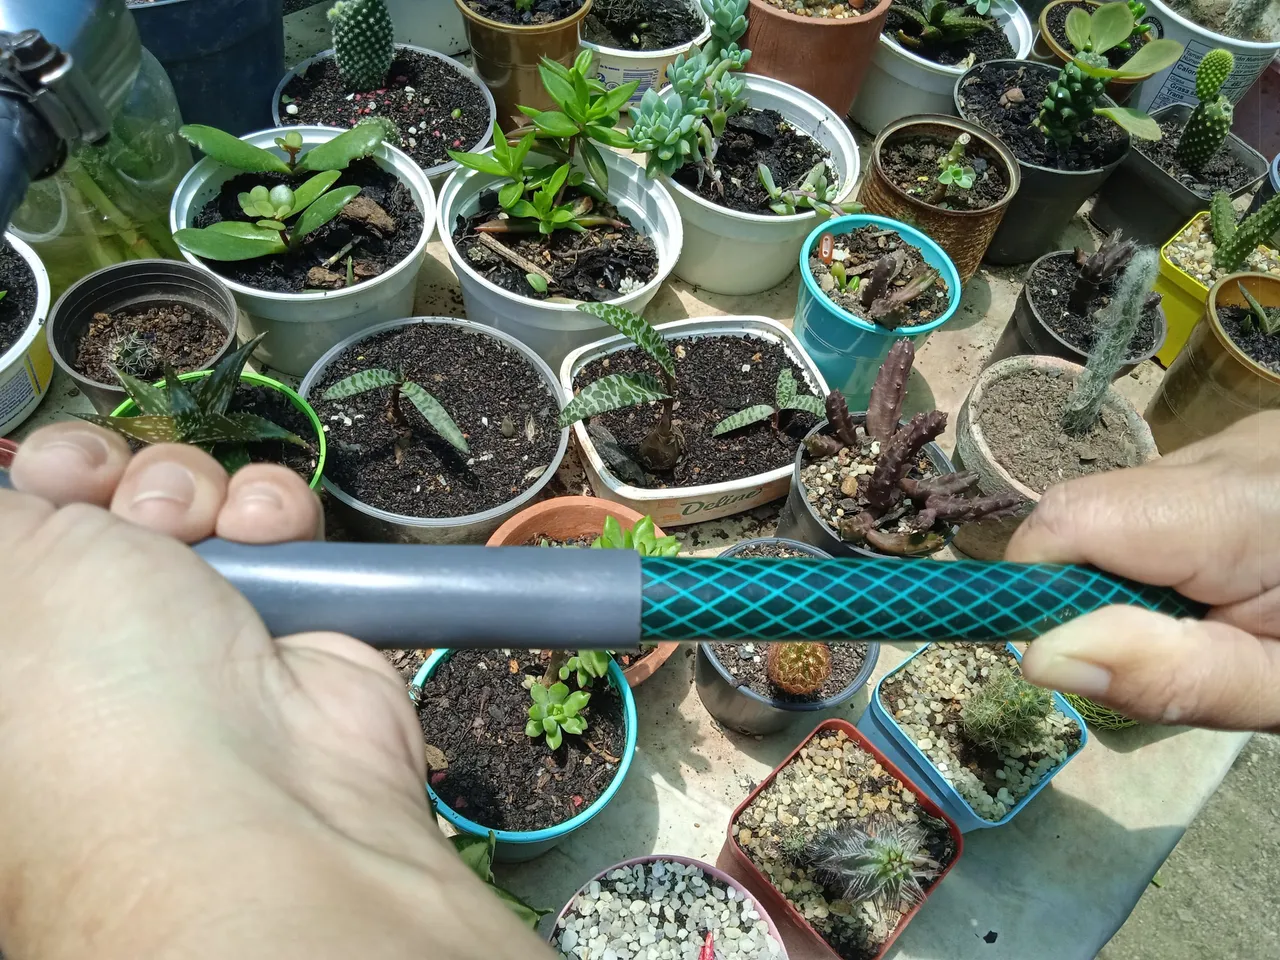
Paso #6:
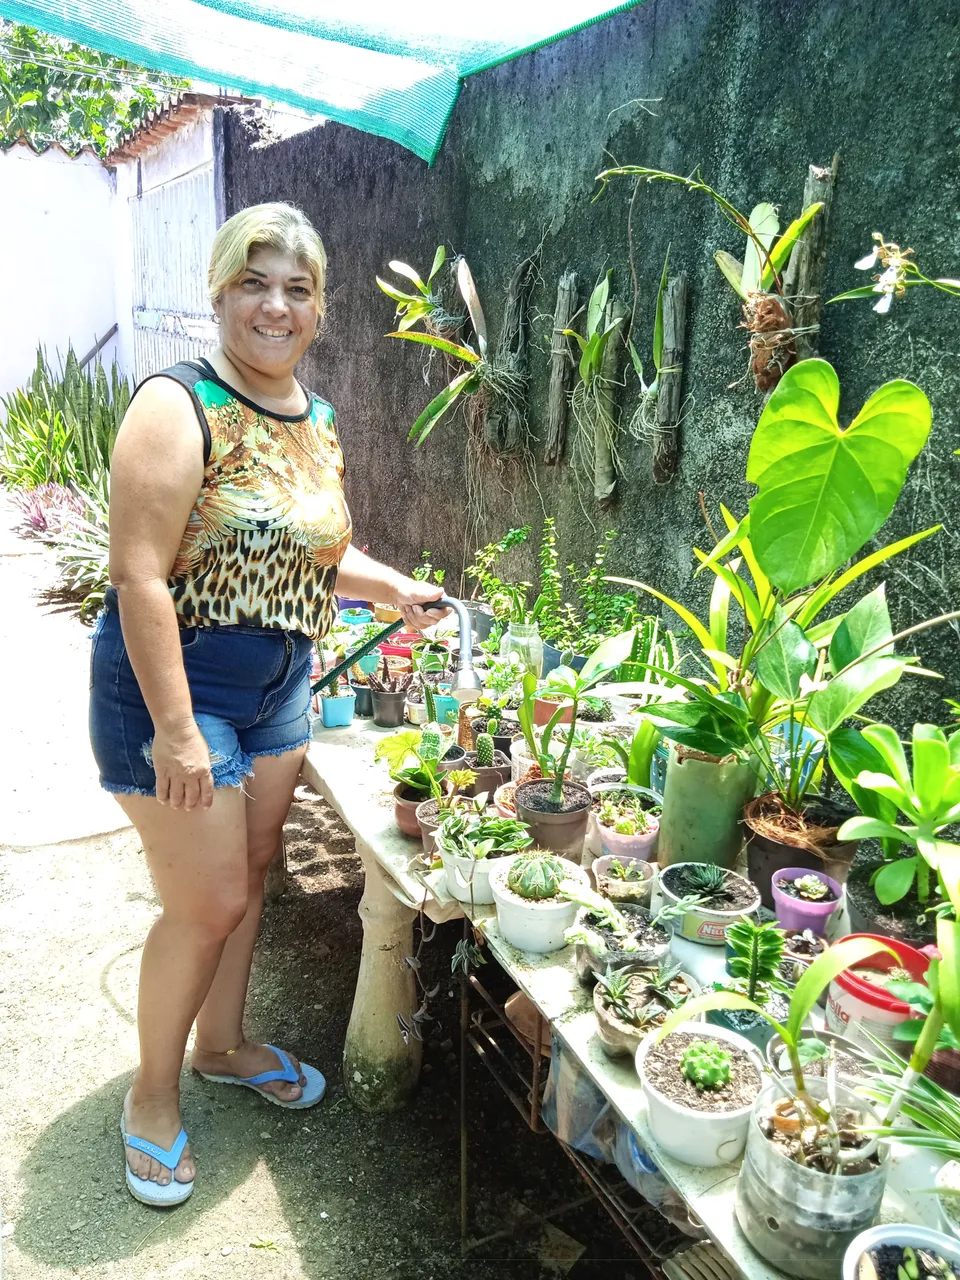
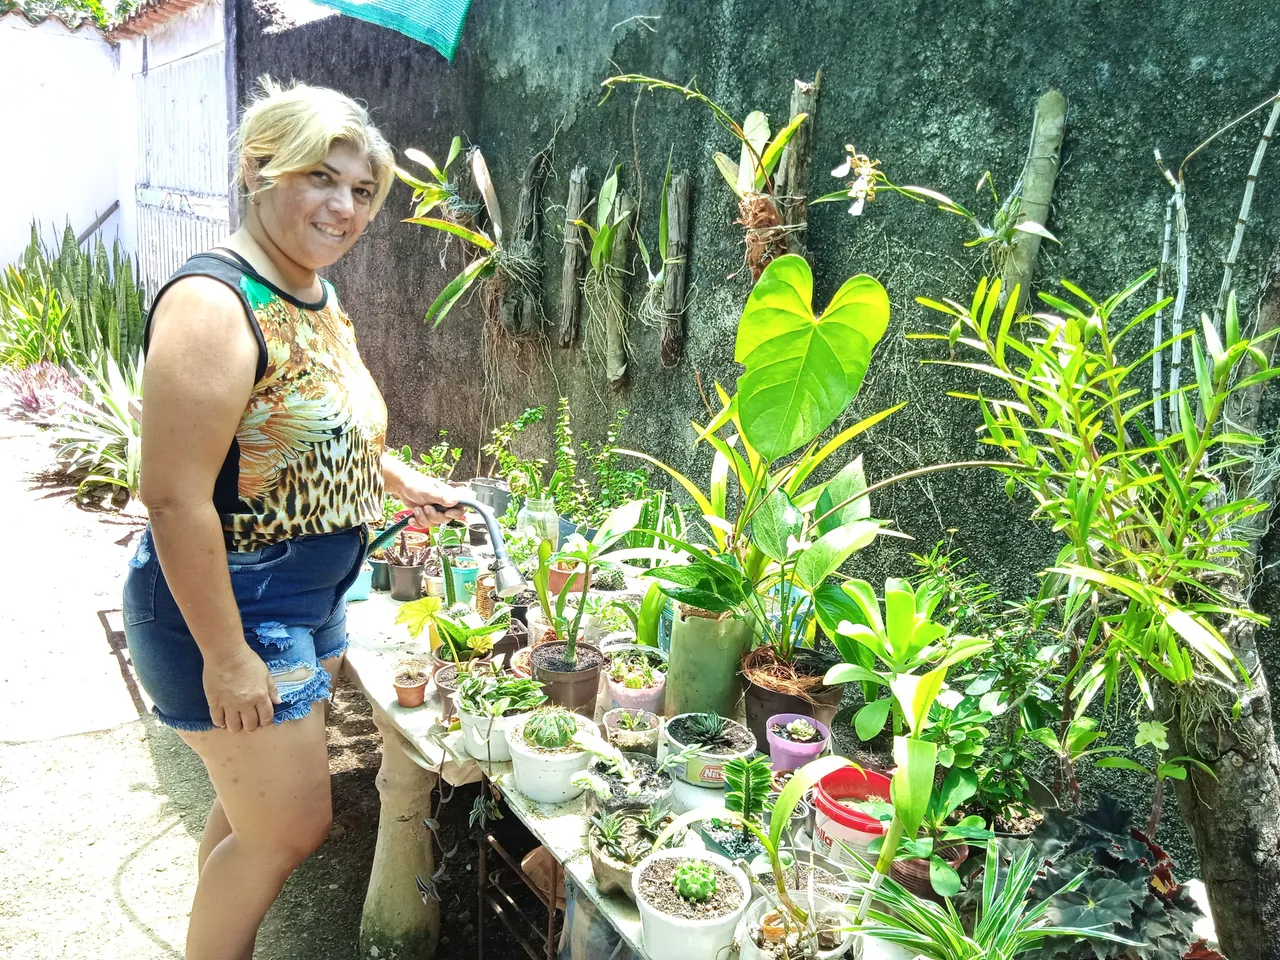
Y ya para finalizar empalmo el tuvo a la manguera abro la llave y comienza a drenar el agua por la regadera, el día de la prueba el agua tenía poca presión pero el resultado fue excelente.
Step #6:
And now to finish I splice the had to the hose I open the faucet and it starts to drain the water through the shower head, the day of the test the water had little pressure but the result was excellent.
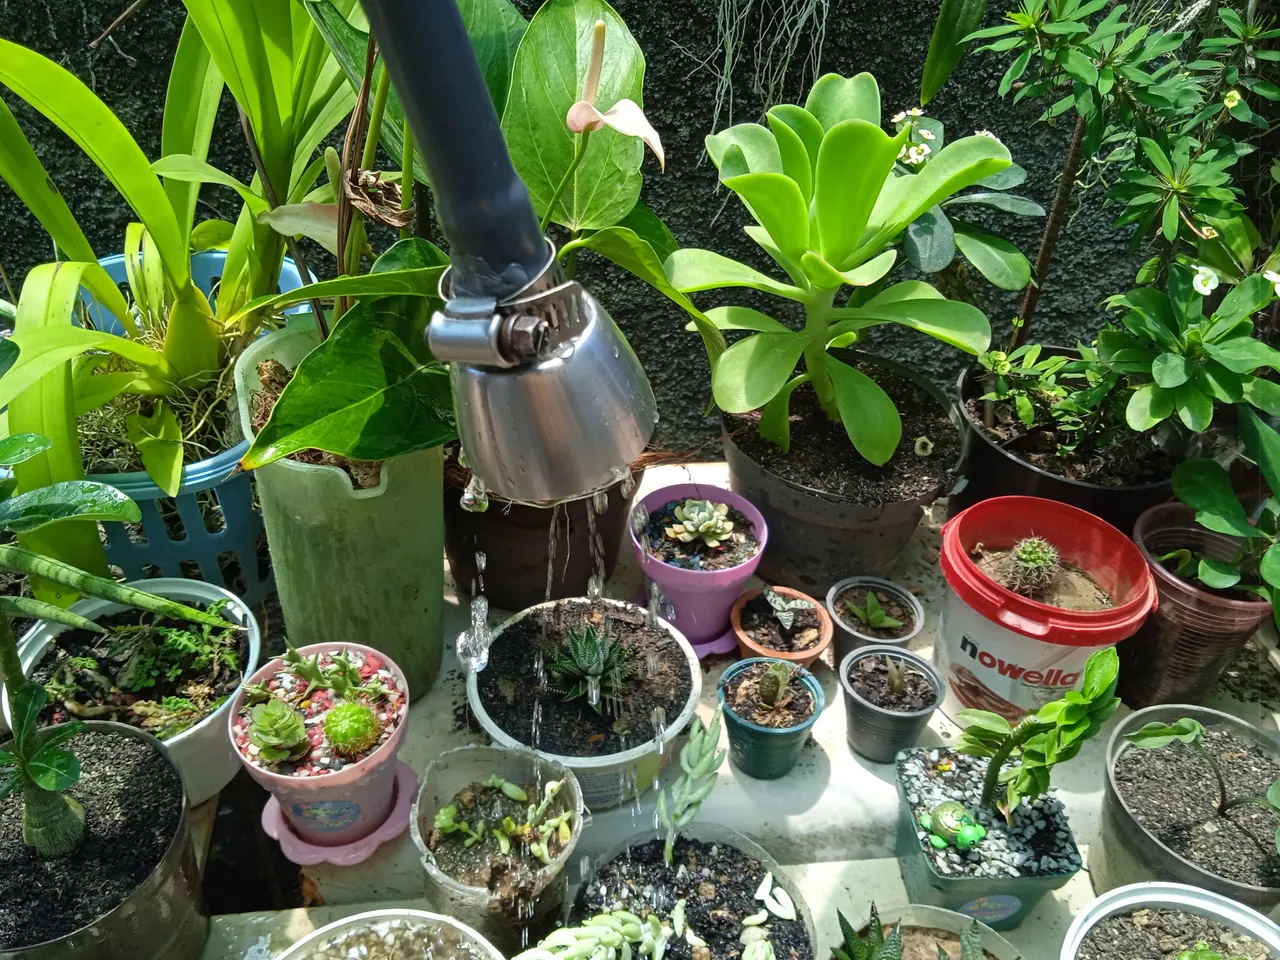
Así pues ya finalizado mi aspersor voy a darle el uso necesario en mi jardín , espero les haya parecido útil y sencillo y se animen a realizar uno para sus hogares.
Gracias por acompañarme hasta aquí éxitos y bendiciones 🙏🏻
So now that I have finished my sprinkler I am going to give it the necessary use in my garden, I hope you have found it useful and simple and I encourage you to make one for your homes.
Thank you for joining me here success and blessings 🙏🏻
Todas las imágenes son de mi propiedad tomadas con mi Redmi 9A y utilice el deelptraductor para la traducción de esta publicación.
All images are my own taken with my Redmi 9A and I used deelptranslator for the translation of this post.