Hello my people of all the communities in this opportunity I bring you one of my creative activities that I made and that I like to do with much affection so that you can learn by doing it yourselves today I will teach you how to make a backpack organizer with cardboard.
Hola mi gente de todas las comunidades en esta oportunidad les traigo una de mis actividades creativas que elaboré y que me gusta hacer con mucho cariño para que aprendan haciéndolo ustedes mismos hoy les enseñaré como hacer un organizador de mochila con cartón.
Materials.
Materiales.
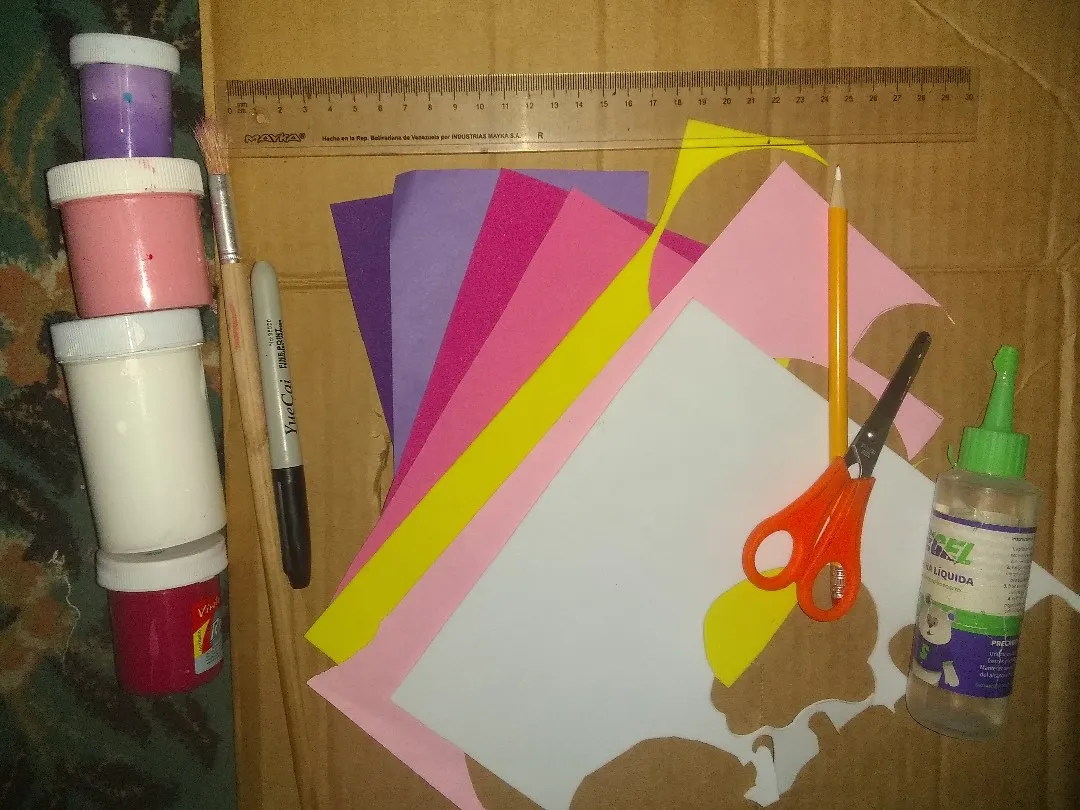
- Cardboard
- paint
- scissors
- pencil
- paintbrush
- colored eva glue
- stick
- hot silicone
- felt-tip pen
- ruler
- Cartónes
- pintura
- tijera
- lápiz
- pincel
- goma Eva de colores
- palo
- silicón caliente
- rotulador
- regla
Step by step.
Paso a paso.
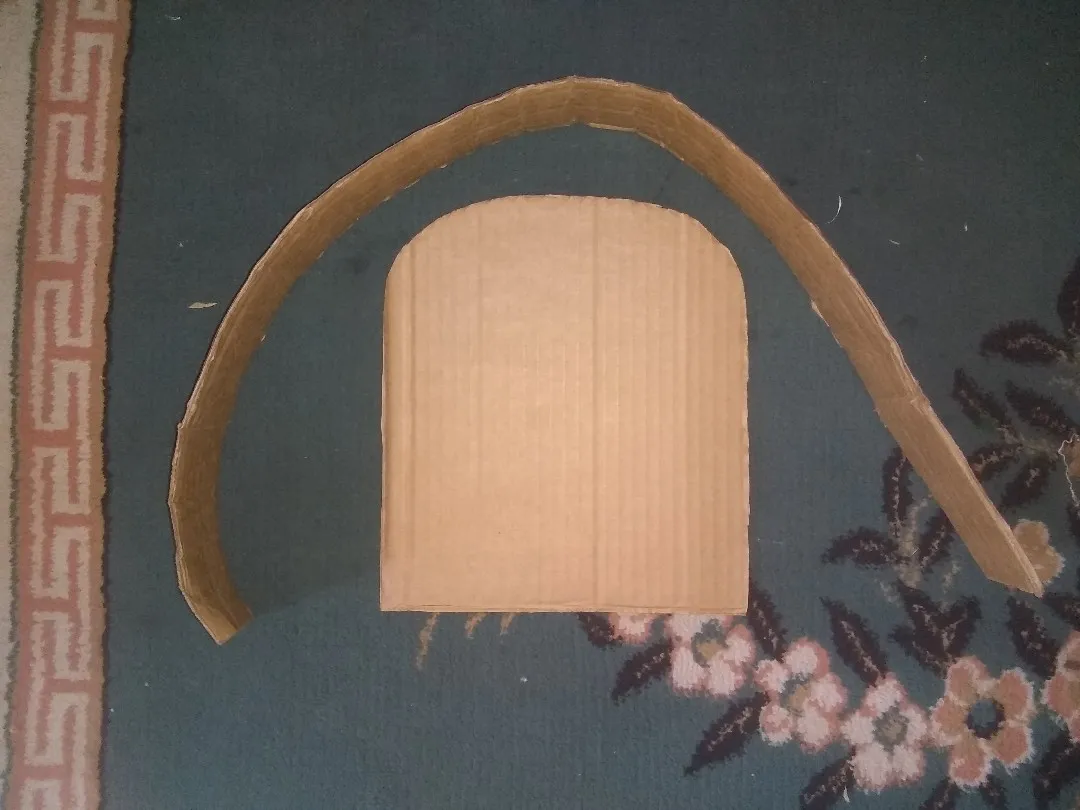
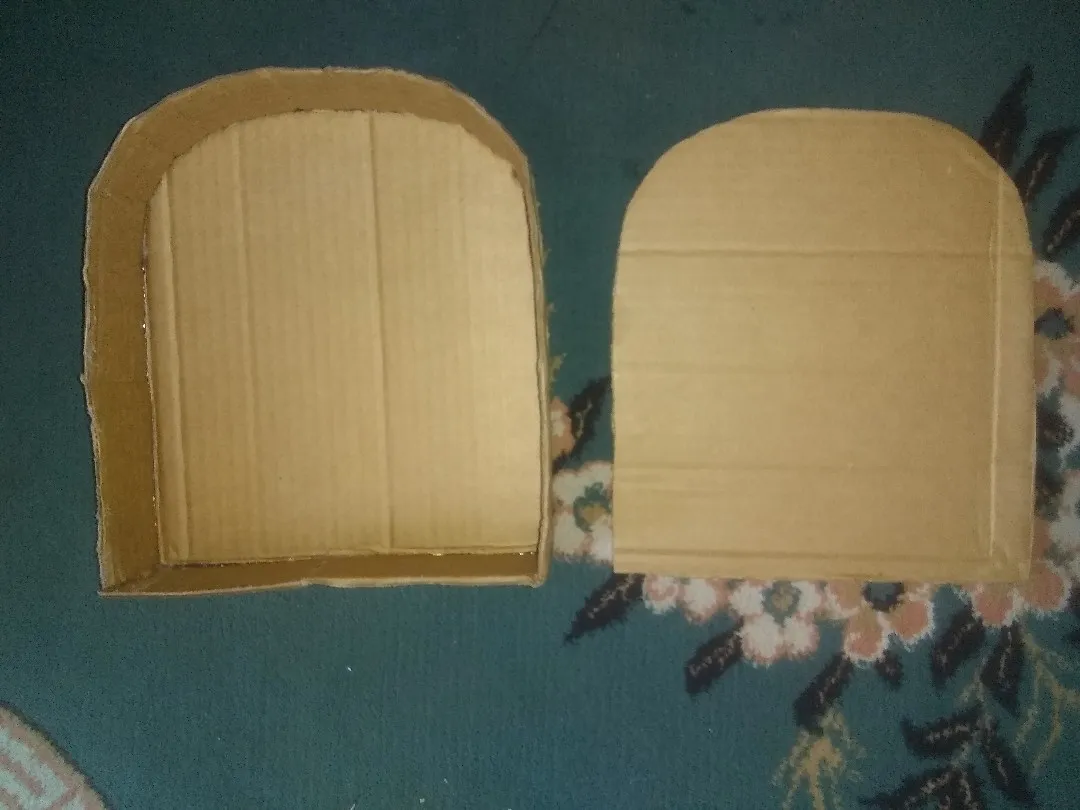
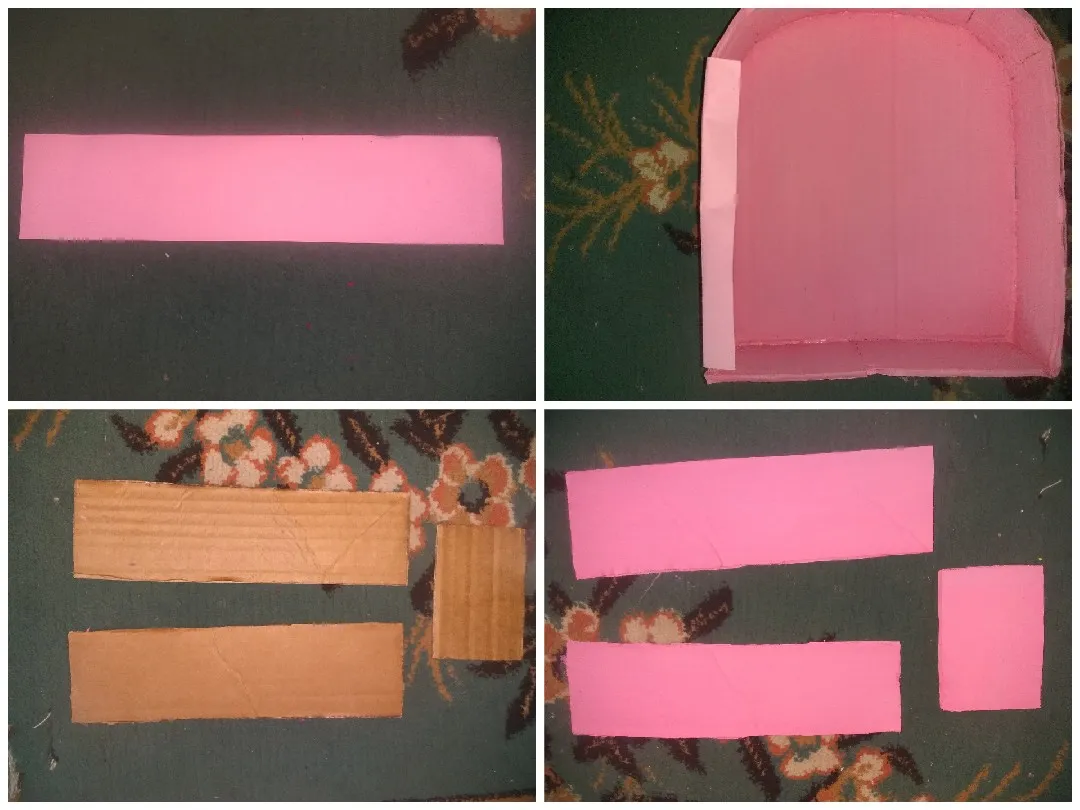
To start making our organizer we will make two 25x 23 cm cardboards and a 5 cm wide strip.
Para comenzar hacer nuestro organizador harémos dos cartónes de 25x 23 cm y una tira de 5 cm de ancho pega alrededor del cartón.
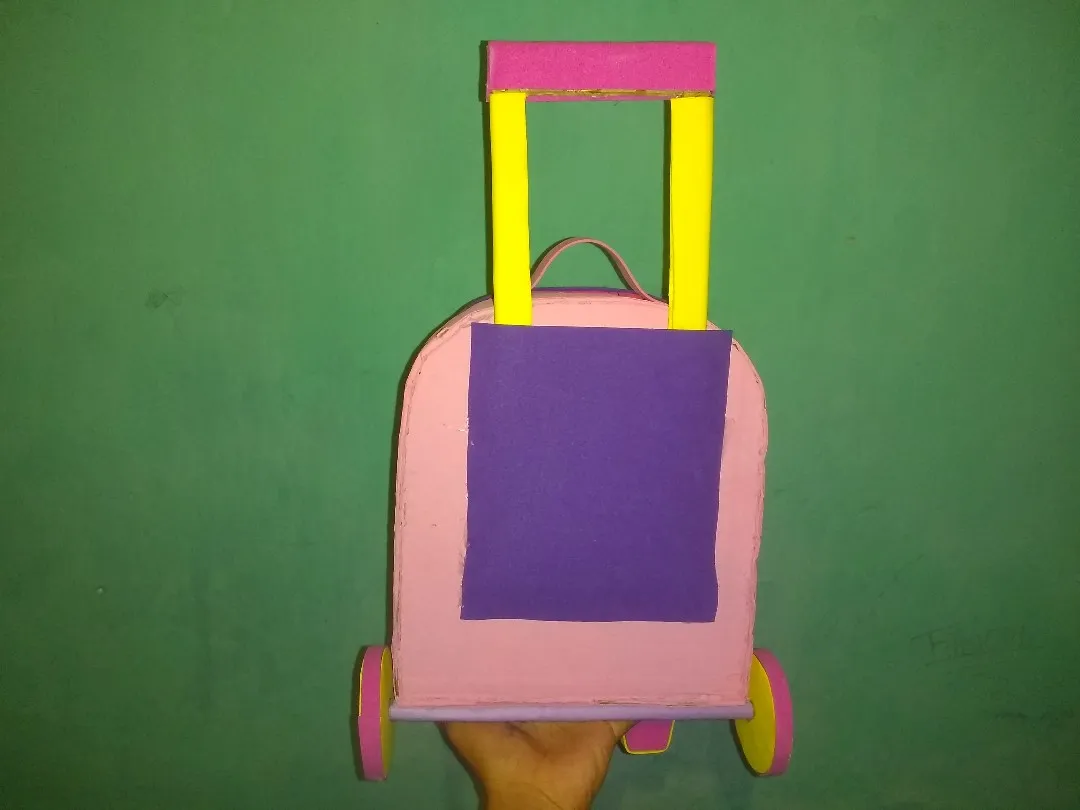
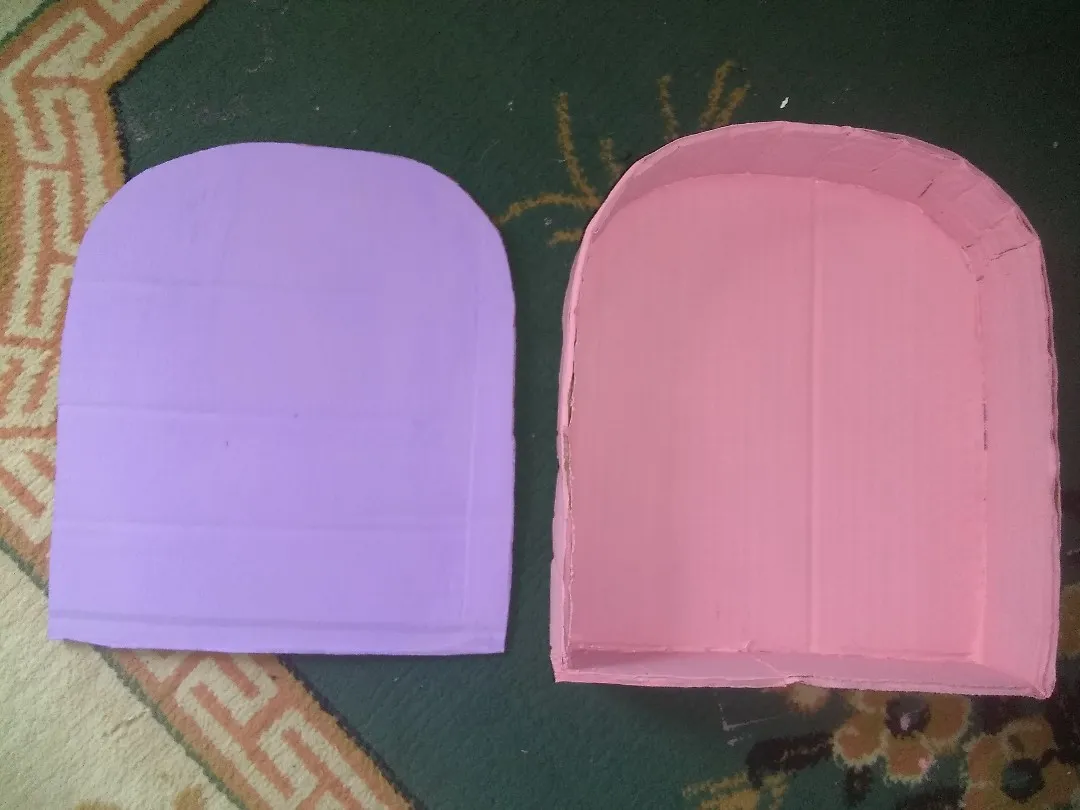
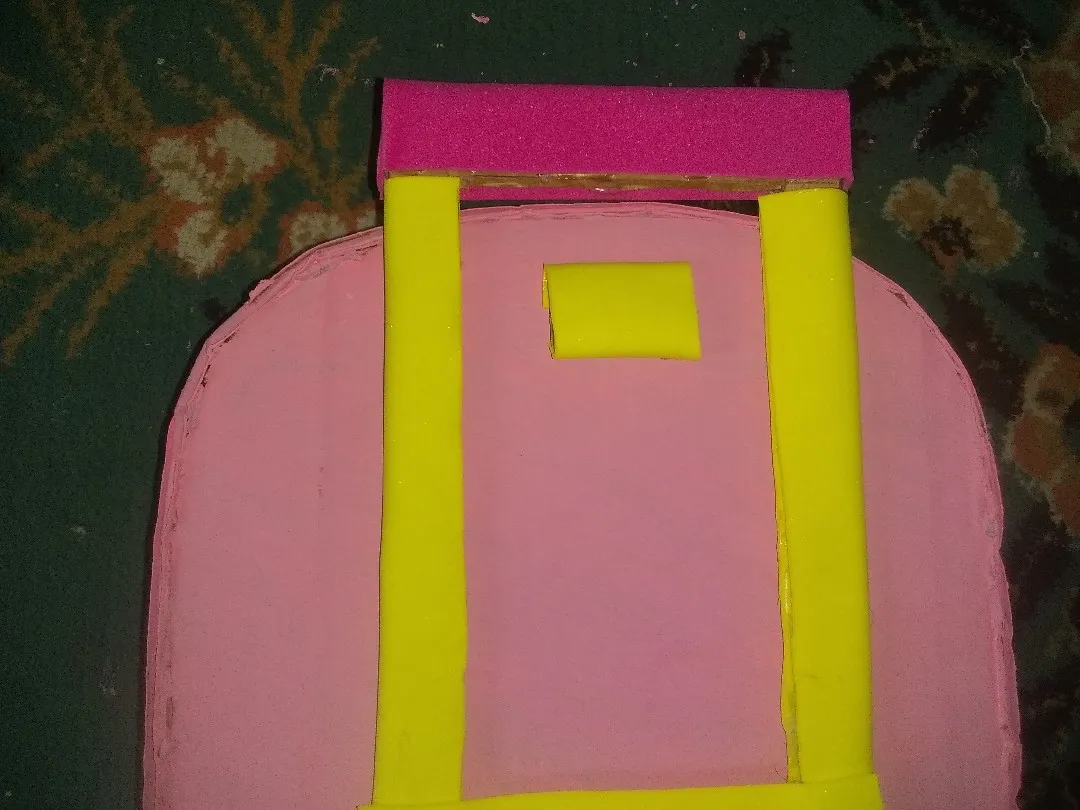
Next step paint to your liking. make 4 circles for the wheel and glue double the same with the legs then make a cardboard of 20x 12 cm as a frame of 2 cm wide. And line with Eva rubber as you like then with a 23 cm stick we cover with Eva rubber and glue on both sides the wheel.
Siguiente paso pinta a tu gusto. haz 4 círculo para la rueda y pega doble igualmente con las patas después haz un cartón de 20x 12 cm como un marco de 2 cm de ancho. Y forramos con goma Eva como más le guste luego con un palo de 23 cm cubrimos con goma Eva y pega en ambos lado las rueda.
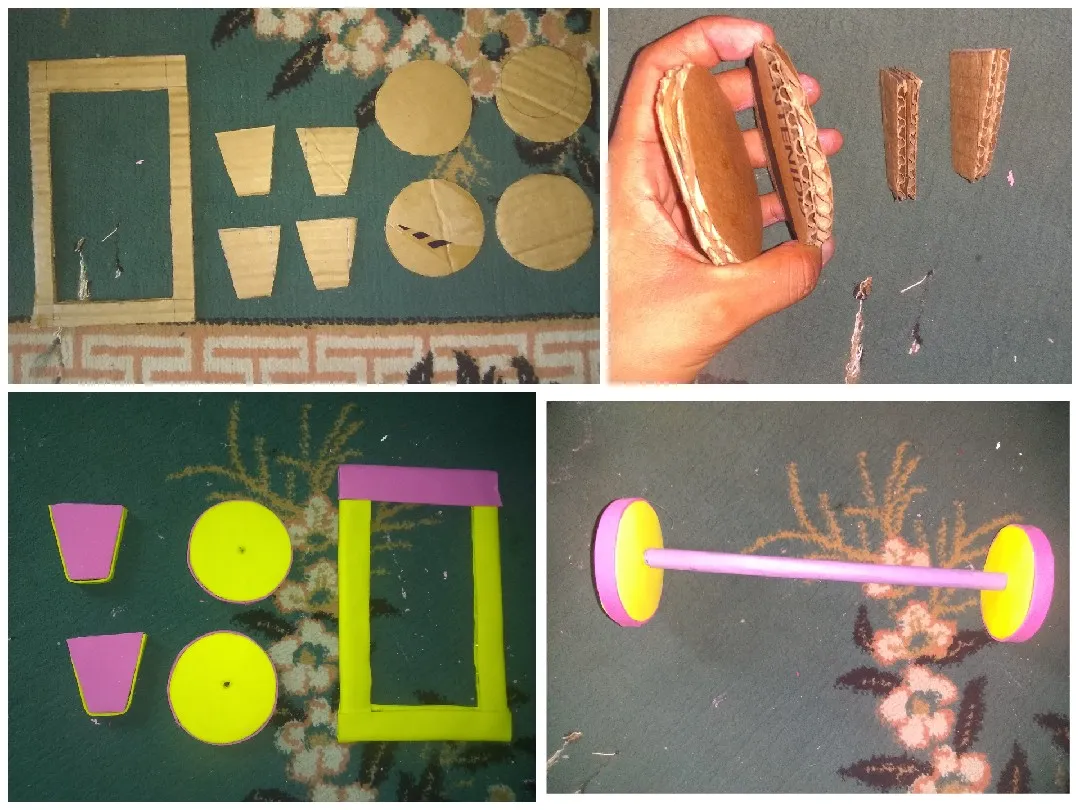
On the back of the bag we glue the frame and in the center we glue a small piece of cardboard and cover it with eva glue.
En la parte trasera del bolso pegamos el marco y en el centro pega un pedazo pequeños de cartón y cubrimos con goma eva.
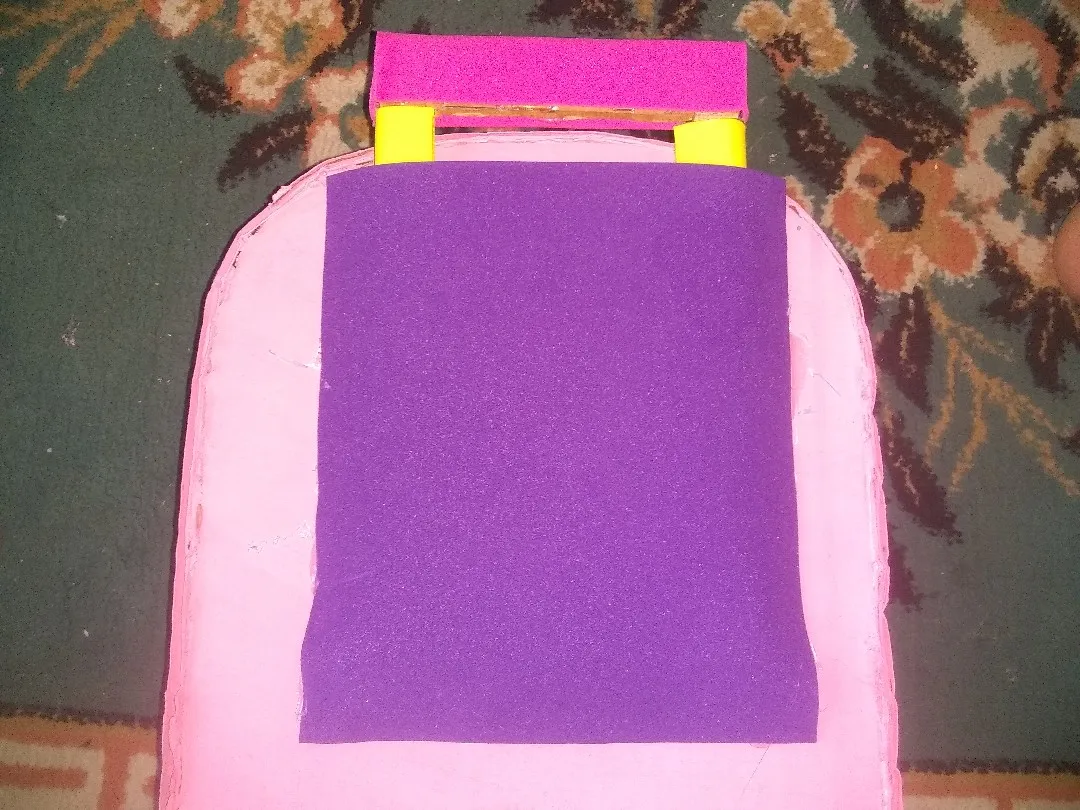
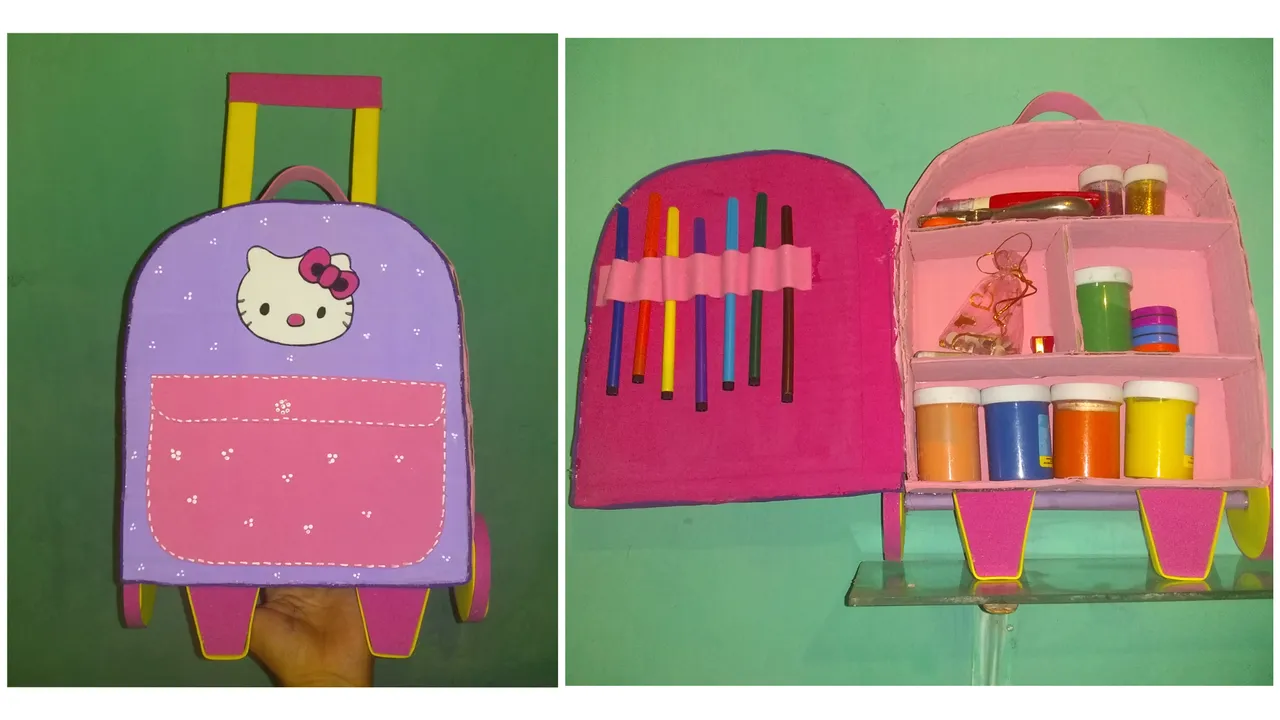
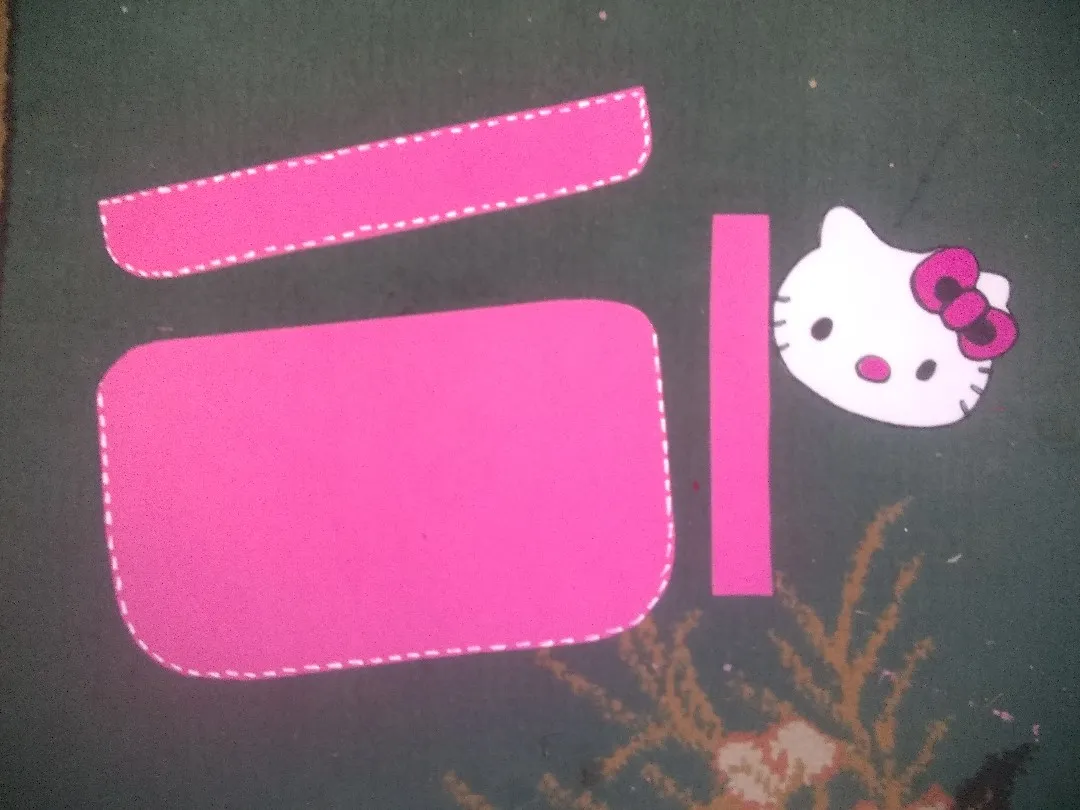
To place the lid with eva rubber or cardboard we make 4x 15 cm and glue to one side of the box for the divisions we make three cardboard and paint. And glue the lid.
Para colocar la tapa con goma Eva o cartulina hacemos 4x 15 cm y pegamos a un lado de la caja para la divisiónes hacemos tres cartónes y pinta. Y pegamos la tapa.
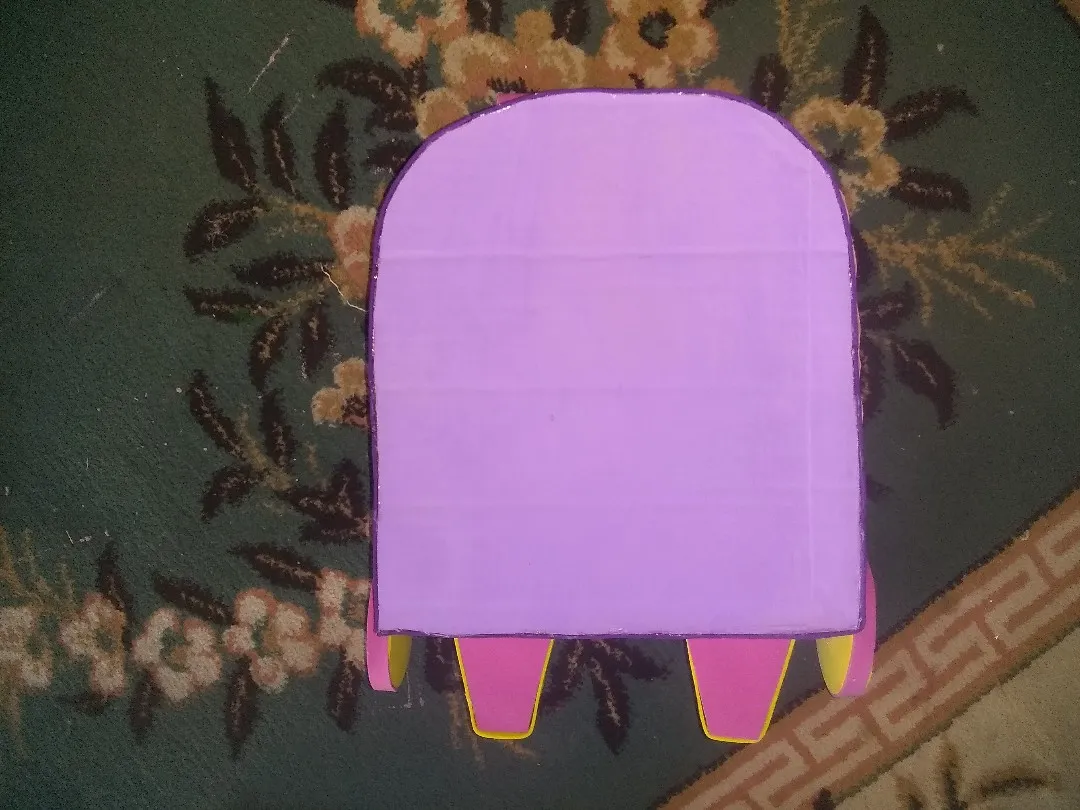
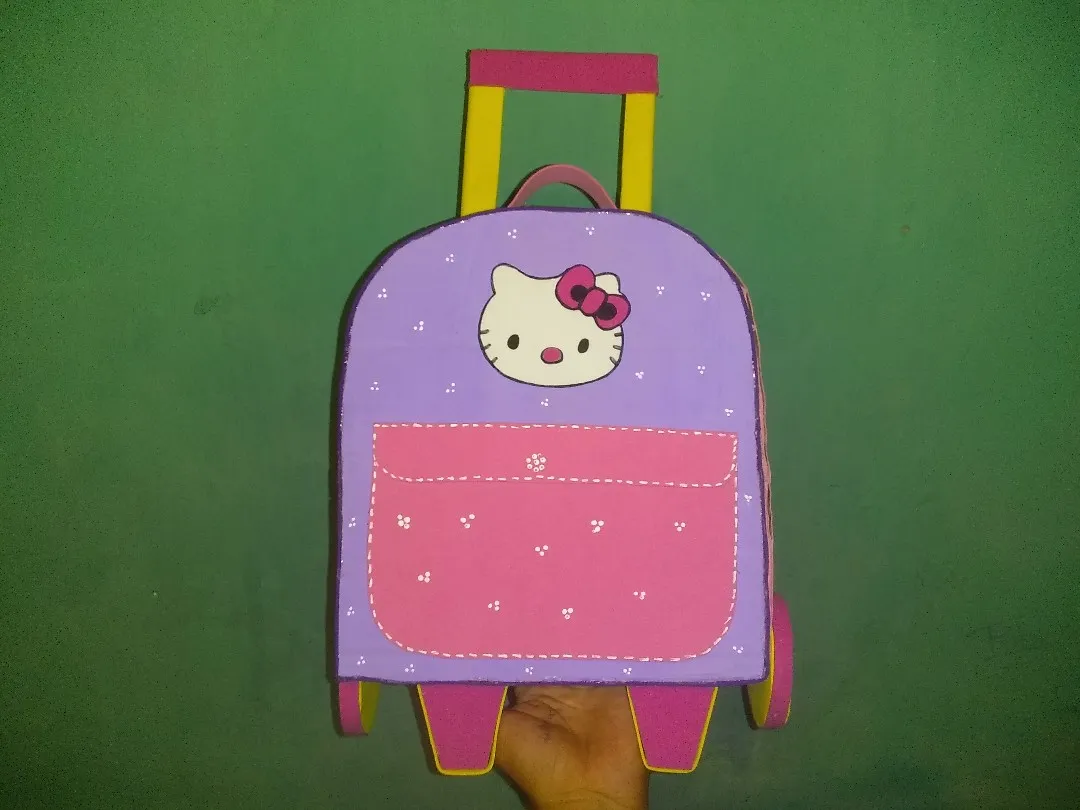
To finish we glued with hot silicone the divisions and to decorate our organizer I made a Hello Kitty and glued with silicone for the handle we glued a strip of 2x 10 cm and finished making some details.
Para culminar pegamos con silicón caliente las divisiones y para adorno nuestro organizador hice un Hello Kitty y pega con silicón el asa pegamos una tira de 2x 10 cm y terminamos haciendo unos detallitos.
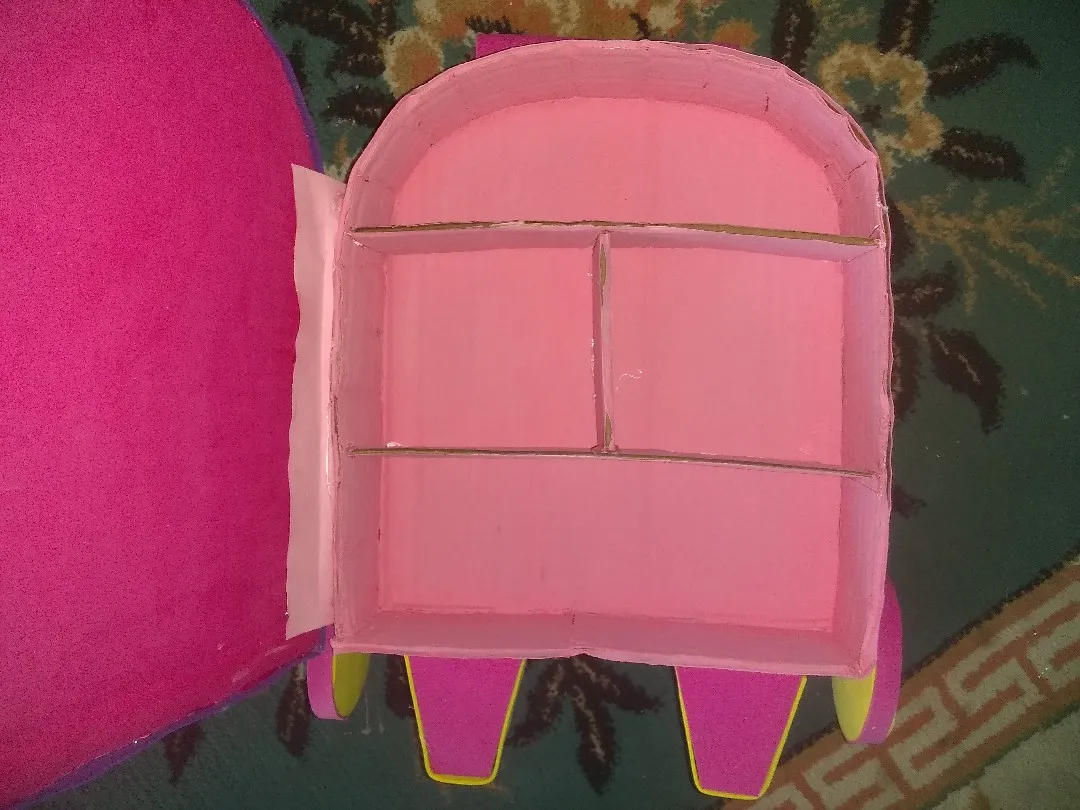
Final result. // Resultado final.