Español
Hola amigos en hive, feliz y bendecida semana.
Siendo fiel a mi y a celebrar la vida, hoy les muestro parte de la decoración de la fiesta que realicé para nuestro amigo Abraham de nueve (9) años. Él es fanático del videojuego “Geometry Dash” y su mamá quiso sorprenderlo con una pequeña reunión ambientada en su videojuego favorito. Me contactó para ayudarla y no pude decir que no, pues es una temática que no se consiguen en piñaterias así que acepté el reto, además que me encantó porque es súper colorido.
Ésta decoración se compone de varios elementos, y como cada uno de ellos llevó un proceso distinto, decidí separar los procesos en distintas publicaciones y así puedan apreciar mejor el proceso de cada cosa.
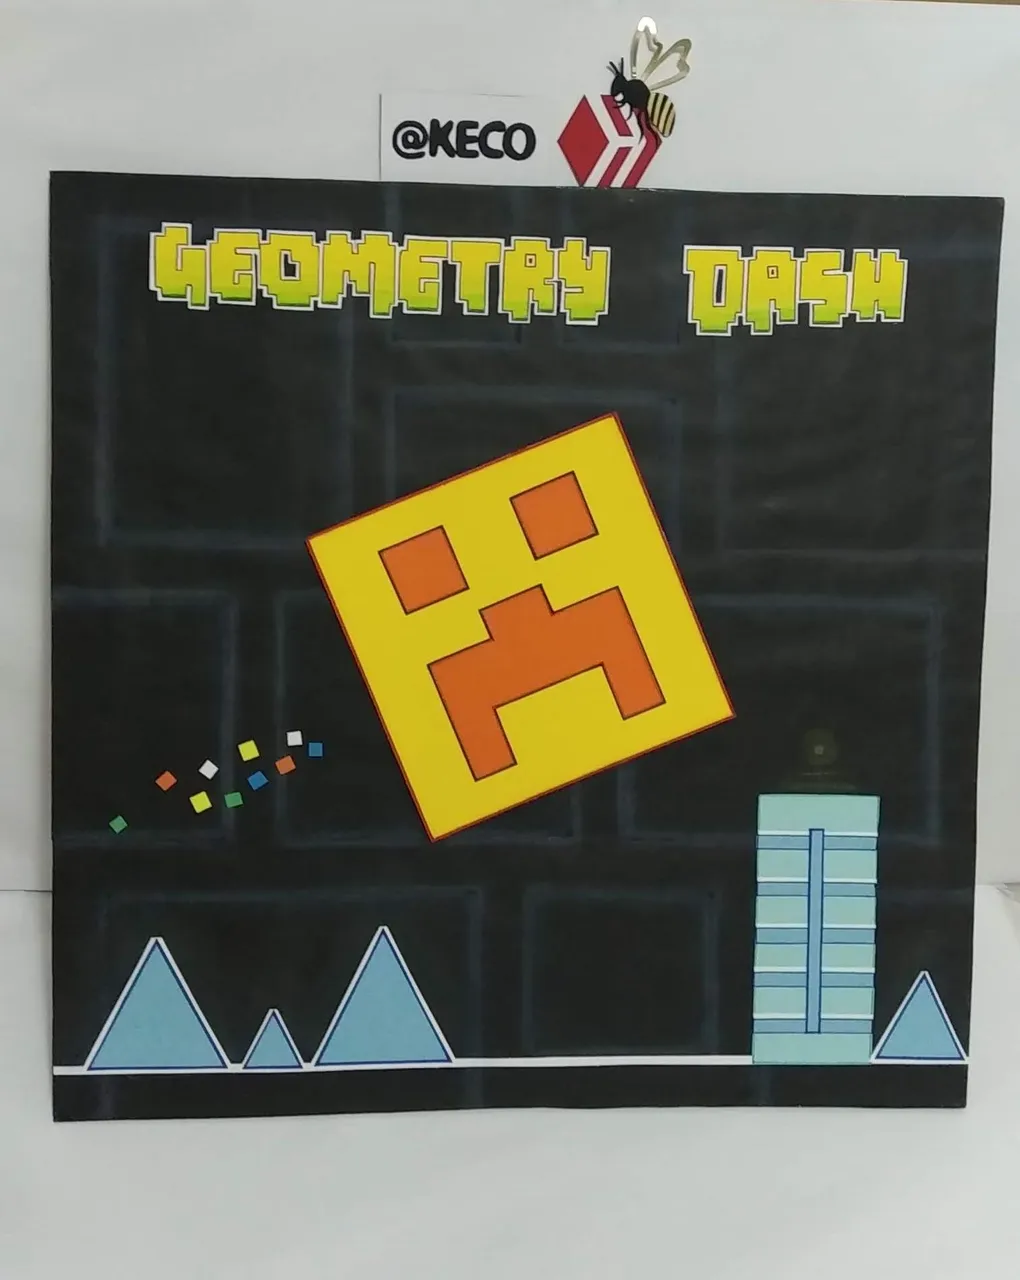
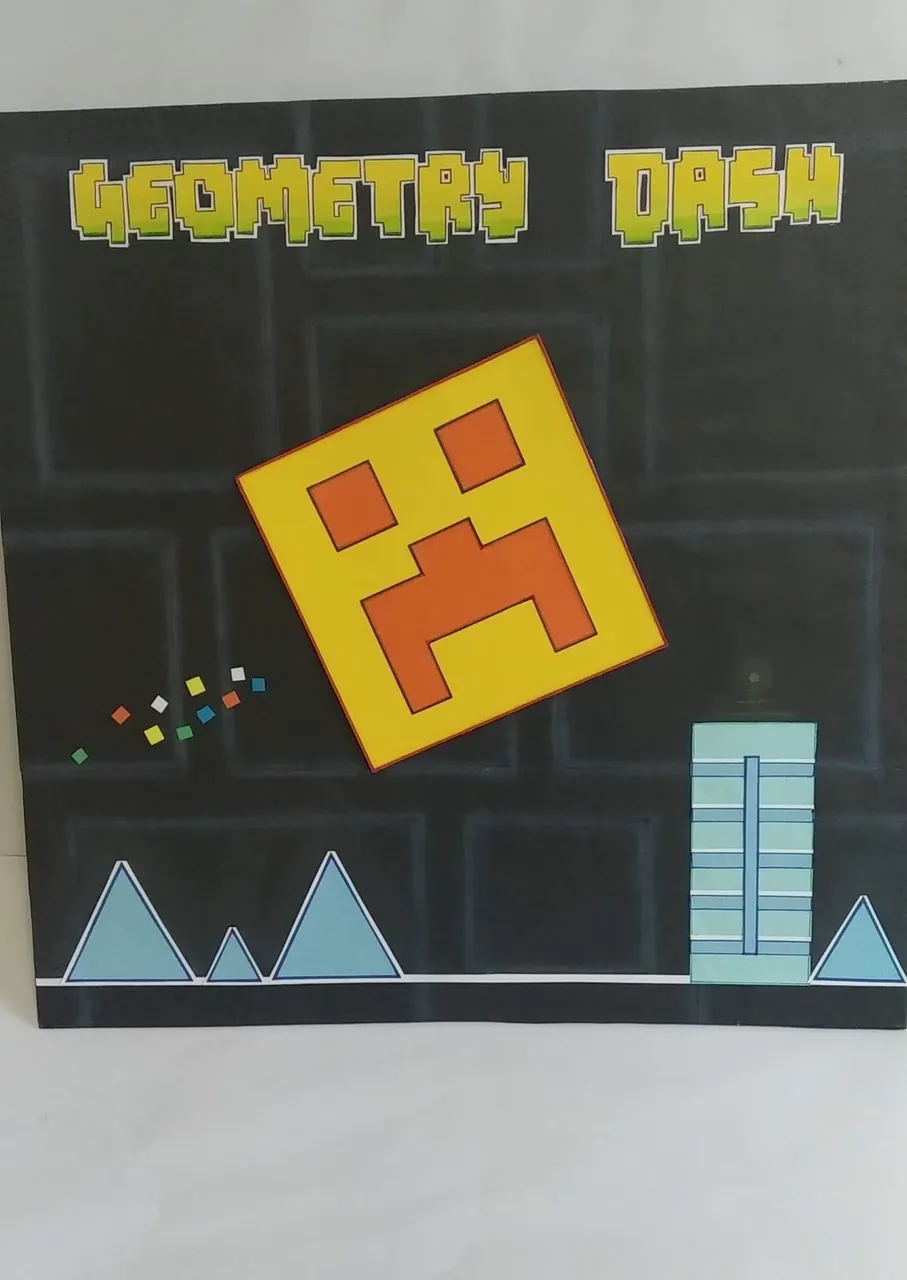
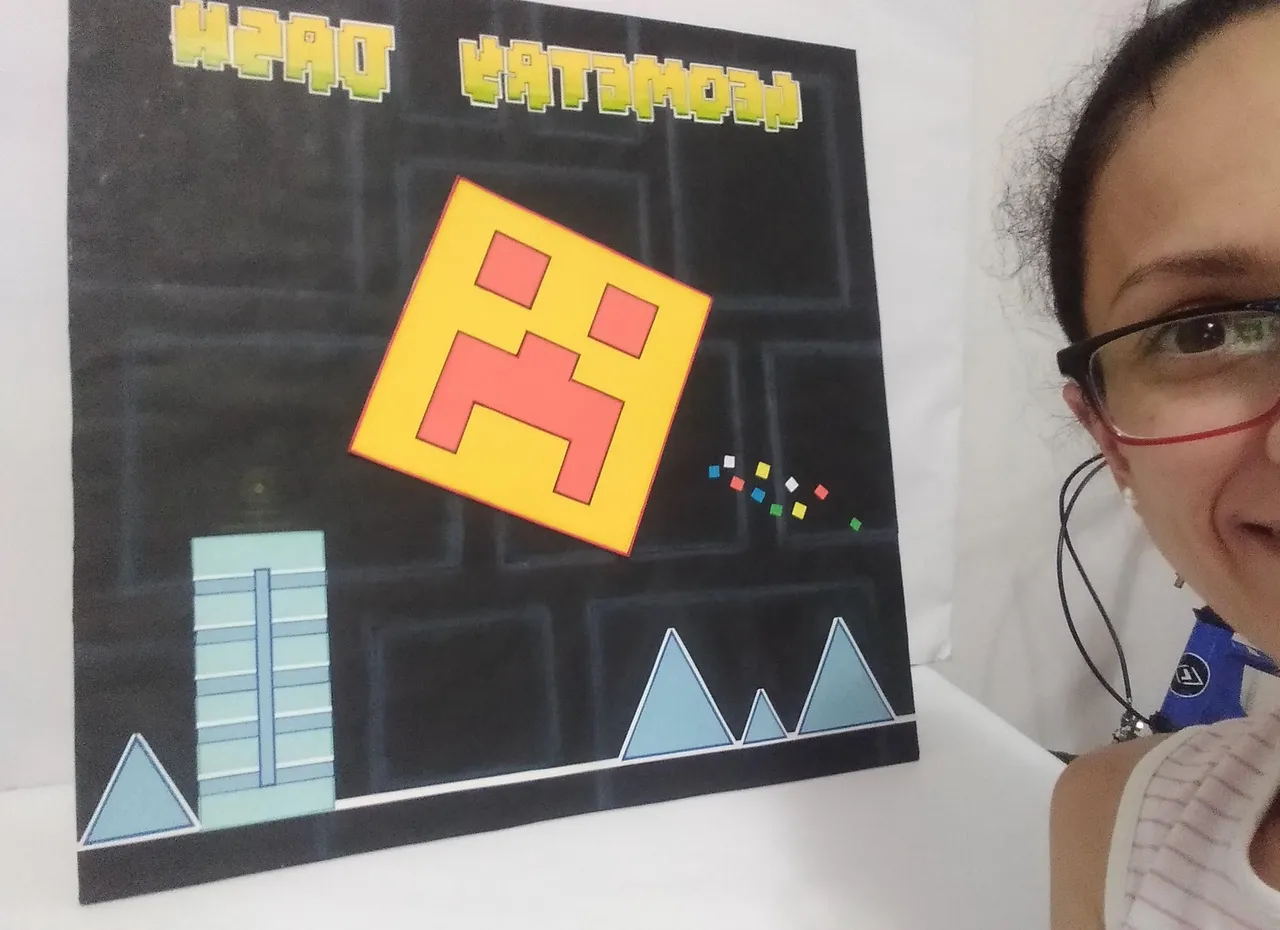
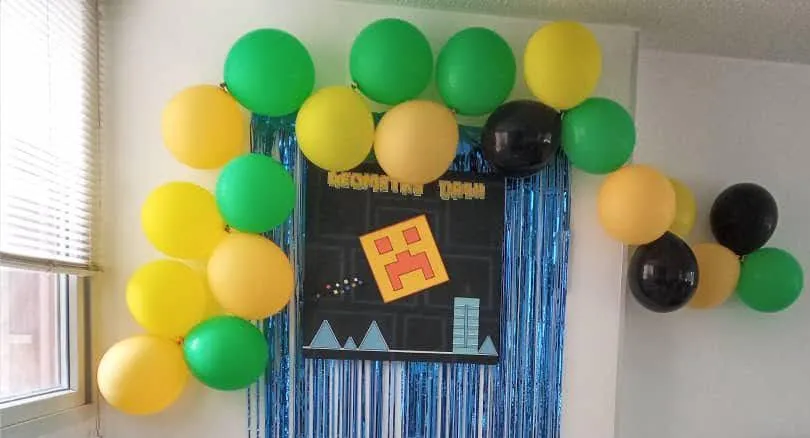
Lo que en ésta publicación les muestro (parte 1), es el elemento decorativo central para adornar la pared, es un elemento de 60 centímetros que refleja el nombre de juego, parte del diseño del juego y uno de los personajes que más le gusta a Abraham, los cubos.
Sin más y esperando disfruten del trabajo realizado con amor, les dejo los materiales utilizados, el proceso y las imágenes del trabajo.
- Cartón reciclado, de preferencia doble canal (grueso).
- Cartulina de colores: negra, amarilla, azul, blanca, naranja
- Marcadores de colores
- Colores de madera (verde)
- Tiza de colores
- Silicón frio
- Tijera
- Regla
- Lápiz
- Cutter
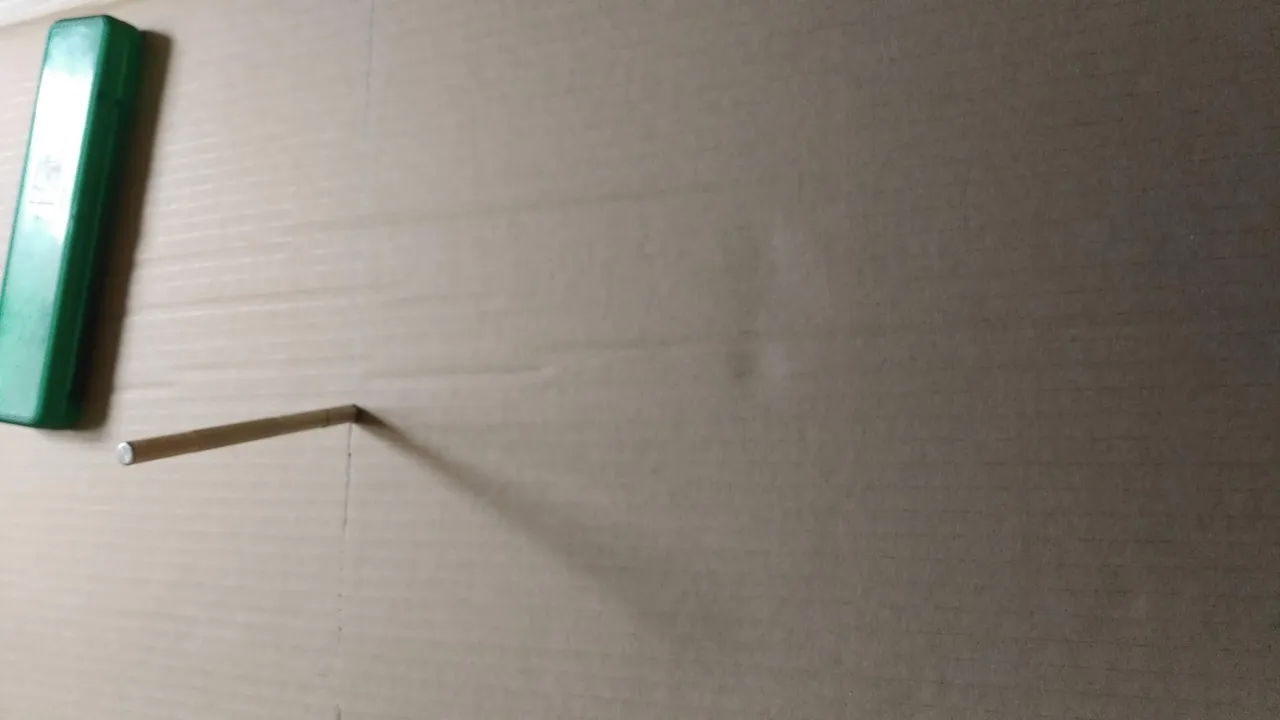
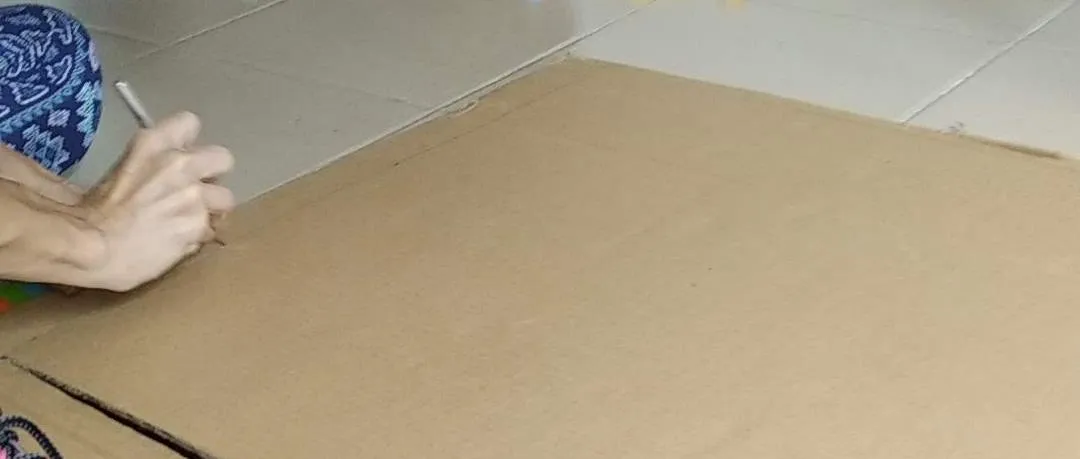
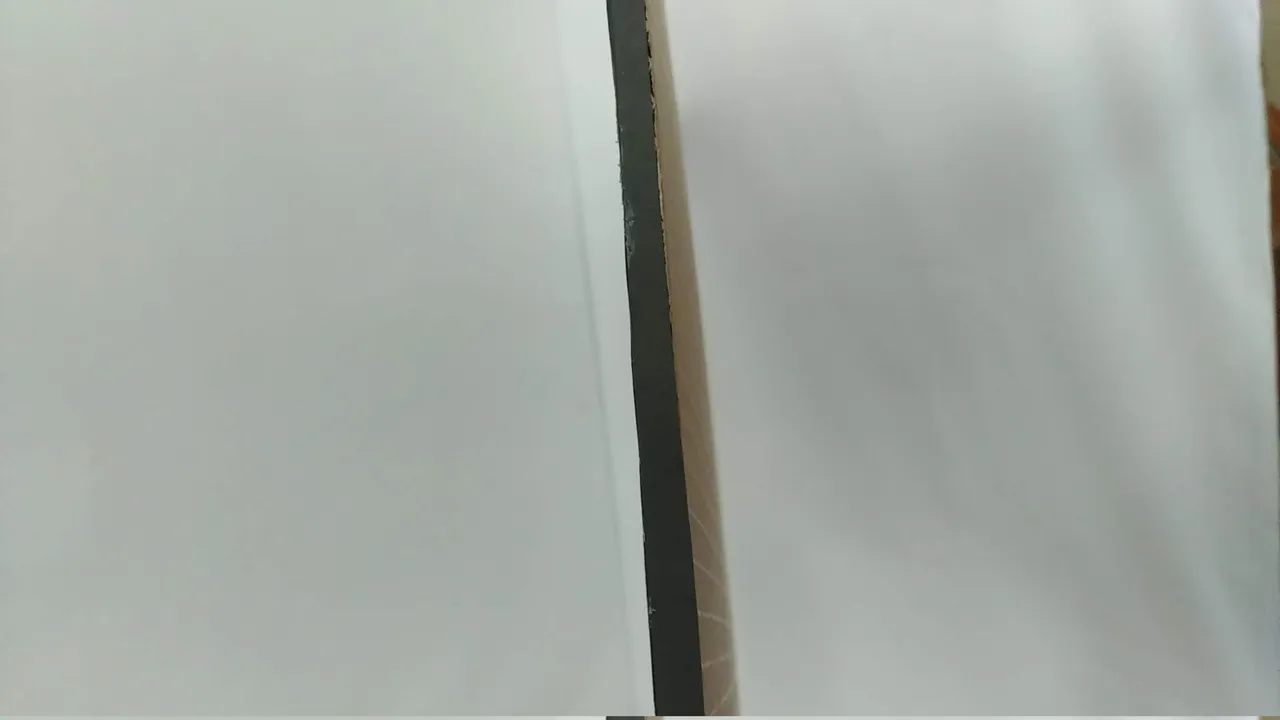
- Marcar en el cartón grueso un cuadro, en las medidas que se disponga, y con la ayuda del cutter o exacto cortar el cuadro. Éste cuadro midió 60 x 60 centímetros.
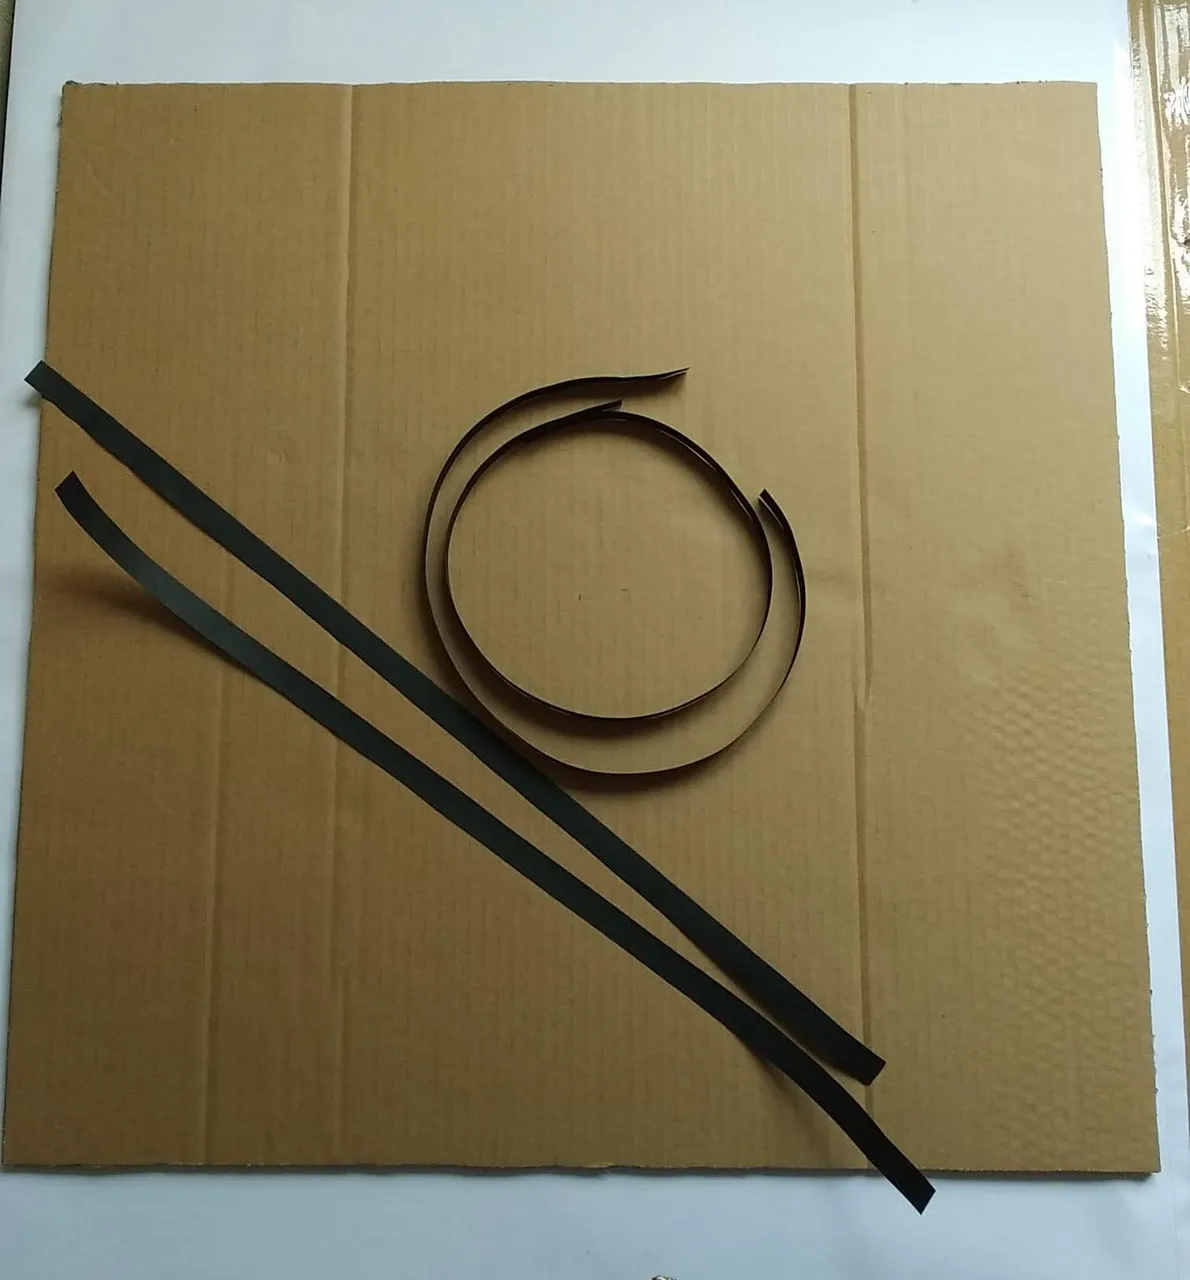
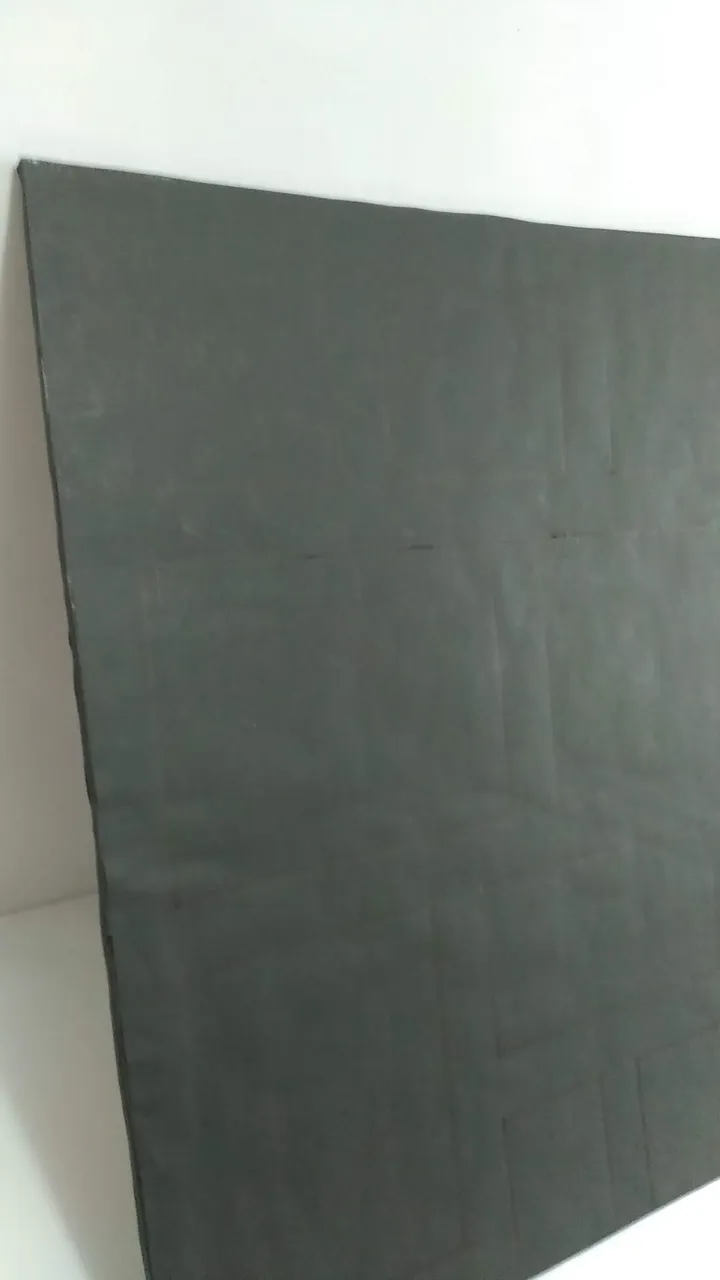
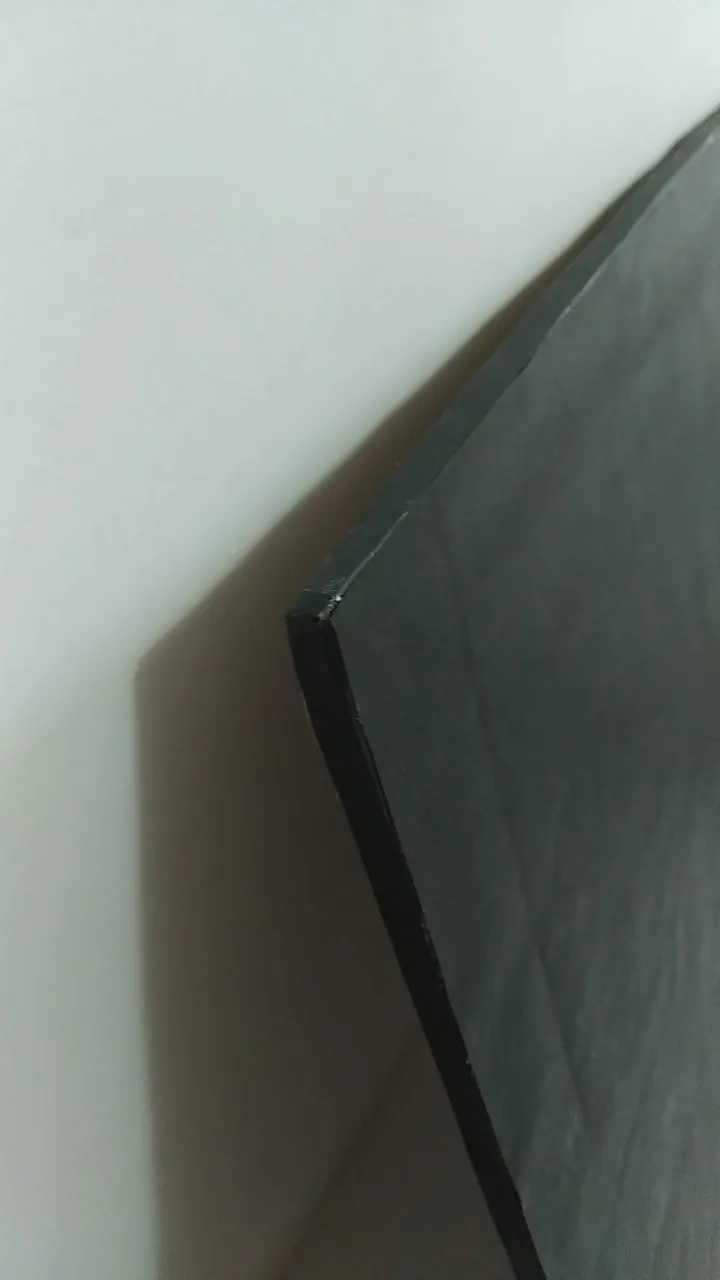
- Para cubrir los bordes y darle un mejor acabado, cortar tiras de cartulina 60 centímetros de largo y pegar por los cuatro bordes. El ancho de las tiras dependerá del grueso que tenga el cartón utilizado.
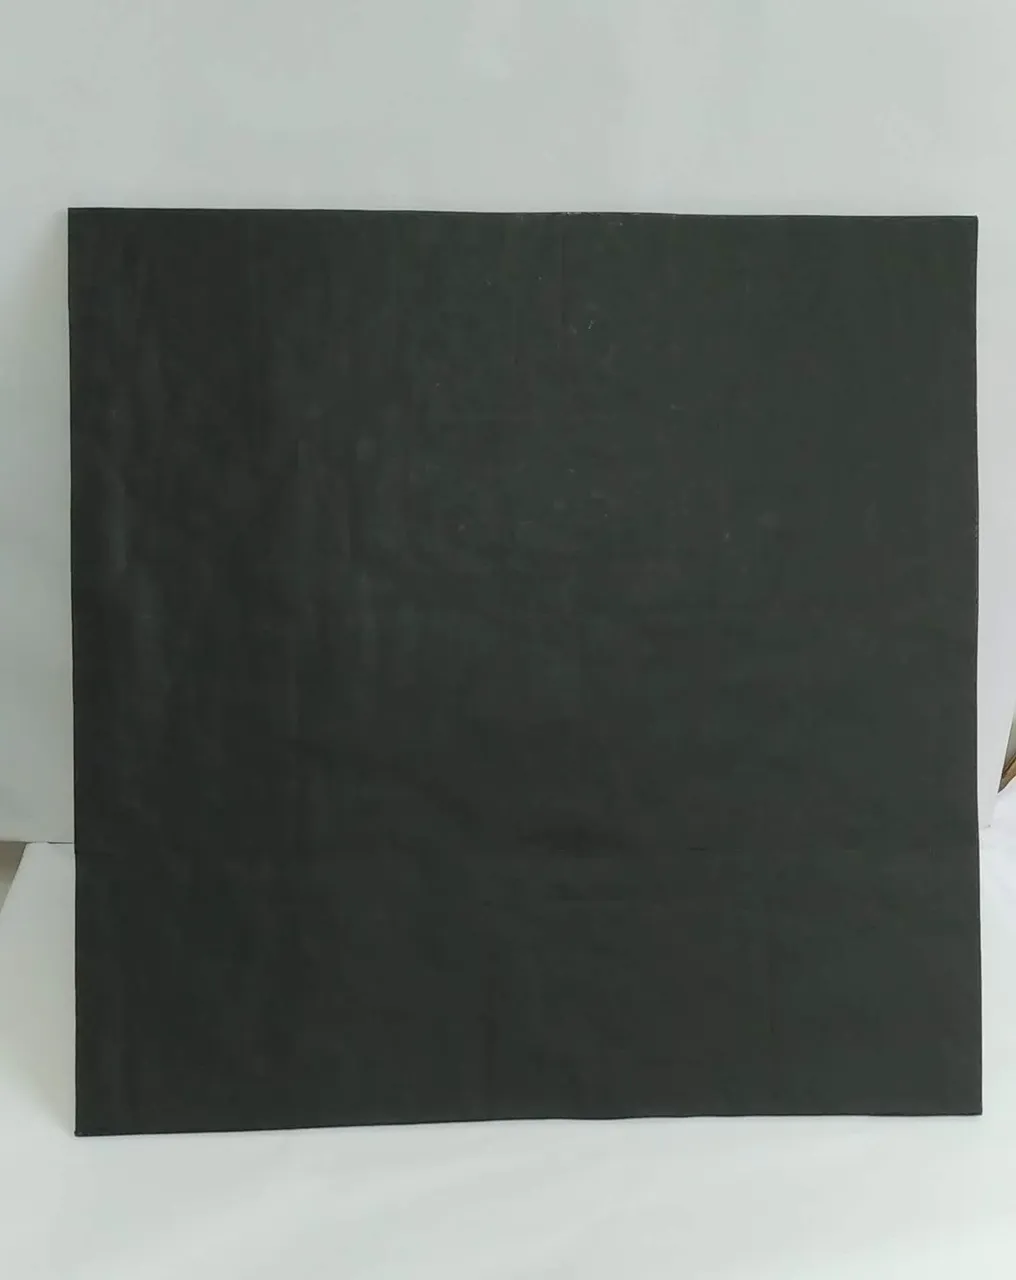
- Cubrir la cara frontal del cartón con la cartulina negra, pegar con el silicón frio.
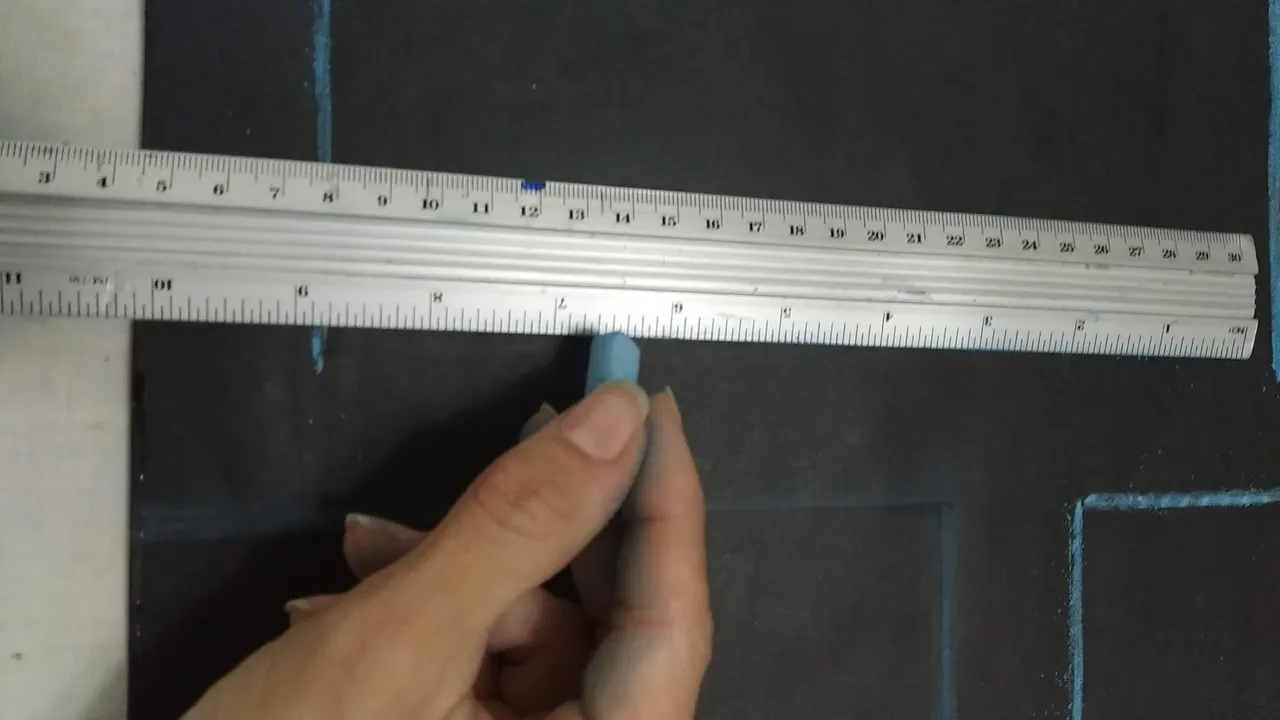
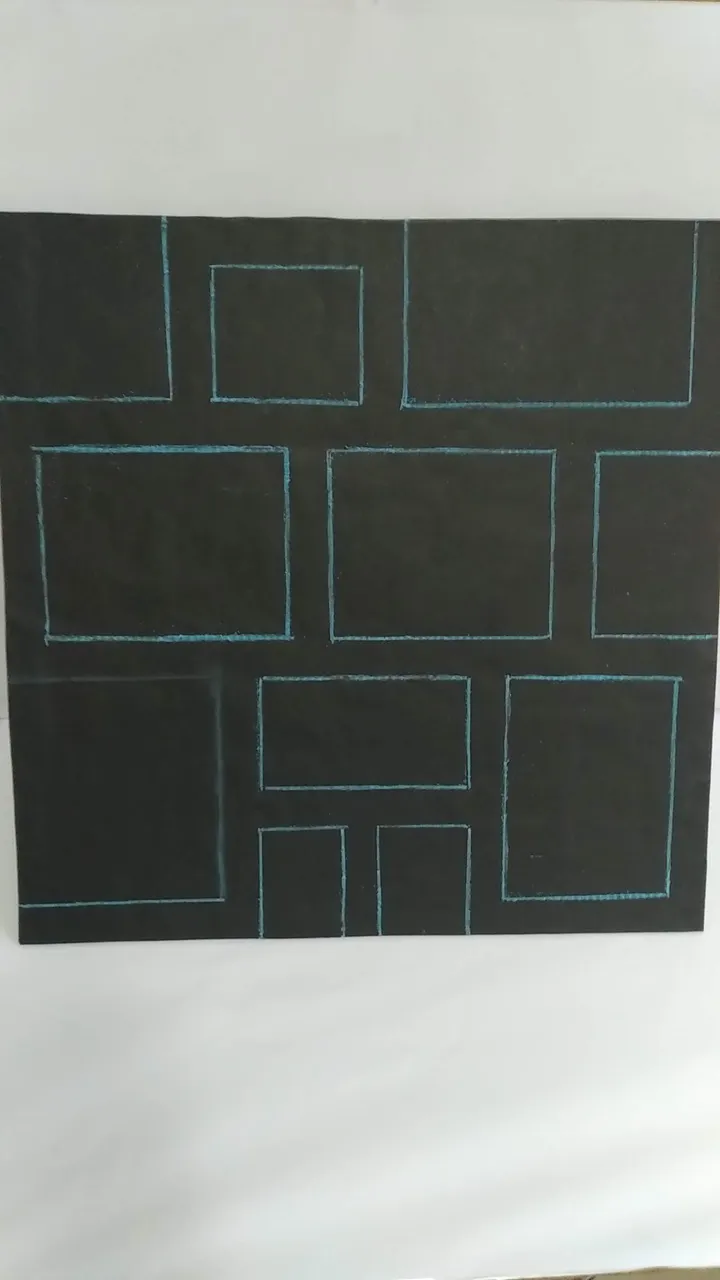
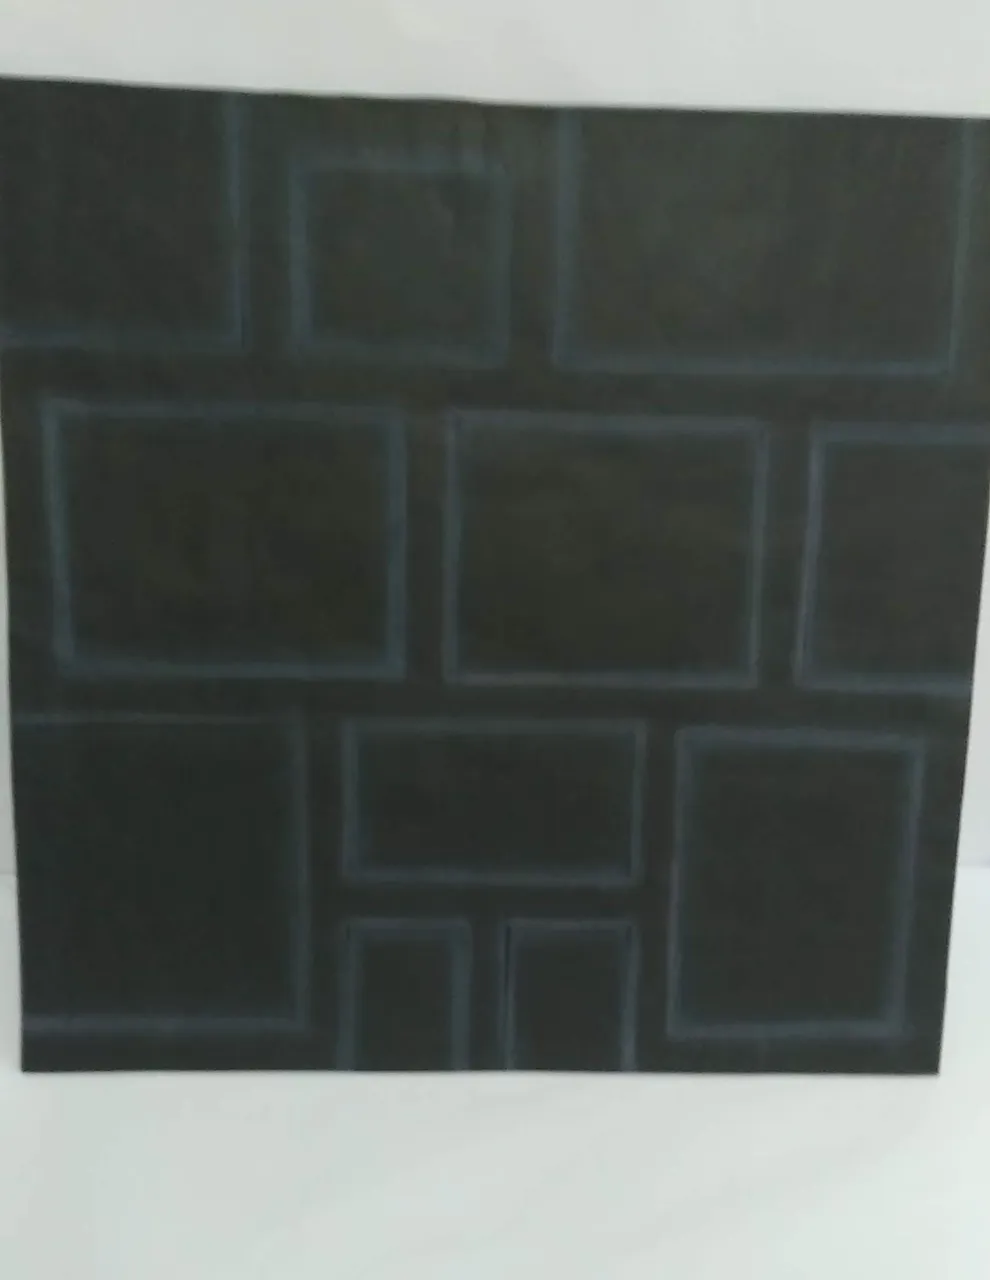
- Sobre la cartulina negra formar cuadros de diversos tamaños que asemejen el fondo del videojuego, para ésto, usar tiza de color azul y luego difuminar con los dedos para darle un efecto borroso.
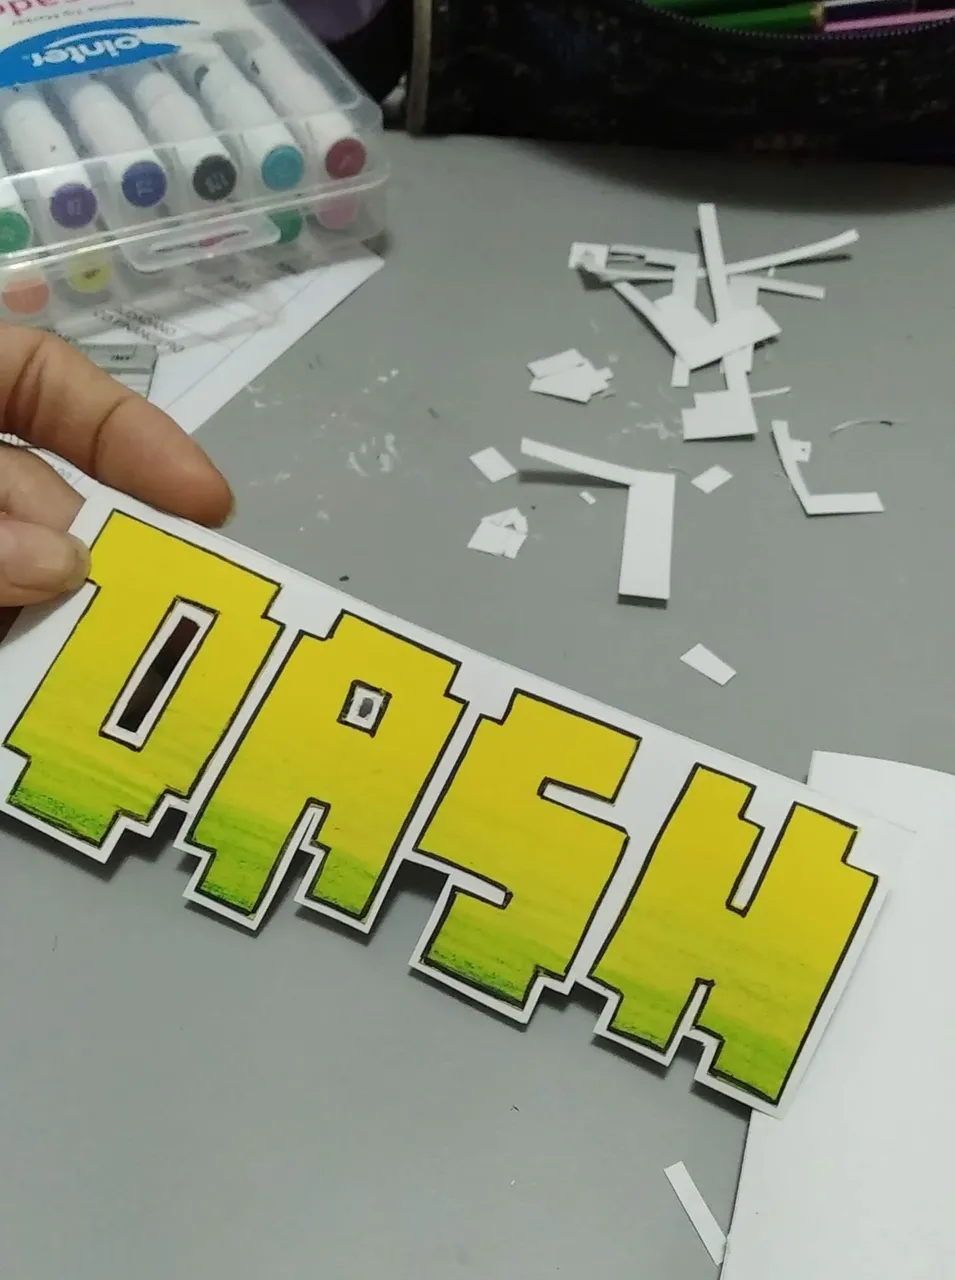
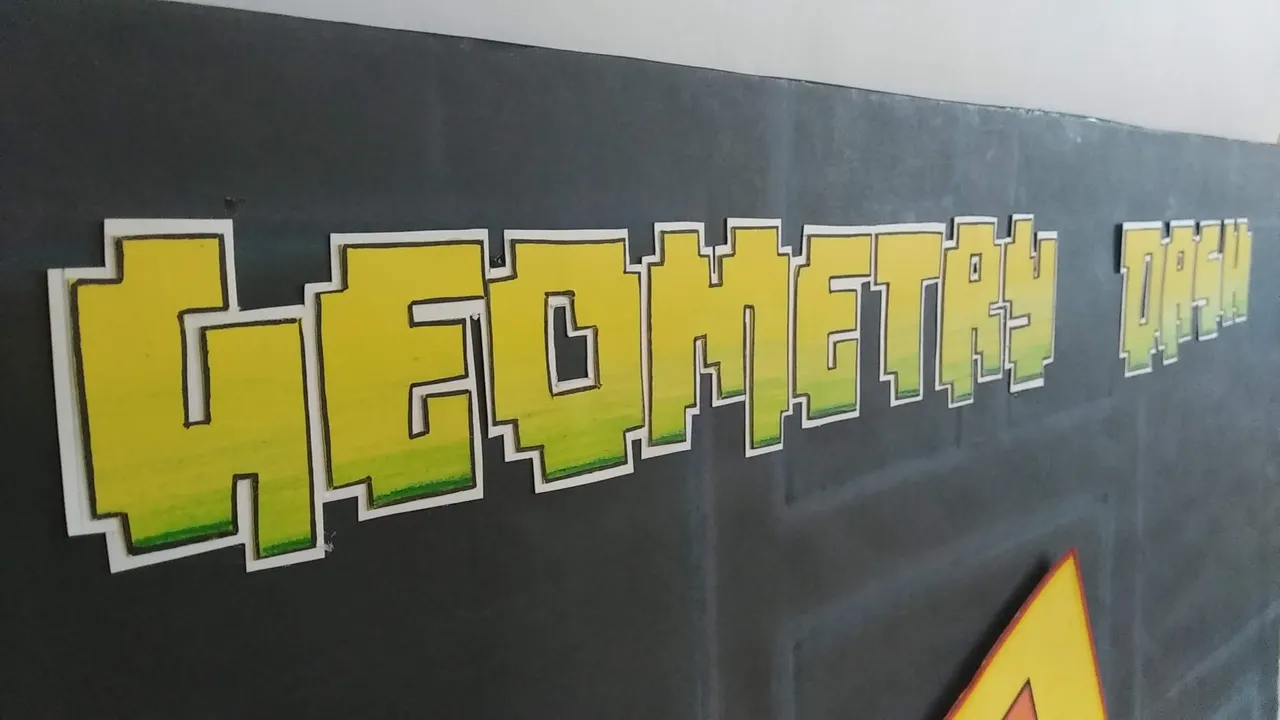
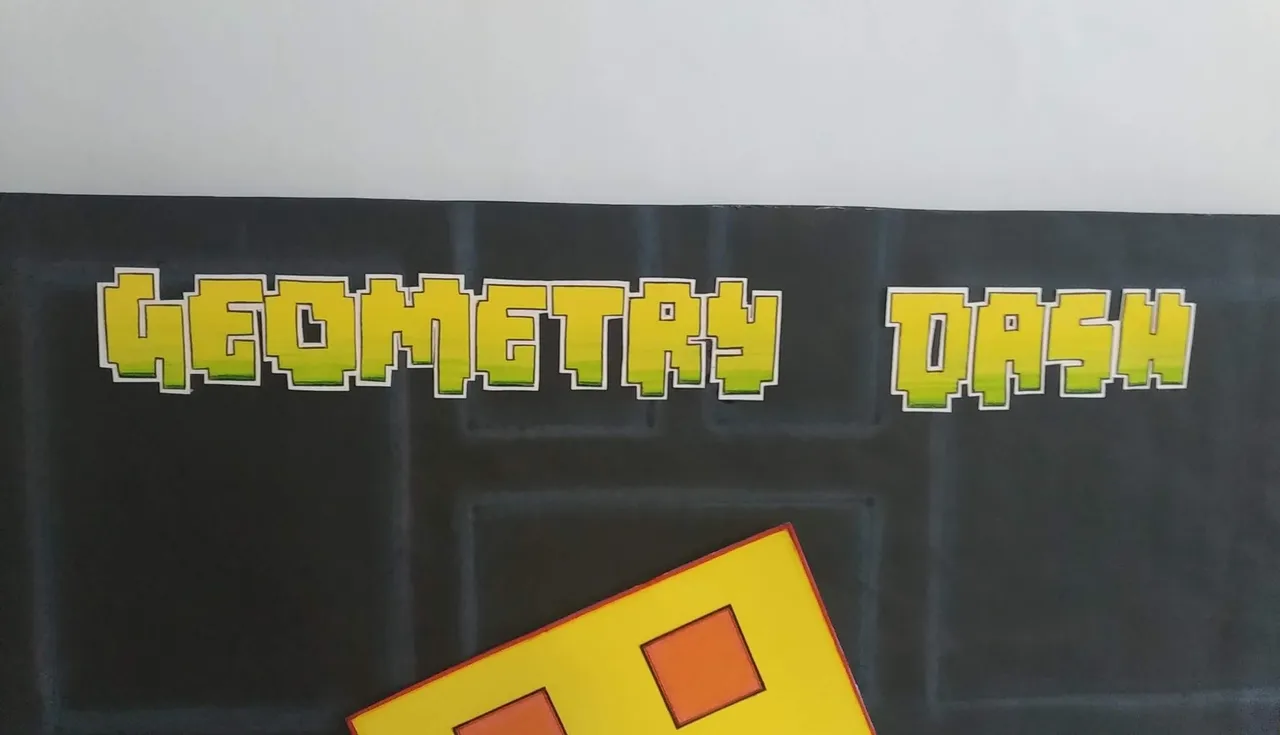
- En función al tamaño del cartón, marcar sobre la cartulina amarilla las letras correspondientes al nombre del Videojuego “Geometry Dash”. Una vez marcada todas las letras, pintar la base de cada letra con color y marcador verde para darle un efecto degradado. Repasar los bordes con marcador negro y recortar.
- Todas las letras pegarlas sobre cartulina blanca y recortar, dejando un pequeño borde que sobresalga del borde amarillo.
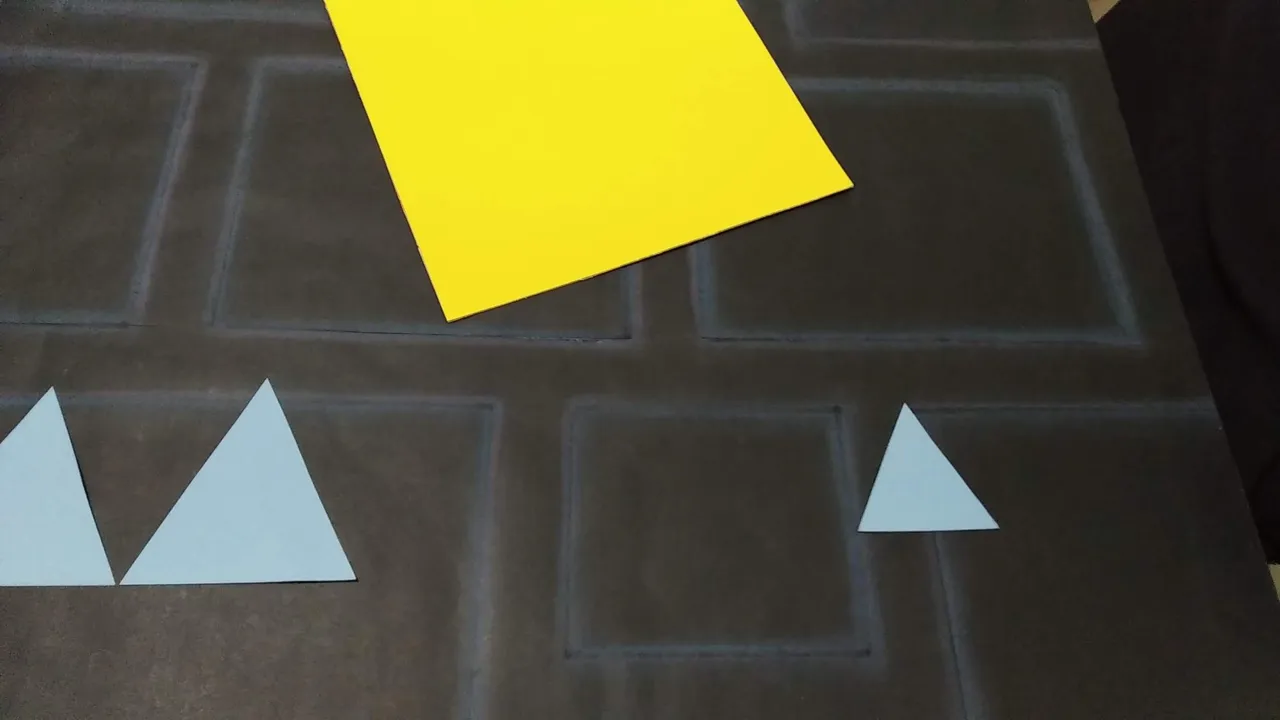
- Recortar un cuadrado amarillo (o del color que se desee) y crear una cara de algún cubo típico del videojuego.
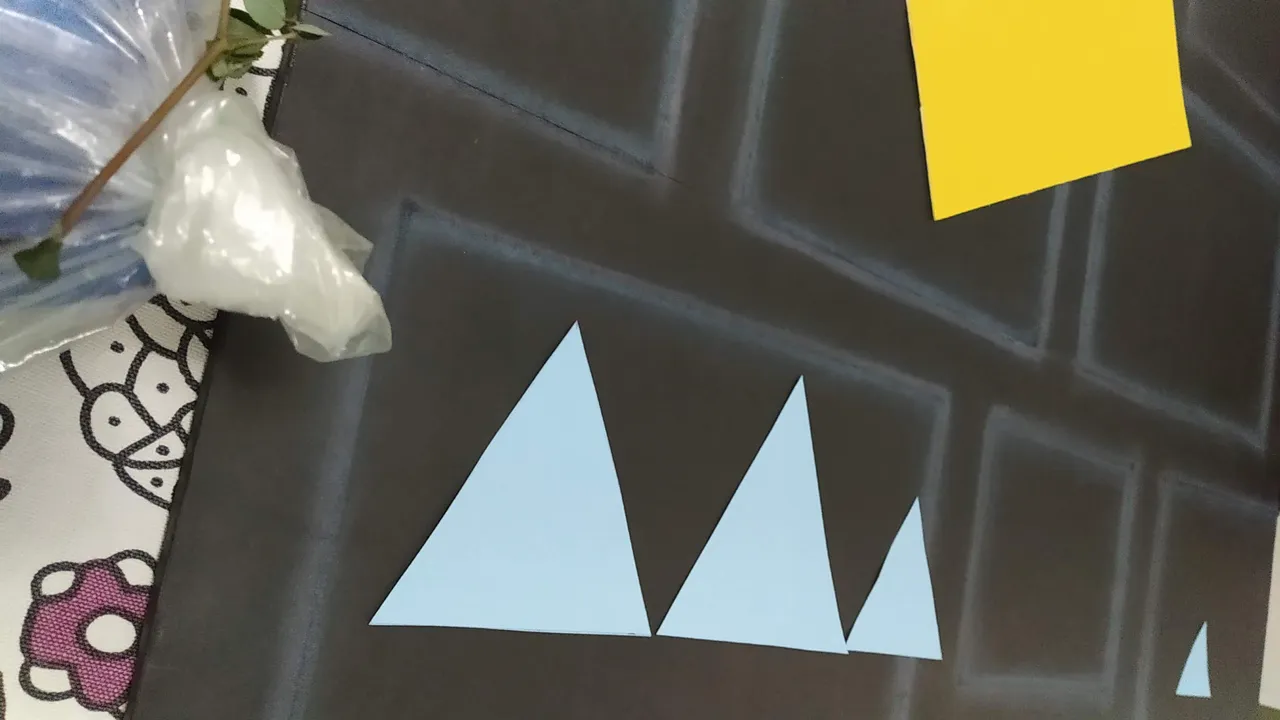
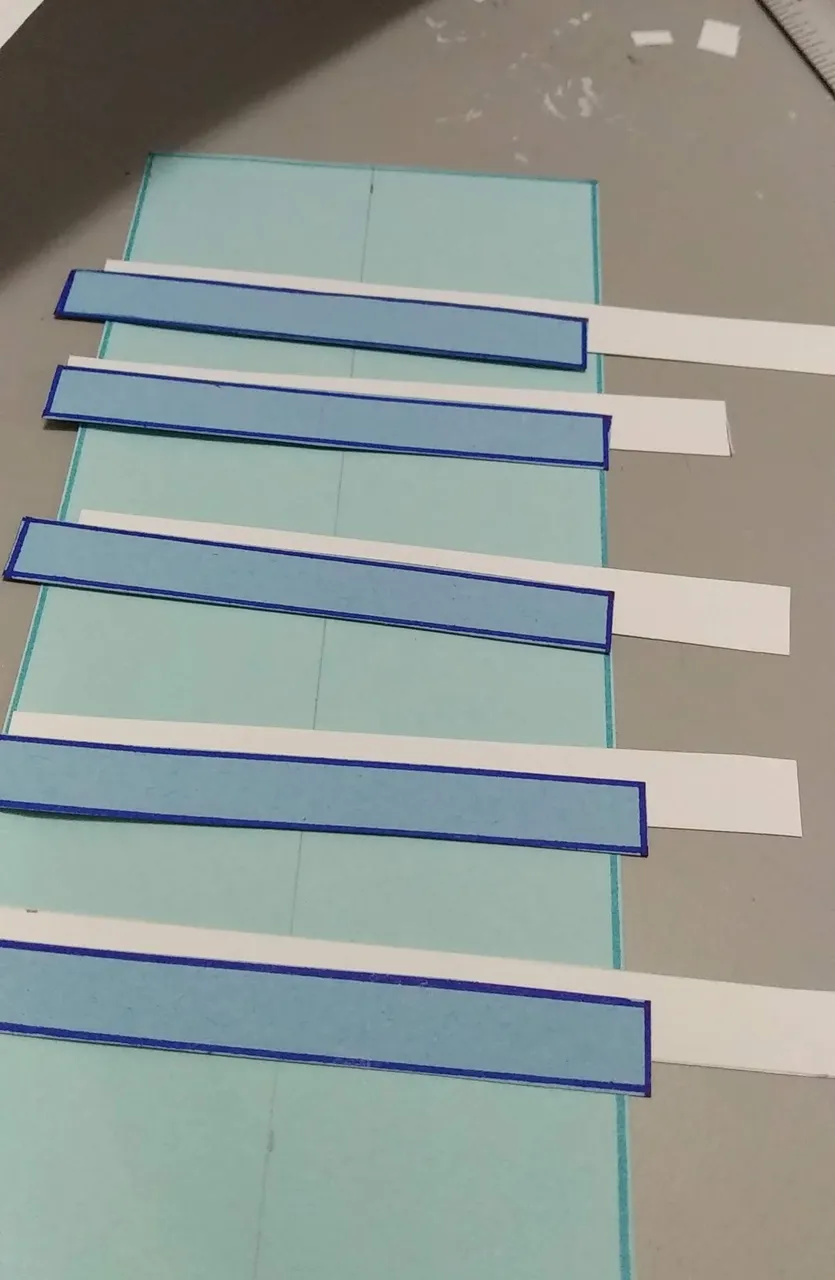
- Recortar triángulos y rectángulos azules que semejen fondo de videojuego. Pegarlos sobre cartulina blanca dejando pequeño borde que sobresalga.
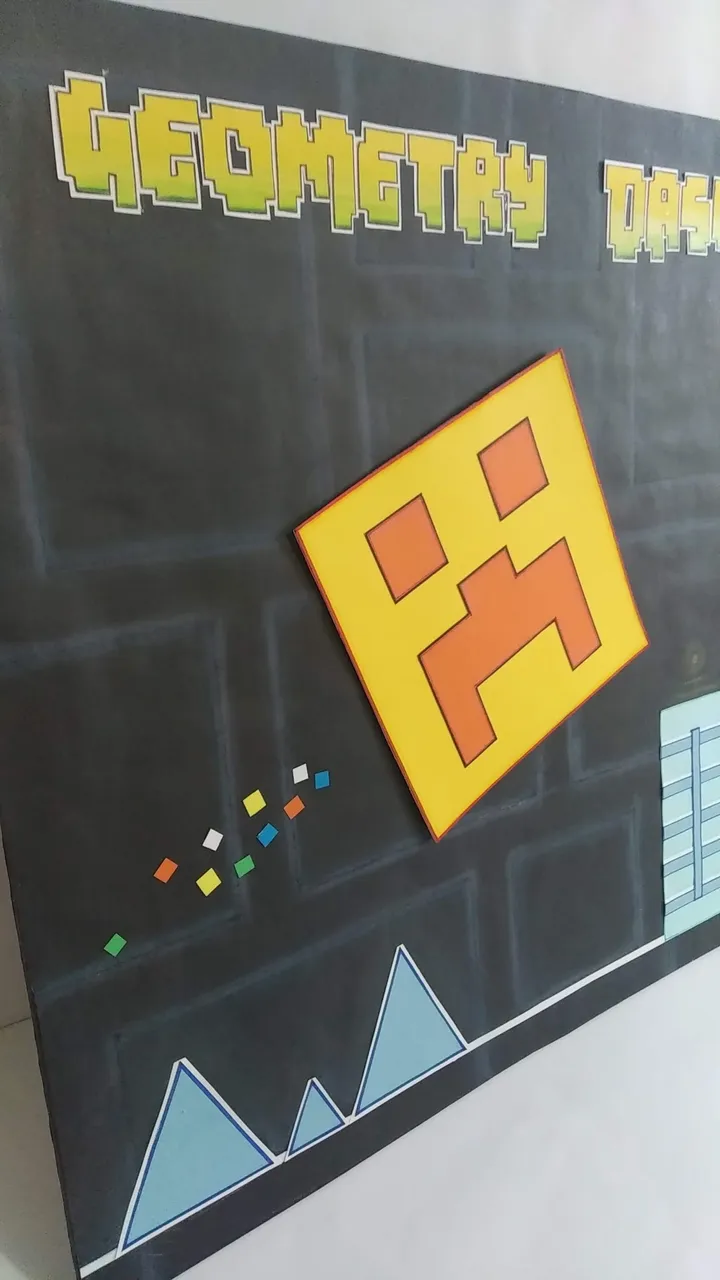
- Un vez se tengan todas las piezas listas, pegar sobre la cartulina negra de la forma que más guste. En este caso se pegó como si el cubo amarillo fuera a caer hacia un lado.
- Terminar la decoración con cuadros pequeñitos de colores que simulen están detrás del cubo amarillo.
- ¡Listo a disfrutar de la magia de crear en casa!
English
Hello friends at hive, happy and blessed week.
Being true to myself and celebrating life, today I show you part of the party decorations I made for our nine (9) year old friend Abraham. He is a fan of the videogame "Geometry Dash" and his mom wanted to surprise him with a small gathering set in his favorite video game. She contacted me to help her and I couldn't say no, because it's a theme that you can't find in piñaterias so I accepted the challenge, plus I loved it because it's super colorful.
This decoration is composed of several elements, and as each of them took a different process, I decided to separate the processes in different publications so you can better appreciate the process of each thing.
What I show you in this publication (part 1), is the central decorative element to decorate the wall, it is an element of 60 centimeters that reflects the name of the game, part of the game design and one of the characters that Abraham likes the most, the cubes.
Without further ado and hoping you enjoy the work done with love, I leave you the materials used, the process and images of the work.
- Recycled cardboard, preferably double channel (thick).
- Colored cardboard: black, yellow, blue, white, orange, blue, white, orange.
- Colored markers
- Wood colors (green)
- Colored chalk
- Cold silicone
- Scissors
- Ruler
- Pencil
- Cutter
- Mark on the thick cardboard a picture, in the measurements available, and with the help of the cutter or exacto cut the picture. This picture measured 60 x 60 cm.
- To cover the edges and give it a better finish, cut strips of cardboard 60 centimeters long and glue along the four edges. The width of the strips will depend on the thickness of the cardboard used.
- Cover the front side of the cardboard with the black cardboard and glue with cold silicone.
- On the black cardboard form squares of various sizes that resemble the background of the video game, for this, use blue chalk and then blur with your fingers to give it a blurred effect.
- Depending on the size of the cardboard, mark the letters corresponding to the name of the video game "Geometry Dash" on the yellow cardboard. Once all the letters have been marked, paint the base of each letter with color and green marker to give it a gradient effect. Go over the edges with black marker and cut out.
- Glue all the letters on white cardboard and cut them out, leaving a small border overhanging the yellow border.
- Cut out a yellow square (or the color of your choice) and create a typical video game cube face.
- Cut out blue triangles and rectangles to resemble a video game background. Glue them on white cardboard leaving a small border that sticks out.
- Once all the pieces are ready, glue them on the black cardboard in any way you like. In this case, the yellow cube was glued as if it were going to fall to one side.
- Finish the decoration with small colored squares that look like they are behind the yellow cube.
- Ready to enjoy the magic of creating at home!
Translated with www.DeepL.com/Translator (free version)
IMÁGENES / IMAGES


La inspiración para éste trabajo fue ésta imagen:
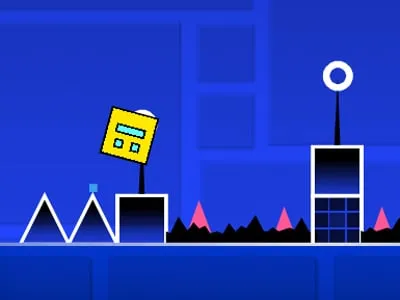
Fuente
SALUDOS / REGARDS
Todas las Fotos fueron tomadas con mi teléfono Redmi 7A.
Contenido original de @keco (fotos y texto) - Todos los derechos reservados Publicado en HIVE así como en mi instagram : http://instagram.com/carton_pintura_algo_mas
All Photos were taken with my Redmi 7A phone.
Original content from @keco (photos and text) - All rights reserved Posted on HIVE as well as on my instagram: http://instagram.com/carton_pintura_algo_mas