Español
Hola , feliz y bendecido jueves
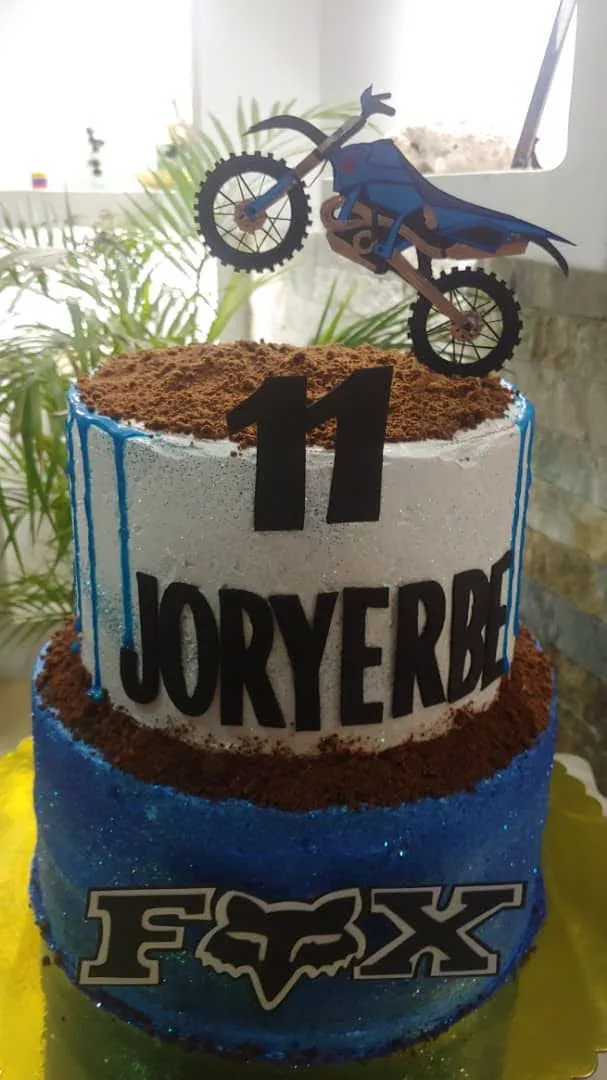
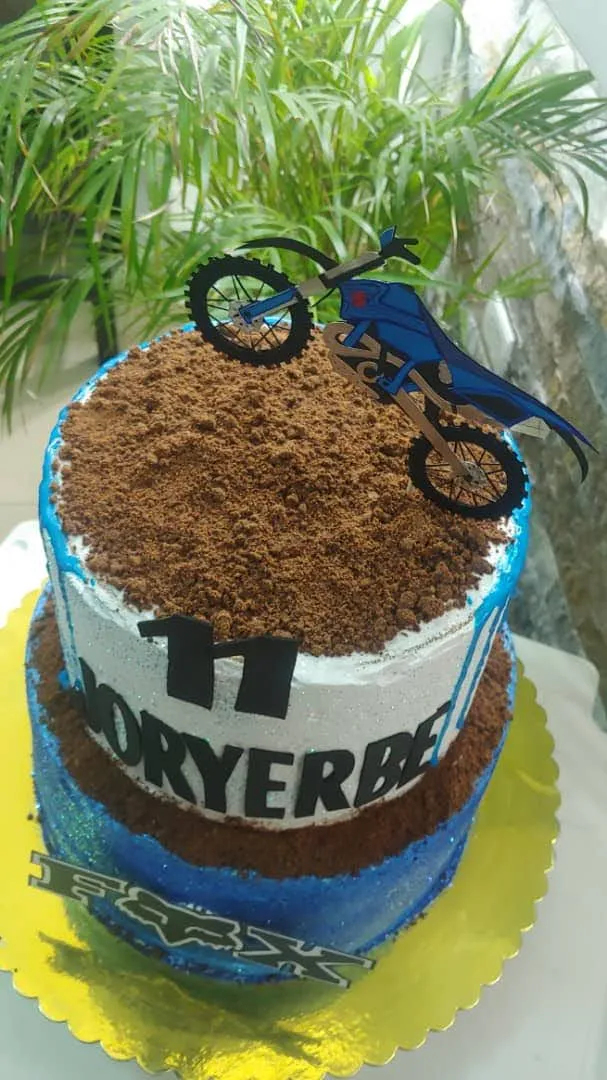
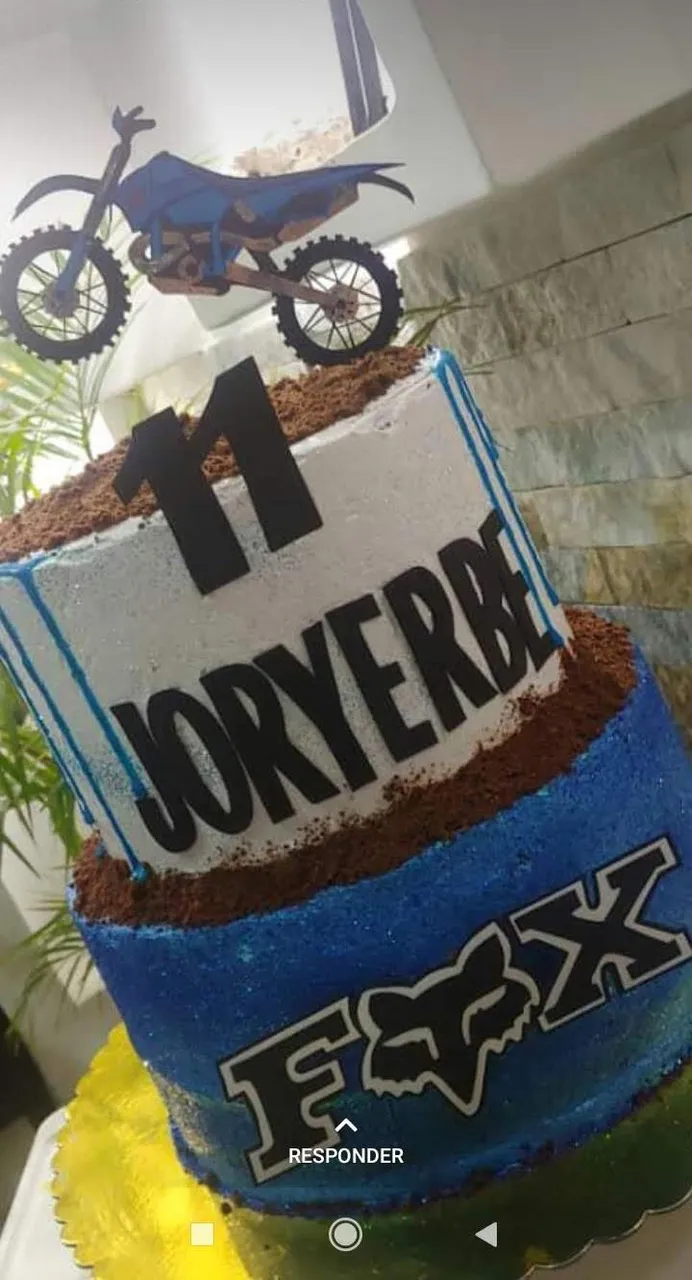
Siendo fiel a mi amor por la creación de topper para pasteles, quiero mostrarles uno muy especial que hice para un pre-adolescente de once años amante del motocross. Como he manifestado en publicaciones anteriores, celebrar la vida implica siempre un pastel, ya sea sencillo o elaborado, y ese pastel debe reflejar eso que de momento se ama y se valora durante la edad que se celebra.
Me gusta realizar topper, para adultos y niños, porque no solo ayudo a resaltar la magia del pastel, sino que ademas creo un recuerdo lindo que puede perdurar en el tiempo y en el corazón de las personas.
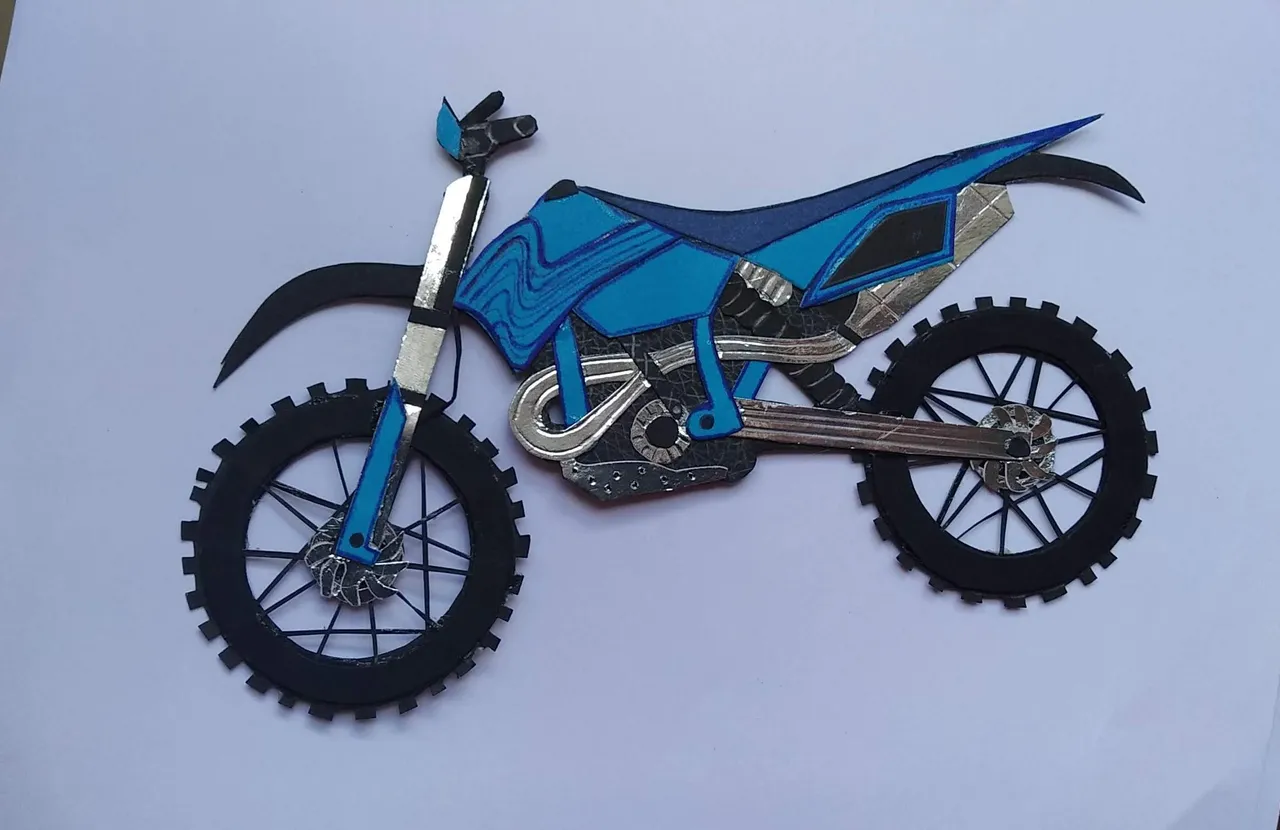
Éste es un topper sencillo realizado con mucho amor. Sin más y esperando disfruten del trabajo realizado con amor, les dejo los materiales utilizados, el proceso y las imágenes del trabajo.
- Cartulina negra
- Cartulina Azul
- Cartulina Plateada metalizada
- Cartulina Blanca
- Silicón caliente.
- Palito de madera.
- Marcadores de colores
- Pedacito de acetato
- Silicón Frio.
- Cutter.
- Tijera.
- Lápiz.
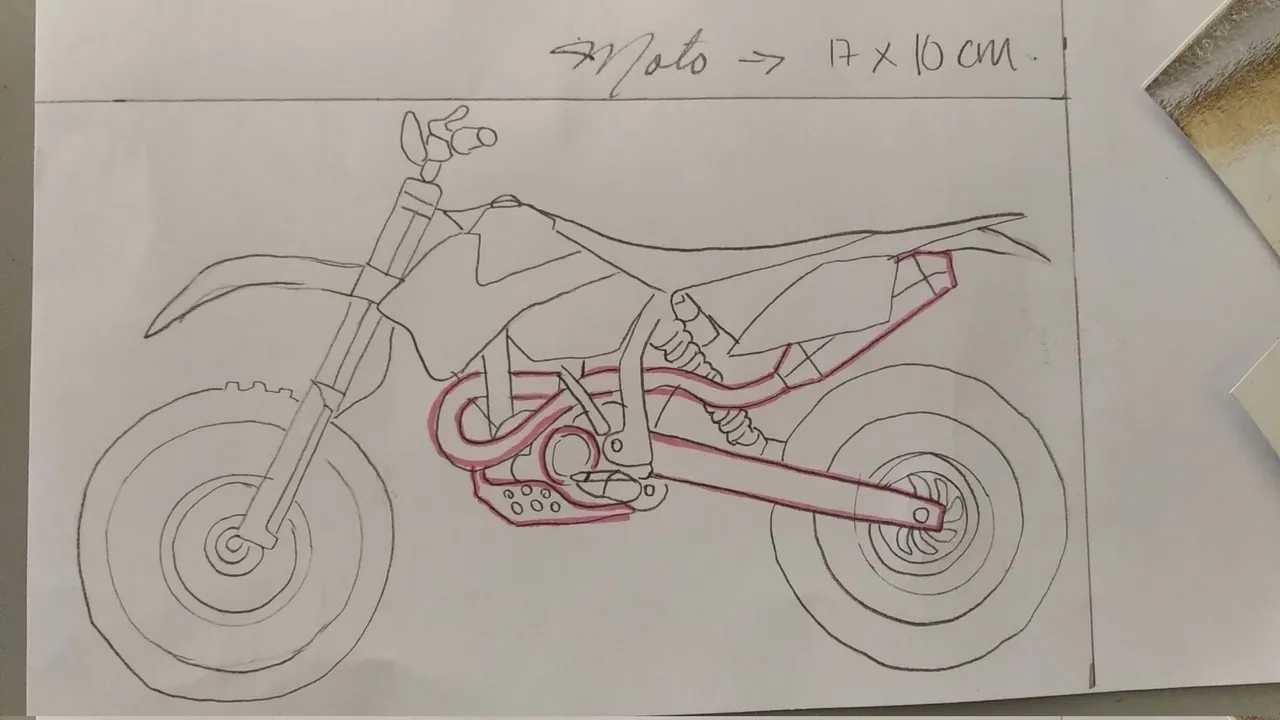
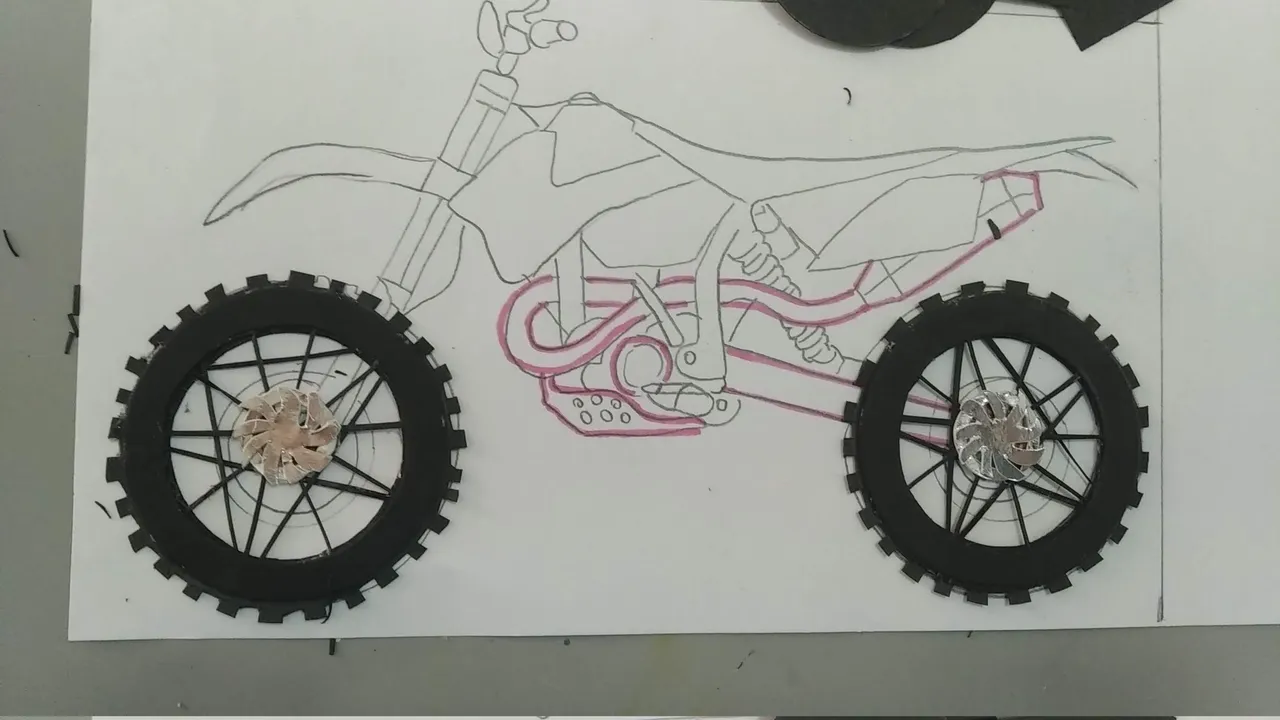
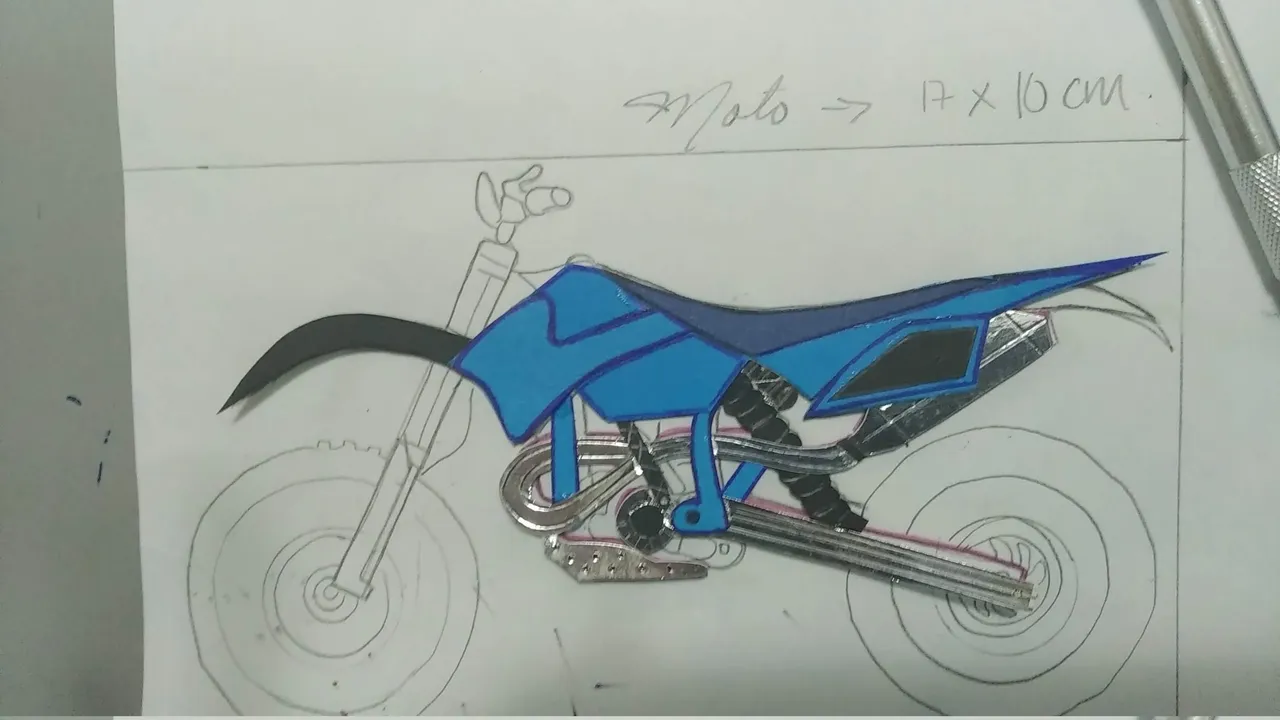
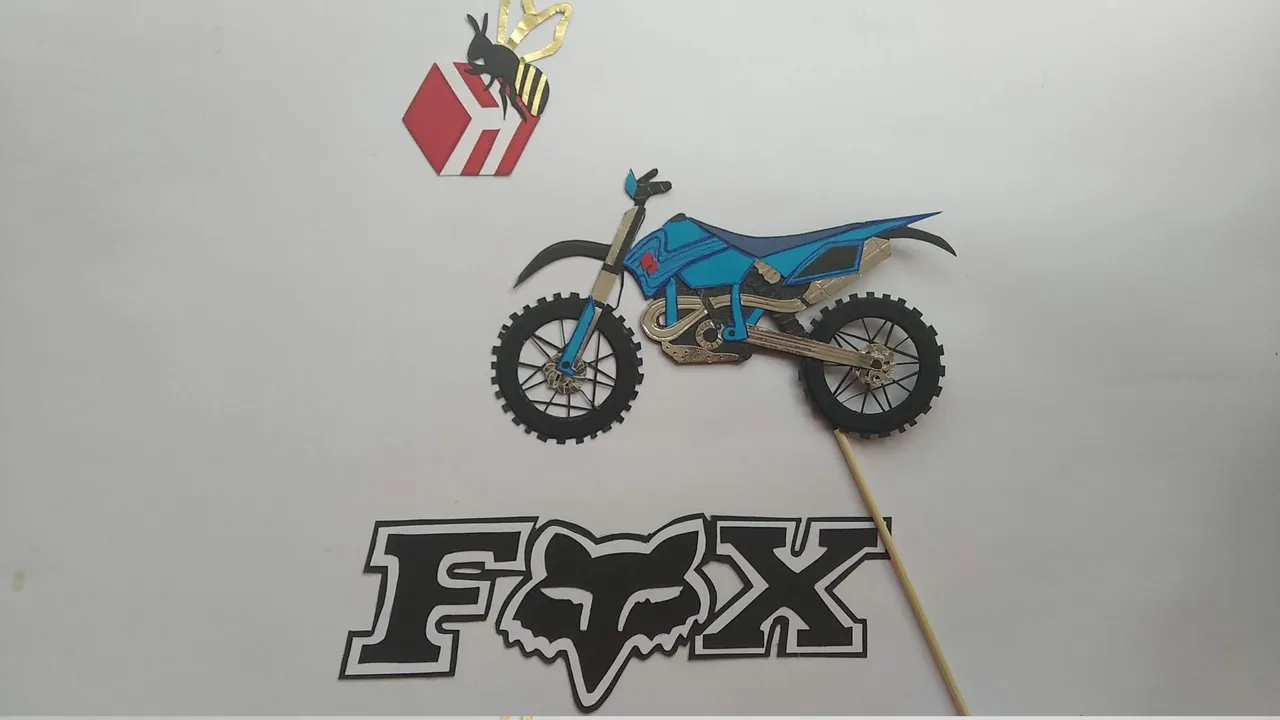
- En una hoja blanca sacar el diseño de la moto a crear, pueden dibujarla o imprimirla, esta será su guía para cortar y ensamblar las piezas. Esta pieza midió 17 x 10 centímetros.
- Marcar los elementos de la moto en las cartulinas de colores que correspondan. Recuerden deben dejarle a cada pieza un pedacito adicional que permita luego el ensamblado.
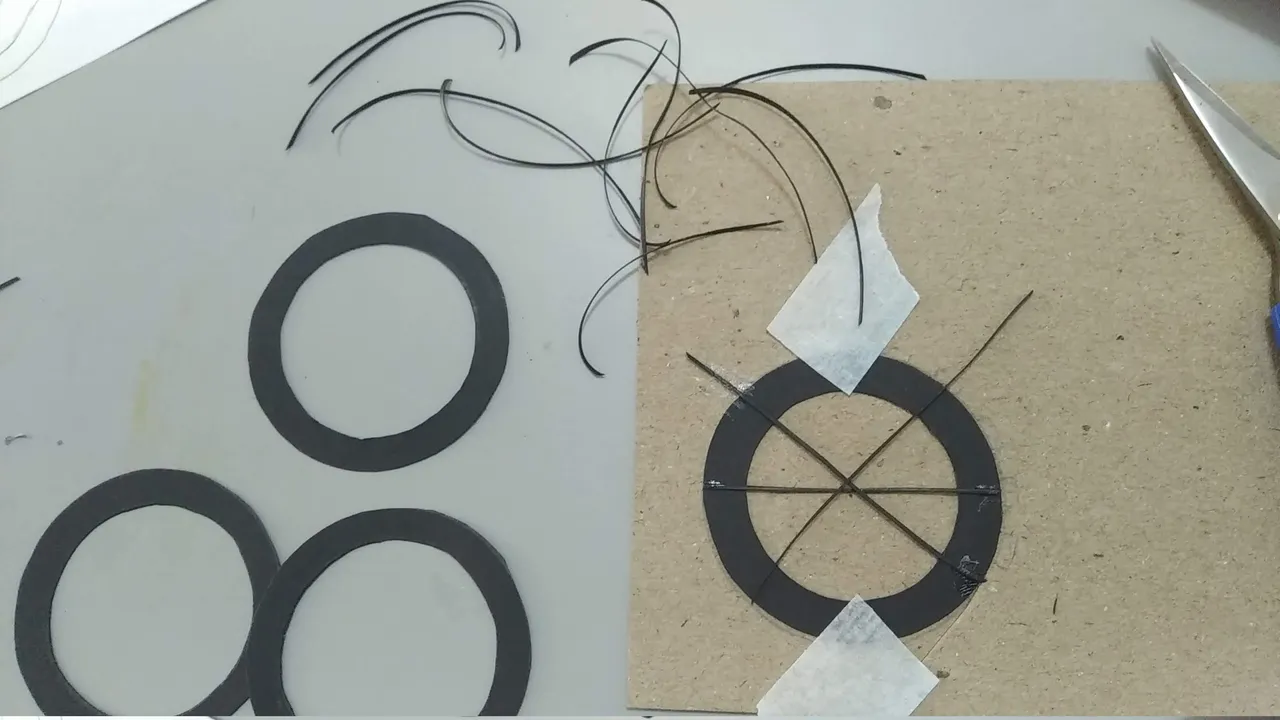
- De las piezas de la moto, las ruedas son los que mayor elaboración requiere por eso deben trabajarse de primero. Se deberá cortar dos (2 ) aros en cartulina negra del diámetro establecido para los cauchos , y dos (2) aros más un poco más grande del diámetro establecido, siendo el grueso del aro de un centímetro.
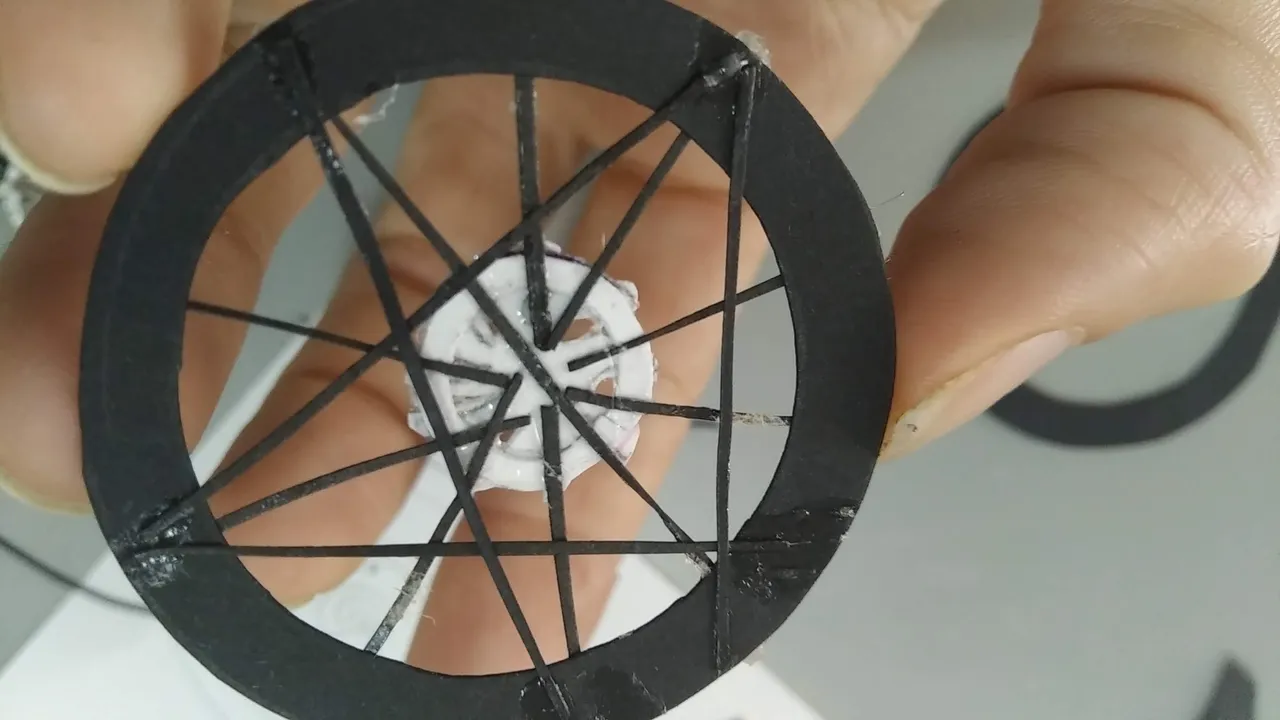
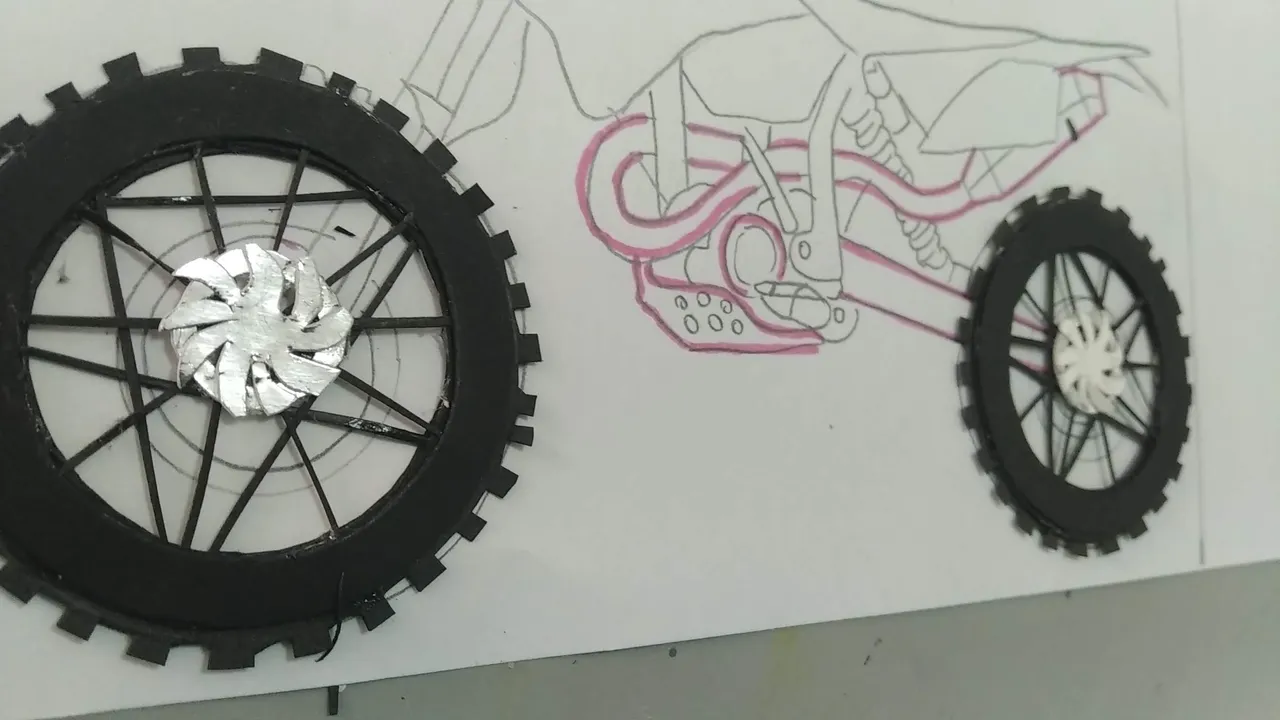
- Tomar los dos aros más pequeños y atravesar pequeñas y delgadas tiras de cartulina negra para formar el rin. El cruce de las finas tiras debe hacerse formando una estrella. Dejar secar bien.
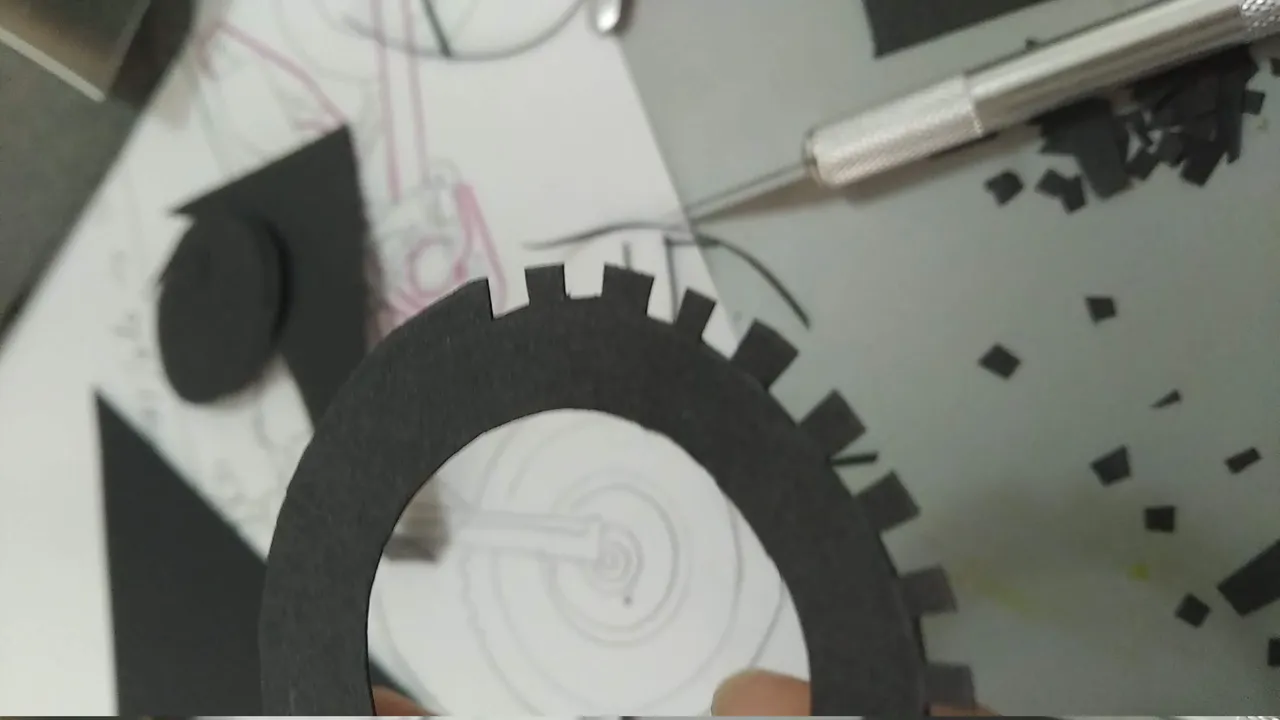
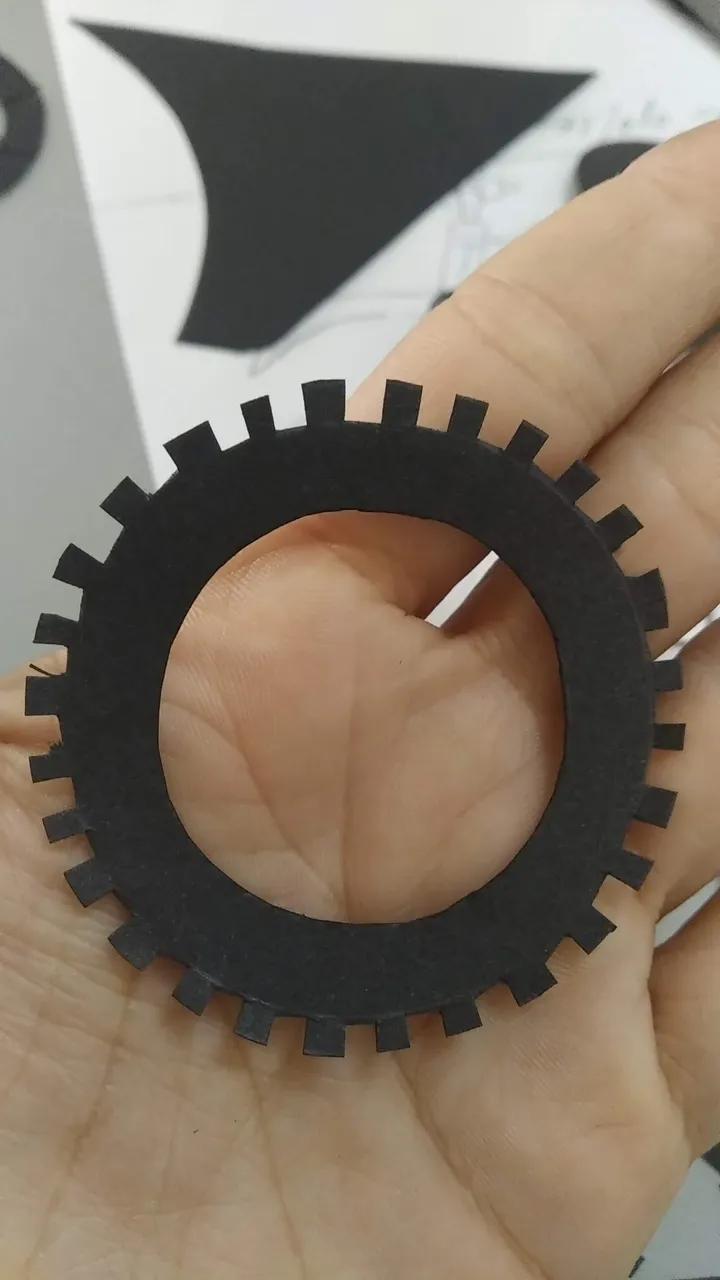
- Tomar los aros más grandes y recortar sus bordes formando una especie de engranaje, ésto será lo que realzará los cauchos de la moto.
- Pegar el aro grande al aro pequeño con silicón frio, cuidando de no aplicar demasiado.
- Al centro de cada rueda, pegar pequeños discos de cartulina plateada que simulen el engranaje/piñon de las ruedas.
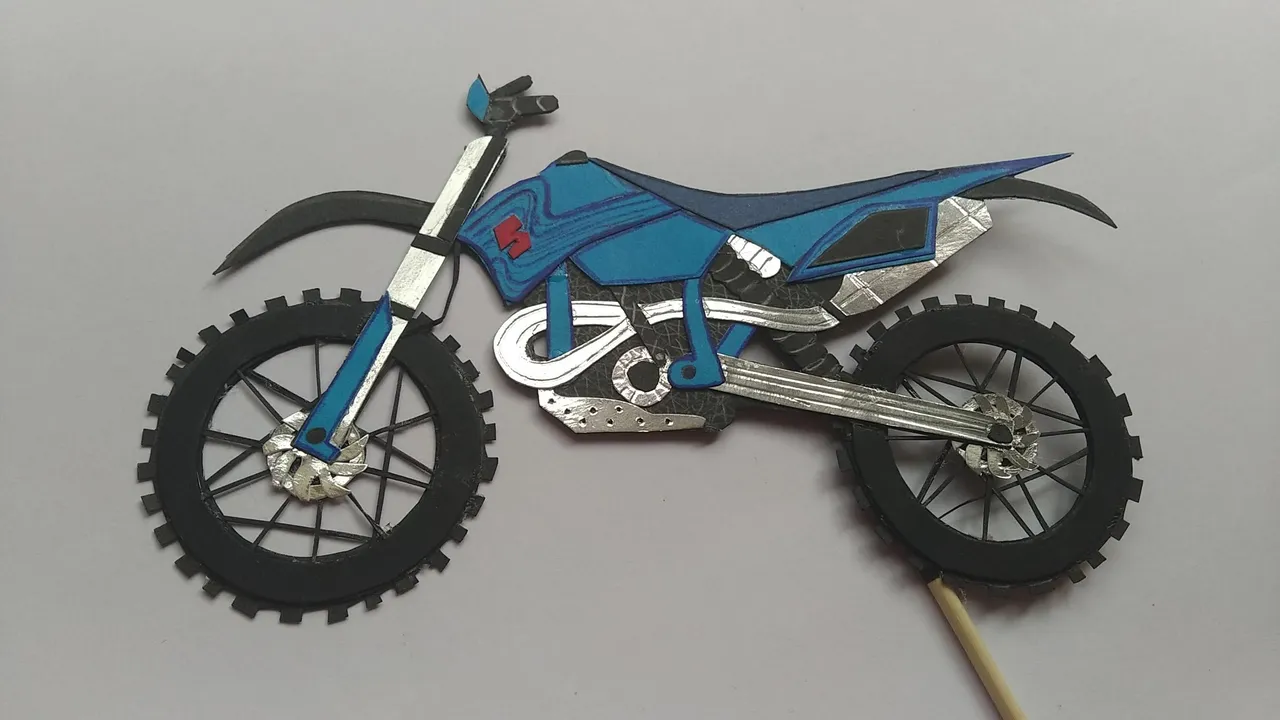
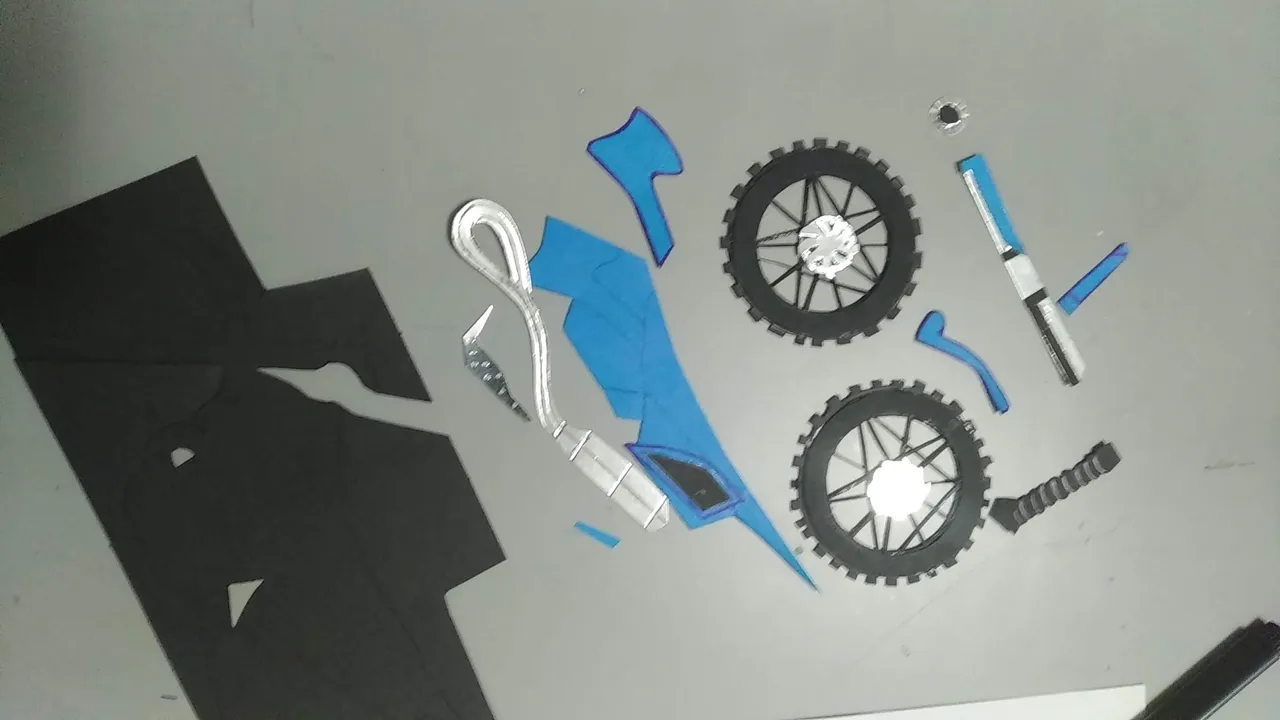
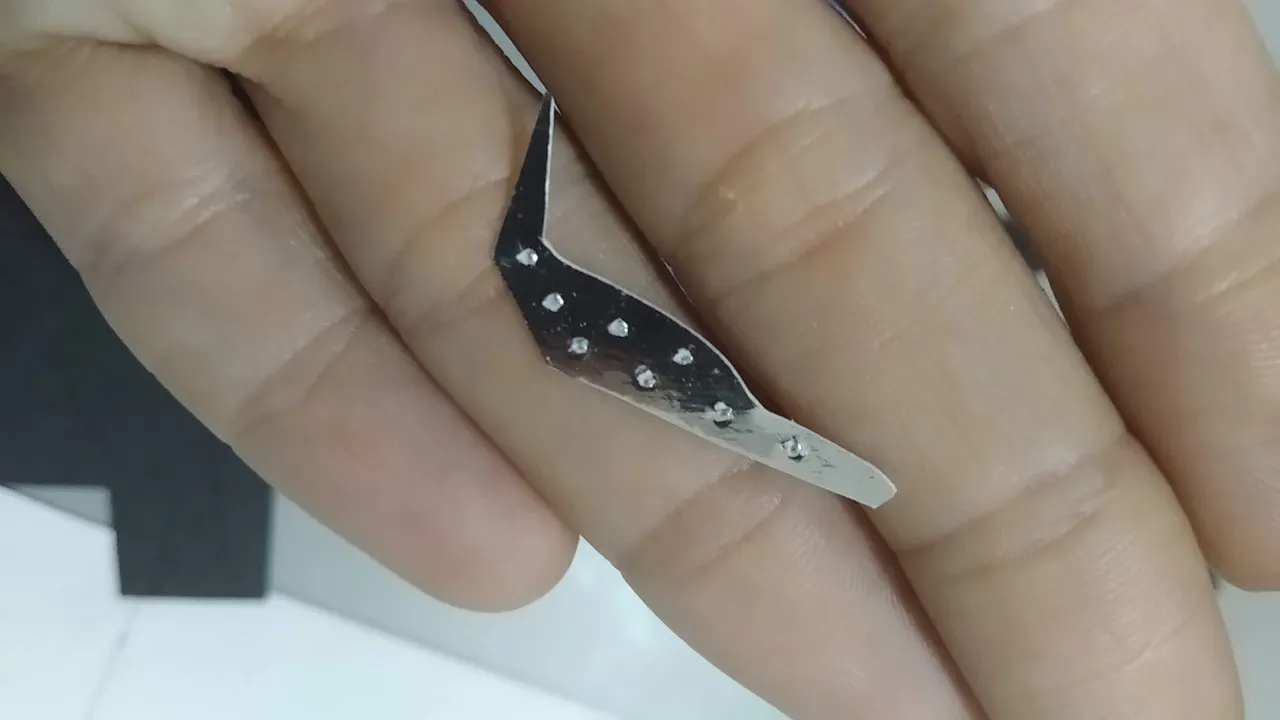
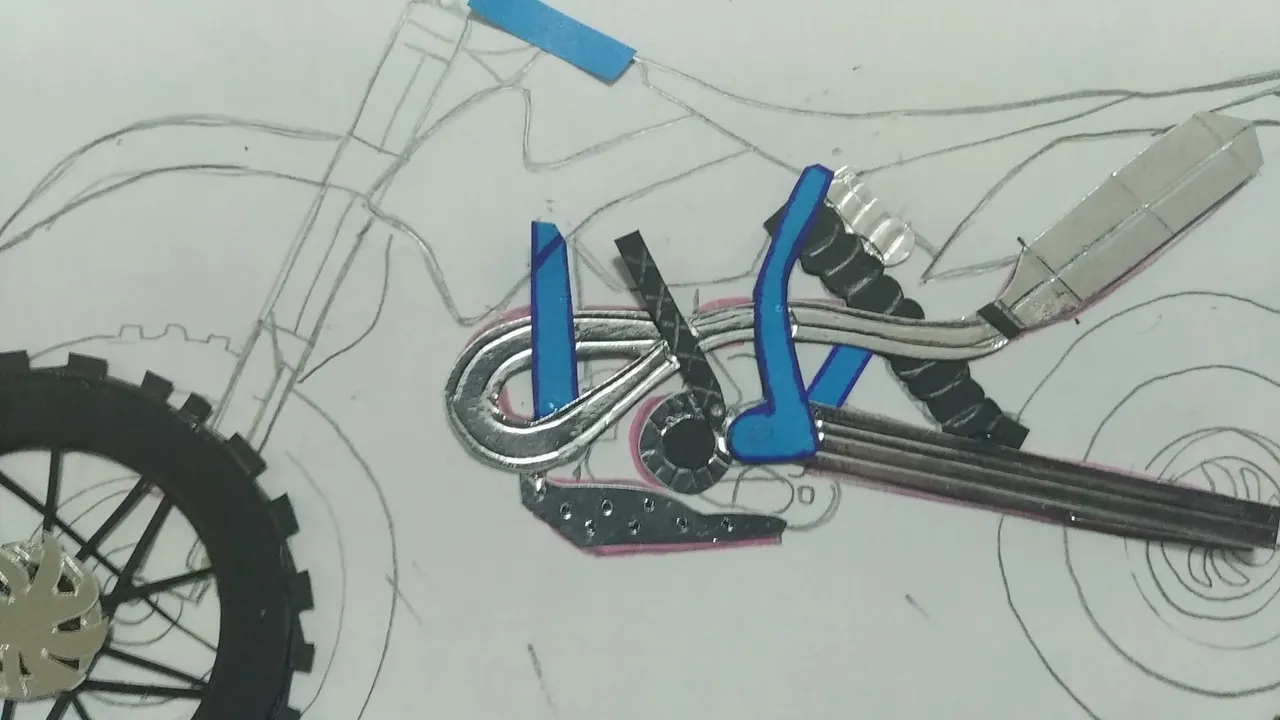
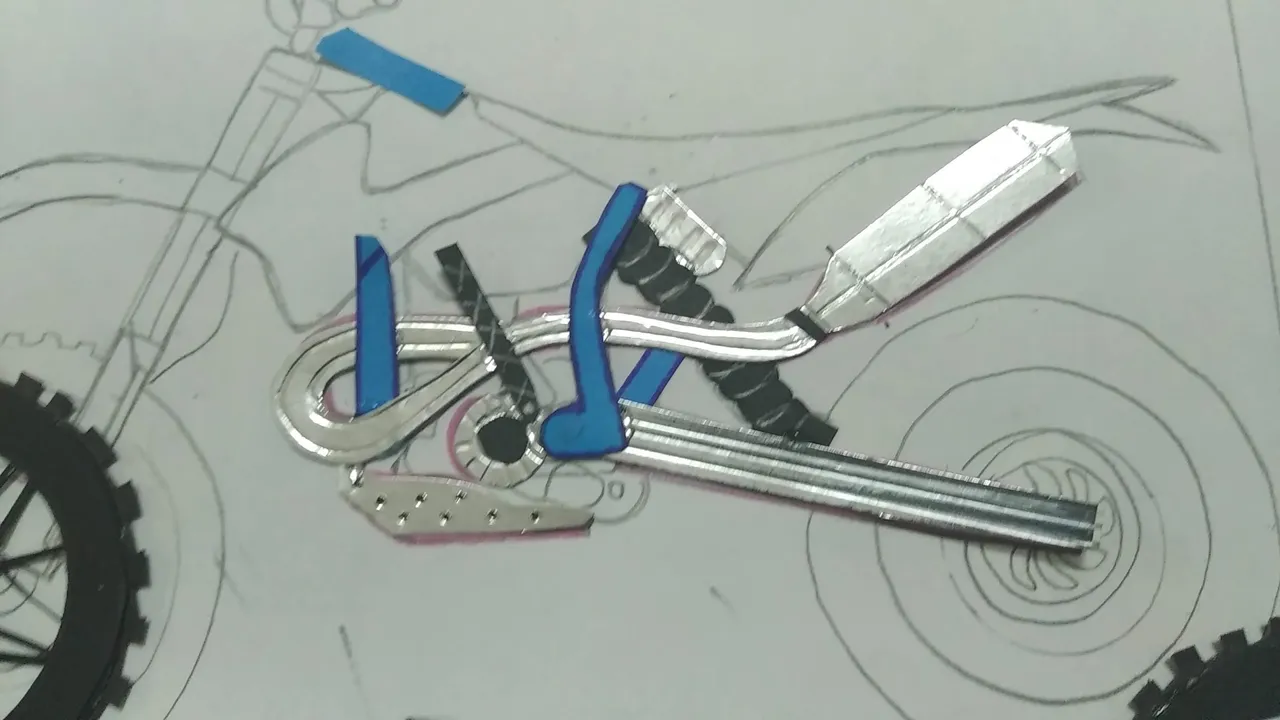
- Cortar el resto de las piezas que conforman la moto. Resaltar las piezas con marcadores de colores y diseños de preferencia.
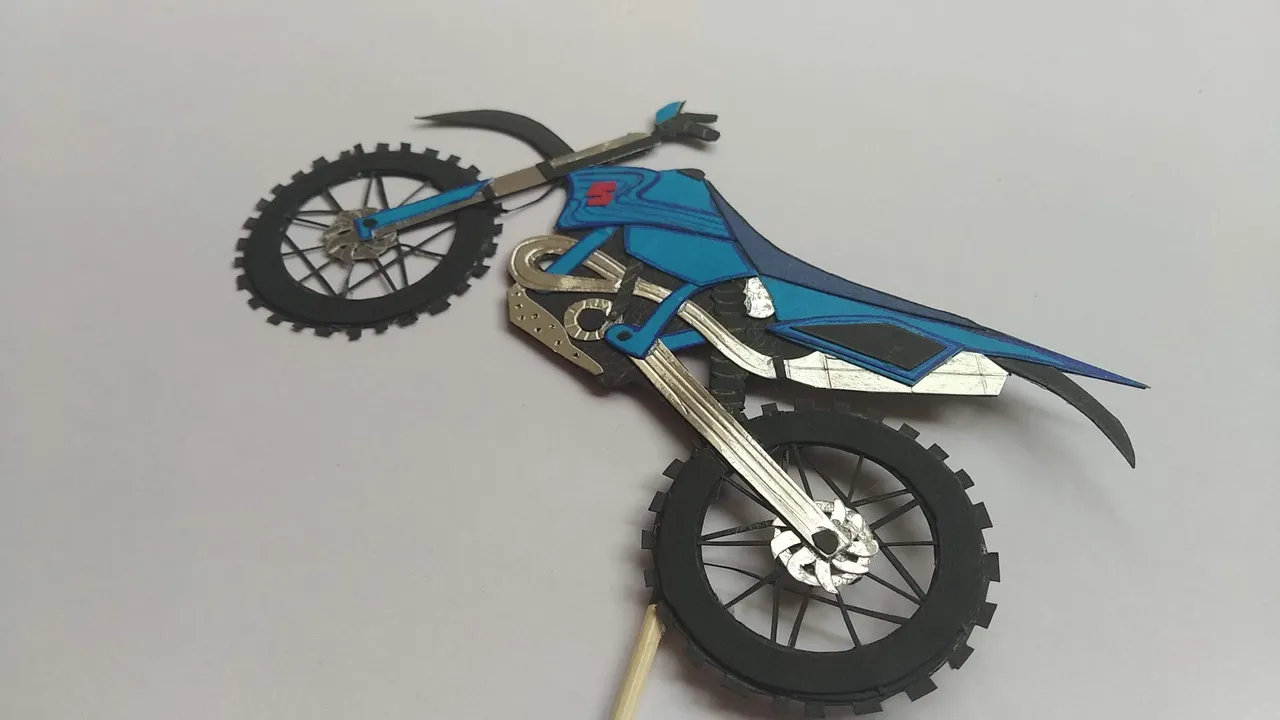
- Con ayuda de la plantilla, ensamblar las piezas poco a poco hasta unirlas todas, se debe cuidar de no aplicar demasiado pegamento.
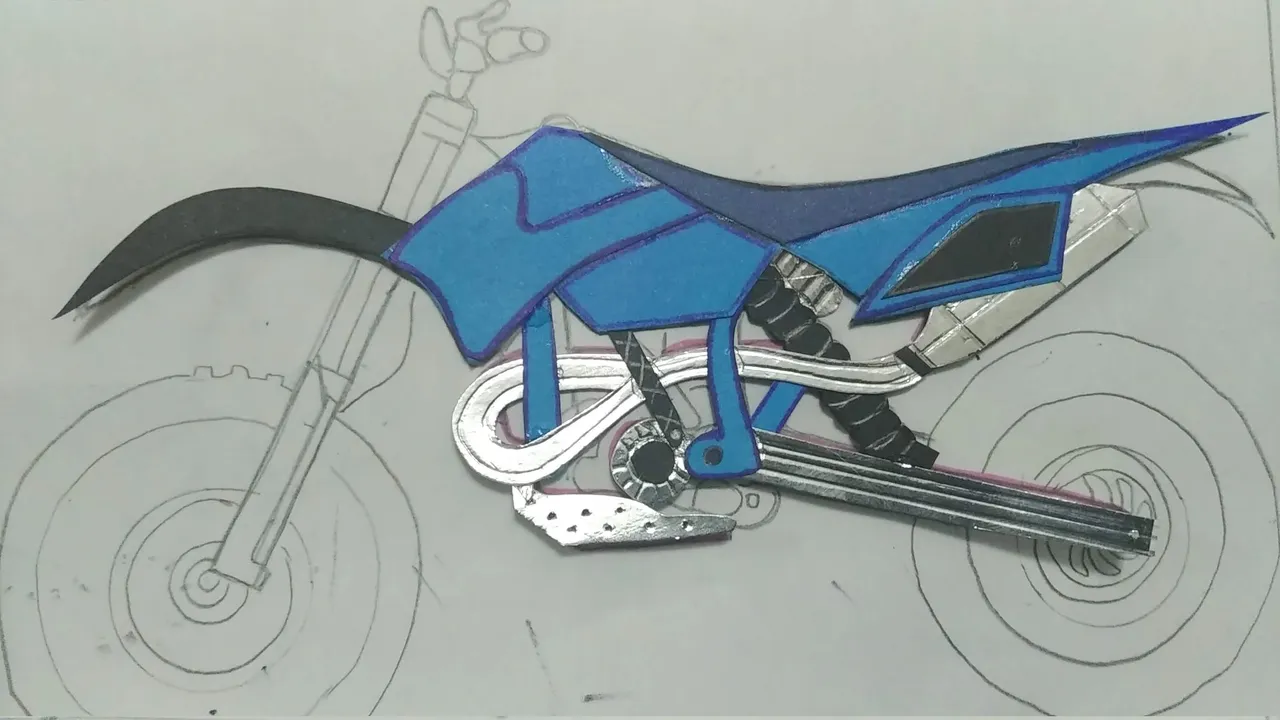
- Pegar las piezas ensambladas sobre una base de cartulina negra y recortar con exactitud por todos sus bordes. Pegar las ruedas.
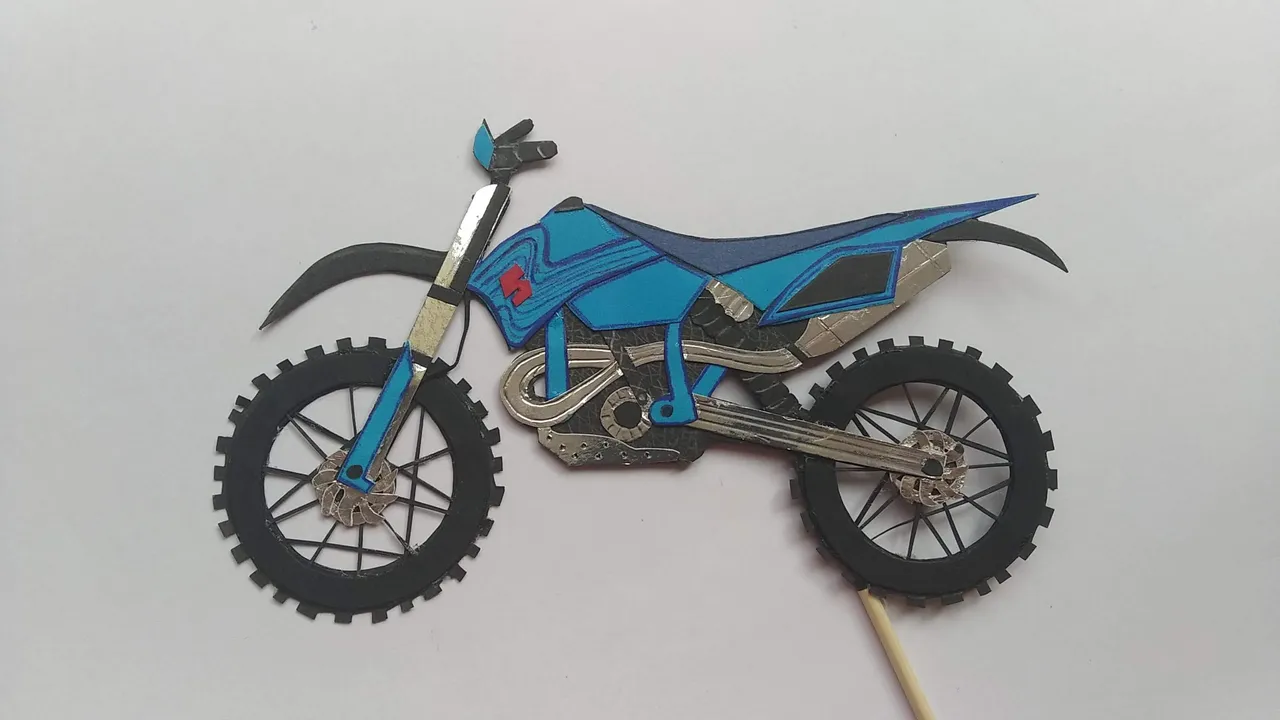
- Pegar el palito de altura, cuidando de seguir el patrón de la moto.
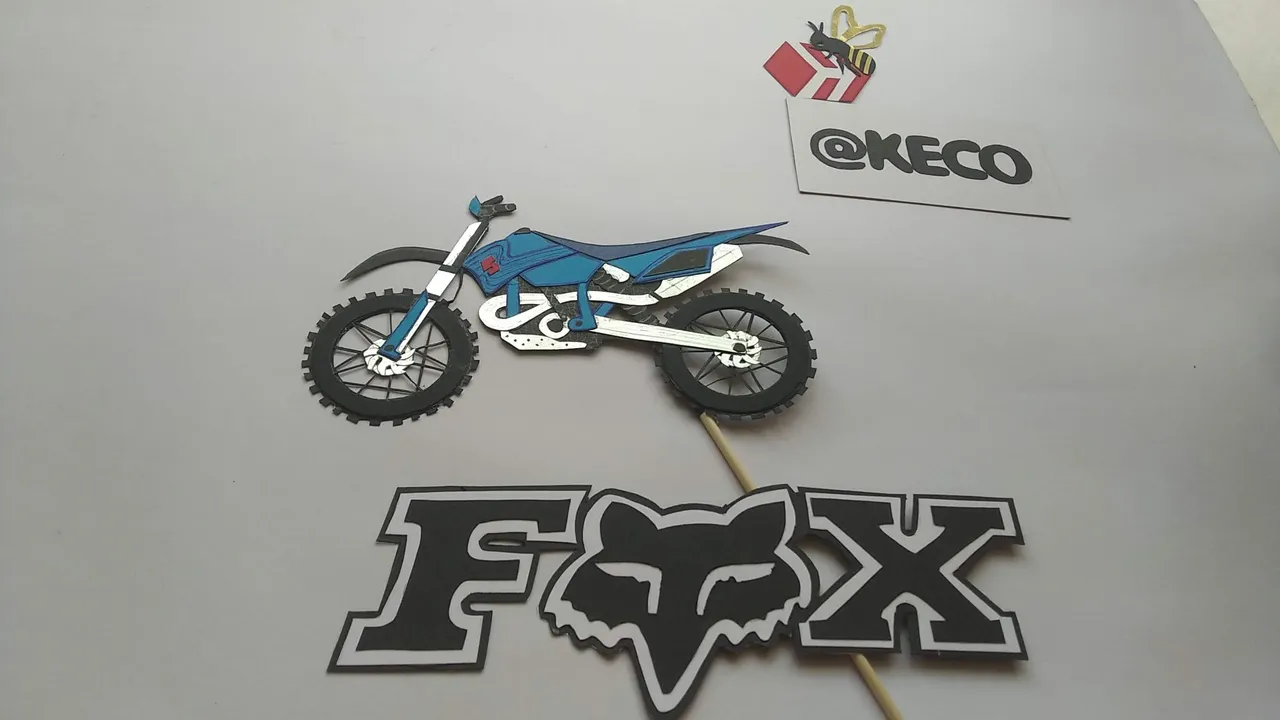
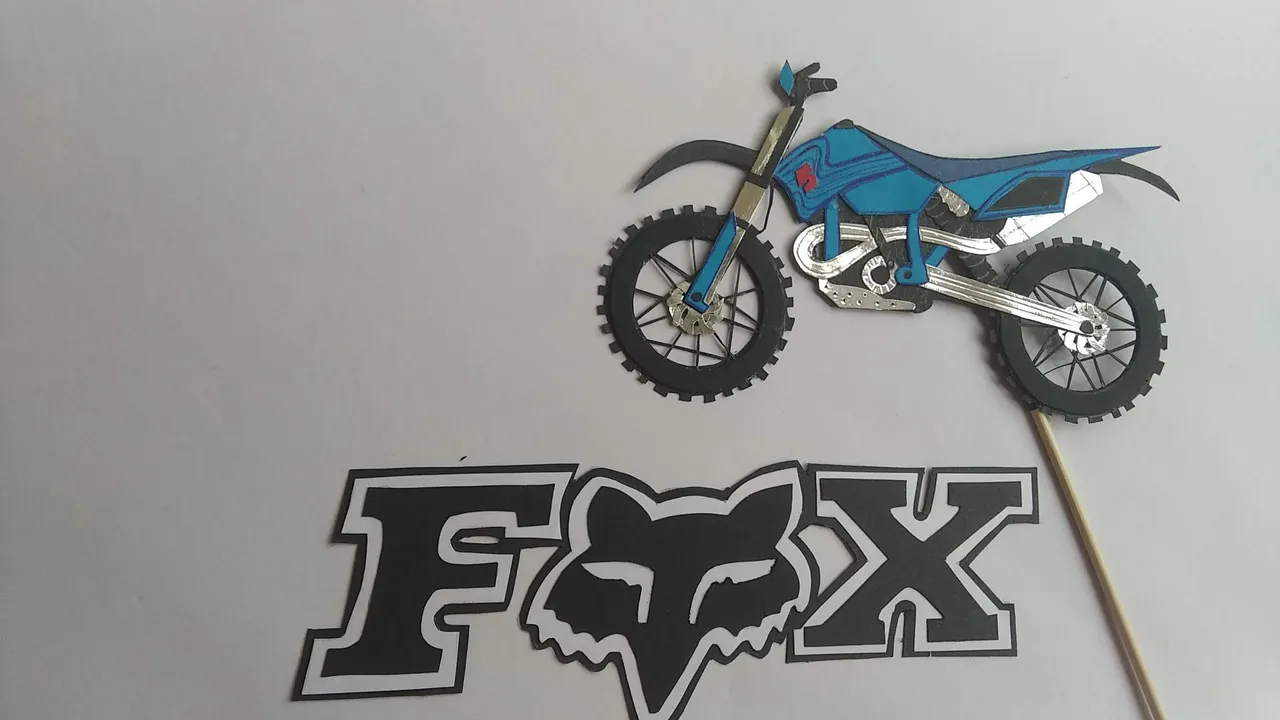
- Para realizar el nombre de “FOX” utilicé una plantilla, marcando y cortando primero las letras en cartulina negra, luego las pegué en cartulina blanca dejando un borde de separación y por ultimo pegué la blanca sobre nuevamente negra dejando igual un pequeño borde de separación.
- Para evitar lo húmedo del pastel dañe el nombre de fox, se le pegó en la parte de atrás un pedazo de acetato.
- ¡Listo!, a disfrutar de la magia de lo creado en casa.
English
Hello, happy and blessed Thursday
Staying true to my love for creating cake toppers, I want to show you a very special one I made for an eleven year old motocross loving pre-teen. As I have stated in previous posts, celebrating life always involves a cake, whether simple or elaborate, and that cake should reflect that which you love and cherish for the moment during the age you are celebrating.
I like to make topper, for adults and children, because I not only help to highlight the magic of the cake, but I also create a beautiful memory that can last in time and in people's hearts.
This is a simple topper made with a lot of love. Without further ado and hoping you enjoy the work done with love, I leave you the materials used, the process and the images of the work.
- Black cardboard
- Blue cardboard
- Silver metallic cardboard
- White cardboard
- Hot glue.
- Wooden stick.
- Color markers
- Piece of acetate
- Cold Silicone.
- Cutter.
- Scissors.
- Pencil.
- On a white sheet take out the design of the bike to create, you can draw it or print it, this will be your guide to cut and assemble the pieces. This piece measured 17 x 10 centimeters.
- Mark the elements of the motorcycle on the corresponding colored cardboard. Remember to leave a little extra piece on each piece to allow for assembly.
- Of the pieces of the motorcycle, the wheels are the ones that require the most elaboration, so they should be worked on first. Two (2) rims should be cut in black cardboard of the diameter established for the tires, and two (2) more rims a little larger than the established diameter, being the thickness of the rim of one centimeter.
- Take the two smaller rings and cross small thin strips of black cardboard to form the rim. The crossing of the thin strips should be done forming a star. Let dry well.
- Take the larger rings and cut their edges forming a kind of gear, this will be what will enhance the tires of the bike.
- Glue the big ring to the small ring with cold silicone, being careful not to apply too much.
- In the center of each wheel, glue small discs of silver cardboard to simulate the gears/pinion of the wheels.
- Cut out the rest of the pieces that make up the bike. Highlight the pieces with colored markers and designs of your choice.
- With the help of the template, assemble the pieces little by little until they are all joined together, taking care not to apply too much glue.
- Glue the assembled pieces on a black cardboard base and cut out exactly all the edges. Glue the wheels.
- Glue the height stick, taking care to follow the pattern of the bike.
- To make the name "FOX" I used a template, marking and cutting first the letters on black cardboard, then I glued them on white cardboard leaving a separating edge and finally I glued the white on black again leaving a small separating edge.
- To avoid damaging the fox's name, I glued a piece of acetate on the back of the cake.
- Ready, to enjoy the magic of what was created at home.
Translated with www.DeepL.com/Translator (free version)
IMÁGENES / IMAGES


Fuente
SALUDOS / REGARDS
Todas las Fotos fueron tomadas con mi teléfono Redmi 7A.
Contenido original de @keco (fotos y texto) - Todos los derechos reservados Publicado en HIVE así como en mi instagram : http://instagram.com/carton_pintura_algo_mas
All Photos were taken with my Redmi 7A phone.
Original content from @keco (photos and text) - All rights reserved Posted on HIVE as well as on my instagram: http://instagram.com/carton_pintura_algo_mas