Español
Feliz y bendecido miércoles mis estimados lectores,
Últimamente he estado muy activa en el proceso de elaboración de topper para pasteles, si revisan mis post anteriores podrán verle, jajaja, pero es que me encanta hacerlos, no solo porque libero estrés sino que ademas me gusta ver la cara de felicidad de los cumpleaños al ver los pasteles.
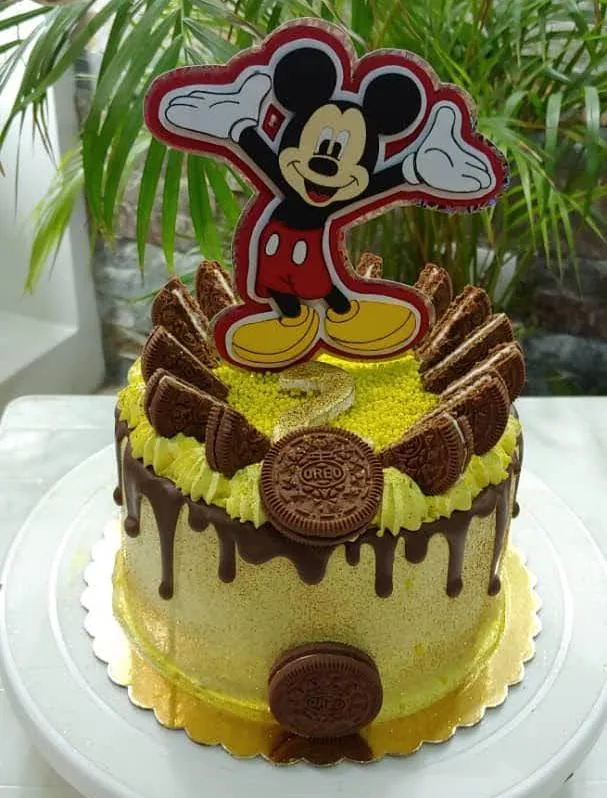
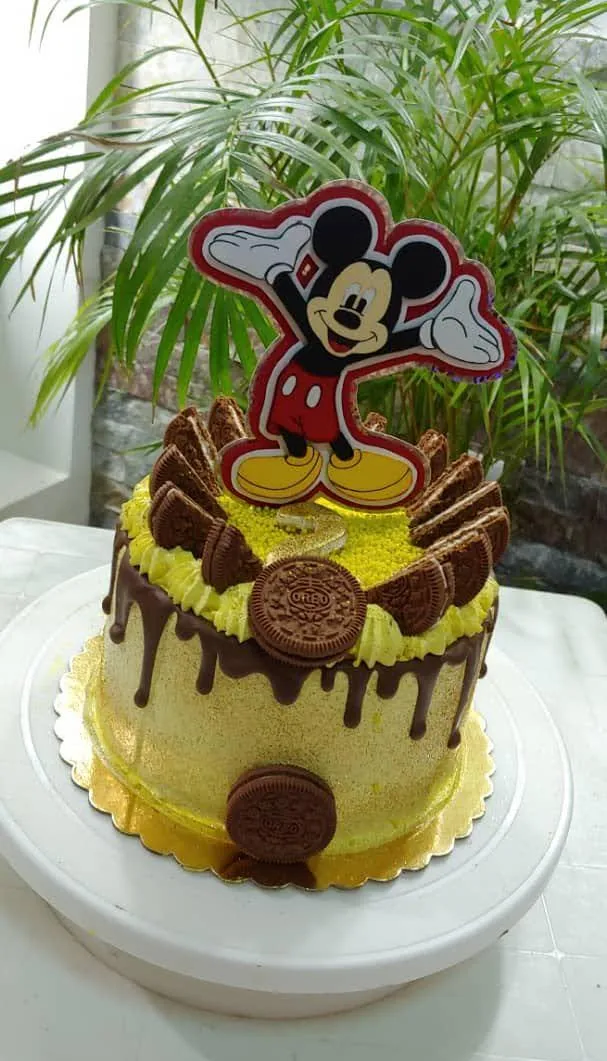
Este pastel se hizo con amor para celebrar la vida de un bebé de 6 meses de nacido, al cual su tío no conocía y al hacerlo por primera vez decidió sorprenderlo con un mini pastel hermoso, realizado por supuesto por la mejor repostera de mi ciudad, Mayda.
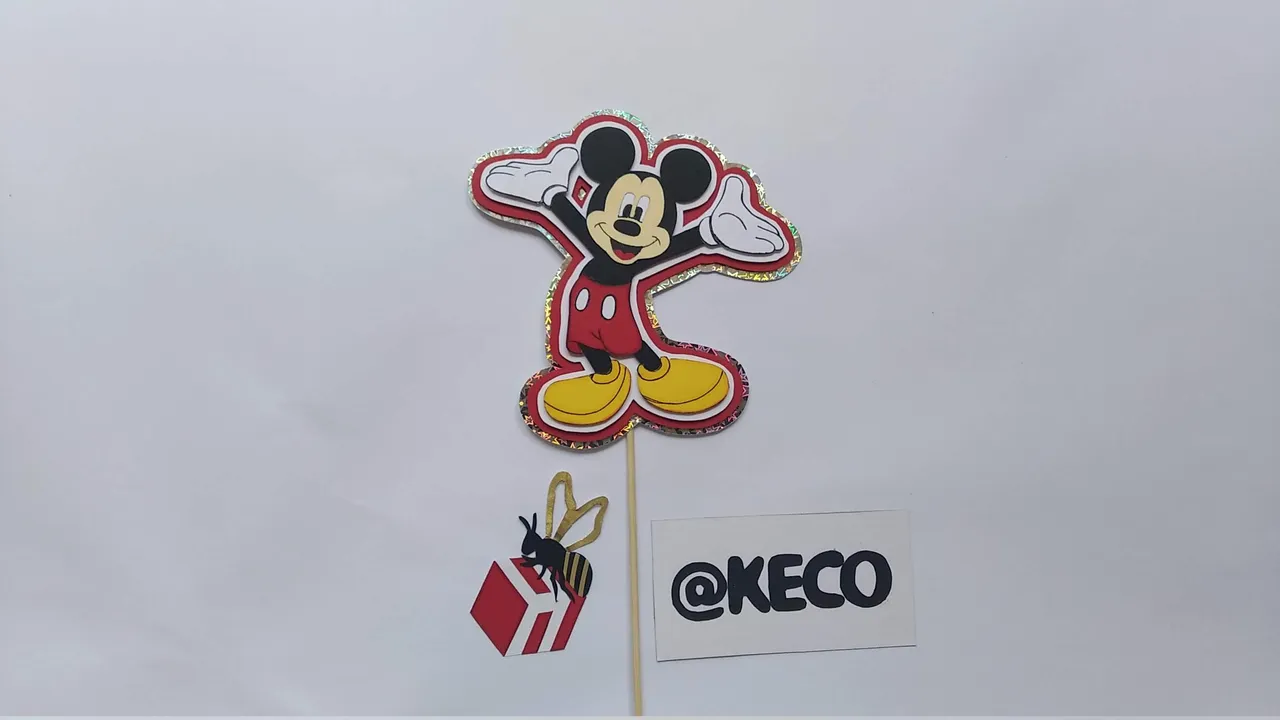
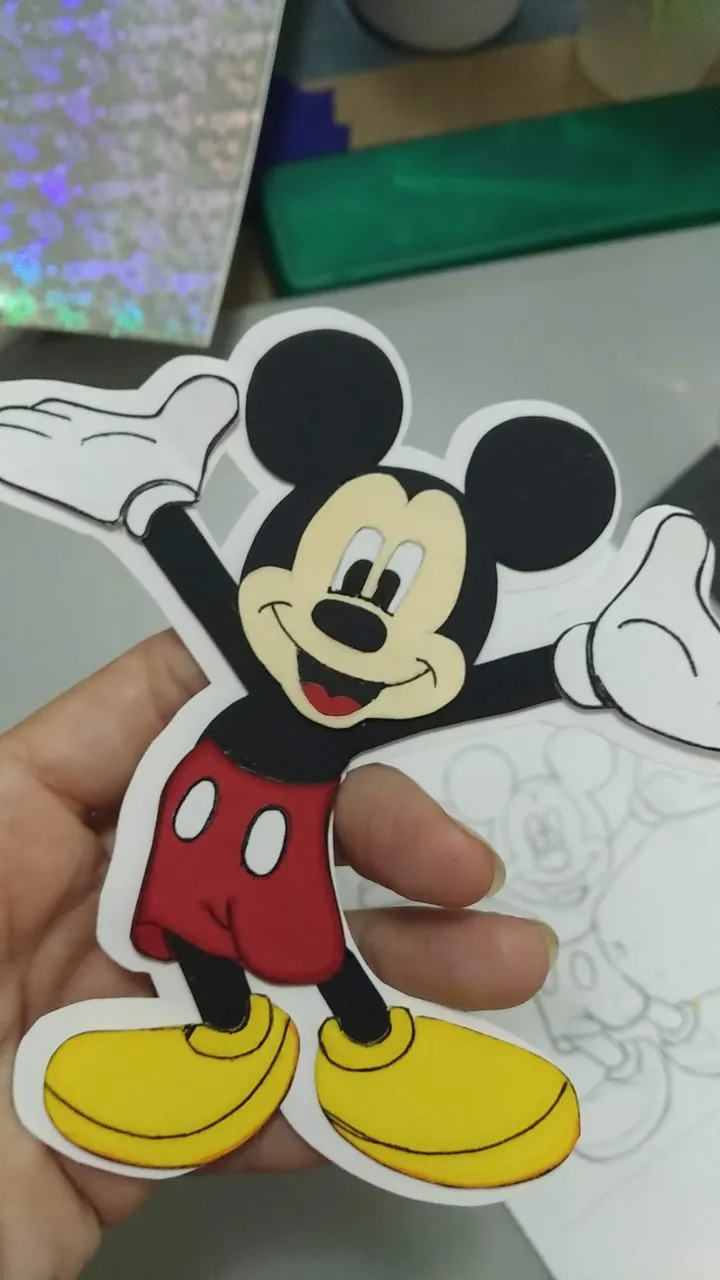
El topper que hoy les muestro es un topper sencillo, de un personaje clásico de los dibujos animados, Mickey Mouse, una figura amada por adultos y niños de ésta y de generaciones anteriores. Sin más y esperando disfruten del trabajo realizado con amor, les dejo los materiales utilizados, el proceso y las imágenes del trabajo.
- Cartulina negra
- Cartulina roja
- Cartulina amarilla
- Cartulina blanca
- Cartulina crema (piel)
- Cartulina Plateada holográfica
- Foami negro, blanco y rojo
- Silicón caliente.
- Palito de madera.
- Marcadores de colores (negro. Amarillo, rojo)
- Silicón frio.
- Silicón caliente
- Cutter.
- Tijera.
- Lápiz.
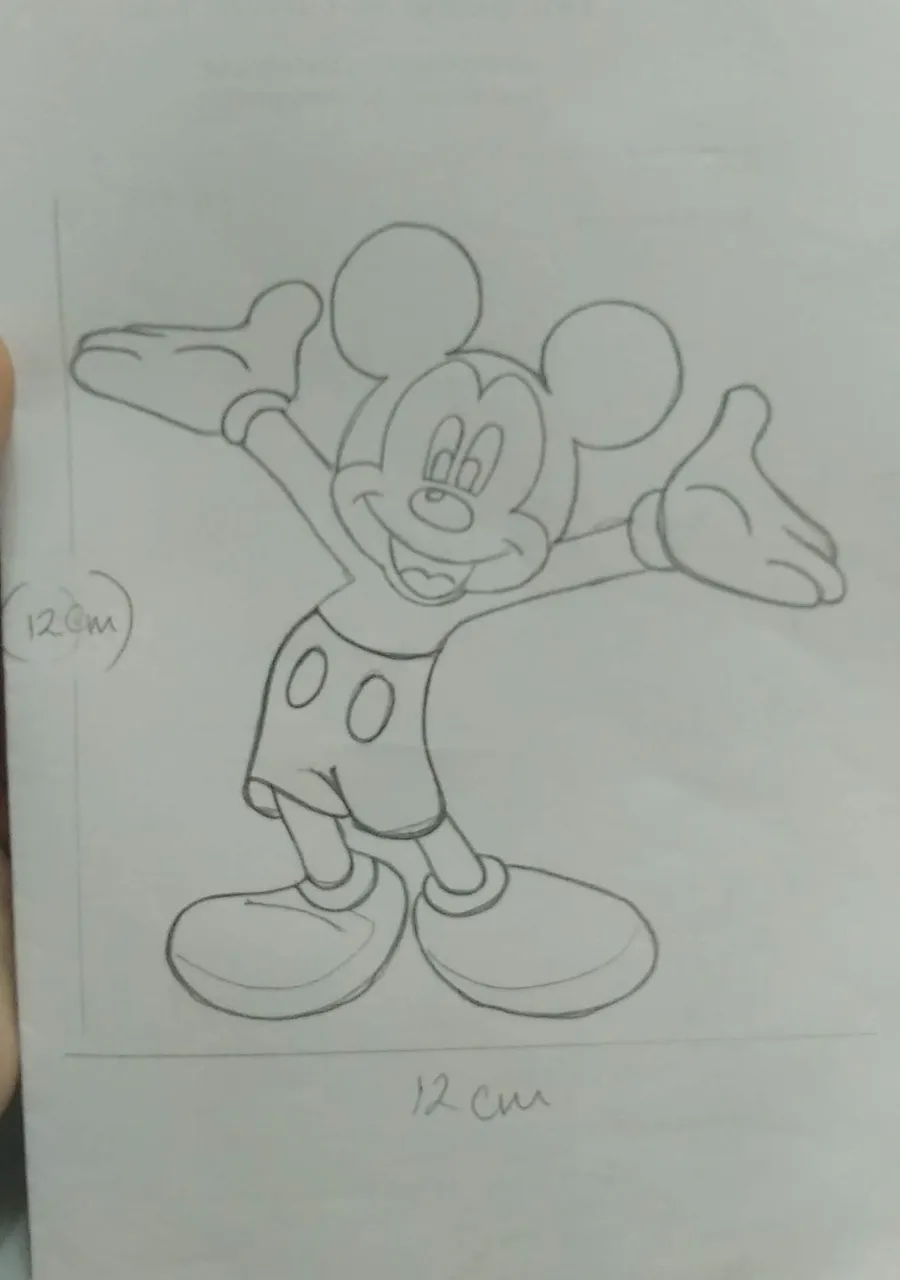
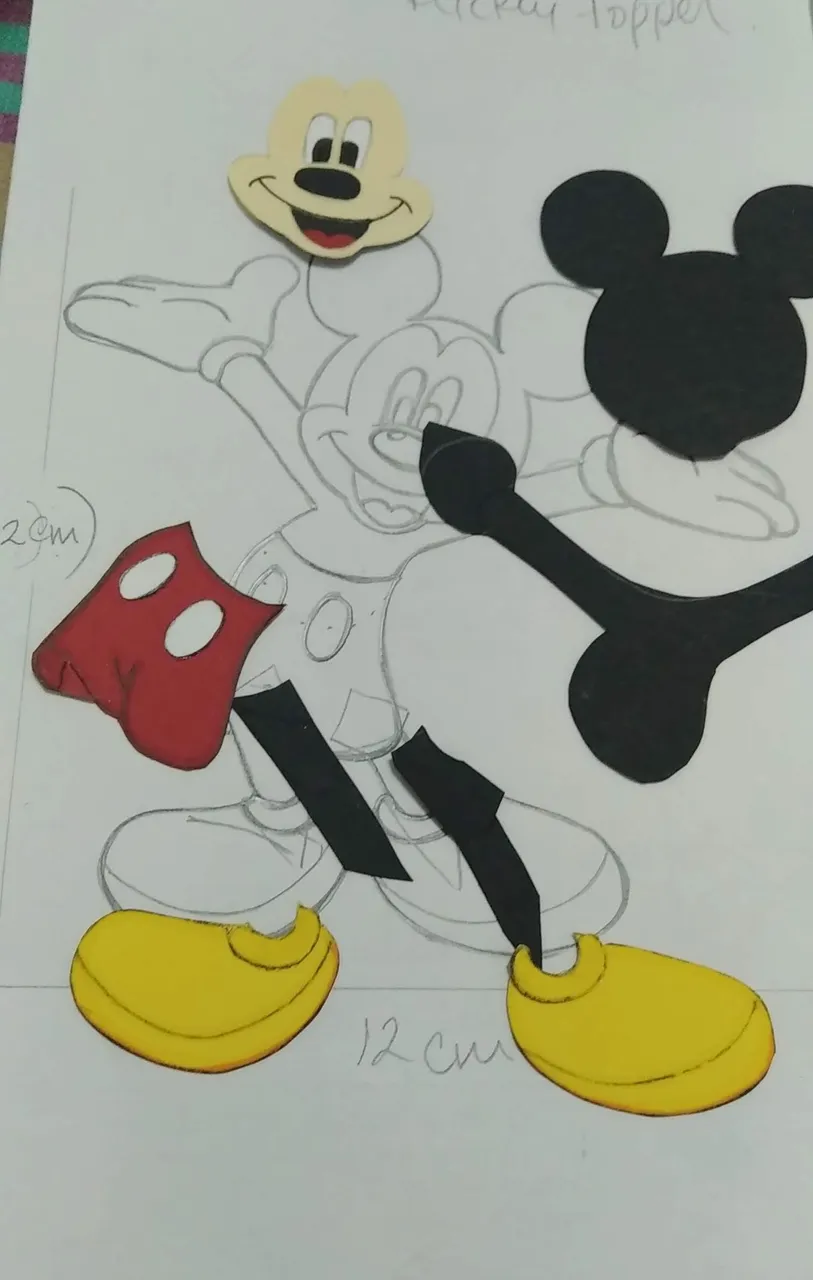
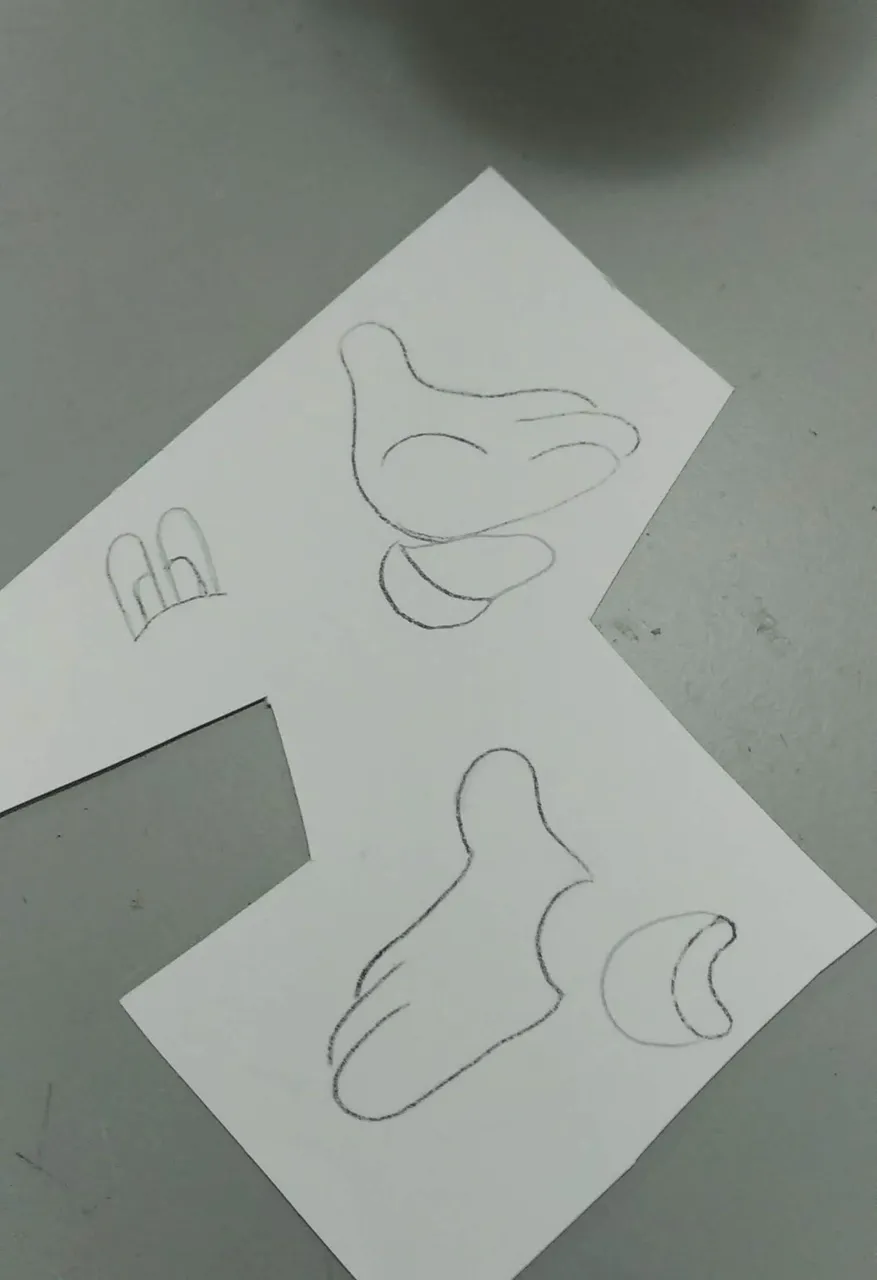
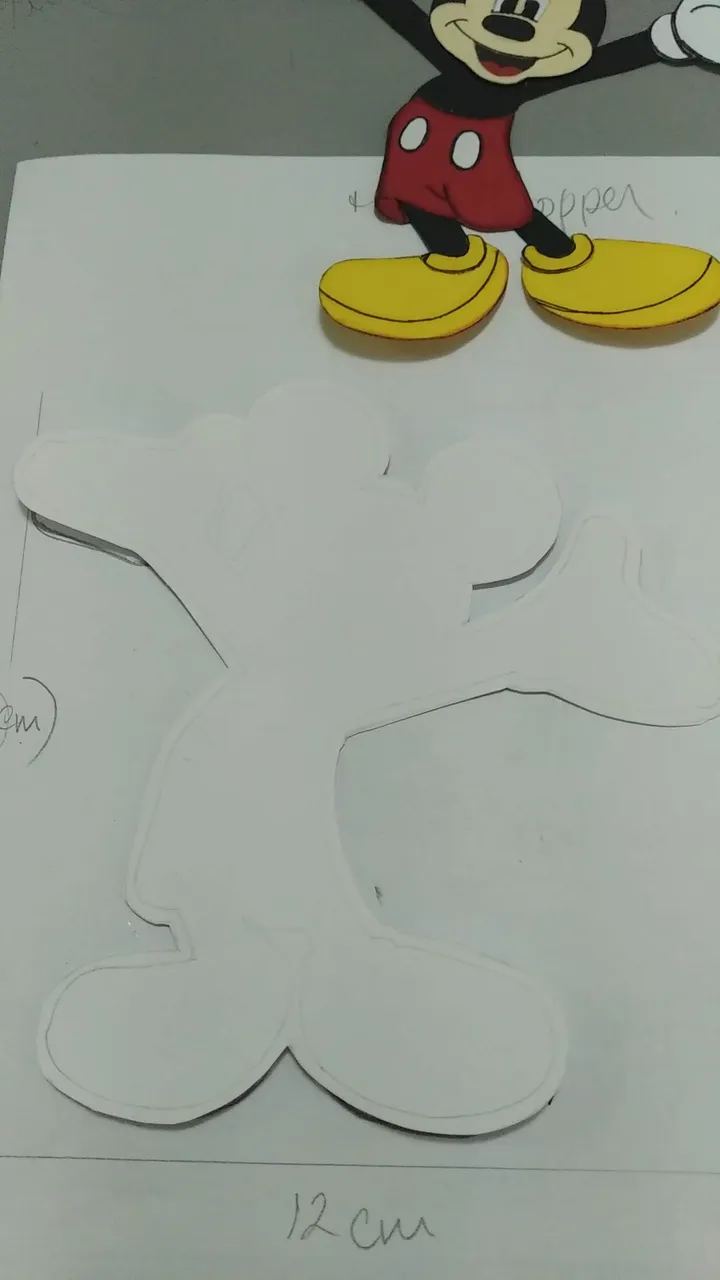
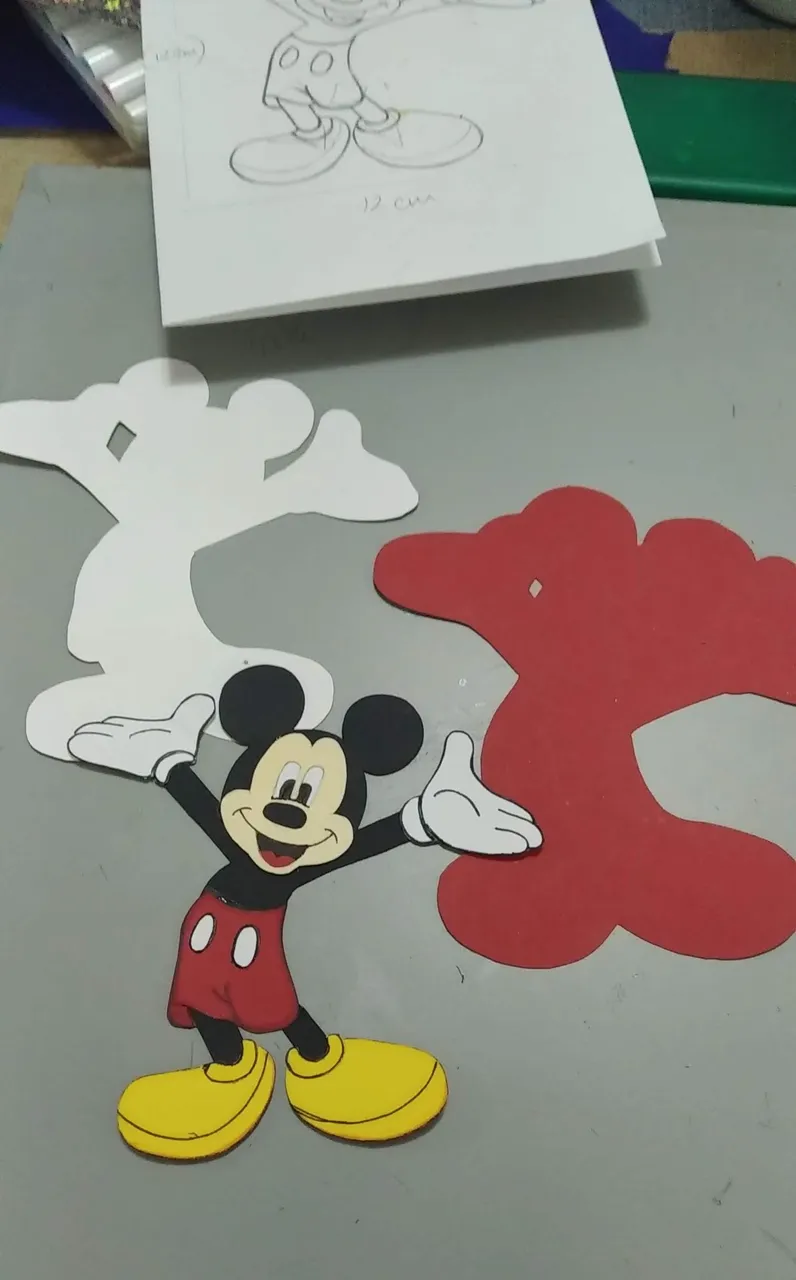
- Diseñar la figura del Mickey Mouse a crear, en este caso se usó el diseño de cuerpo completo, con un tamaño de 12 cm de alto por 12 de ancho (de mano a mano).
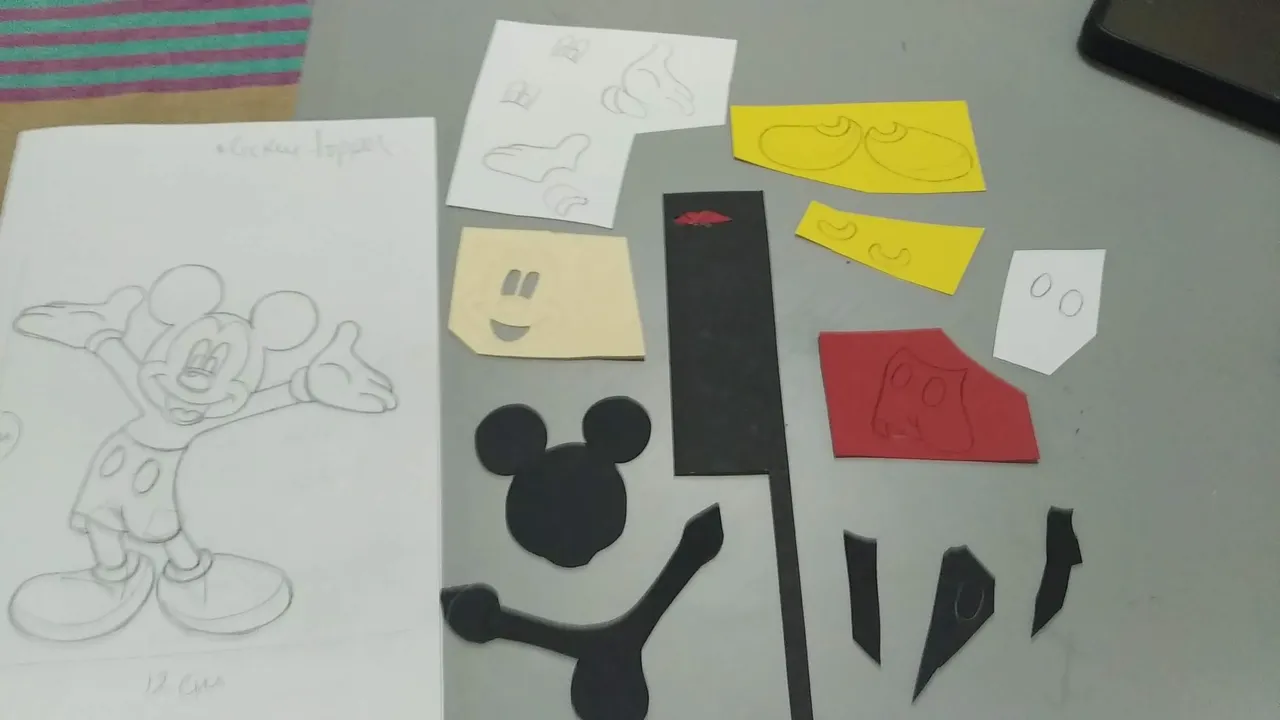
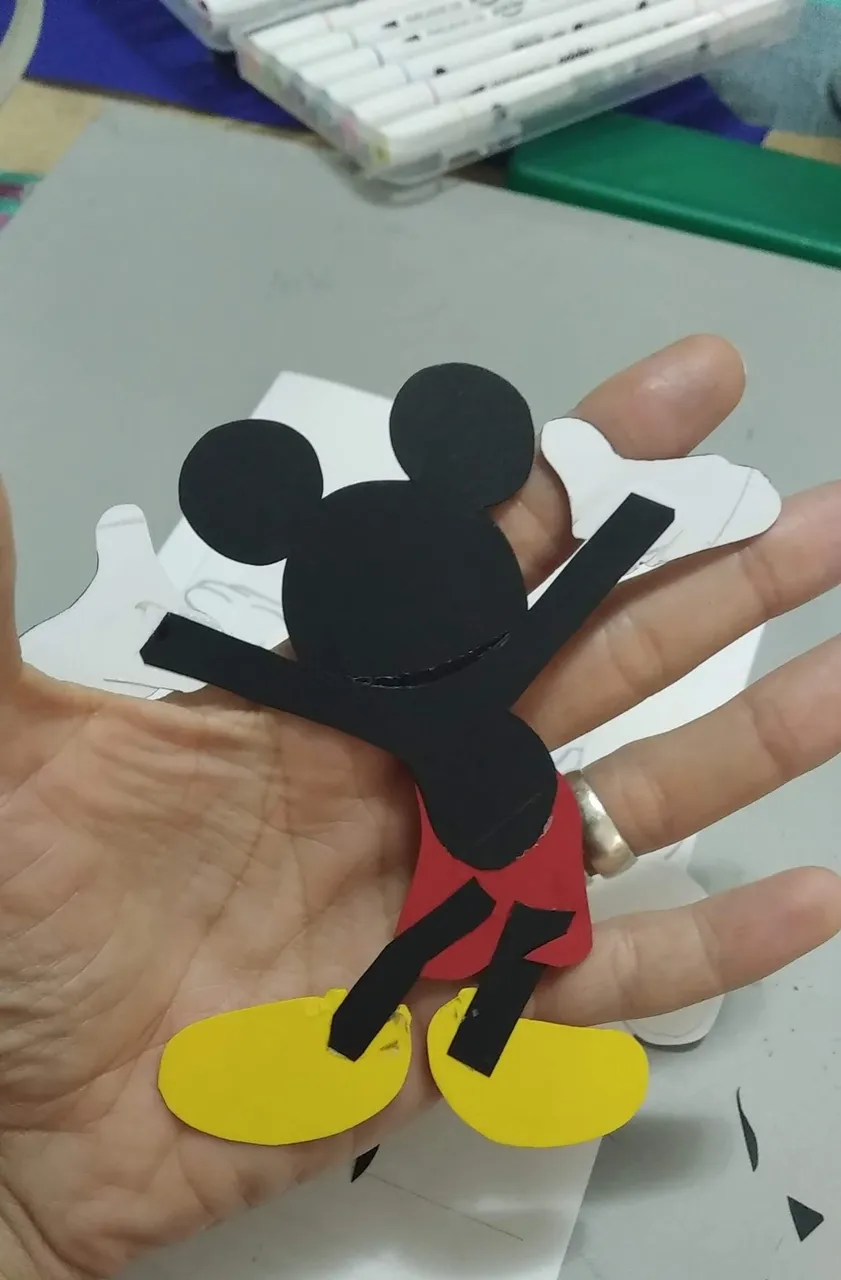
- Marcar y cortar las piezas del Mickey en las cartulinas de colores correspondientes.
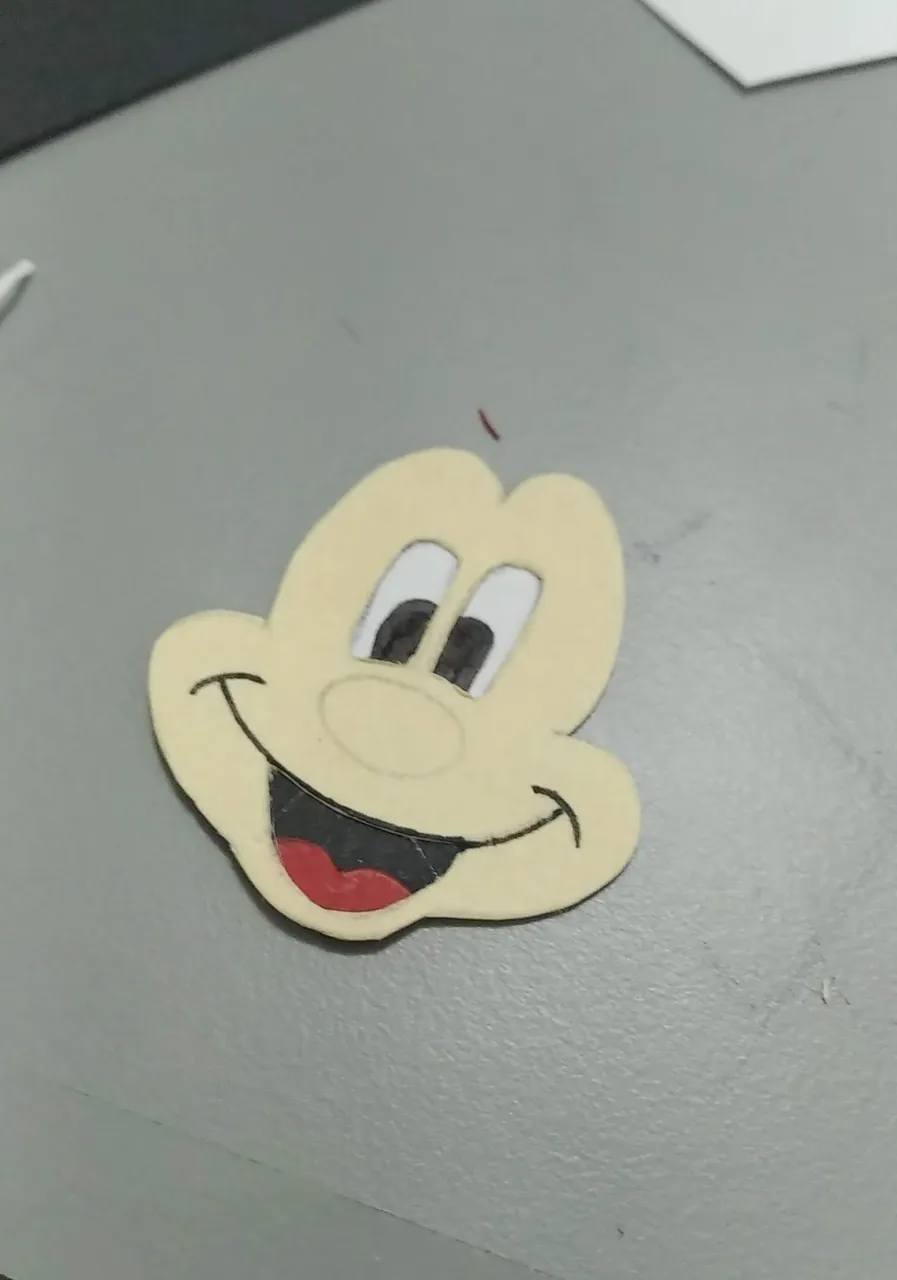
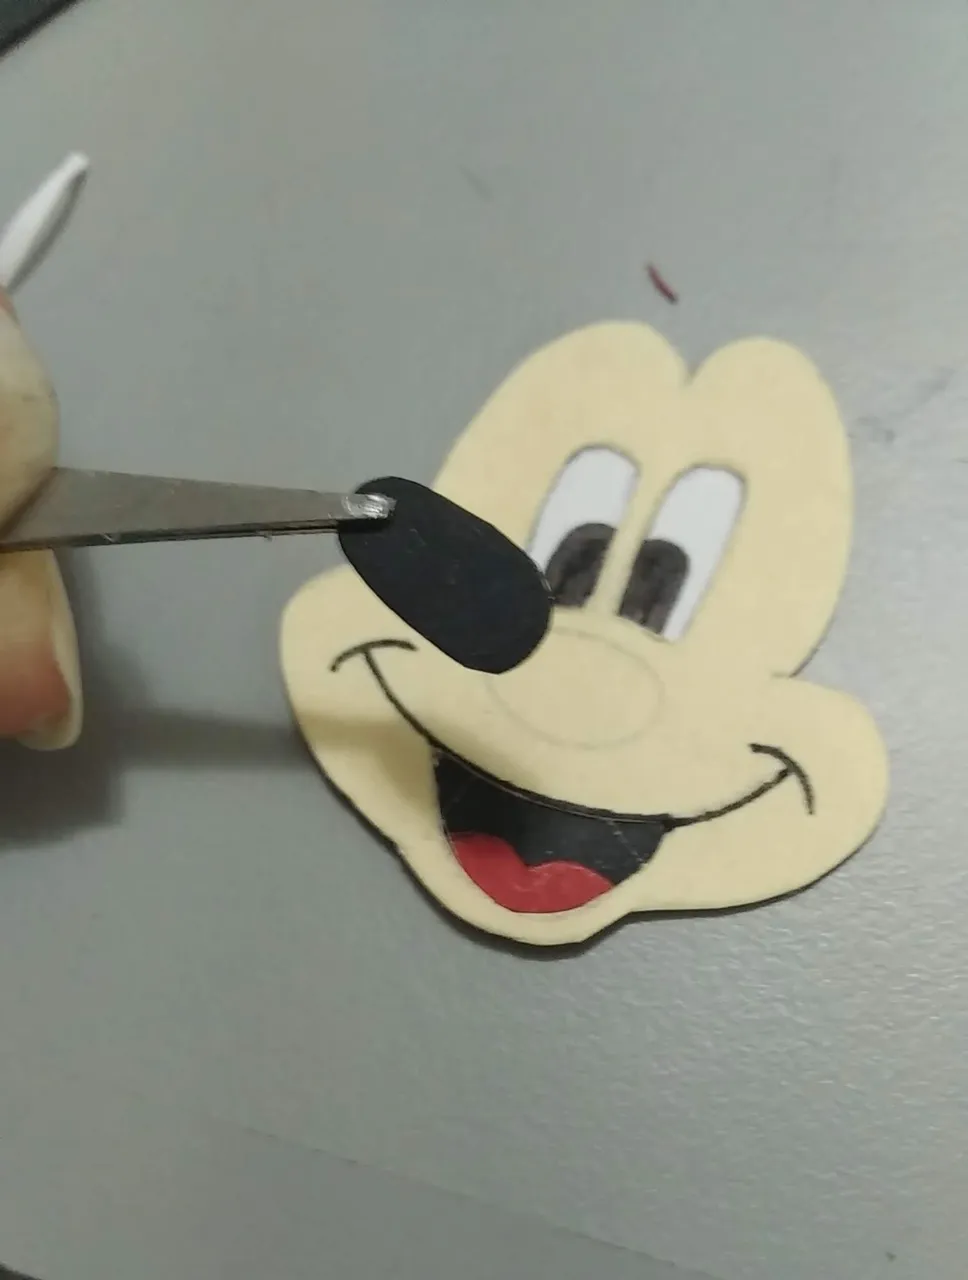
- En el caso de la pieza correspondiente al rostro cortarle con el cutter el área de los ojos y pintar aparte en cartulina blanca, luego pegar. Hacer esto así con los ojos le otorga vivacidad a los ojos.
- A todas las piezas remarcar con marcador negro por sus bordes. En el caso del bermudas y los zapatos remarcar con rojo y amarillo respectivamente.
- Ensamblar las piezas siguiendo el patrón de la plantilla creada, pegando con silicón frio y dejar secar bien.
- Tomar el mickey ensamblado y siguiendo su patrón, recortar la cartulina blanca dejando un borde mayor al mickey.
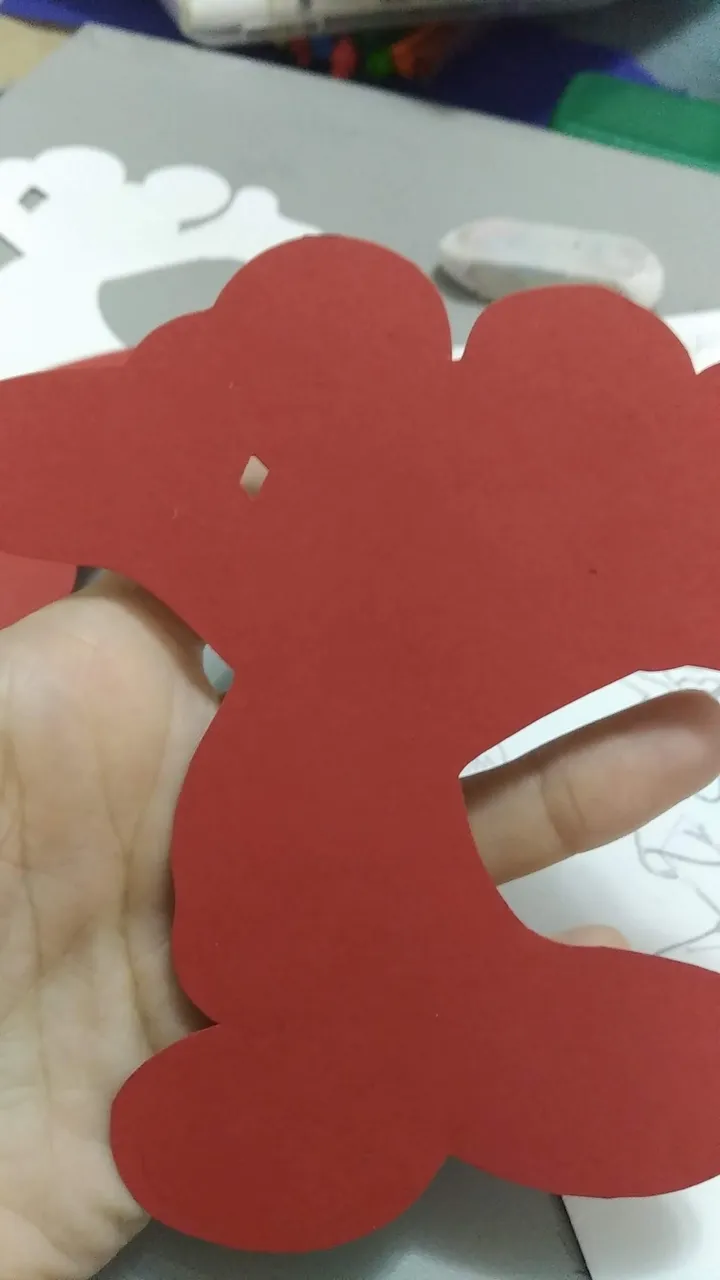
- Tomar la silueta en cartulina blanca y siguiendo su patrón recortar la cartulina roja, dejando igual un borde superior a la blanca.
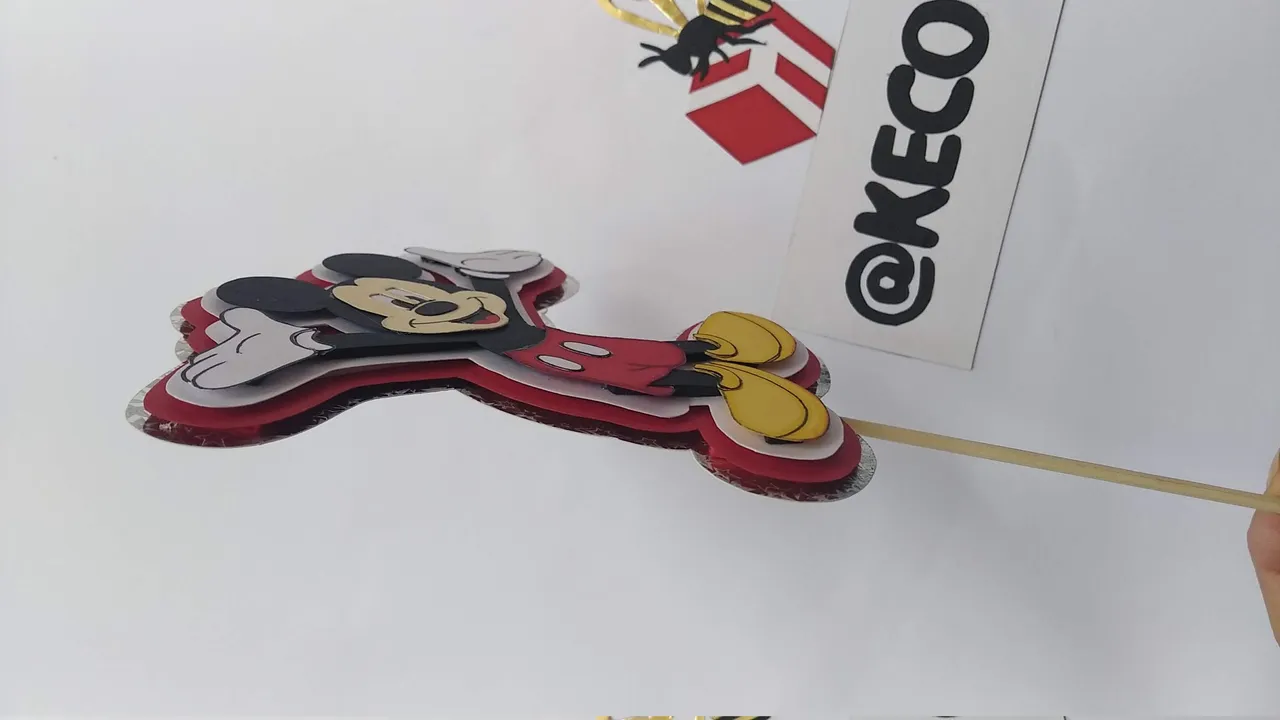
- Tomar la silueta en cartulina roja y siguiendo su patrón recortar la cartulina plateada holográfica, dejando igual un borde mayor al rojo.
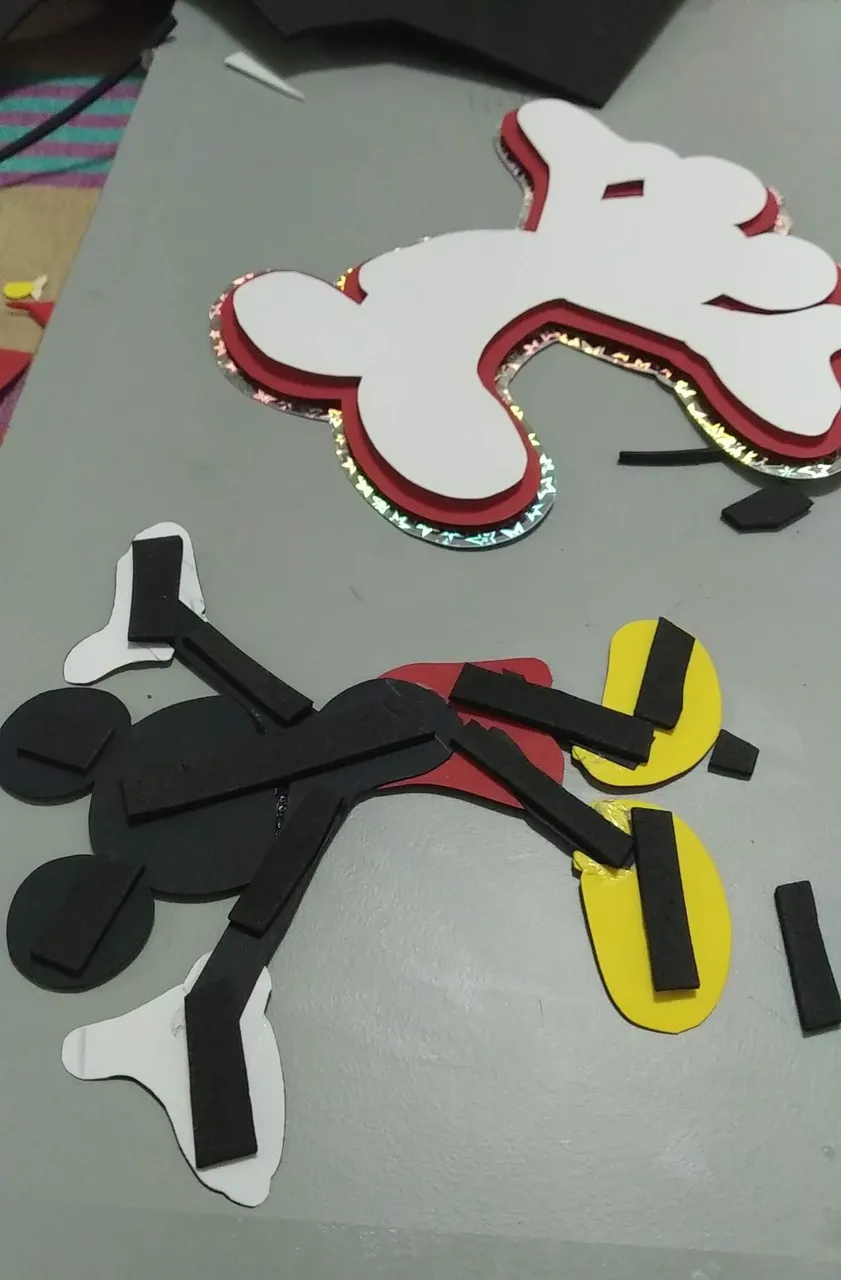
- Pegar a todas las piezas por la parte trasera, excepto a la holográfica, tiras pequeñas de foami de acuerdo al color de cada pieza , dejar secar.
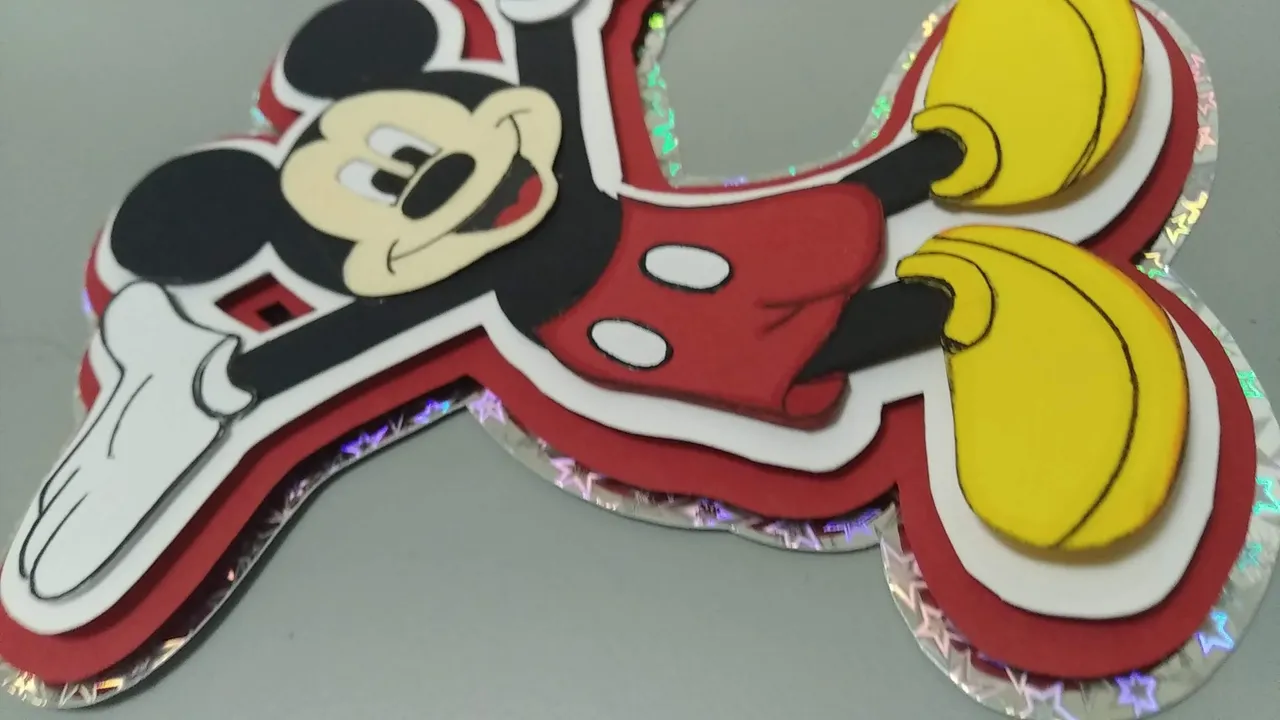
- Ensamblar las piezas, aplicando silicón sobre las tiras de foami y dejar secar entre cada capa.
- Pegar el palito de madera en la parte de atrás de la cartulina holográfica
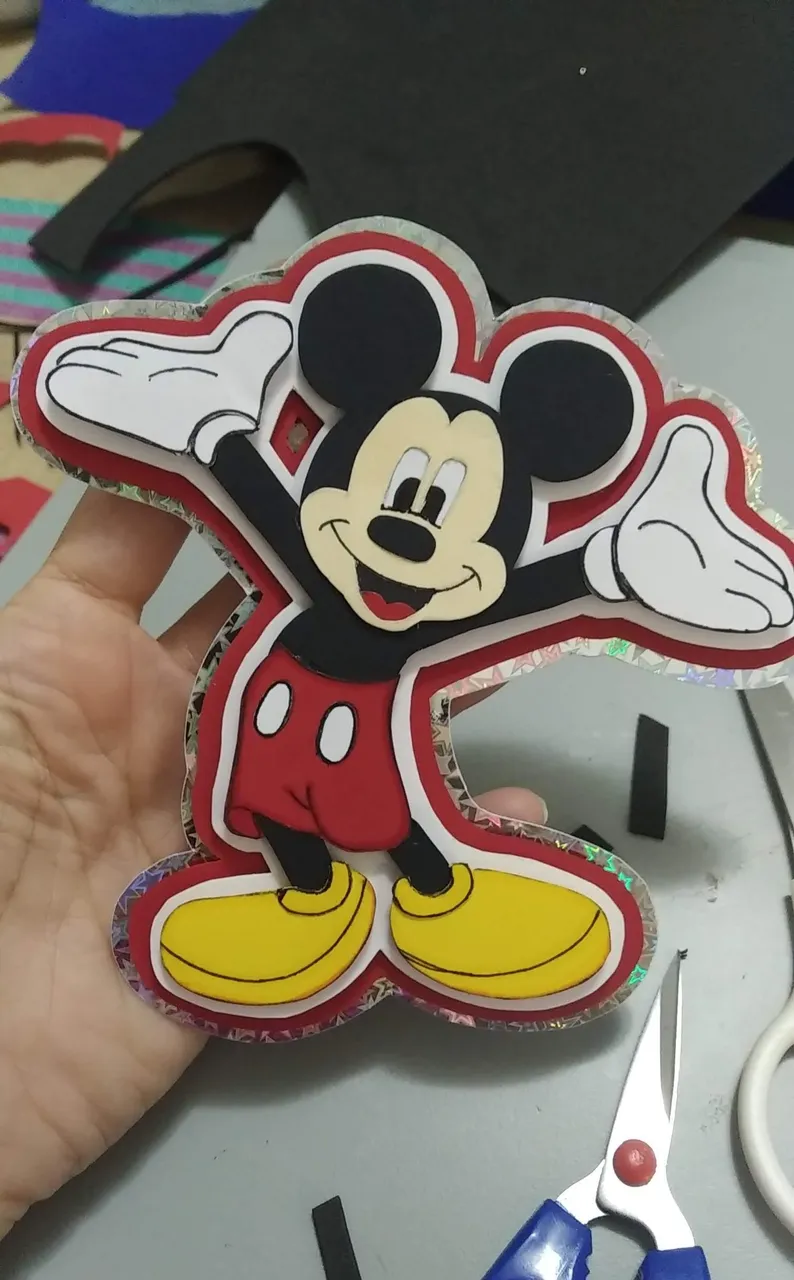
- ¡Listo!, a disfrutar de la magia de lo creado en casa.
English
Happy and blessed Wednesday my dear readers,
Lately I have been very active in the process of making cake toppers, if you check my previous posts you can see you, hahaha, but I love making them, not only because I release stress but also because I like to see the happy faces of the birthdays when they see the cakes.
This cake was made with love to celebrate the life of a 6 month old baby, which his uncle did not know and when he did it for the first time he decided to surprise him with a beautiful mini cake, made of course by the best pastry chef in my city, Mayda.
The topper I show you today is a simple topper, of a classic cartoon character, Mickey Mouse, a figure loved by adults and children of this and previous generations. Without further ado and hoping you enjoy the work done with love, I leave you the materials used, the process and the images of the work.
- Black cardboard
- Red cardboard
- Yellow cardboard
- White cardboard
- Cream cardboard (skin)
- Holographic silver cardboard
- Black, white and red Foami
- Hot glue.
- Wooden stick.
- Colored markers (black, yellow, red).
- Cold silicone.
- Hot silicone.
- Cutter.
- Scissors.
- Pencil.
- Design the Mickey Mouse figure to be created, in this case the full body design was used, with a size of 12 cm high by 12 cm wide (hand to hand).
- Mark and cut out the Mickey Mouse pieces in the corresponding colored cardboard.
- In the case of the piece corresponding to the face, cut with the cutter the area of the eyes and paint separately on white cardboard, then glue. Doing this way with the eyes gives vivacity to the eyes.
- Mark the edges of all the pieces with black marker. In the case of the bermuda shorts and the shoes highlight with red and yellow respectively.
- Assemble the pieces following the pattern of the template created, gluing with cold silicone and let dry well.
- Take the assembled mickey and following the pattern, cut out the white cardboard leaving a larger border to the mickey.
- Take the white cardboard silhouette and following its pattern, cut out the red cardboard, leaving the same upper edge as the white one.
- Take the silhouette in red cardboard and following its pattern cut out the silver holographic cardboard, leaving the same border bigger than the red one.
- Glue to all the pieces on the back, except the holographic one, small strips of foami according to the color of each piece, let dry.
- Assemble the pieces, applying silicone on the foami strips and let dry between each layer.
- Glue the wooden stick on the back of the holographic cardboard.
- Ready, enjoy the magic of what you have created at home.
Translated with www.DeepL.com/Translator (free version)
IMÁGENES / IMAGES


Fuente
SALUDOS / REGARDS
Todas las Fotos fueron tomadas con mi teléfono Redmi 7A.
Contenido original de @keco (fotos y texto) - Todos los derechos reservados Publicado en HIVE así como en mi instagram : http://instagram.com/carton_pintura_algo_mas
All Photos were taken with my Redmi 7A phone.
Original content from @keco (photos and text) - All rights reserved Posted on HIVE as well as on my instagram: http://instagram.com/carton_pintura_algo_mas