Español
Hola, feliz y bendecido día.
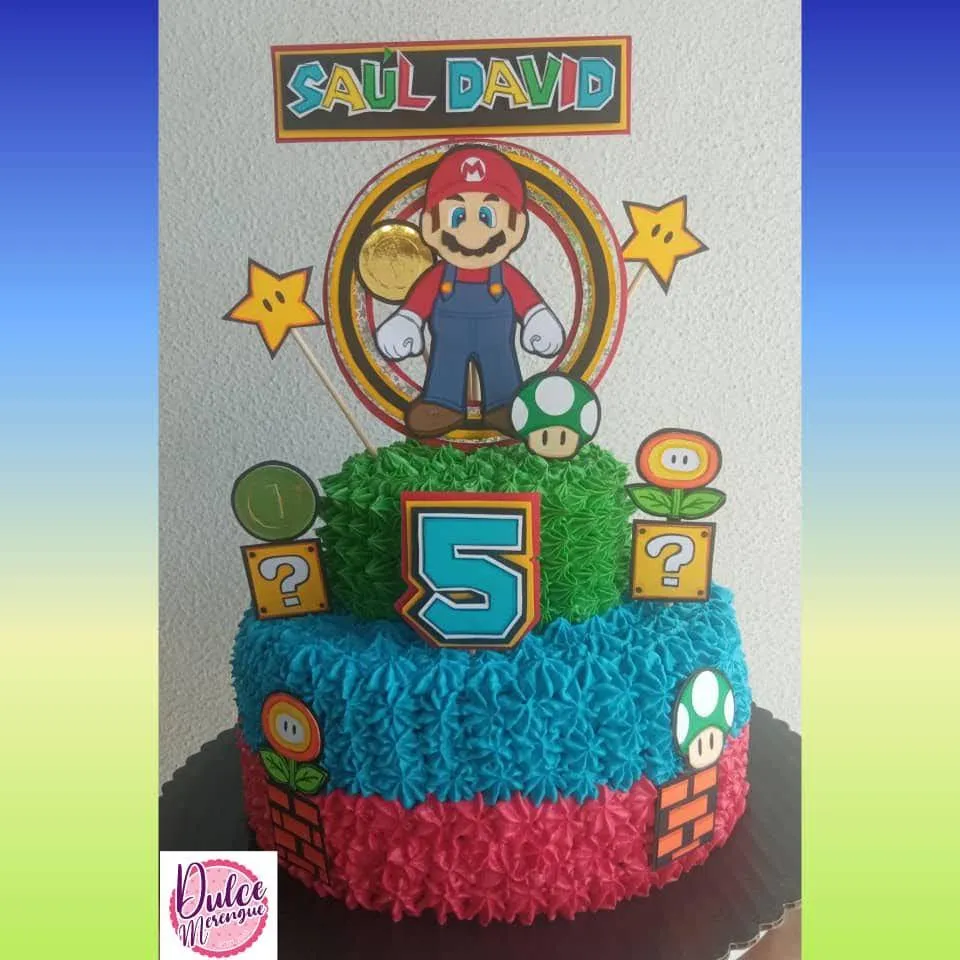
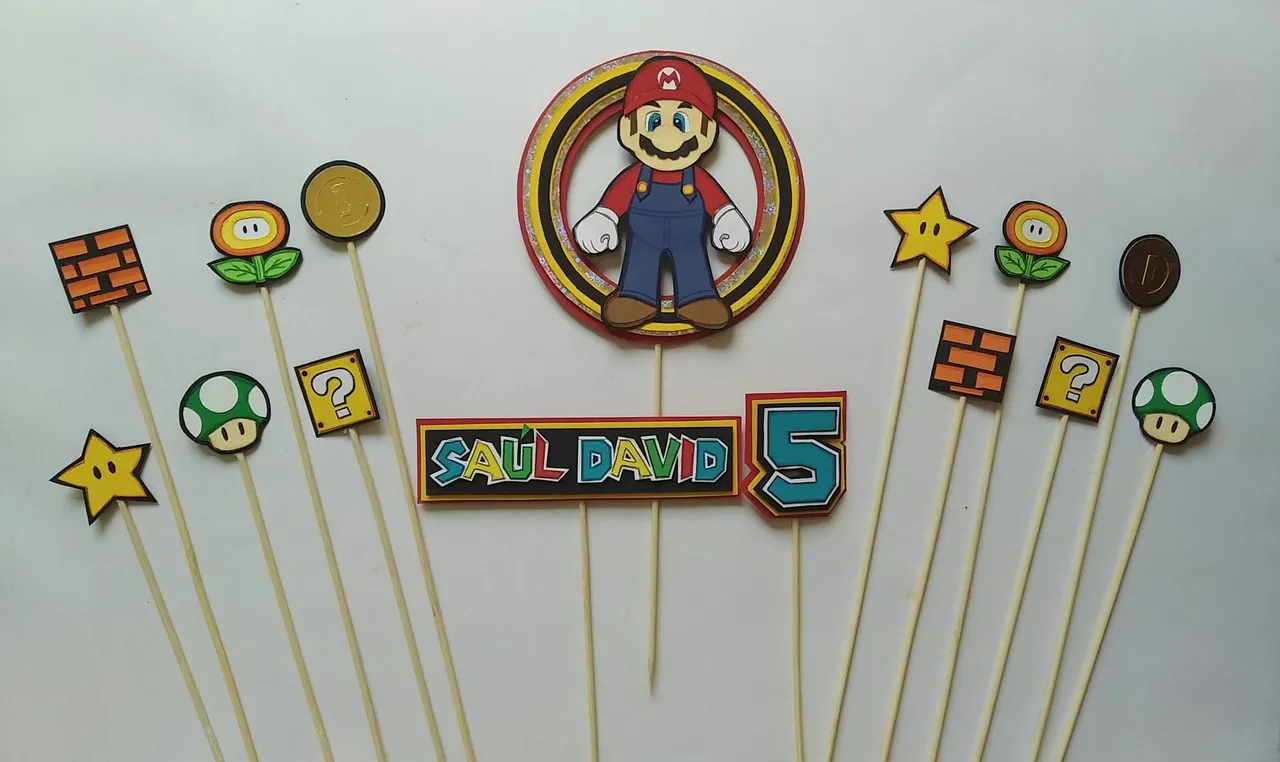
Hoy quiero mostrarle el topper de Mario Bros que realicé en solo 4 horas para ayudar a una amiga repostera (https://www.instagram.com/dulcemerengueal/) la cual tuvo una emergencia con la decoración del pastel que le habían encargado. Los inconvenientes con la decoración no podía solventarlo al momento y recurrió a mi para que la ayudase; me alegra haber podido responder rápidamente y así ella cumpliese con su compromiso de entregar el pastel a tiempo.
A pesar de lo rápido que necesitaba hacerlo, creo el resultado quedó bien y aunque el registro fotográfico no pude hacerlo como me gusta, tomé algunas muy lindas y espero puedan apreciar el trabajo y sobretodo a animarse a crear sus propios topper para celebrar la vida de sus familiares y amigos.
Sin más y esperando disfruten del trabajo realizado con amor, les dejo los materiales utilizados, el proceso y las imágenes del trabajo.
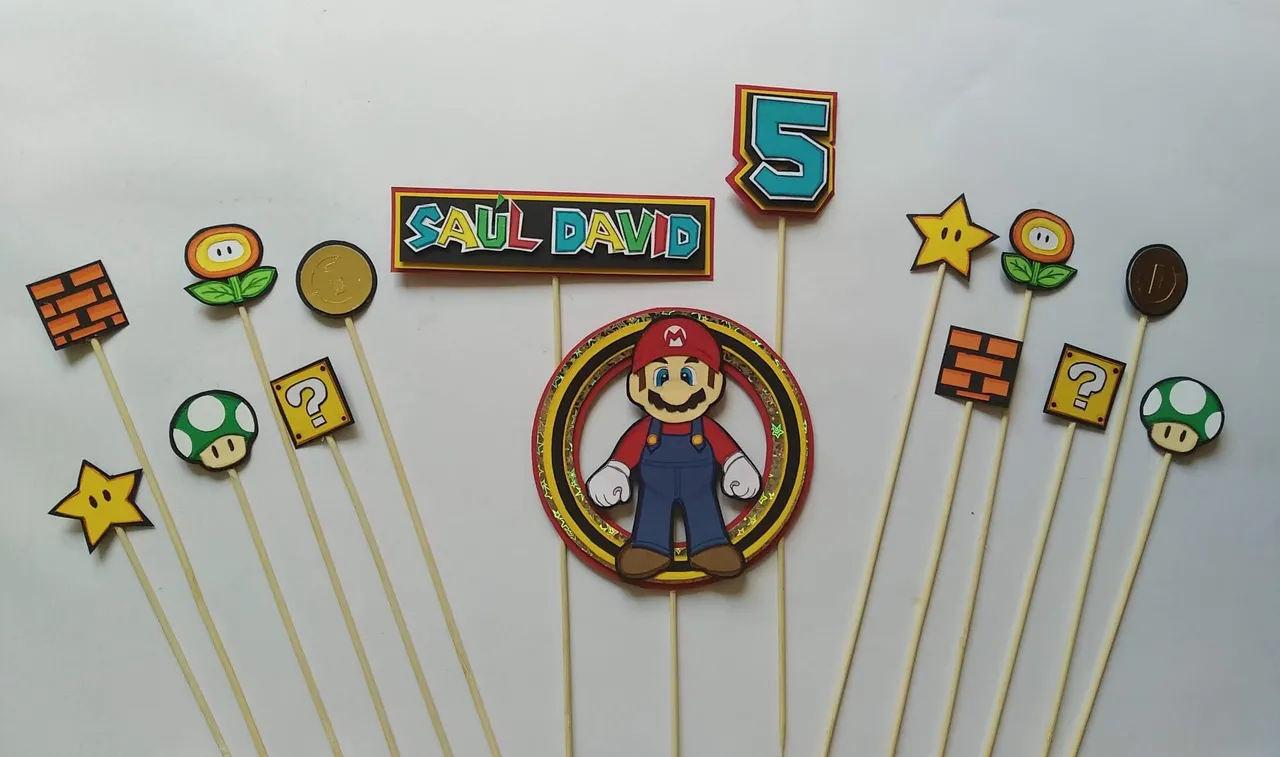
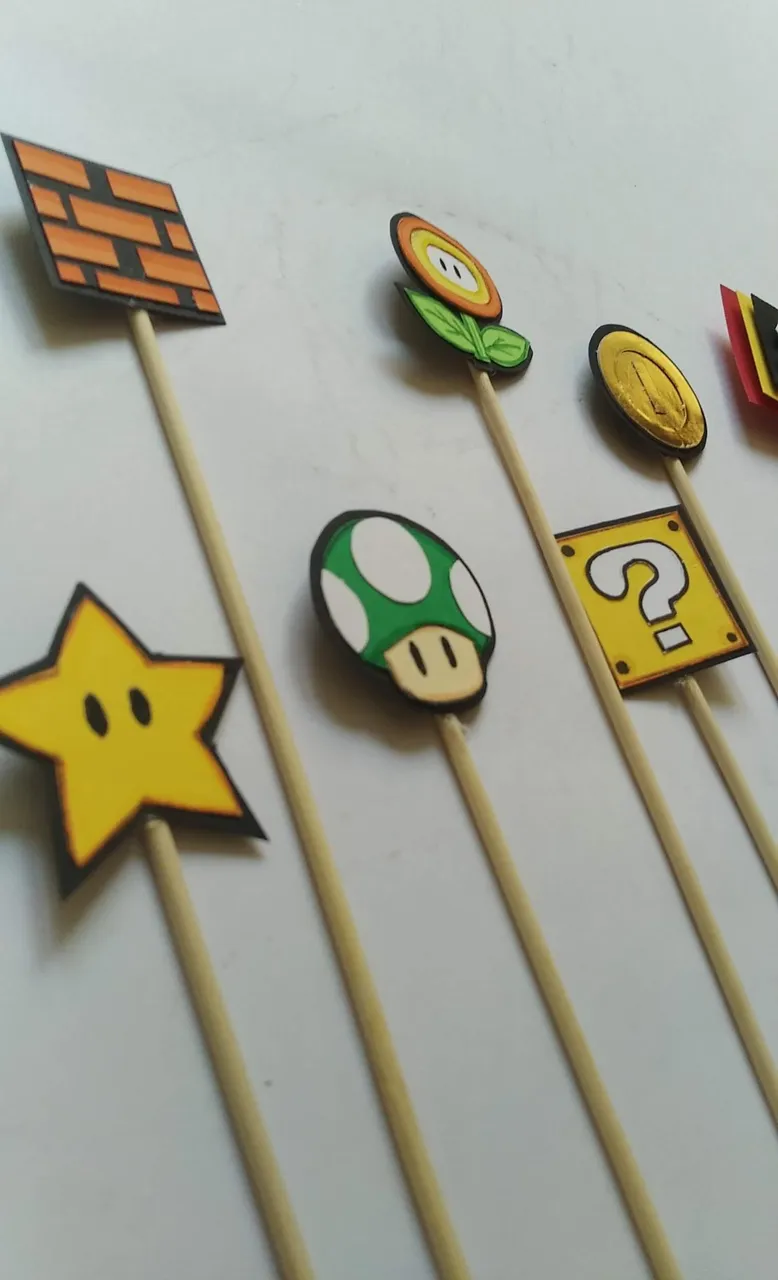
- Modelo del personaje a crear (Mario, nombre, edad y elementos característicos del juego)
- Cartulina de colores de acuerdo al diseño a crear(pueden usarse retazos)
- Cartulina holográfica plateada.
- Palitos de madera.
- Marcadores de colores.
- Foami negro
- Silicón Caliente.
- Cutter.
- Tijera.
- Regla.
- Lápiz.
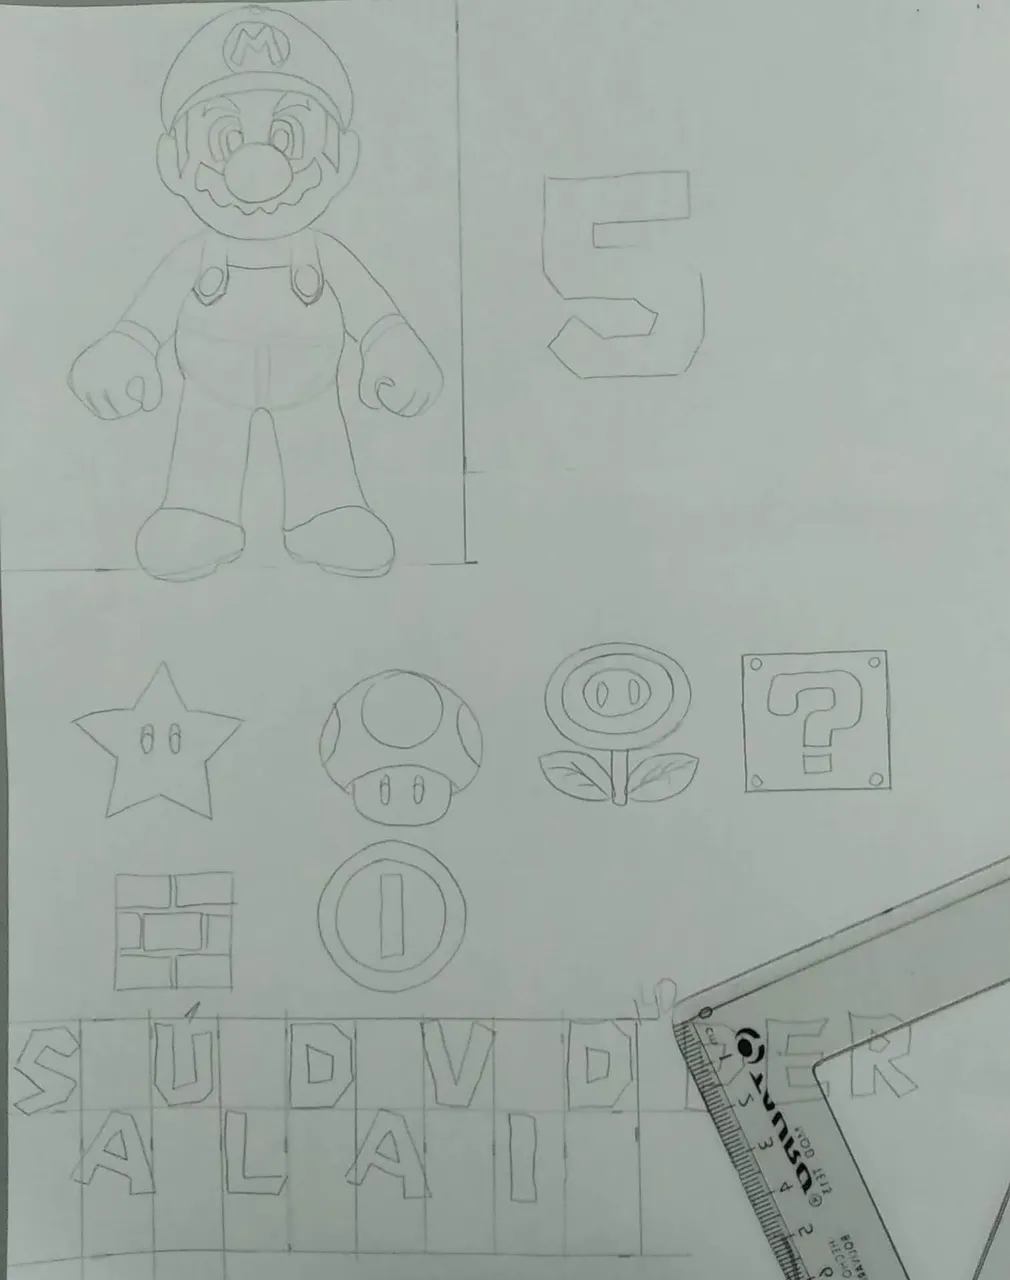
- En una hoja blanca diseñar en personaje así como los elementos característicos del juego. Éste Mario tiene una medida aproximada de 10 centímetros de alto.
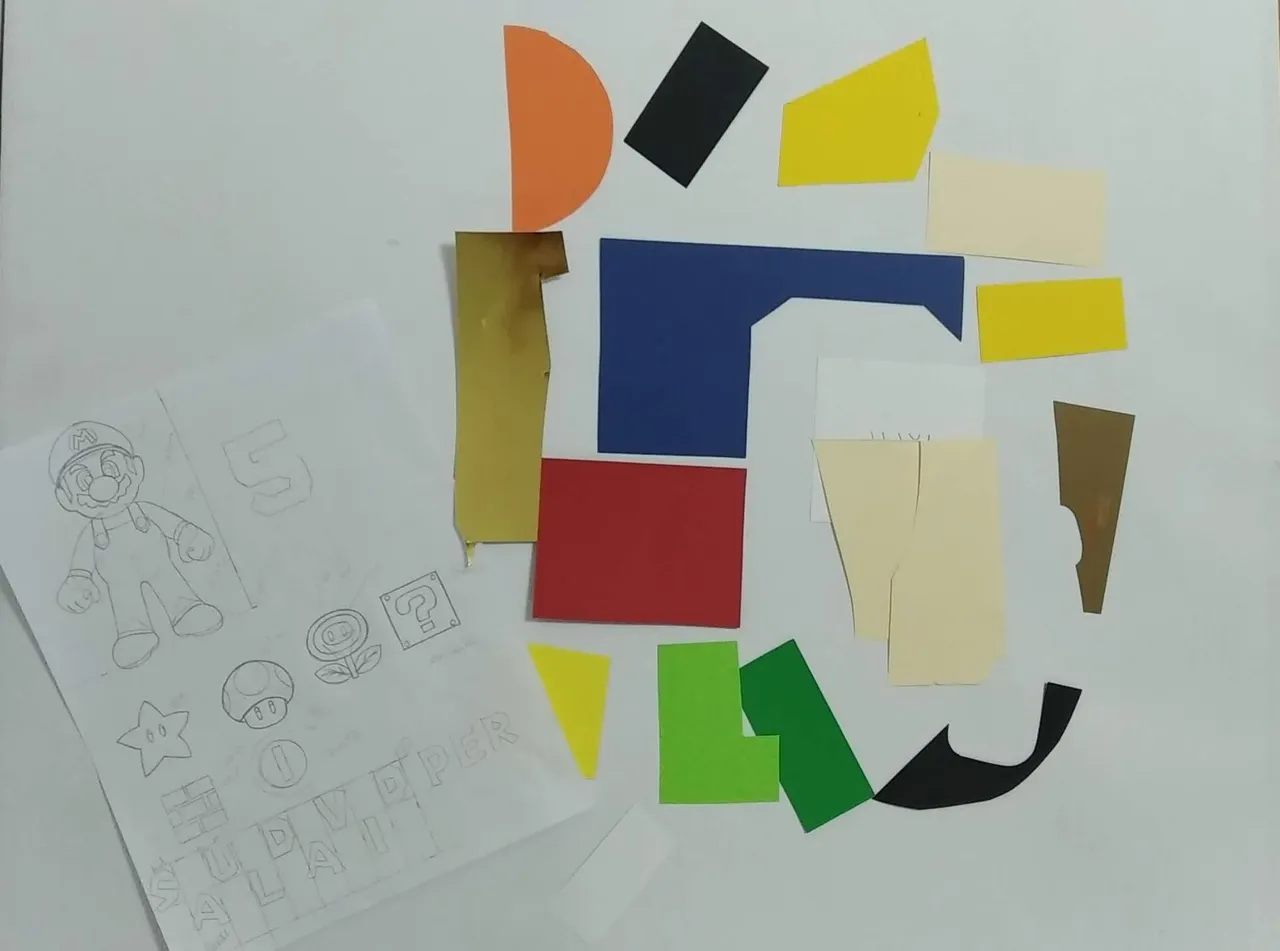
- De acuerdo a los colores del diseño, marcar en las cartulina correspondientes y recortar cada pieza que conforma el elemento.
- Luego de recortadas todas las piezas, se deben ensamblar siguiendo el patrón diseñado en la hoja. Ésto aplica para todos los elementos; ademas cada pieza debe resaltarse con el uso de los marcadores de colores
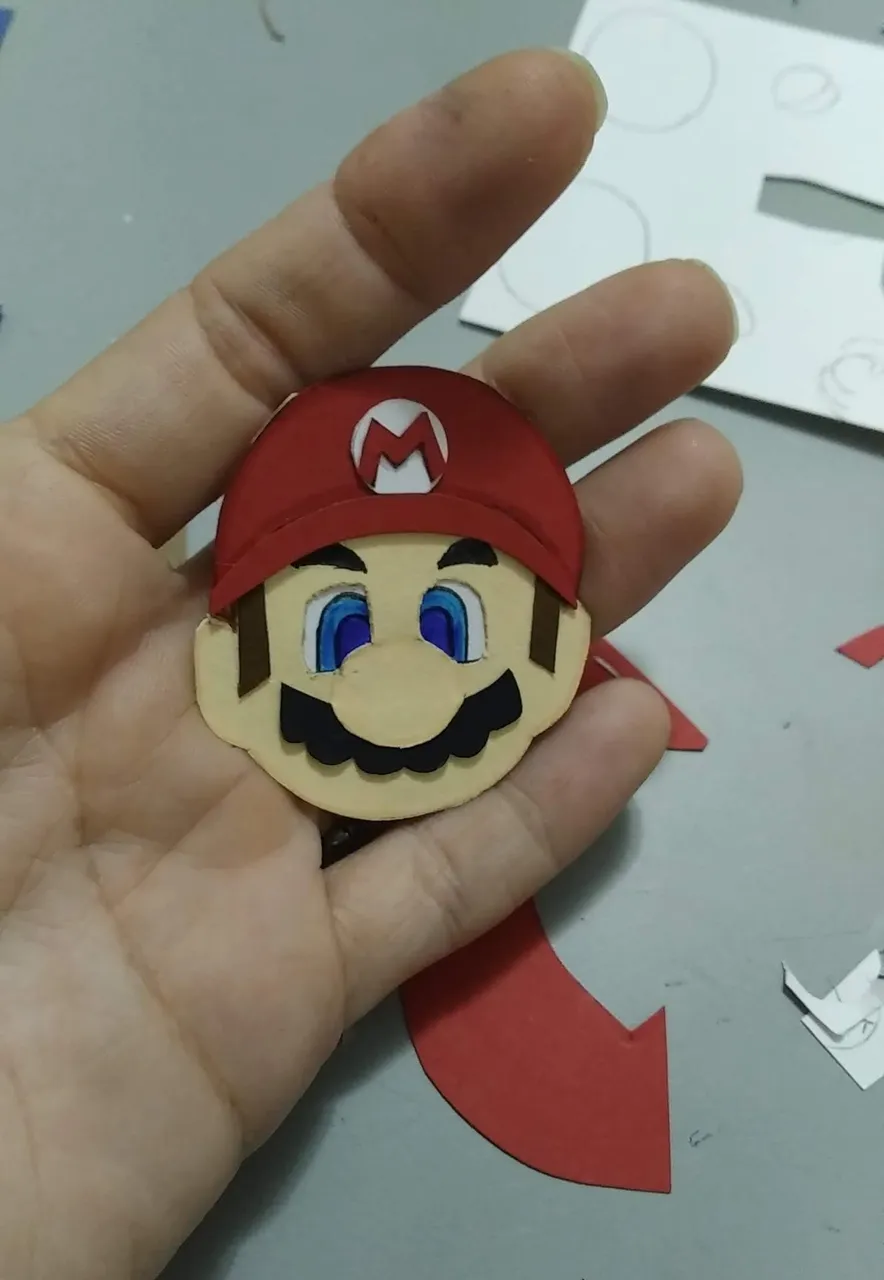
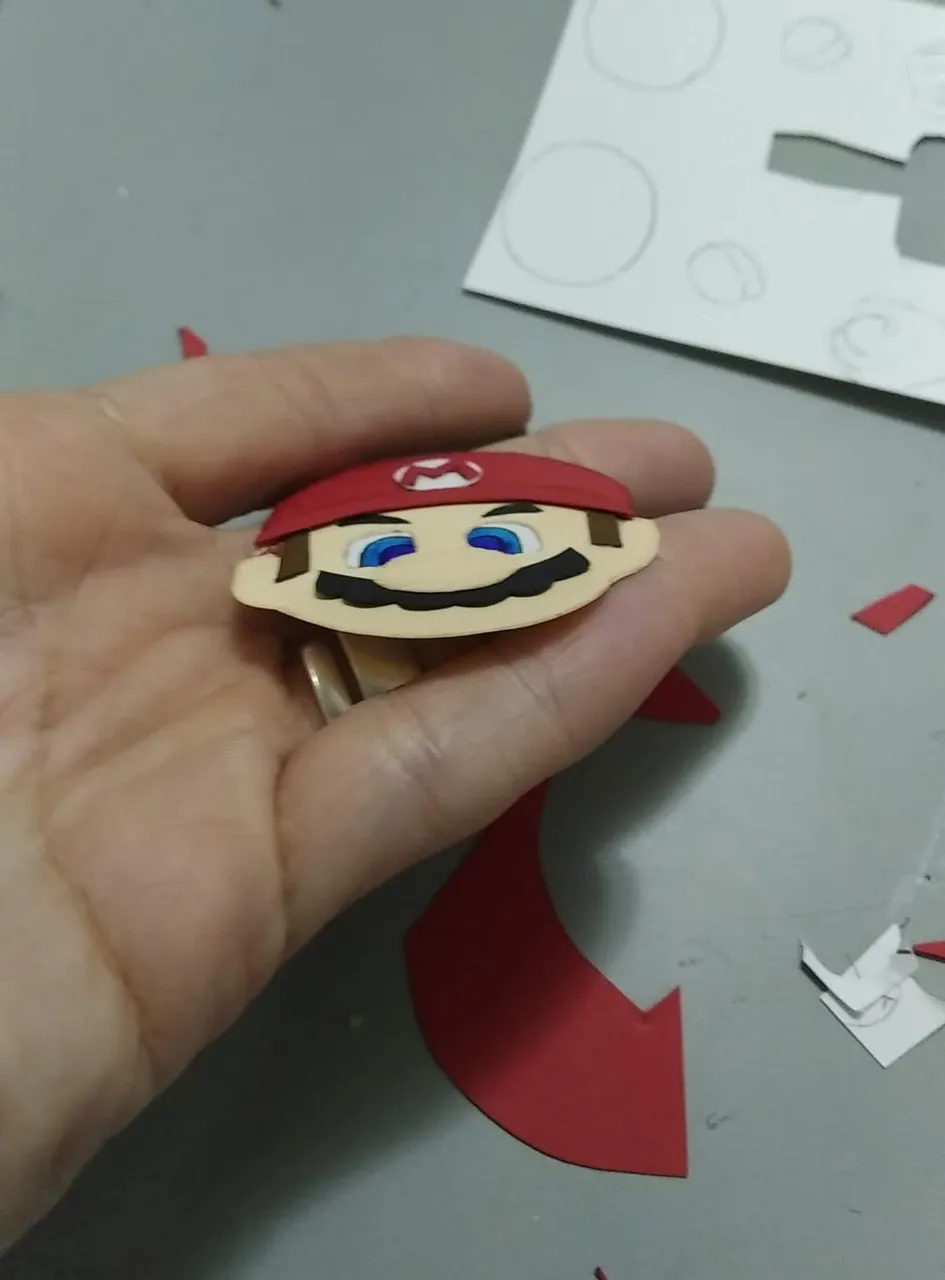
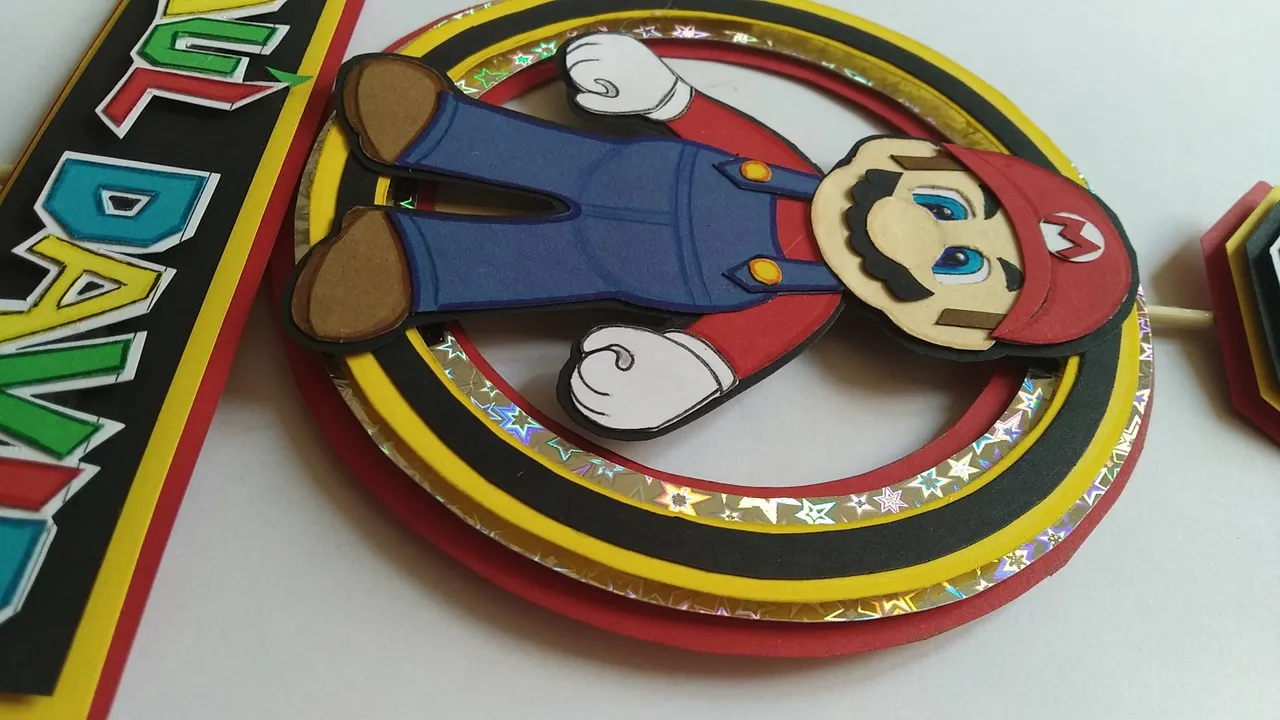
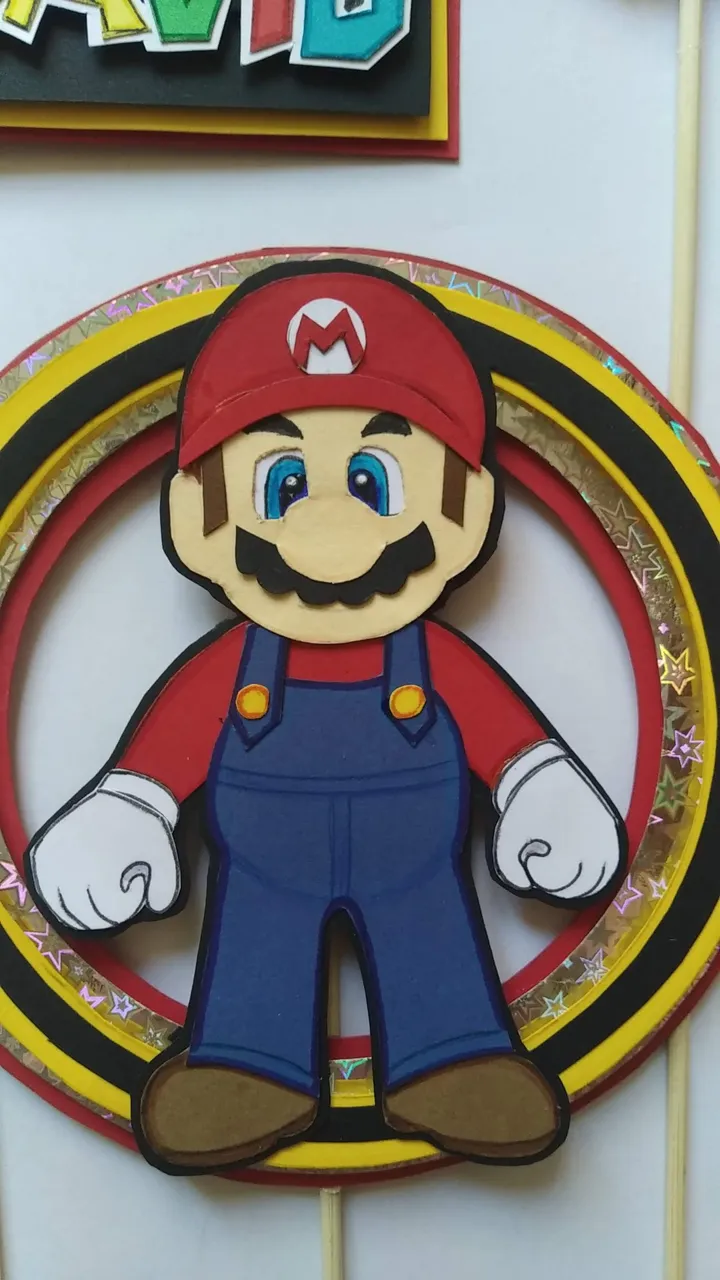
- Como es un personaje sencillo, el mayor trabajo lo amerita el rostro, el cual además de los ojos, lleva bigotes, gorra, cabello. Cada parte se corta en separado y luego se unen (ensambla)
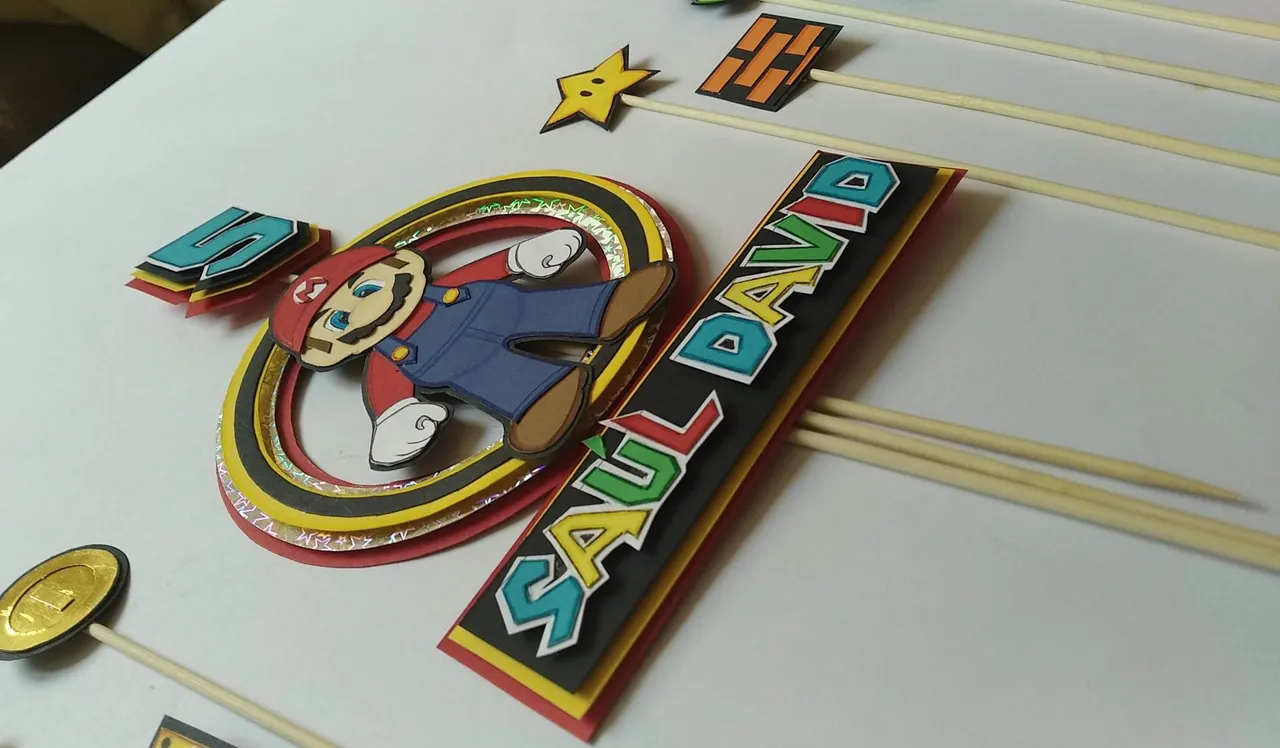
- El nombre del niño se diseñó lo más parecido a las letras original del juego, y se usaron cartulinas de colores variados para darle alegría. Se usaron marcadores para los bordes.
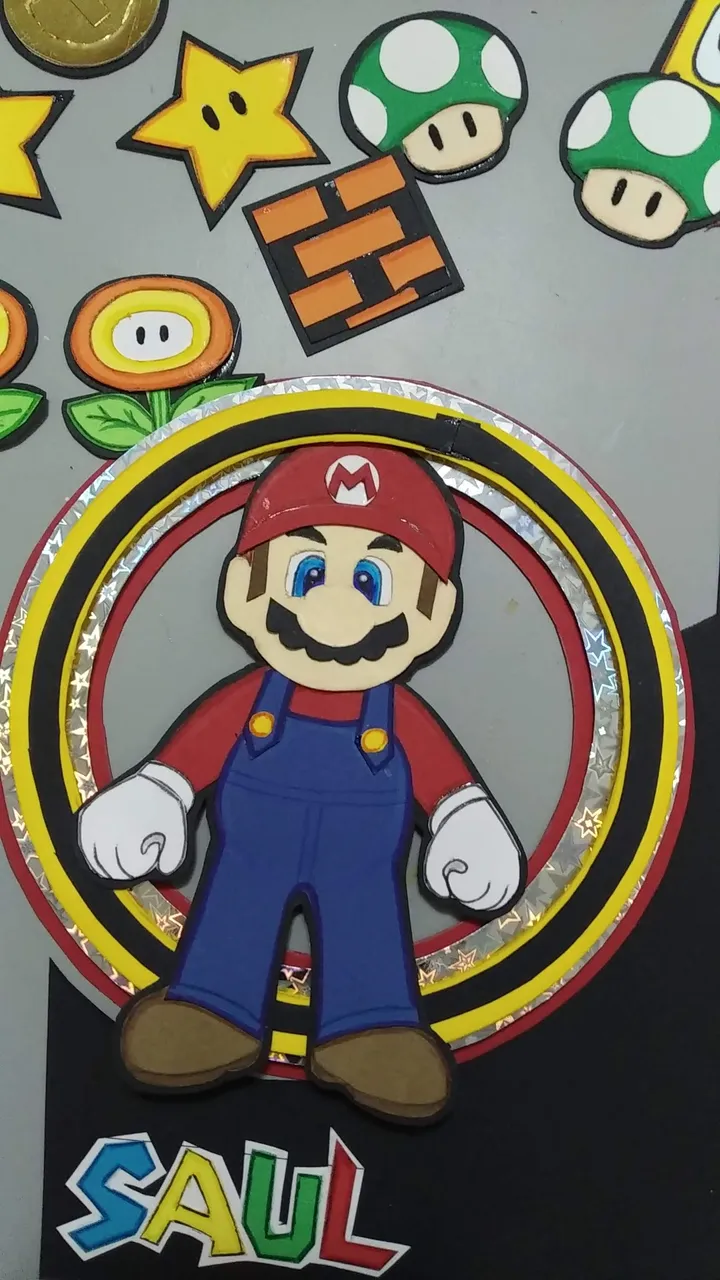
- Una vez se tengan todos los elementos ensamblados, pegar sobre cartulina negra dejando un borde que sobresalga para hacerle resaltar.
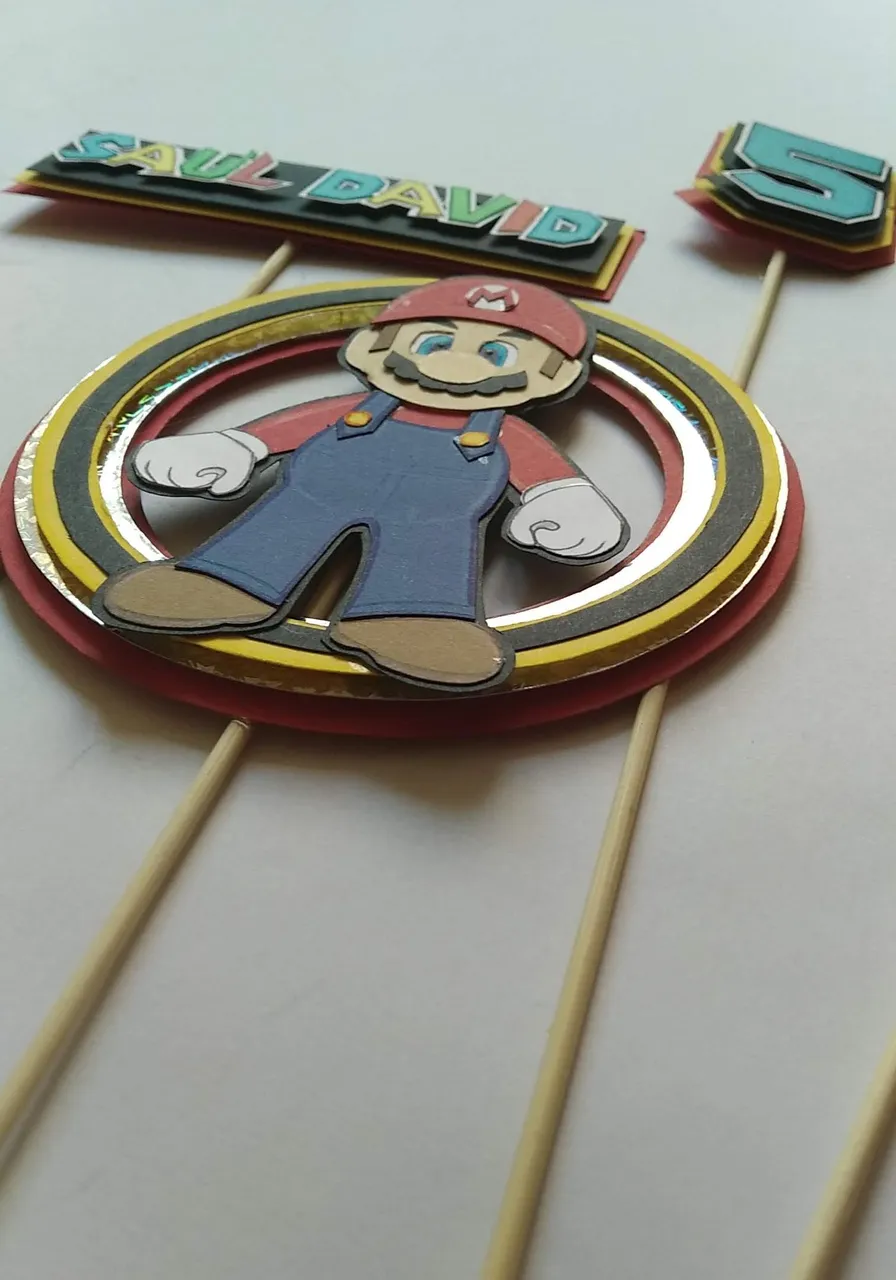
- En el caso de Mario Bros, la edad y el nombre se le hicieron capas de cartulinas para darle profundidad y hacerle mucho más atractivo.
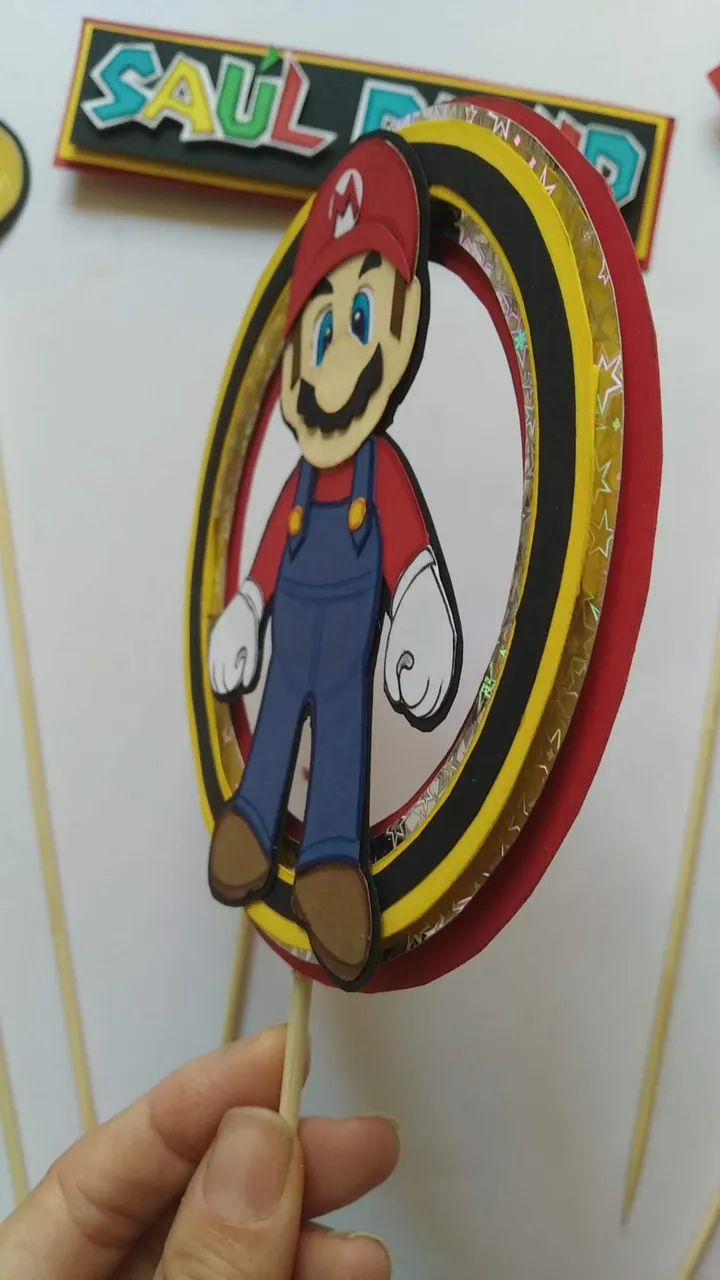
- Para las capas de Mario, se hicieron aros de cartulina de distintos tamaños y colores (negro, amarillo, holográfica, roja) y entre aro y aro se les pegó foami para permitir tuviese distancia una de otra.
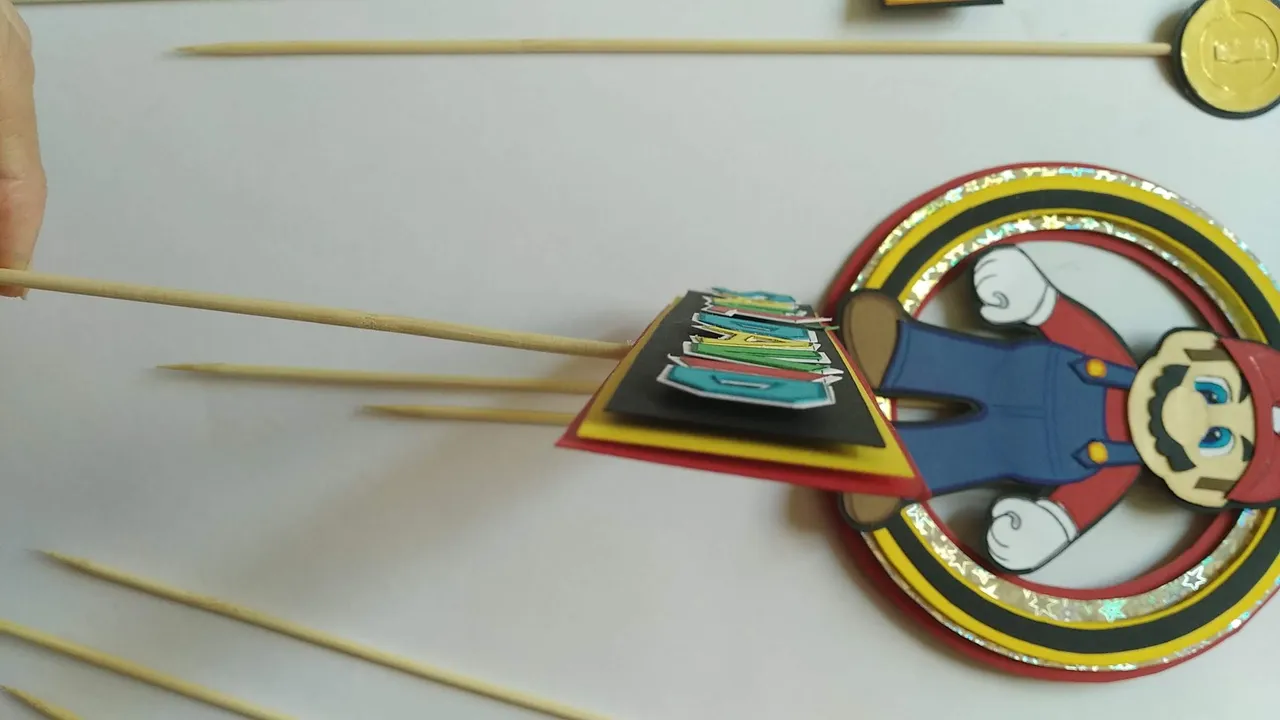
- Para la edad y el nombre las capas se hicieron siguiendo el patrón y se usaron los colores negro, amarillo y rojo.
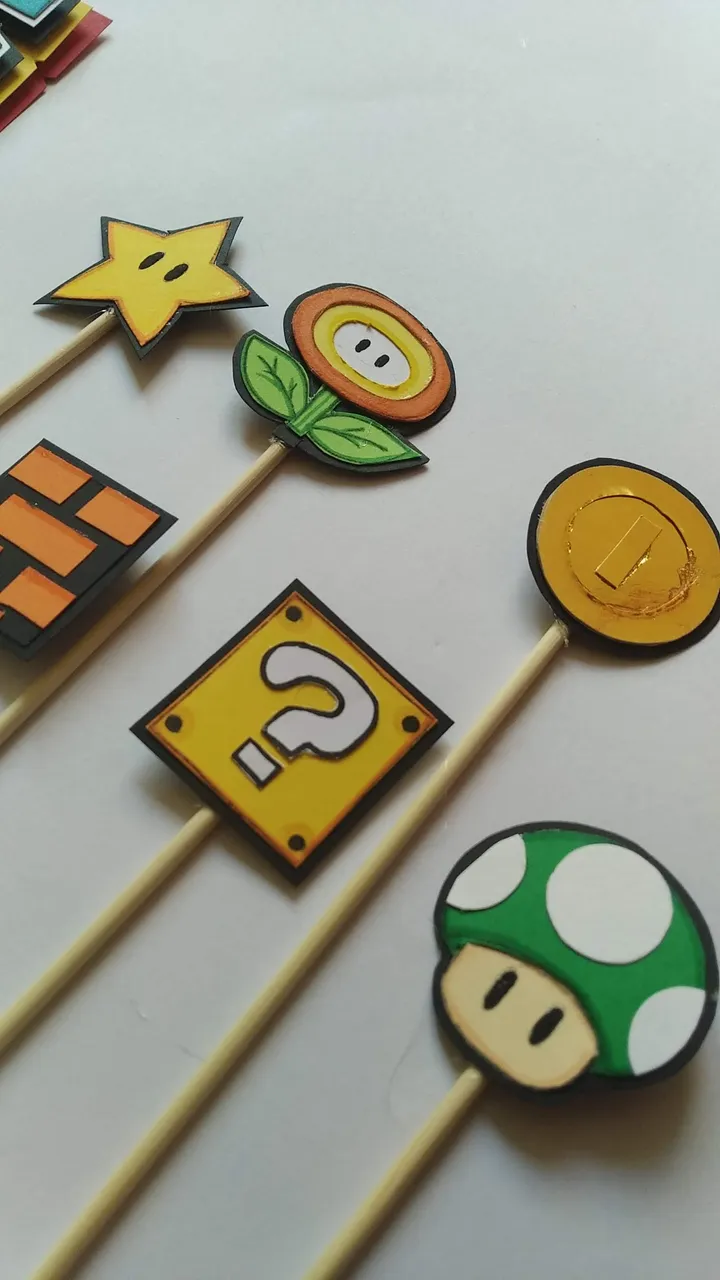
- Pegar los palitos de madera con silicón caliente en la parte de atrás de cada pieza.
- ¡Listo!, a disfrutar de la magia de lo creado en casa para celebrar la vida.
English
Hello, happy and blessed day.
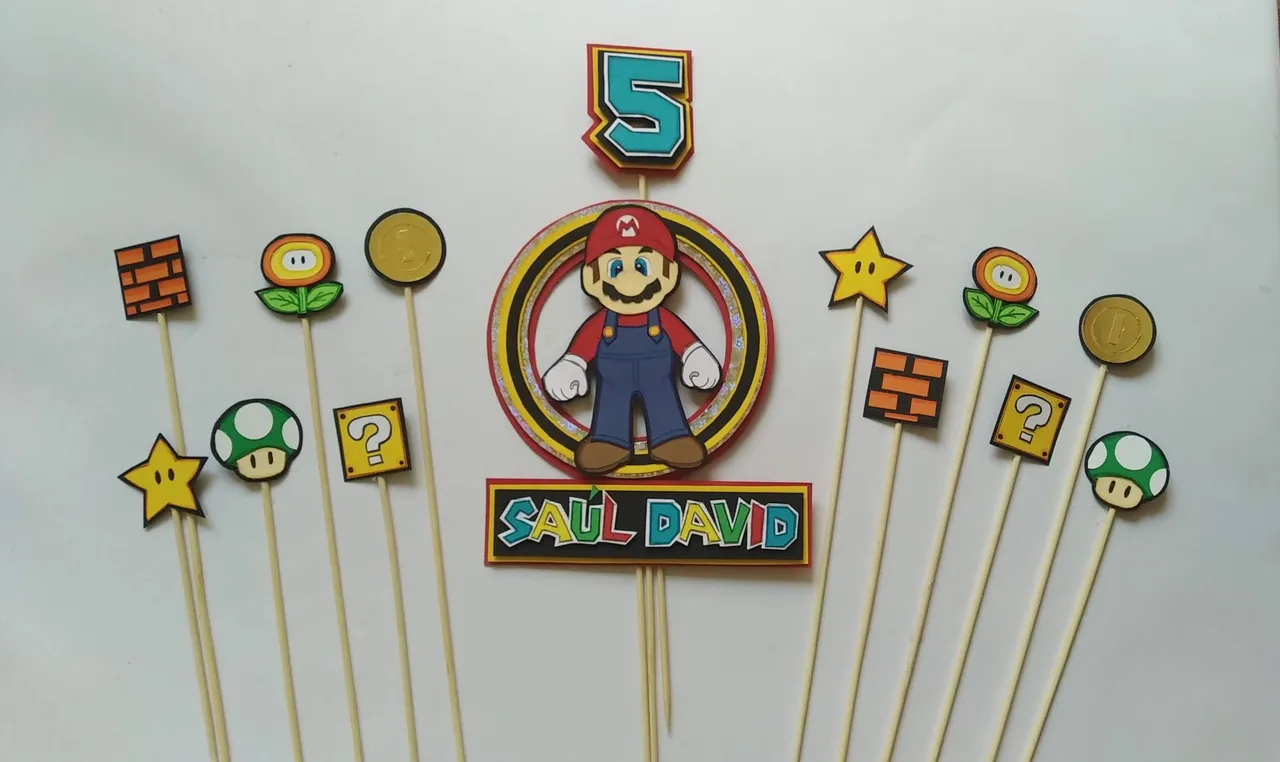
Today I want to show you the Mario Bros topper that I made in only 4 hours to help a baker friend (https://www.instagram.com/dulcemerengueal/) who had an emergency with the decoration of the cake she had ordered. The problems with the decoration could not be solved immediately and she turned to me for help; I'm glad I was able to respond quickly so she could fulfill her commitment to deliver the cake on time.
Despite how fast I needed to do it, I think the result was good and although the photographic record could not do it as I like, I took some very nice pictures and I hope you can appreciate the work and above all to encourage you to create your own topper to celebrate the life of your family and friends.
Without further ado and hoping you enjoy the work done with love, I leave you the materials used, the process and the images of the work.
- Model of the character to create (Mario, name, age and characteristic elements of the game).
- Color cardboard according to the design to be created (scraps can be used).
- Silver holographic cardboard.
- Wooden sticks.
- Color markers.
- Black Foami
- Hot Silicone.
- Cutter.
- Scissors.
- Ruler.
- Pencil.
- On a white sheet design in character as well as the characteristic elements of the game. This Mario is approximately 10 centimeters high.
- According to the colors of the design, mark on the corresponding cardboard and cut out each piece that makes up the element.
- After cutting out all the pieces, they must be assembled following the pattern designed on the sheet. This applies to all the elements; in addition, each piece must be highlighted using the colored markers.
- As it is a simple character, the most work deserves the face, which in addition to the eyes, has whiskers, cap, hair. Each part is cut separately and then joined together (assembled).
- The child's name was designed as close as possible to the original letters of the game, and cardboard of various colors was used to give it joy. Markers were used for the borders.
- Once all the elements are assembled, glue on black cardboard, leaving a border that stands out to make it stand out.
- In the case of Mario Bros, the age and name were layered on cardboard to give it depth and make it much more attractive.
- For Mario's layers, cardboard rings were made in different sizes and colors (black, yellow, holographic, red) and foami was glued between each ring to allow distance between them.
- For the age and the name, the layers were made following the pattern and the colors black, yellow and red were used.
- Glue the wooden sticks with hot silicone on the back of each piece.
- Ready, enjoy the magic of what was created at home to celebrate life.
Translated with www.DeepL.com/Translator (free version)
IMÁGENES / IMAGES


Fuente
SALUDOS / REGARDS
Todas las Fotos fueron tomadas con mi teléfono Redmi 7A.
Contenido original de @keco (fotos y texto) - Todos los derechos reservados Publicado en HIVE así como en mi instagram : http://instagram.com/carton_pintura_algo_mas
All Photos were taken with my Redmi 7A phone.
Original content from @keco (photos and text) - All rights reserved Posted on HIVE as well as on my instagram: http://instagram.com/carton_pintura_algo_mas