
Español
Hola mis estimados lectores, una semana más de éxitos y bendiciones… Gracias a Dios.
A nivel planetario la agrupación musical “BTS” causa furor entre chicas e incluso chicos, y es que se han transformado en toda una sensación mundial por sus canciones y sobre todo por su geniales coreografías de baile.
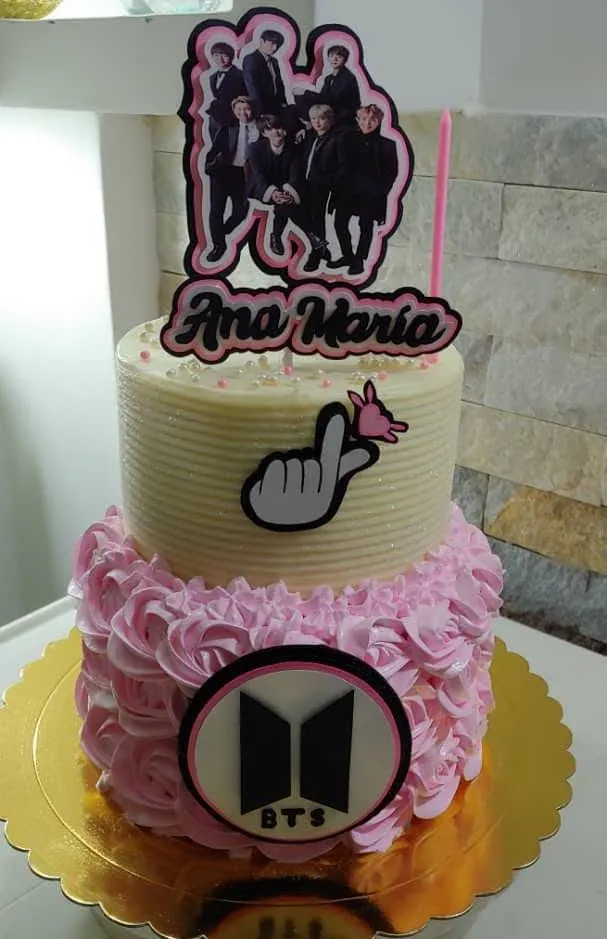
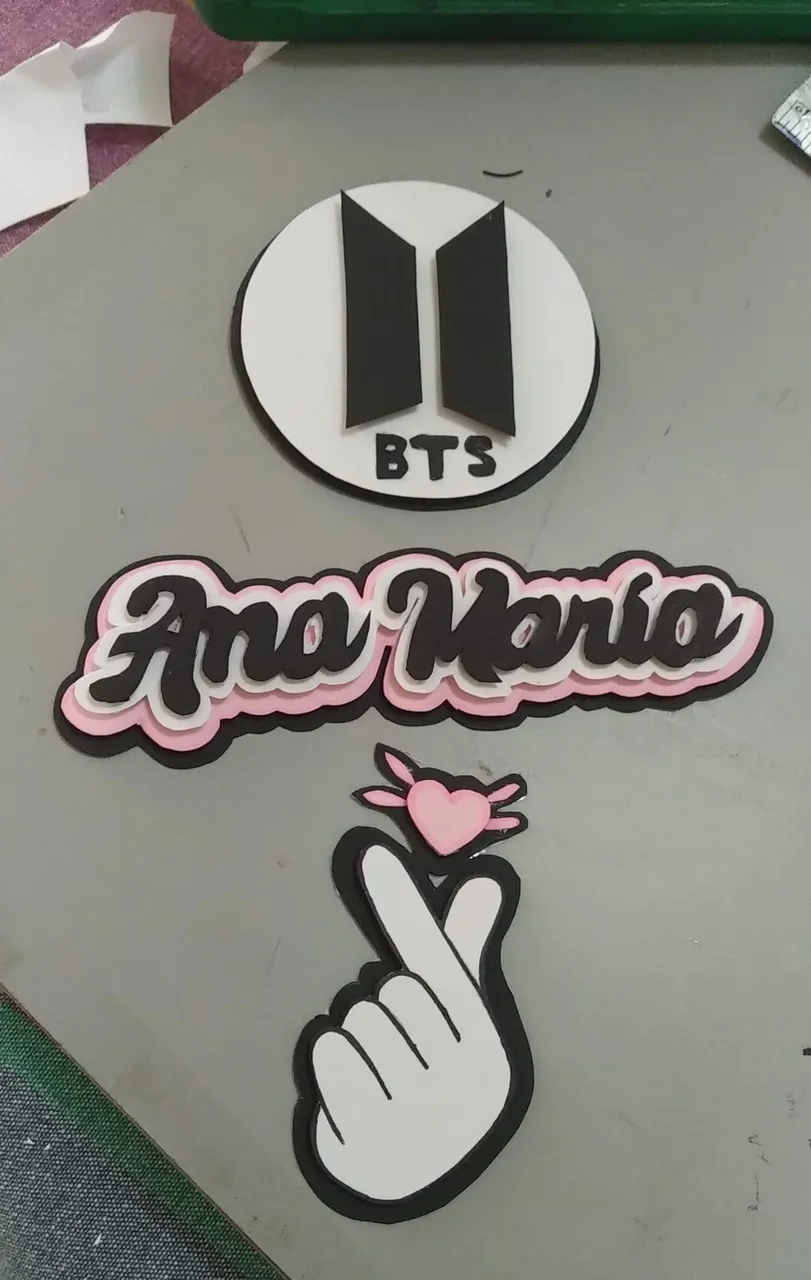
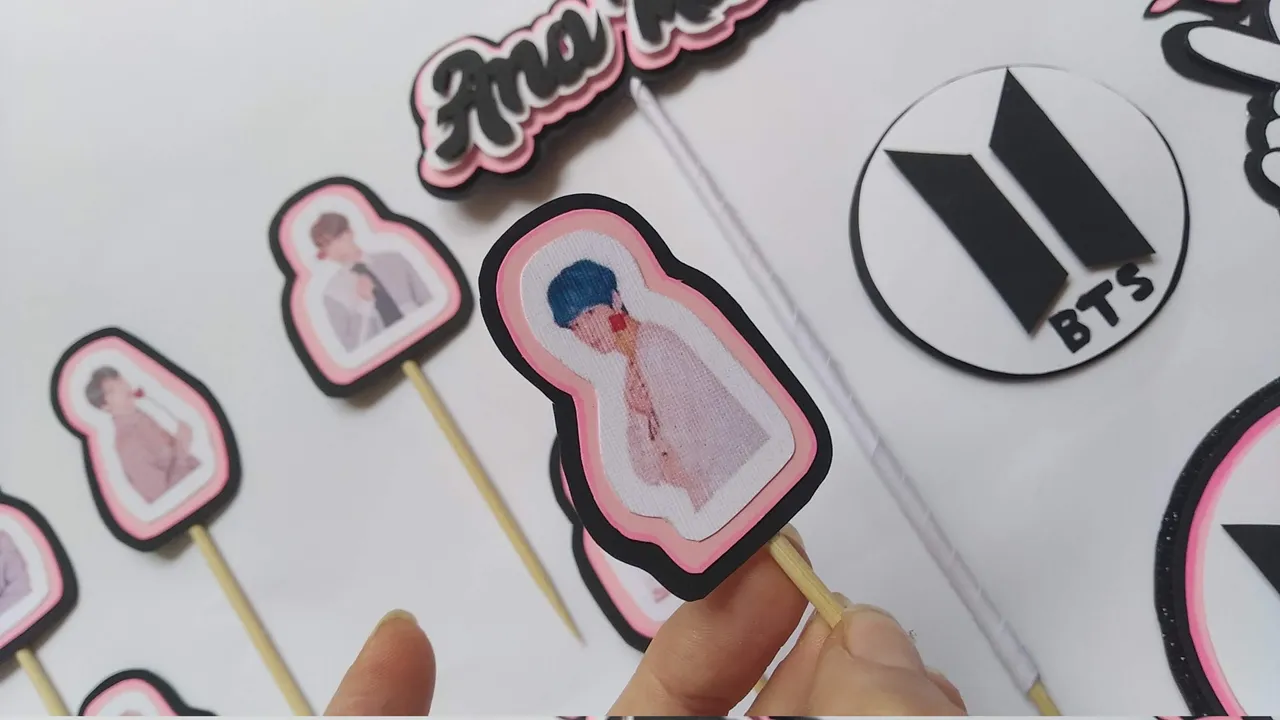
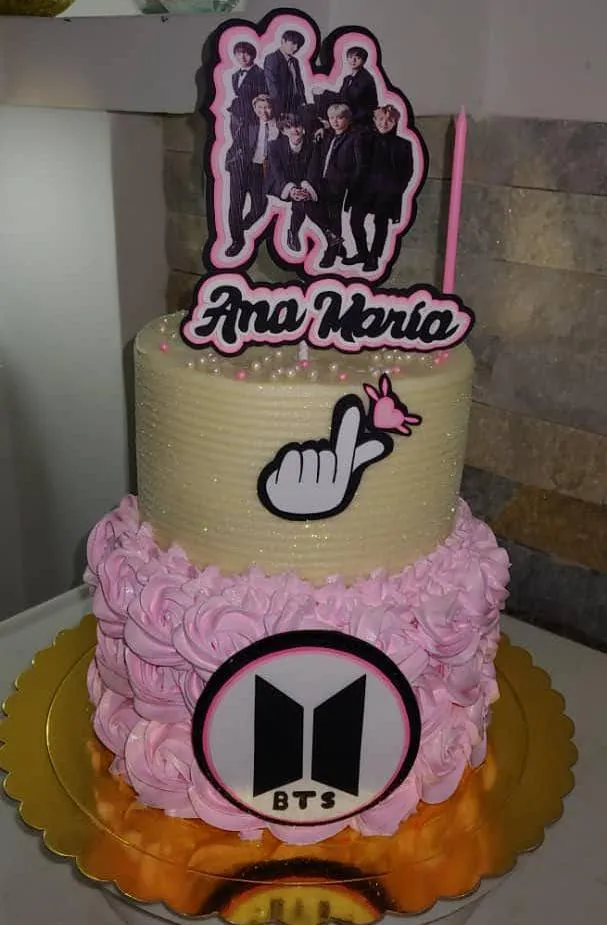
Ana María, una bella y traviesa adolescente los adora y su consentidora madre quiso sorprenderla con un delicioso pastel realizado por mi súper pastelera favorita Mayda. A diferencia de mis otros topper, esta es la primera vez que utilizo impresión dado es muy complejo replicar rostros y mas en formato natural.
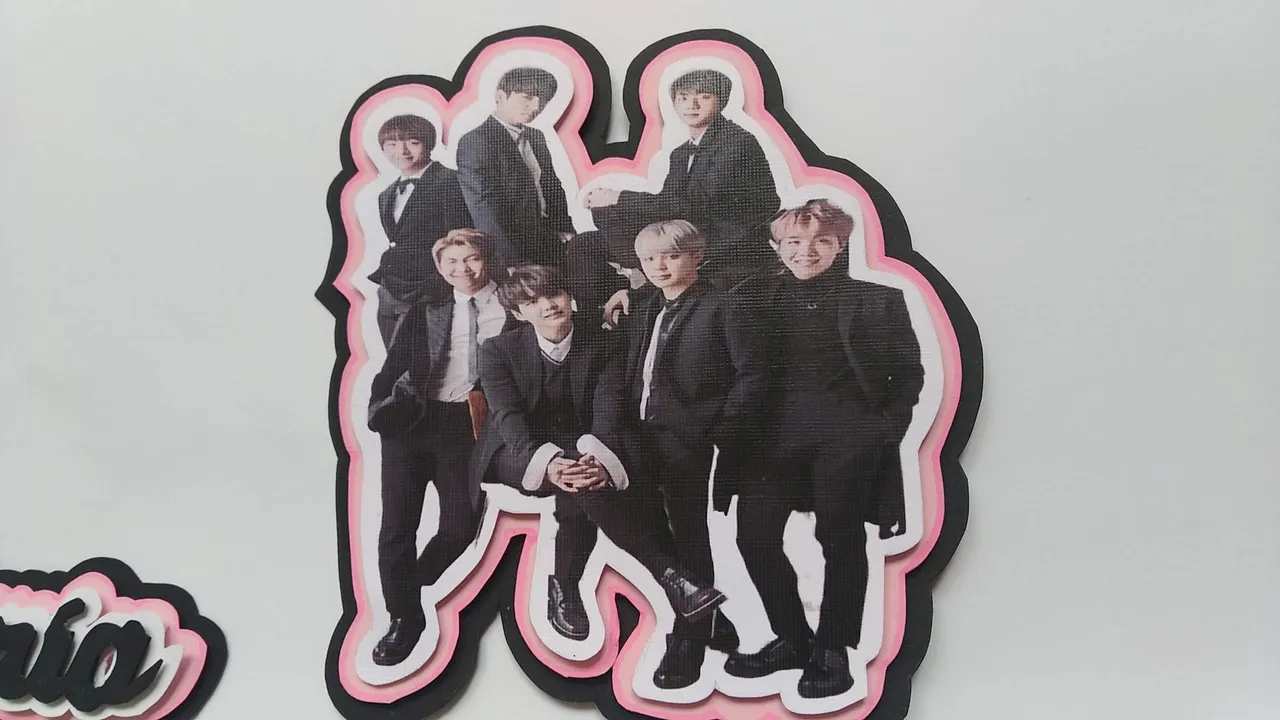
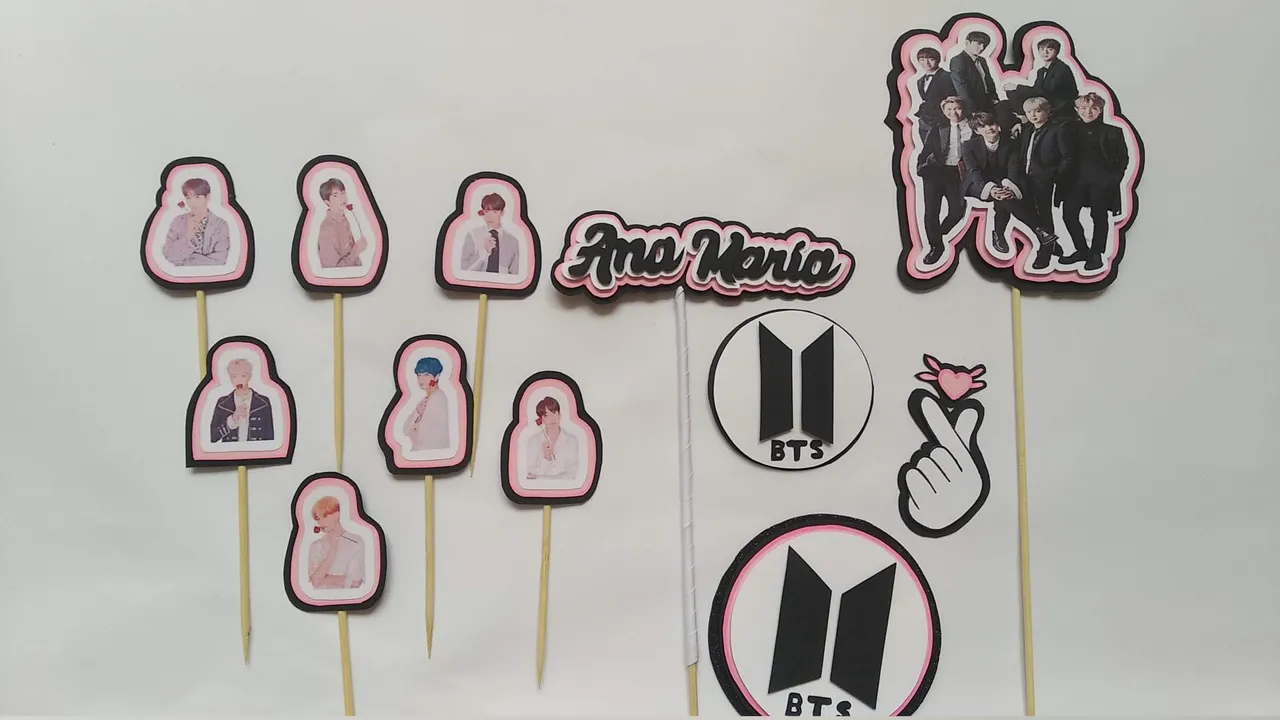
Éste es un topper súper sencillo realizado con mucho amor. Sin más y esperando disfruten del trabajo realizado con amor, les dejo los materiales utilizados, el proceso y las imágenes del trabajo.
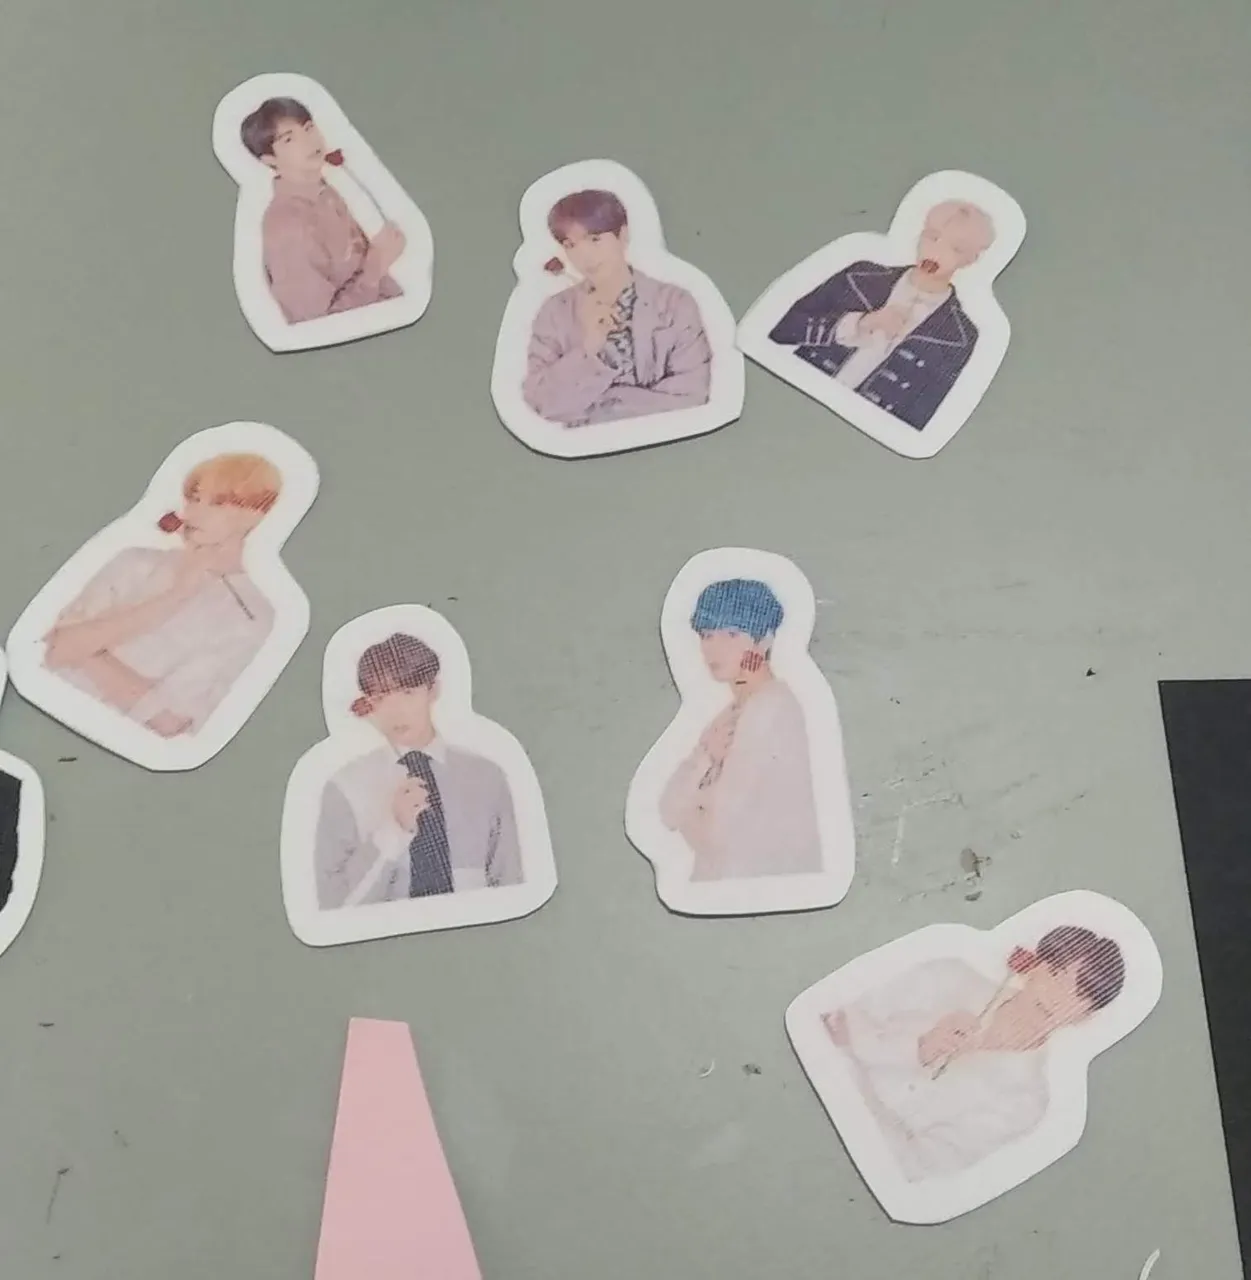
- Impresión a color de la agrupación musical BTS (integrantes)
- Cartulina negra.
- Cartulina blanca.
- Cartulina Rosado claro.
- Foami plano negro.
- Cinta adhesiva transparente.
- Silicón caliente.
- Palito de madera.
- Marcadores de color rosado.
- Silicón Frio.
- Cutter.
- Tijera.
- Lápiz.
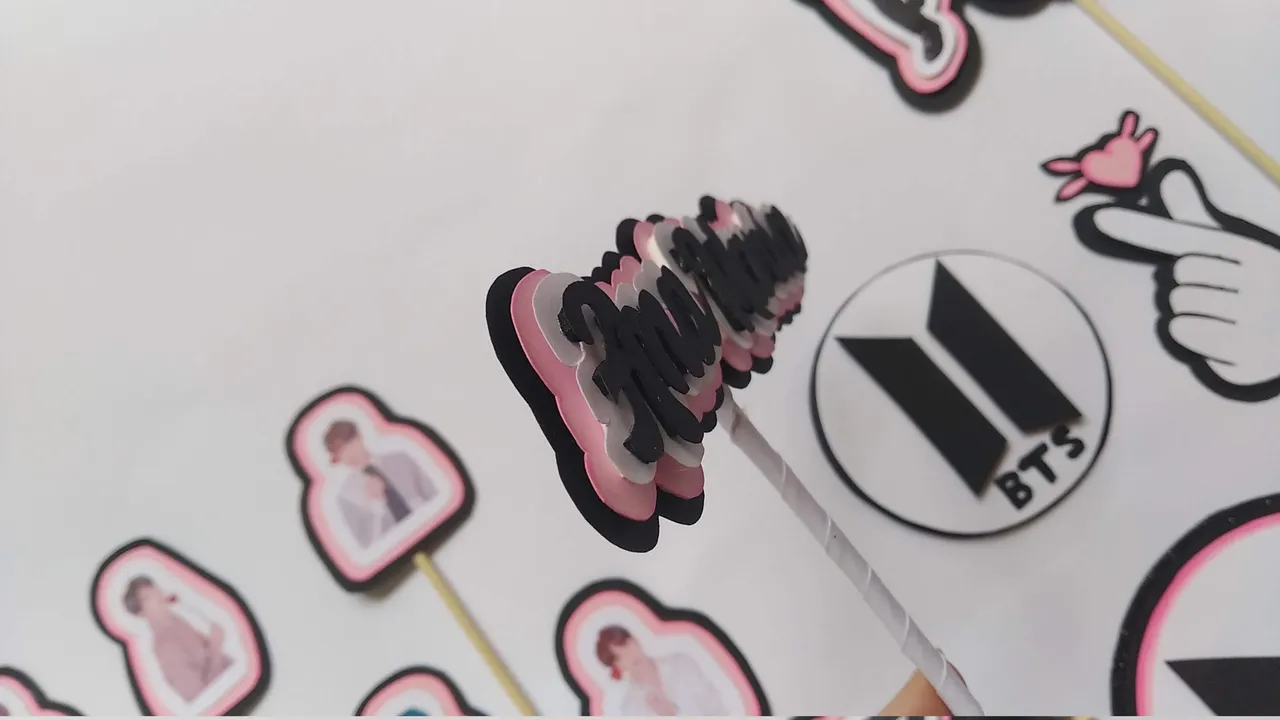
Nombre:
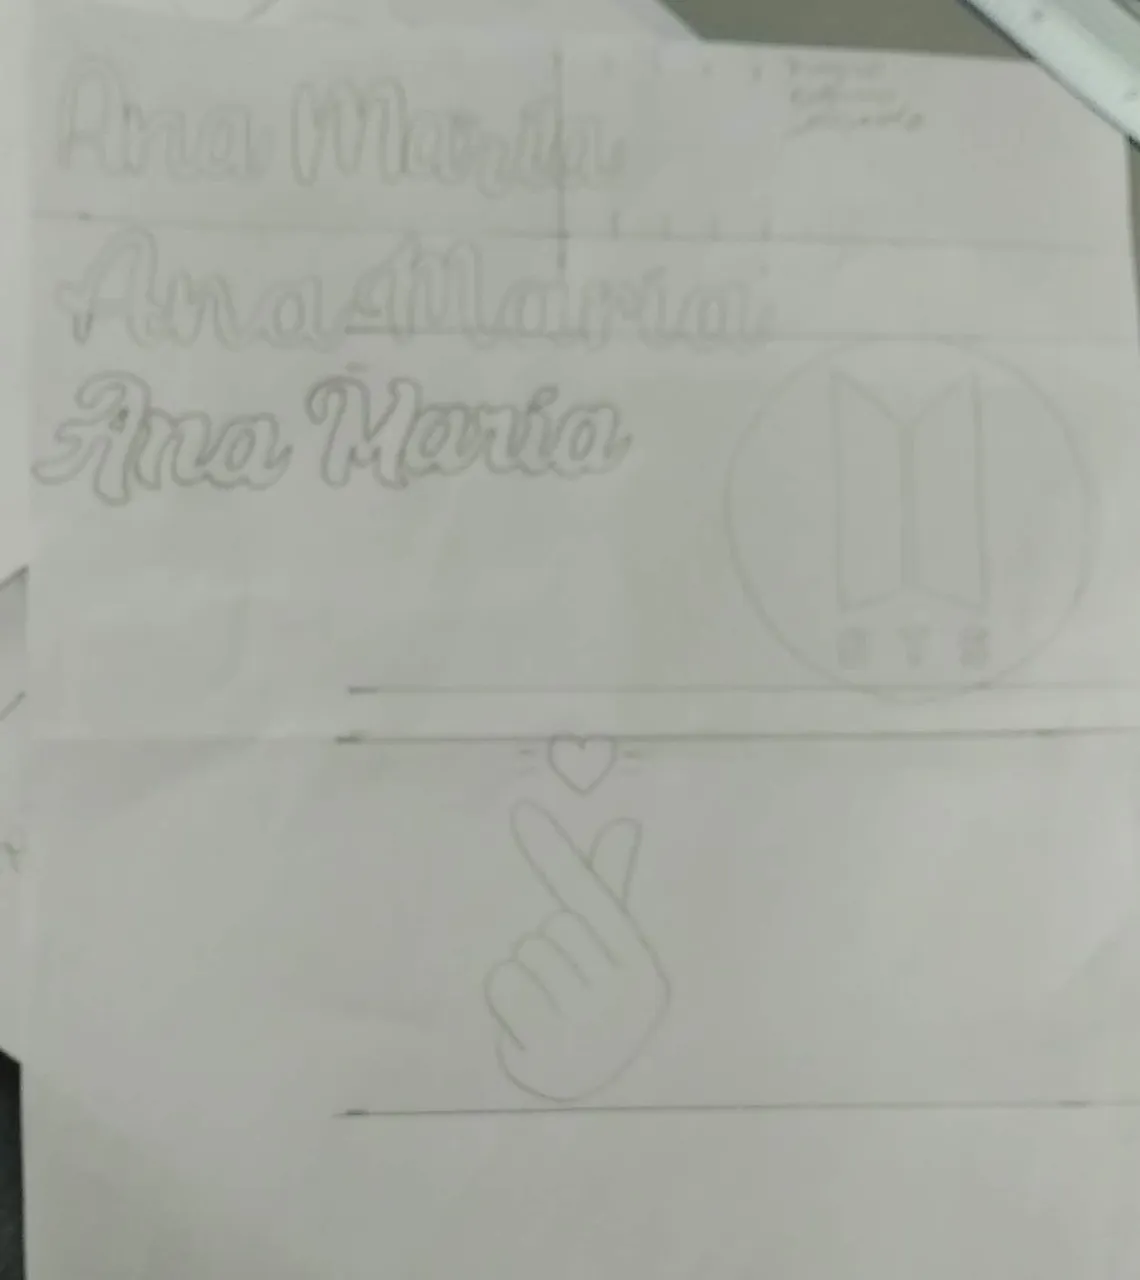
- Marcar en una hoja blanca la forma y el tamaño del nombre de la homenajeada.
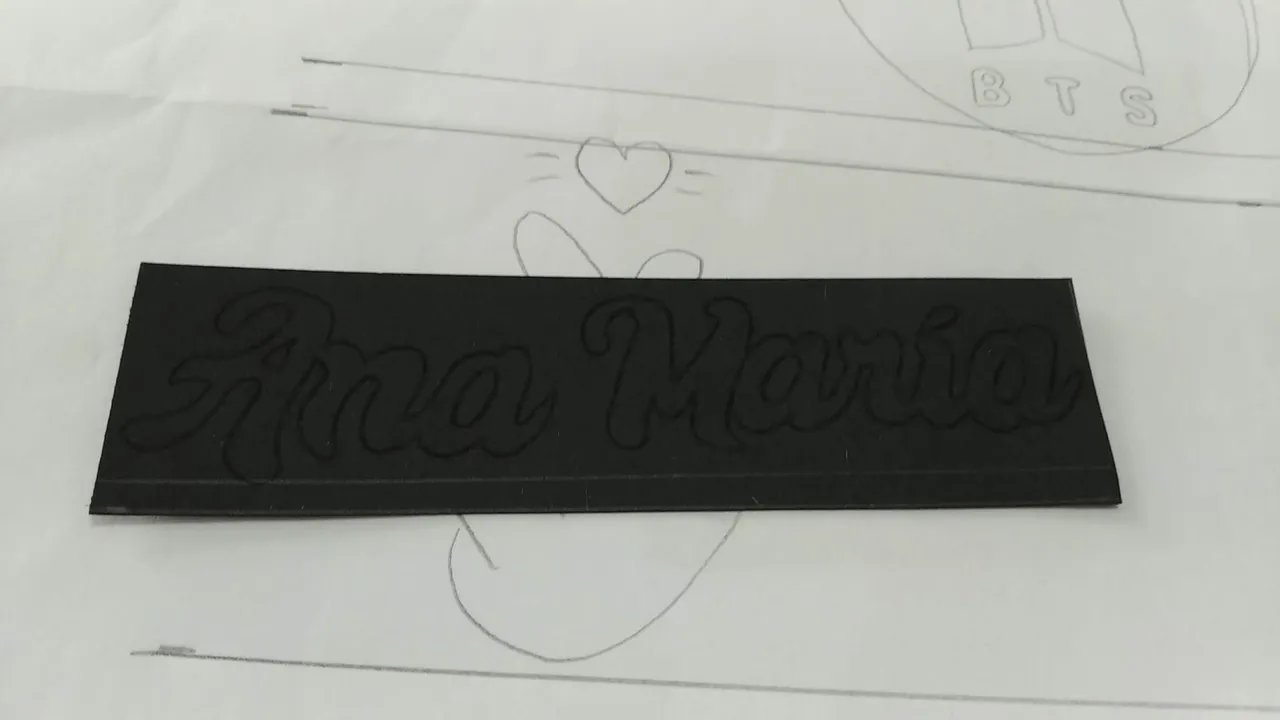
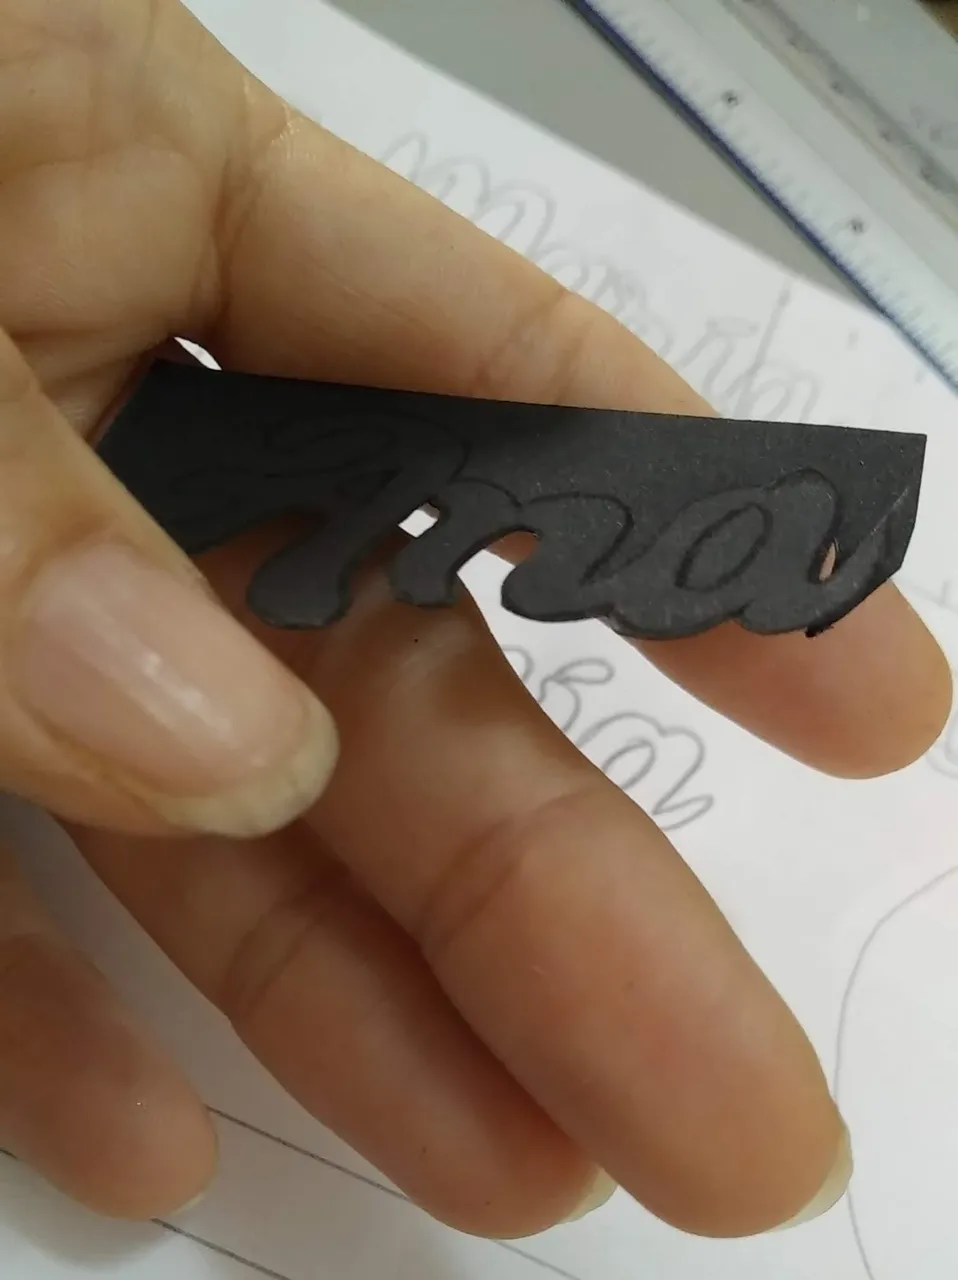
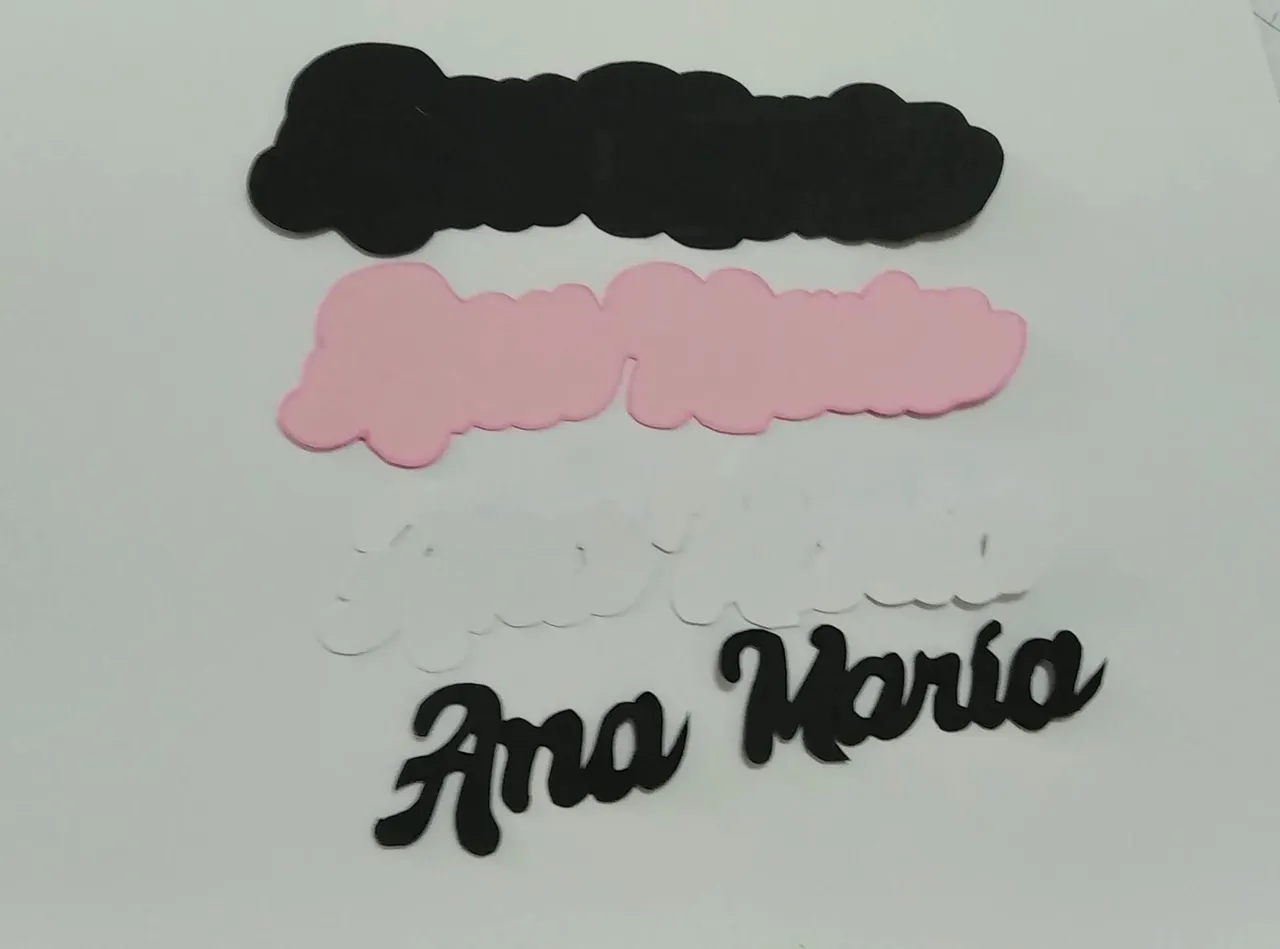
- Marcar y cortar el nombre en cartulina negra.
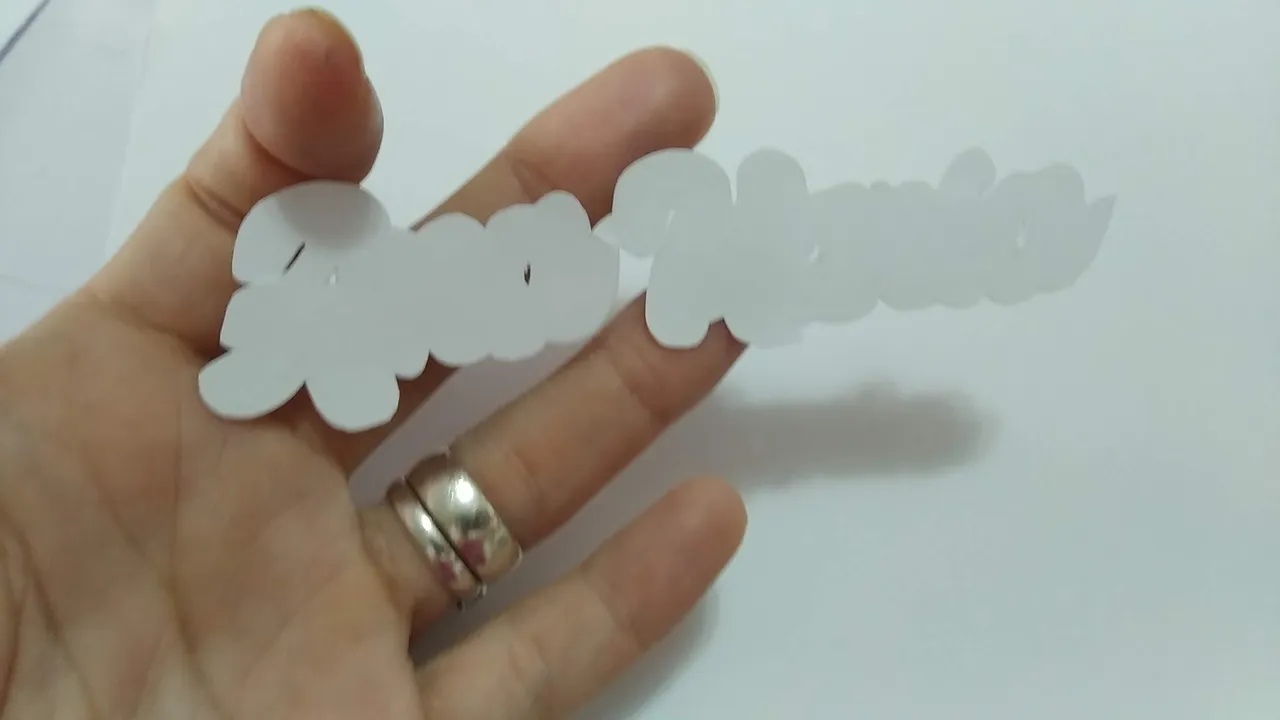
- Siguiendo el patrón del nombre en cartulina negra, marcar y cortar en cartulina blanca, cuidando de dejar un borde mayor al nombre en negro.
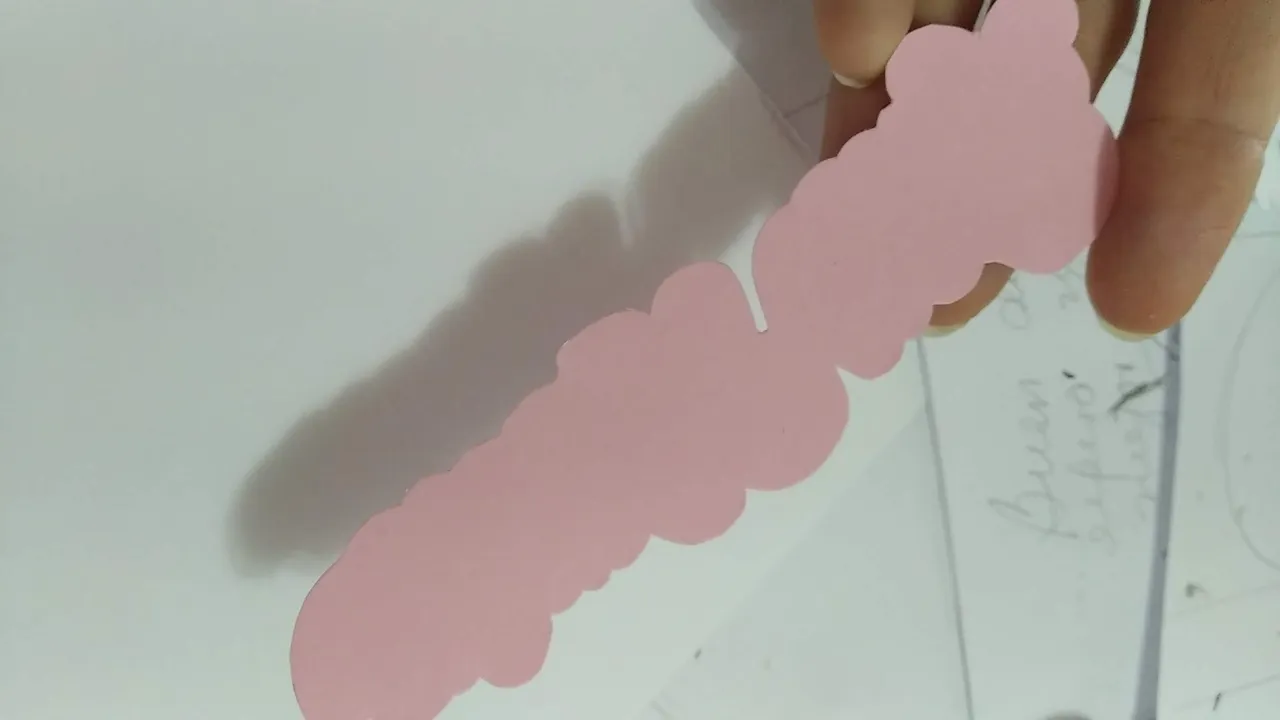
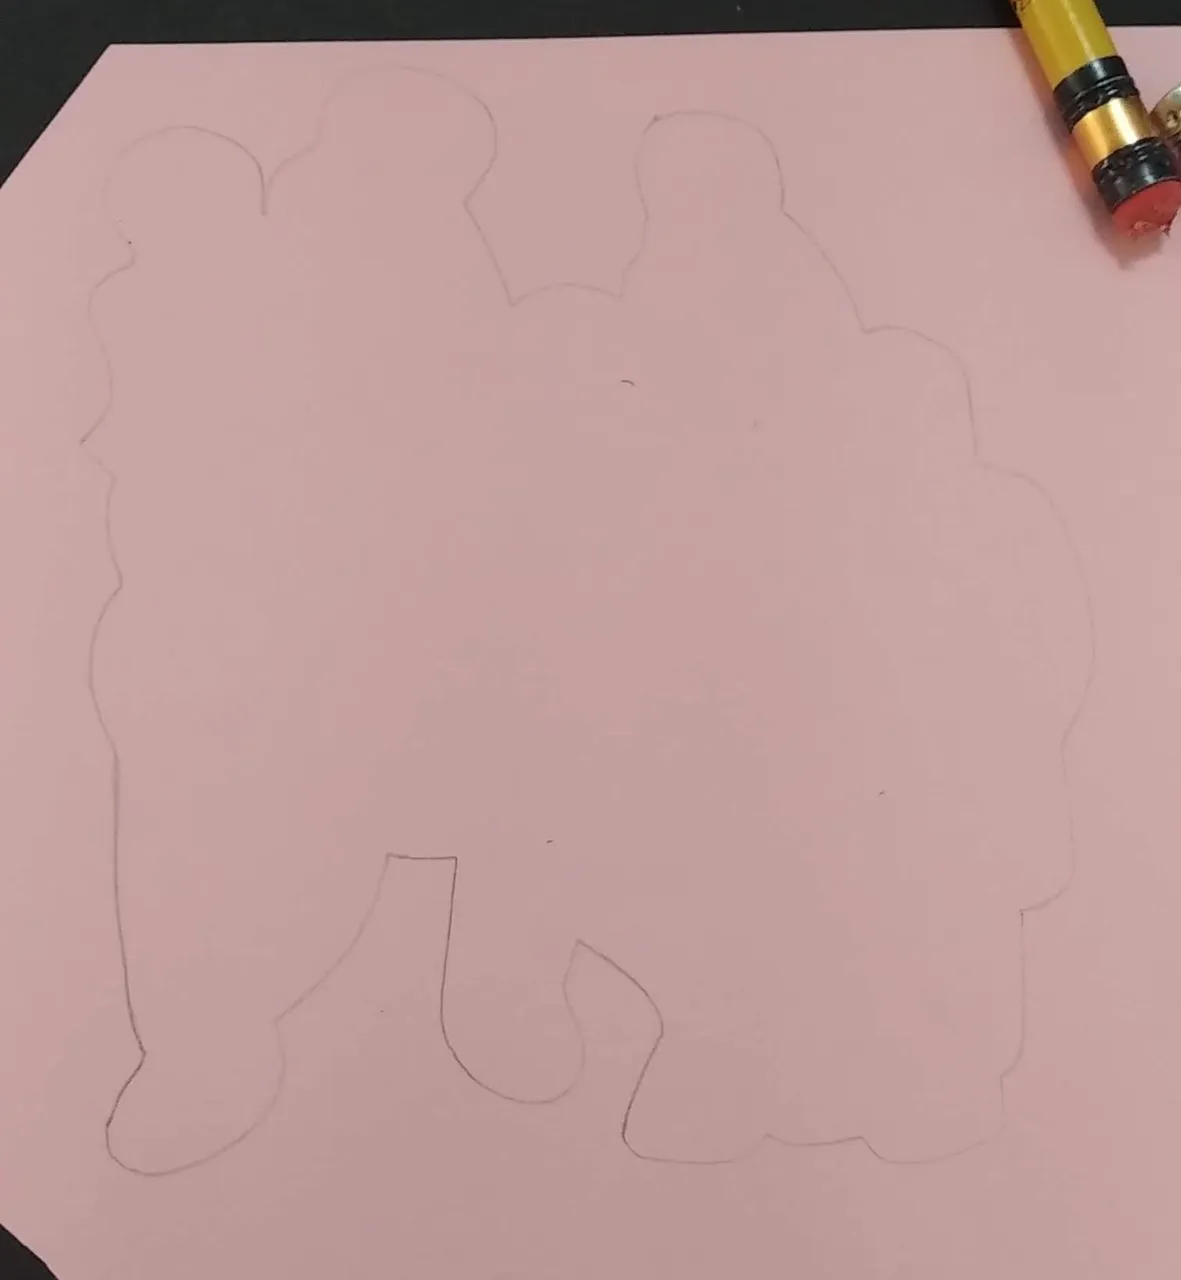
- Utilizando el patrón de la silueta en cartulina blanca, marcar y cortar en cartulina rosada cuidando de dejar un borde mayor.
- Utilizando el patrón de la silueta en cartulina rosado, marcar y cortar en cartulina negra cuidando de dejar un borde mayor.
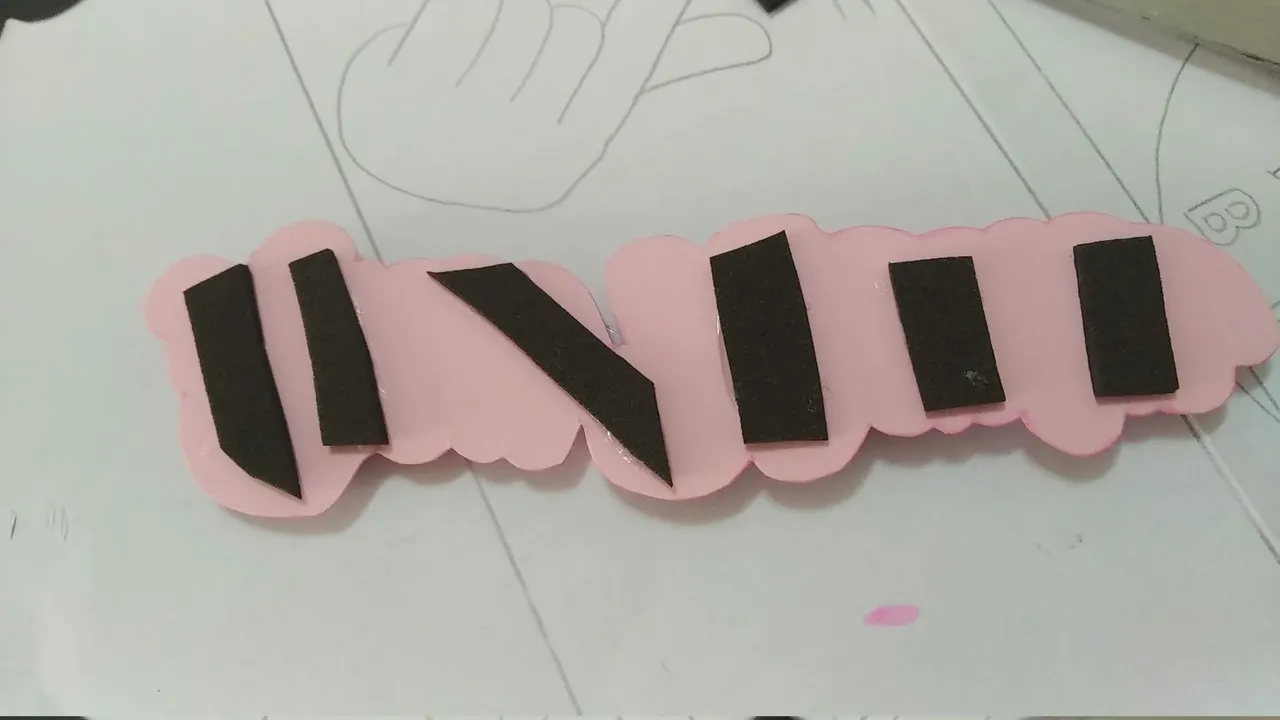
- Entre capa y capa pegar con silicón frio pequeños pedazos de foami negro cuidando no sobresalgan de los lados.
- Unir las piezas (capas) y dejar secar.
- Pegar los palitos de madera con silicón caliente.
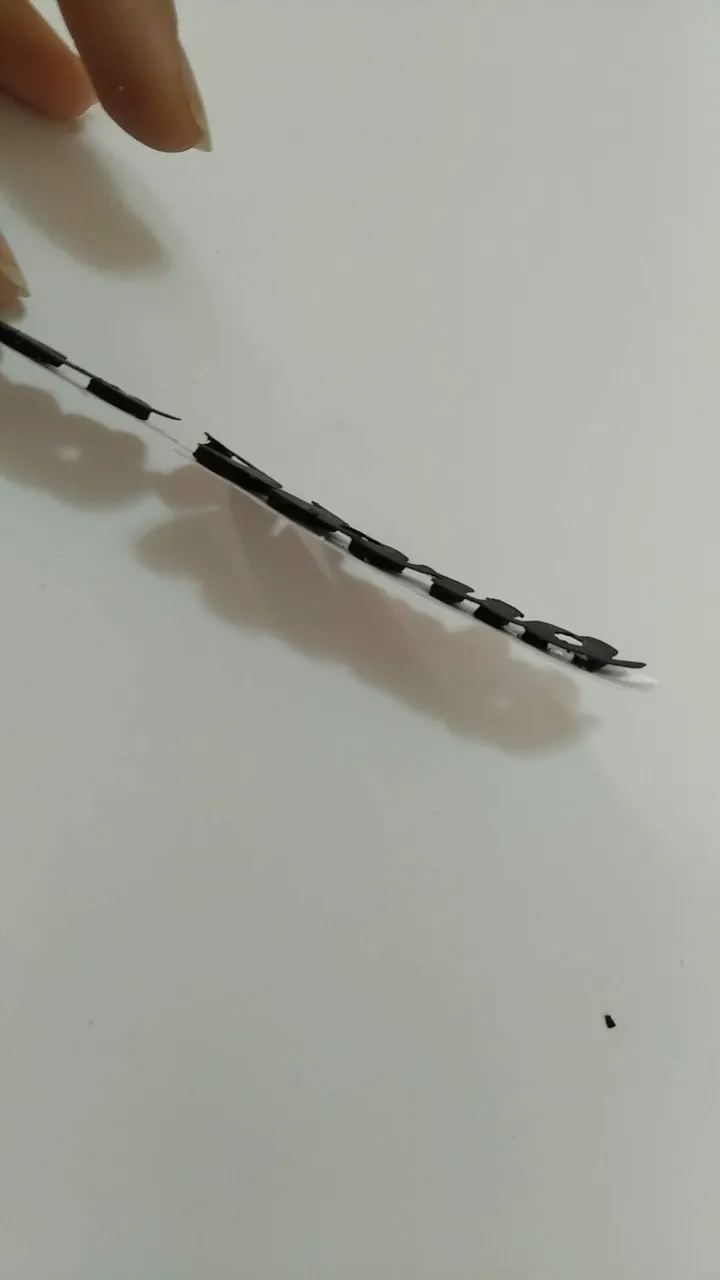
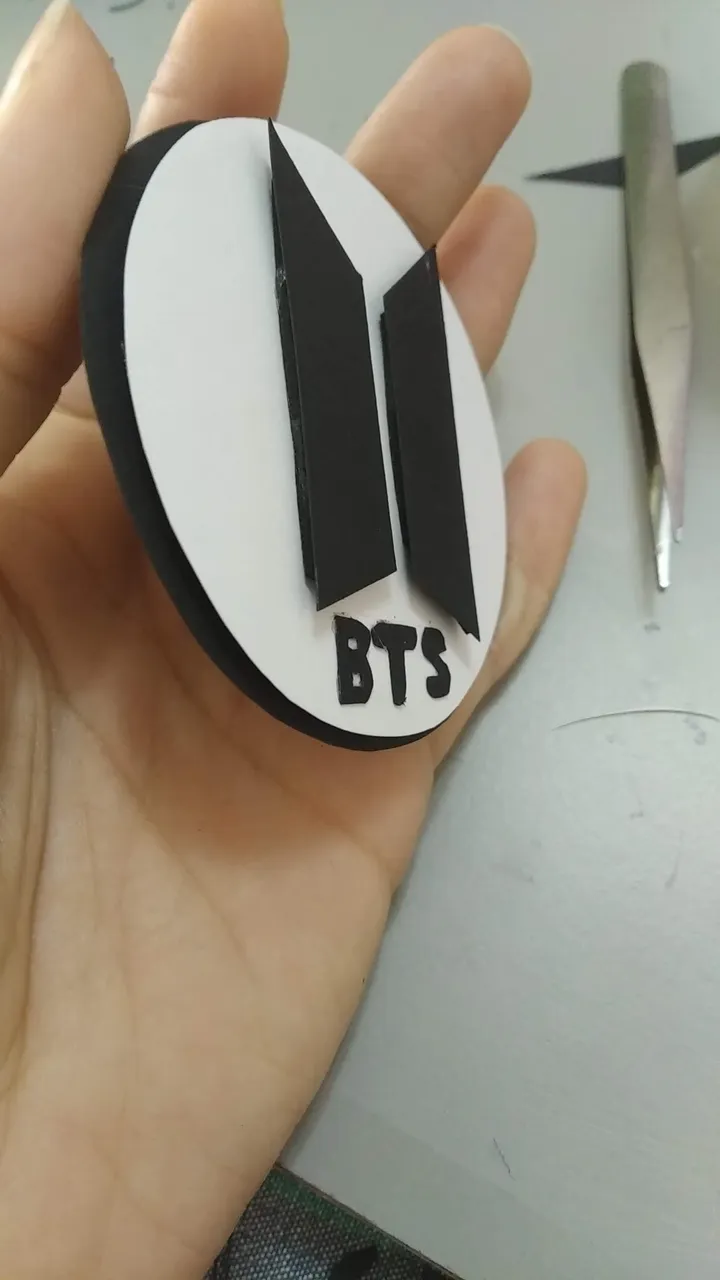
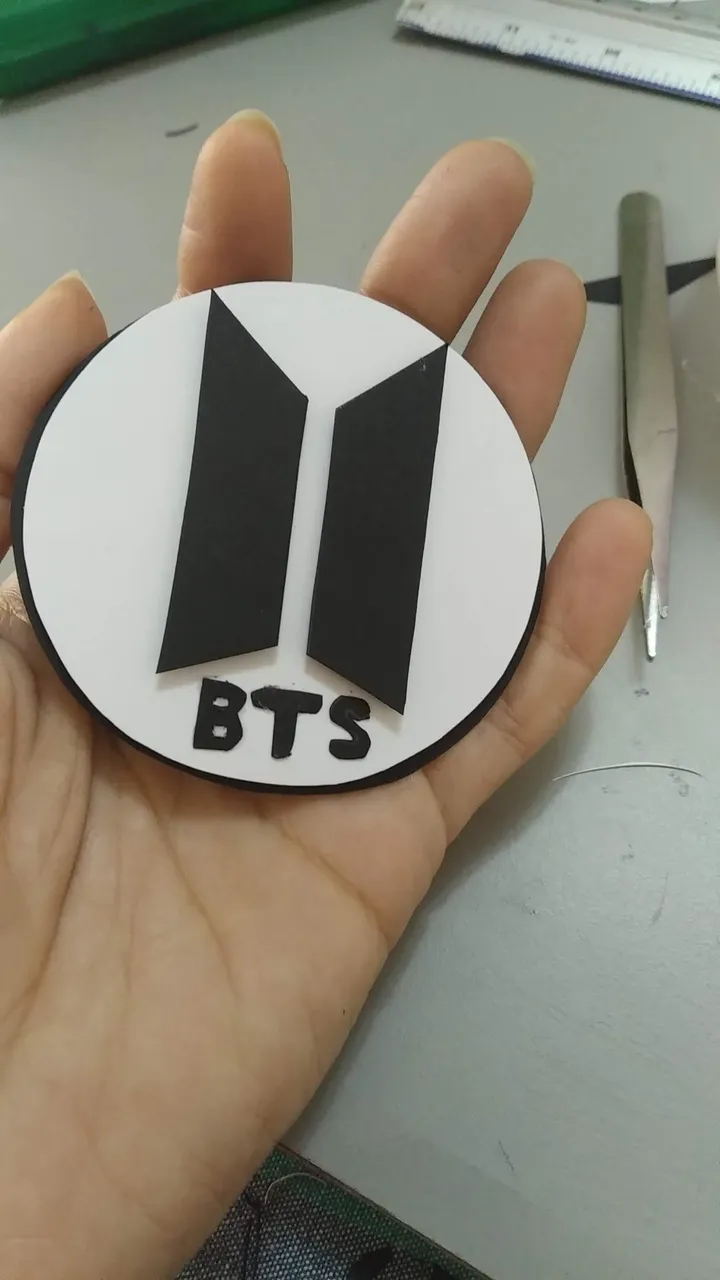
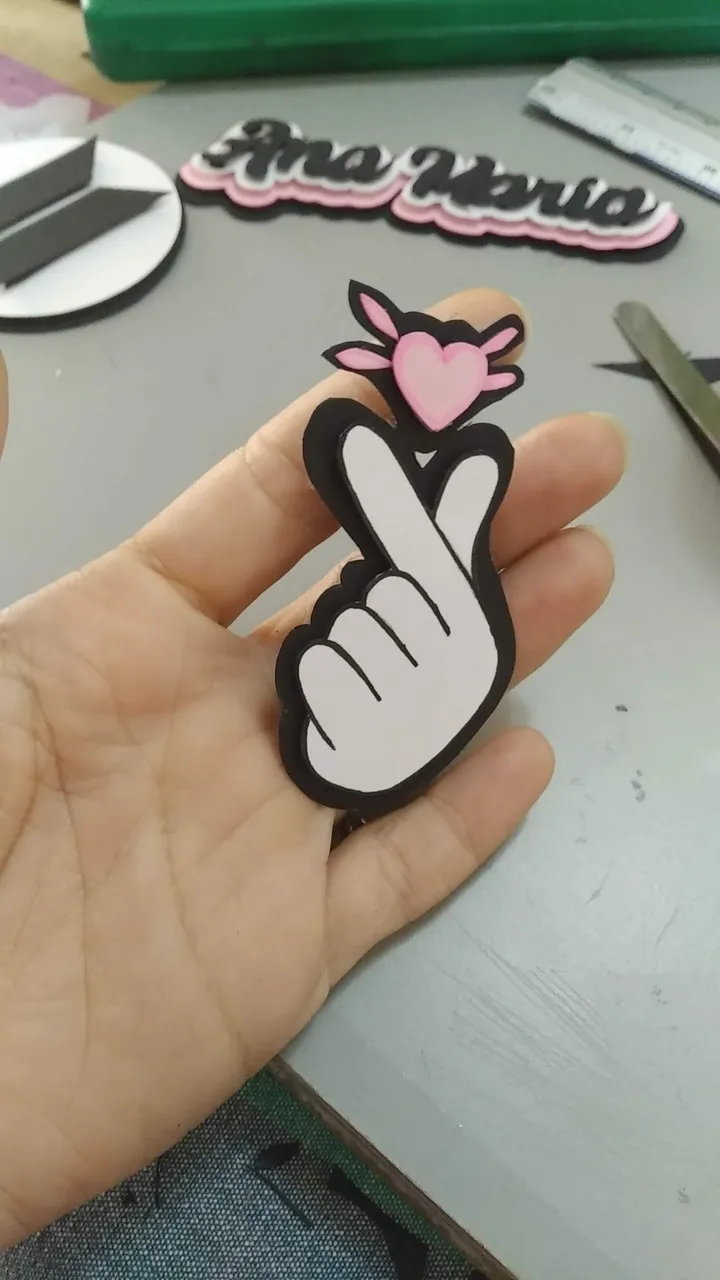
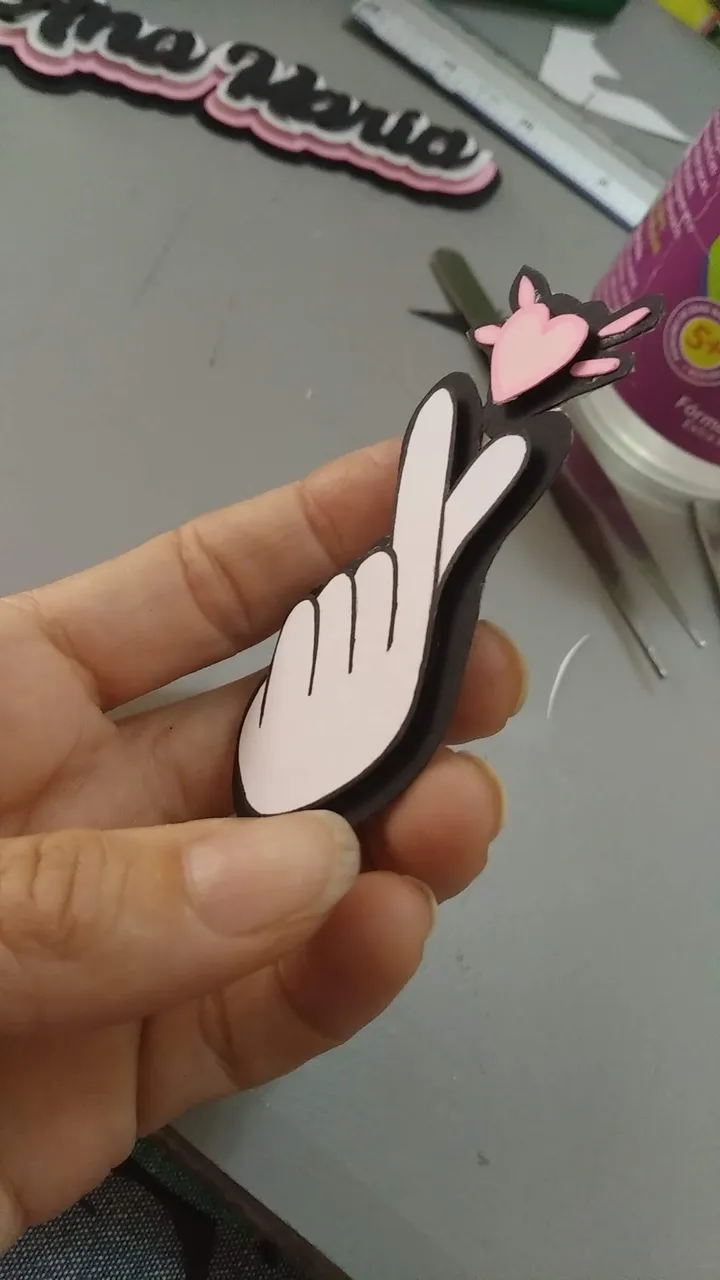
Logo de nombre y mano:
- Marcar en una hoja el diseño a crear.
- Marcar y Cortar las piezas en las cartulinas correspondientes.
- Entre capa y capa pegar con silicón frio pequeños pedazos de foami negro cuidando no sobresalgan de los lados.
- Pegar las capas entre si, dejar secar bien.
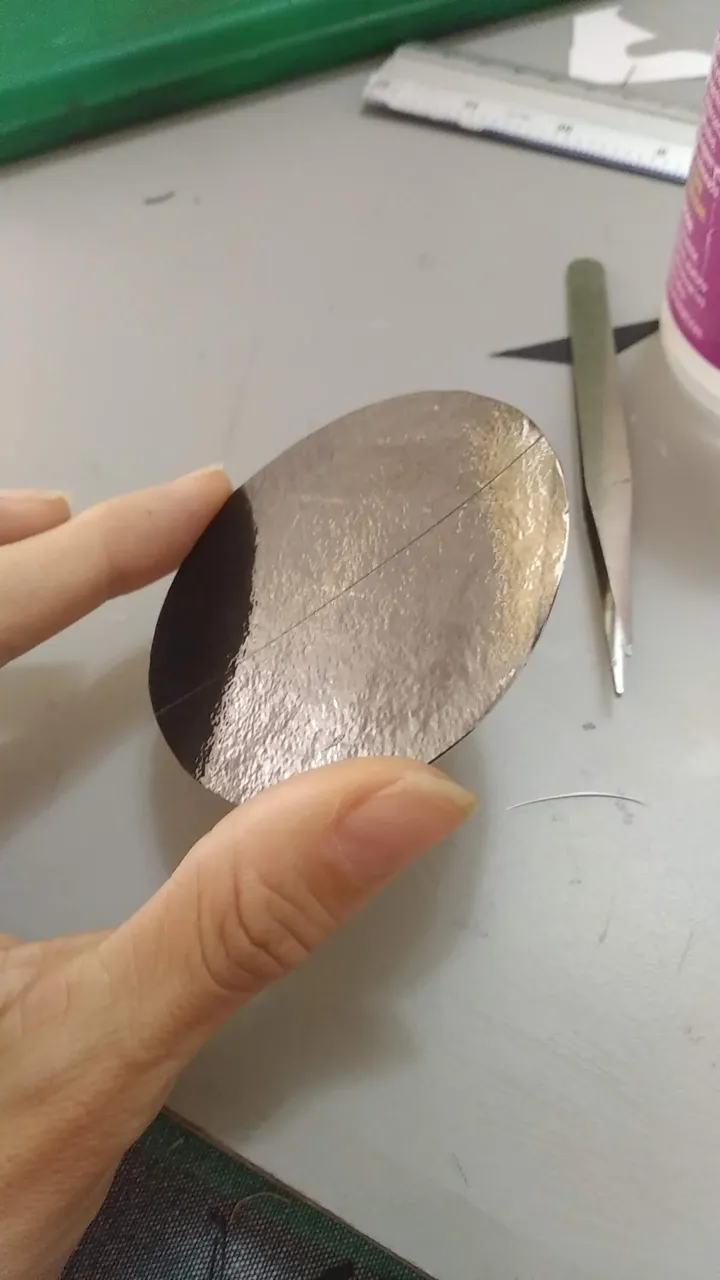
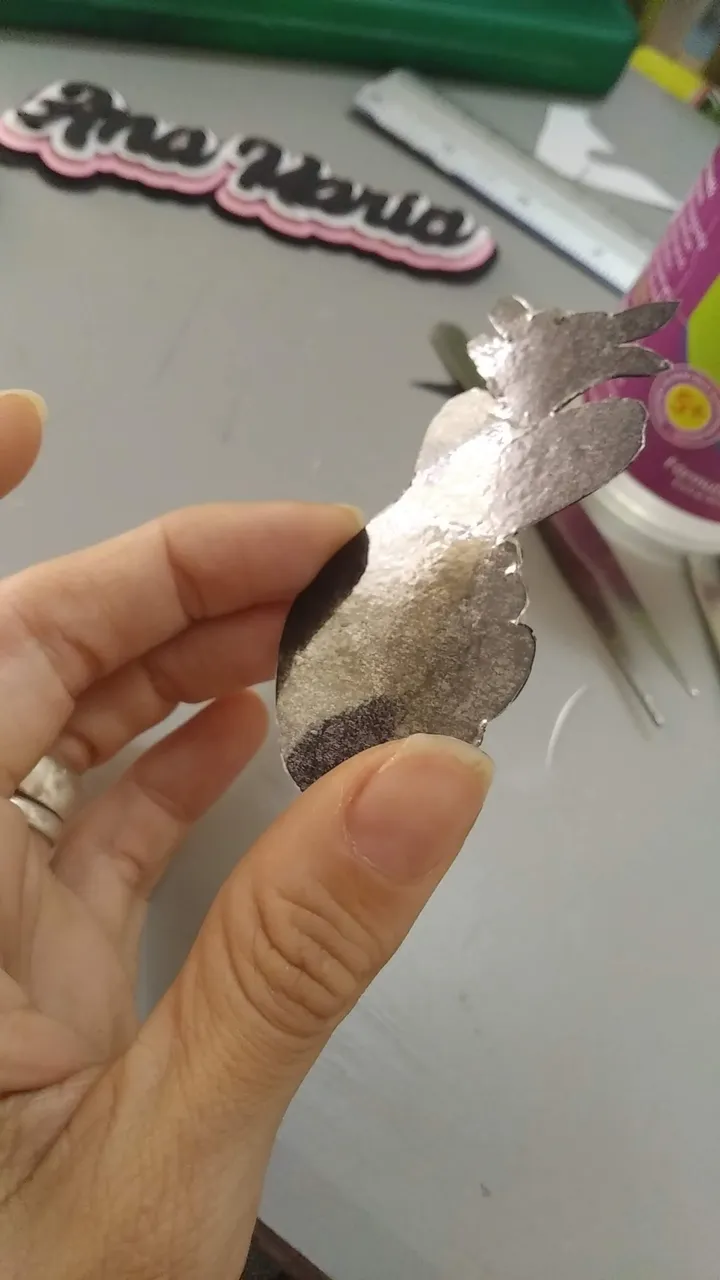
- A la parte posterior de cada logo, colocar cinta adhesiva transparente para evitar la humedad del pastel dañe las piezas. Estas piezas van directamente sobre el merengue de frente.
Agrupación para el pastel y cupcakes
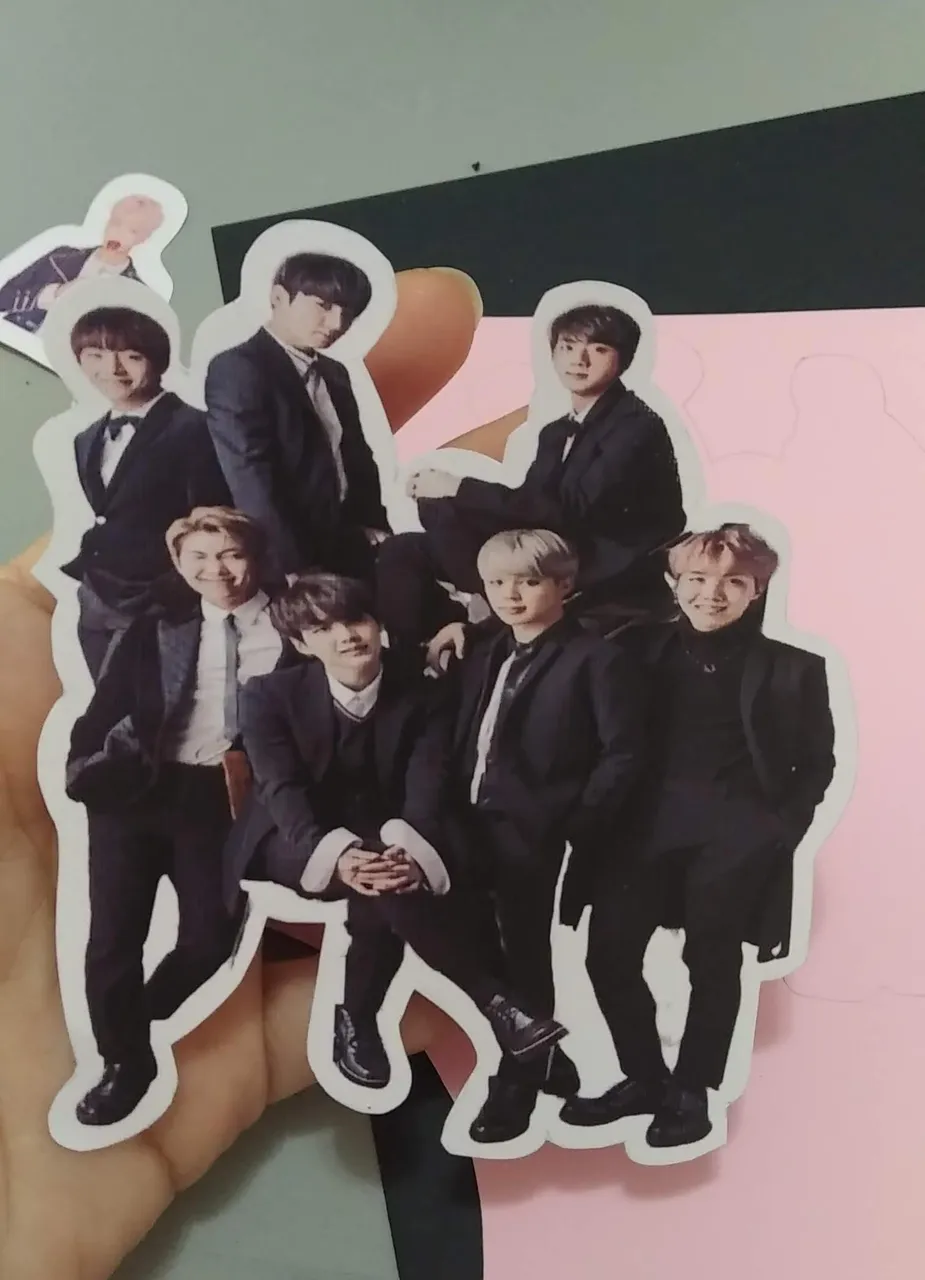
- Recortar la impresión siguiendo el contorno de la imagen.
- Repetir mismo procedimiento de los pasos números: 4, 5 , 6, 7 y 8.
¡A disfrutar de la magia de lo creado en casa!
English
Hello my dear readers, another week of success and blessings... Thank God.
Worldwide, the musical group "BTS" is causing a sensation among girls and even boys, and they have become a worldwide sensation for their songs and especially for their great dance choreographies.
Ana Maria, a beautiful and naughty teenager loves them and her spoiled mother wanted to surprise her with a delicious cake made by my favorite super cake baker Mayda. Unlike my other topper, this is the first time I use printing because it is very complex to replicate faces and more in natural format.
This is a super simple topper made with a lot of love. Without further ado and hoping you enjoy the work done with love, I leave you the materials used, the process and the images of the work.
- Color print of the musical group BTS (members).
- Black cardboard.
- White cardboard.
- Light pink cardboard.
- Flat black Foami.
- Transparent adhesive tape.
- Hot glue.
- Wooden stick.
- Pink markers.
- Cold Silicone.
- Cutter.
- Scissors.
- Pencil.
Name:
- Mark on a white sheet of paper the shape and size of the honoree's name.
- Mark and cut out the name on black cardstock.
- Following the pattern of the name on black card stock, mark and cut out on white card stock, taking care to leave a larger border than the name in black.
- Using the silhouette pattern on white card stock, score and cut on pink card stock, taking care to leave a larger border.
- Using the silhouette pattern on pink card stock, trace and cut out on black card stock, taking care to leave a larger border.
- In between layers, glue small pieces of black foami with cold silicone, taking care not to leave any overhang on the sides.
- Join the pieces (layers) and let dry.
- Glue the wooden sticks with hot silicone.
Name and hand logo:
- Mark on a sheet of paper the design to be created.
- Mark and cut the pieces on the corresponding cardboard.
- Between layers, glue with cold silicone small pieces of black foami, taking care not to protrude from the sides.
- Glue the layers together, let dry well.
- On the back of each logo, place transparent adhesive tape to prevent the humidity of the cake from damaging the pieces. These pieces go directly on the meringue from the front.
Grouping for the cake and cupcakes.
- Cut out the print following the outline of the image.
- Repeat the same procedure of steps 4, 5, 6, 7 and 8.
Enjoy the magic of what you have created at home!
Translated with www.DeepL.com/Translator (free version)
IMÁGENES / IMAGES
SALUDOS / REGARDS
Todas las Fotos fueron tomadas con mi teléfono Redmi 7A.
Contenido original de @keco (fotos y texto) - Todos los derechos reservados Publicado en HIVE así como en mi instagram : http://instagram.com/carton_pintura_algo_mas
All Photos were taken with my Redmi 7A phone.
Original content from @keco (photos and text) - All rights reserved Posted on HIVE as well as on my instagram: http://instagram.com/carton_pintura_algo_mas