Español
Hola feliz y bendecida semana para todos y todas.
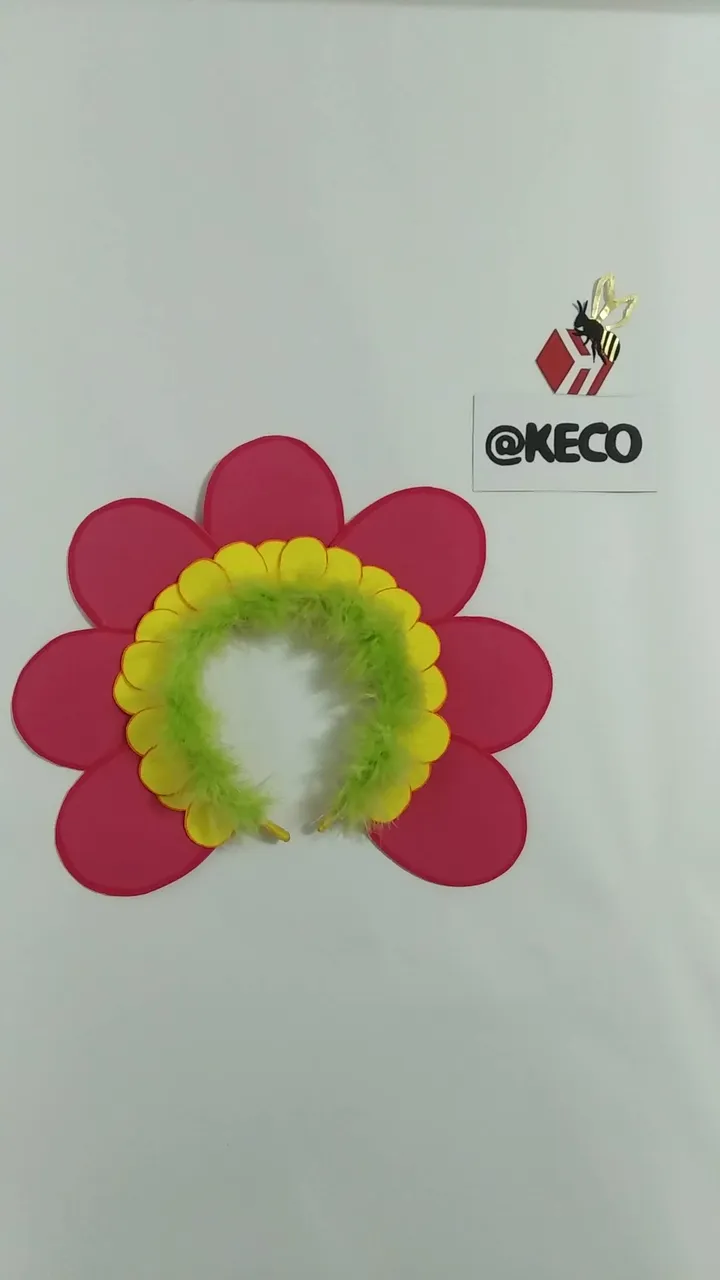
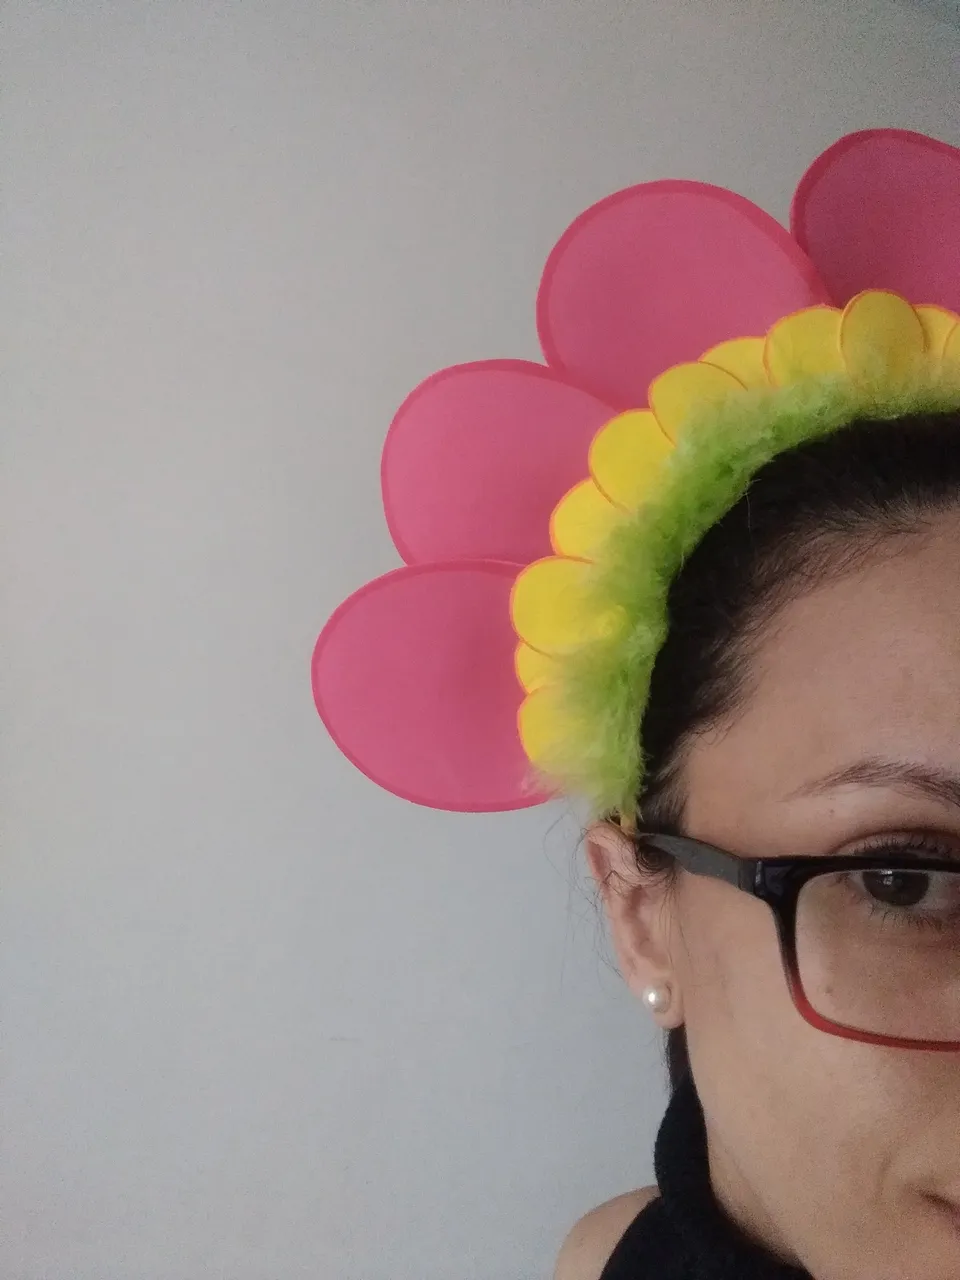
Hoy inicio ésta semana mostrando la realización de un hermoso cintillo en forma de flor que se usó para un baile de Danza de una hermosa niña de 5 años.
La presentación del baile implicaba que todas las niñas representarían a flores de color rosado, para ello la profesora de baile indicó a los padres las proporciones, colores y formas que debían usarse en la elaboración del cintillo (flor) y así garantizar uniformidad entre las niñas. La mamá de la niña, que no es experta en manualidades, me contactó y como siempre estoy dispuesta a colaborar, no pude decir que no, ya que nunca había tenido la oportunidad de elaborar un cintillo así.
Creo que el resultado final quedó genial, me divertí haciéndolo y el jugar a bailar en punta de pies me hizo sentir nuevamente niña. Es bastante fácil de realizar y su costo fue muy económico. Así que si eres mamá/papá de alguna niña que le guste la danza, ésta publicación es para ti, quien sabe si algún día de estos te toque hacer un arreglo como éste.
Sin más y esperando disfruten del trabajo realizado con amor, les dejo los materiales utilizados, el proceso y las imágenes del trabajo.
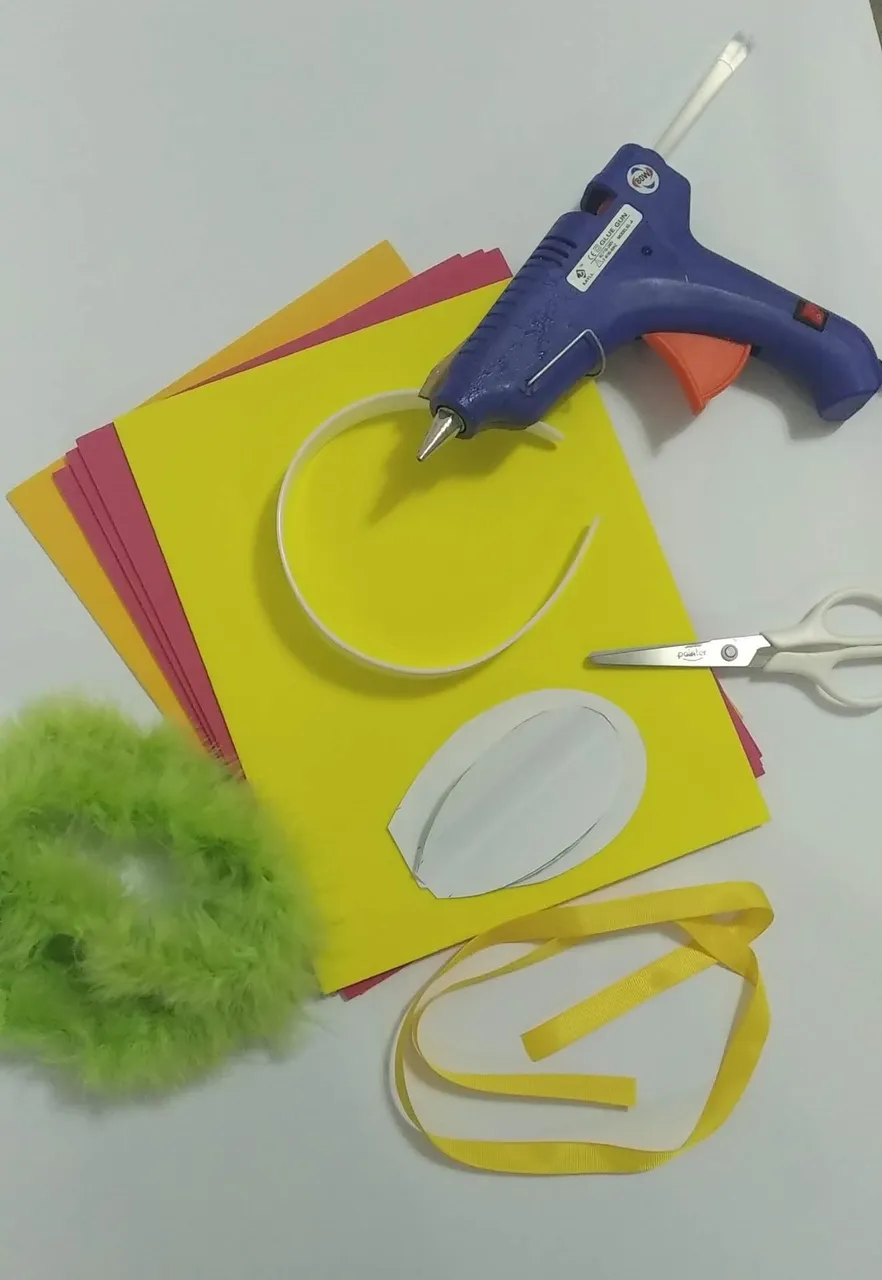
- Cintillo plástico pequeño
- Cinta de tela de color amarillo.
- Marabú de color verde (cinta peluda)
- Foami rosado o fucsia
- Foami amarillo
- Hoja reciclada
- Marcadores de color fucsia y naranja.
- Silicón Caliente.
- Cutter.
- Tijera.
- Regla.
- Lápiz.
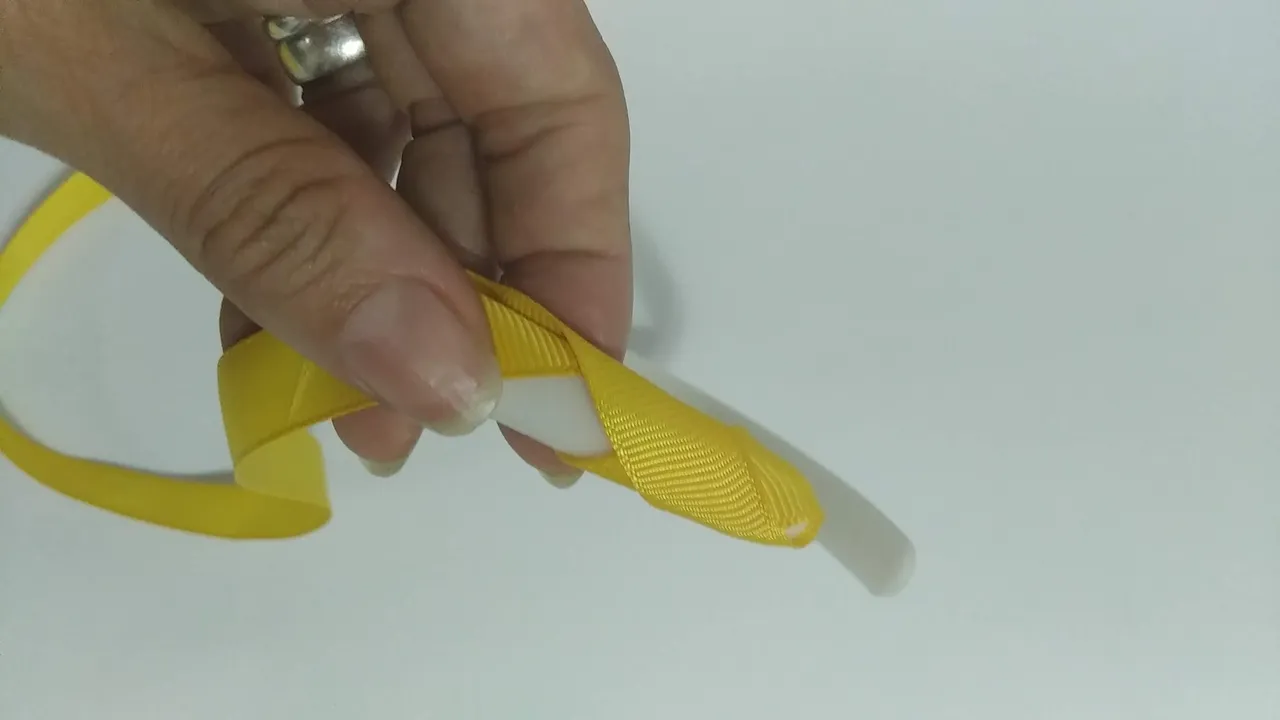
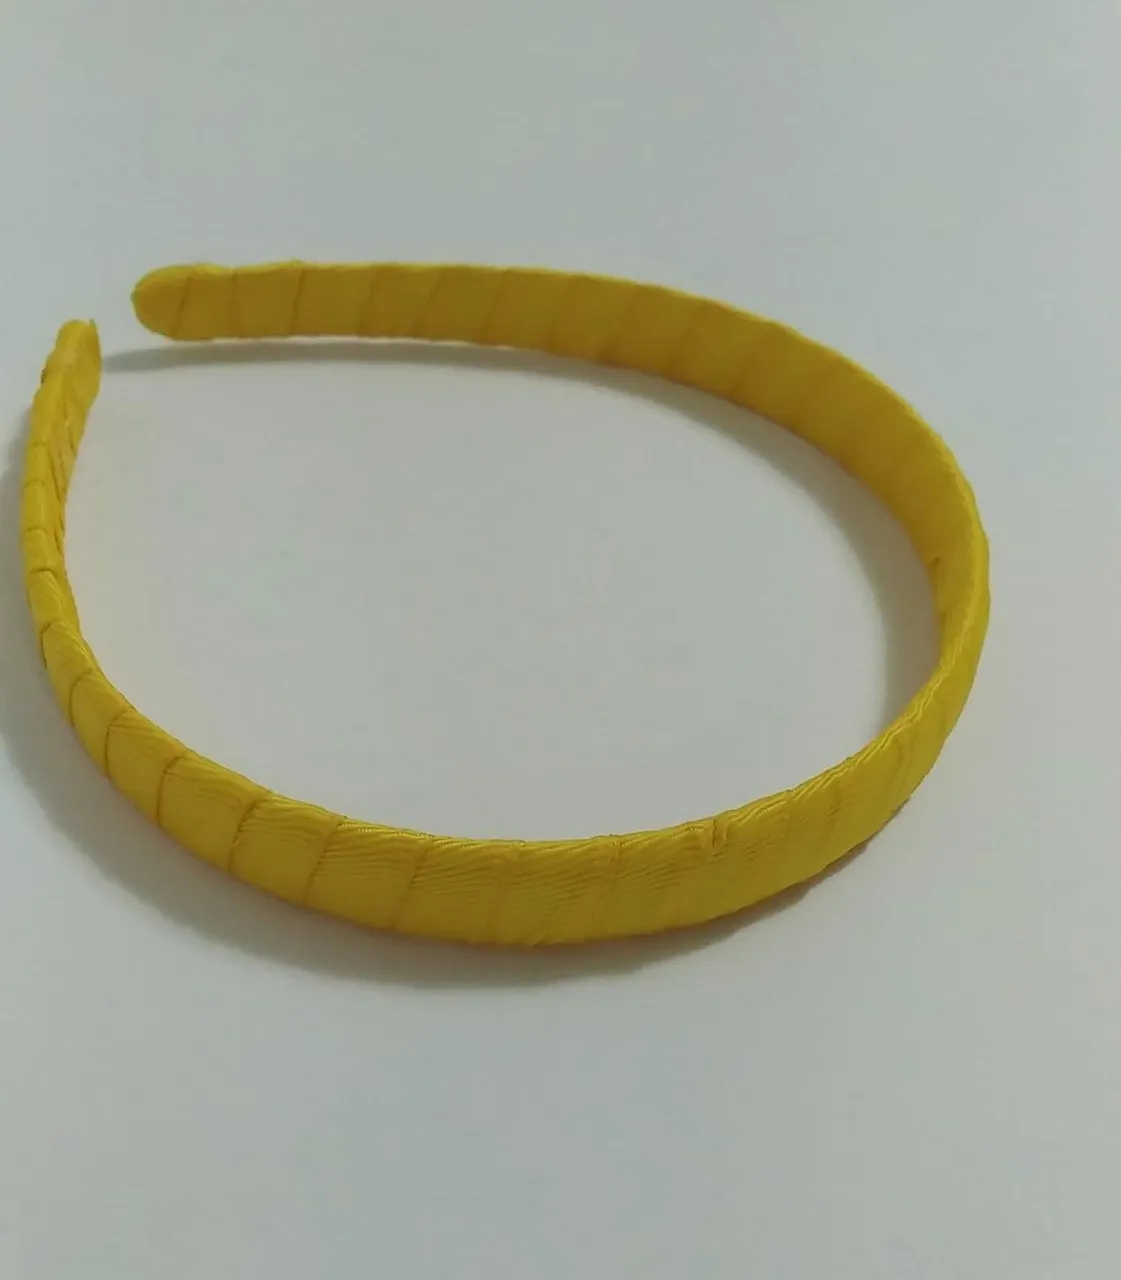
- Forrar el cintillo con la cinta amarilla. Se deberá comenzar en un extremo pegando con silicón caliente e ir cubriendo con cuidado el cintillo hasta llegar al otro extremo; la cinta debe quedar bien presionada para que no se suelte o afloje.
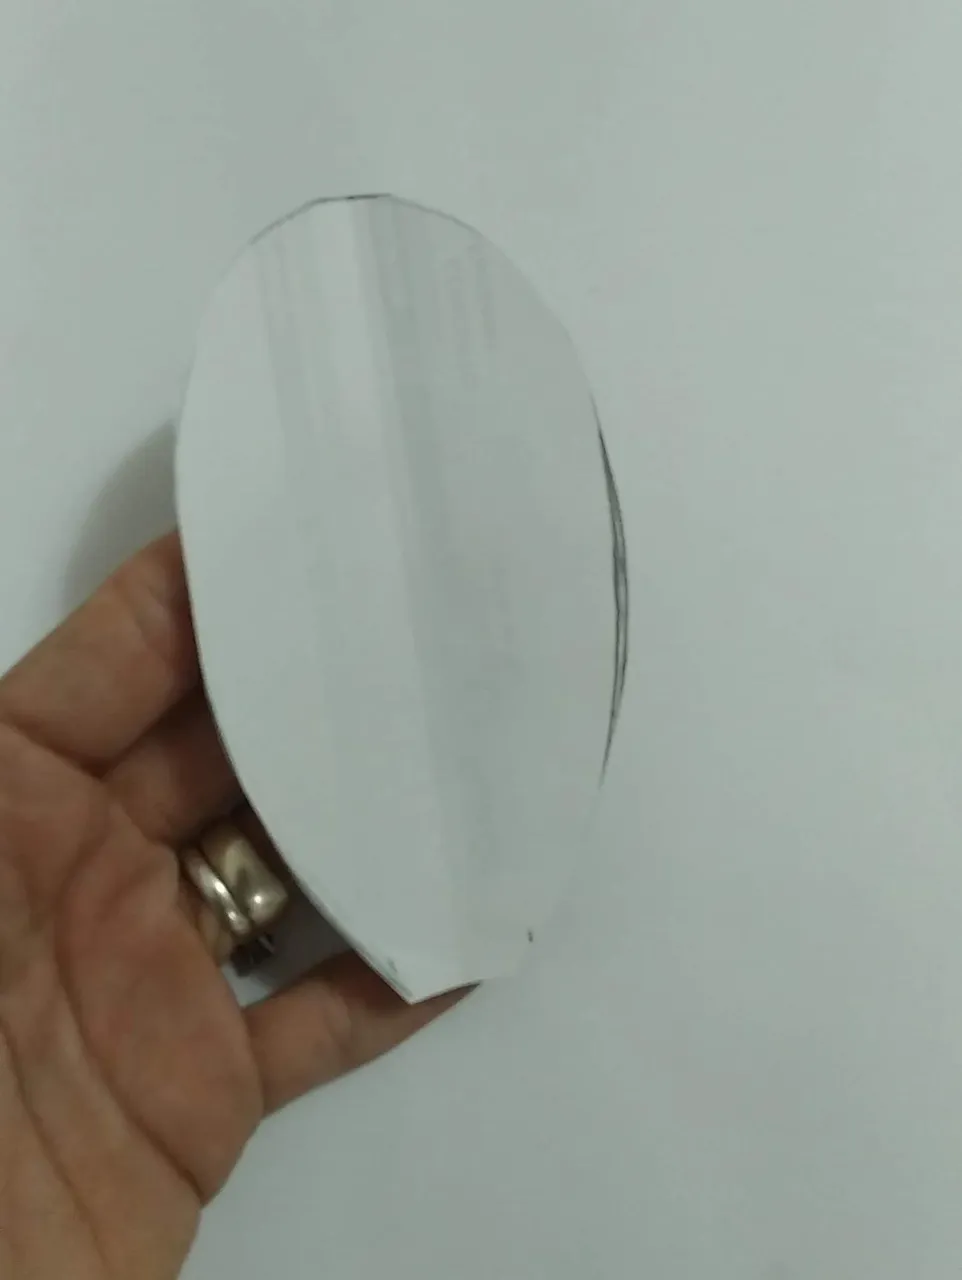
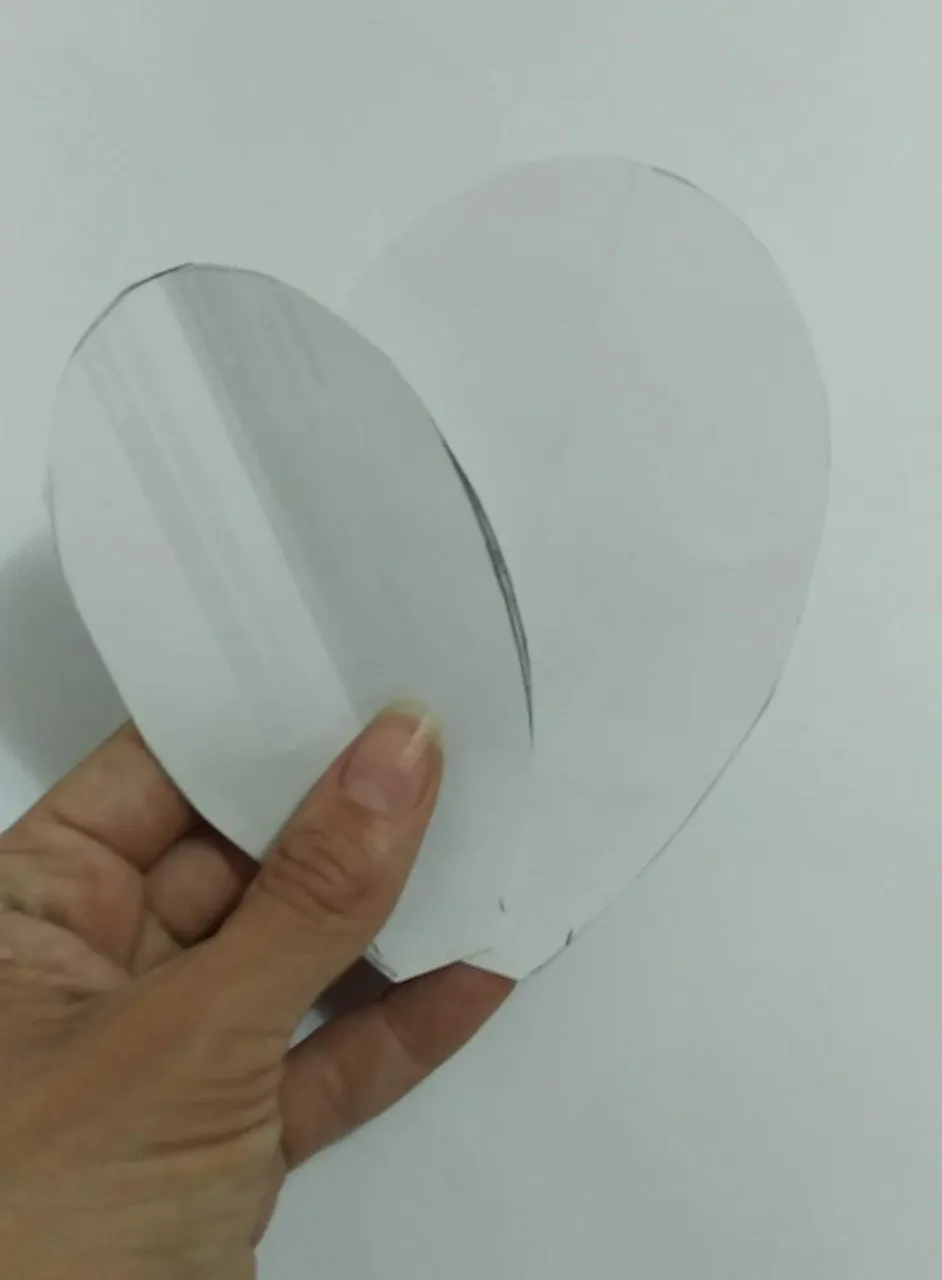
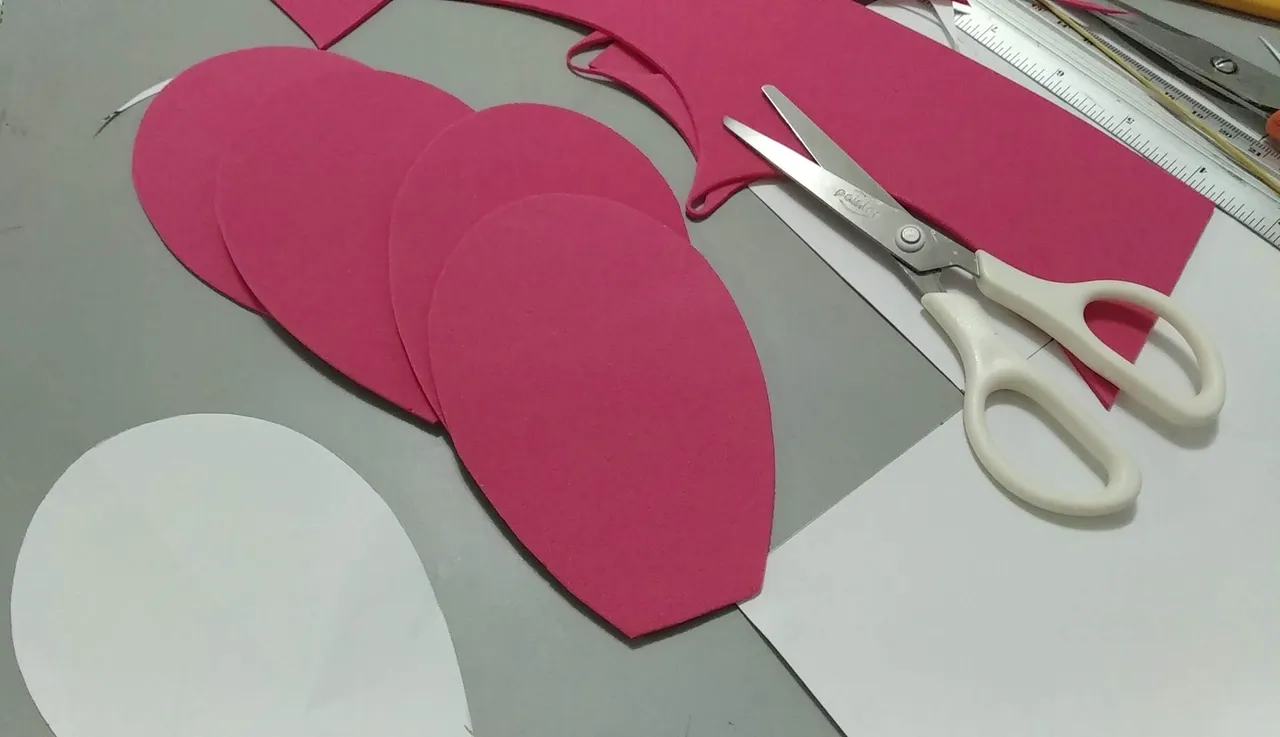
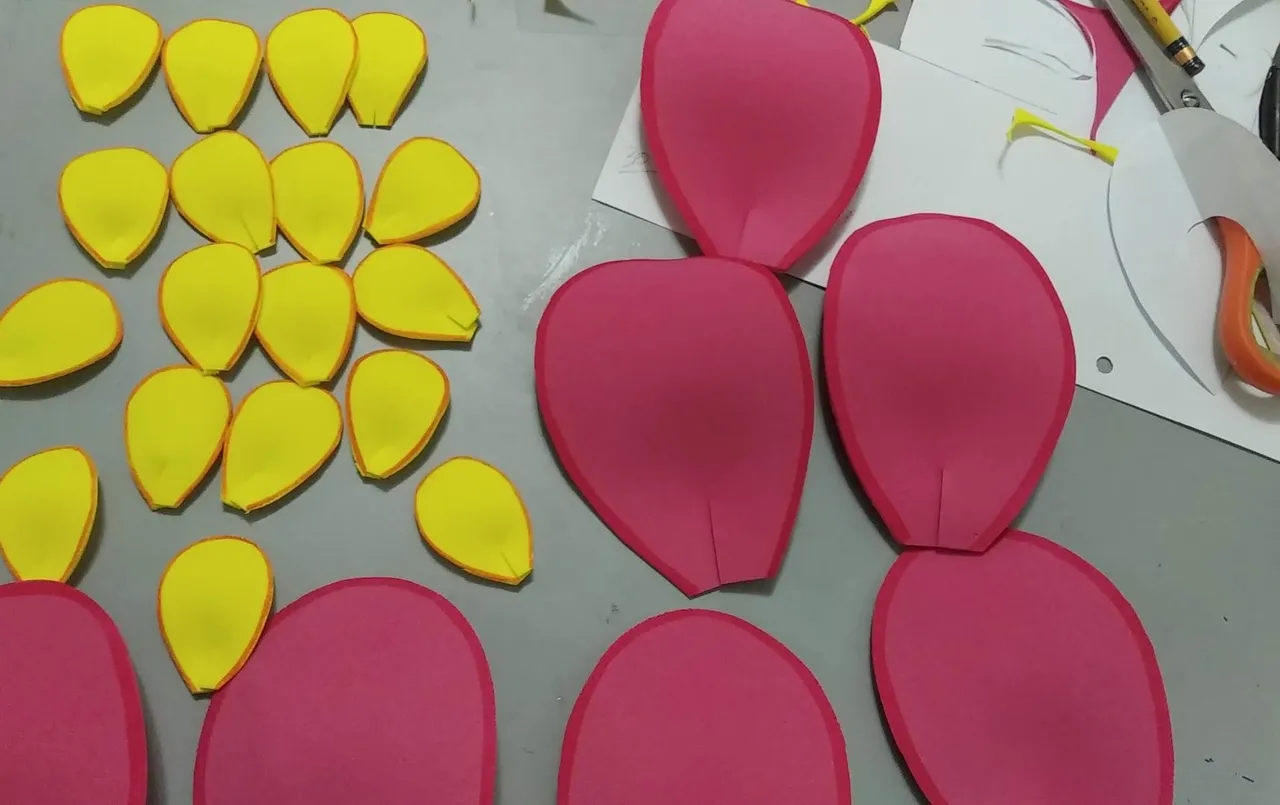
- Marcar y cortar en la hoja de reciclaje la forma del pétalo rosado y la forma del pétalo amarillo. Ésta flor requirió 7 pétalos grandes de aproximadamente 10 cm de alto y unos 19 pétalos pequeños de aproximadamente 4 centímetros de alto.
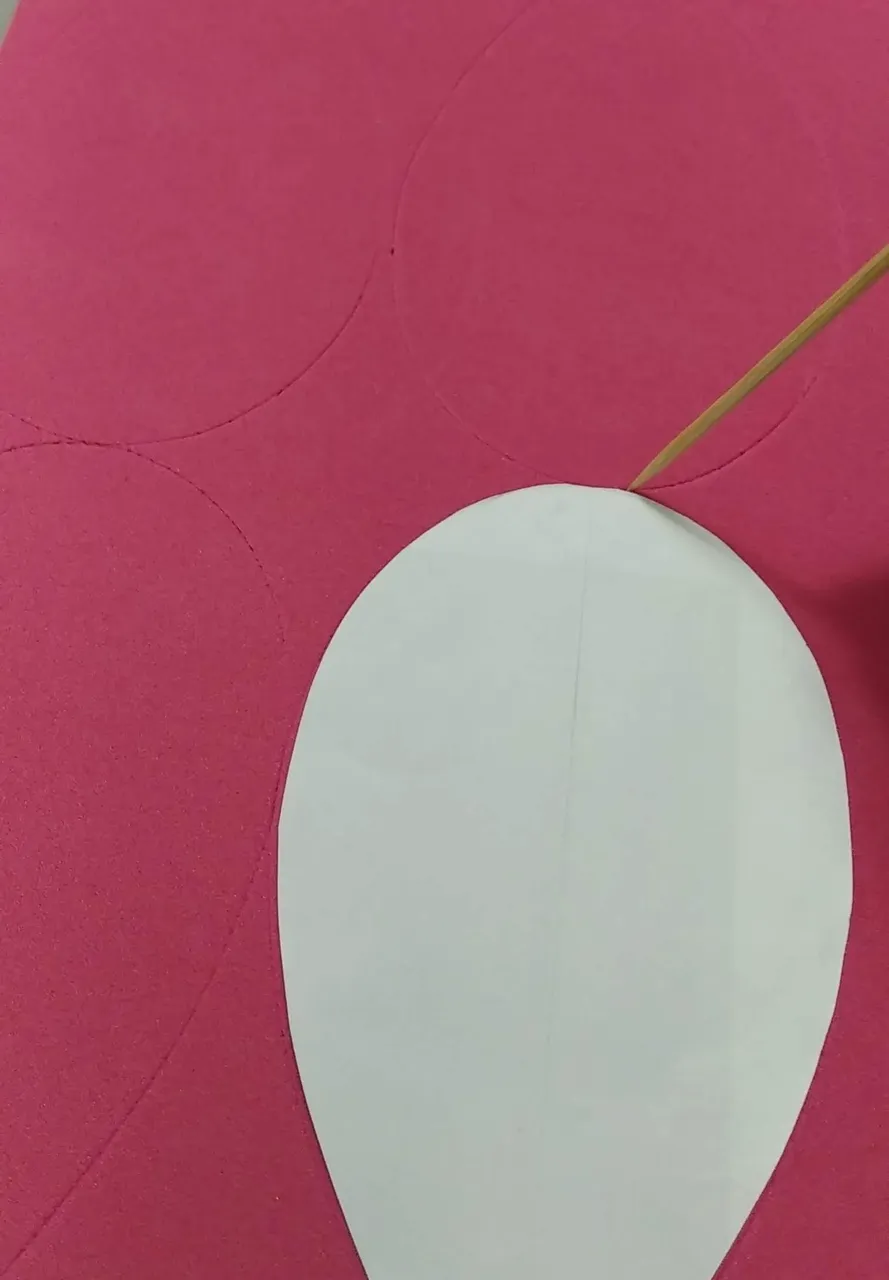
- Con la plantilla hecha en hoja, marcar la forma sobre el foami rosado y amarillo y luego recortar. Para evitar el foami se ensucie hacer la marca con un palito de madera o algo filoso.
- La parte plana de todos los pétalos hacerle un pequeño corte que permitirá luego adquiera cierta curvatura y facilitará el pegado al cintillo.
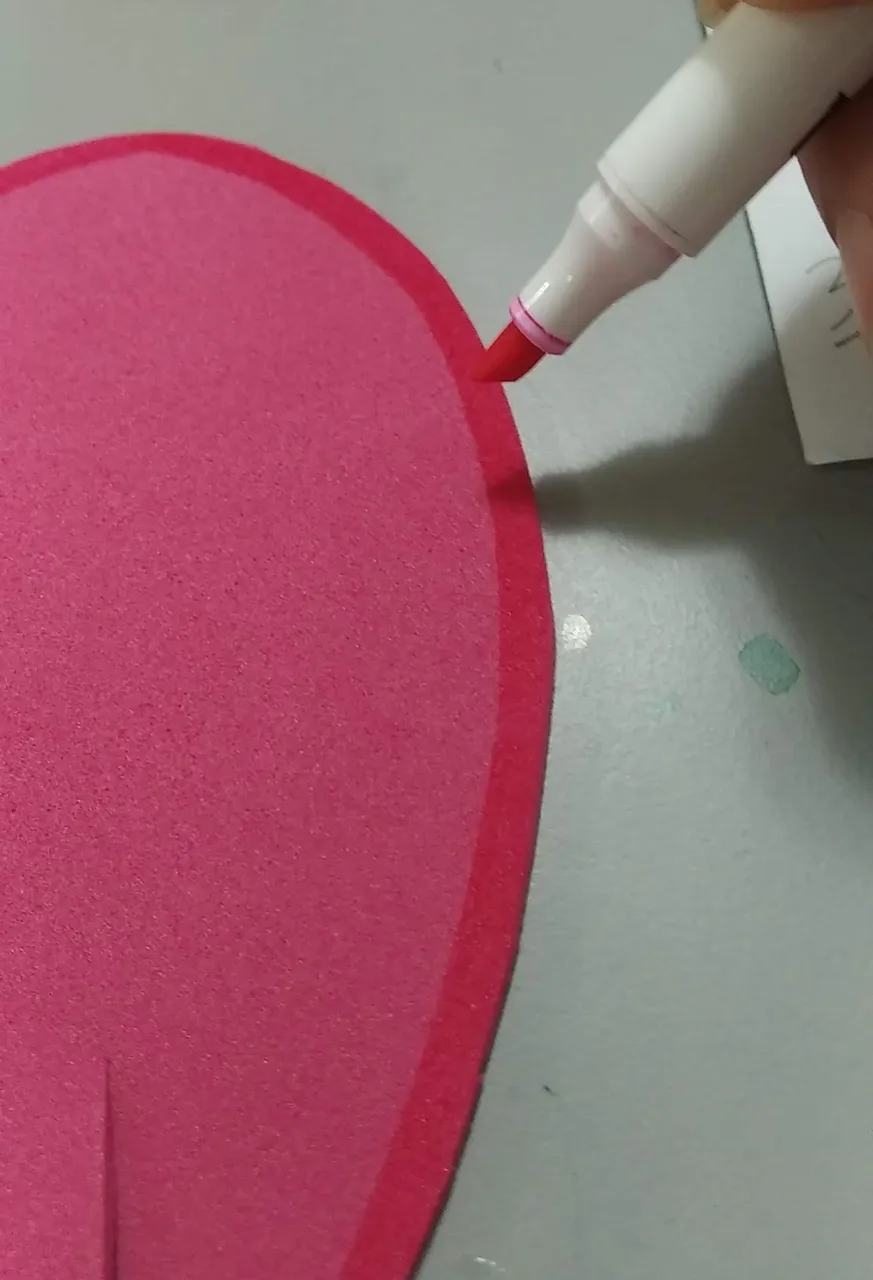
- Para hacerle resaltar aplicar marcador permanente en sus bordes. A los pétalos rosados apliqué un rasado intenso y a los pétalos amarillos apliqué marcador de color naranja.
- Tomar el cintillo y comenzar a pegar con silicón caliente los pétalos rosados uno a uno, para ello se deberá comenzar por un extremo pegando cada pétalo por la parte plana.
- Una vez terminado los pétalos rosados, repetir el procedimiento con los pétalos amarillos. Para pegar éstos se harán en dos filas, la segunda se pegará en los espacios que queden entre pétalo amarillo de la primera fila.
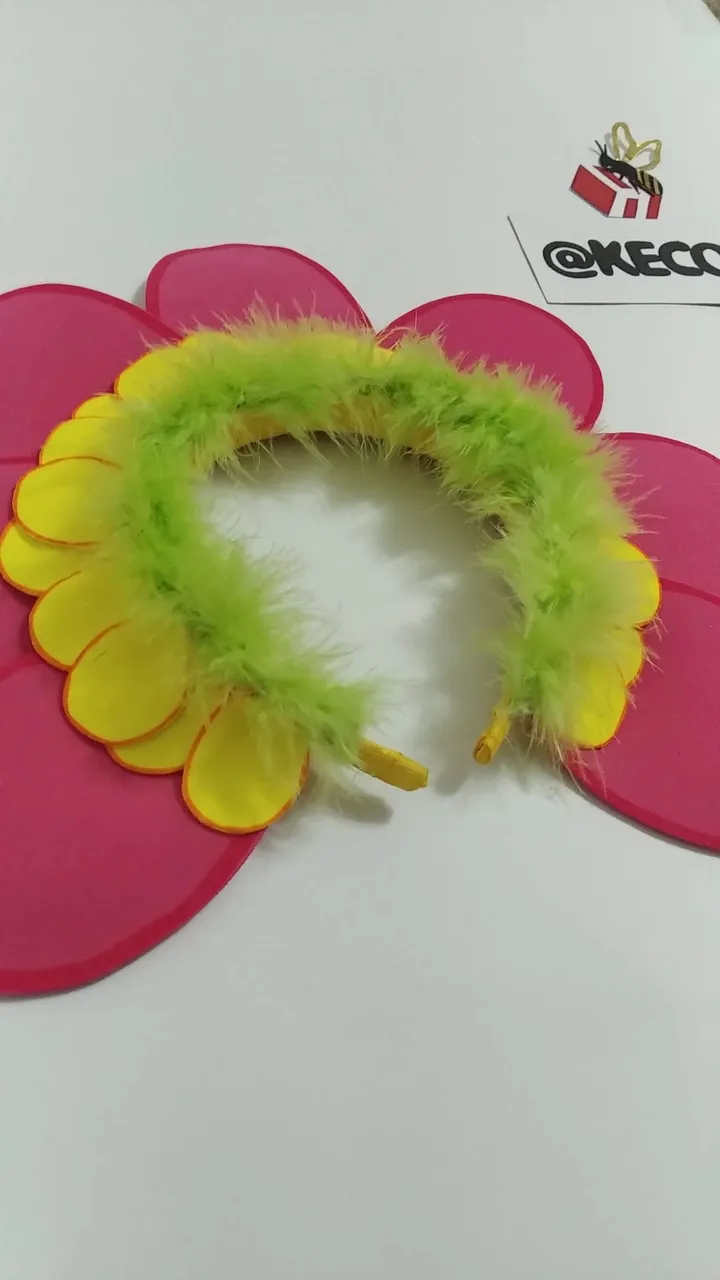
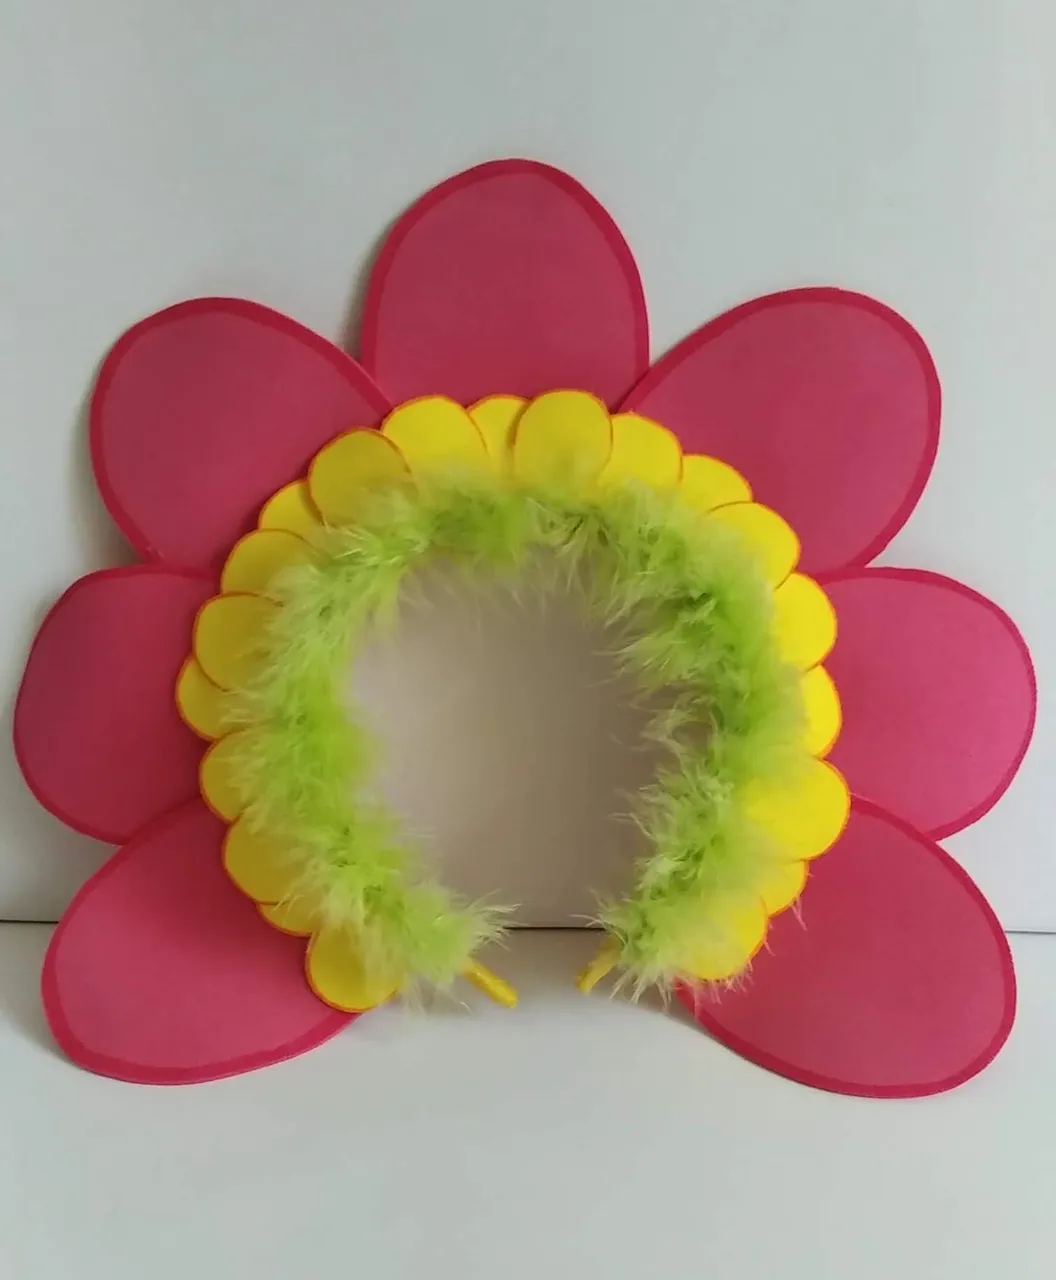
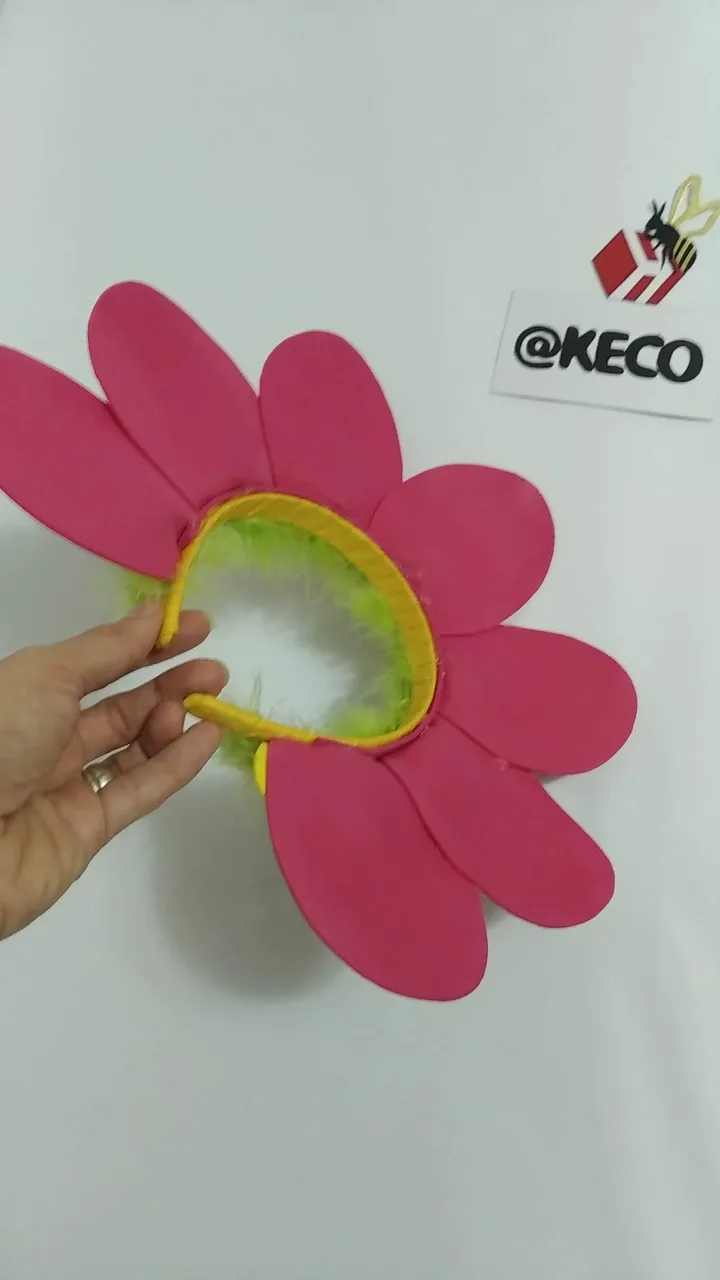
- Cortar los sobrantes de foami que sobresalgan del cintillo y luego pegar por todo el borde de los pétalos amarillos la cinta marabú verde. Se debe cuidar que se pegue bien en todas las áreas donde se aplicó silicón caliente.
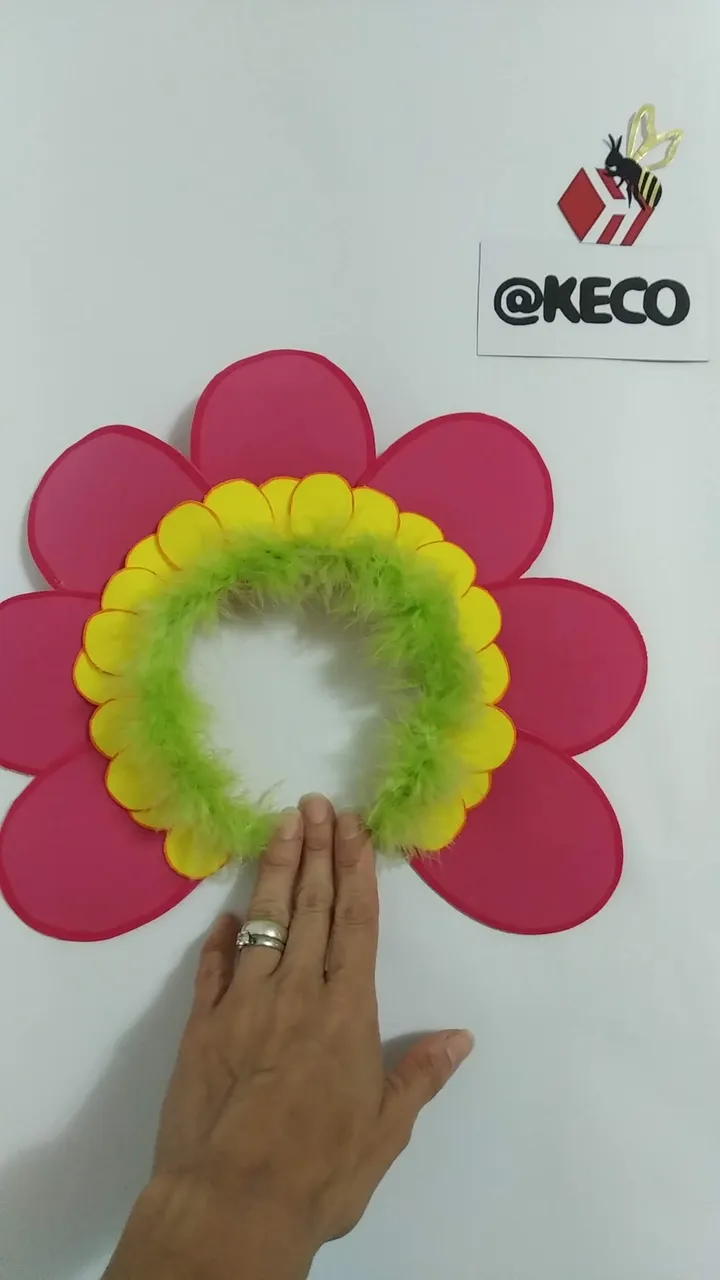
- ¡Listo!, a disfrutar de la magia de lo creado en casa para las mas pequeñas de la casa.
English
Hello, happy and blessed week to all of you.
Today I start this week showing the realization of a beautiful headband in the shape of a flower that was used for a dance of a beautiful 5 year old girl.
The presentation of the dance implied that all the girls would represent pink flowers, for this the dance teacher indicated to the parents the proportions, colors and shapes that should be used in the elaboration of the headband (flower) and thus guarantee uniformity among the girls. The girl's mother, who is not an expert in handicrafts, contacted me and as I am always willing to collaborate, I could not say no, since I had never had the opportunity to make a headband like this.
I think the final result was great, I had fun doing it and playing dancing on my toes made me feel like a little girl again. It is quite easy to make and the cost was very economical. So if you are a mom/dad of a little girl who likes to dance, this post is for you, who knows if one of these days you might have to make an arrangement like this one.
Without further ado and hoping you enjoy the work done with love, I leave you the materials used, the process and the images of the work.
- Small plastic headband
- Yellow fabric ribbon.
- Marabu of green color (hairy ribbon).
- Pink or fuchsia foami.
- Yellow Foami
- Recycled leaf
- Fuchsia and orange markers.
- Hot Silicone.
- Cutter.
- Scissors.
- Ruler.
- Pencil.
- Line the headband with the yellow ribbon. Start at one end by sticking with hot silicone and carefully cover the headband until you reach the other end; the tape must be well pressed so that it does not come loose or loosen.
- Mark and cut the shape of the pink petal and the shape of the yellow petal on the recycling sheet. This flower required 7 large petals about 10 cm high and about 19 small petals about 4 cm high.
- With the template made on a sheet, mark the shape on the pink and yellow foami and then cut out. To prevent the foami from getting dirty, make the mark with a wooden stick or something sharp.
- The flat part of all the petals make a small cut that will allow it to acquire a certain curvature and will facilitate the gluing to the headband.
- To make it stand out, apply permanent marker on its edges. To the pink petals I applied an intense shaving and to the yellow petals I applied orange marker.
- Take the headband and start gluing the pink petals one by one with hot silicone, starting at one end and gluing each petal on the flat side.
- Once the pink petals are finished, repeat the procedure with the yellow petals. To glue the yellow petals, glue them in two rows, the second row will be glued in the spaces left between the yellow petals of the first row.
- Cut the leftover foami that protrudes from the headband and then glue the green marabou ribbon all around the edge of the yellow petals. Make sure it sticks well in all the areas where hot silicone has been applied.
- Ready, enjoy the magic of what you have created at home for the little ones of the house.
Translated with www.DeepL.com/Translator (free version)
IMÁGENES / IMAGES

SALUDOS / REGARDS
Todas las Fotos fueron tomadas con mi teléfono Redmi 7A.
Contenido original de @keco (fotos y texto) - Todos los derechos reservados Publicado en HIVE así como en mi instagram : http://instagram.com/carton_pintura_algo_mas
All Photos were taken with my Redmi 7A phone.
Original content from @keco (photos and text) - All rights reserved Posted on HIVE as well as on my instagram: http://instagram.com/carton_pintura_algo_mas