Español
Feliz y bendecido miércoles estimados lectores.
Cuando se tiene hijos, los padres celebramos sus triunfos de una manera desbordante, nos inflamos de alegría y sueños, deseando su futuro sea siempre mejor que los nuestros. Mi amiga Laura esta súper orgullosa de su hijo Camilo quien avanza a una nueva etapa escolar, la primaria, y en ella consolidará aprendizajes para toda la vida.
En mi país, alcanzar nuevos niveles educativos es siempre un gran acontecimiento, pero cuando se pasa de educación inicial a primaria, los padres y maestros nos destacamos en actos, celebraciones, pasteles, cotillones, fotos, etc. y es que es una gran etapa que debe iniciar con bombos y platillos.
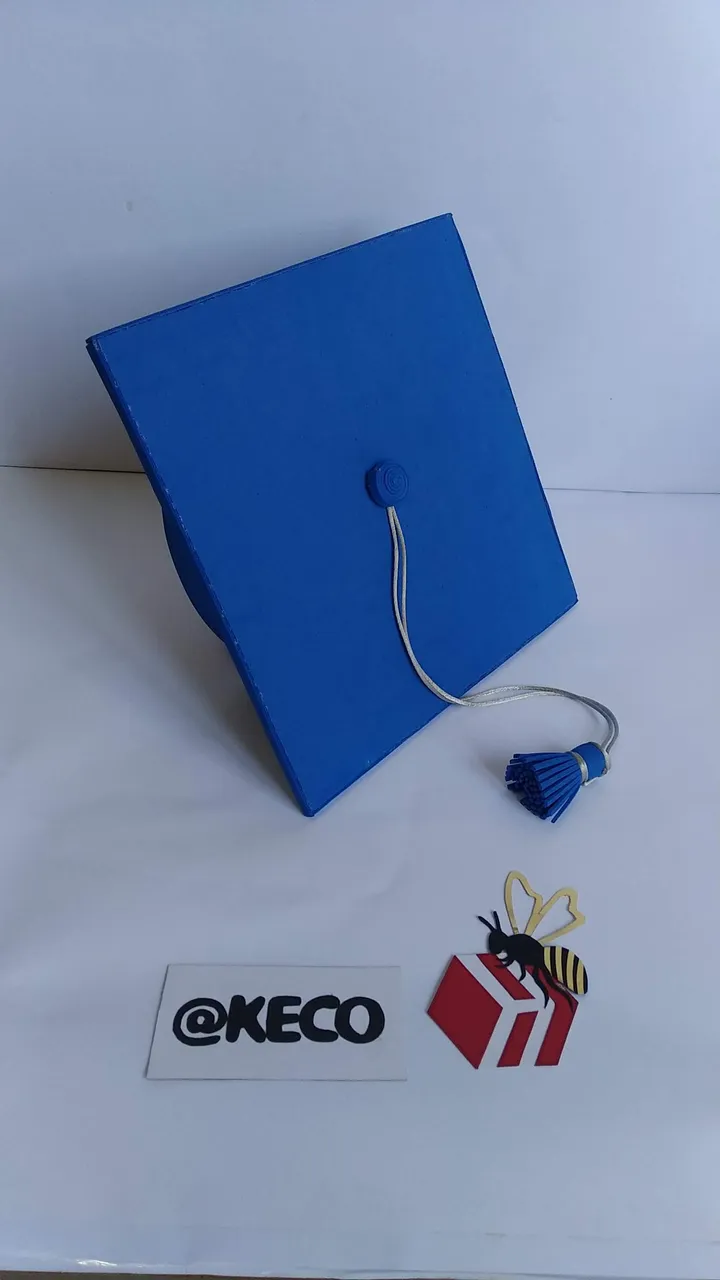
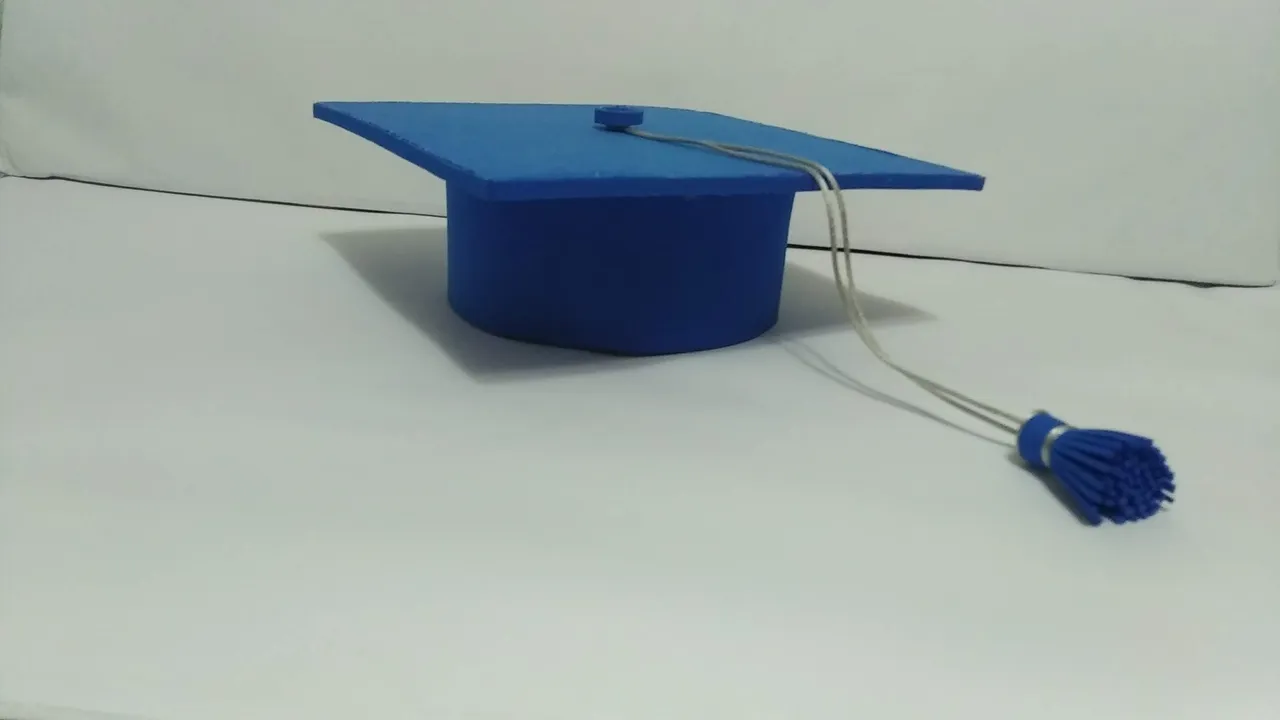
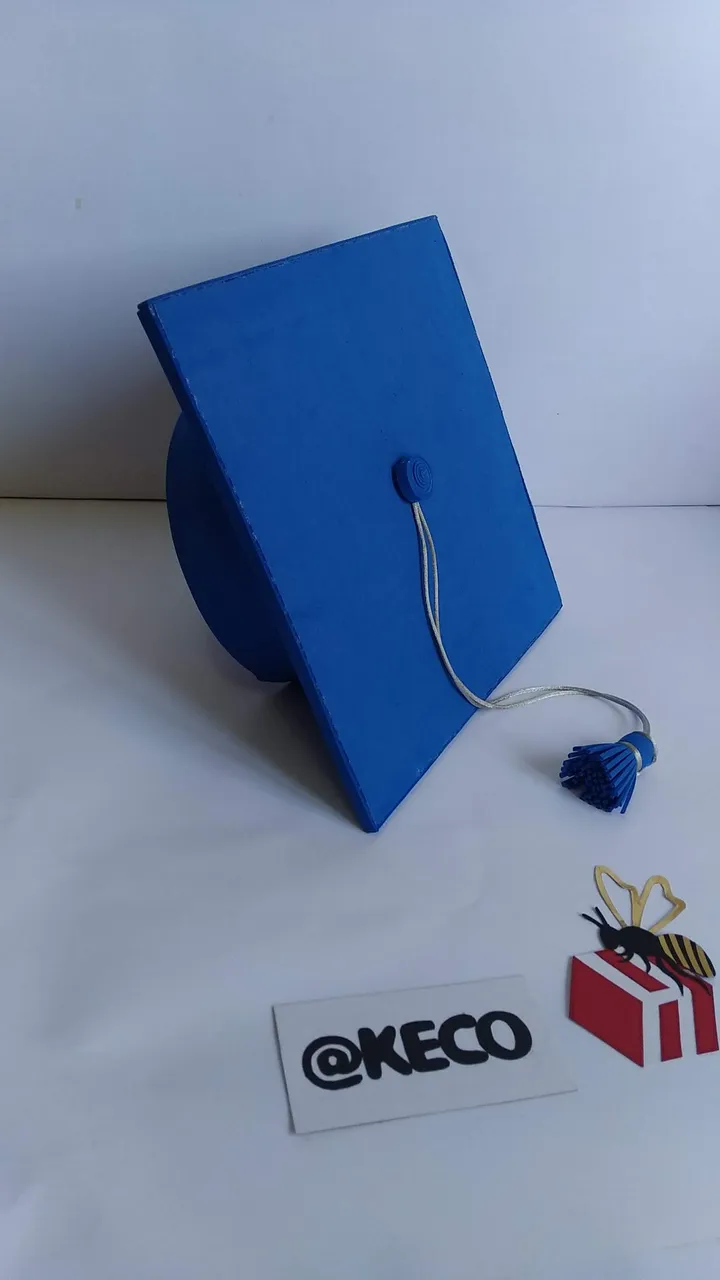
La manualidad que hoy les muestro, es un birrete escolar con el que Camilo asistió a su pequeño acto de graduación y con el que lució hermoso para las fotos y el recuerdo. Es un birrete fácil y económico de realizar.
Sin más y esperando disfruten del trabajo realizado, les dejo los materiales utilizados, el proceso y las imágenes del trabajo.
- Foami plano azul
- Foami plano rojo
- Cordón Plateado
- Cartón reutilizable
- Silicón Frio
- Cutter.
- Tijera.
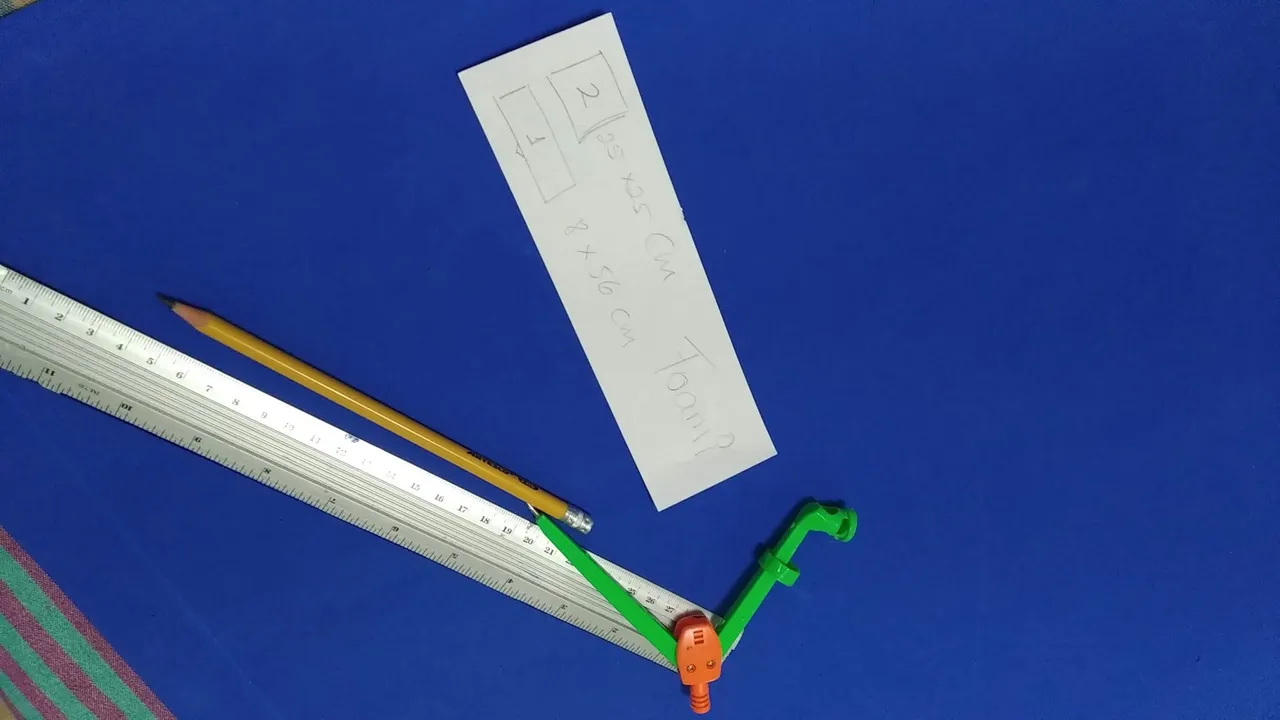
- Lápiz.
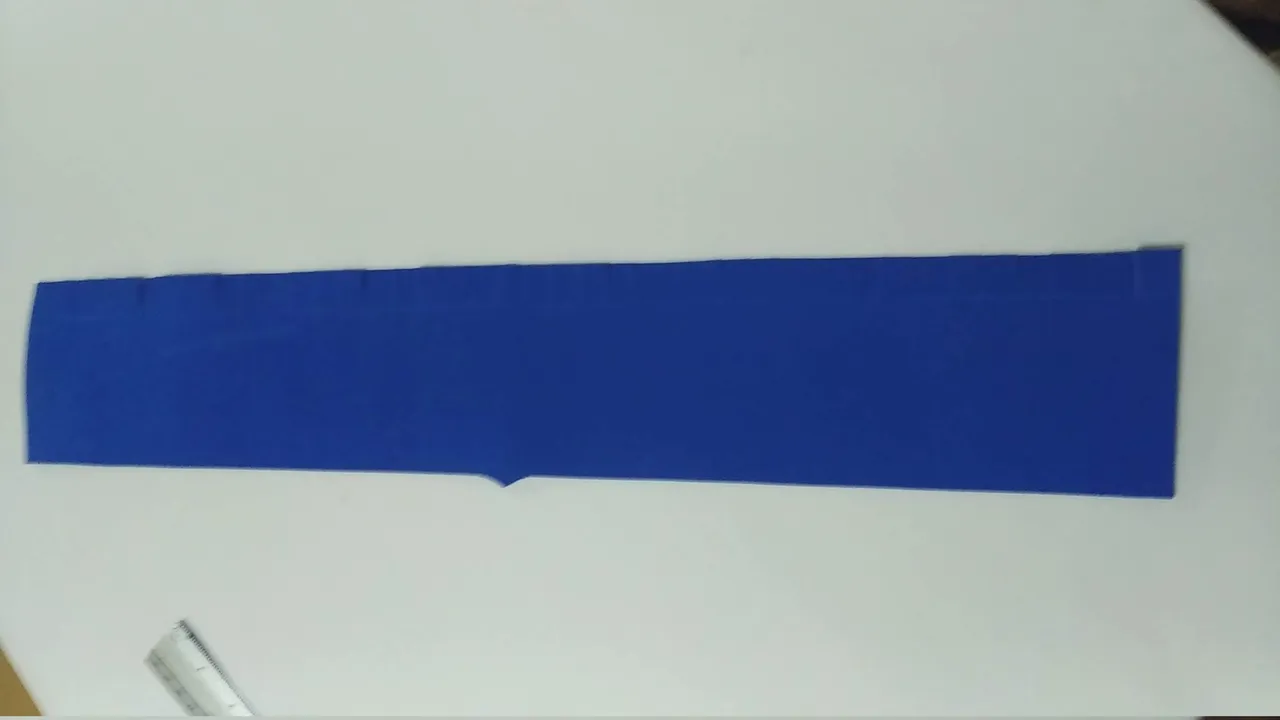
- Marcar y cortar en el foami plano azul un (1) rectángulo de 56 cm de largo por 8 cm de ancho.
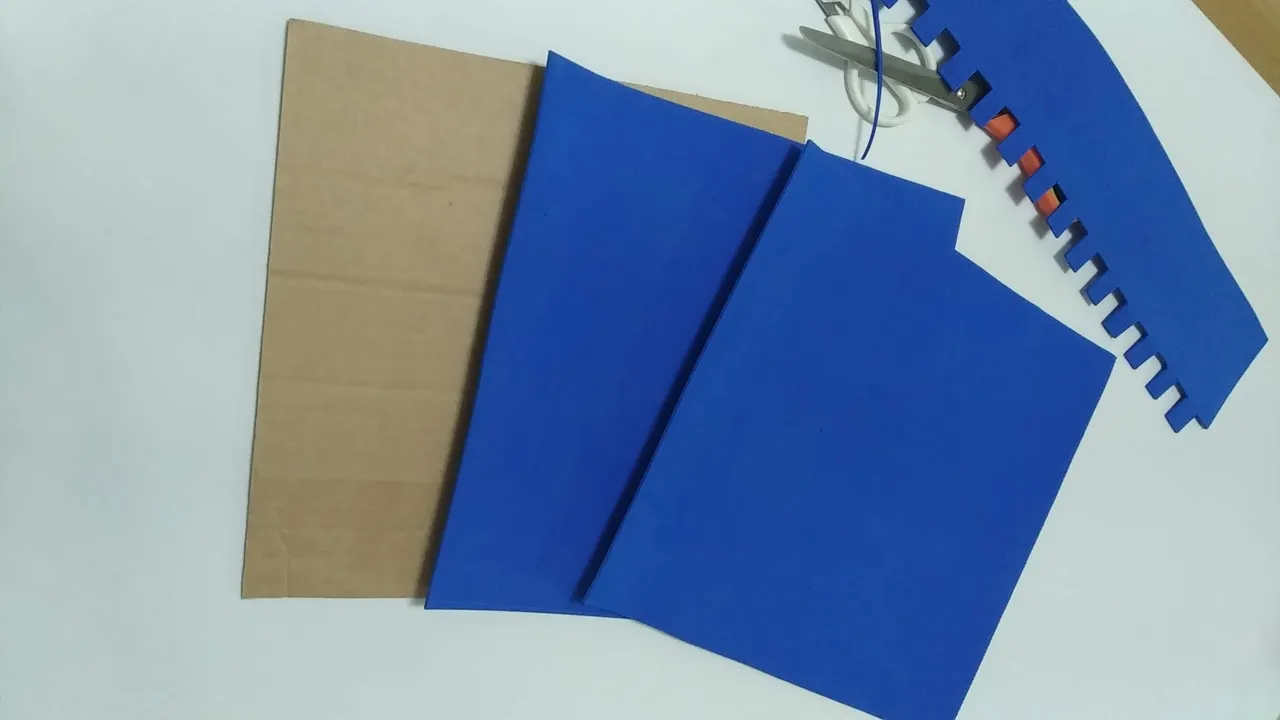
- Marcar y cortar en el foami plano azul, dos (2) cuadrados de 25 x 25 centímetros.
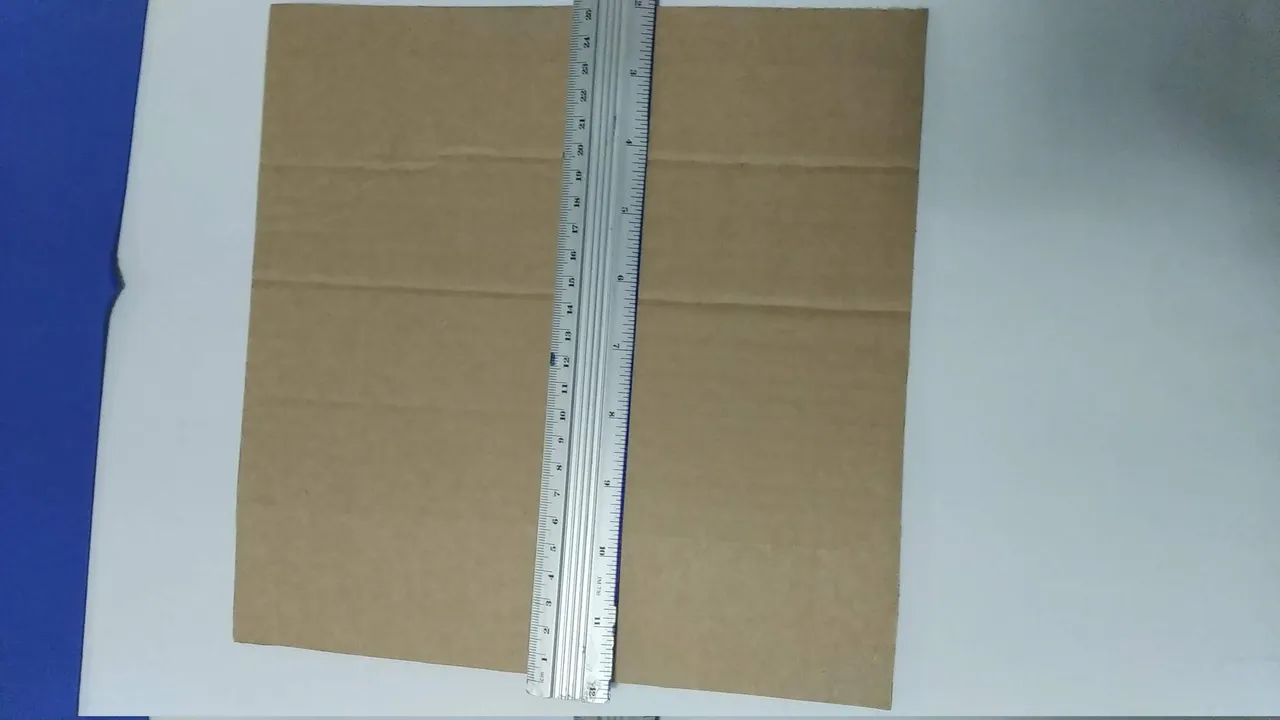
- Marcar y cortar en el cartón re-utilizable un (1) cuadrado de 25 x 25 centímetros.
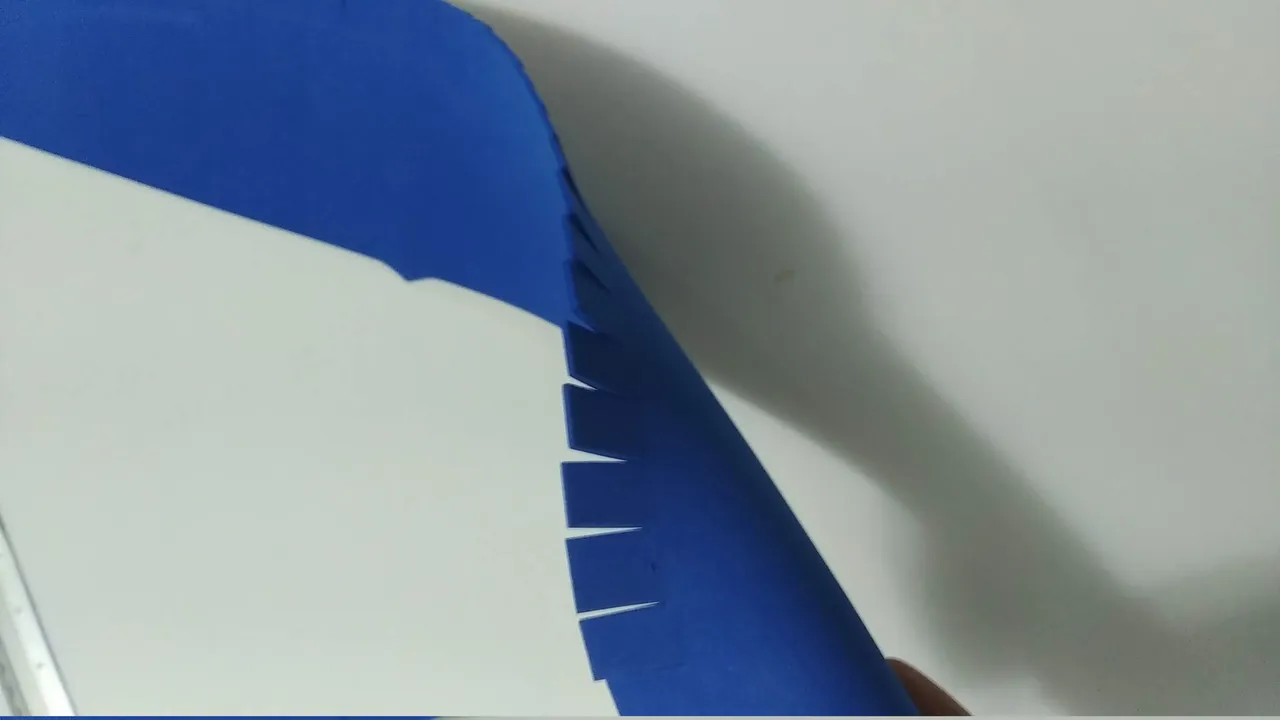
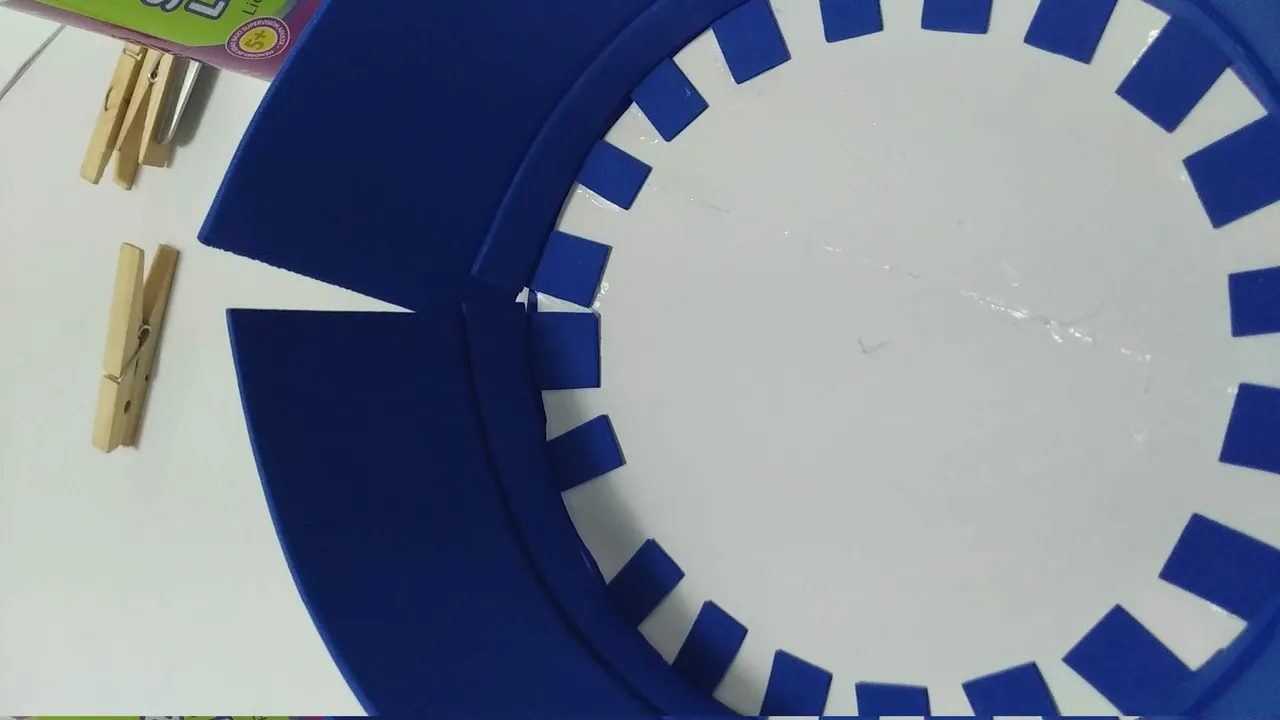
- Al rectángulo de 56 cm, marcar en uno de sus lados un centímetro de ancho y hacer pequeños cortes a todo lo largo de un centímetro; luego de forma intercalada cortar estos cuadros, dejando uno si y uno no.
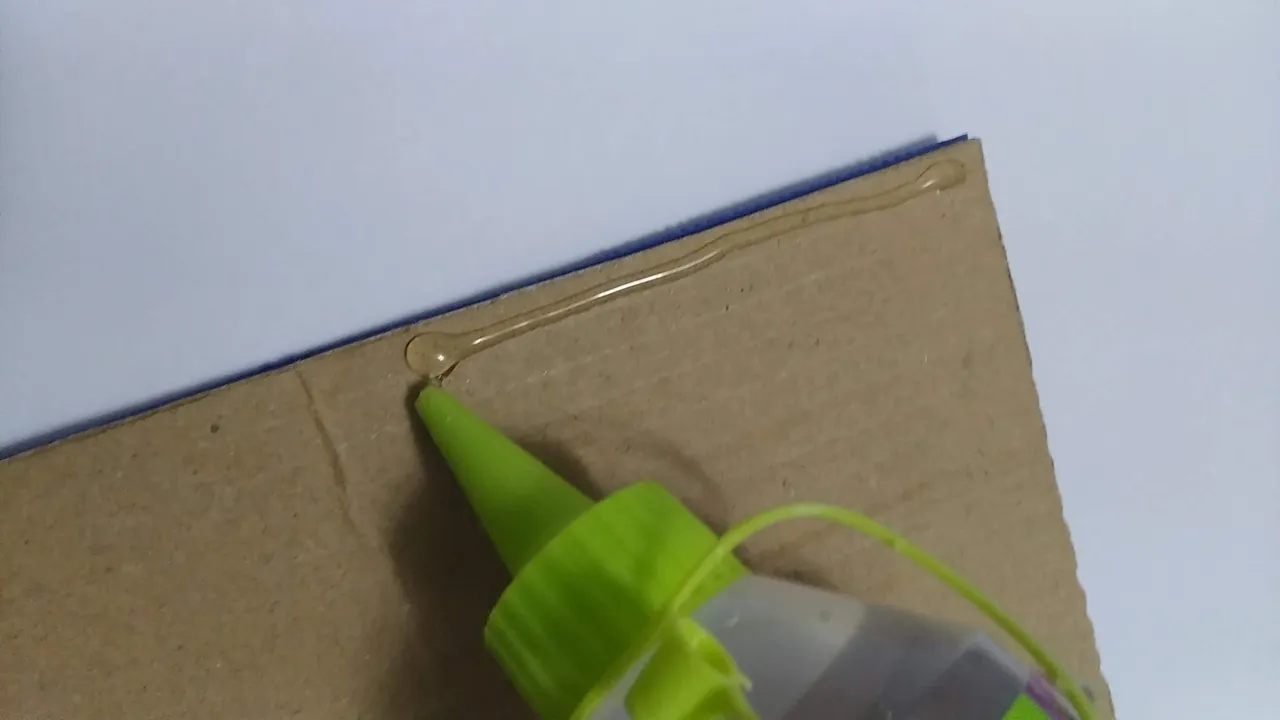
- Al cuadrado de cartón aplicar silicón frio por una de sus caras y pegar un cuadro de foami azul esperar a que seque y luego pegar la otra cara.
- Para cubrir los bordes del cartón, cortar tiras de foami azul y pegar en todos los bordes. El ancho de esta tira será del ancho que resulte los bordes con ambos foamis y el cartón.
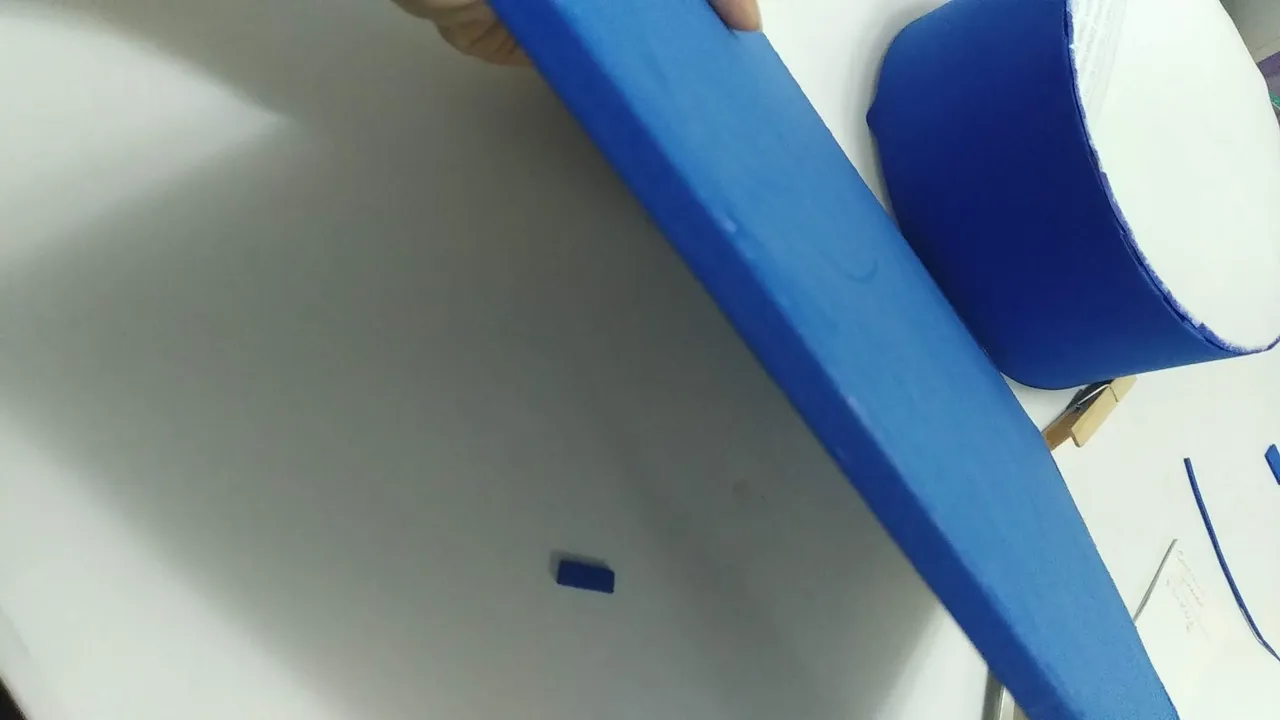
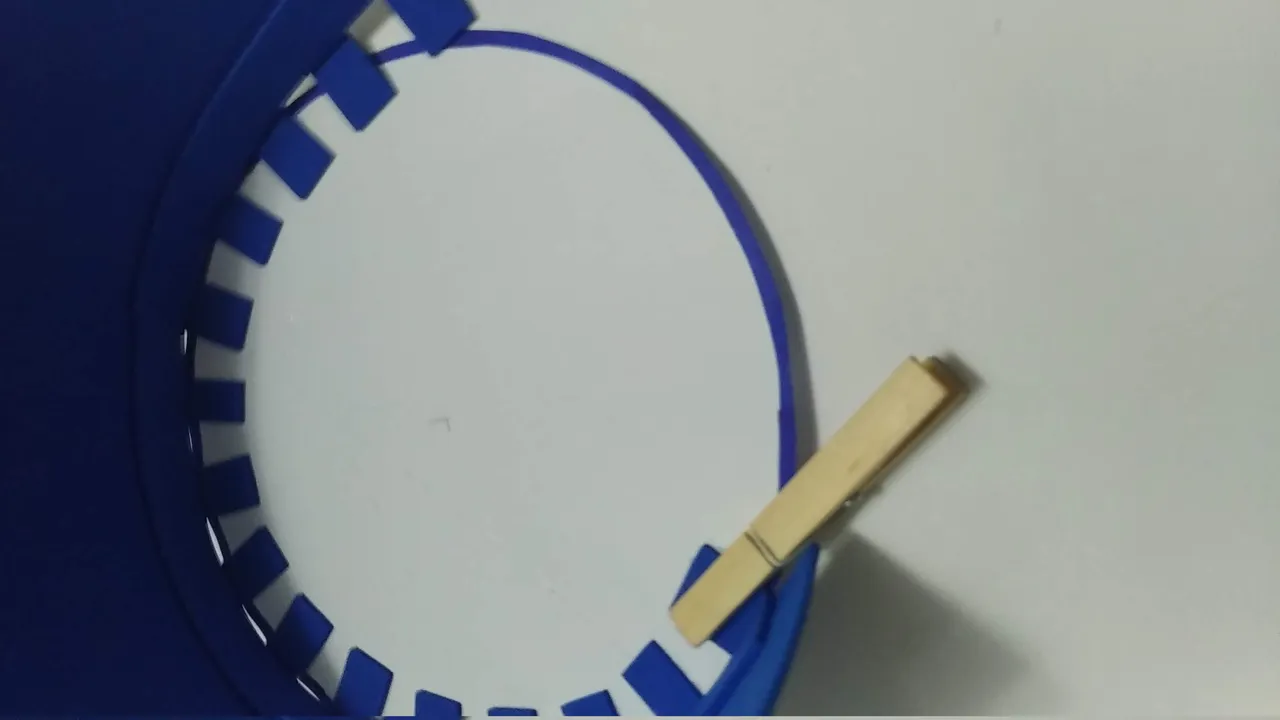
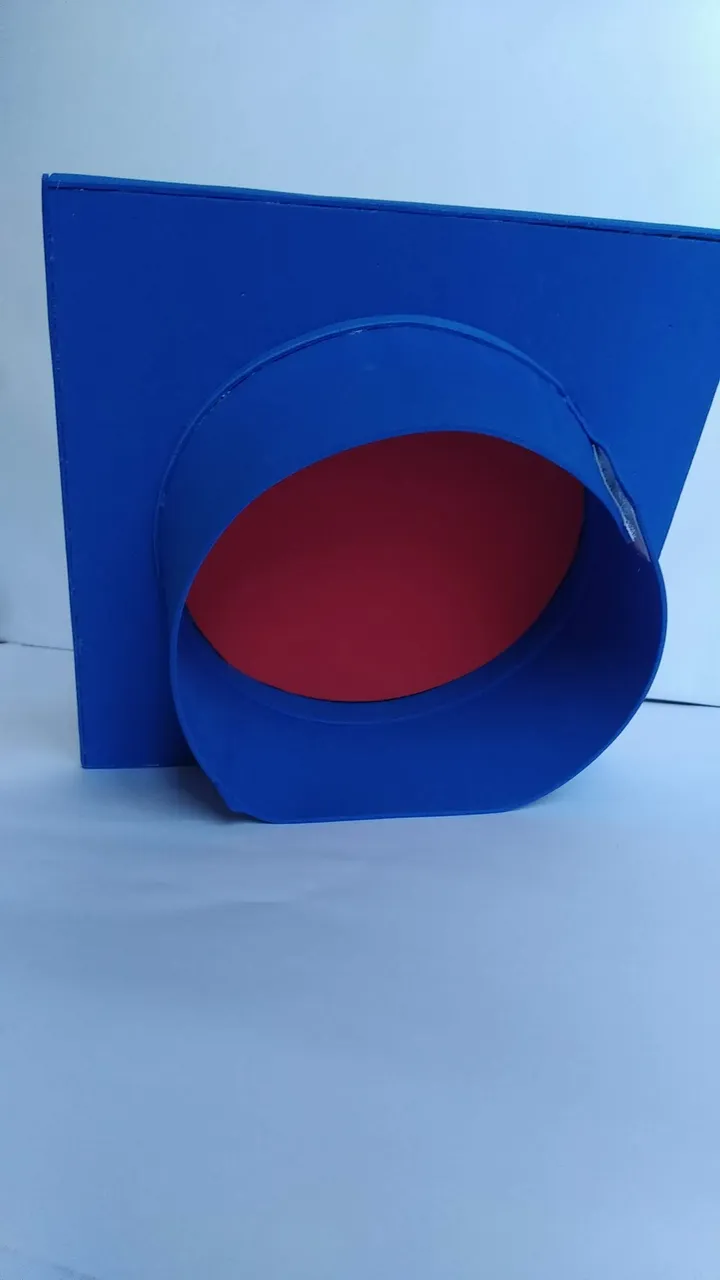
- El rectángulo con cortes intercalados darle forma de circulo, para ello recordar un circulo de papel y con la ayuda de pinzas de madera ir moldeando de acuerdo al papel.
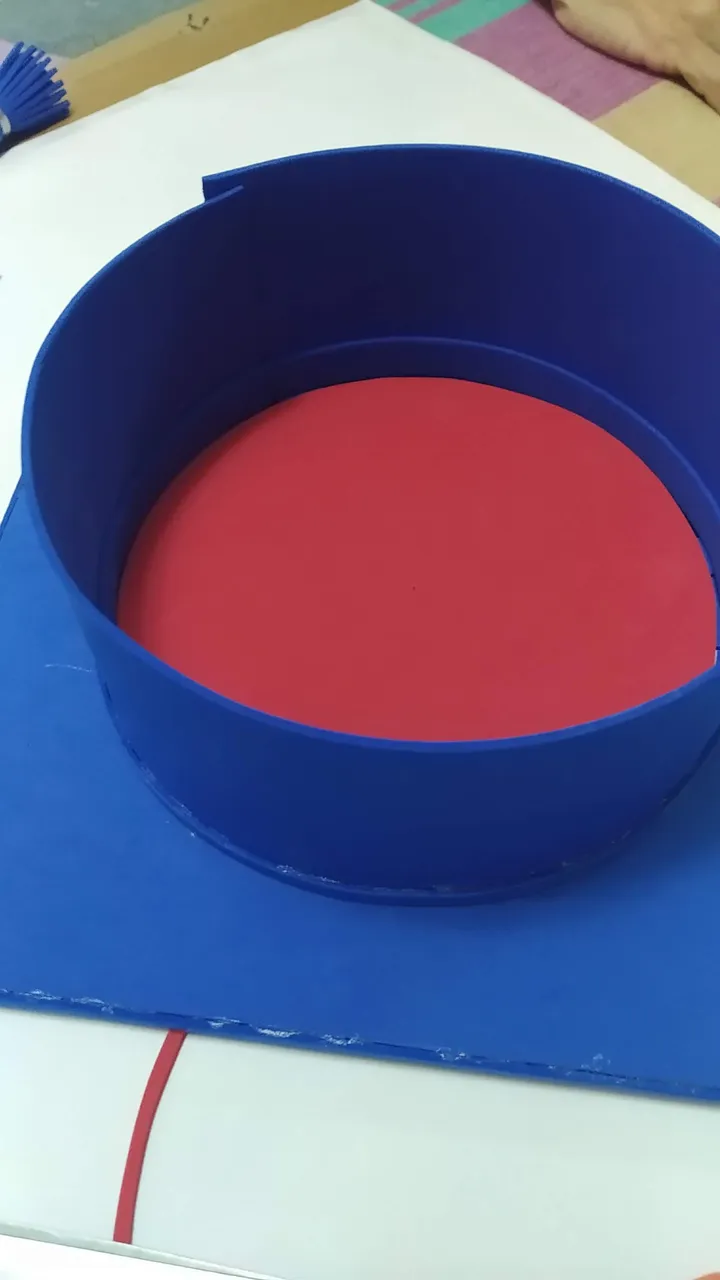
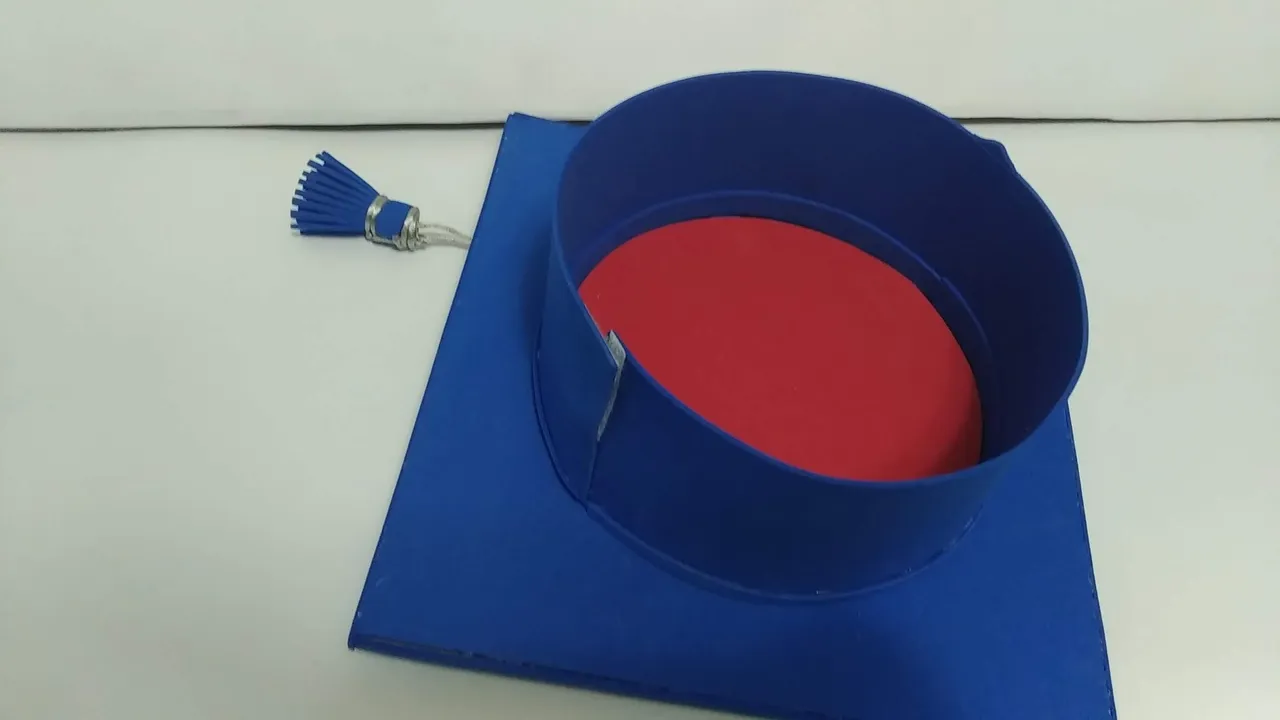
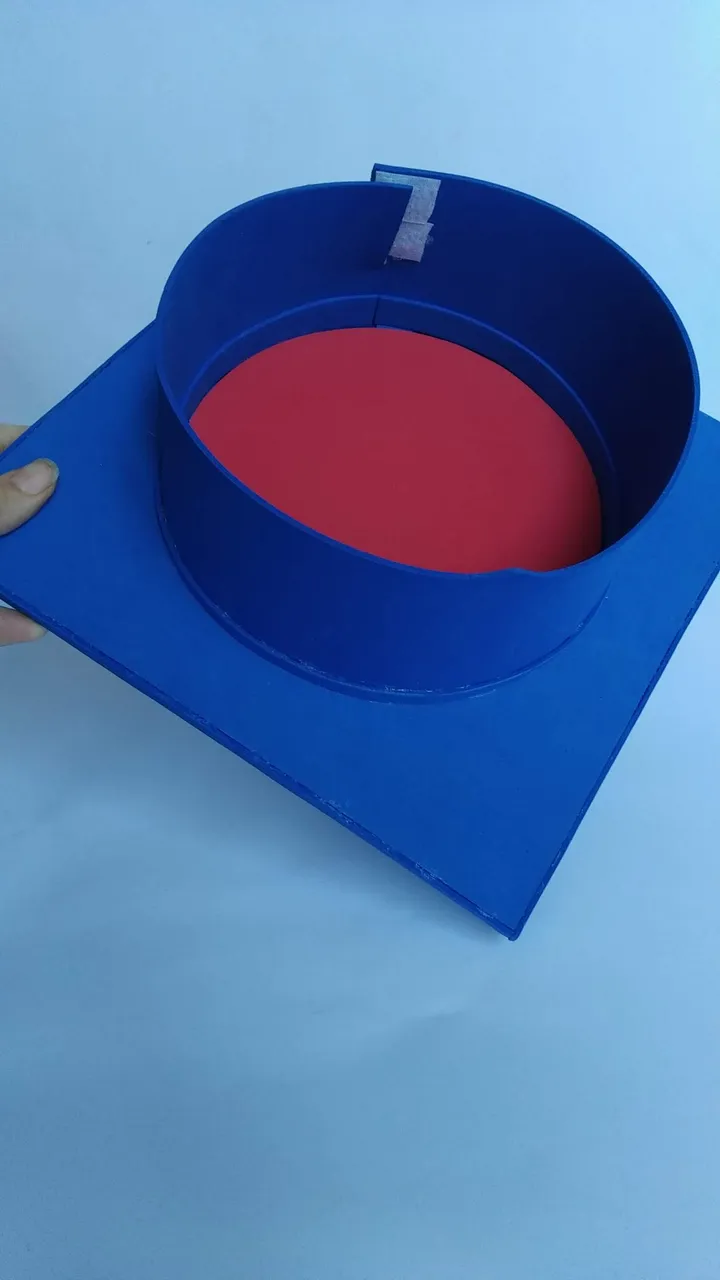
- Pegar al cuadrado el cilindro anterior, pegarlo de forma centrada. Colocar cinta mágica de ser necesario para ajustar mejor al poner.
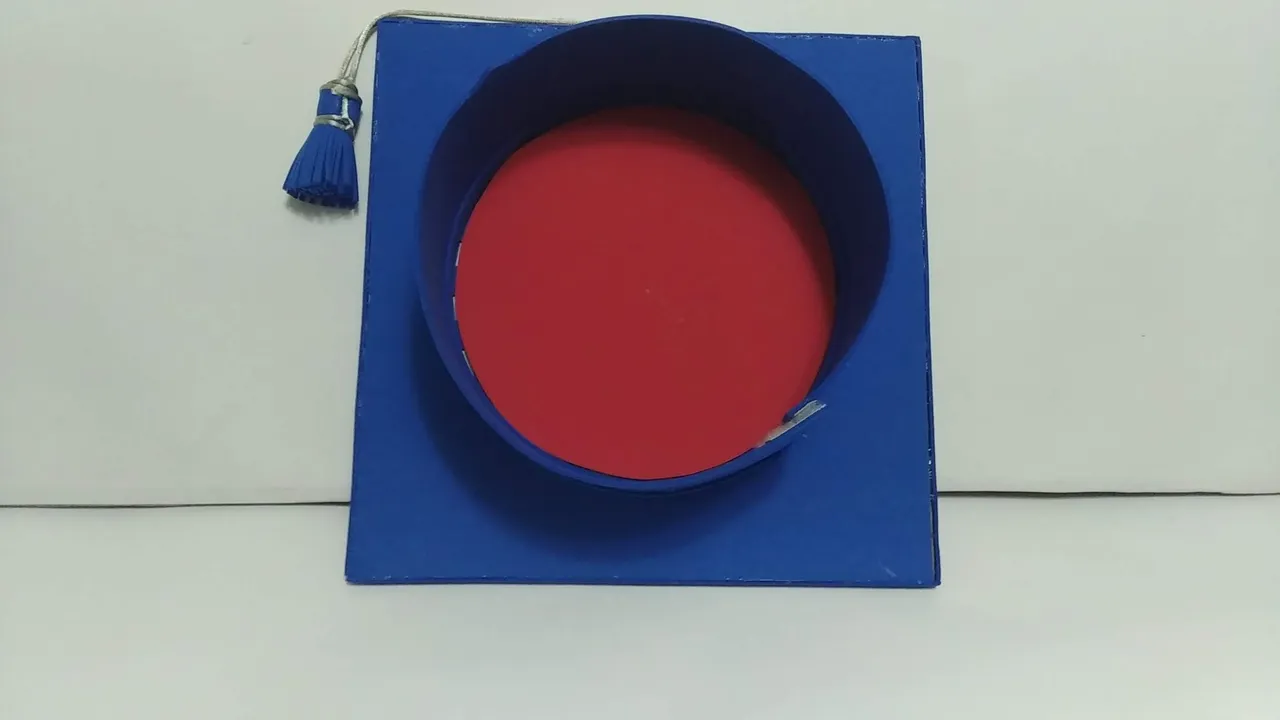
- A la circunferencia interna del birrete pegarle foami rojo.
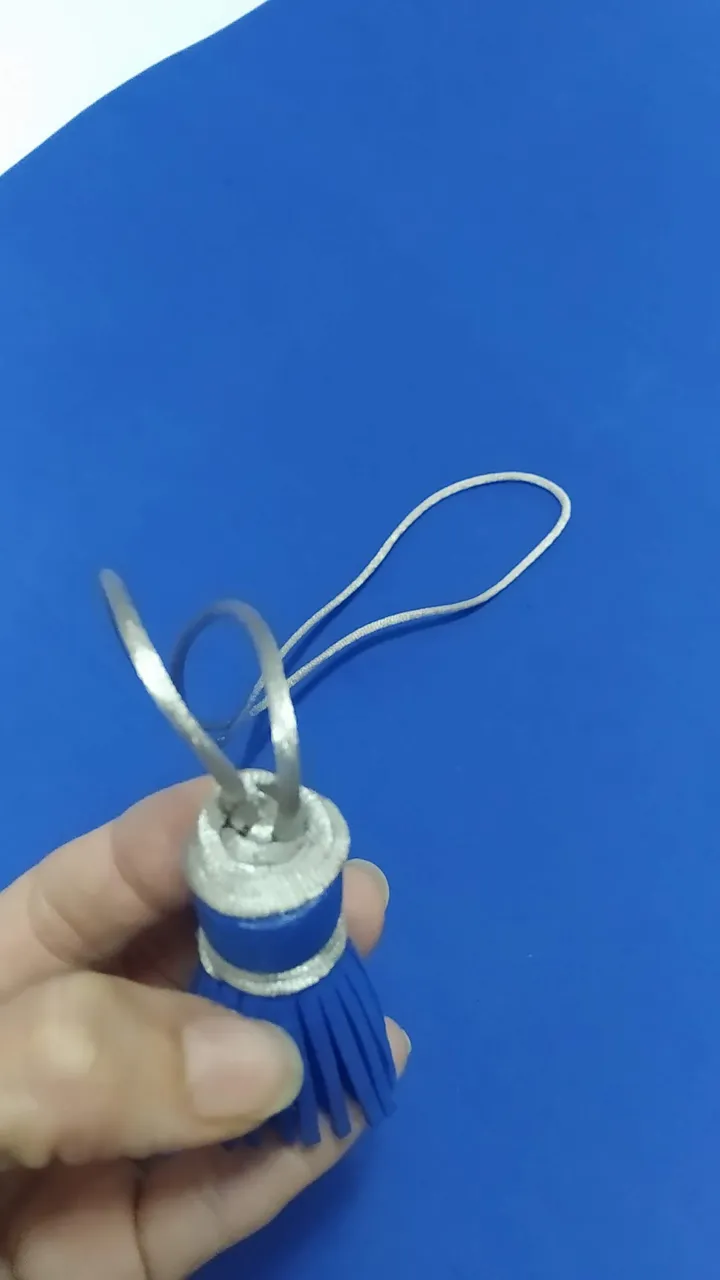
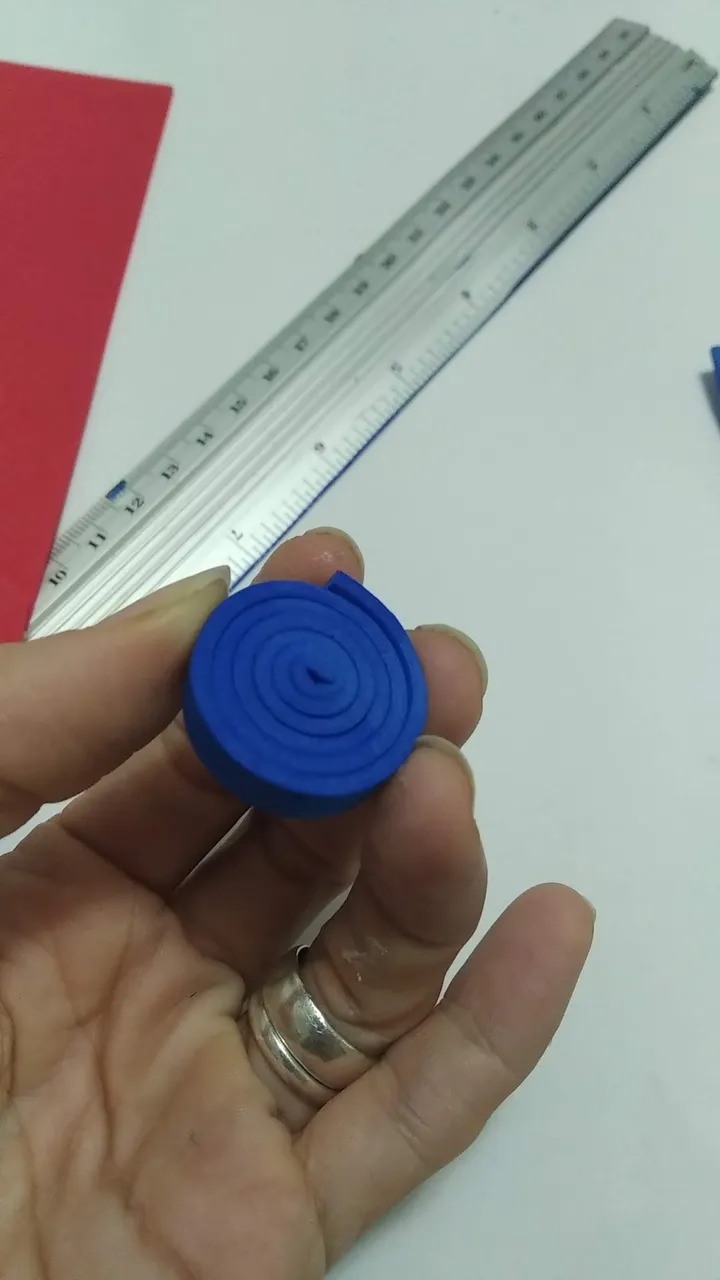
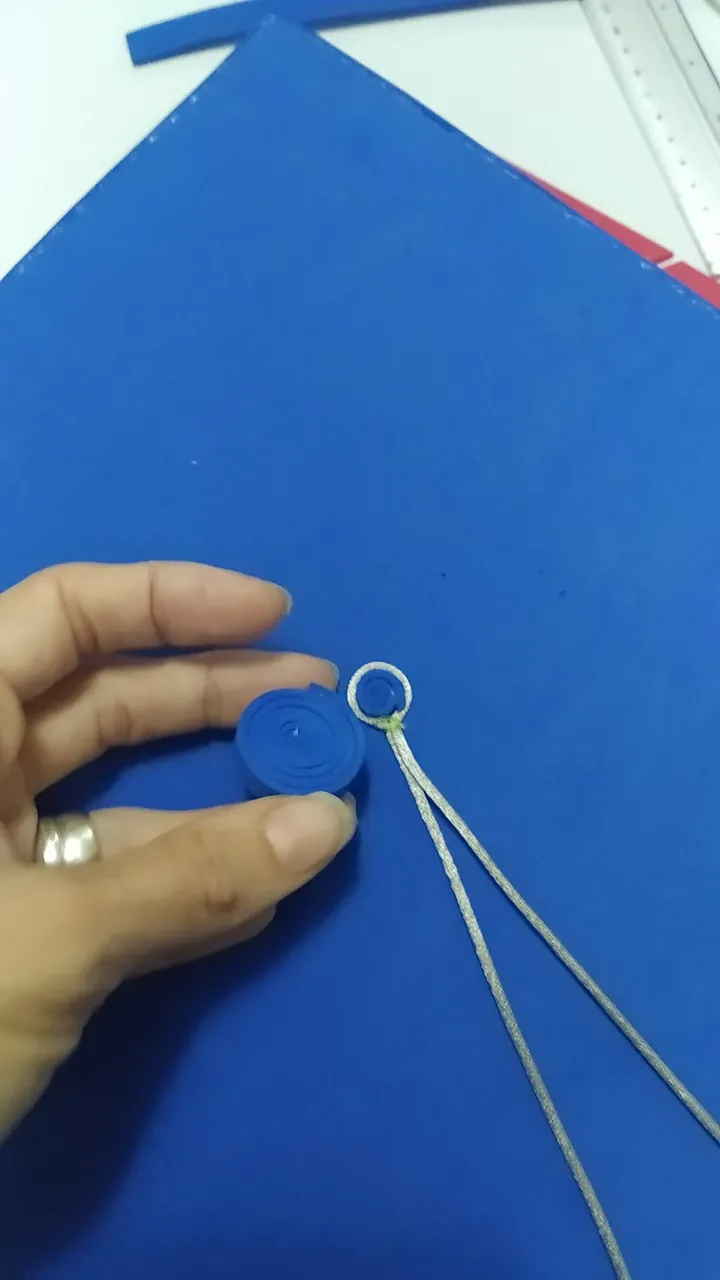
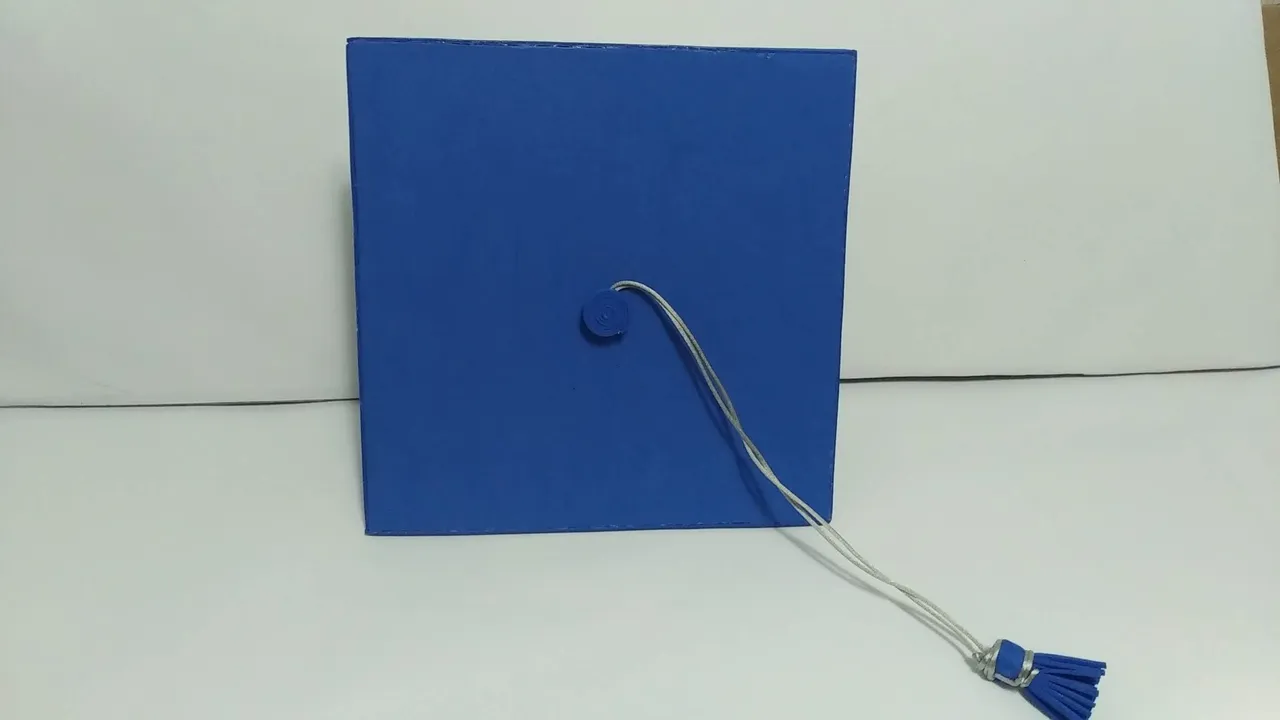
- En la parte superior del birrete, pegar el cordón y al extremo del mismo, crear la borla con el mismo foami.
- ¡Listo!, a disfrutar de la magia de lo creado en casa.
English
Happy and blessed Wednesday dear readers.
When we have children, parents celebrate their triumphs in an overflowing way, we swell with joy and dreams, wishing their future will always be better than ours. My friend Laura is very proud of her son Camilo, who is moving on to a new school stage, elementary school, where he will consolidate his lifelong learning.
In my country, reaching new educational levels is always a great event, but when you go from kindergarten to elementary school, parents and teachers stand out in events, celebrations, cakes, cotillions, photos, etc. and it is a great stage that should start with great fanfare.
The craft that I show you today, is a school cap with which Camilo attended his small graduation ceremony and with which he looked beautiful for the photos and memories. It is an easy and inexpensive biretta to make.
Without further ado and hoping you enjoy the work done, I leave you the materials used, the process and the images of the work.
- Blue flat Foami
- Red flat Foami
- Silver cord
- Reusable cardboard
- Cold Silicone
- Cutter.
- Scissors.
- Pencil.
- Mark and cut in the blue flat foami one (1) rectangle of 56 cm long by 8 cm wide.
- Mark and cut two (2) 25 x 25 centimeter squares on the blue flat foami.
- Mark and cut on the reusable cardboard one (1) square of 25 x 25 centimeters.
- To the 56 cm rectangle, mark on one of its sides one centimeter wide and make small cuts along the entire length of one centimeter; then cut these squares in an intercalary manner, leaving one yes and one no.
- To the cardboard square apply cold silicone on one of its sides and glue a blue foami square, wait for it to dry and then glue the other side.
- To cover the edges of the cardboard, cut strips of blue foami and glue on all the edges. The width of this strip will be the width of the edges with both foamis and the cardboard.
- The rectangle with interspersed cuts give it the shape of a circle, to do this remember a circle of paper and with the help of wooden tweezers go molding according to the paper.
- Glue the previous cylinder to the square, glue it in a centered way. Place magic tape if necessary to adjust it better.
- Glue red foami to the inner circumference of the biretta.
- On the top of the biretta, glue the cord and at the end of it, create the tassel with the same foami.
- Ready, enjoy the magic of what you have created at home.
Translated with www.DeepL.com/Translator (free version)
IMÁGENES / IMAGES

SALUDOS / REGARDS
Todas las Fotos fueron tomadas con mi teléfono Redmi 7A.
Contenido original de @keco (fotos y texto) - Todos los derechos reservados Publicado en HIVE así como en mi instagram : http://instagram.com/carton_pintura_algo_mas
All Photos were taken with my Redmi 7A phone.
Original content from @keco (photos and text) - All rights reserved Posted on HIVE as well as on my instagram: http://instagram.com/carton_pintura_algo_mas