Español
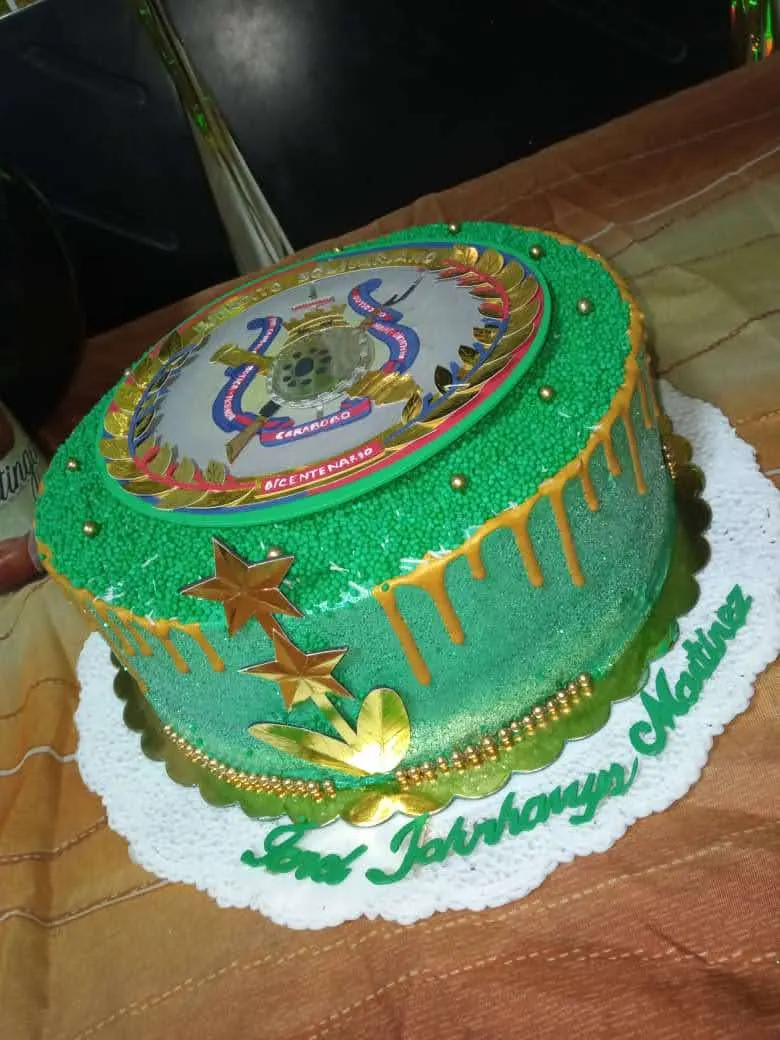
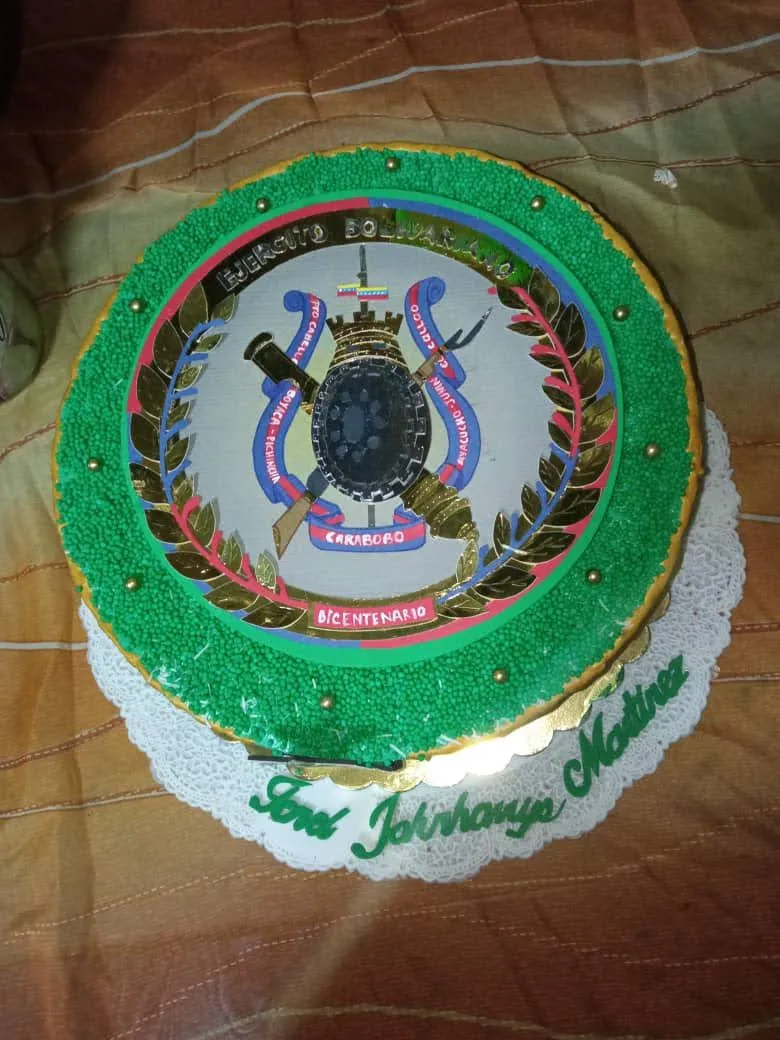
¡Seguimos con pasteles!, pero esta vez NO de cumpleaños.
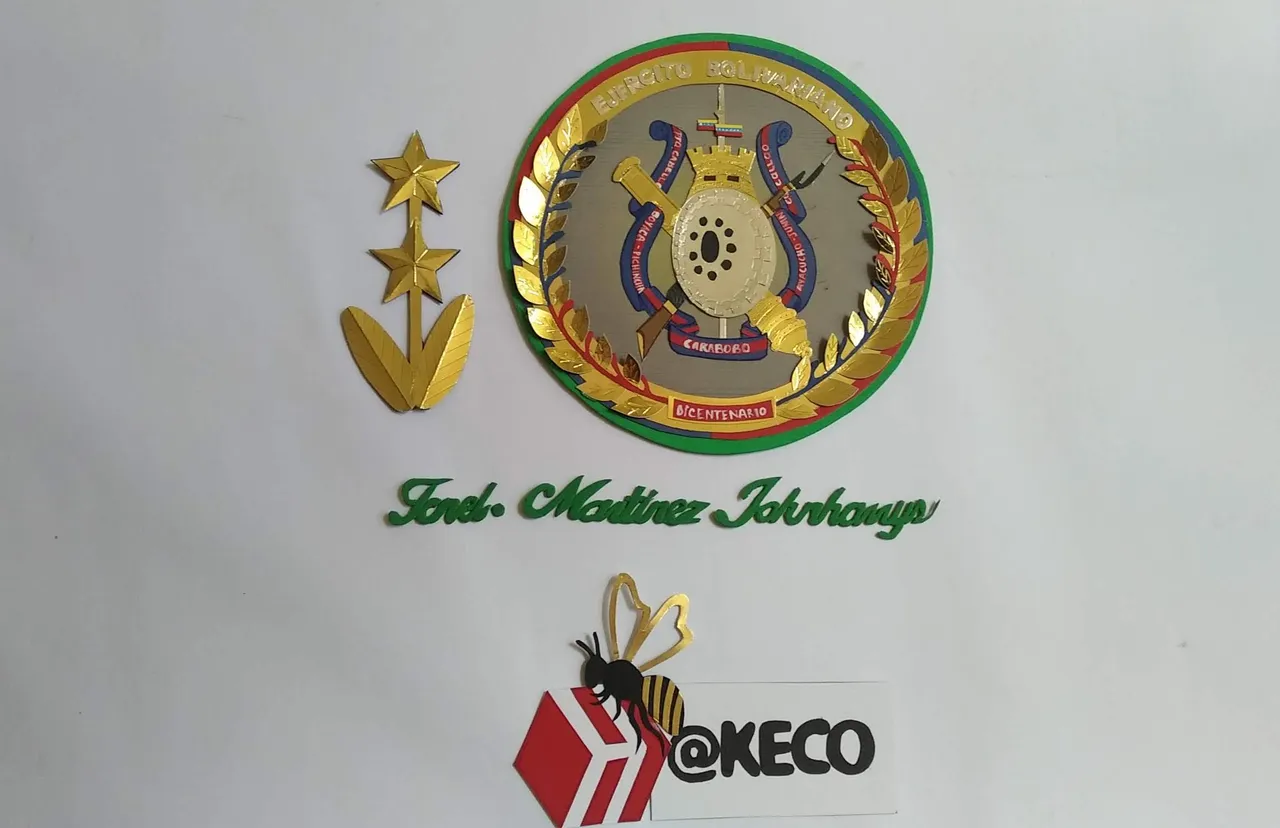
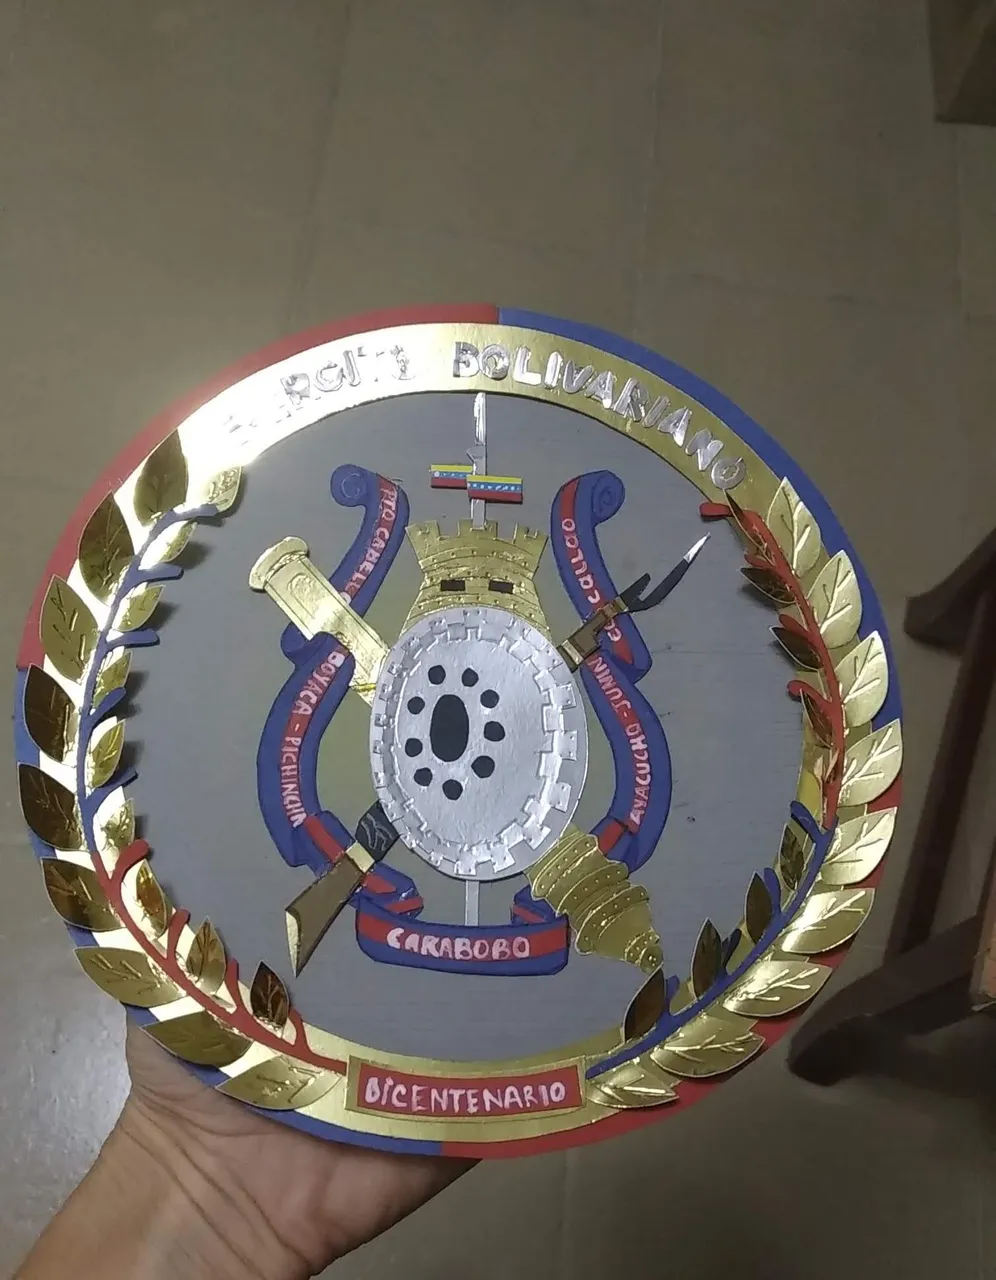
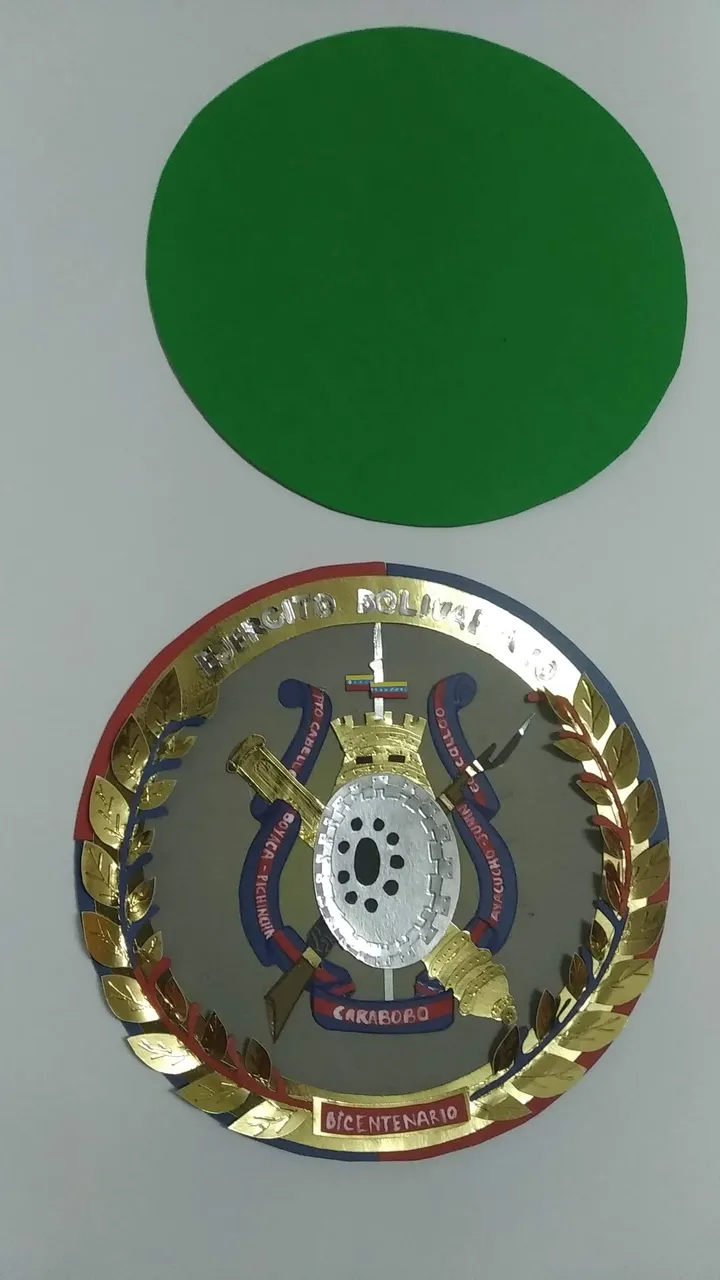
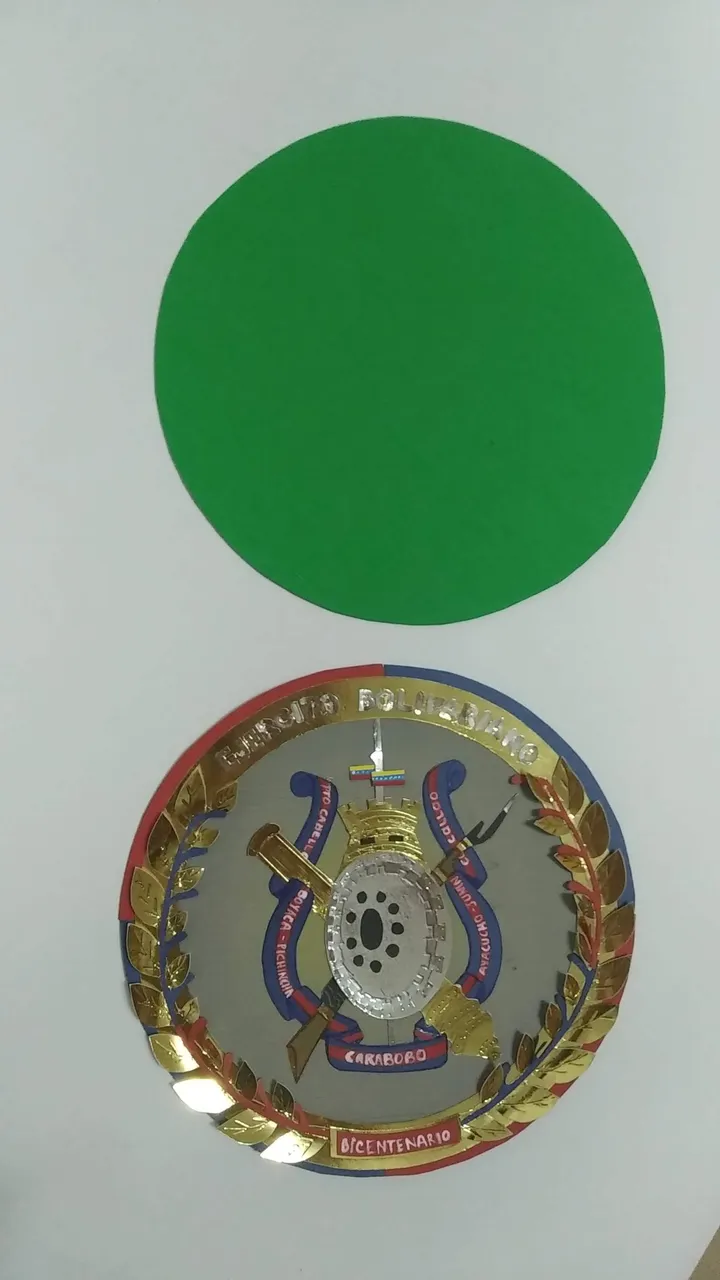
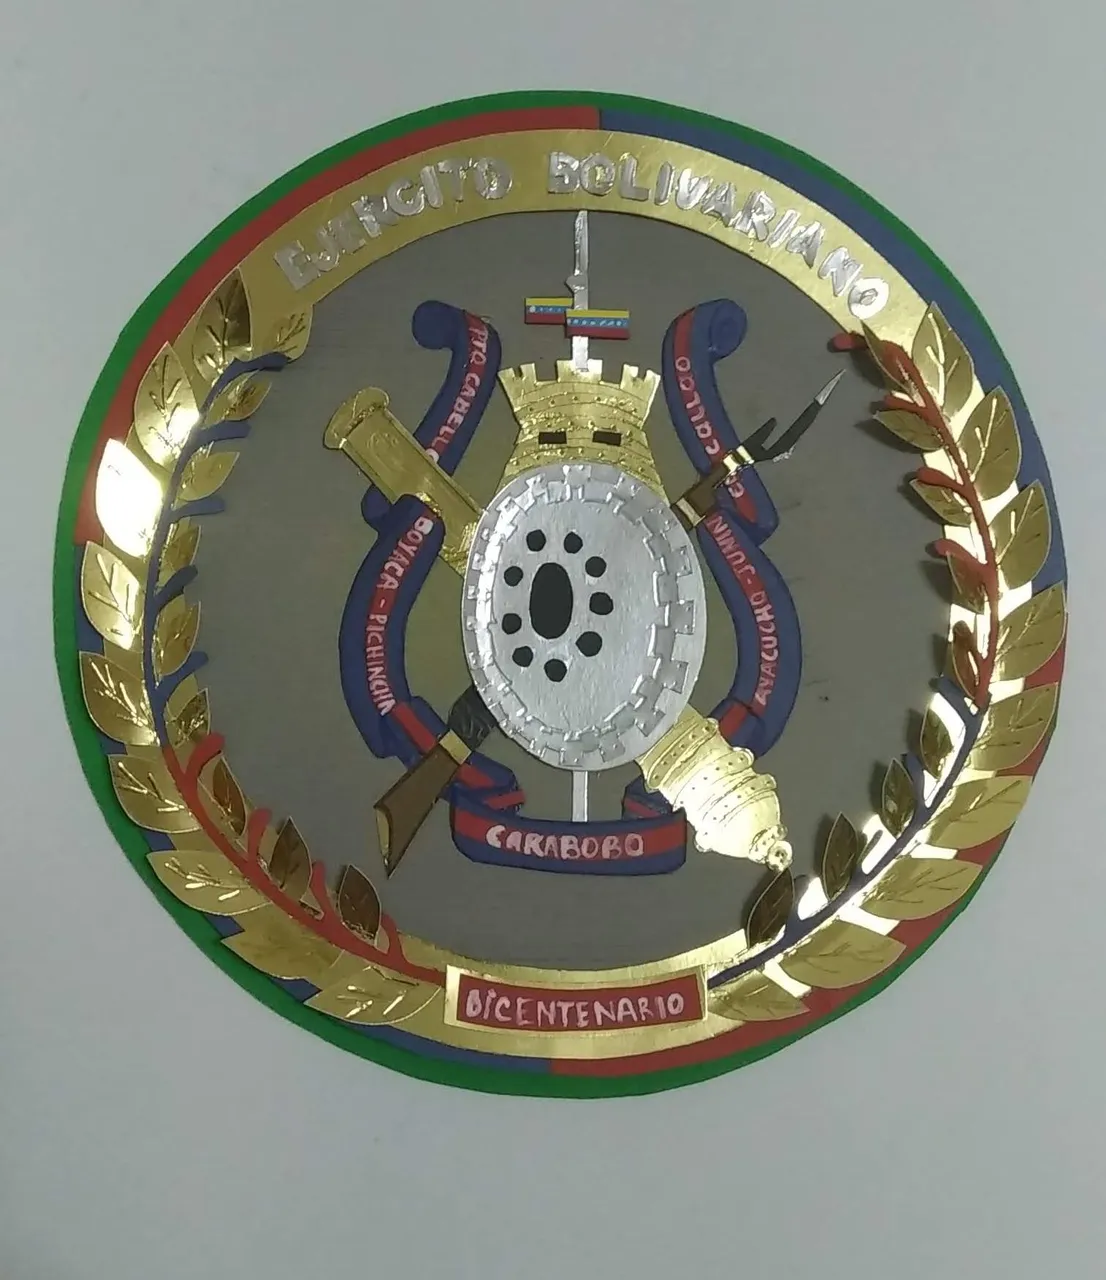
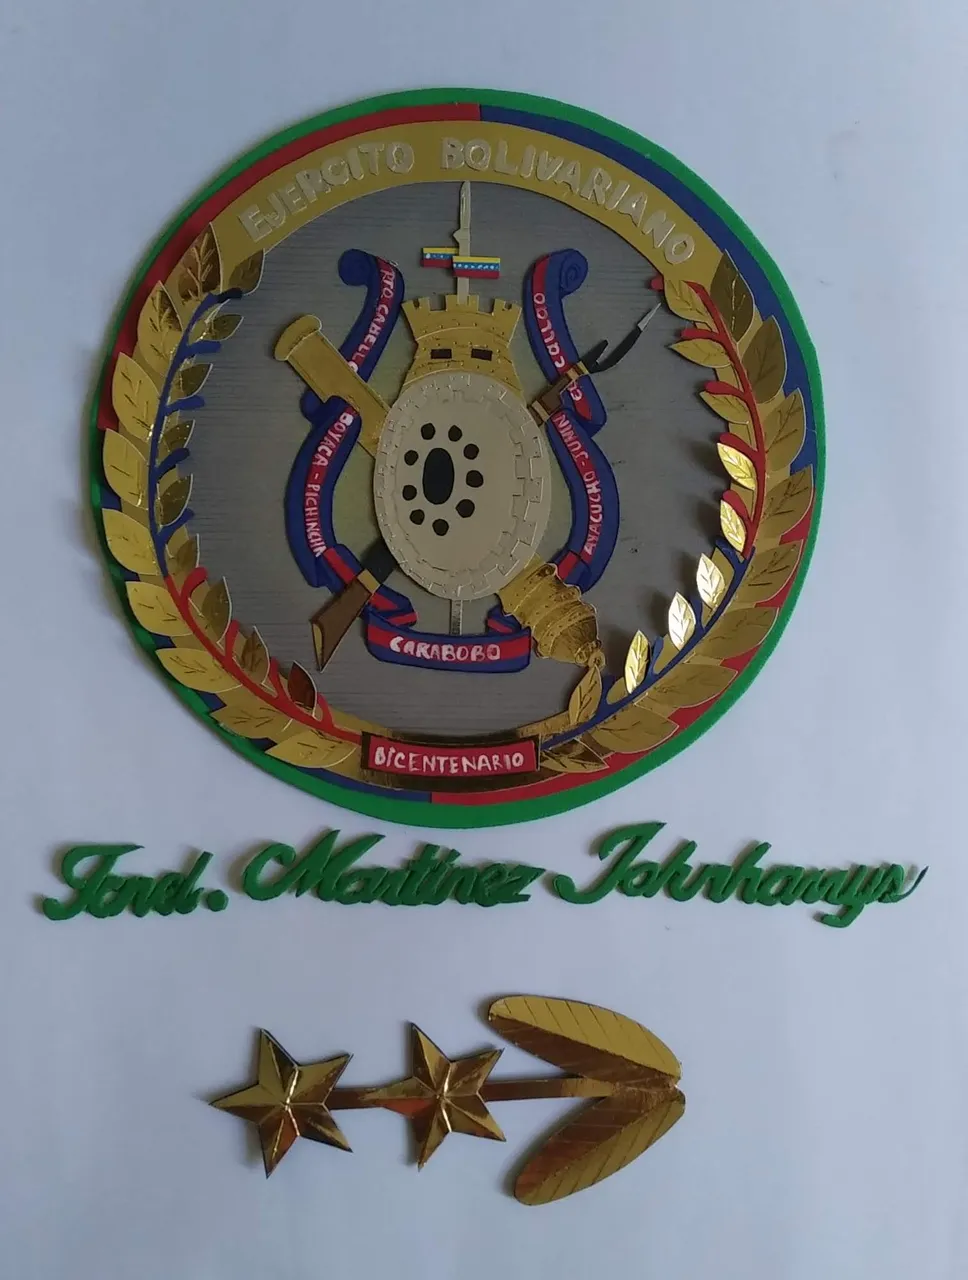
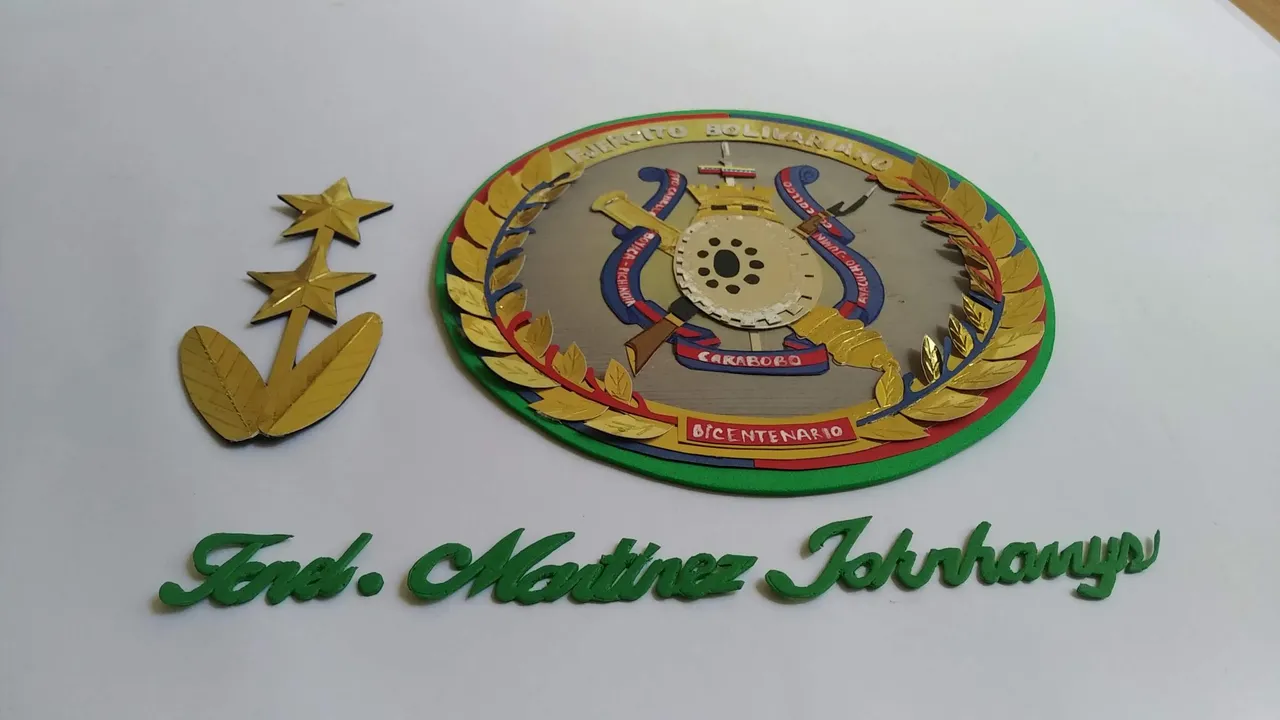
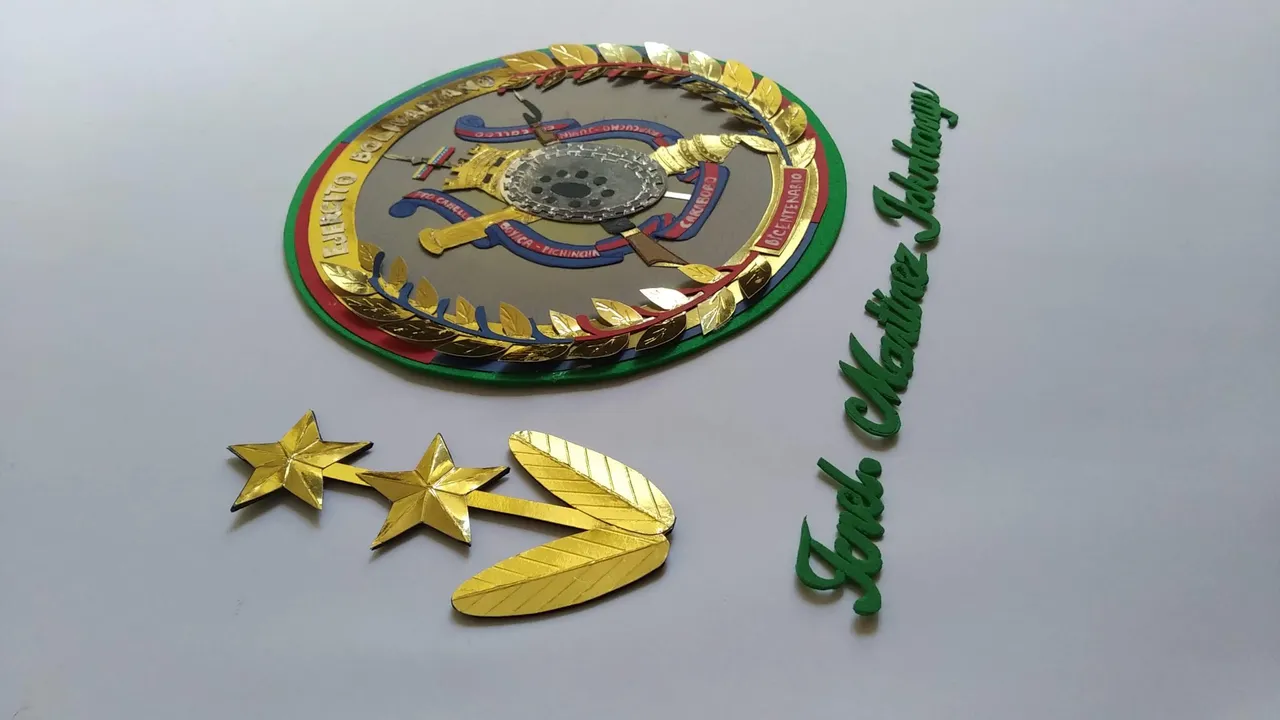
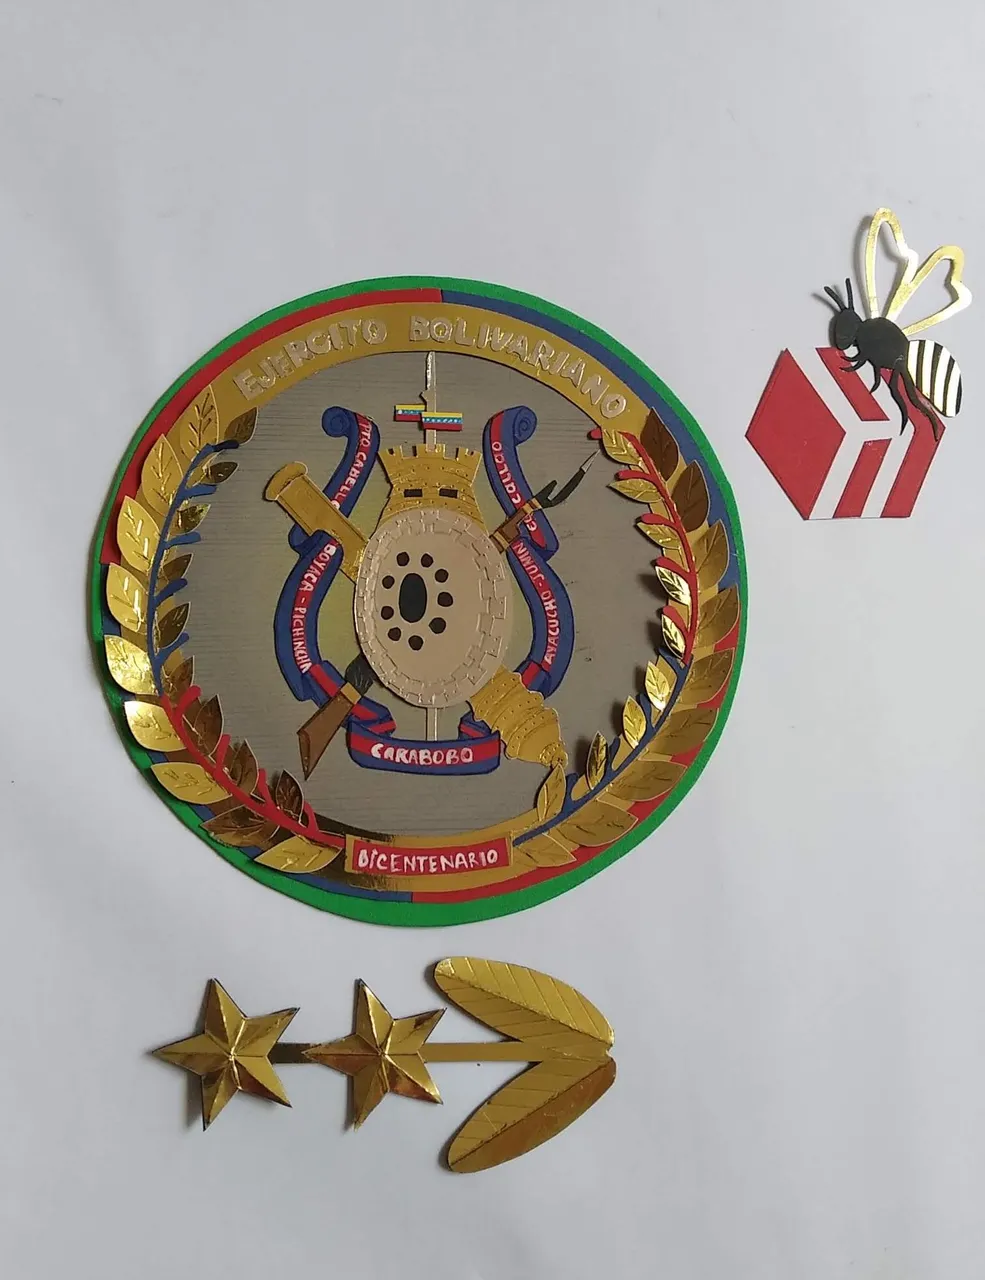
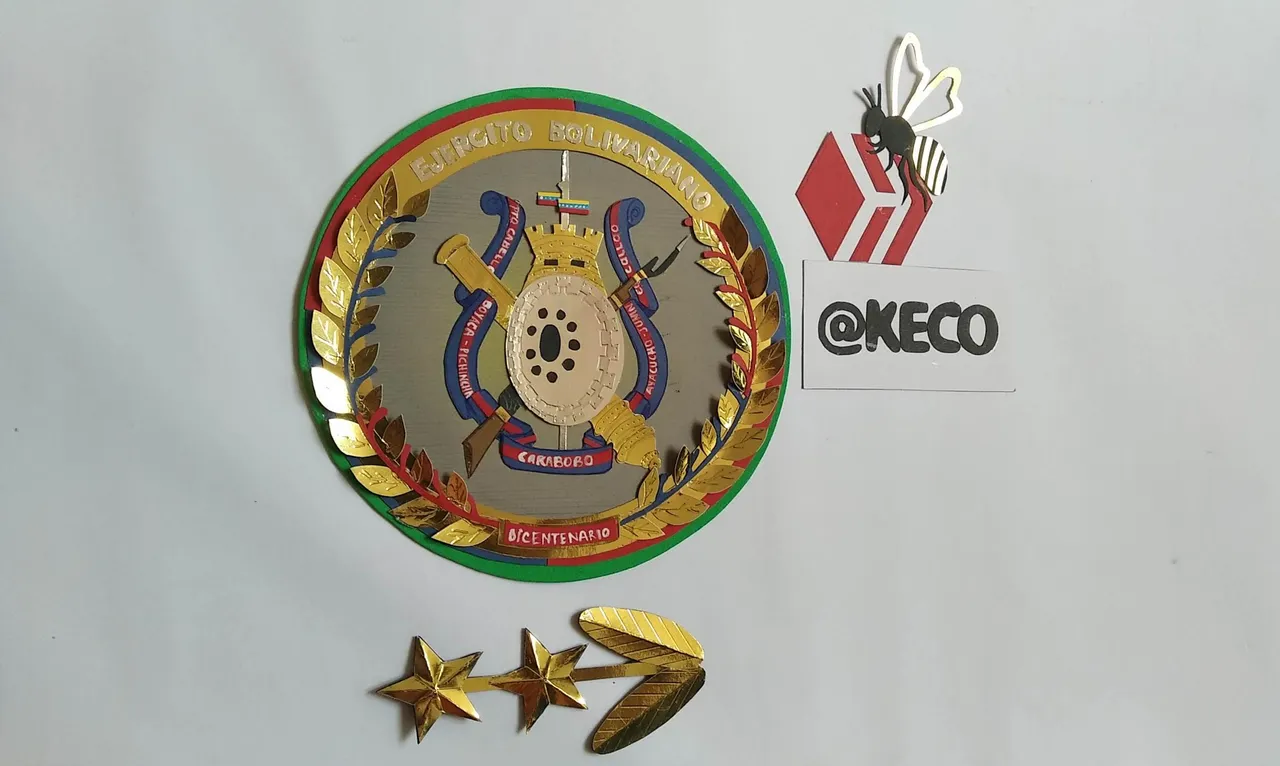
En mi país, celebrar cualquier asunto se ha convertido en moda y la celebración implica pastel. El mes de la nuestra patria es en Julio y los ascensos y asuntos militares de importancia suelen celebrarse en este mes. Este año, tuve la maravillosa oportunidad de crear el escudo del ejercito nacional (jamas había realizado uno, menos para un pastel) y debo decir me encantó la experiencia y el resultado del mismo.
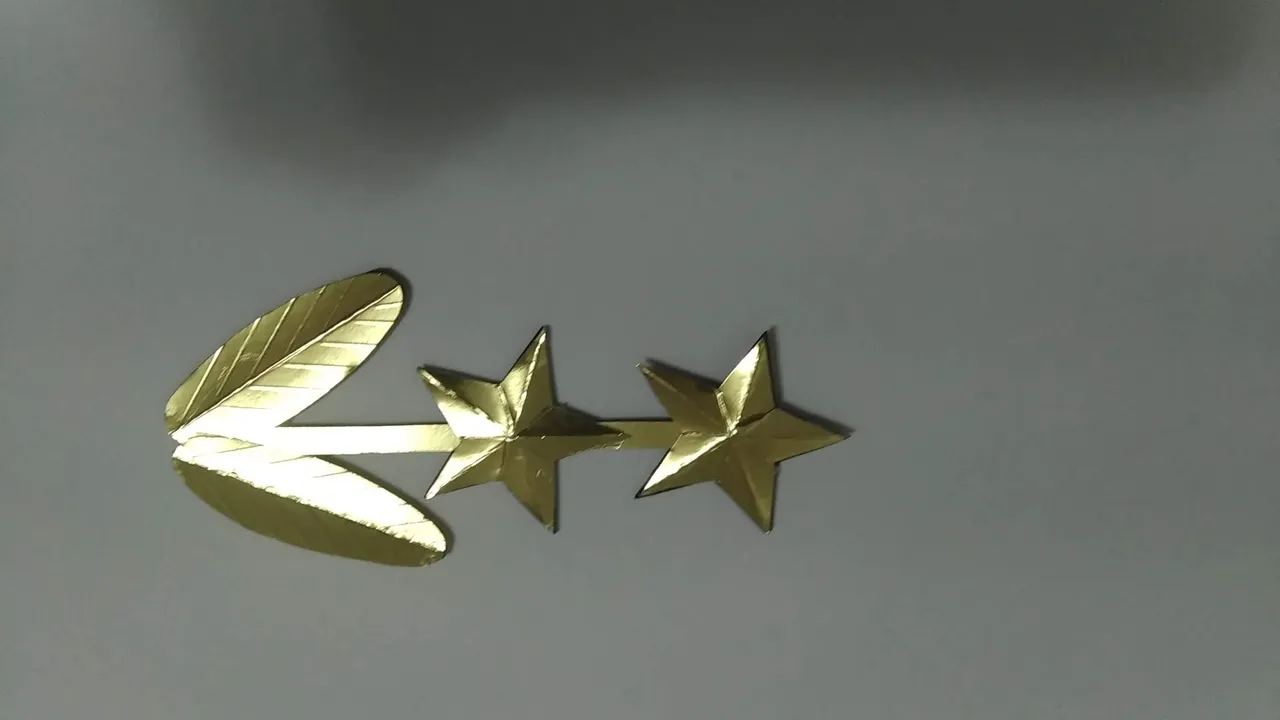
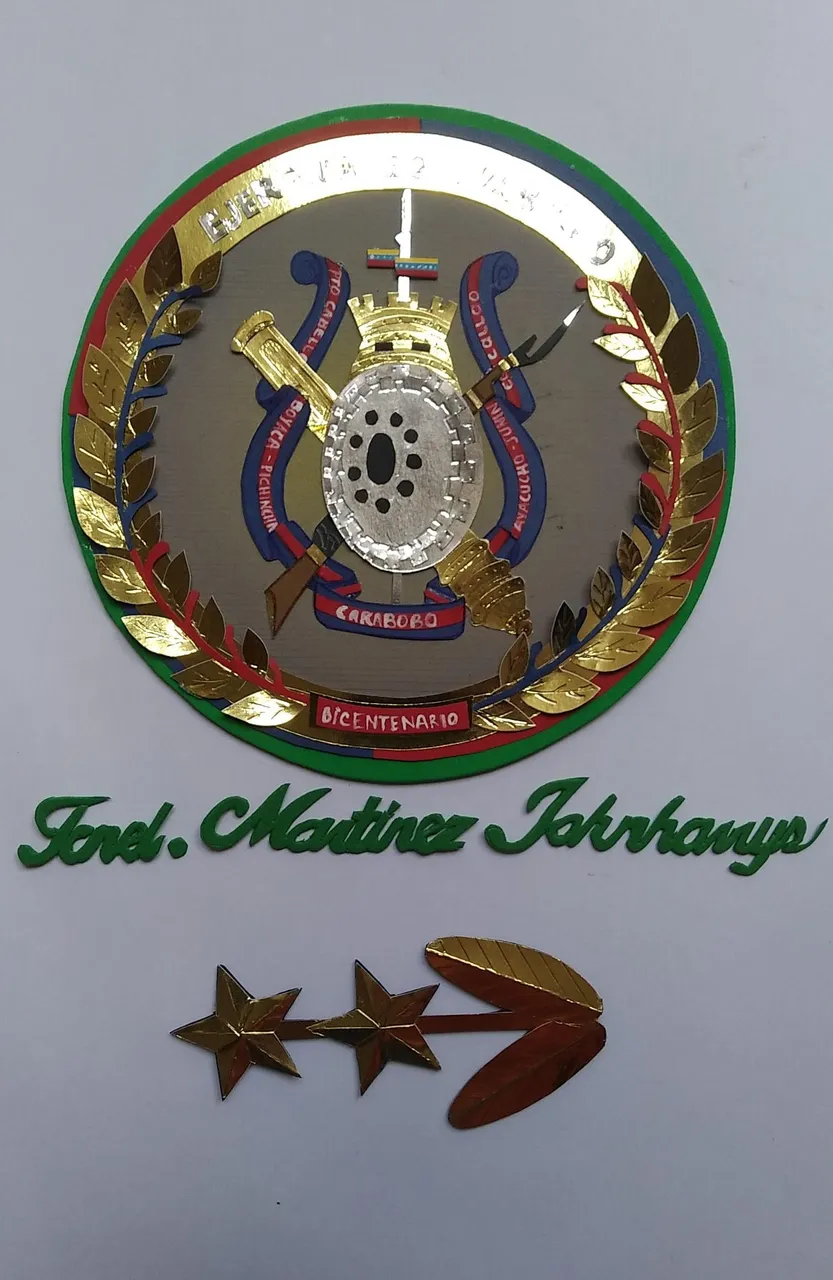
La decoración de éste pastel implicó la realización del logo, del nombre del homenajeado y el símbolo del rango obtenido. Las piezas se hicieron en cartulina de colores montado en una base de foami verde grueso.
Parece difícil pero en realidad resultó más fácil de lo que aparenta, solo es cuestión de cortar las piezas una a una con detalle y cuidado y luego ensamblar con amor. Sin más y esperando disfruten del trabajo realizado, les dejo los materiales utilizados, el proceso y las imágenes del trabajo.
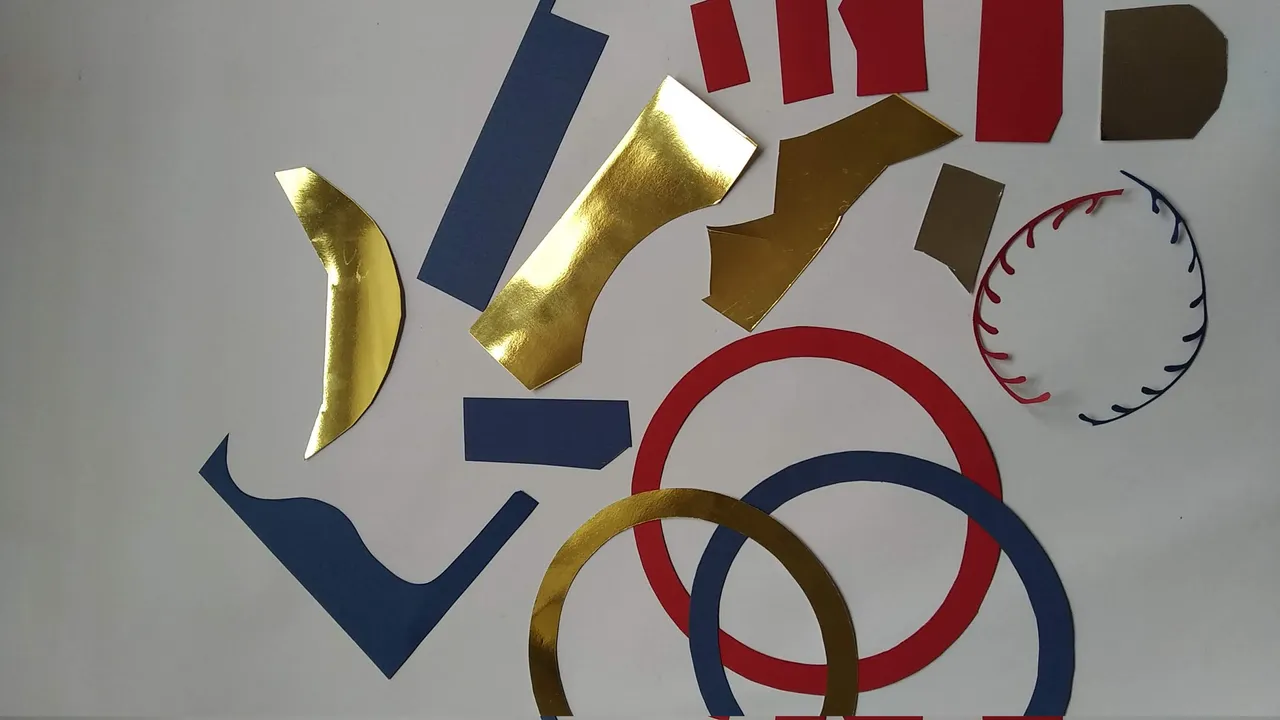
- Cartulina metalizada dorada.
- Cartulina Azul.
- Cartulina Roja.
- Cartulina Plateada metalizada.
- Cartulina amarilla, negra, marrón (pedacitos).
- Foami verde grama.
- Pintura al frio de color blanco (para escribir las letras)
- Pincel fino de preferencia n.º 0.
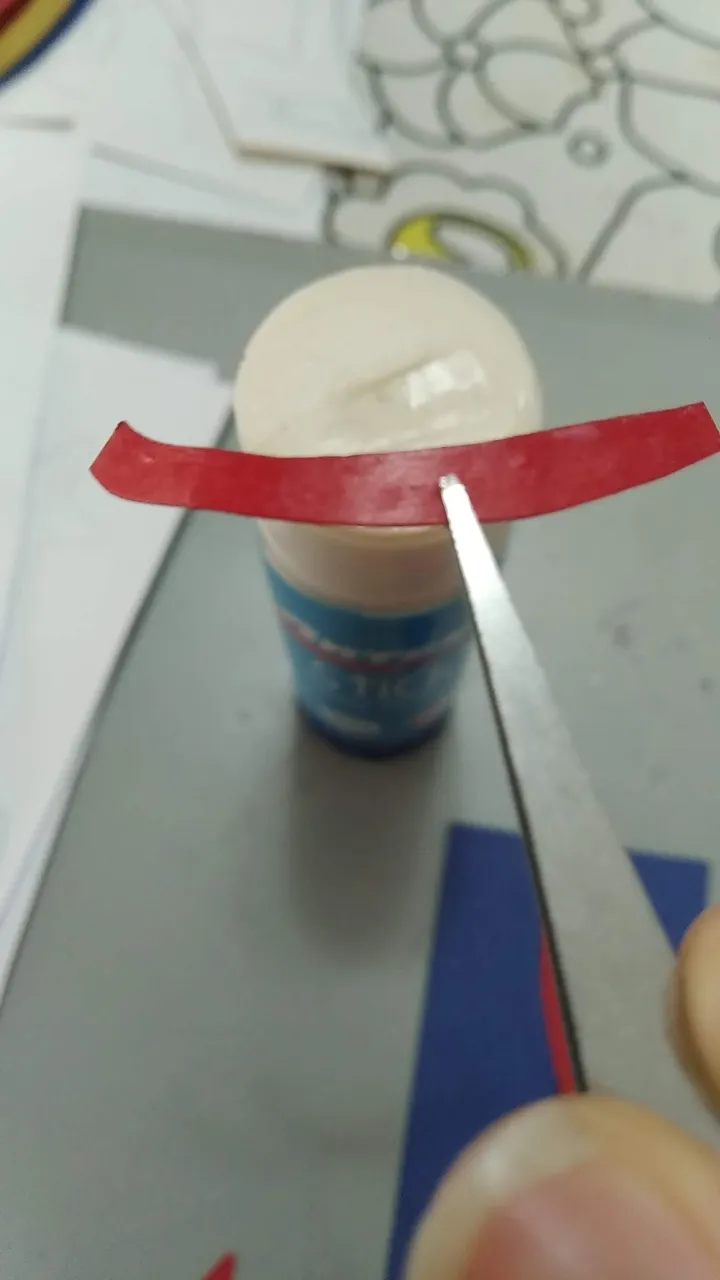
- Silicón frío.
- Marcadores de colores.
- Pedacito de acetato.
- Cutter.
- Tijera.
- Lápiz.
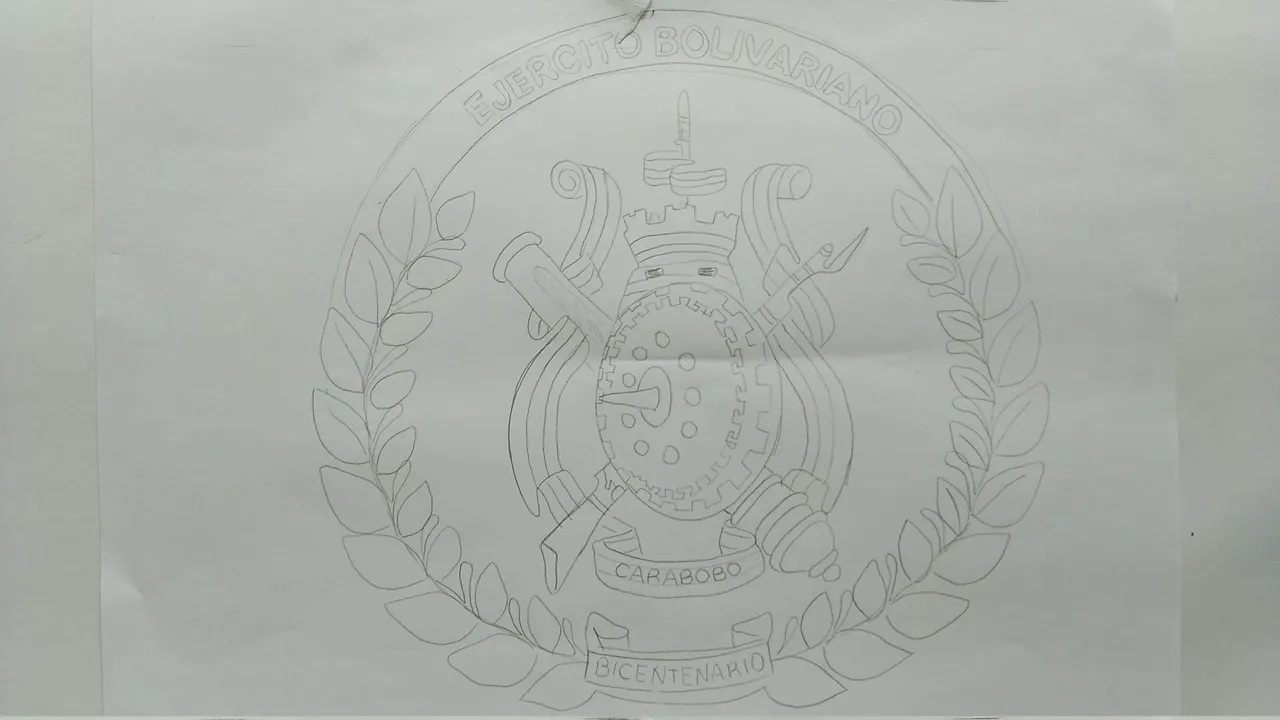
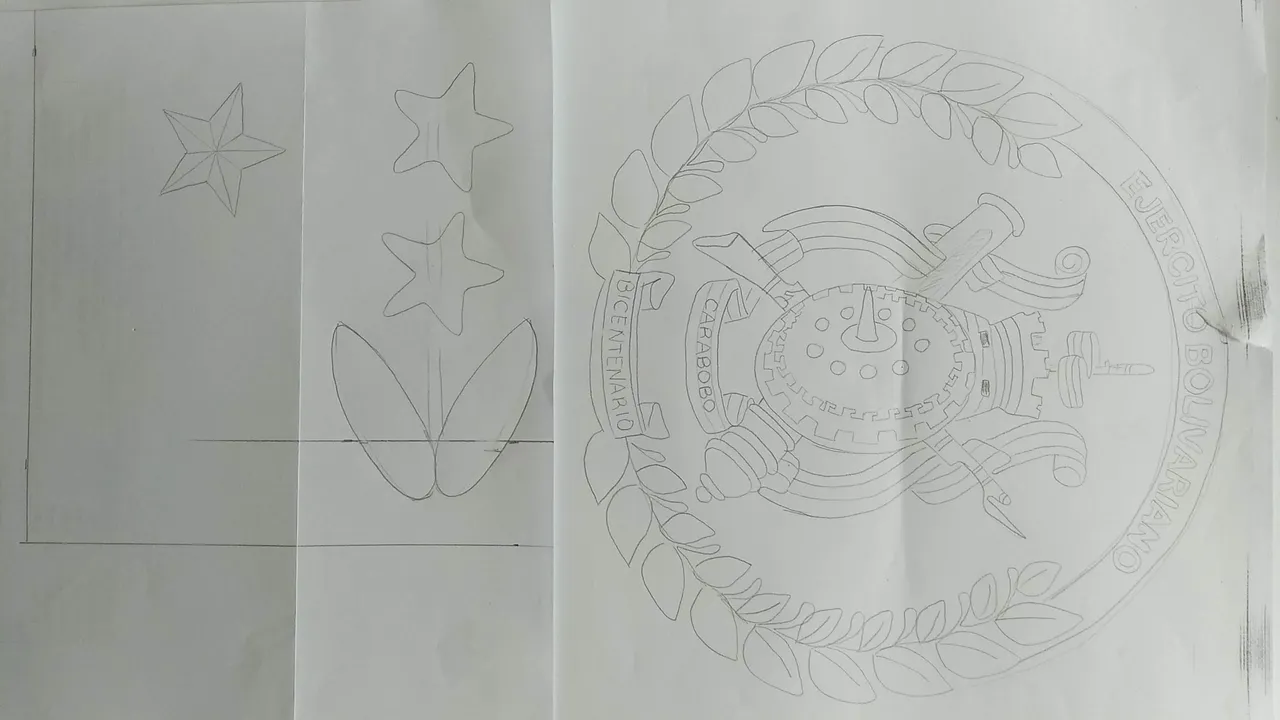
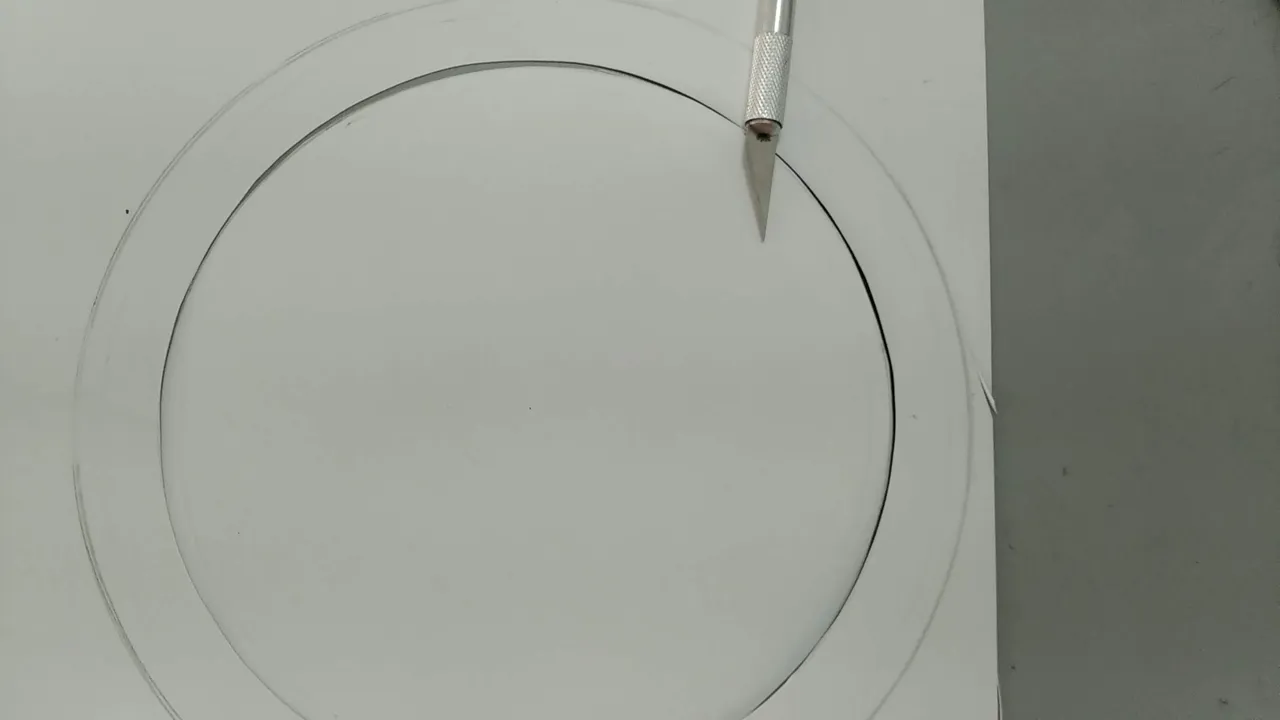
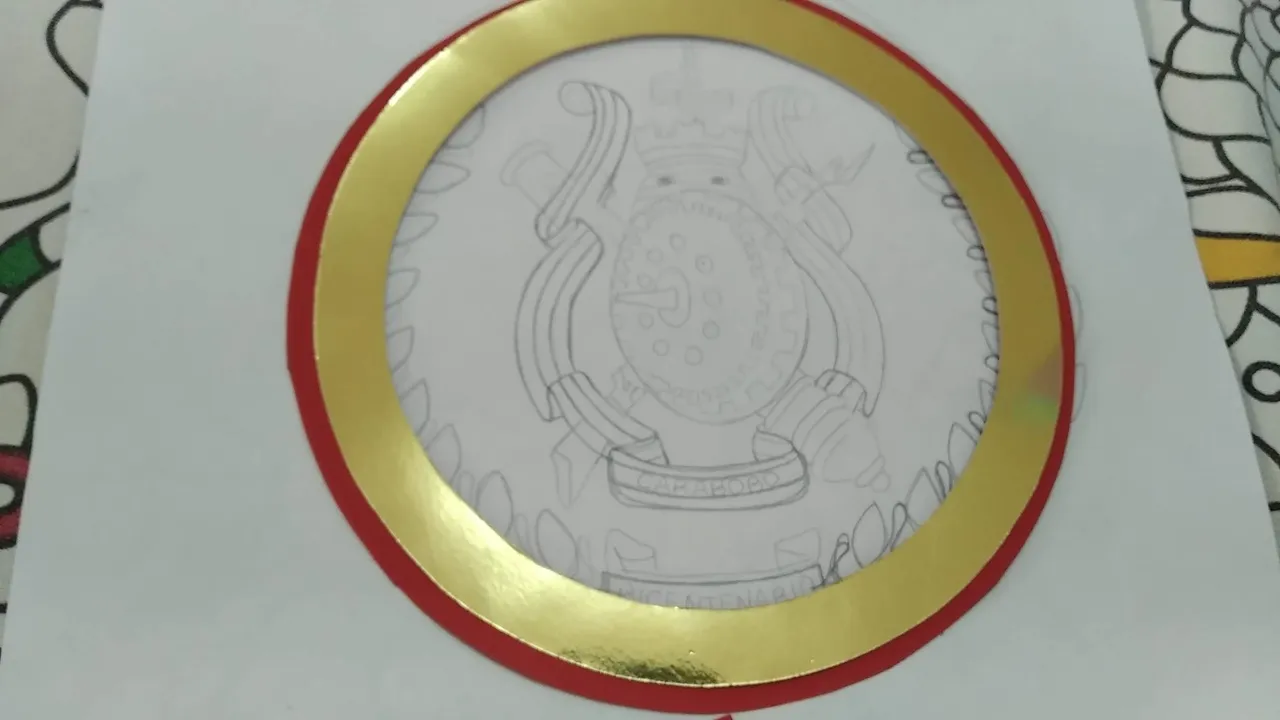
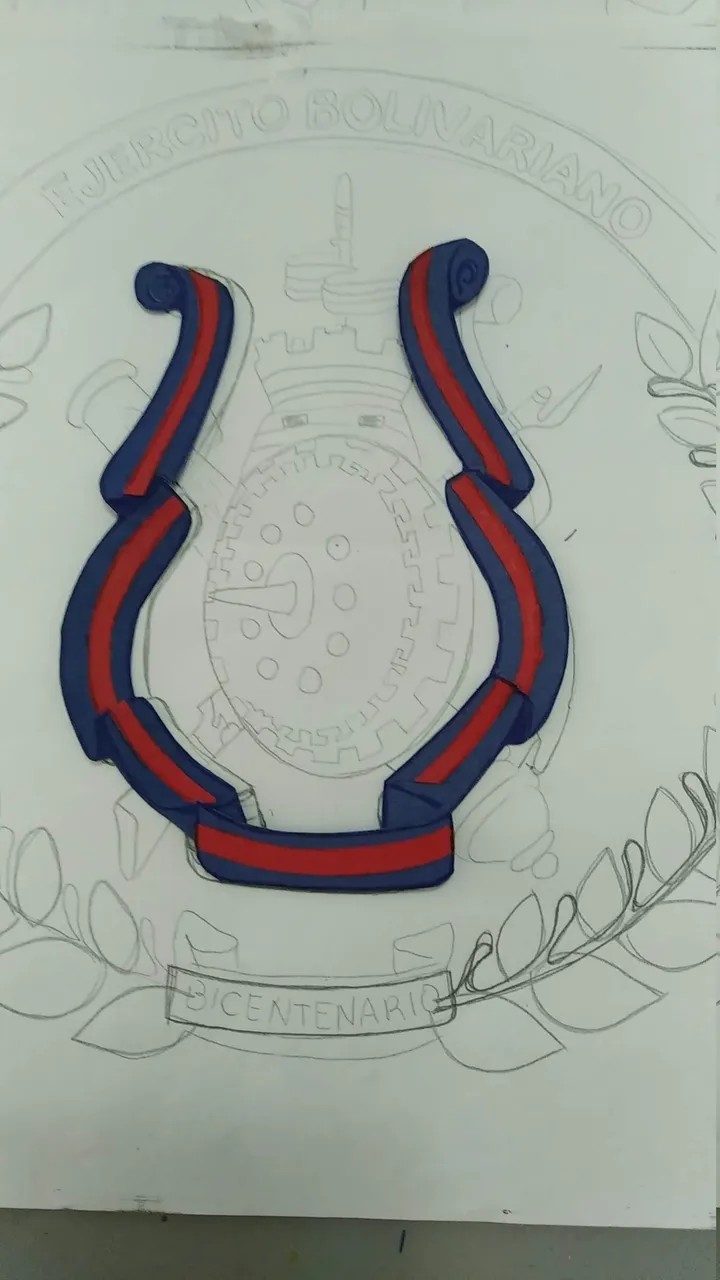
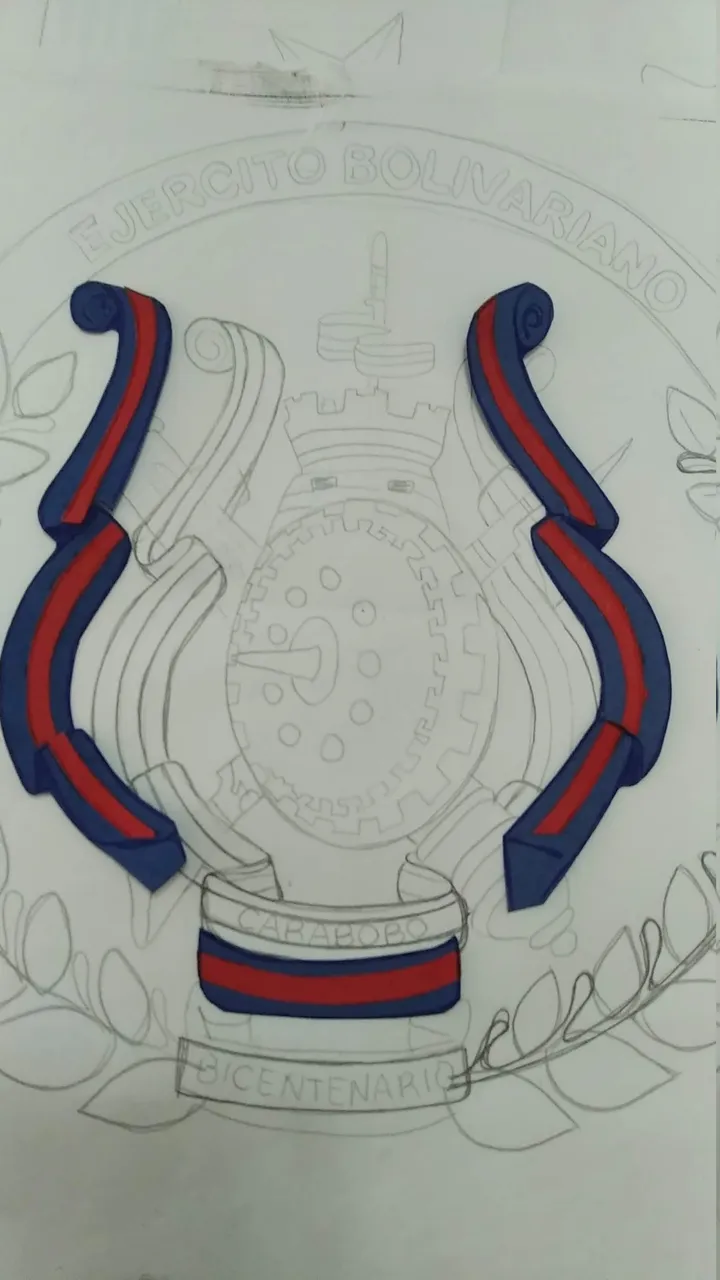
- En una hoja blanca sacar el diseño del escudo, el tamaño de este fue de 20 centímetros de diámetro ya que el pastel sería grande.
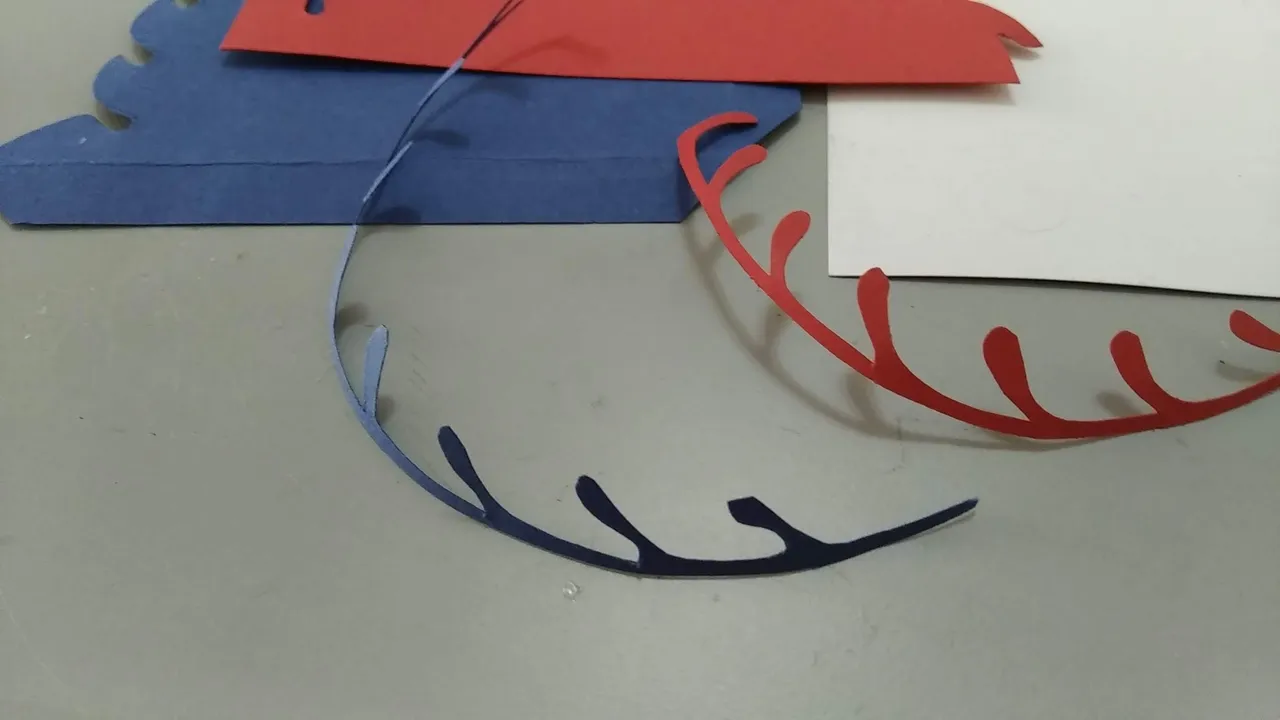
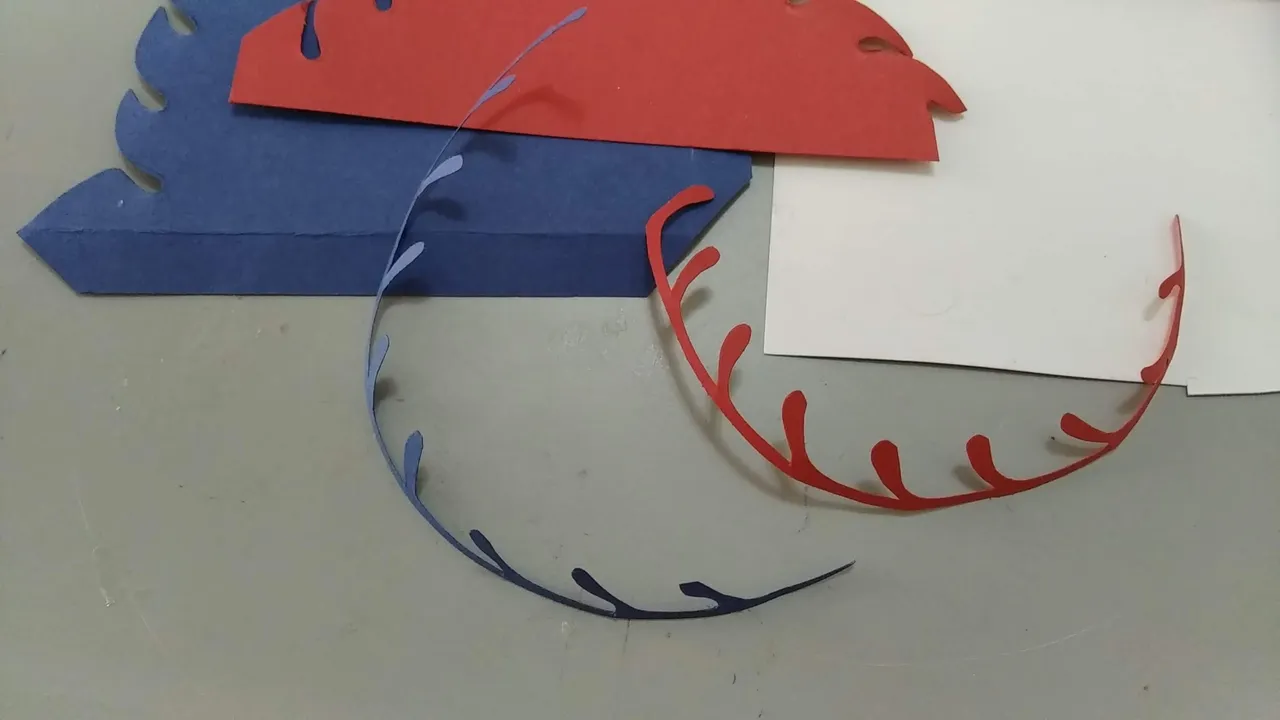
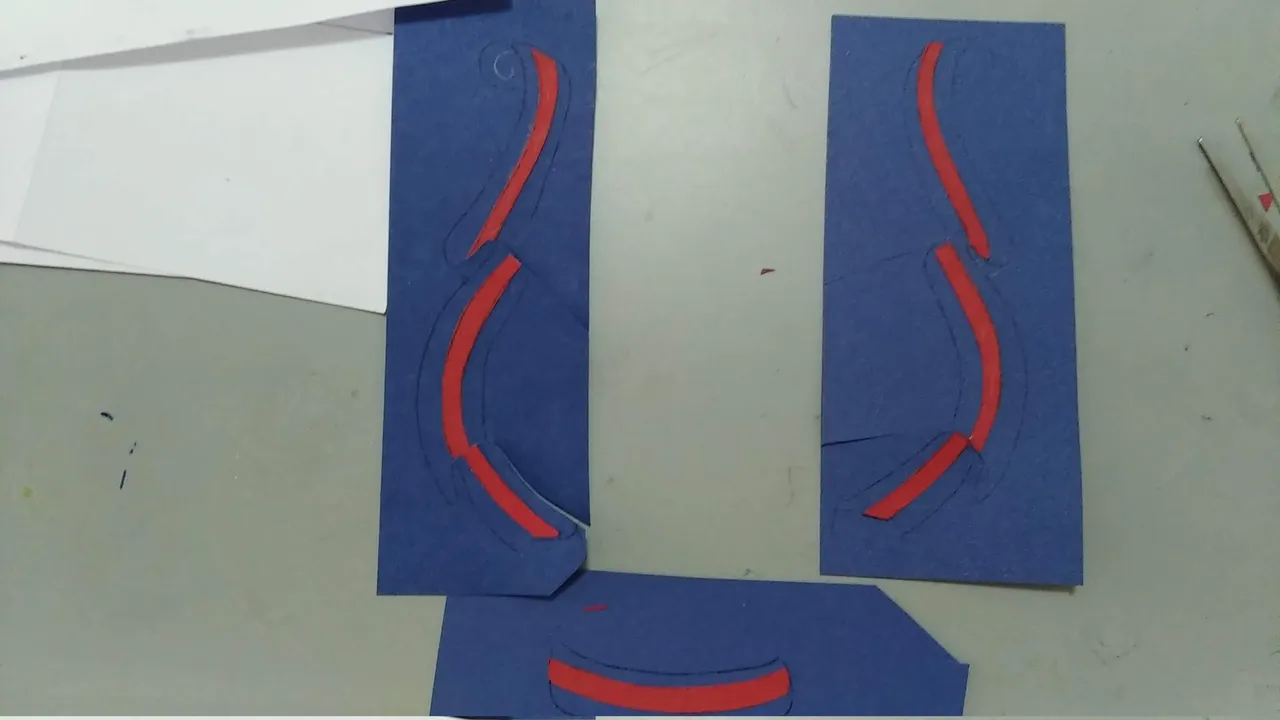
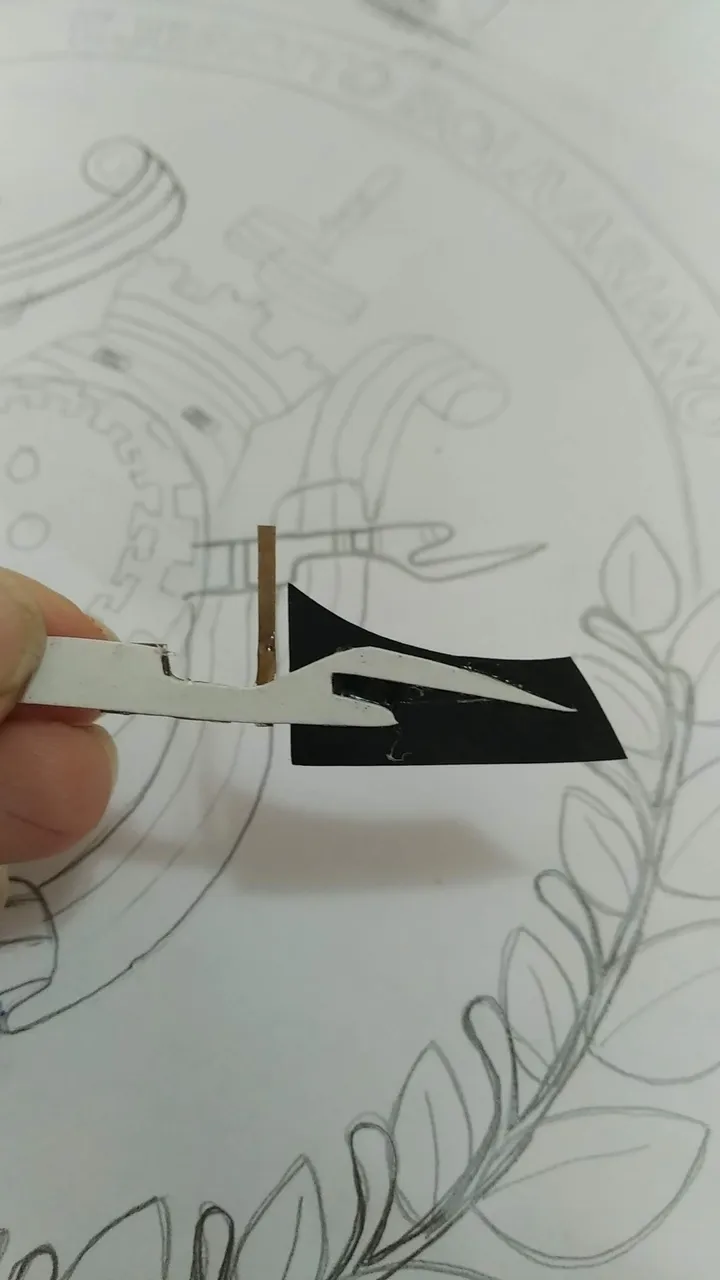
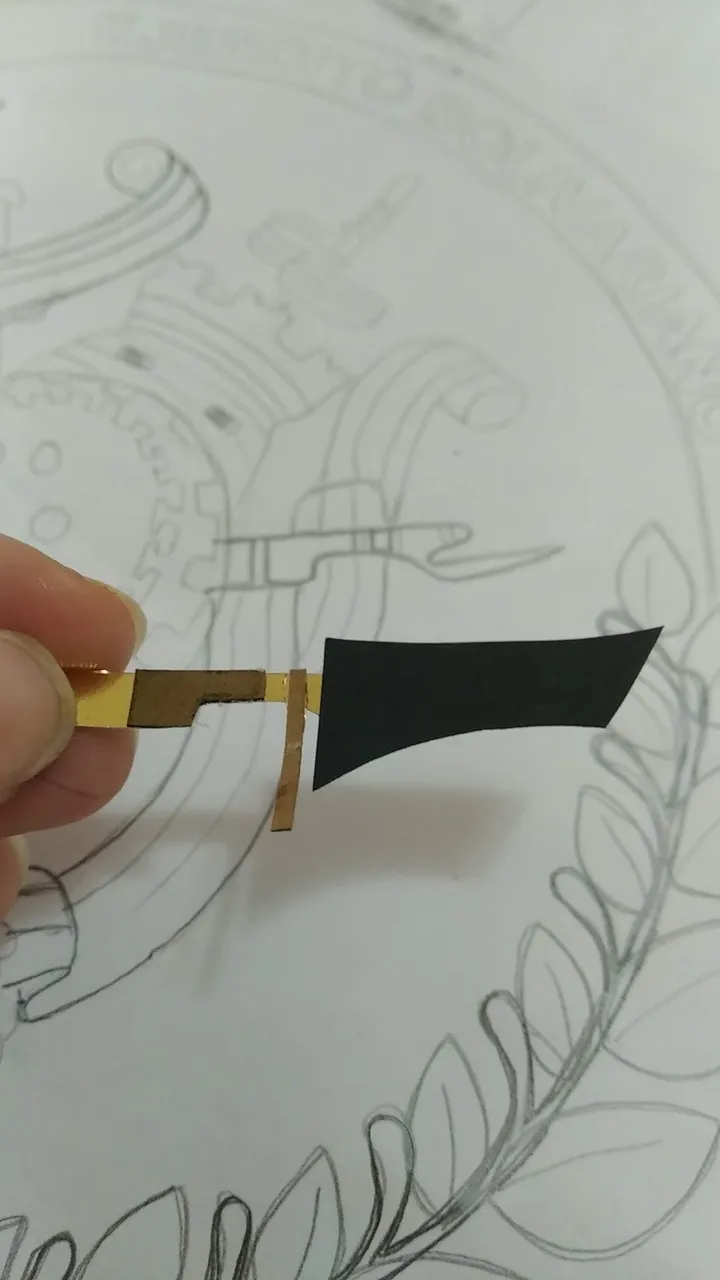
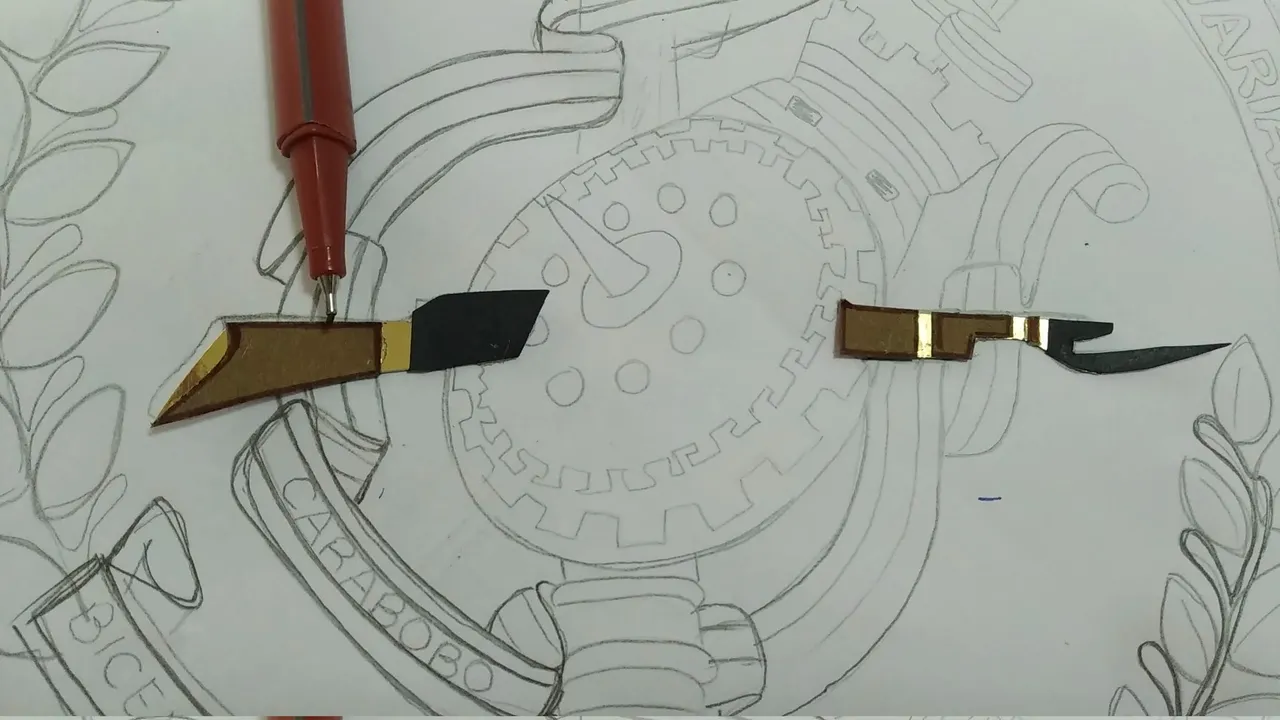
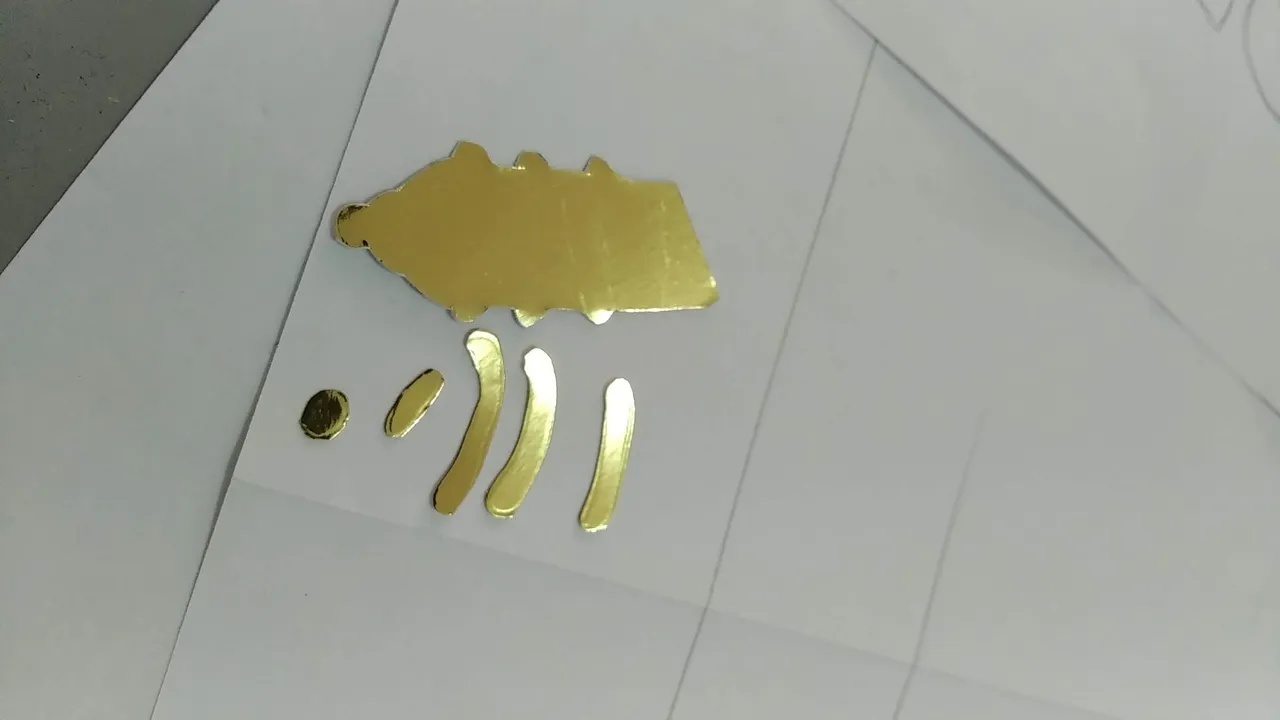
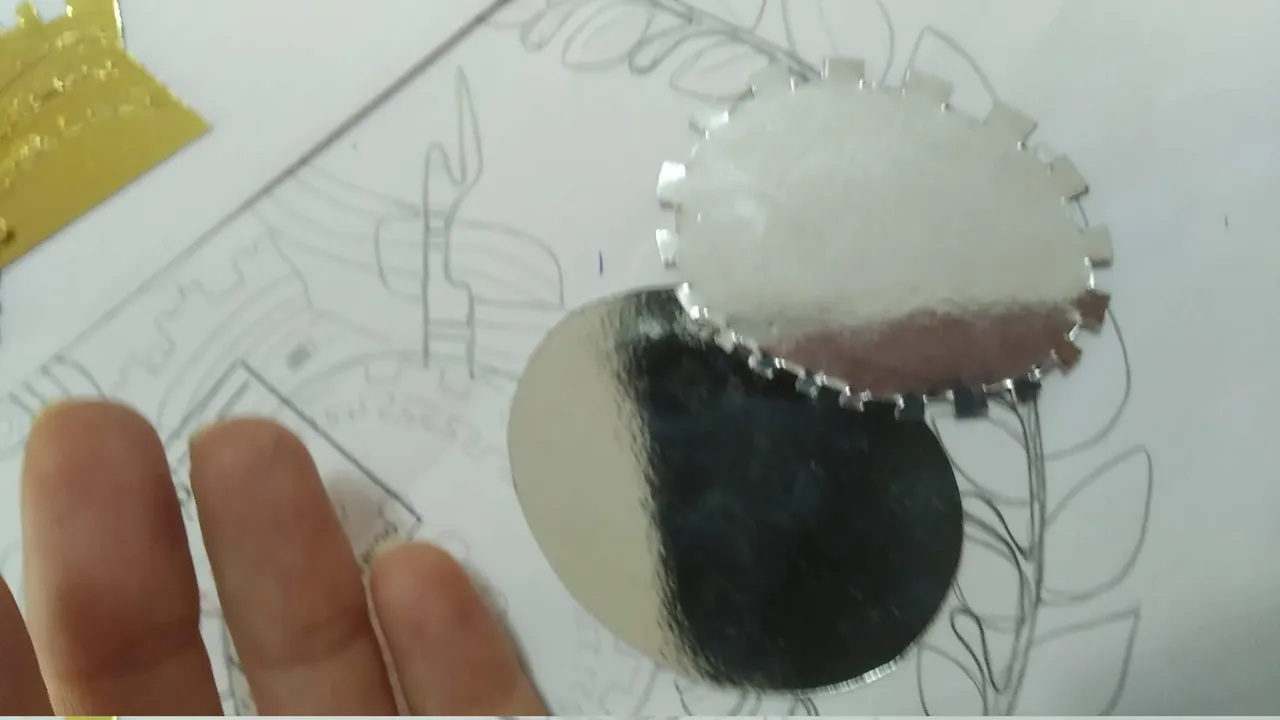
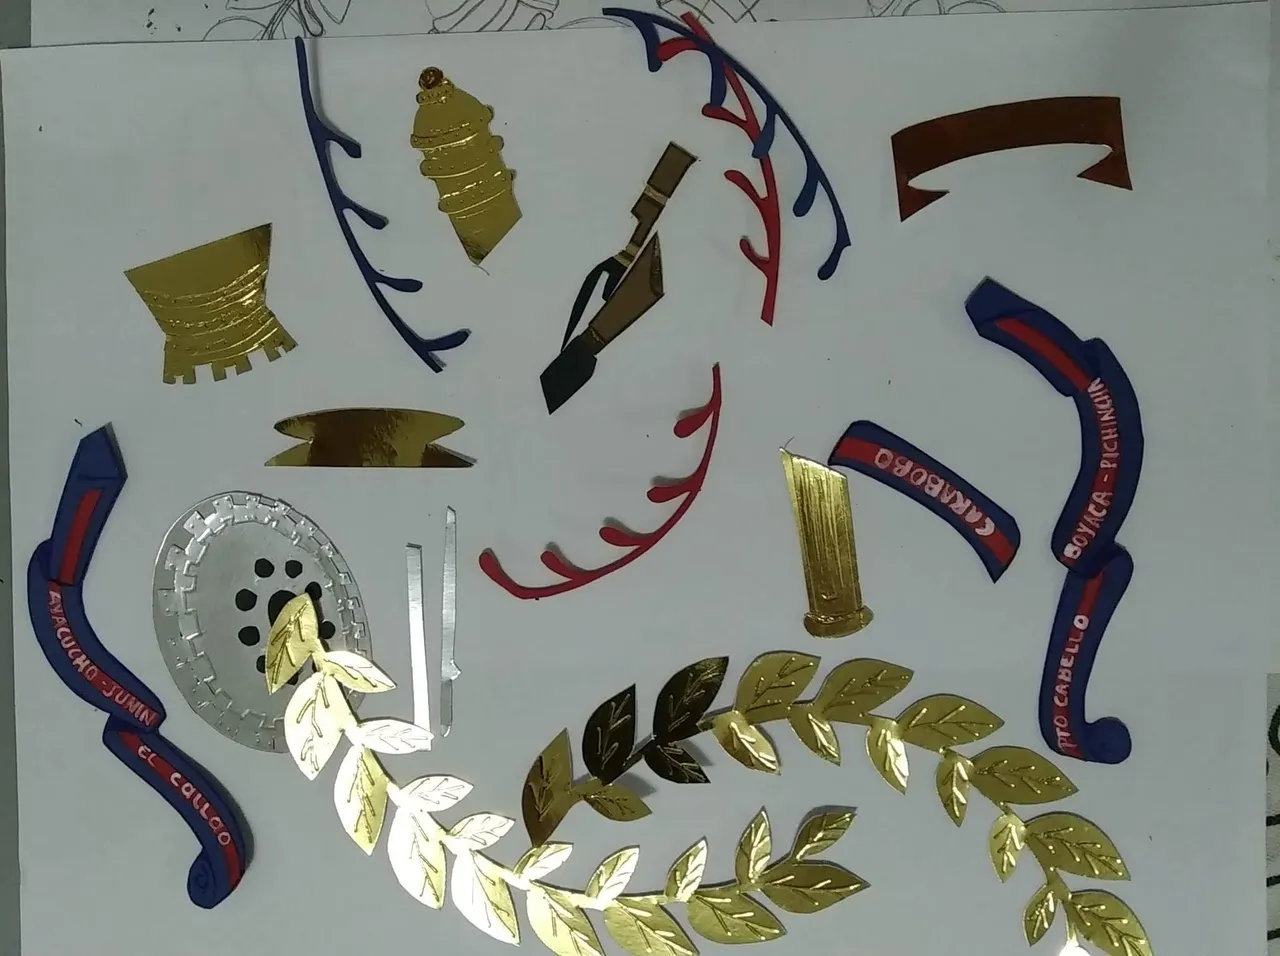
- Marcar y cortar los elementos en las cartulinas de colores que correspondan según el diseño. Cada elemento debe marcarse y recortarse por separado cuidando de no alterar el diseño original.
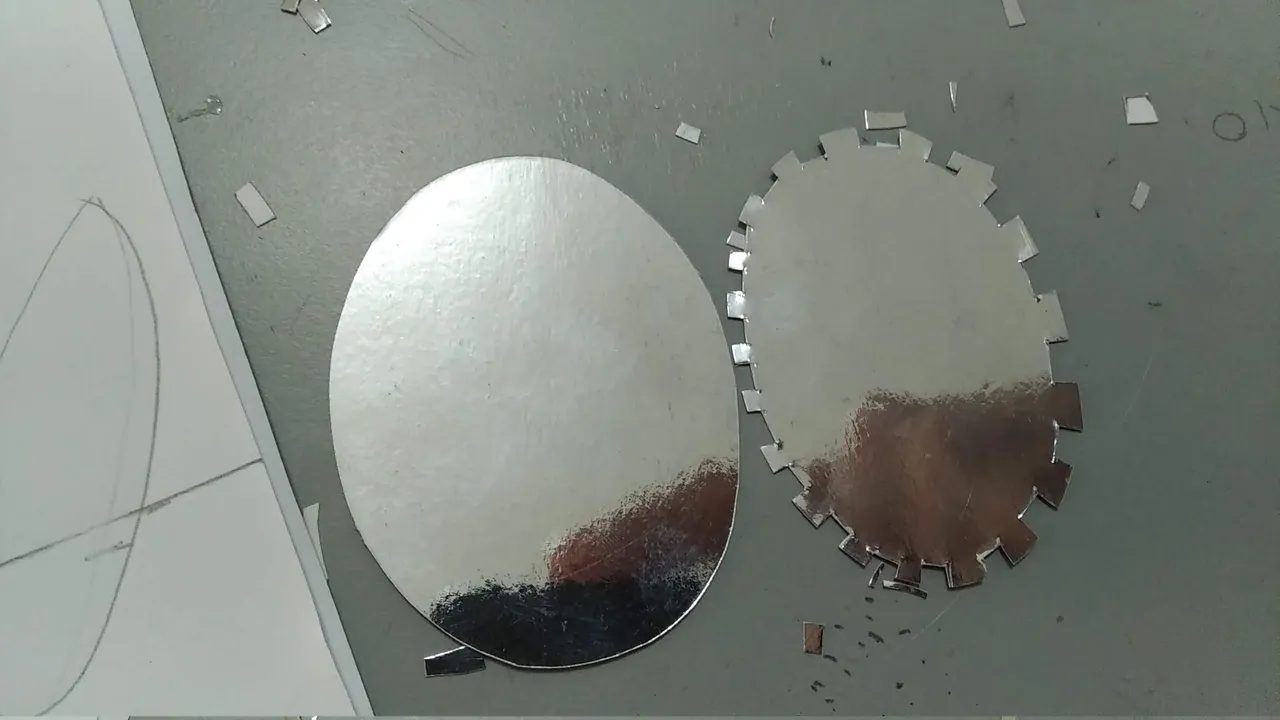
- En el caso de las piezas en cartulina metalizada cortar de preferencia con el cutter para no maltratar los bodes.
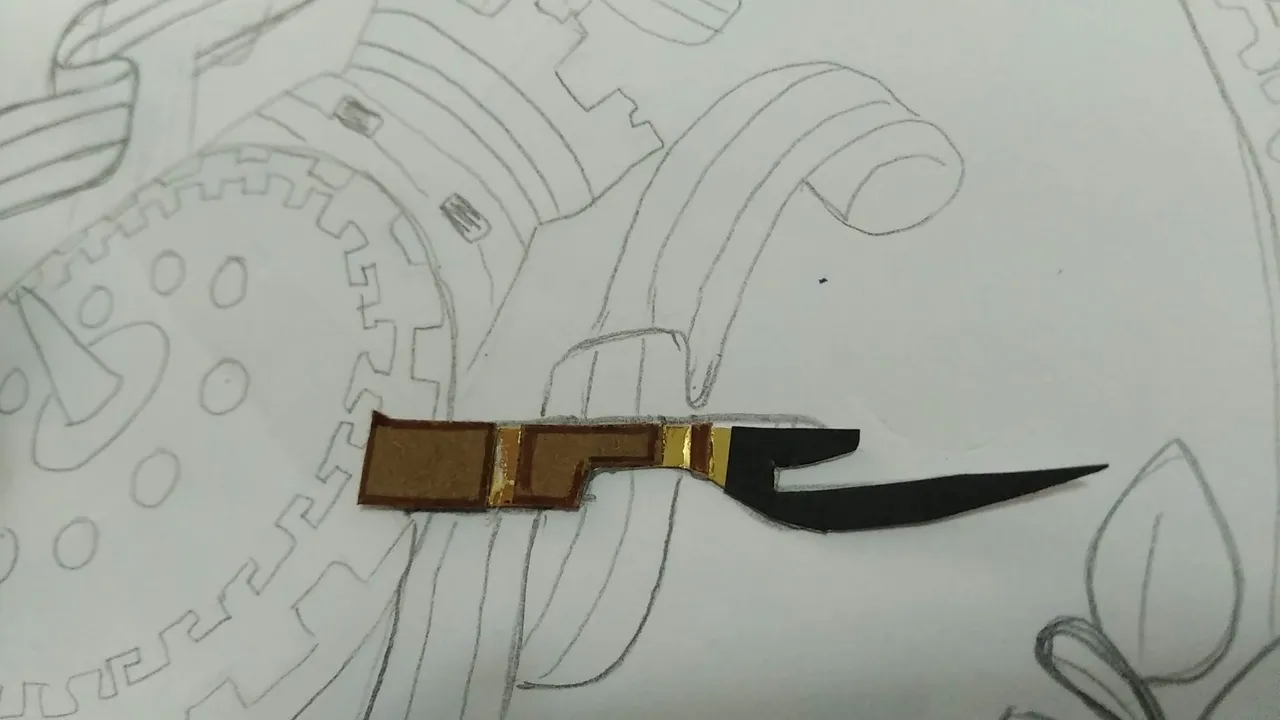
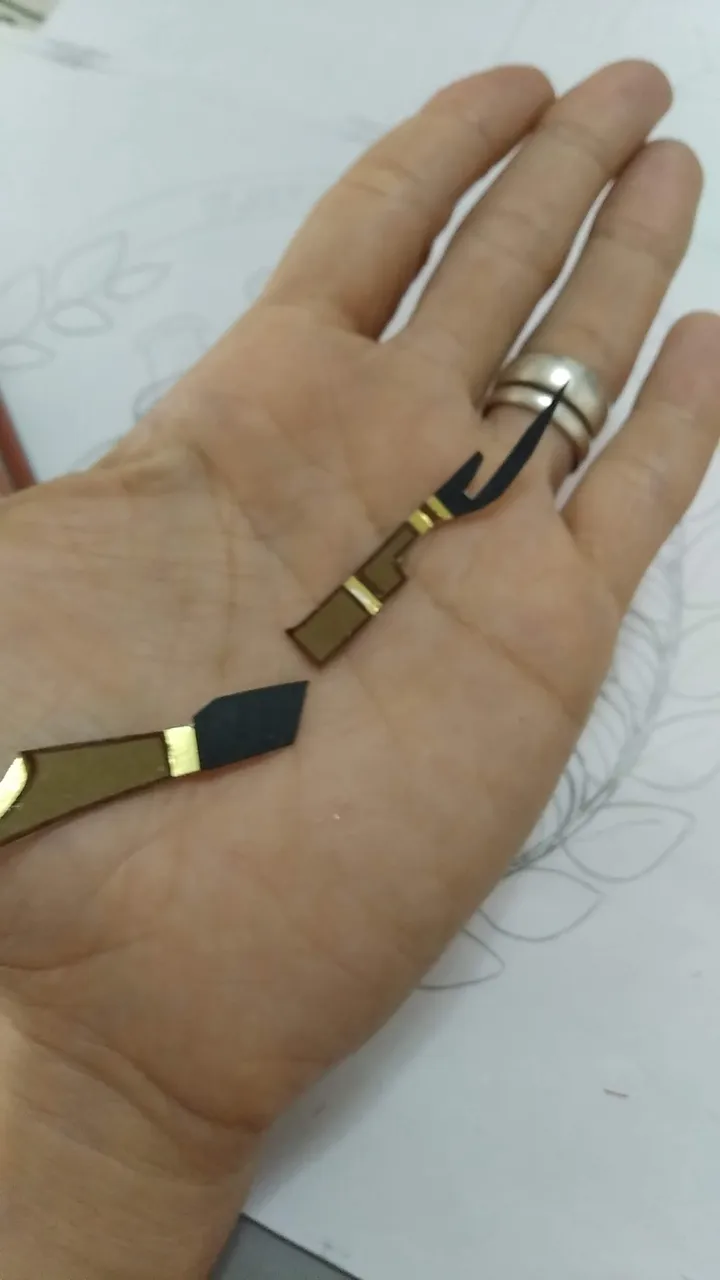
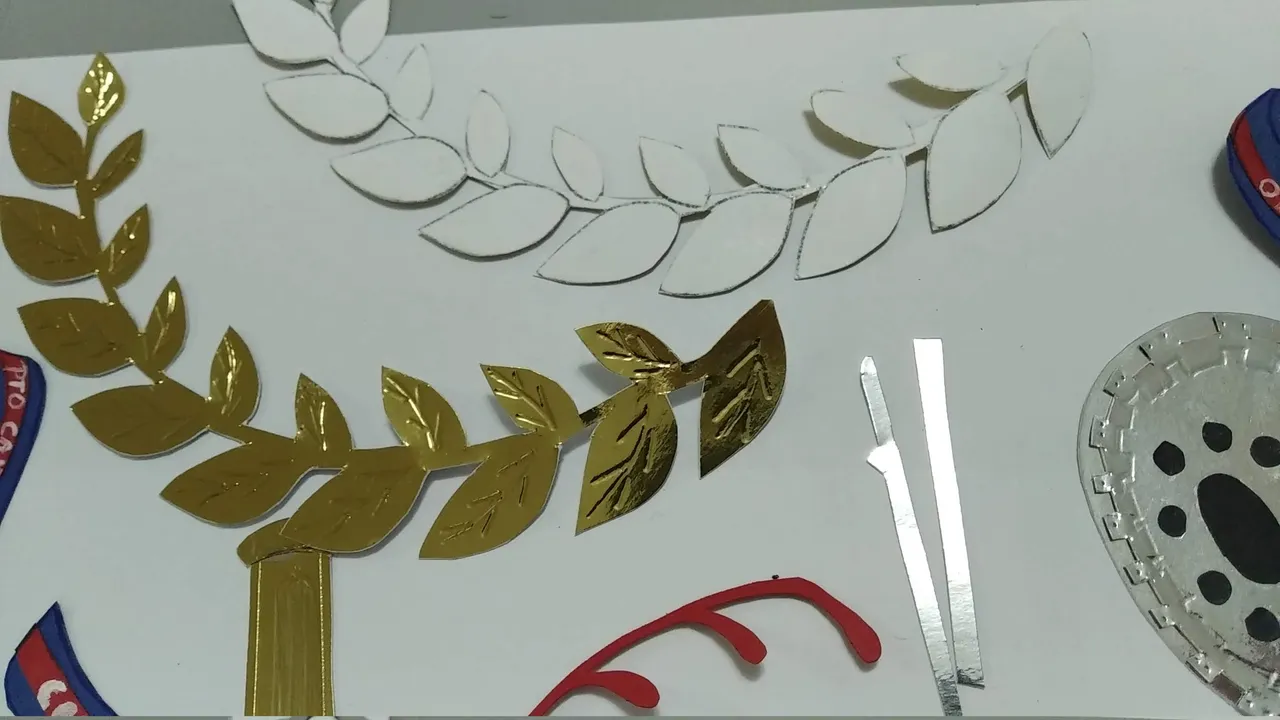
- Las piezas como las hojas de laurel, la escopeta, bandera, escudo, etc, trabajarlas por separado para luego ensamblar .
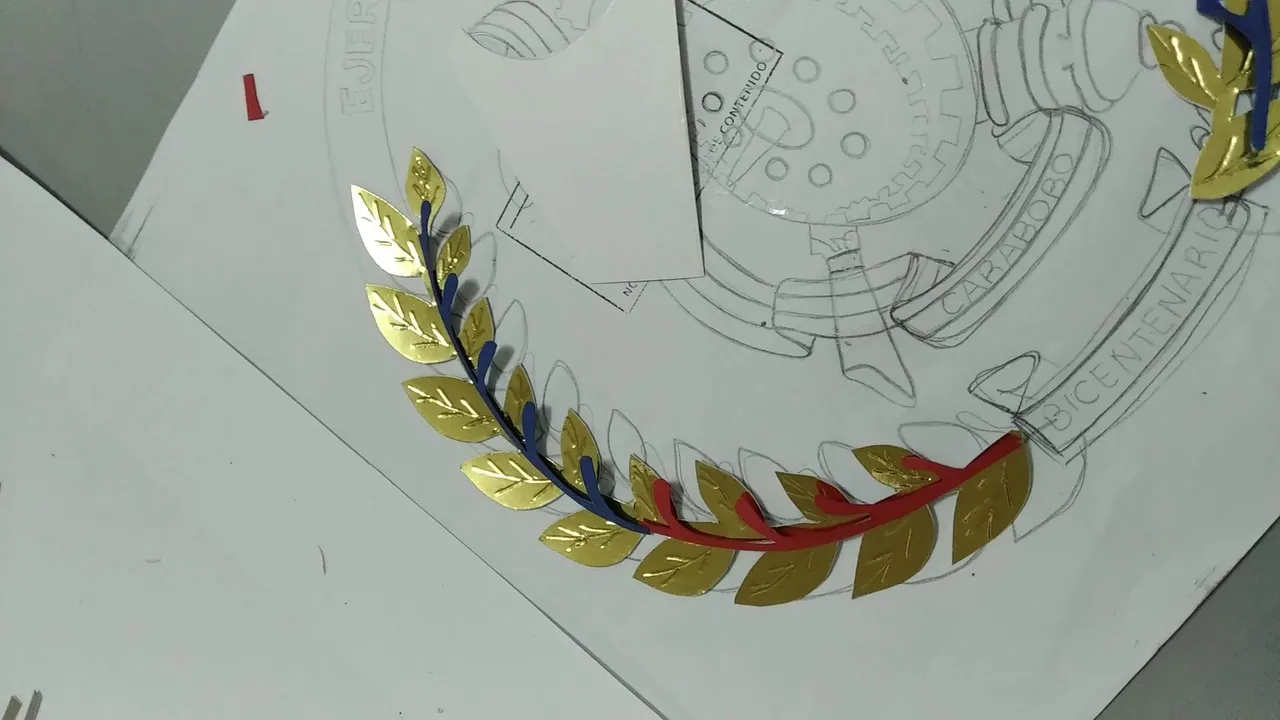
- Una vez todas las piezas por separado estén listas, ensamblarlas siguiendo el diseño original de la hoja, se deberá tener cuidado de no aplicar mucho silicón frio, para evitar se derrame por los bordes.
- Para realizar el rango es el mismo procedimiento, utilizando la plantilla, cortamos las piezas que correspondan y luego las ensamblamos siguiendo el diseño.
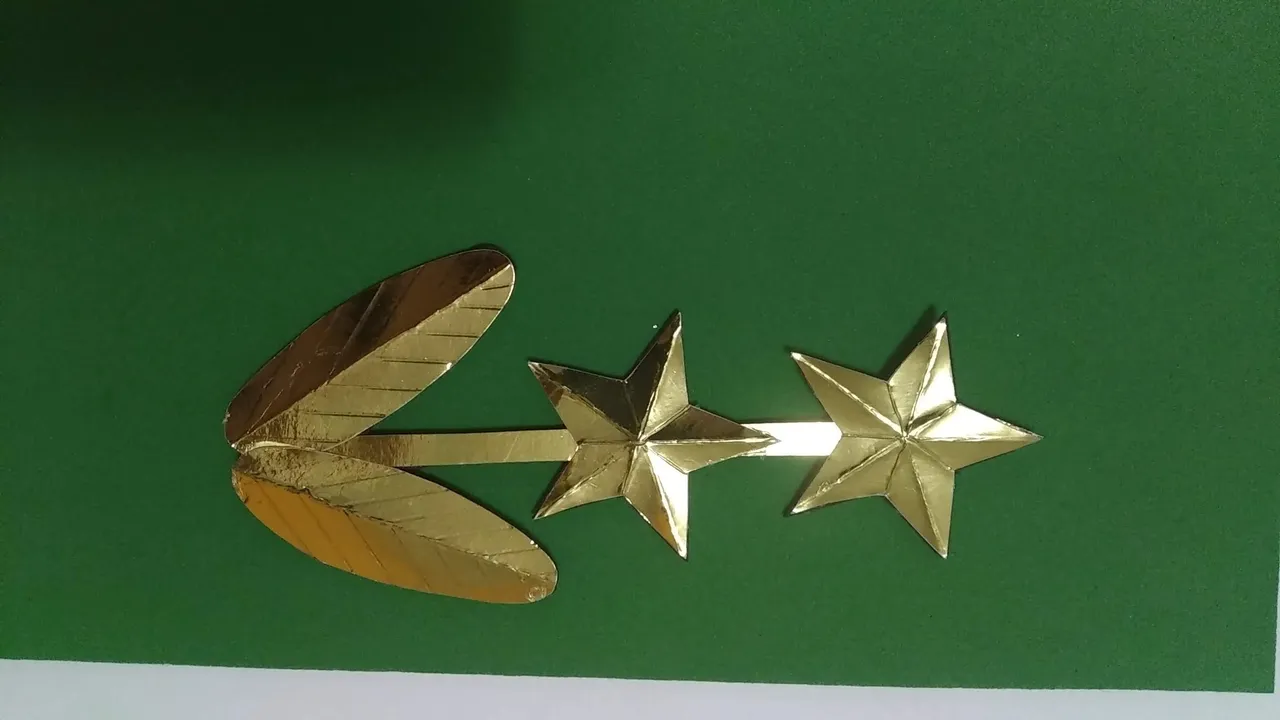
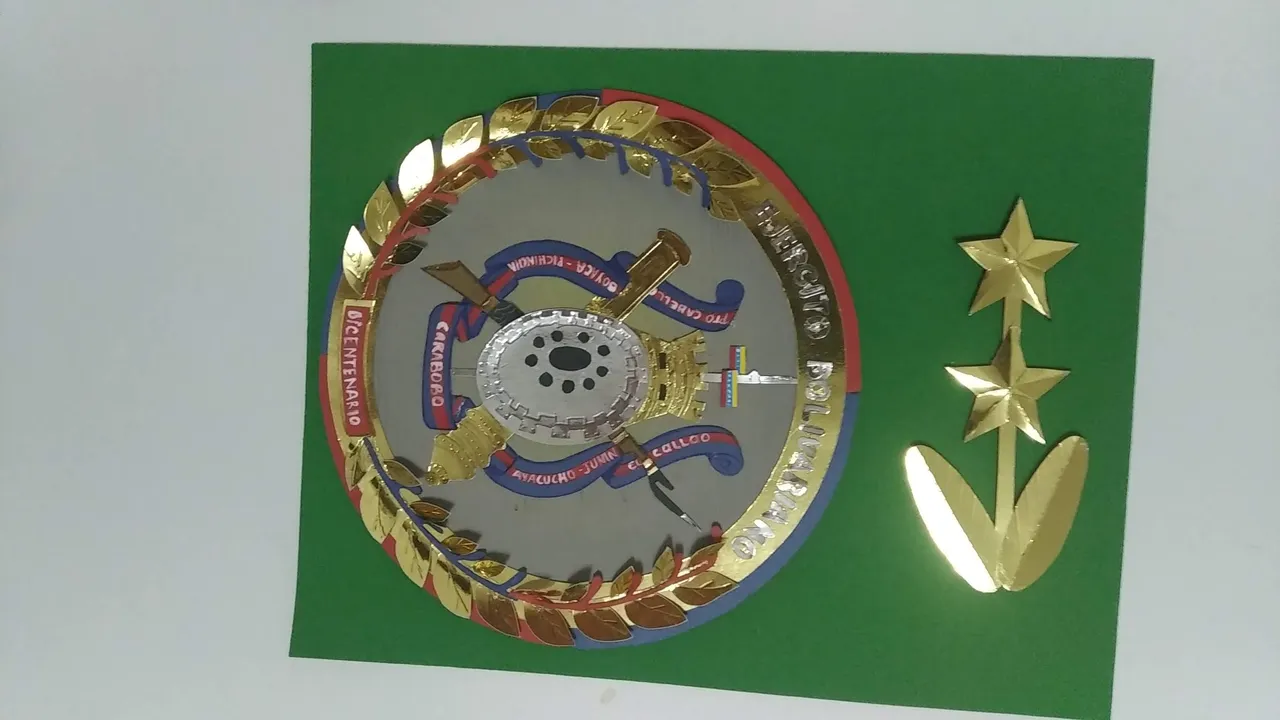
- Montar y pegar el escudo y el rango sobre foami verde y recortar al ras de las piezas.
- Escribir el nombre en foami y recortar
- ¡Listo!, a disfrutar de la magia de lo creado en casa.
English
We continue with cakes, but this time NOT birthdays.
In my country, celebrating any affair has become fashionable and celebration involves cake. The month of our homeland is in July and promotions and important military matters are usually celebrated in this month. This year, I had the wonderful opportunity to create the coat of arms of the national army (I had never made one before, let alone for a cake) and I must say I loved the experience and the result of it.
The decoration of this cake involved the creation of the logo, the name of the honoree and the symbol of the rank obtained. The pieces were made in colored cardboard mounted on a thick green foami base.
It seems difficult but it was actually easier than it looks, it's just a matter of cutting the pieces one by one with detail and care and then assembling with love. Without further ado and hoping you enjoy the work done, I leave you the materials used, the process and the images of the work.
- Gold metallic cardboard.
- Blue cardboard.
- Red cardboard.
- Silver metallic cardboard.
- Yellow, black, brown cardboard (small pieces).
- Foam green grass.
- White cold paint (to write the letters).
- Fine paintbrush, preferably no. 0.
- Cold silicone.
- Colored markers.
- Piece of acetate.
- Cutter.
- Scissors.
- Pencil.
- On a white sheet draw the design of the shield, the size of this was 20 centimeters in diameter since the cake would be large.
- Mark and cut out the elements on the colored cardboard according to the design. Each element must be marked and cut out separately, taking care not to alter the original design.
- In the case of the pieces in metallic cardboard, cut preferably with the cutter so as not to mistreat the bodes.
- The pieces such as the laurel leaves, the shotgun, flag, shield, etc., work them separately and then assemble them.
- Once all the separate pieces are ready, assemble them following the original design of the leaf, be careful not to apply too much cold silicone, to avoid spilling over the edges.
- To make the range is the same procedure, using the template, cut the corresponding pieces and then assemble them following the design.
- Assemble and glue the shield and the rank on green foami and cut out flush with the pieces.
- Write the name on foami and cut out.
- Ready, enjoy the magic of what you have created at home.
Translated with www.DeepL.com/Translator (free version)
IMÁGENES / IMAGES


Fuente
SALUDOS / REGARDS
Todas las Fotos fueron tomadas con mi teléfono Redmi 7A.
Contenido original de @keco (fotos y texto) - Todos los derechos reservados Publicado en HIVE así como en mi instagram : http://instagram.com/carton_pintura_algo_mas
All Photos were taken with my Redmi 7A phone.
Original content from @keco (photos and text) - All rights reserved Posted on HIVE as well as on my instagram: http://instagram.com/carton_pintura_algo_mas