Español
Hola amigos, feliz miércoles…
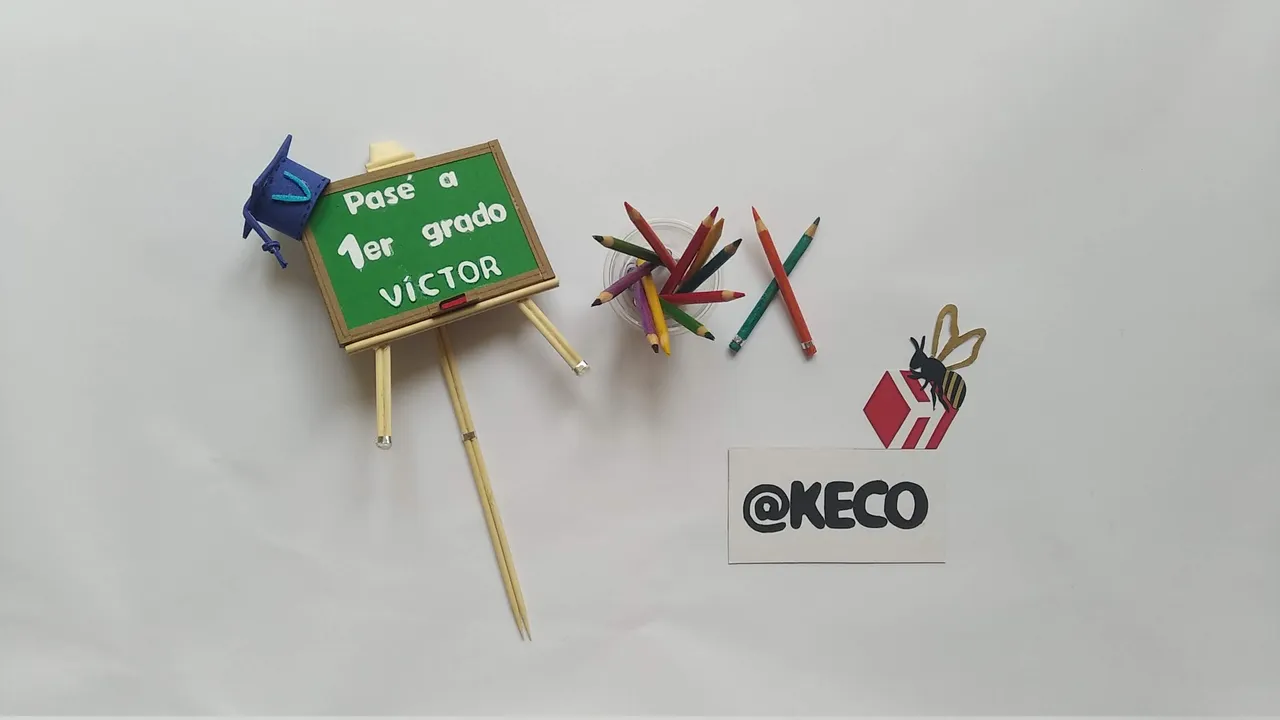
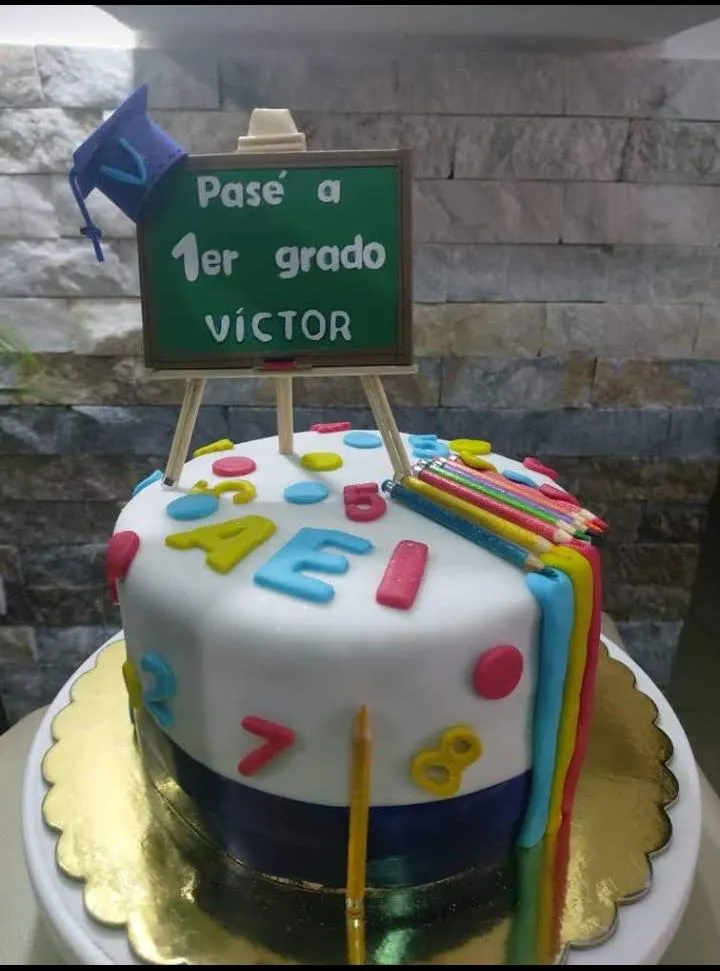
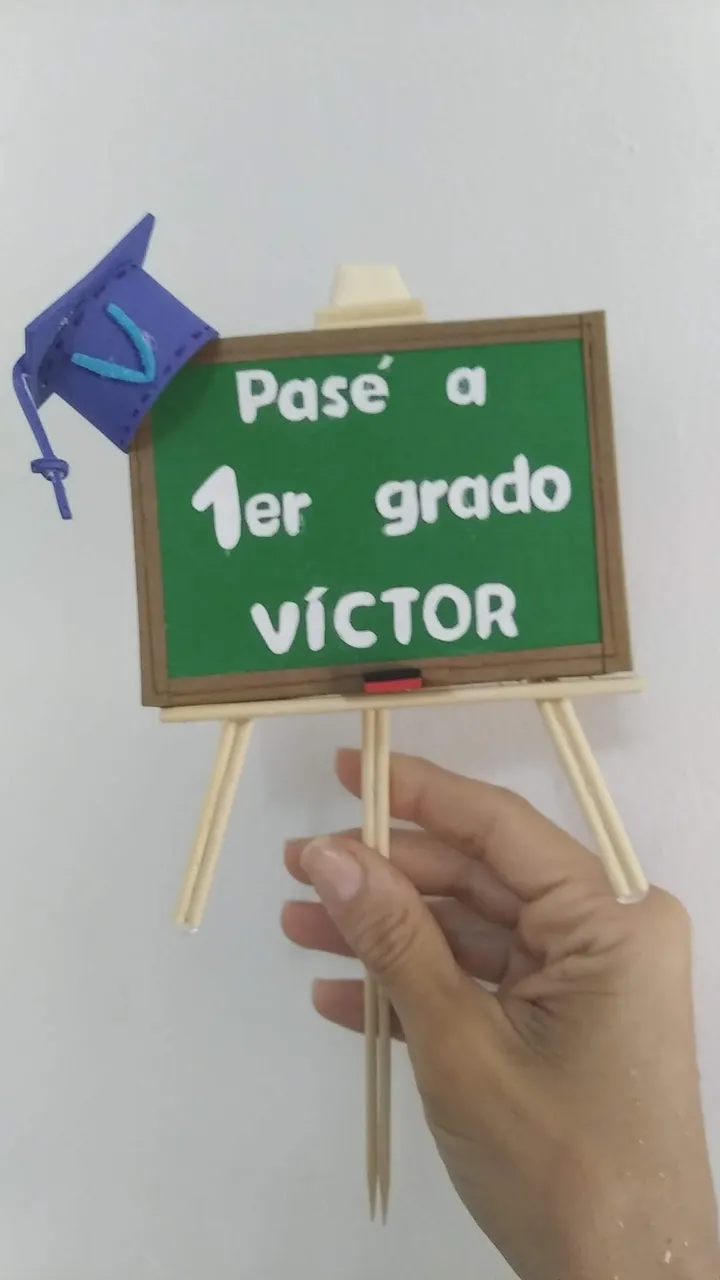
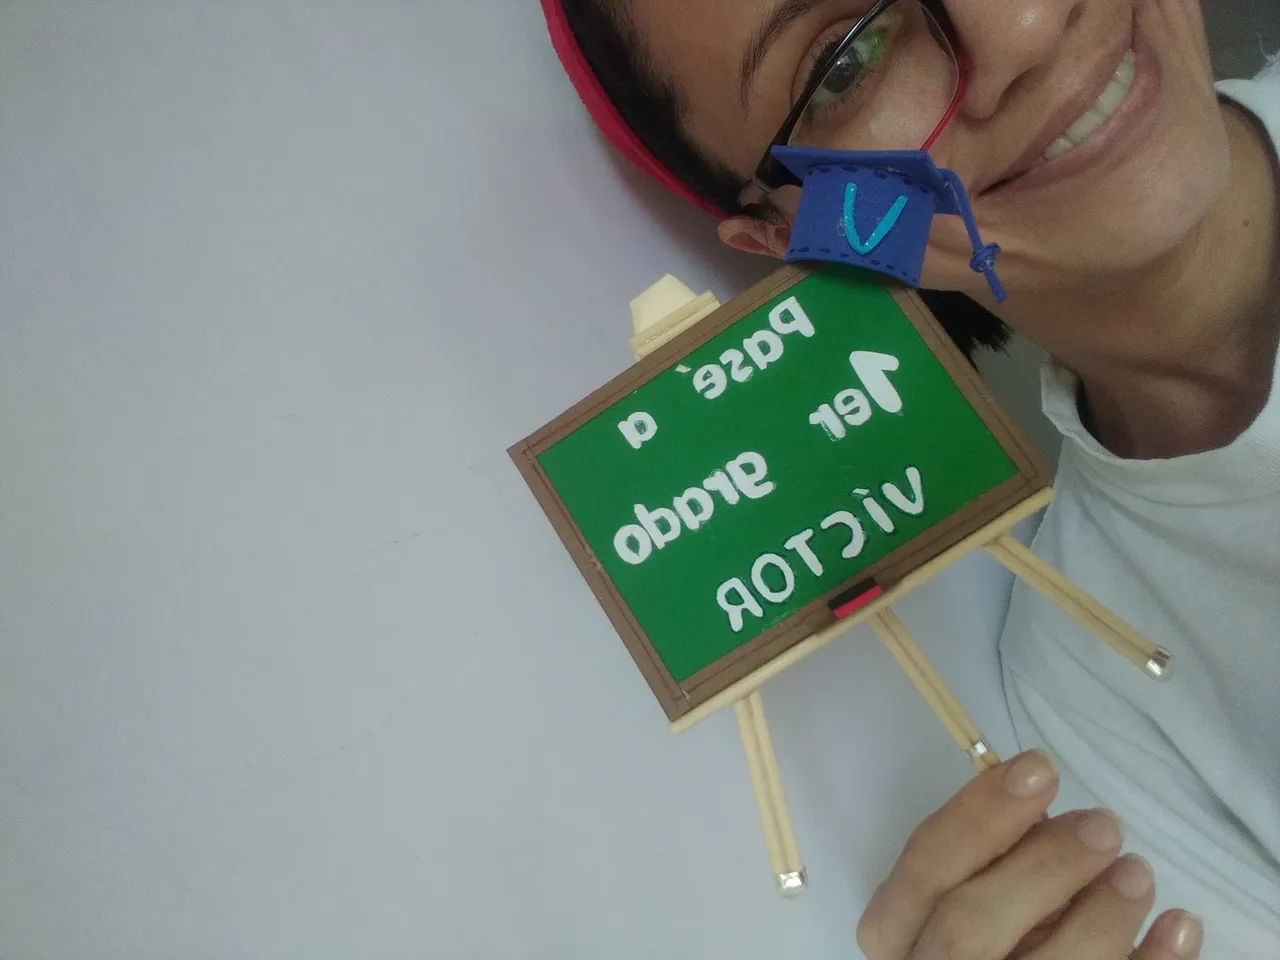
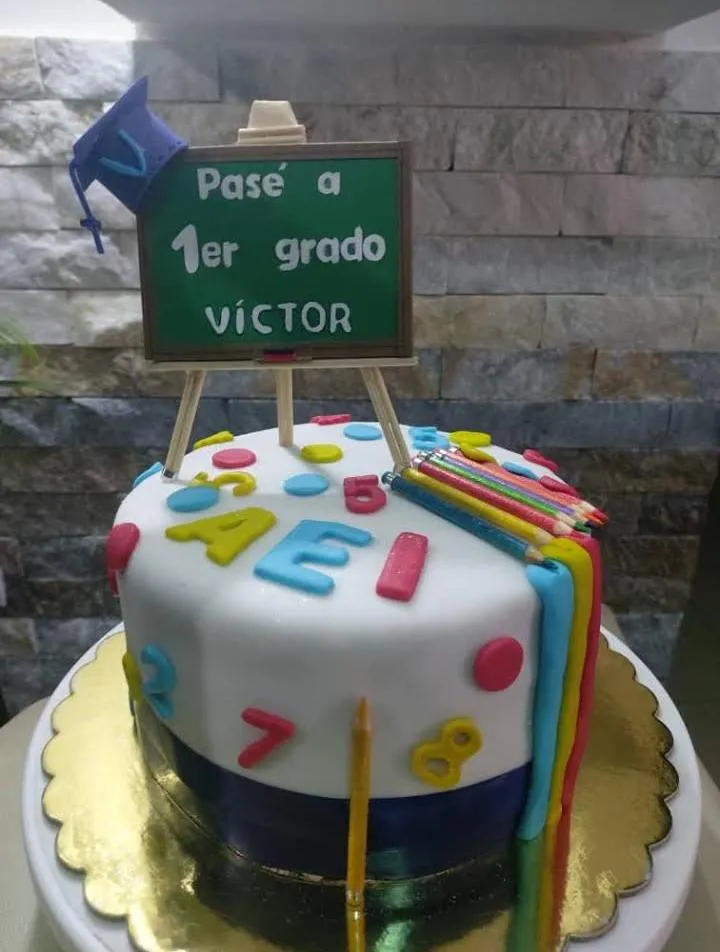
Acá les muestro otra decoración para pastel de logros académicos, esta vez el pastel fue para Víctor, un adorable niño de 6 años que pasó a la etapa básica de educación inicial, primer grado, y su mamá, como todas las mamás, súper orgullosa de su hijo, quiso celebrar con un lindo pastel que quedó inmortalizado en las fotos familiares.
Este es un topper fácil de elaborar y se hizo con mucho amor para enaltecer el delicioso pastel realizado por mi súper pastelera favorita Mayda la cual hace magia en la fusión de sabores y colores.
Sin más y esperando disfruten del trabajo realizado con amor, les dejo los materiales utilizados, el proceso y las imágenes del trabajo.
- Cartón delgado (un pedacito).
- Foami verde grama.
- Foami azul rey.
- Foami rojo y negro (mini pedacitos)
- Cartulina marrón.
- Cartulina Blanca.
- Cartulina Plateada.
- Palitos de madera naturales
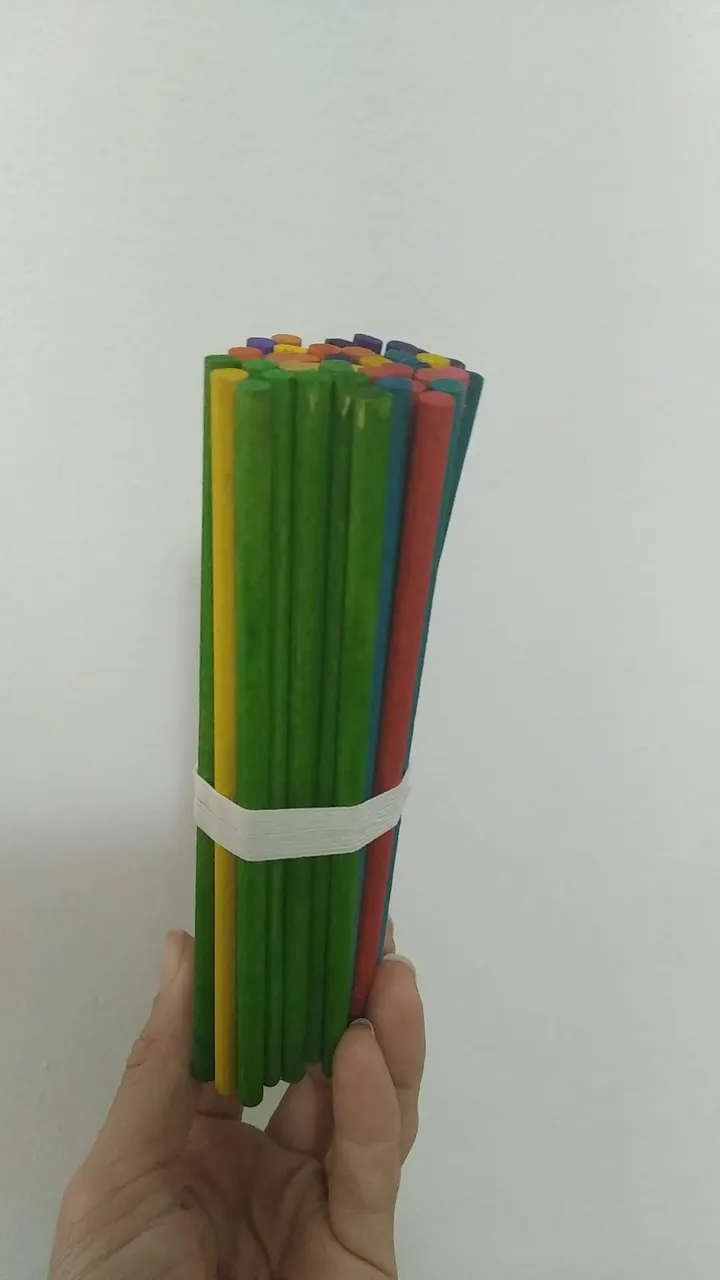
- Palitos de madera de colores (12”)
- Marcadores de colores variados.
- Sacapuntas.
- Silicón caliente.
- Silicón frio.
- Cutter.
- Tijera.
- Lápiz.
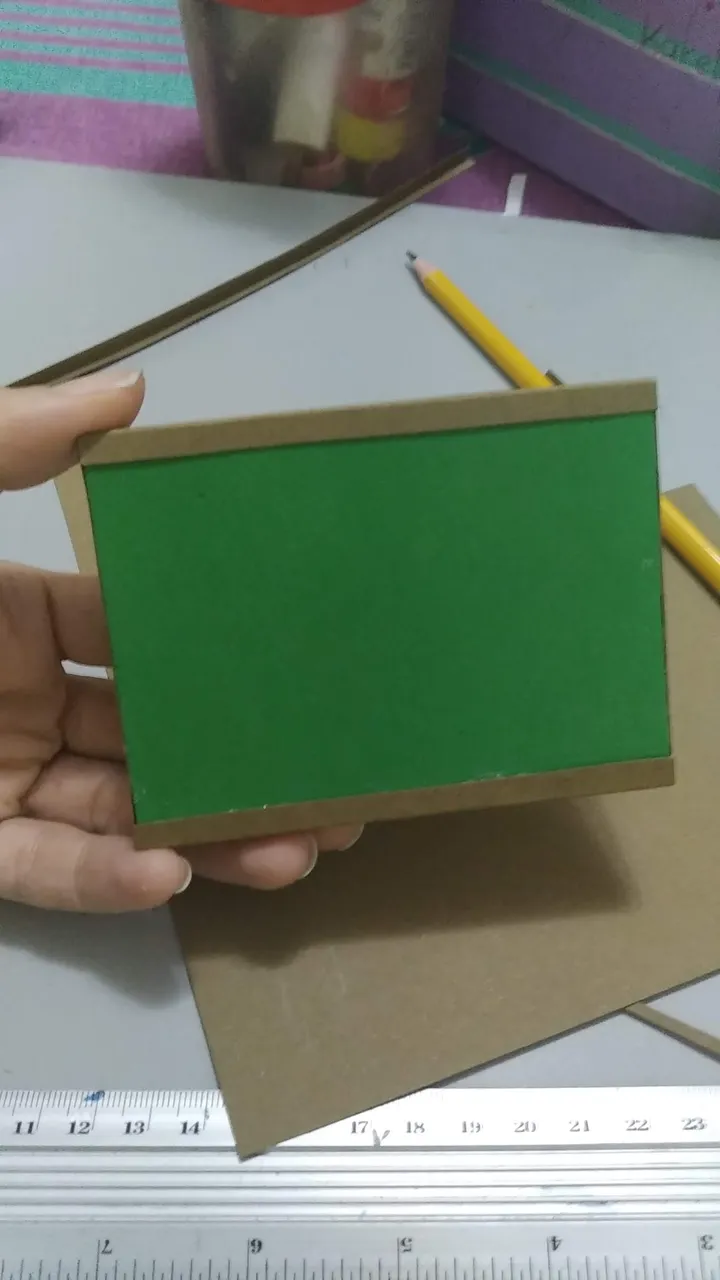
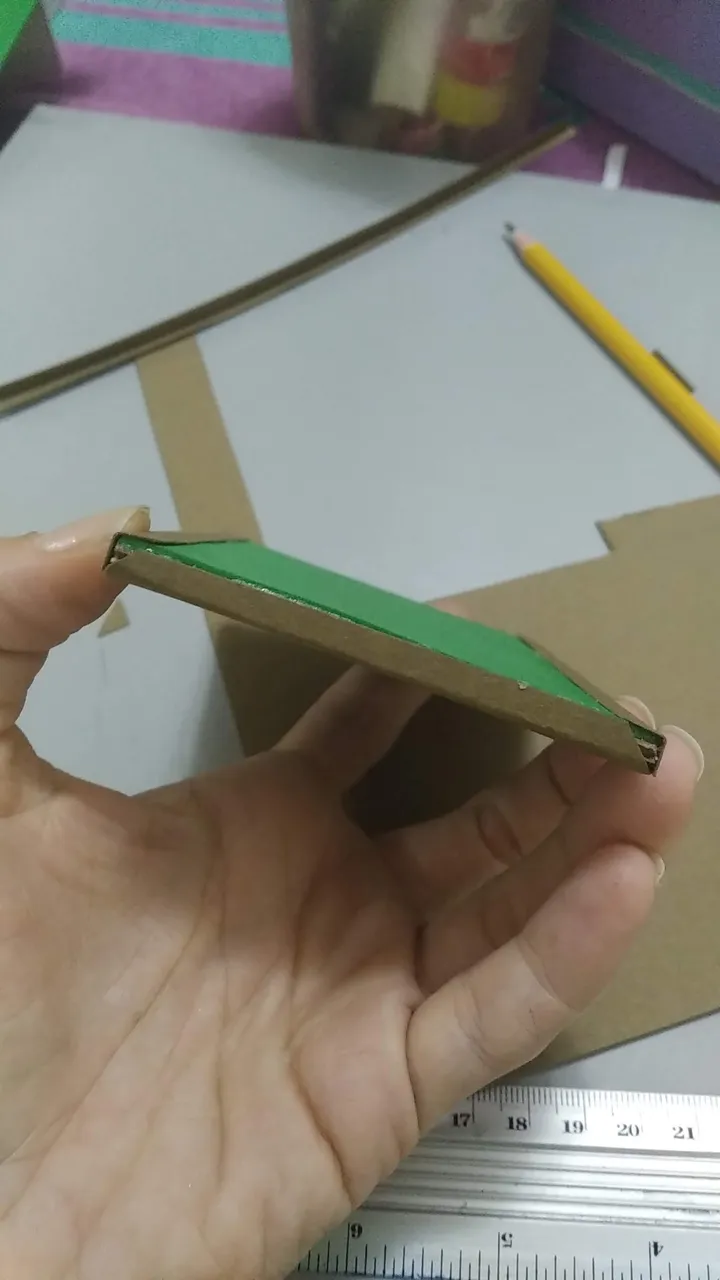
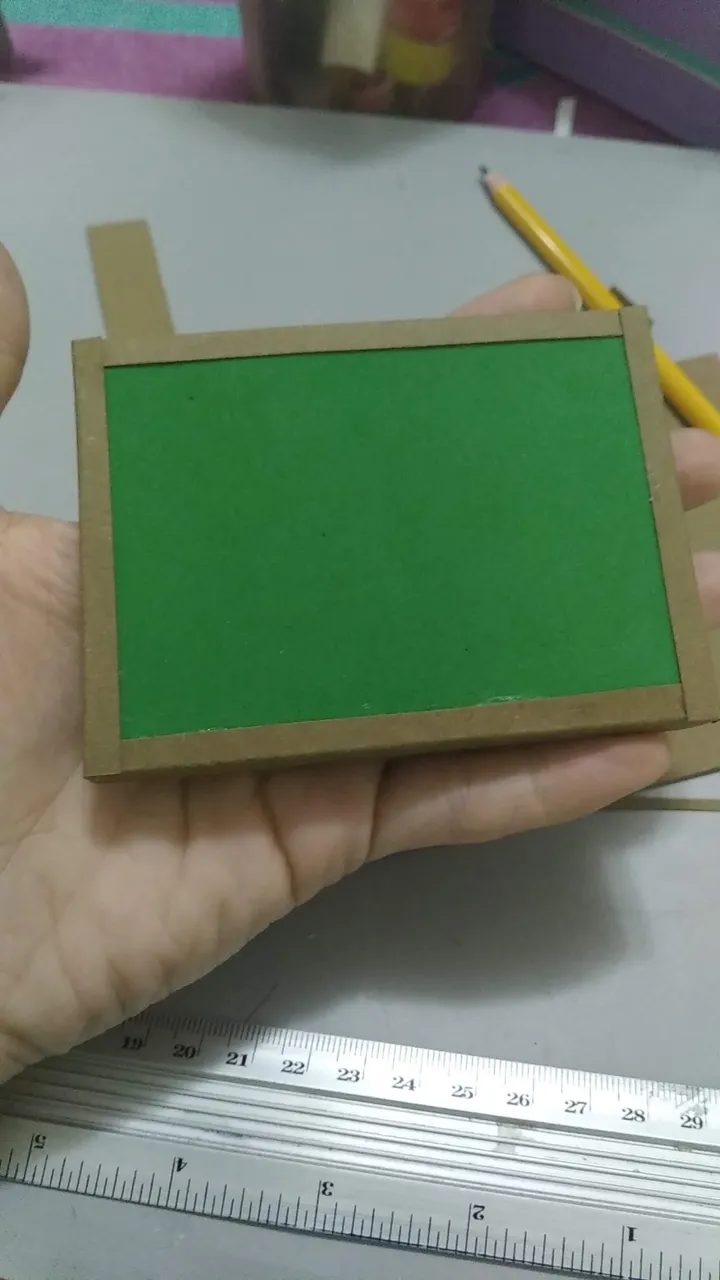
- Marcar y recortar el cartón delgado al tamaño deseado del pizarrón, éste midió 8 cm de largo x 7 cm de alto.
- Marcar y recortar el foami verde a la misma medida del cartón y pegar con silicón frio a uno de sus lados.
- Al otro lado del cartón pegar un trozo de cartulina marrón a la misma medida.
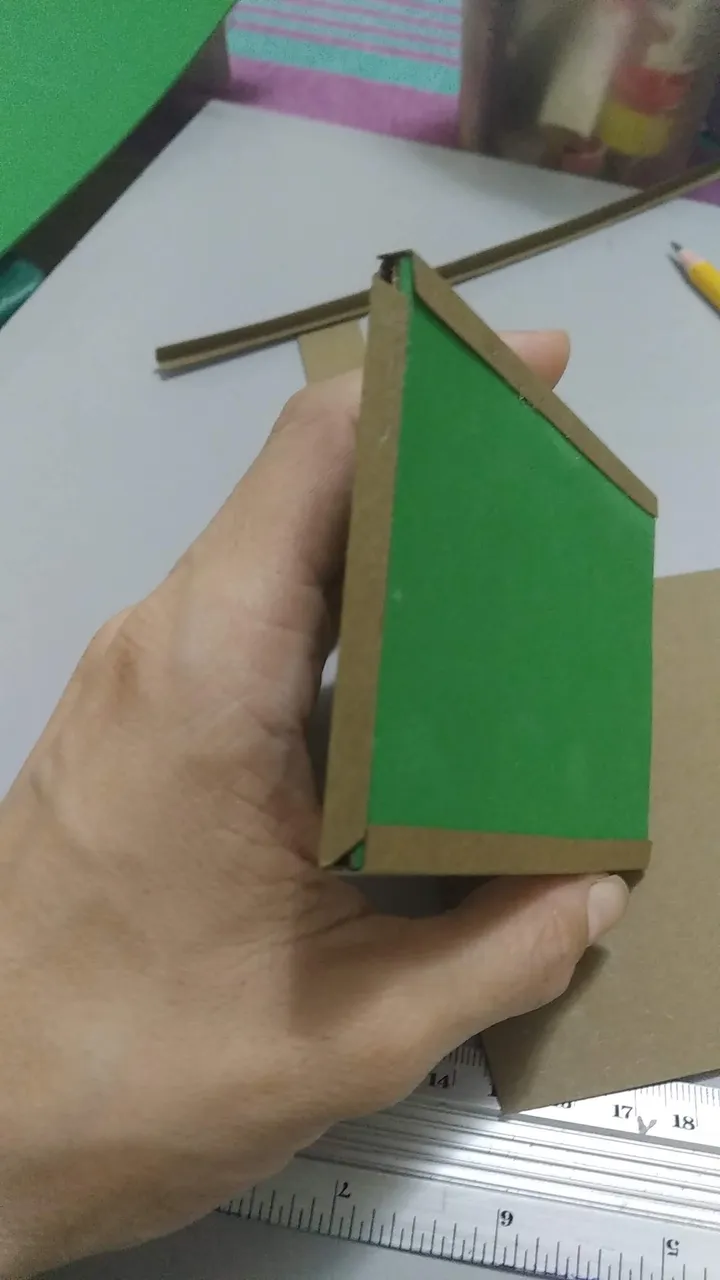
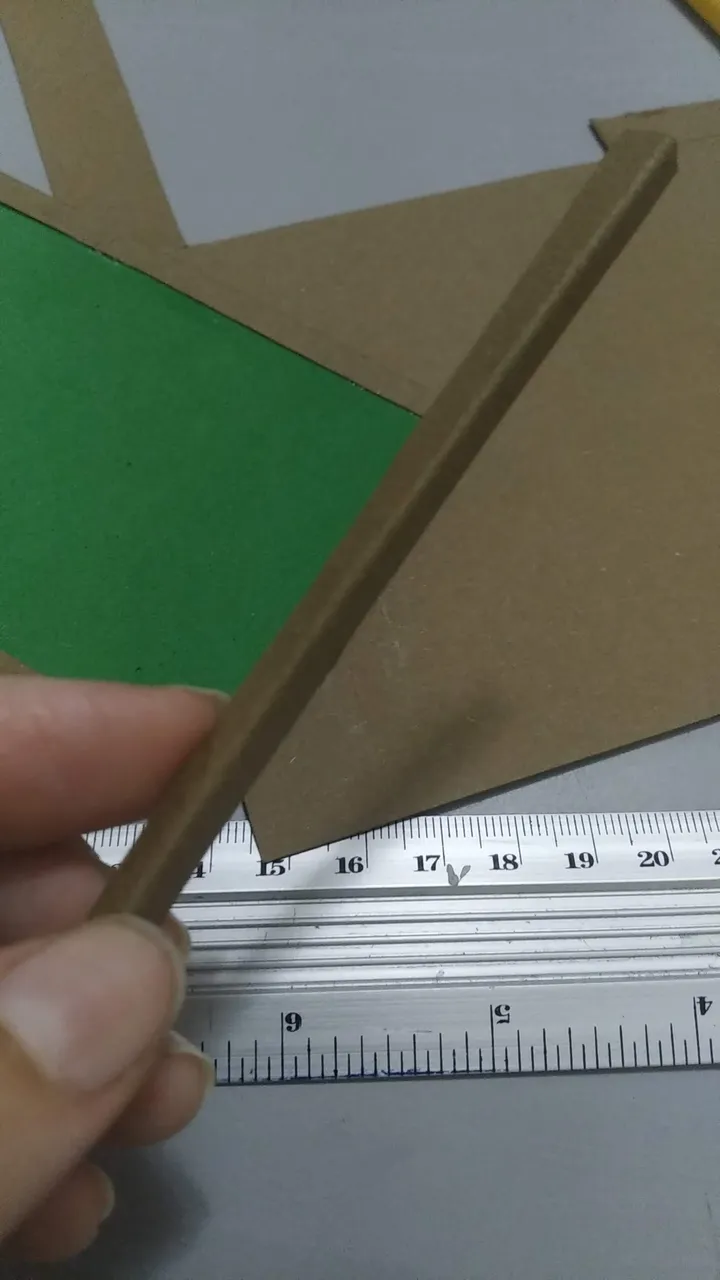
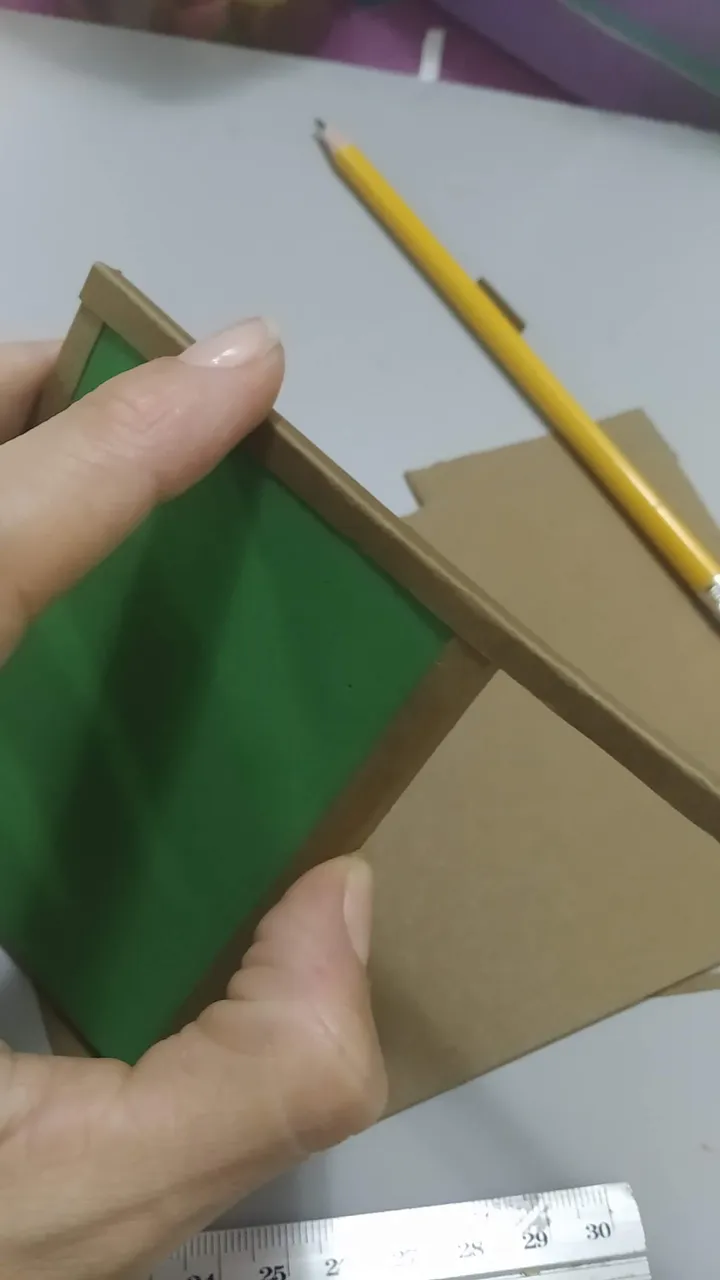
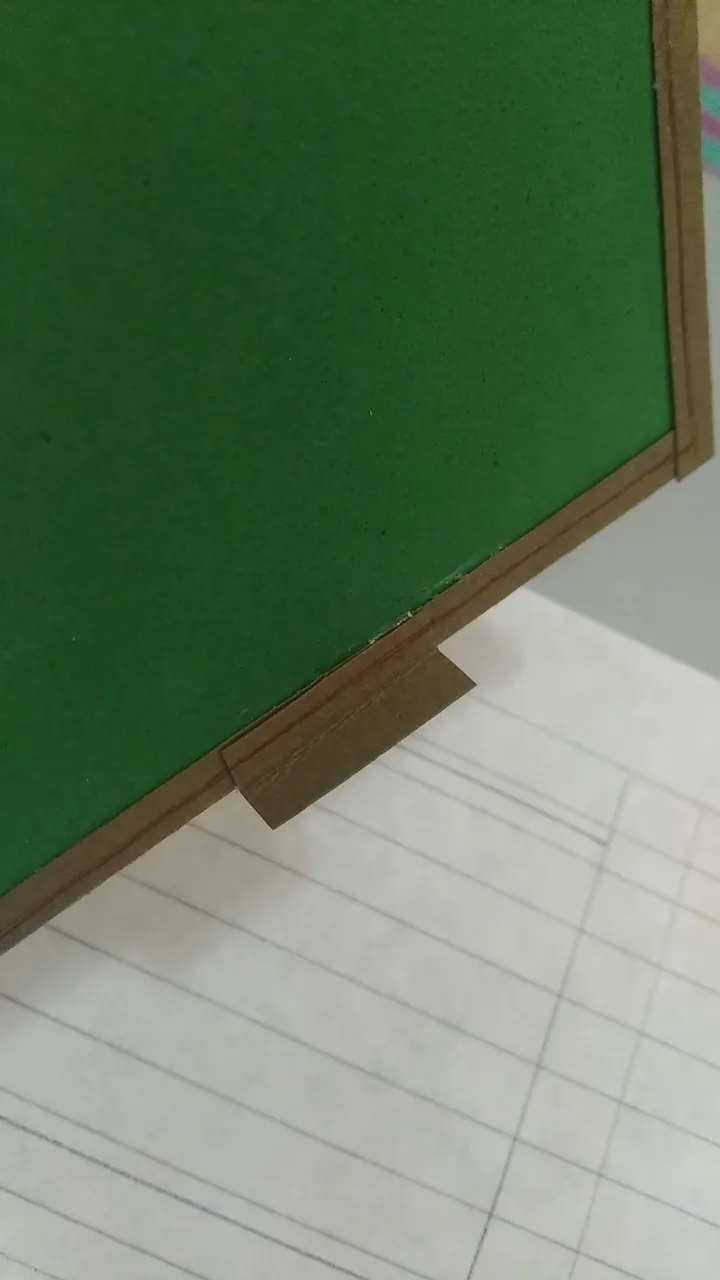
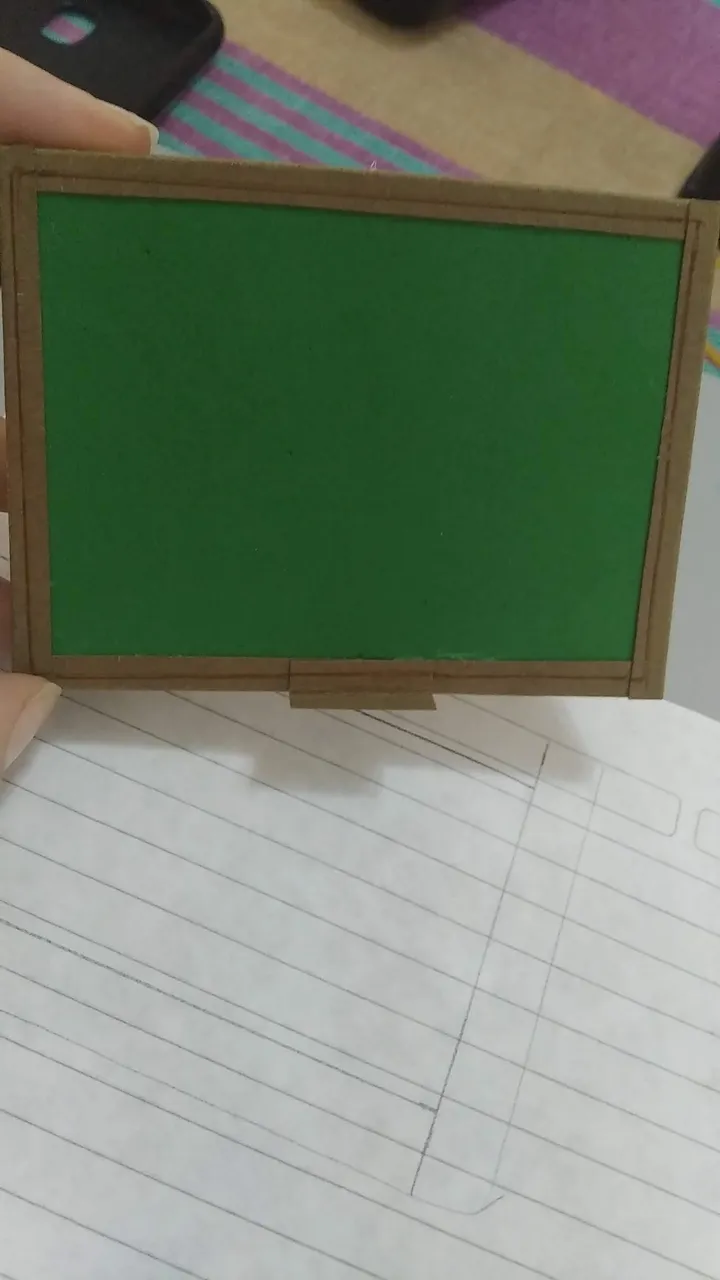
- Para cubrir los bordes de la pizarra y se vea estéticamente mejor, recortar finas tiras de cartulina marrón y luego de doblarlas como un perfil pegarlas en todos los borde, cubriendo parte de lo verde y el borde donde se une el cartón y el foami.
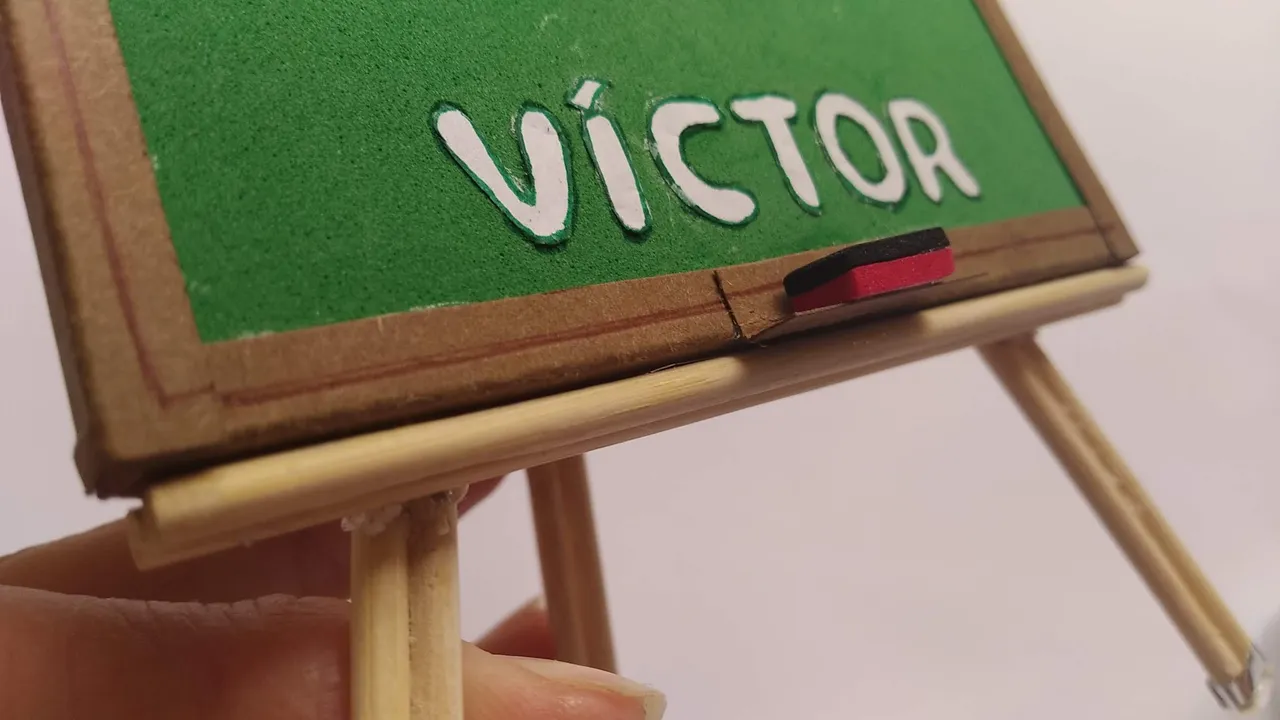
- Colocar a uno de sus lados un pedazo de cartón donde irá el borrador,
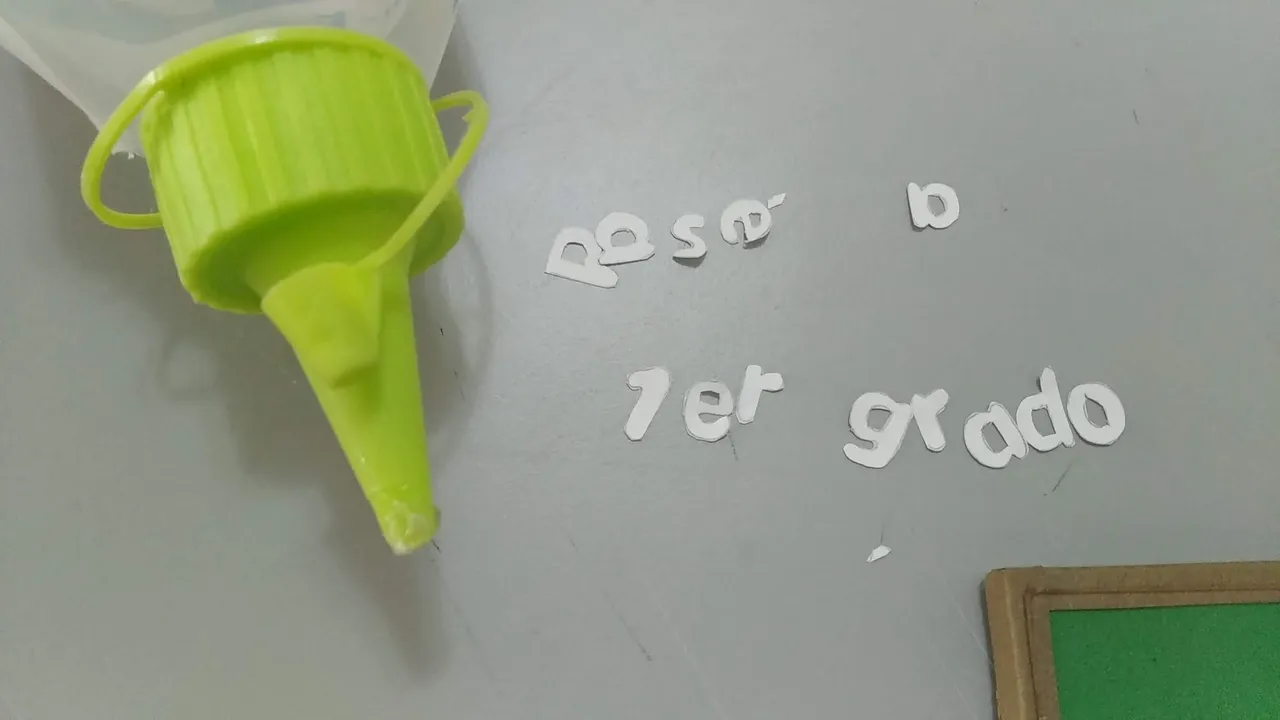
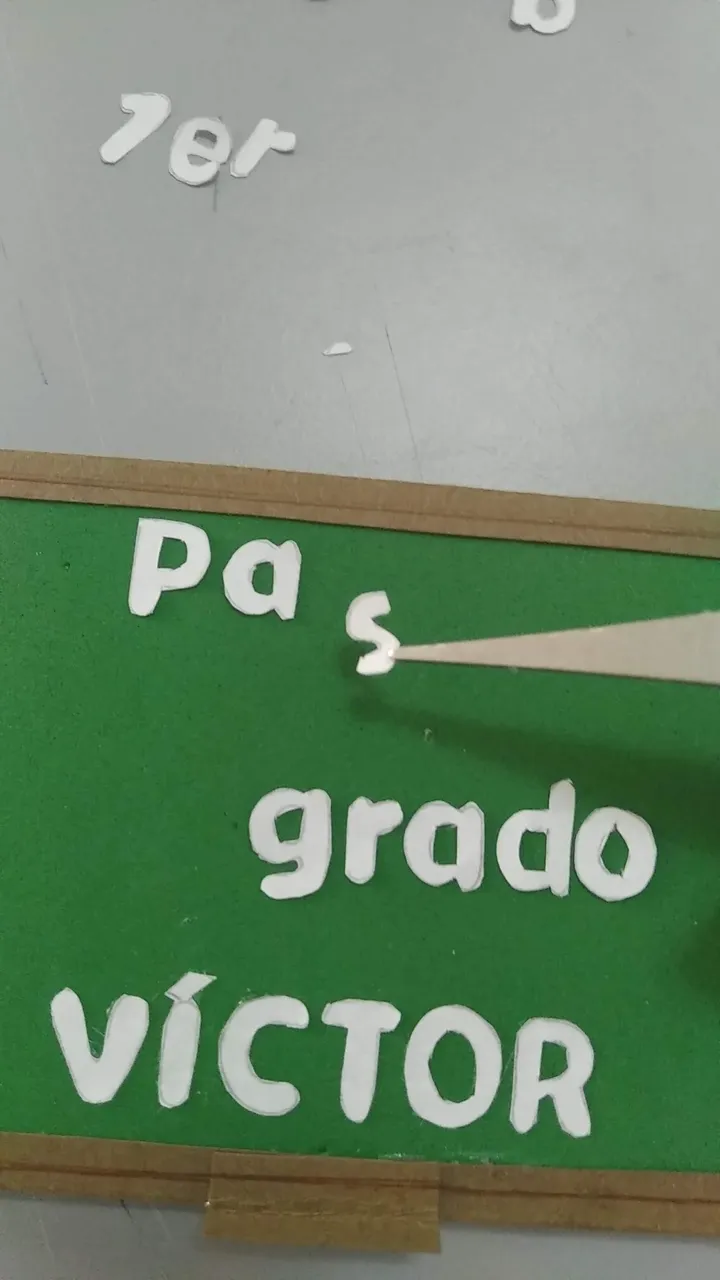
- Diseñar y recortar las letras para la decoración del pizarrón, en este caso se personalizó con el nombre del niño, pero se puede colocar lo que se desee, al final es un pizarrón.
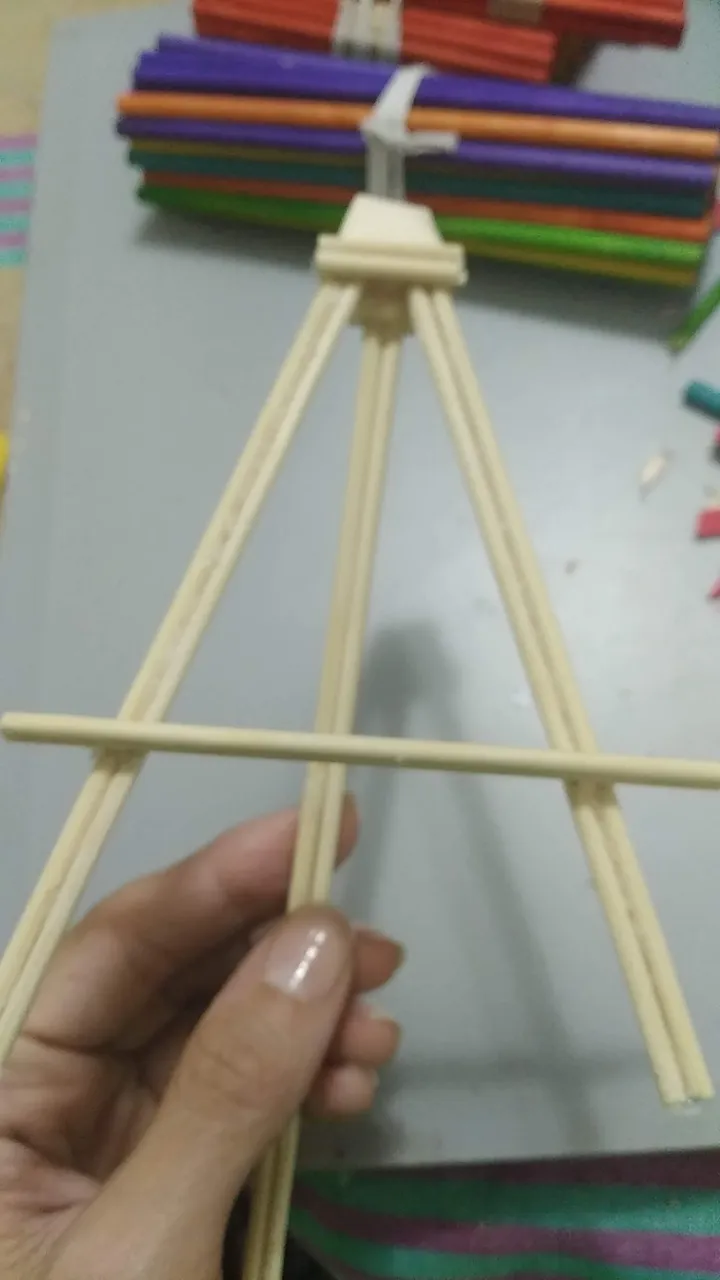
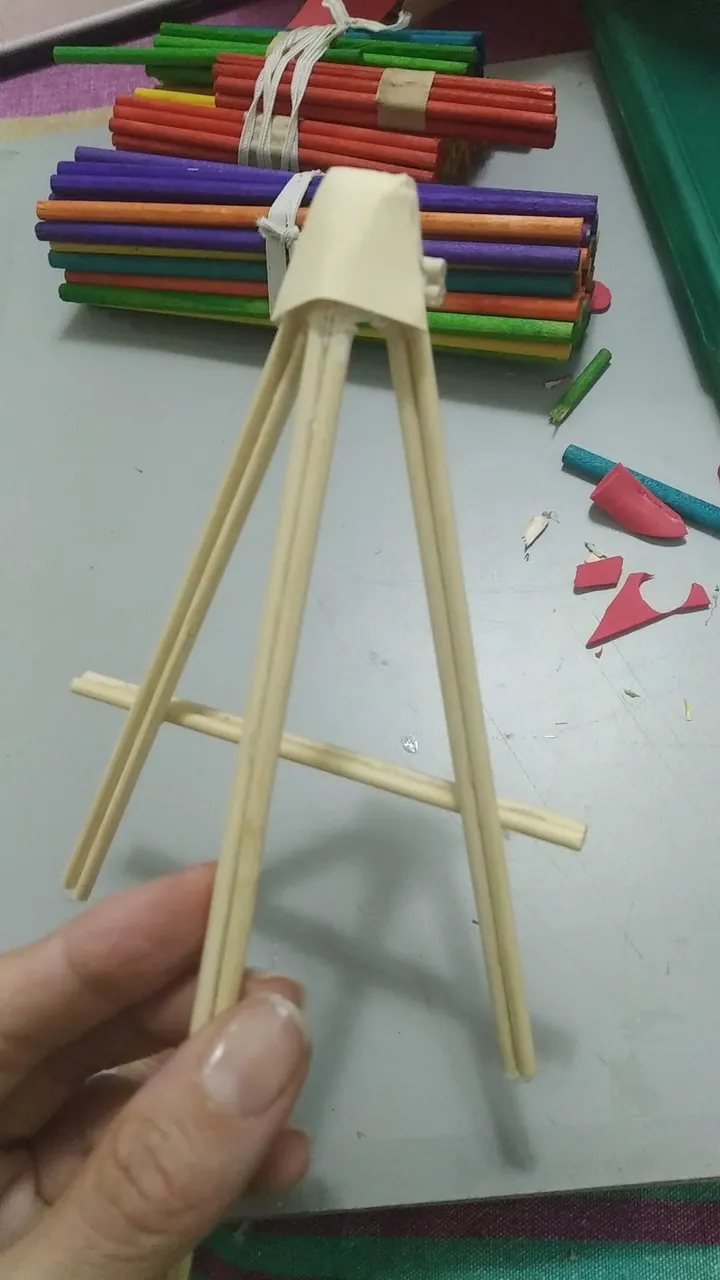
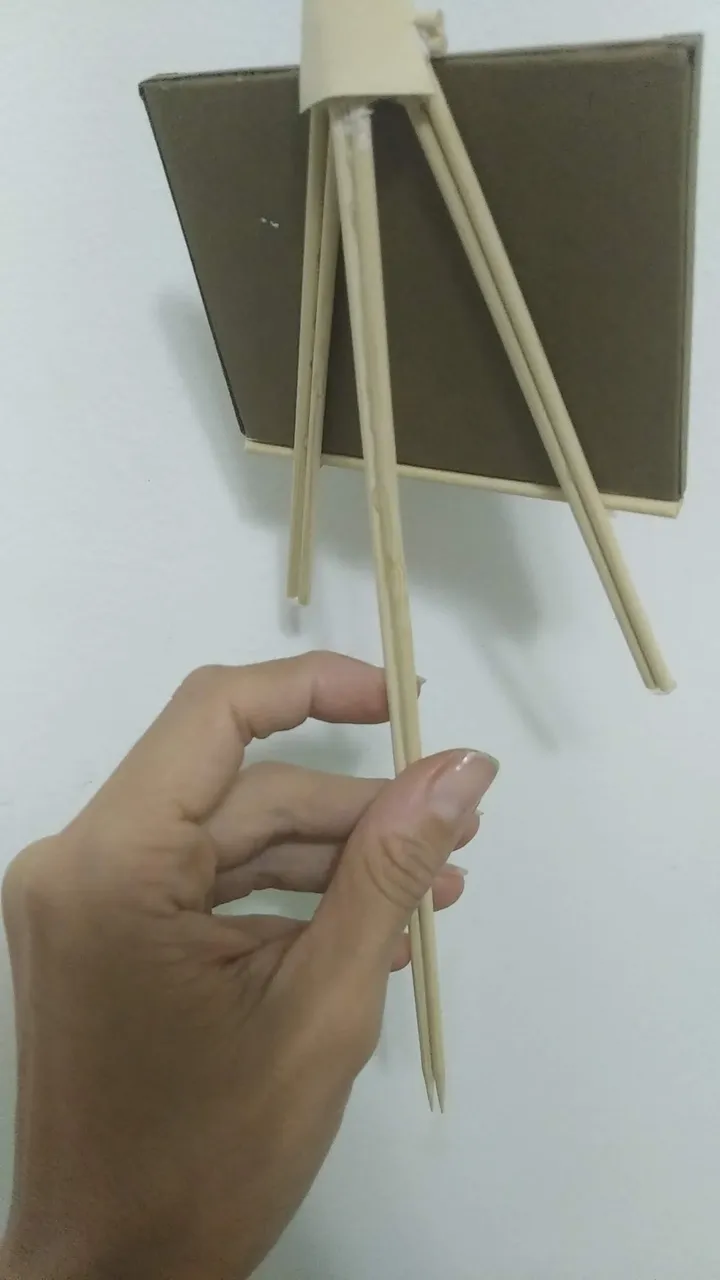
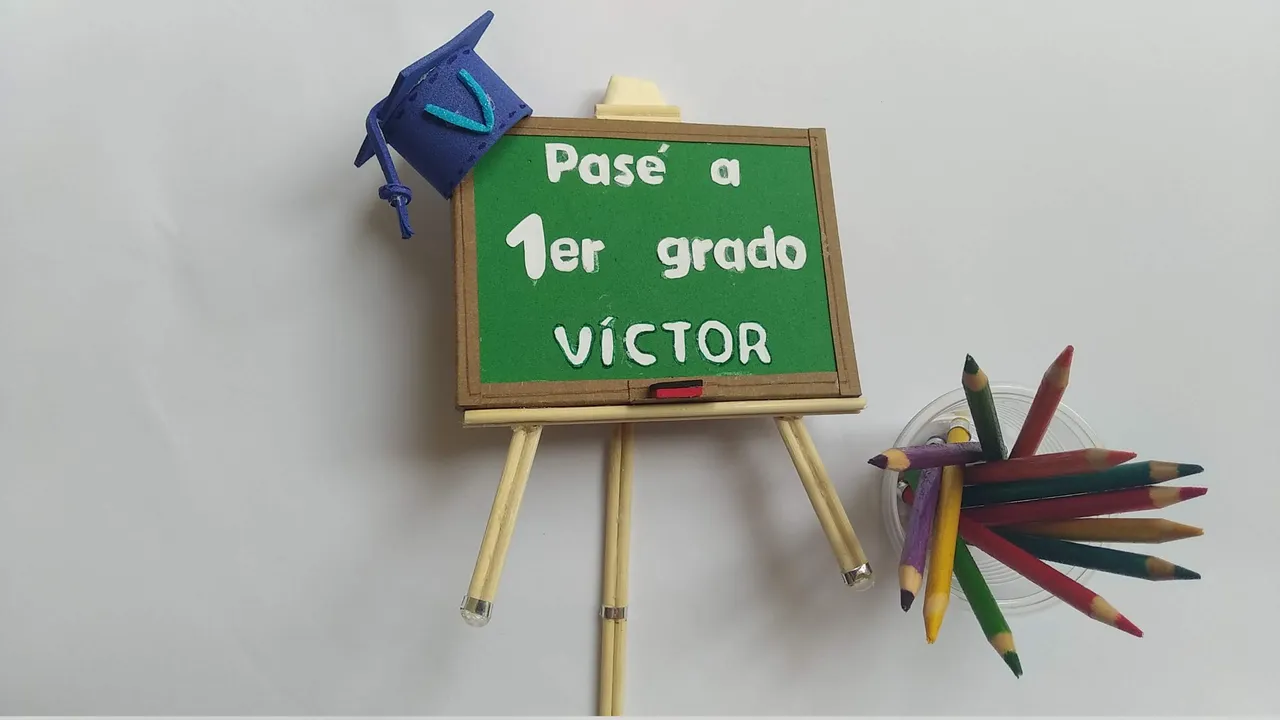
- Uniendo los palitos de madera de dos en dos, con silicón caliente, formar el tripode para la pizarra. Primero se unen las dos patas delanteras a una altura de 12 cm de alto y posterior se le pega la pata trasera a una altura de 18cm de alto. Esta ultima pata es la que se anclará al pastel para fijarlo, por eso es mas larga.
- A las patas delanteras pegar un palito de madera donde irá puesto el pizarrón, por eso es importante que este palito se corte a la mediada exacta del pizarrón.
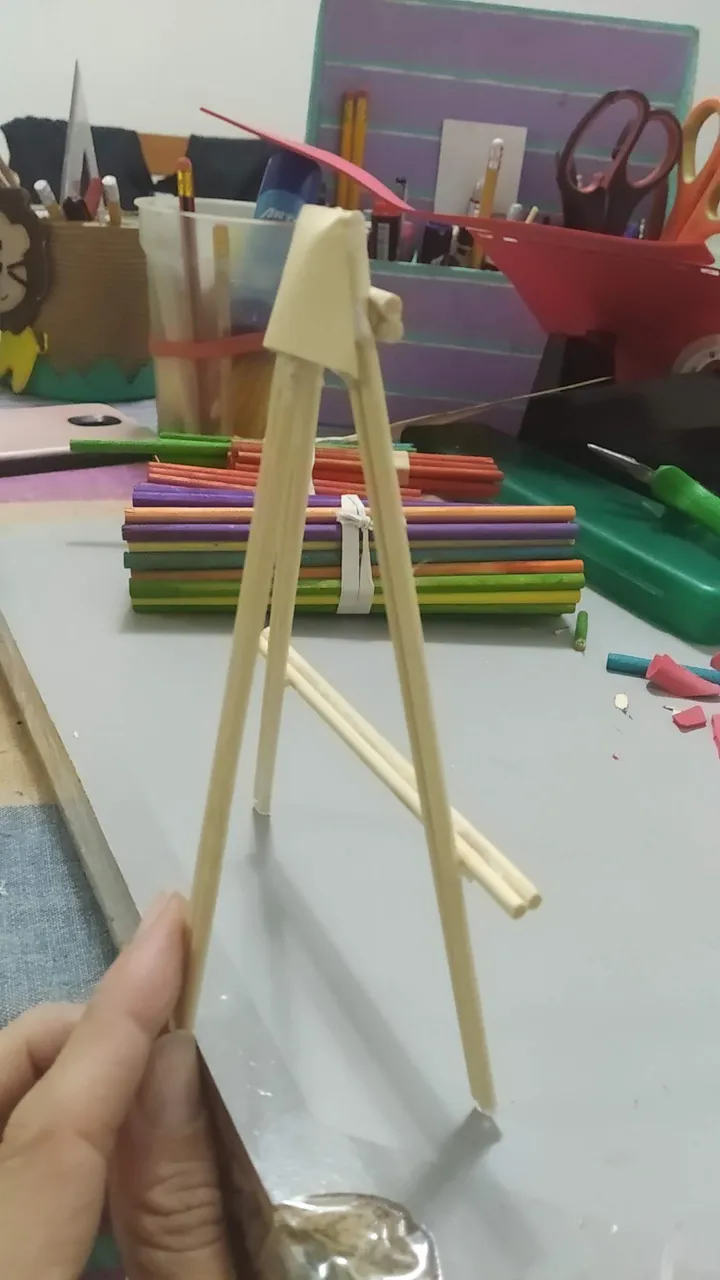
- A la parte superior donde los palitos se juntan cubrir con alguna cartulina o pedazo de foami. Y a las patas delanteras en la parte inferior pegar pequeños trozos de cartulina plateada.
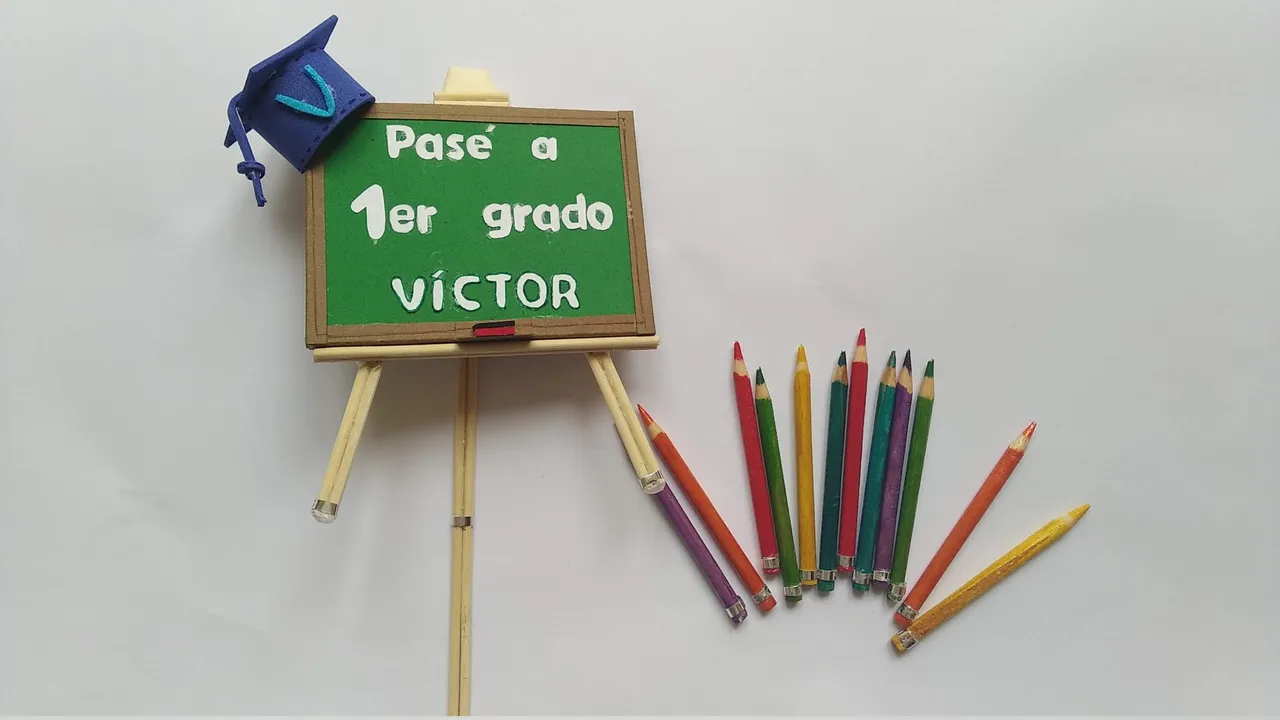
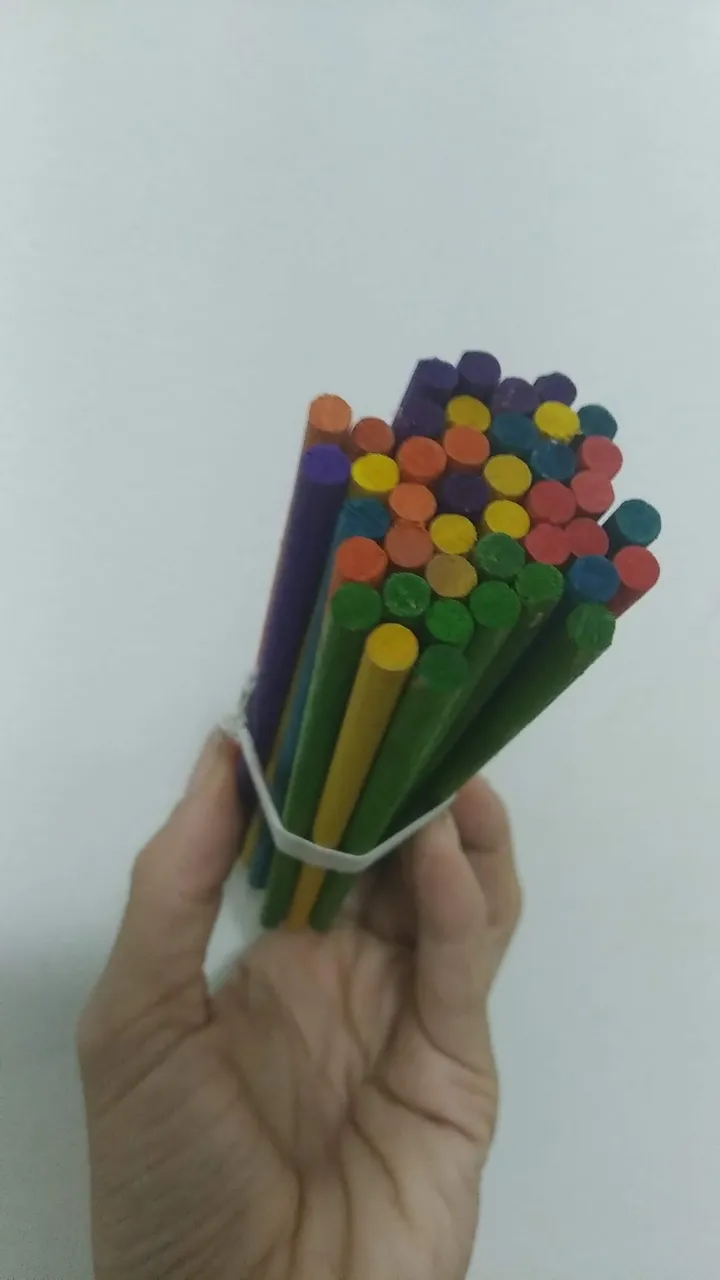
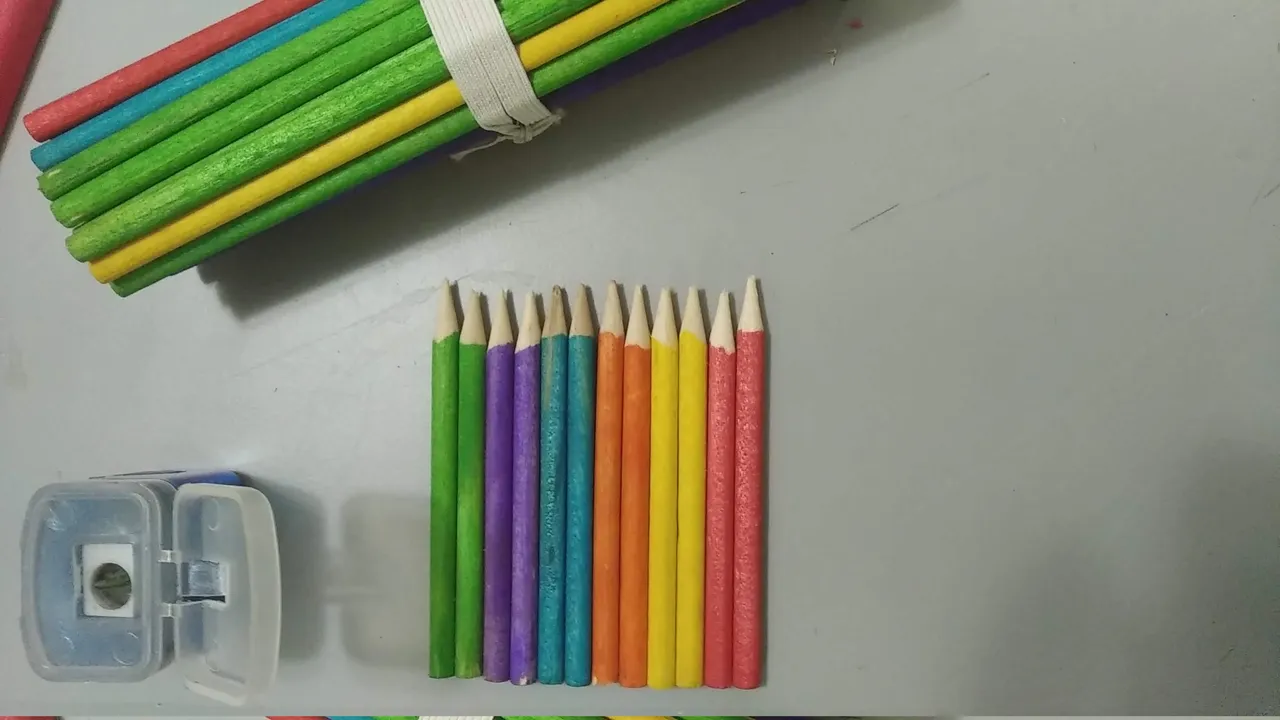
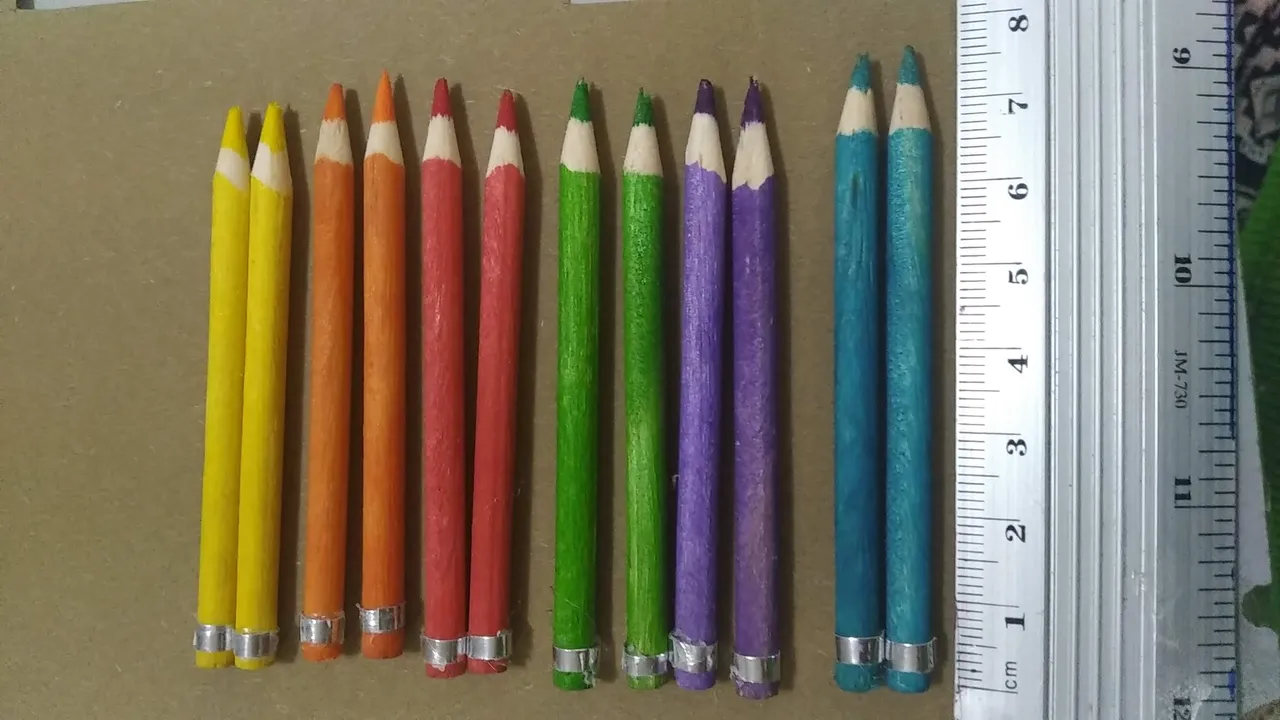
- Tomar los palitos de madera de colores y cortar a la altura deseada, en este caso se cortaron a 8 cm de largo. Cortar de diversos colores, la cantidad de lapices dependerá del gusto personal, para este pastel se hicieron 12 lapices, 2 de cada color.
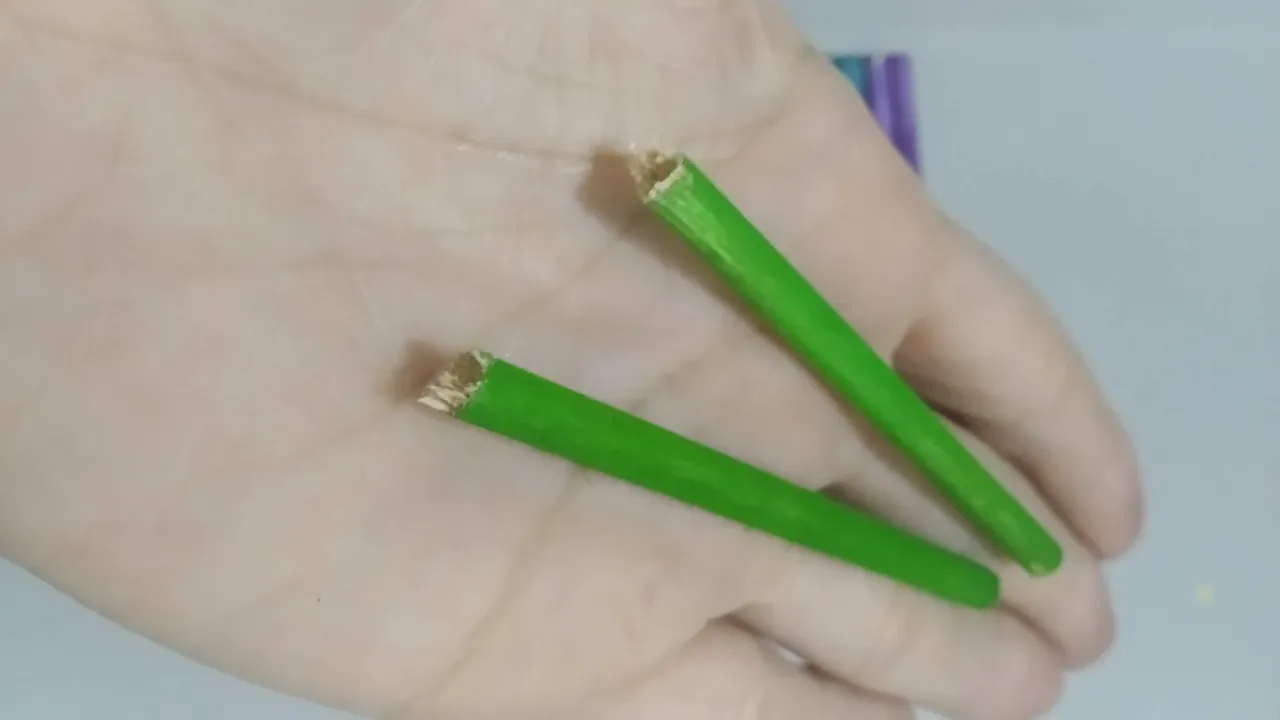
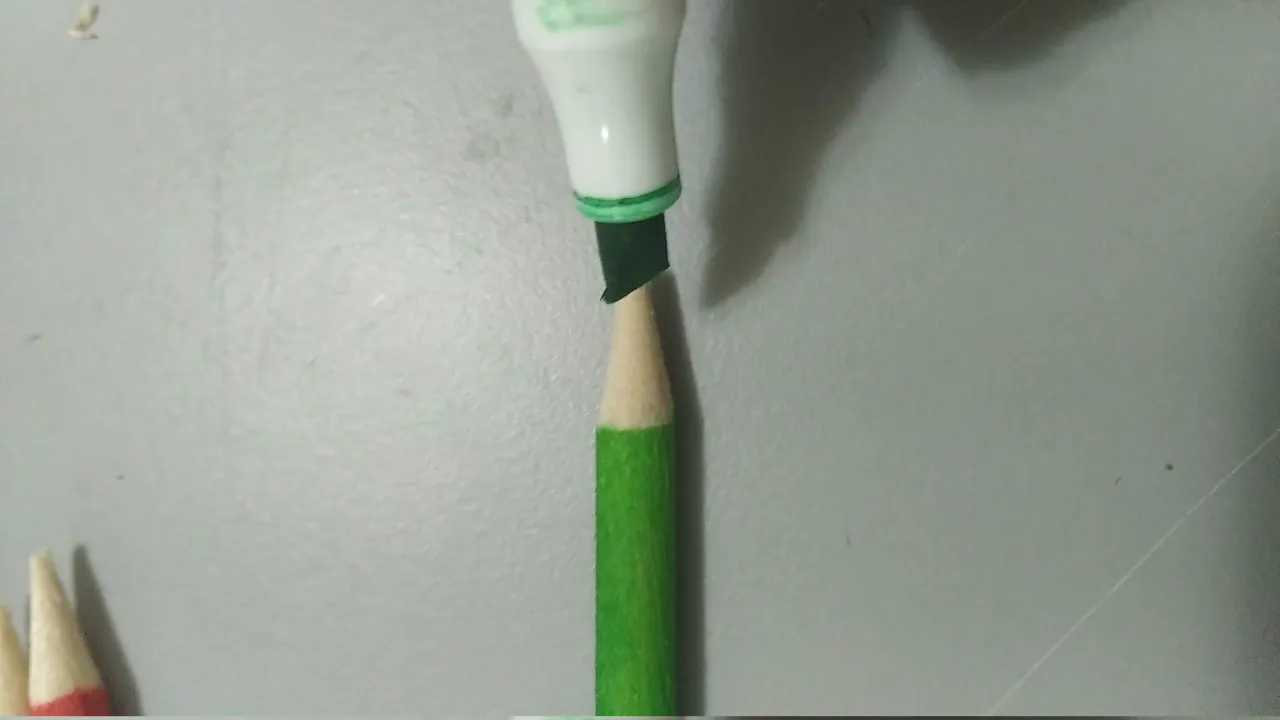
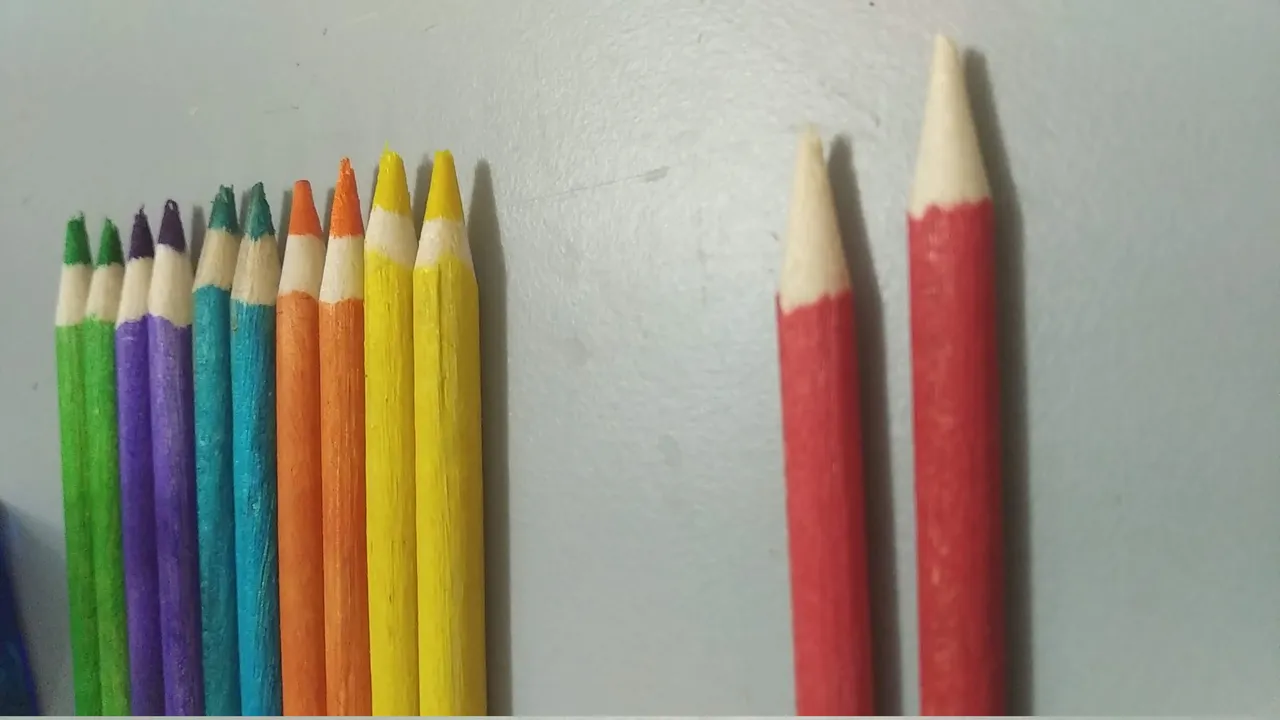
- Tomar cada pedazo de palito de color y con la ayuda de un sacapuntas común, sacar forma a la punta, una vez se tenga la punta al tamaño deseado pintar las mismas con marcadores de colores para simular las puntas reales; en este caso las puntas serán del color del palito.
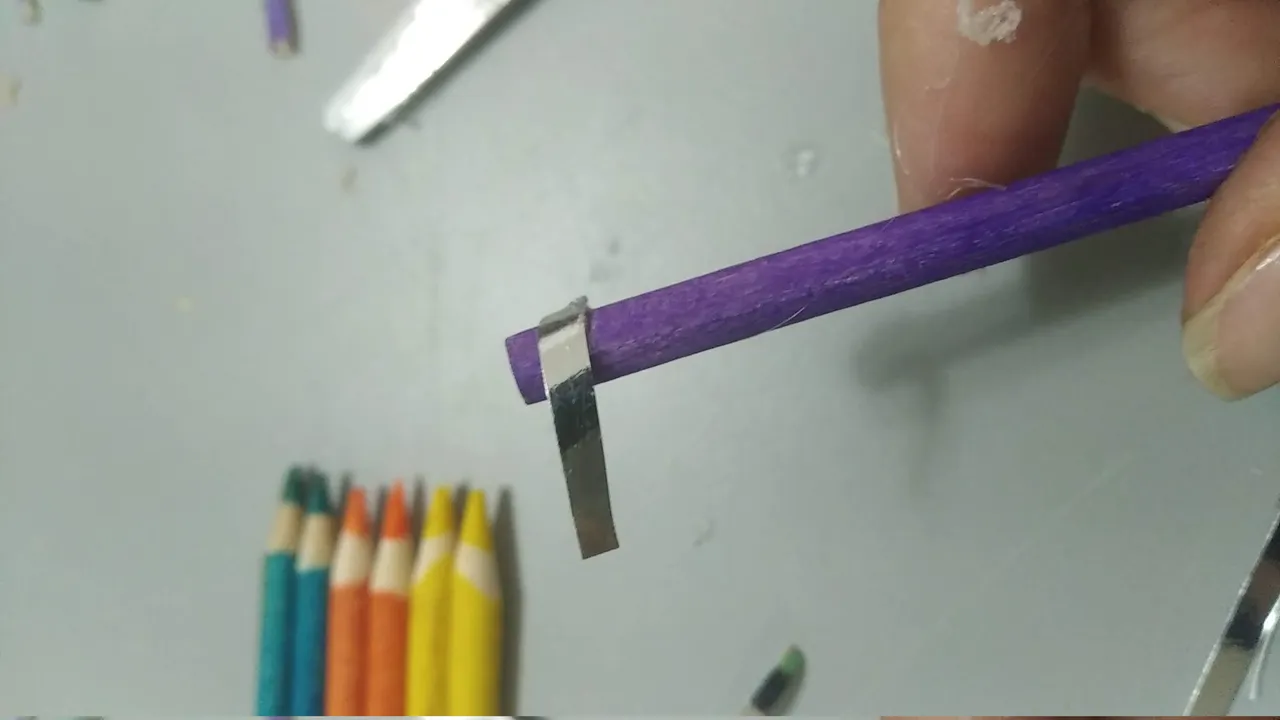
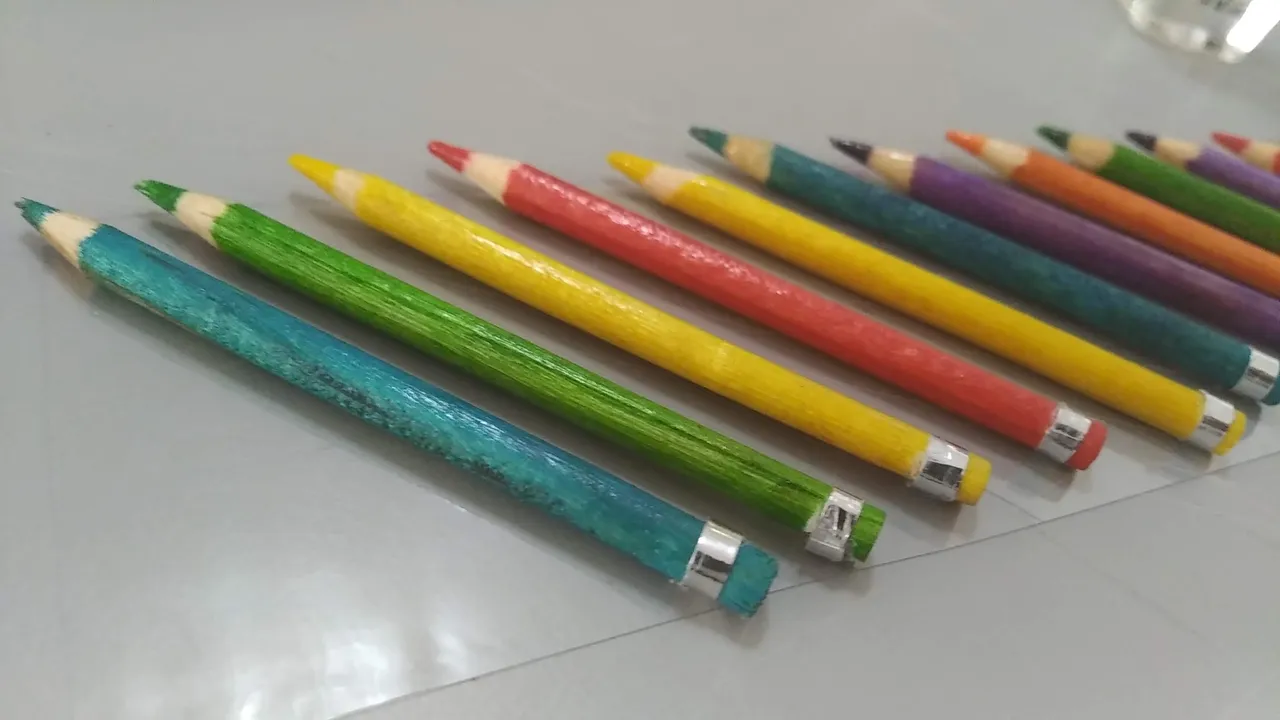
- Tomar un trozo de cinta plateada y cubrir el borde superior de cada palito para darle un mejor acabado a cada lápiz de color.
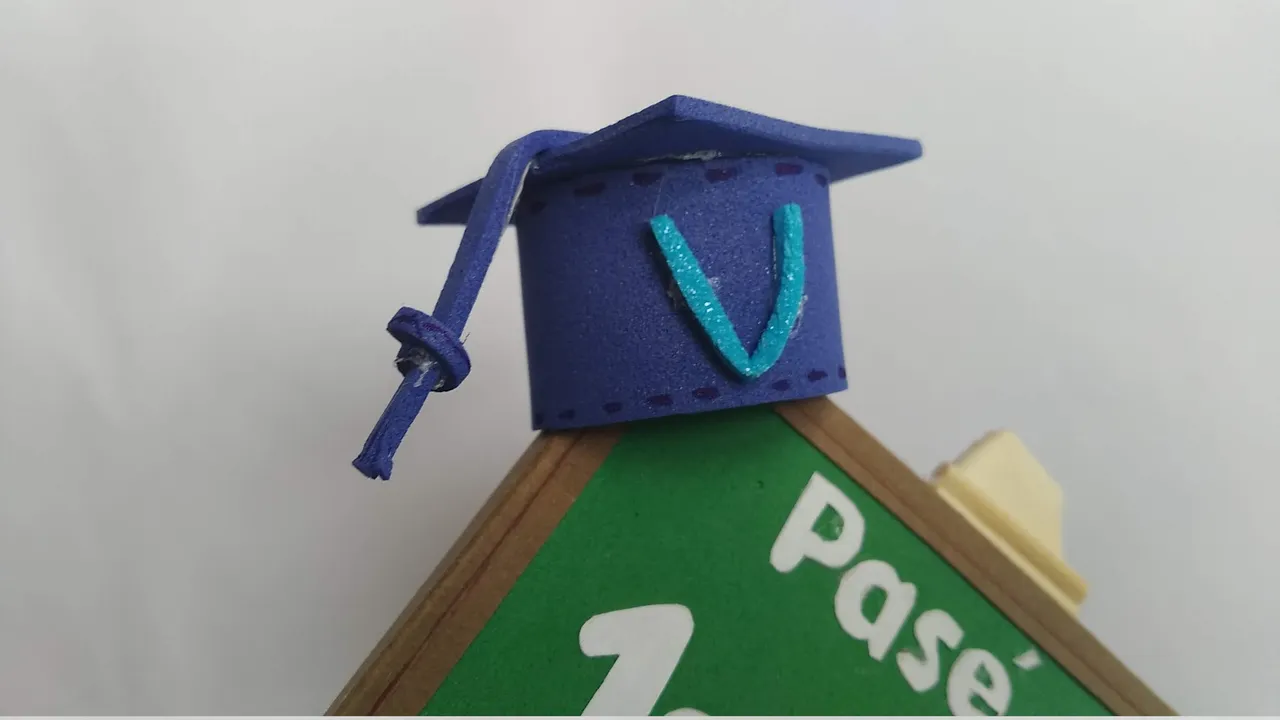
- Pegamos con silicón caliente la pizarra al trípode y decoramos con un birrete azul en una de sus esquinas. Colocamos el borrador, realizado con un pequeño trozo de foami negro y rojo y listo….
¡A disfrutar de la magia de lo creado en casa!
English
Hello friends, happy Wednesday...
Here I show you another cake decoration for academic achievements, this time the cake was for Victor, an adorable 6 year old boy who passed to the basic stage of early childhood education, first grade, and his mom, like all moms, super proud of her son, wanted to celebrate with a nice cake that was immortalized in the family photos.
This is an easy to make topper and was made with lots of love to enhance the delicious cake made by my favorite super cake baker Mayda which makes magic in the fusion of flavors and colors.
Without further ado and hoping you enjoy the work done with love, I leave you the materials used, the process and the images of the work.
- Thin cardboard (a small piece).
- Green gram green foami.
- King blue foami.
- Red and black Foami (mini pieces).
- Brown cardboard.
- White cardboard.
- Silver cardboard.
- Natural wooden sticks
- Wooden colored sticks (12").
- Assorted colored markers.
- Pencil sharpener.
- Hot glue.
- Cold silicone.
- Cutter.
- Scissors.
- Pencil.
- Mark and cut the thin cardboard to the desired size of the chalkboard, it measured 8 cm long x 7 cm high.
- Mark and cut out the green foami to the same size as the cardboard and glue it with cold silicone on one side.
- On the other side of the cardboard, glue a piece of brown cardboard to the same size.
- To cover the edges of the board and make it look aesthetically better, cut thin strips of brown cardboard and after folding them like a profile, glue them on all the edges, covering part of the green and the edge where the cardboard and the foami meet.
- Place a piece of cardboard on one of its sides where the eraser will go,
- Design and cut out the letters for the decoration of the blackboard, in this case it was personalized with the name of the child, but you can place whatever you want, in the end it is a blackboard.
- Joining the wooden sticks two by two, with hot silicone, form the tripod for the blackboard. First join the two front legs at a height of 12 cm high and then glue the back leg at a height of 18 cm high. This last leg is the one that will be anchored to the cake to fix it, that is why it is longer.
- To the front legs glue a wooden stick where the blackboard will be placed, so it is important that this stick is cut to the exact size of the blackboard.
- Cover the upper part where the sticks meet with some cardboard or a piece of foami. And to the front legs at the bottom glue small pieces of silver cardboard.
- Take the colored wooden sticks and cut them to the desired height, in this case they were cut to 8 cm long. Cut in different colors, the amount of pencils will depend on personal taste, for this cake 12 pencils were made, 2 of each color.
- Take each piece of colored stick and with the help of a common pencil sharpener, shape the tip, once you have the tip to the desired size paint them with colored markers to simulate the real tips; in this case the tips will be the color of the stick.
- Take a piece of silver tape and cover the top edge of each stick to give a better finish to each colored pencil.
- Glue the slate to the tripod with hot silicone and decorate with a blue biretta in one of its corners. Place the eraser, made with a small piece of black and red foami and ready.....
Let's enjoy the magic of what we created at home!
Translated with www.DeepL.com/Translator (free version)
IMÁGENES / IMAGES
SALUDOS / REGARDS
Todas las Fotos fueron tomadas con mi teléfono Redmi 7A.
Contenido original de @keco (fotos y texto) - Todos los derechos reservados Publicado en HIVE así como en mi instagram : http://instagram.com/carton_pintura_algo_mas
All Photos were taken with my Redmi 7A phone.
Original content from @keco (photos and text) - All rights reserved Posted on HIVE as well as on my instagram: http://instagram.com/carton_pintura_algo_mas