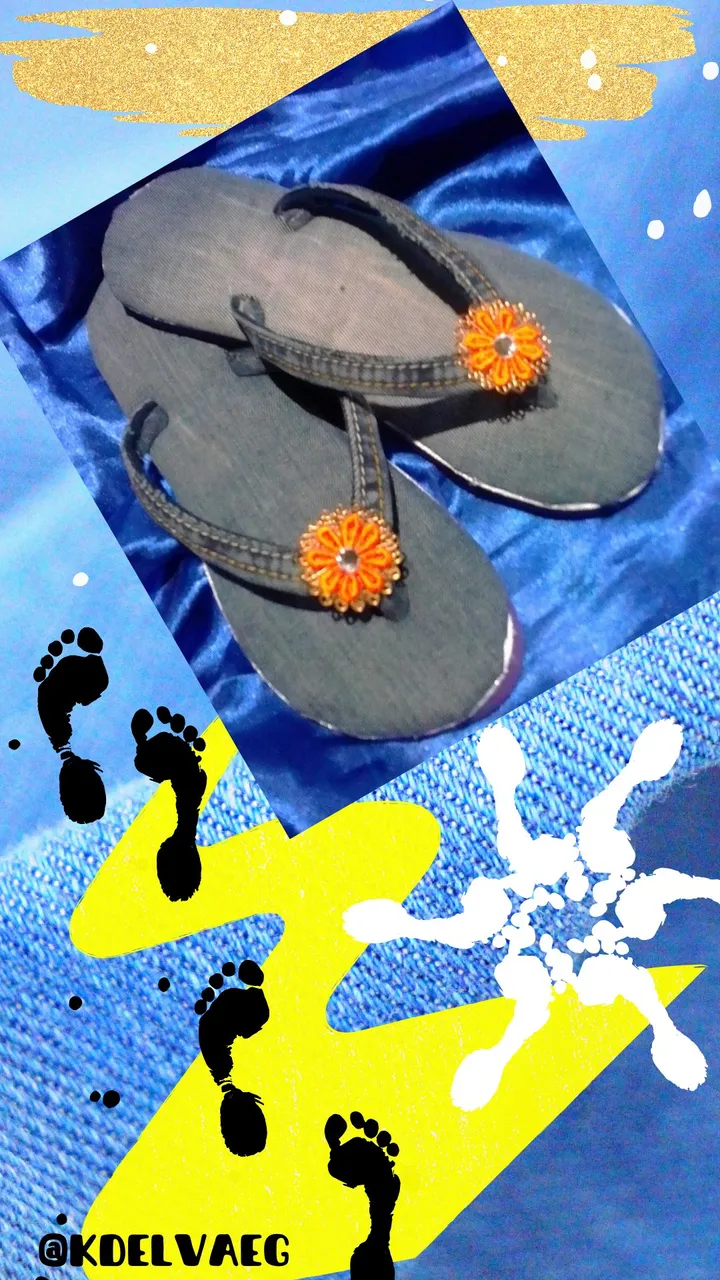


Hello my dear readers of this community, I hope you are well and that you have or have had an excellent day. I was reviewing some things that I had saved, some because I no longer use them, others because they broke but I saved them thinking that I could give them another use. And I got a pair of everyday sandals that I had broken, so today I want to show you how I modified them and made some new sandals, I show you the step by step.
Procedure:
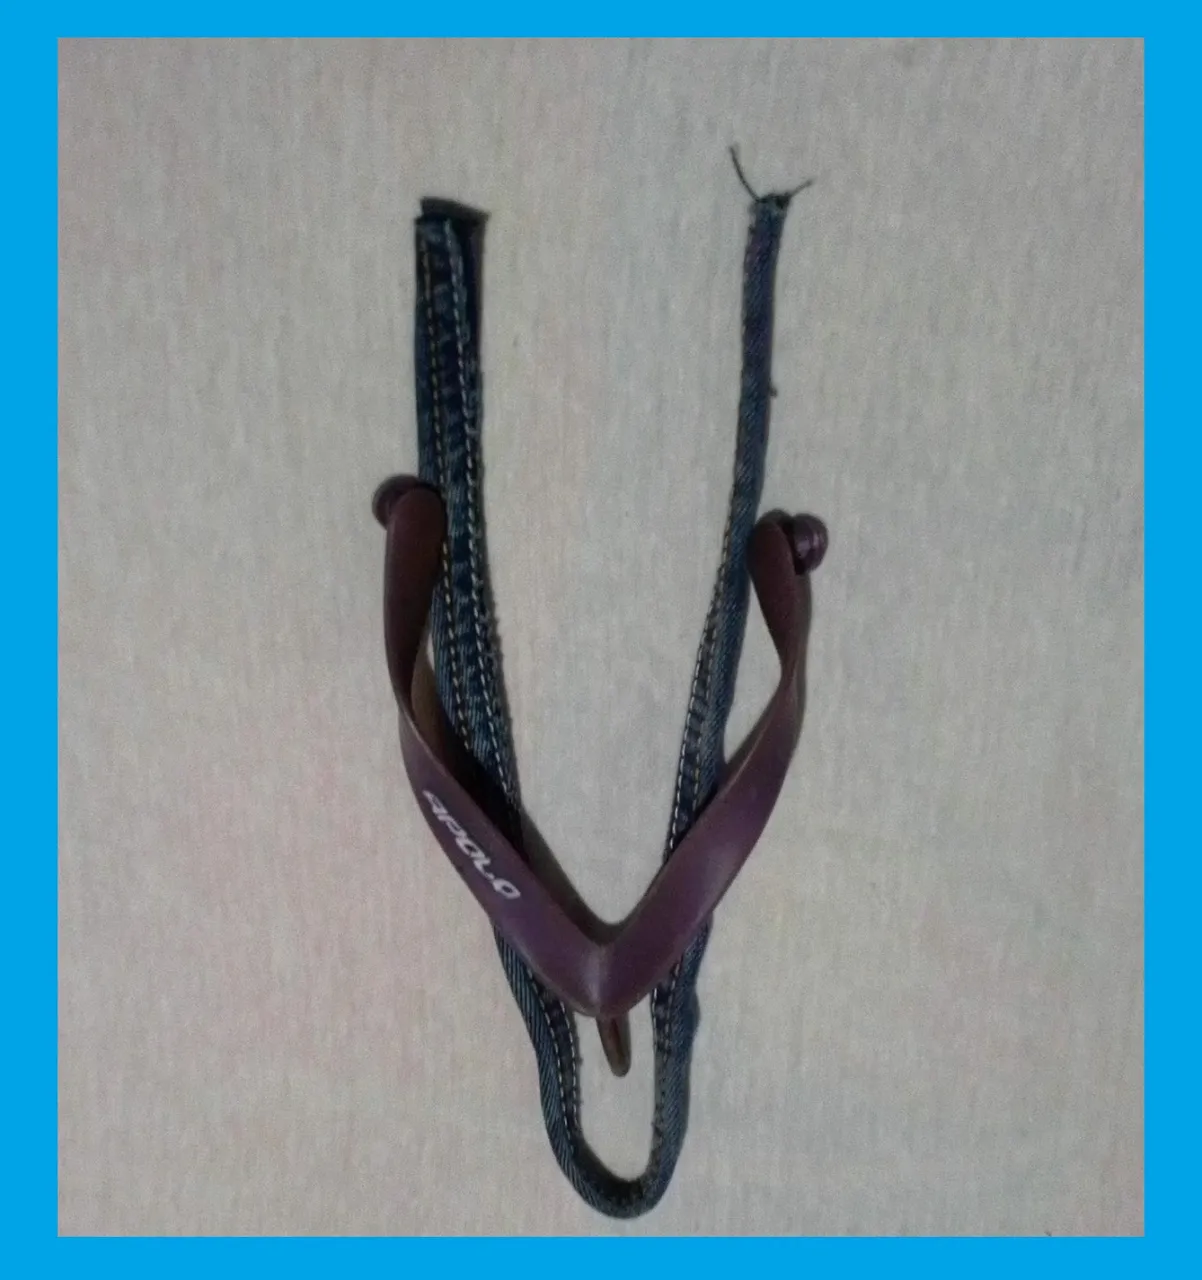
I will take the sandals and remove the straps that come with them and for which I no longer wore them because they had broken. I took off the strap with great care not to break the rubber sole.

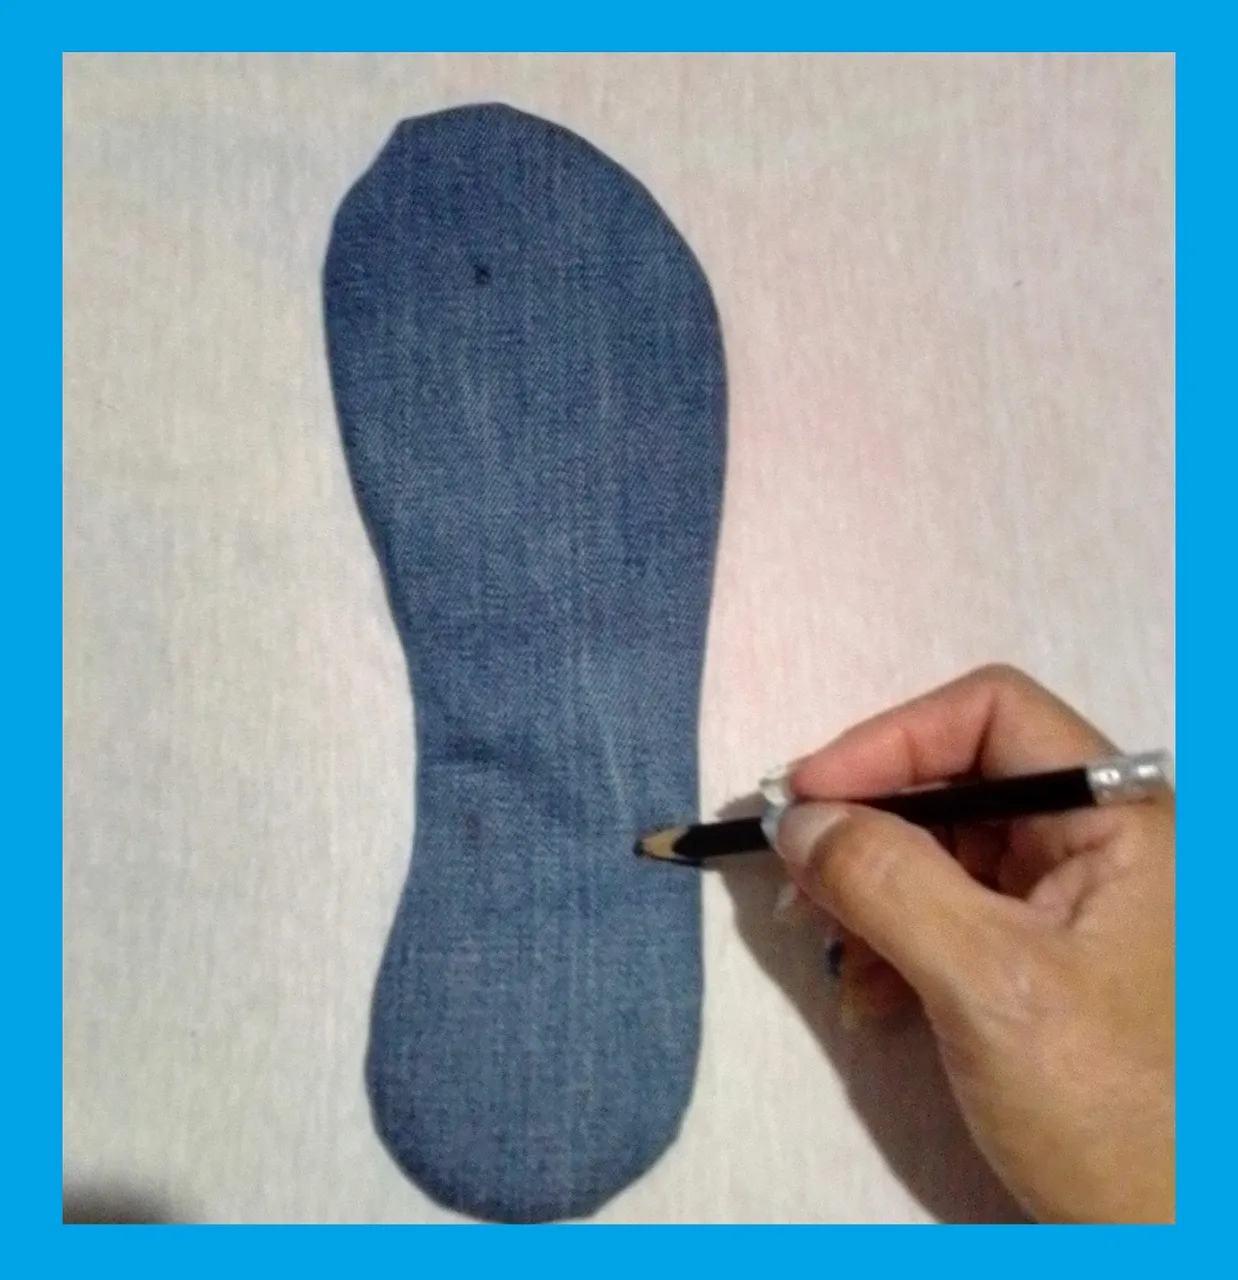
From a bicycle rubber belly, I will take some templates that I will use as a base to line it with the fabric. I will take the sole of the sandal and place it on the rubber, then with the pencil, I will mark all around the sole and with the scissors I will cut it out.

Then I will take the rubber stencils that I just cut out and place them on top of the foam rubber, and then cut all the way around, so I will get 2 more foam rubber stencils.


Once the soles are cut out, I will glue the foam sole to the rubber sole, as shown in the pictures.

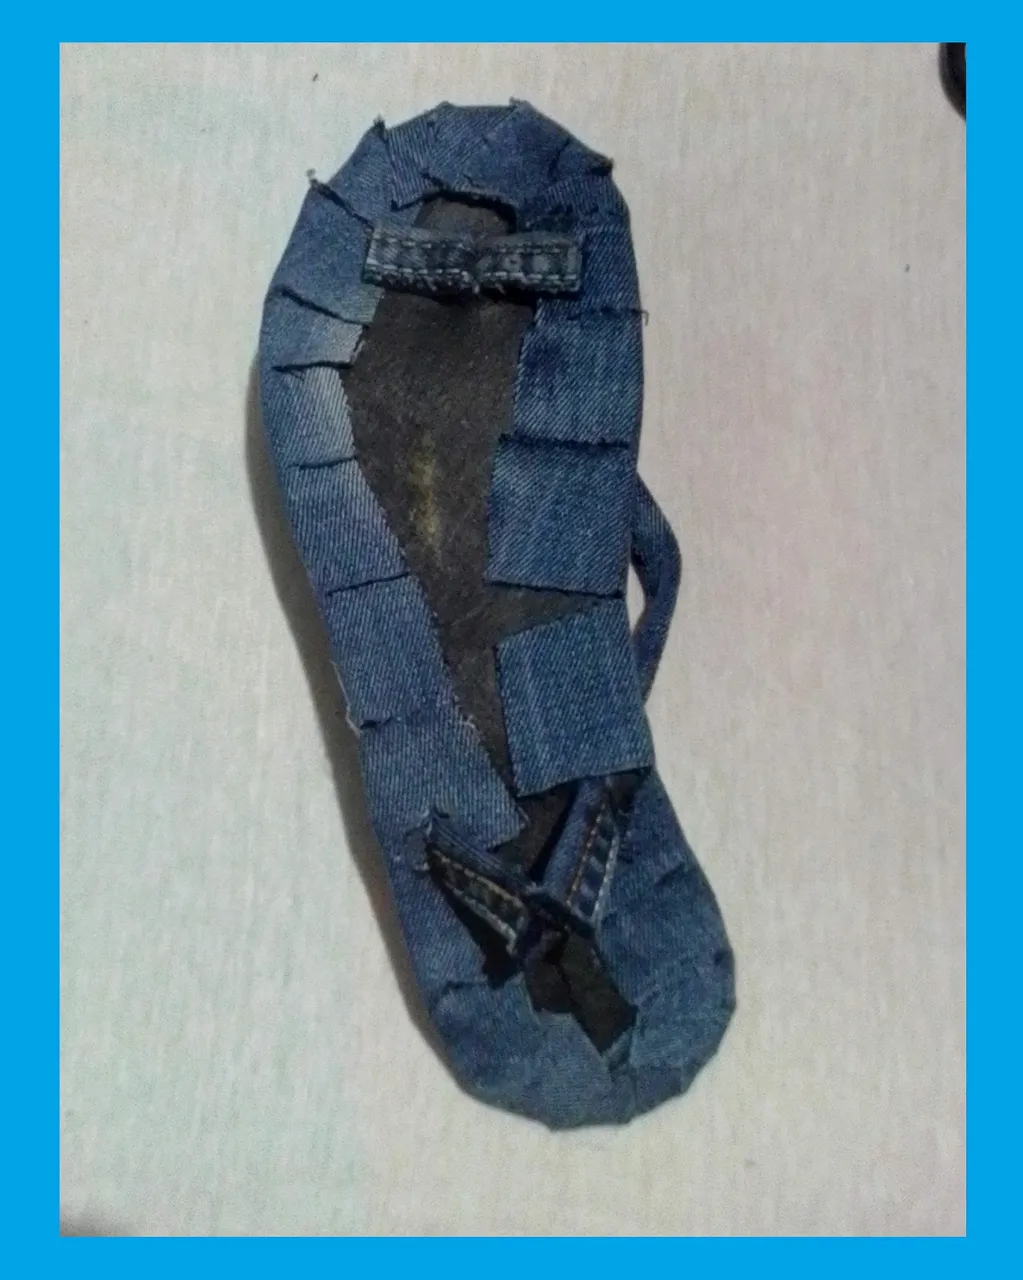
After I glue the foam rubber to the rubber band, I will line it with the jean fabric. I will place the template on the fabric and cut out all around, leaving a space of about 2 cm.

I will make cuts to the excess fabric, so that when I glue the fabric to the sole, it will not be wrinkled and will have a better fall in the curved parts of the sole. As you can see in the pictures.

I will glue with silicone all the cuts I made and it will look like this.

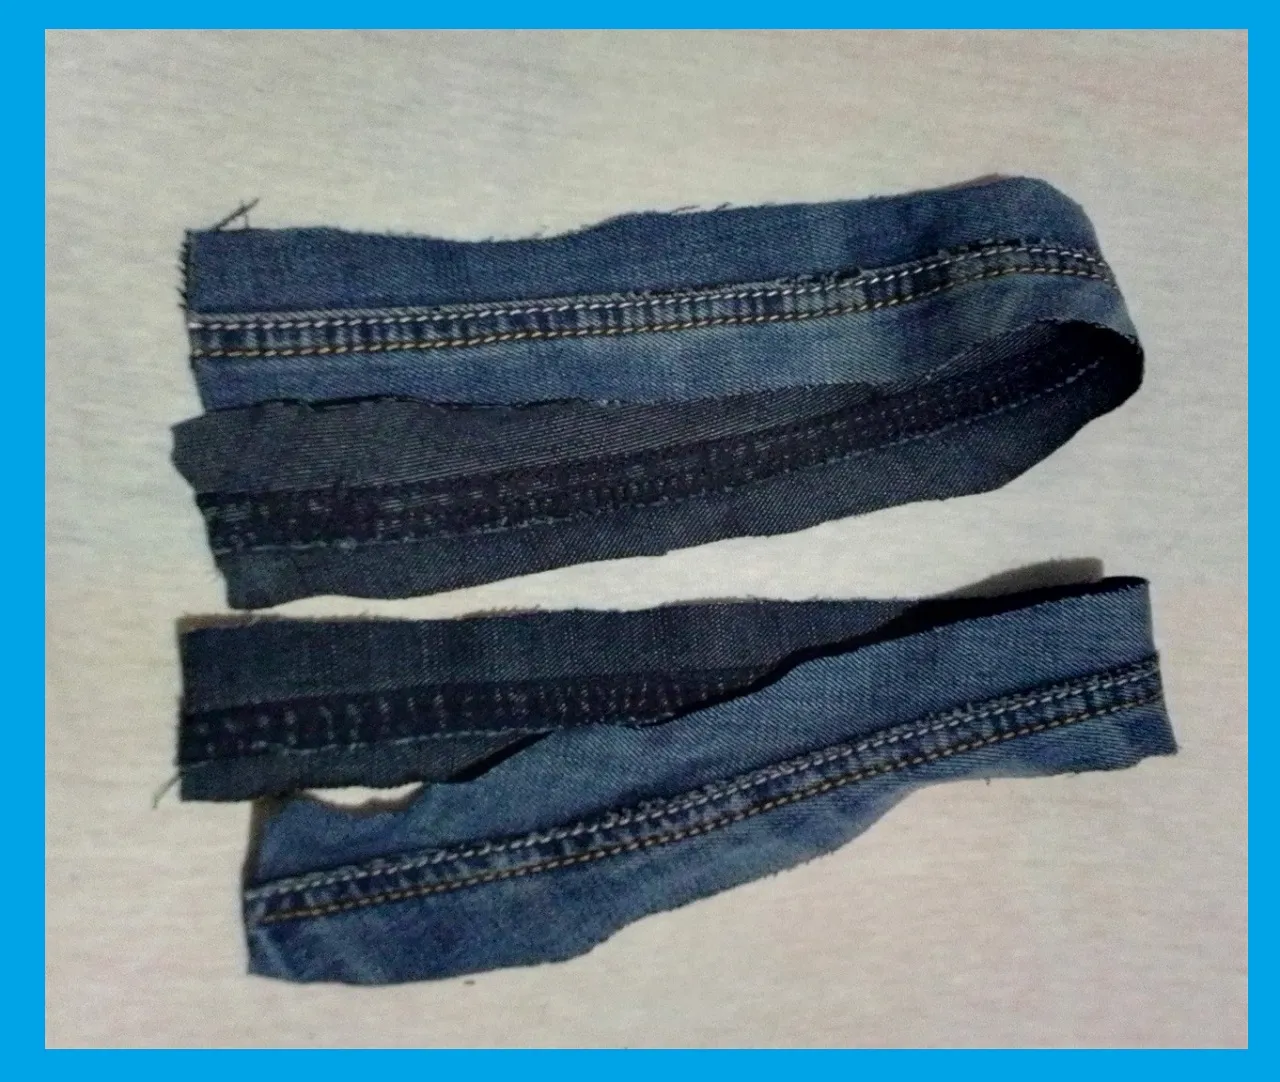
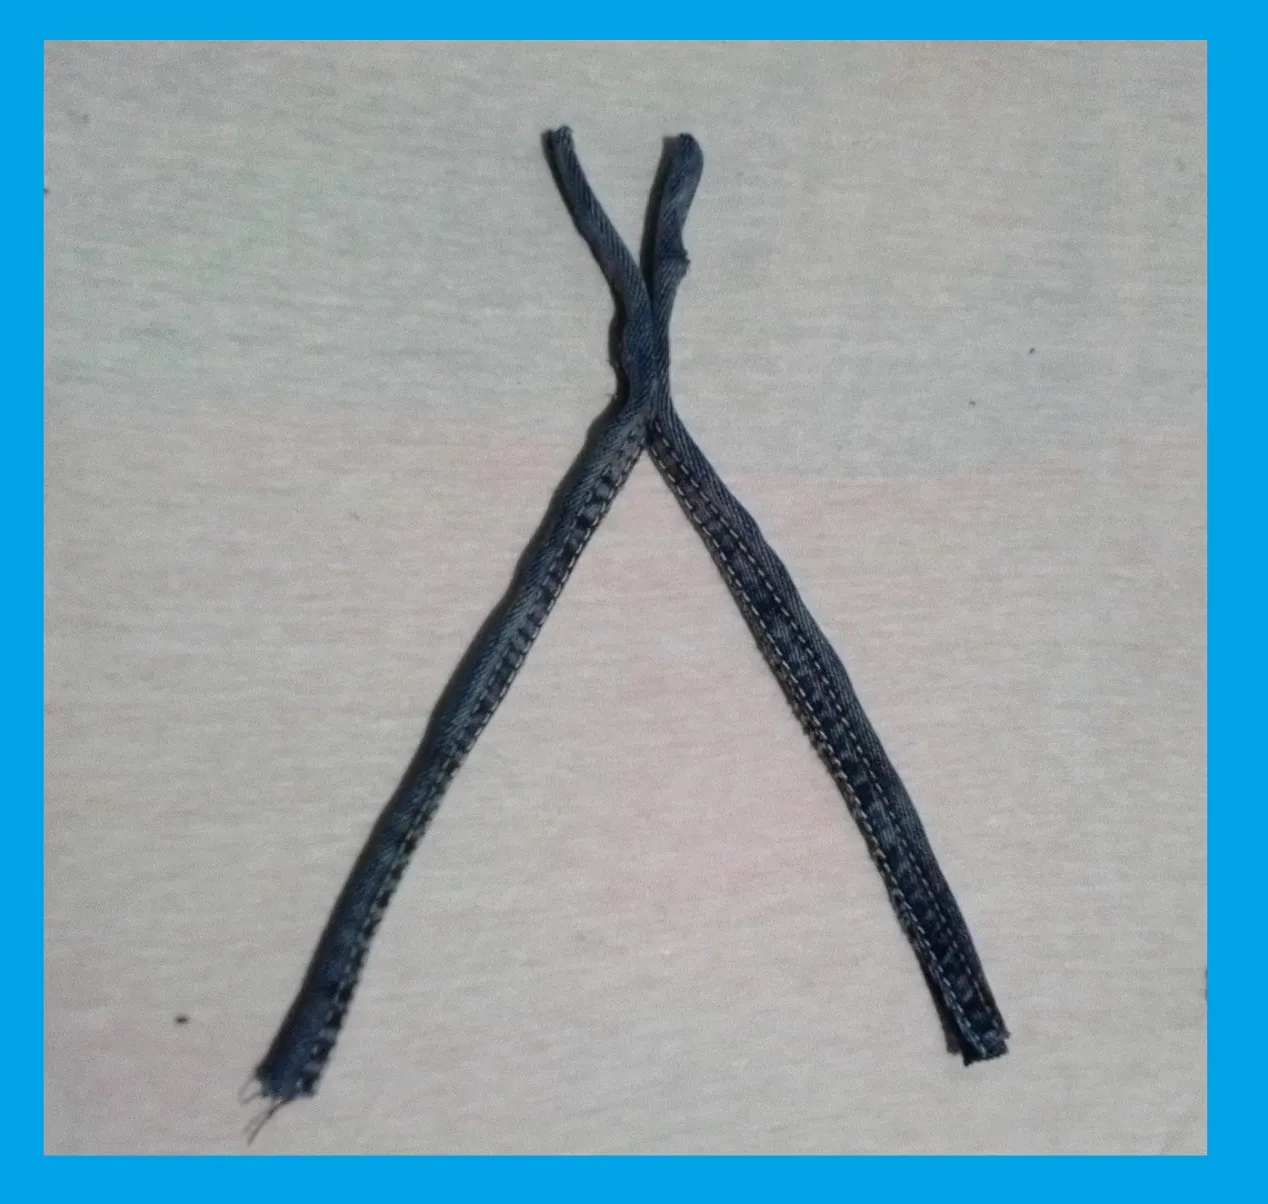
Now to make the straps for the sandal, I will cut two long straps. Since I'm using an old pair of jeans, I'll take advantage of the seams on the side of the pant legs and cut the strips, so the seams will serve as decoration. I will cut the strip leaving a few centimeters more to be able to fold it and glue it with the silicone.
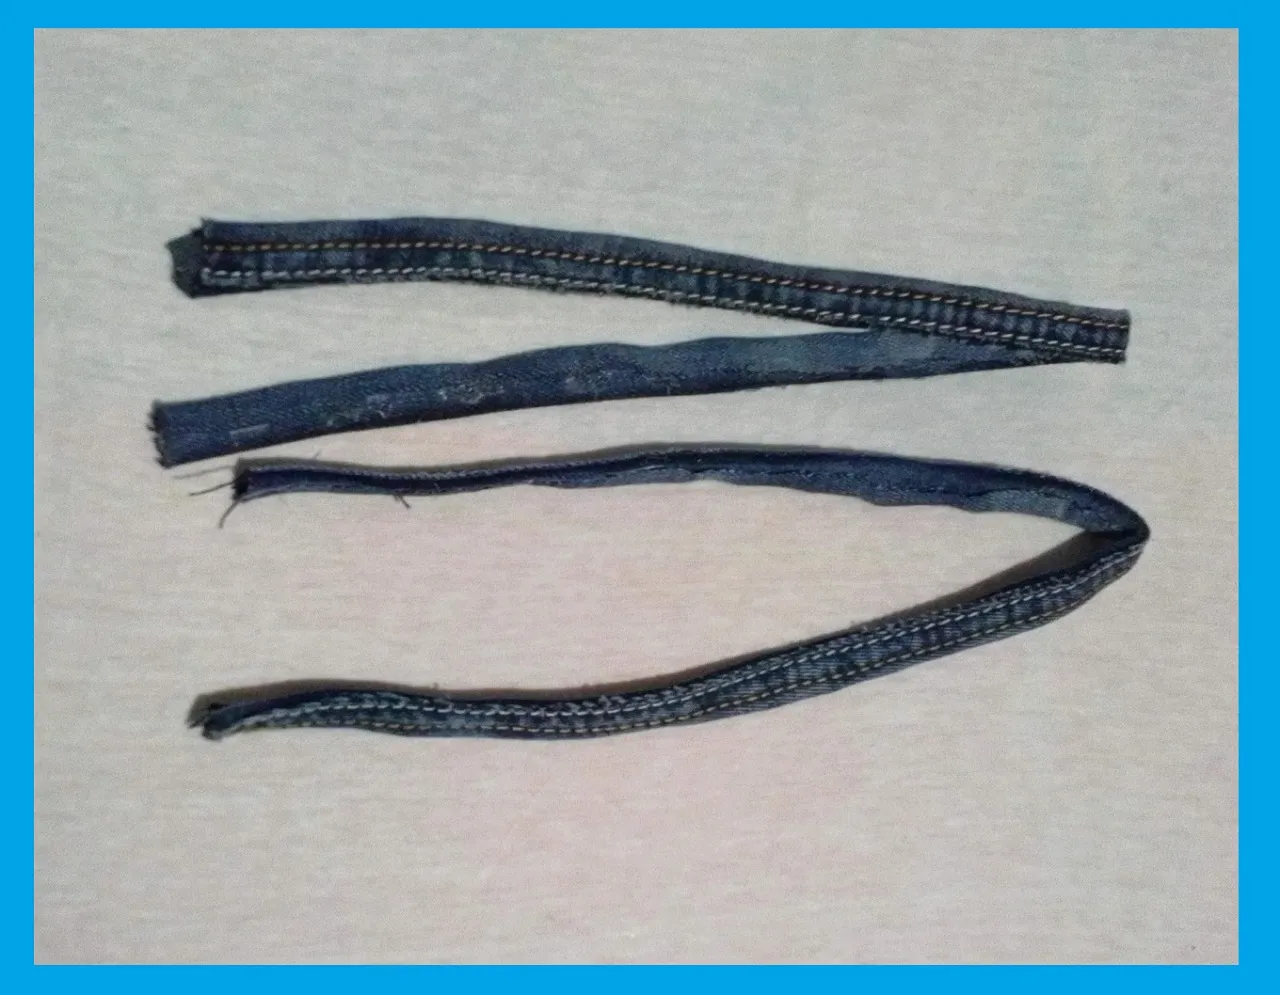
I will take the measurement with the strips I had removed from the sandals, measure and glue the jean strips as shown in the picture, leave some extra on the strips to be able to glue them to the sole.
On the sole that I lined with the jean fabric, with the help of the pencil, I will make some marks where I will place the strips. With the scissors I will make some cuts and introduce the strips up to the desired size. Then I will glue the excess that is left on the underside of the sole with silicone, as shown in the pictures.

Once the soles were ready with the strips and everything well glued, I glued the sole to the rubber sole of the sandal. To make them stick better, I used some hooks that made pressure and held while the silicone dried well.


To decorate the sandal, glue the charms at the junction of the straps at the top.
Finally, I put mouse tails all around the sandal to cover up any remaining details. And as you can see I have a new pair of sandals ready, simple and beautiful.

I hope you liked it, I liked the final result. I say goodbye as always, but not before thanking you for taking a little of your valuable time to visit my blog and leave a comment, I hope to see you in my next post, be well and take care.
Original creation content:
👣 All photos are my own taken and edited with my Alcatel cell phone.
👣 The cover image was made with the Canva application and edited by me.
👣 The divider was taken from Canva and edited by me in Paint.
👣 The English translation was done with the help of DeepL.
👣 The letters indicating the languages, were taken from the Cooltext page.

Hola mis queridos lectores de esta comunidad , espero que se encuentren bien y que tengan o hayan tenido un excelente día. Estaba revisando algunas cosas que tenia guardada. unas porque ya no las uso, otras porque se rompieron pero la guarde pensando que podría darle otra utilidad. Y me conseguí con un par de sandalias de diario que se me habían roto, así que hoy quiero mostrarle como las modifique y realice unos nuevas sandalias, les muestro el paso a paso.
Procedimiento:
Tomare las sandalias y les quitare las tiras que traen y por lo cual ya no las usaba porque se me habían roto. Le saque la tira con mucho cuidado de no romper la goma de la suela
De la tripa de un caucho de bicicleta, sacare unas plantillas que usare como base para forrarla con la tela. Tomare la suela de la sandalia y la colocaré en la goma, luego con el lápiz, marcaré por todo el alrededor de la suela y con la tijera la recortare.
Luego tomare las plantillas de goma que acabo de recortar y la colocare encima de la goma espuma, para luego recortar por todo el alrededor, así sacare 2 plantillas mas en goma espuma.
Ya con las suelas recortadas, pegaré la suela de goma espuma a la suela de goma, tal como se muestra en las imágenes.
Después que pegue la goma espuma a la goma de caucho, la forrare con la tela de jean. Colocaré la plantilla en la tela y recortare por todo el alrededor, dejando un espacio de 2 cm aproximadamente.
Hare cortes a la tela sobrante, para que a la hora de pegar la tela a la suela, no me quede arrugada y tenga una mejor caída en las partes curvas de la suela. Tal como se puede apreciar en las imágenes.
Pegaré con el silicón todos los cortes que realice y quedo de esta manera.
Ahora para realizar las tiras que llevara la sandalia, recortare dos tiras largas. Como estoy usando un pantalón de jean viejo, aprovecharé y de las costuras que llevan a un costado de las patas del pantalón, cortaré las tira, así las costuras me servirán de decorado. Cortaré la tira dejando unos centímetros mas para poder doblarla y pegarlas con el silicón.
Tomare la medida con las tiras que le había quitado a las sandalias, medí y pegaré las tiras de jean tal como se muestra en la imagen, deje sobrante en las tiras para poder pegarlas a la suela.
En la suela que forre con la tela de jean, con la ayuda del lápiz, hare unas marcas que es a donde voy a colocar las tiras. Con la tijera hare unos cortes e introduciré las tiras hasta el tamaño deseado. Luego el sobrante que quedo del lado de abajo de la suela la pegaré con el silicón, tal como se aprecia en las imágenes.
Una vez ya las suelas listas con las tiras y todo bien pegado, pegaré esa suela a la suela de goma de la sandalia. Para que pegaran mejor, use unos ganchos que hacían presión y sujetaban mientras se secaba bien el silicón.
Para decorar la sandalia, le pegue los dijes en la unión de las tiras en la parte de arriba.
Para finalizar le coloque rabo de ratón por todo el alrededor de la sandalia para tapar cualquier detalle que haya quedado. Y como pueden ver ya tengo unas nuevas sandalias lista, sencillas y bonitas.
Espero que les haya gustado, a mi me gusto el resultado final. Me despido como siempre, no sin antes agradecerles que hayan tomado un poco de su valioso tiempo para visitar mi blog y dejar un comentario, los espero en mi próxima publicación, pórtense bien y cuídense.
Contenido de la creación original:
👣 Todas las fotos son propias tomadas y editadas con mi móvil Alcatel.
👣 La imagen de portada fue hecha con la aplicación Canva y editada por mí.
👣 El separador fue tomado de Canva y editado por mí en Paint.
👣 La traducción al inglés fue realizada con la ayuda de DeepL.
👣 Las letras que indican los idiomas, fueron tomadas de la página Cooltext.