

Hello my dear readers of this community, greetings to all of you and I hope you are well and that you have or have had an excellent day.
I am a coffee lover and always in the mornings when I get to work, the first thing I do is to prepare coffee and then sit down to enjoy it, while I review what I have pending in the day. And for this I want to make a cup holder (although in my case it would be a mug holder) so that it looks decorative and if a client arrives, you won't see a simple cup alone on the desk.
Procedure:
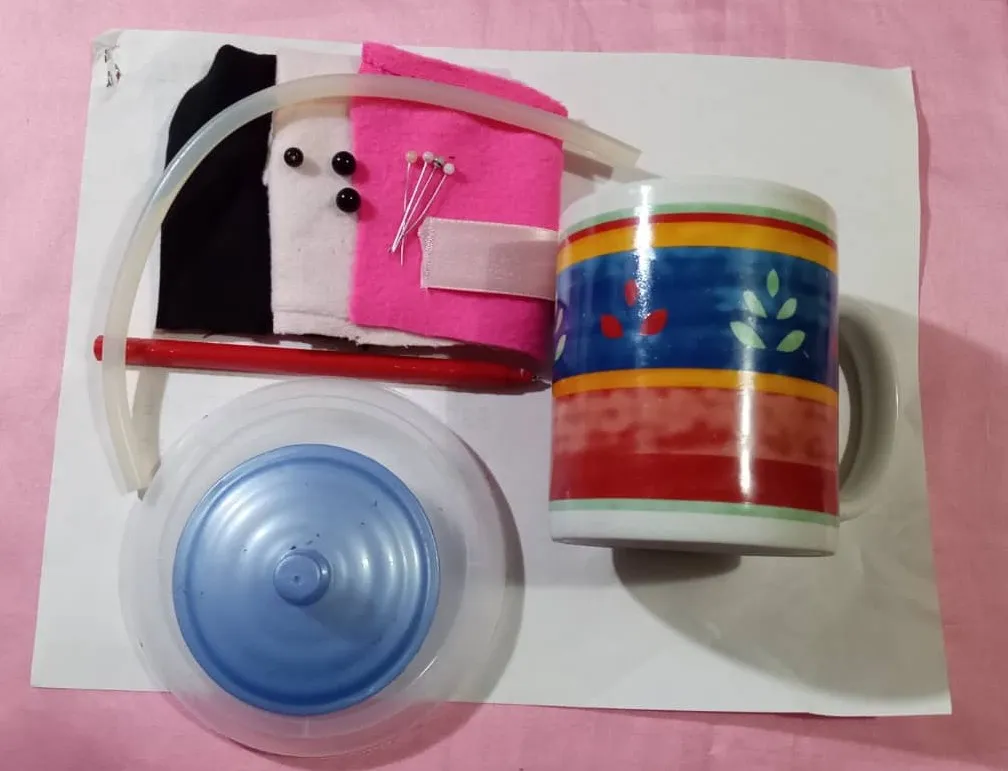
The first thing I am going to perform is going to make a pattern of the cat. Find 2 lids, one bigger than the cup and the other a little smaller. I will place the two lids together, on a sheet of paper and mark them all around.
I will also mark where the legs, ears and tail would go. I will also draw on the sheet of paper what would be the cat's snout, join two small circles and cut out.


Once the pattern is ready, fold it in half, hide the ears, legs and tail. With the help of pins, attach the pattern to the piece of black fabric, which I also folded in half and trimmed around the edge.


With the cat's body cut out, I proceed to cut out the ears and paws with the rest of the black fabric. For that, I cut out the pattern I made at the beginning, cut out the paws and ears and with that pattern I placed it on the black fabric and cut it out.


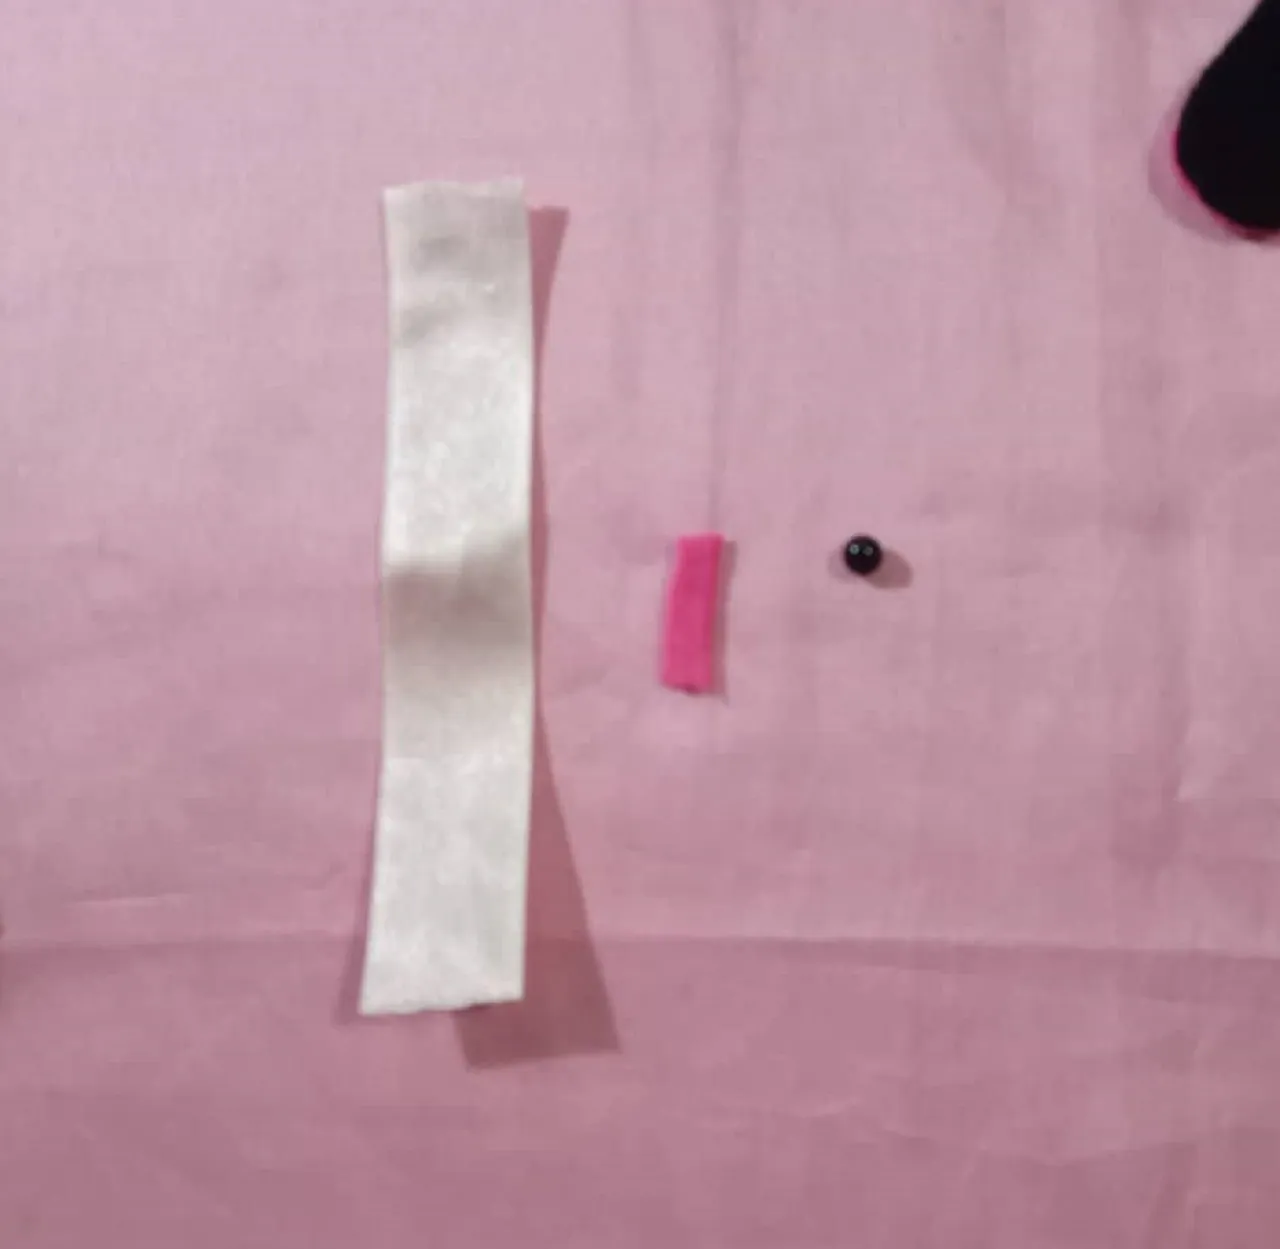
With the fuchsia fabric, cut out the tips of the paws and the ears. Also take the opportunity to cut out the muzzle with the pink fabric and cut about 7 thin strips of about 1.5 cm, which will be used to make the cat's whiskers.
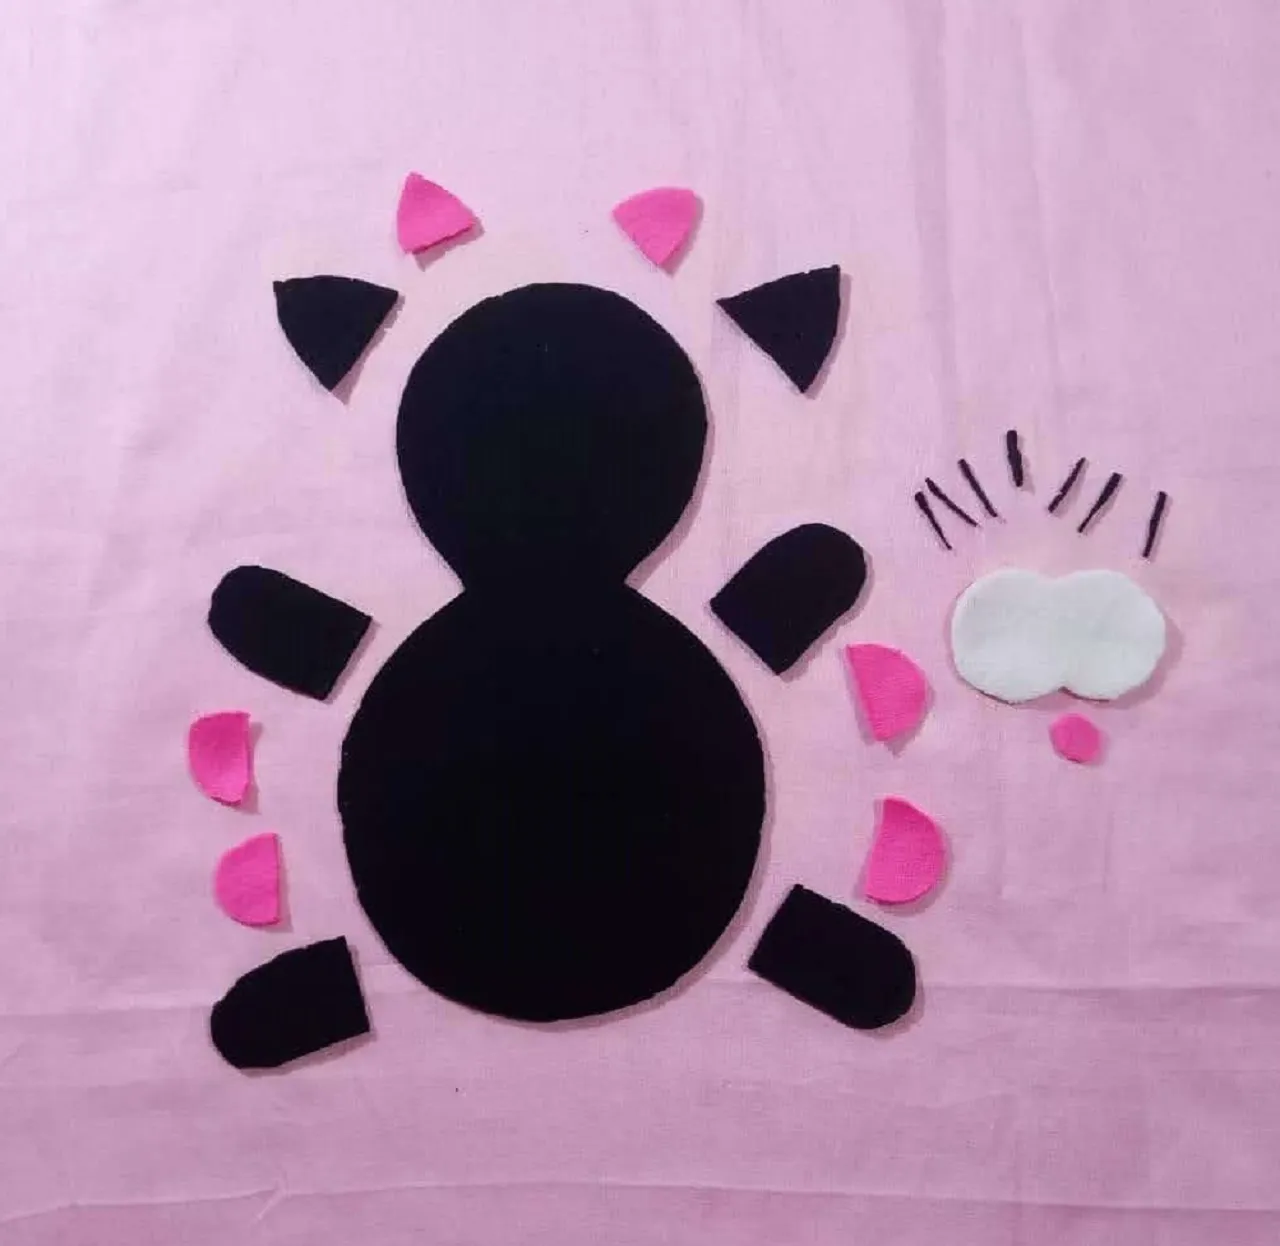
Now that I have all the pieces cut out, I proceed to assemble the cat. First I will place the ends I cut from the fuchsia fabric, both on the paws and the ears.

After the legs are ready, I will glue them to the body along the entire edge, as shown in the picture.

Once the legs are glued to the body, I will flip the black fabric over and proceed to decorate the face, starting by gluing the ears.

To make the snout, I will glue a black strip horizontally right in the middle of the snout and then glue the whiskers, and then glue the snout on the face of the cat, as shown in the image.

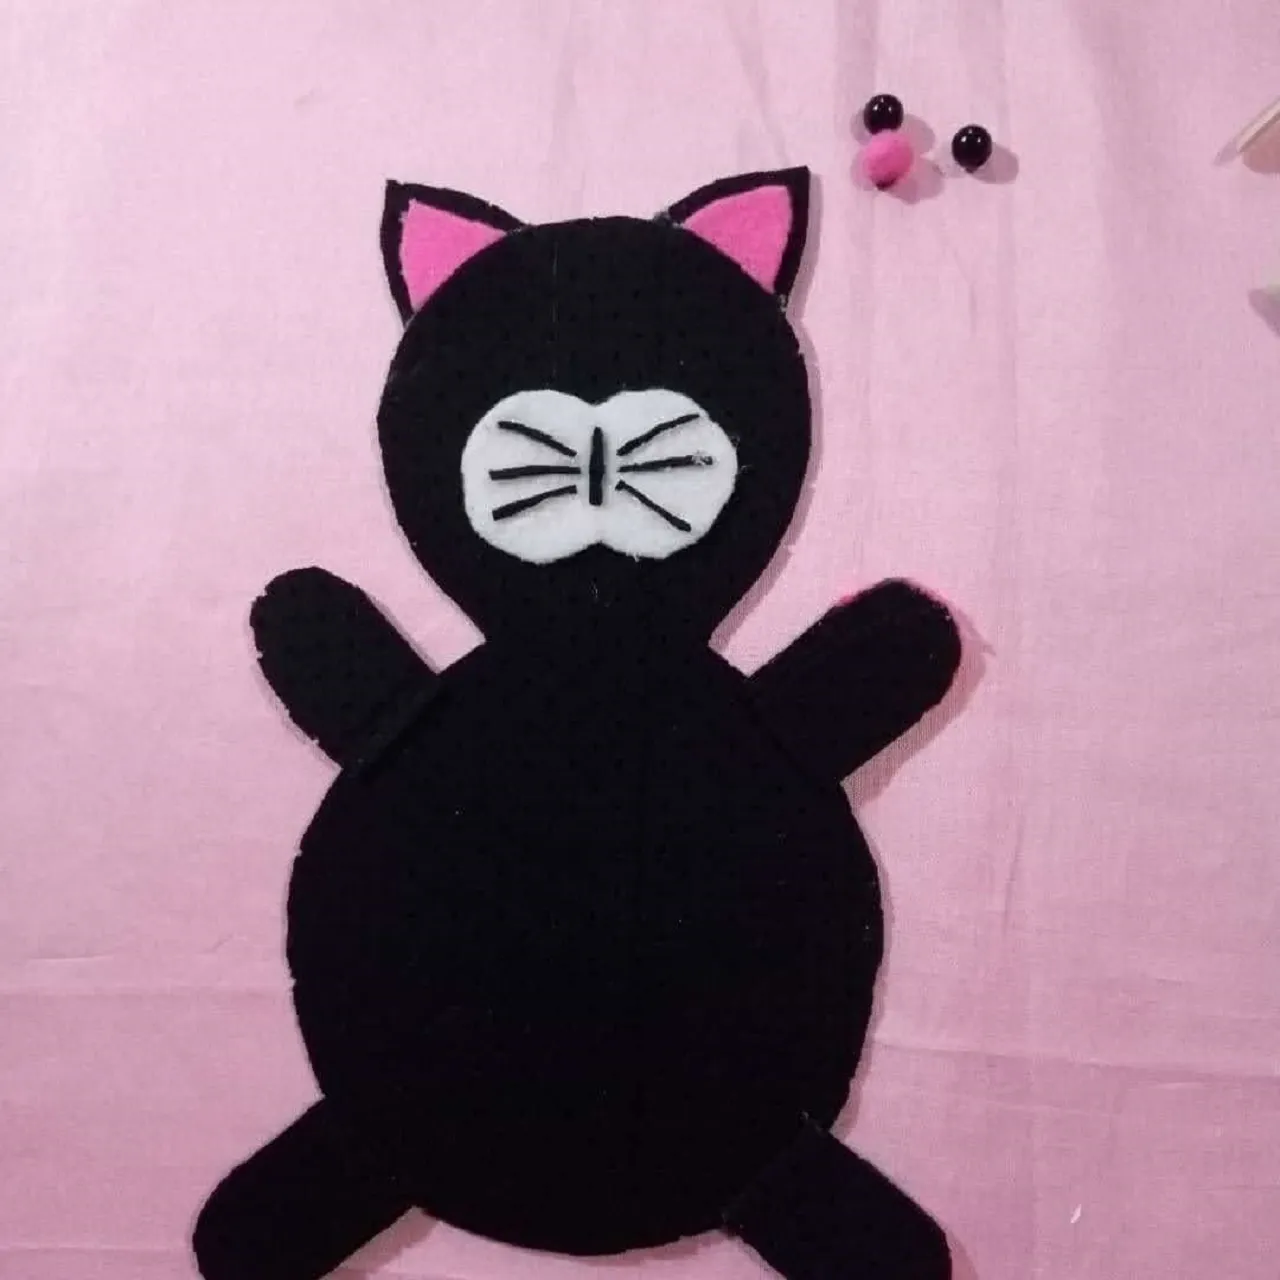
After that glue the nose right on top of the snout and further up glue the eyes.

To decorate I will make a bow with the pink ribbon, cut a thin strip of the fuchsia fabric to place in the middle of the bow. With the pink ribbon I made a circle and then I joined it in the center with a little bit of silicone, I made a fold in the center and placed the fuchsia strip and glued it. To decorate the bow I glued the black pearl in the middle, as you can see in the pictures.
 |  |  |
|---|
Once the ribbon was finished, I glued it right at the junction between the cat's face and ear.

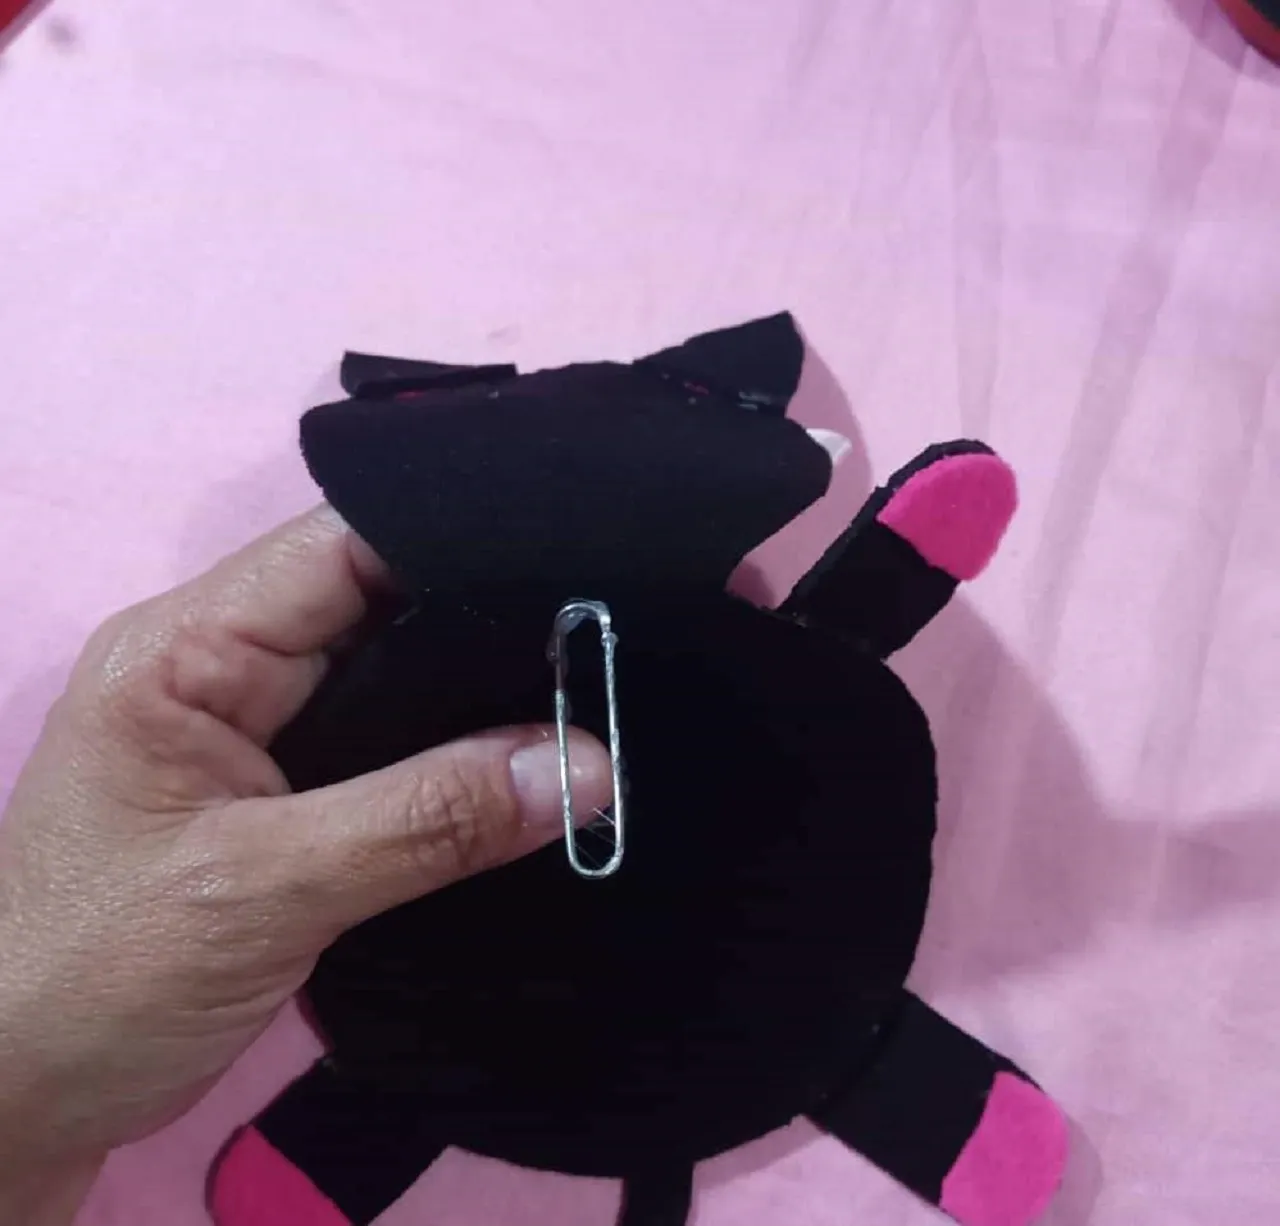
With the click, I will open it a little and glue each side of the click to the face and the other to the body of the cat, the idea is that the face is raised and does not fall when I place and remove the cup.
 |  |
|---|
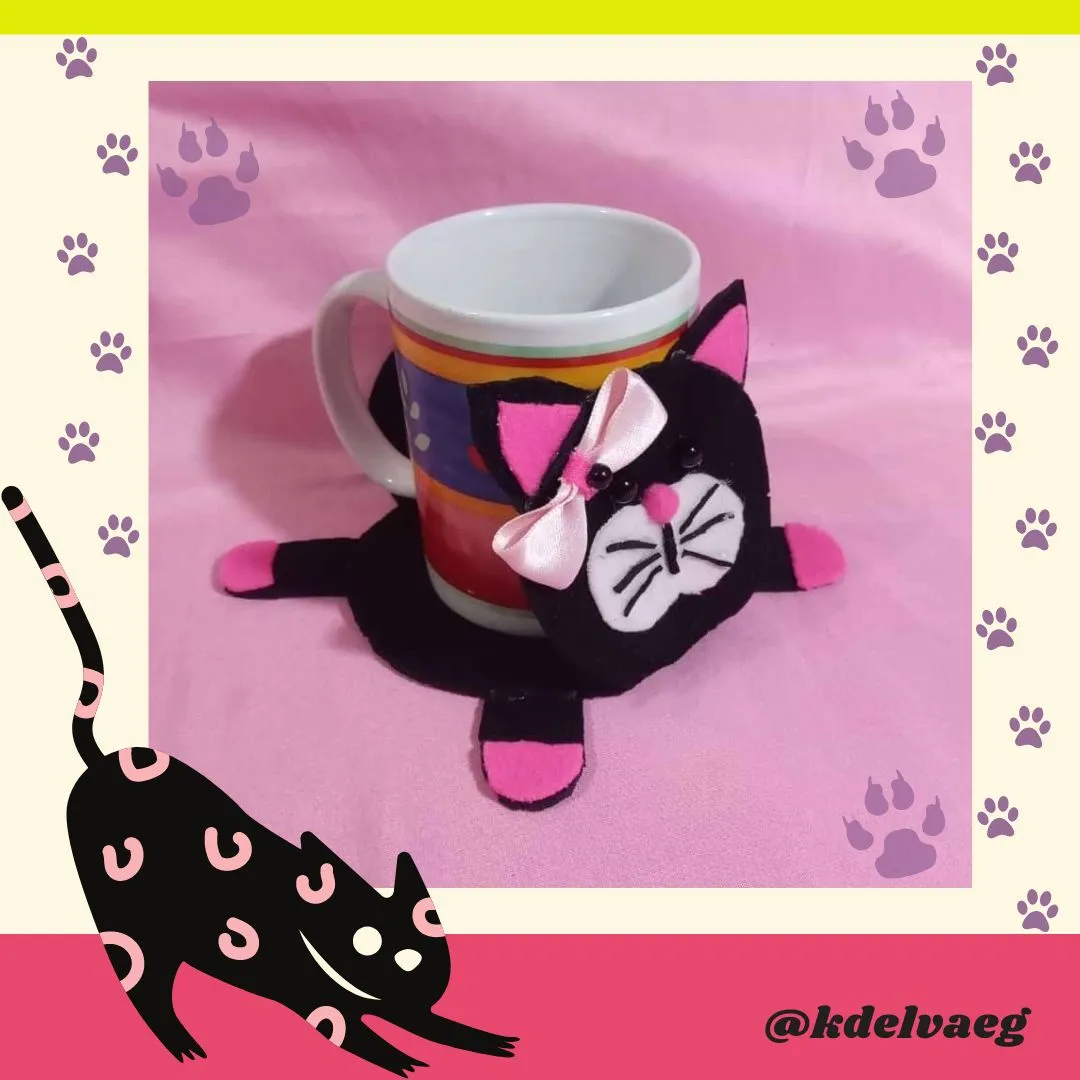
And now I have the cup holder ready, as you can see it is super easy to make, very fast and can be made with any design you like. I loved the final result and with my mug it looks spectacular, now if you'll excuse me, I'm going to make some coffee to use my mug holder for the first time.
 |  |
|---|
I hope you liked it, that you can make it too, either for yourselves or as a gift, the truth is that it looks very nice and it is a detail that you will surely appreciate.
I say goodbye as always, but not before thanking you for taking a little of your valuable time to visit my blog and to leave a comment, I hope to see you in my next publication, be well and take care of yourselves.

Content of original creation:
✴️ All photos are my property taken and edited with my Alcatel cell phone.
✴️ The cover image was made with the Canva application and edited by me.
✴️ The separator was taken from the Canva page and edited by me in Paint.
✴️ The English translation was made with the help of DeepL.
✴️ The letters indicating the languages were taken from the Cooltext page.

Hola mis queridos lectores de esta comunidad, un saludo para todos y esperando que se encuentren bien y que tengan o hayan tenido un excelente día.
Soy amante del café y siempre en las mañanas cuando llego al trabajo, lo primero que hago es preparar café y luego sentarme a disfrutarlo, mientras reviso lo que tengo pendiente en el día. Y para ello quiero hacer un porta vaso (aunque en mi caso sería un porta taza) para que se vea decorativo y si llega un cliente no se vea una simple taza sola en el escritorio.
Procedimientos:
Lo primero que voy a realizar va a hacer un patrón del gato. Busque 2 tapas, una más grande que la taza y la otra un poco más pequeña. Colocaré las dos tapas juntas, en una hoja de papel y las marcaré por todo el alrededor.
Marcaré también a donde irían las patas, las orejas y la cola. También sacaré en la hoja de papel lo que sería el hocico del gato, uni dos círculos pequeños y recorte.
Ya con el patrón listo, lo doble por la mitad, oculte las orejas, las patas y la cola. Con la ayuda de los alfileres, fije el patrón al retazo de tela negra, la cual también doble por la mitad y recorté por todo el borde.
Con el cuerpo del gato cortado, procedo a recortar las orejas y las patas con el resto de la tela negra. Para eso, recorte del patrón que hice al principio, le corte las patas y las orejas y con ese patrón la coloque en la tela negra y recorte.

Con la tela fucsia, recorte las puntas de las patas y las orejas. También aproveche a recortar el hocico con la tela rosada y recorte unas 7 tiras finitas como de 1,5 cm aproximadamente, que me servirán para hacer los bigotes del gato.
Ahora que ya tengo todas las piezas recortadas, procedo a armar el gato. Primero le colocaré las puntas que corte de la tela en fucsia, tanto en las patas como a las orejas.
Después de tener listas las patas, las pegaré al cuerpo en toda la orilla, tal como se muestra en la imagen.
Ya con las patas pegadas al cuerpo, voltearé la tela negra y procedo a decorar la cara, empiezo pegando las orejas.
Para hacer el hocico, voy a pegar una tira negra en horizontal justo en todo el medio del hocico y luego pegaré los bigotes, para después pegar el hocico en la cara del gato, tal como se aprecia en la imagen.
Después de eso pegue la nariz justo en la parte de arriba del hocico y más arriba pegue los ojos.
Para decorar haré un lazo con la cinta rosada, recorte una tira finita de la tela fucsia para colocar en el medio del lazo. Con la cinta rosada forme un círculo y luego uní en el centro con un poquito de silicón, le hice un doblez en el centro y coloque la tira fucsia y pegue. Para decorar el lazo pegué la perla negra en el medio, tal como pueden ver en las imágenes.
| | |
|---|
Una vez terminado el lazo, lo pegué justo en la unión entre la cara y la oreja del gato.
Con el clic, lo abriré un poco y pegaré cada lado del clic a la cara y el otro al cuerpo del gato, la idea es que la carita quede levantada y no se caiga cuando coloque y quite la taza.
| |
|---|
Y ya tengo el porta vaso listo, como pueden ver es súper fácil de hacer, muy rápido y se puede hacer con cualquier diseño que más les guste. A mí me encantó el resultado final y con mi taza se ve espectacular, ahora si me disculpan, me voy a preparar café para estrenar mi porta taza.
| |
|---|
Espero que les haya gustado, que lo puedan realizar ustedes también, bien sea para ustedes mismos o para obsequiar, la verdad es que queda muy lindo y es un detalle que seguro apreciaran.
Me despido como siempre, no sin antes agradecerles que me hayan dedicado un poco de su valioso tiempo para visitar mi blog y para dejar un comentario, los espero en mi próxima publicación, pórtense bien y cuídense mucho.
Contenido de creación original:
✴️ Todas las fotos son de mi propiedad tomada y editadas con mi celular Alcatel.
✴️ La imagen de portada fue realizada con la aplicación Canva y editada por mi.
✴️ El separador fueron tomado de la página Canva y editado por mí en Paint.
✴️ La traducción al idioma inglés fue realizada con ayuda de DeepL.
✴️ Las letras de indicación de los idiomas, fueron tomadas de la página Cooltext.