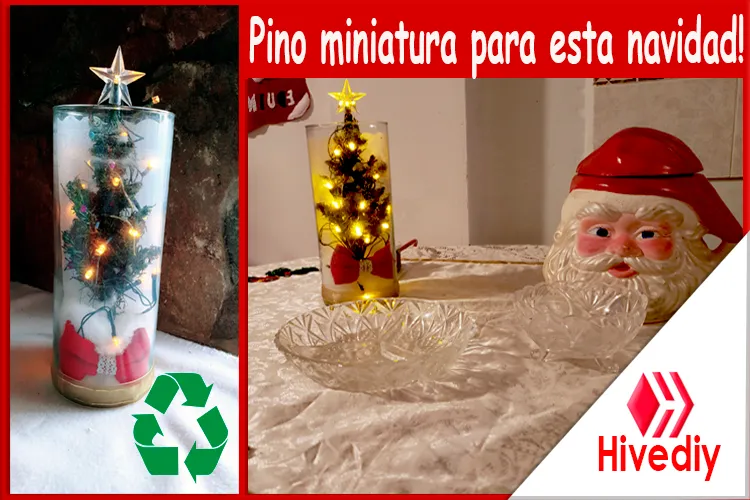
[ESP-ENG]- Pino miniatura con material reciclable. // Miniature pine with recyclable material.
Hello my dear hiverianos friends, I hope you are having a great time. Today I bring you an idea of how to recycle the broken twigs of our Christmas tree and transform it into a splendid ornament for this Christmas. Join me, I'll show you how to do it, it's very easy!

Materiales:
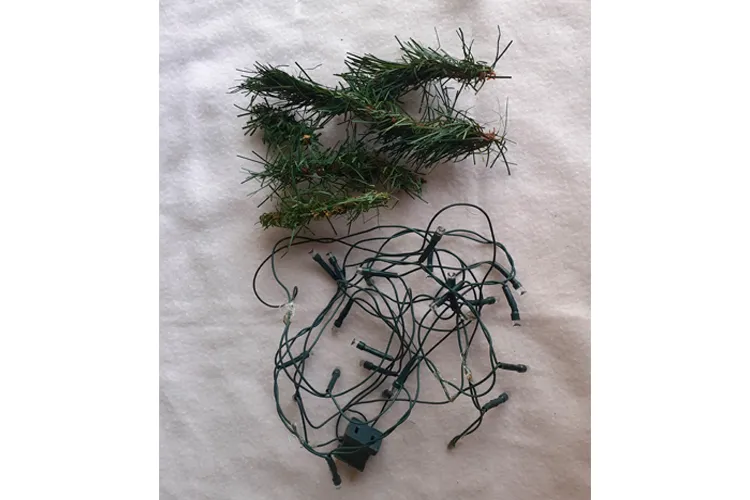
• Ramitas rotas del árbol navideño
• Luces de navidad
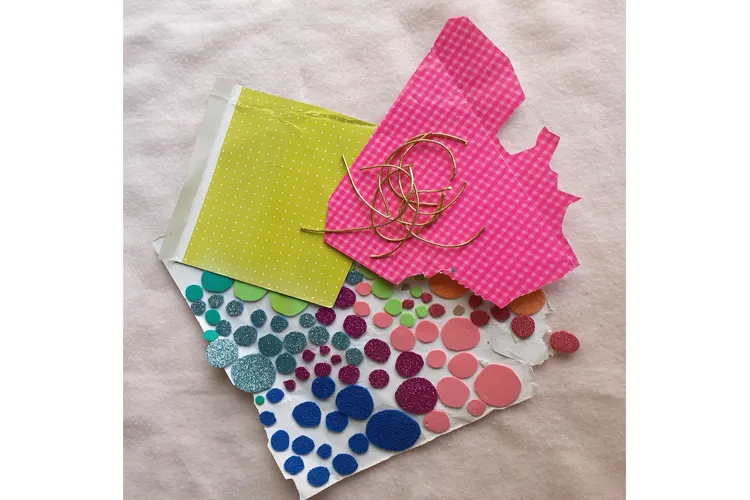
• Papeles, cartón y cualquier material reciclado
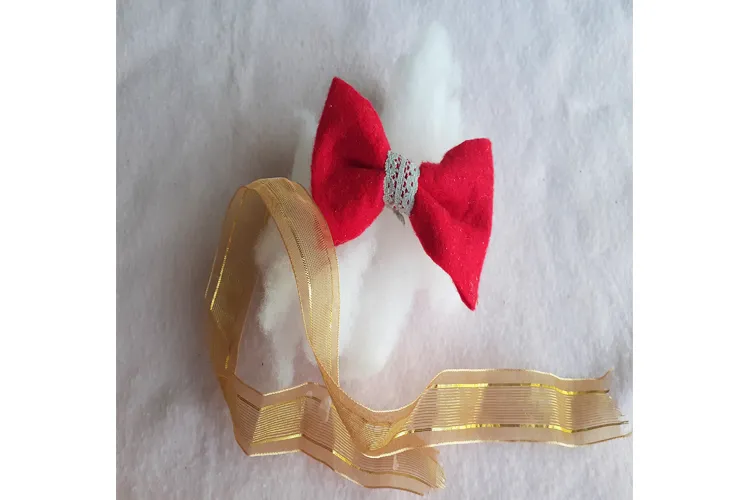
• Un lazo, una cinta dorada y felpa
• Un cilindro de vidrio, silicón y tijera
Materials:
• Broken twigs of the Christmas tree
• Christmas lights
• Papers, cardboard and any recycled material
• A bow, a gold ribbon and plush
• A cylinder of glass, silicone and scissors
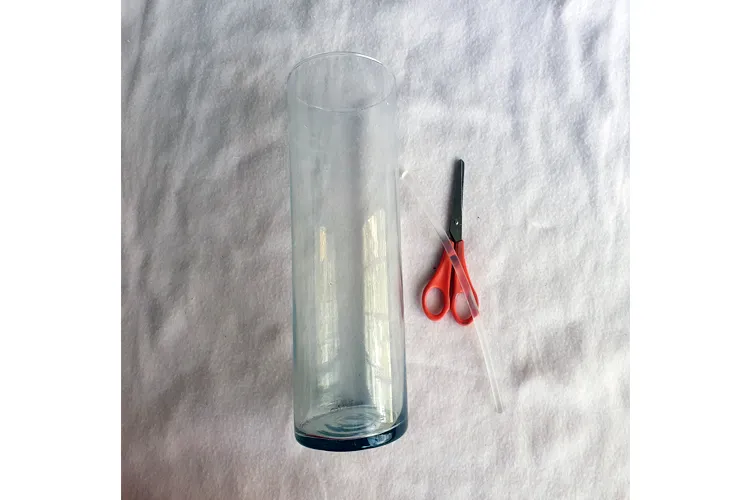
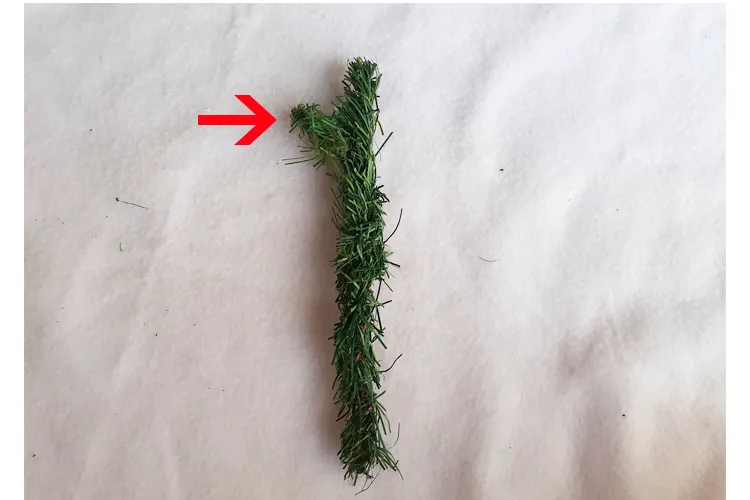
1 step: We choose the longest twig of the tree among all and we measure it inside the cylinder, verifying that its height is appropriate within it. This largest branch will be the trunk of the tree. With the scissors we remove the excess needles from our trunk.
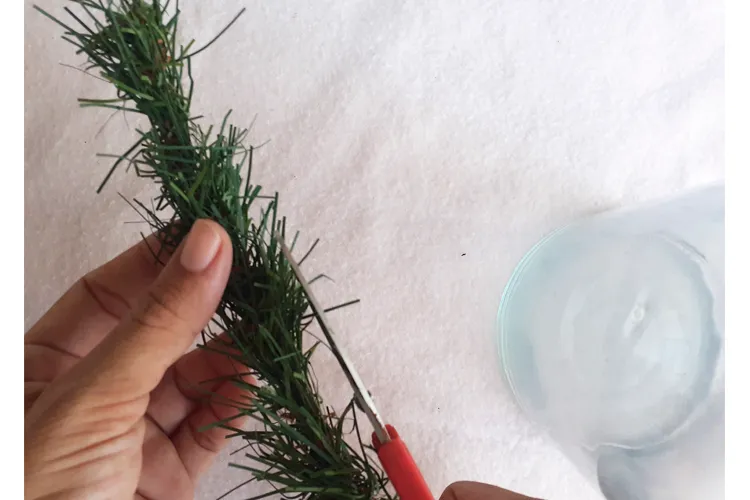
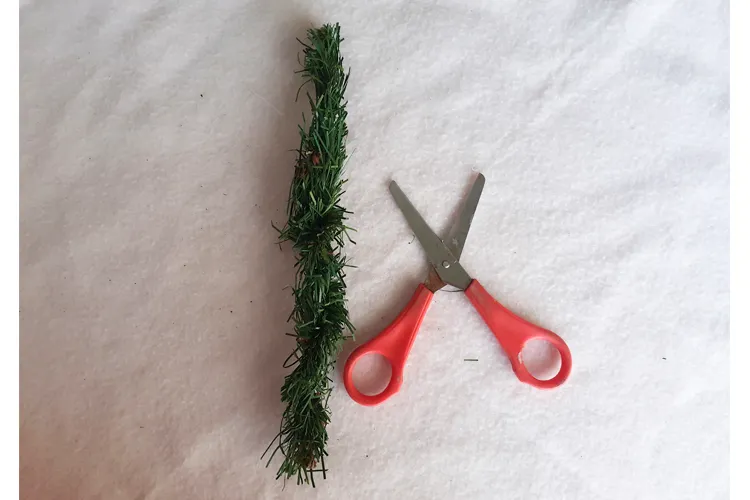
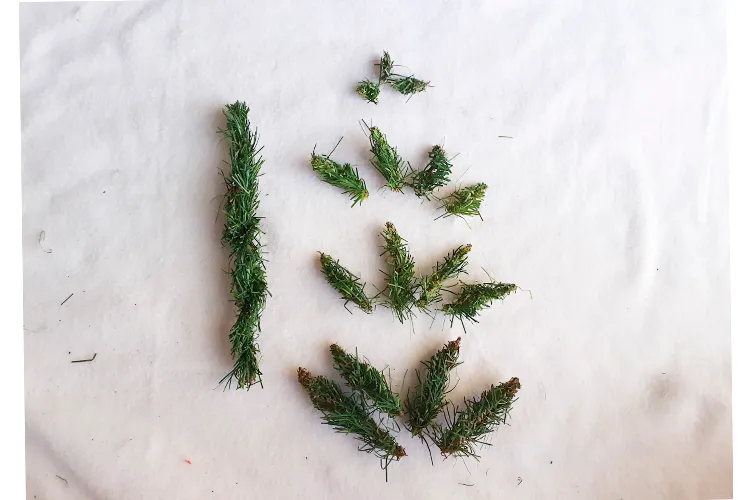
2 paso: cortamos en pedacitos las demás ramas para simular ramitas mucho más pequeñas.
Step 2: we cut the other branches into small pieces to simulate much smaller twigs.
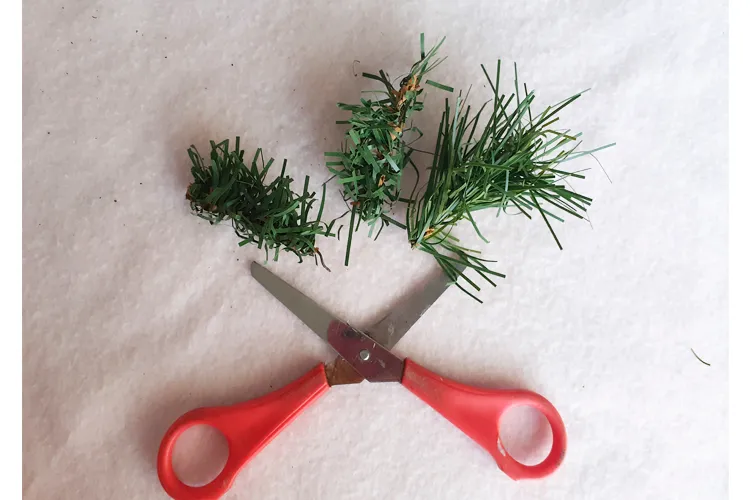
3 paso: a cada mini ramita le vamos a crear una punta con ayuda de la tijera. Cortamos en forma de V…
Step 3: we are going to create a tip for each mini twig with the help of scissors. We cut in a V shape ...

… de manera que nos quede así.
… So that it stays that way.
4 paso: Clasificamos las ramitas desde las más pequeñas hasta las más grandes. En este caso mi arbolito tiene 4 niveles y por cada nivel 4 ramas.
Step 4: We classify the twigs from the smallest to the largest. In this case my tree has 4 levels and for each level 4 branches.
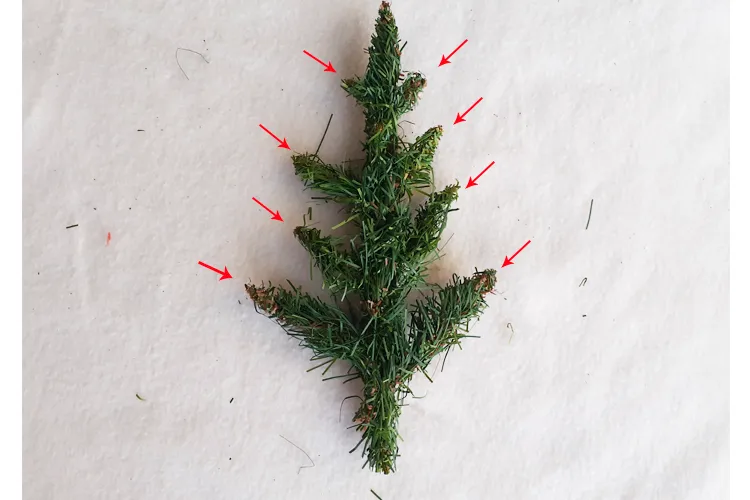
5 paso: Iniciamos a pegar con silicón a los laterales las ramas de forma inclinadas. Luego que seque el pegamento continuamos pegando el resto de las ramas.
Step 5: We begin to glue the branches with slanted silicone to the sides. After the glue dries, we continue gluing the rest of the branches.
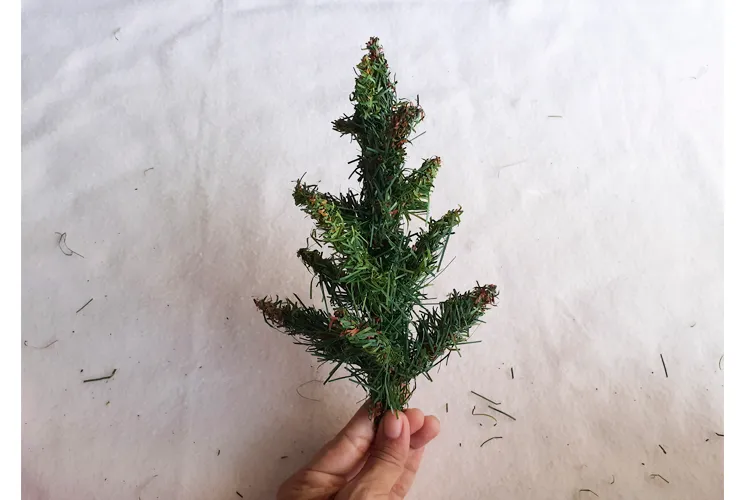
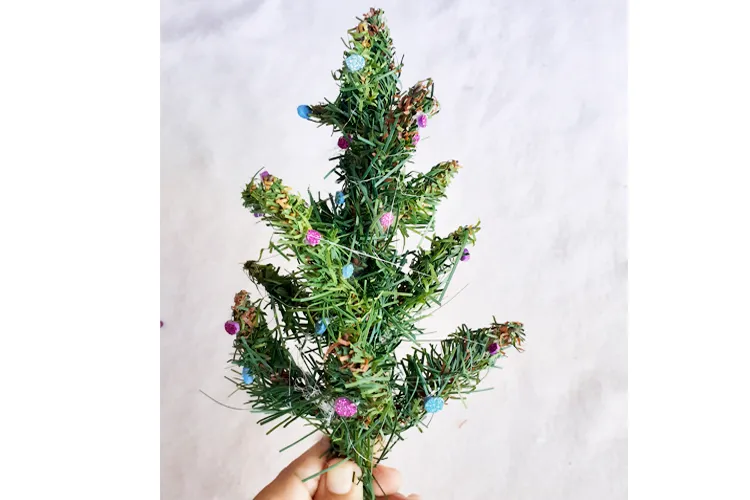
… así se verá nuestro mini arbolito.
… This is how our mini tree will look.
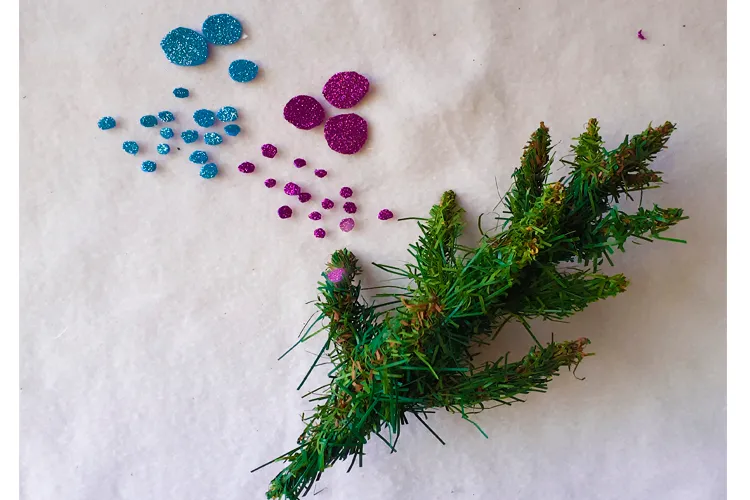
6 paso: Con material reciclados les realice las bolitas de navidad.
Step 6: With recycled material, I made the Christmas balls.
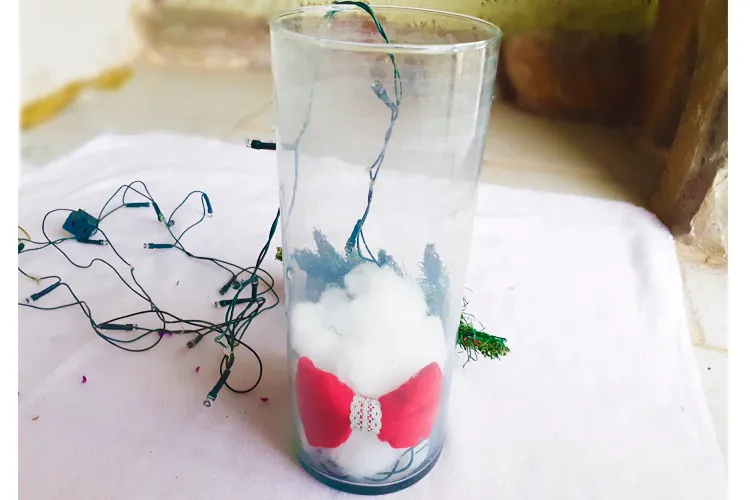
7 paso: Dentro del cilindro colocamos la mitad de la felpa, luego introducimos parte de las luces de navidad.
Step 7: Inside the cylinder we place half of the plush, then we introduce part of the Christmas lights.

8 paso: Luego las tapamos con la otra mitad de la felpa. Este efecto hará que la nieve (felpa) sea más brillante. Adicional le agregué un lazo rojo intenso para que hiciera un lindo contraste con la nieve (felpa).
Step 8: Then we cover them with the other half of the plush. This effect will make the snow (plush) brighter. Additional I added a deep red bow to make a nice contrast with the snow (plush).
9 paso: enrollamos las luces al arbolito, seguidamente lo introducimos al cilindro y woo! Eh aquí un arbolito miniatura en todo su esplendor.
Step 9: we roll the lights to the tree, then we introduce it to the cylinder and woo! Here is a miniature tree in all its splendor.
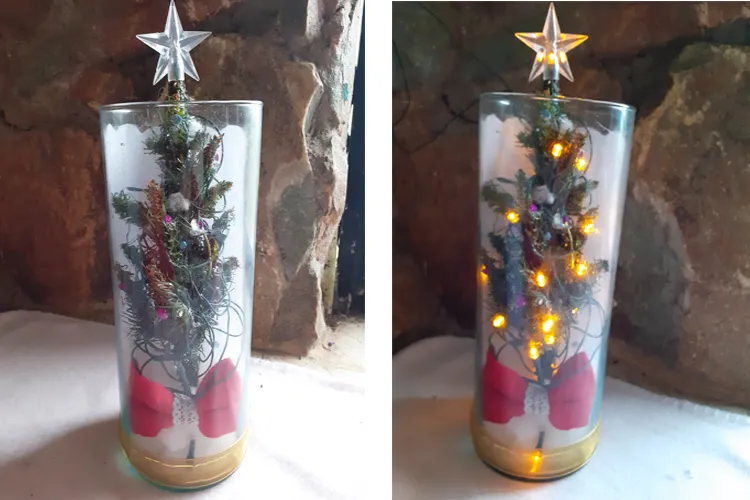
Este adorno navideño luce genial en nuestros hogares, da un toque sutil, hogareño y alegre; una combinación perfecta para transmitirnos esa sensación que necesitamos para refrescar nuestras mentes de la laboriosa rutina diaria.
This Christmas ornament looks great in our homes, it gives a subtle, homely and cheerful touch; a perfect combination to convey that feeling we need to refresh our minds from the laborious daily routine.
Esto ha sido todo por hoy mis queridos amigos de HIVE, espero les haya gustado esta idea navideña; una vez más agradecida con todos ustedes por permitirme formar parte de esta gran comunidad llena de grandes oportunidades las cuales nos brindan infinitas formas de crecer como personas tanto en lo personal como profesional. Se les quiere un montón. Hasta la próxima.
This has been all for today my dear friends of HIVE, I hope you liked this Christmas idea; once again grateful to all of you for allowing me to be part of this great community full of great opportunities which give us infinite ways to grow as people both personally and professionally. They are loved a lot. Until next time.


Fotografía por | Photography by: @kathysteele, Android A10.
Edición por | Edition by: @kathysteele, Photoshop.
Separador y stikers| Separator and stikers: Pinterest, Photoshop.
Translated with www.traductorgoogle