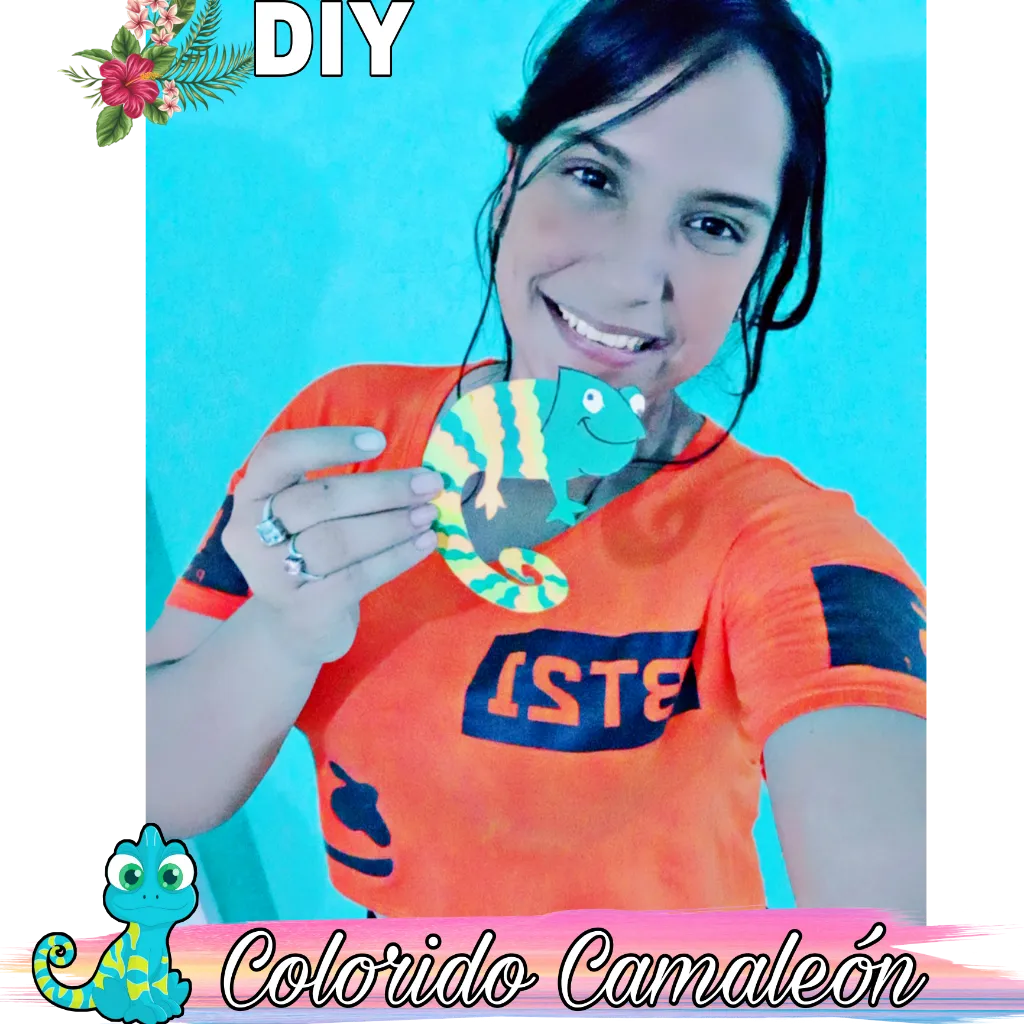
Happy and blessed Thursday my dear friends of Hive; May today be a nice day for everyone, full of success and health. I am happy to greet you and share a new DIY with you, this time the elaboration of a beautiful and colorful chameleon.

¡Aquí les muestro cómo hacerlo!
Here's how to do it!
Materiales Necesarios:
- Patrón del cuerpo y una patita del camaleón.
- Papel de color verde 💚 , amarillo 💛, anaranjado 🍊.
- Marcador negro ⚫.
- Corrector blanco.
- Lápiz ✏.
- Tijeras ✂.
- Pegamento en barra.
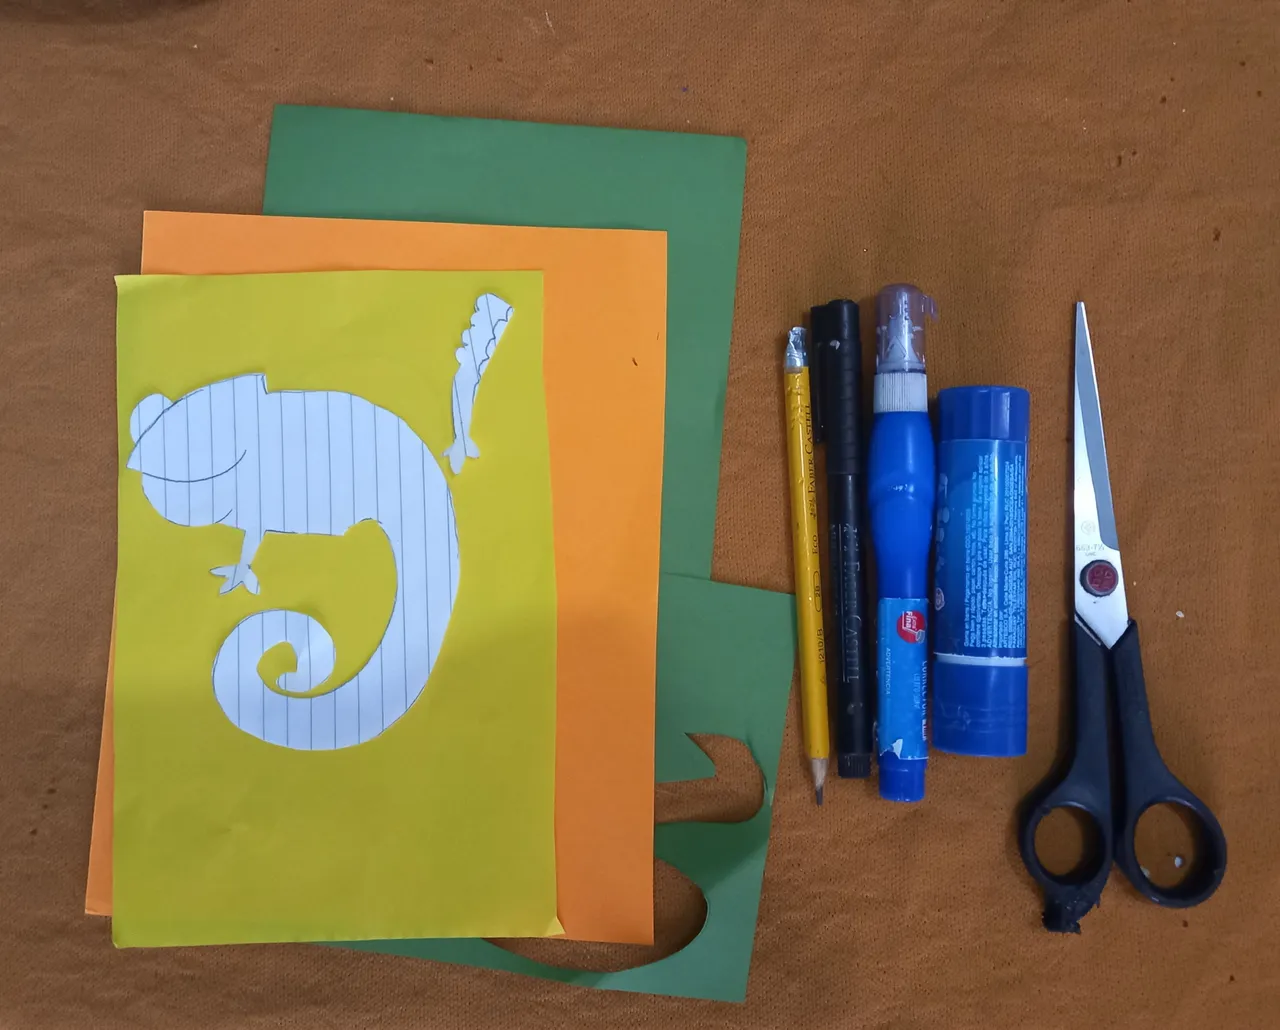
Materials Needed:
- Pattern of the body and a chameleon's paw.
- Green 💚 , yellow 💛, orange 🍊 paper.
- Black marker ⚫.
- White corrector.
- Pencil ✏.
- Scissors ✂.
- Glue stick.
PROCEDIMIENTO
PROCEDURE
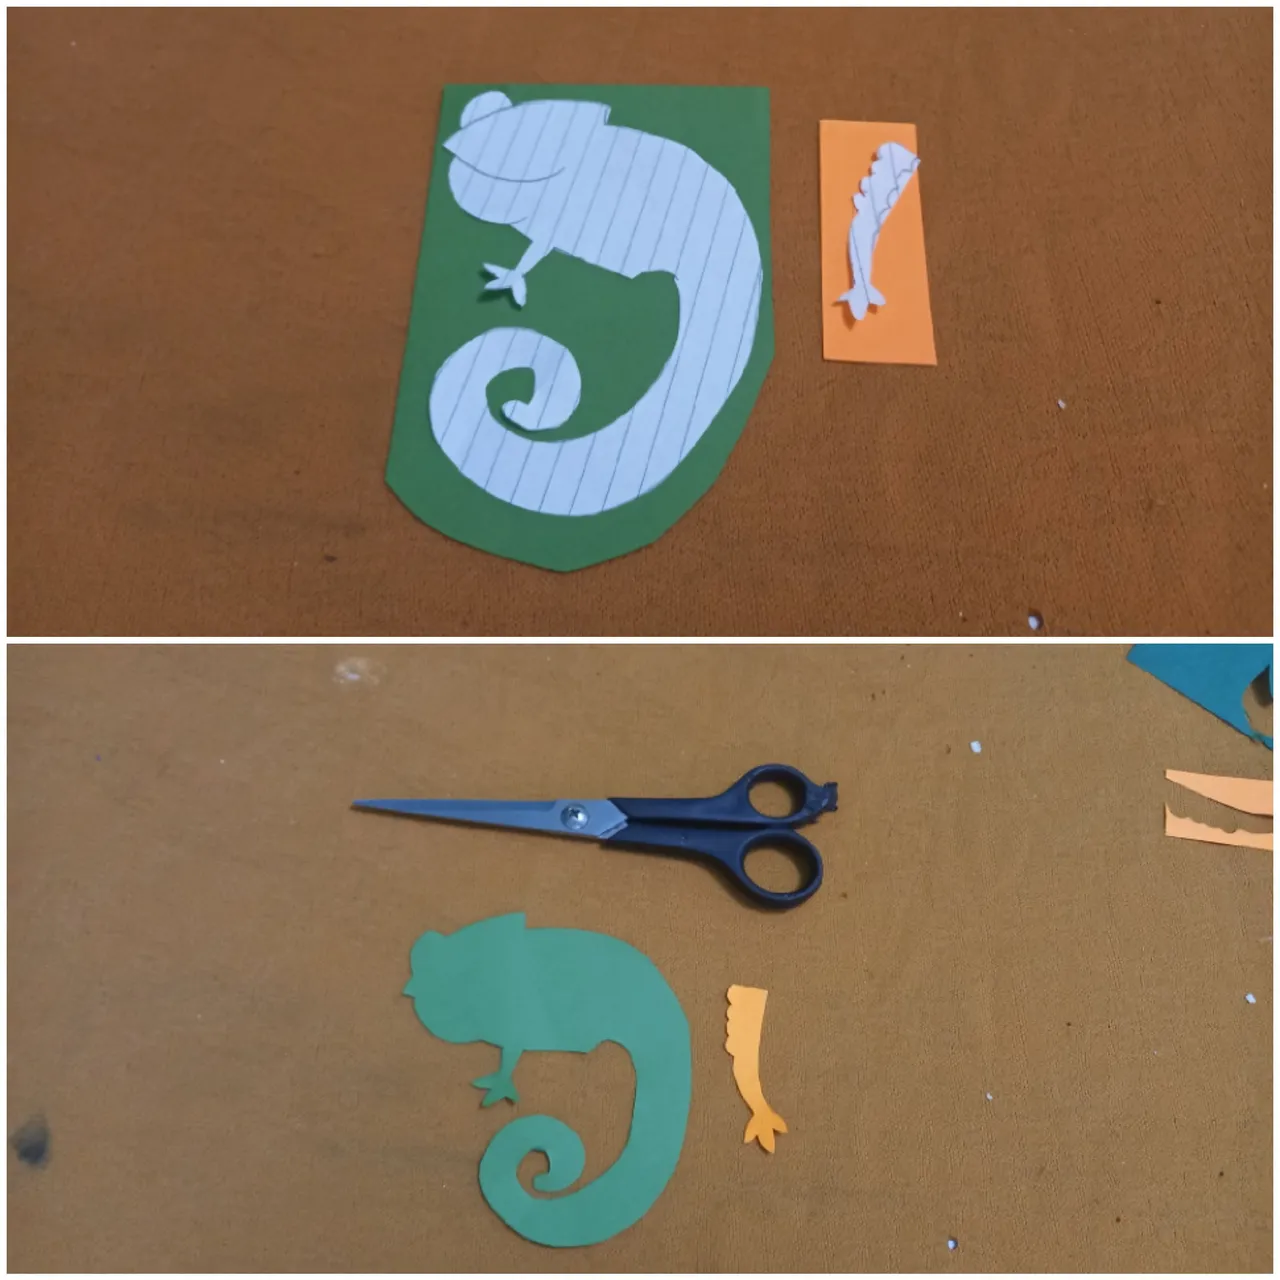
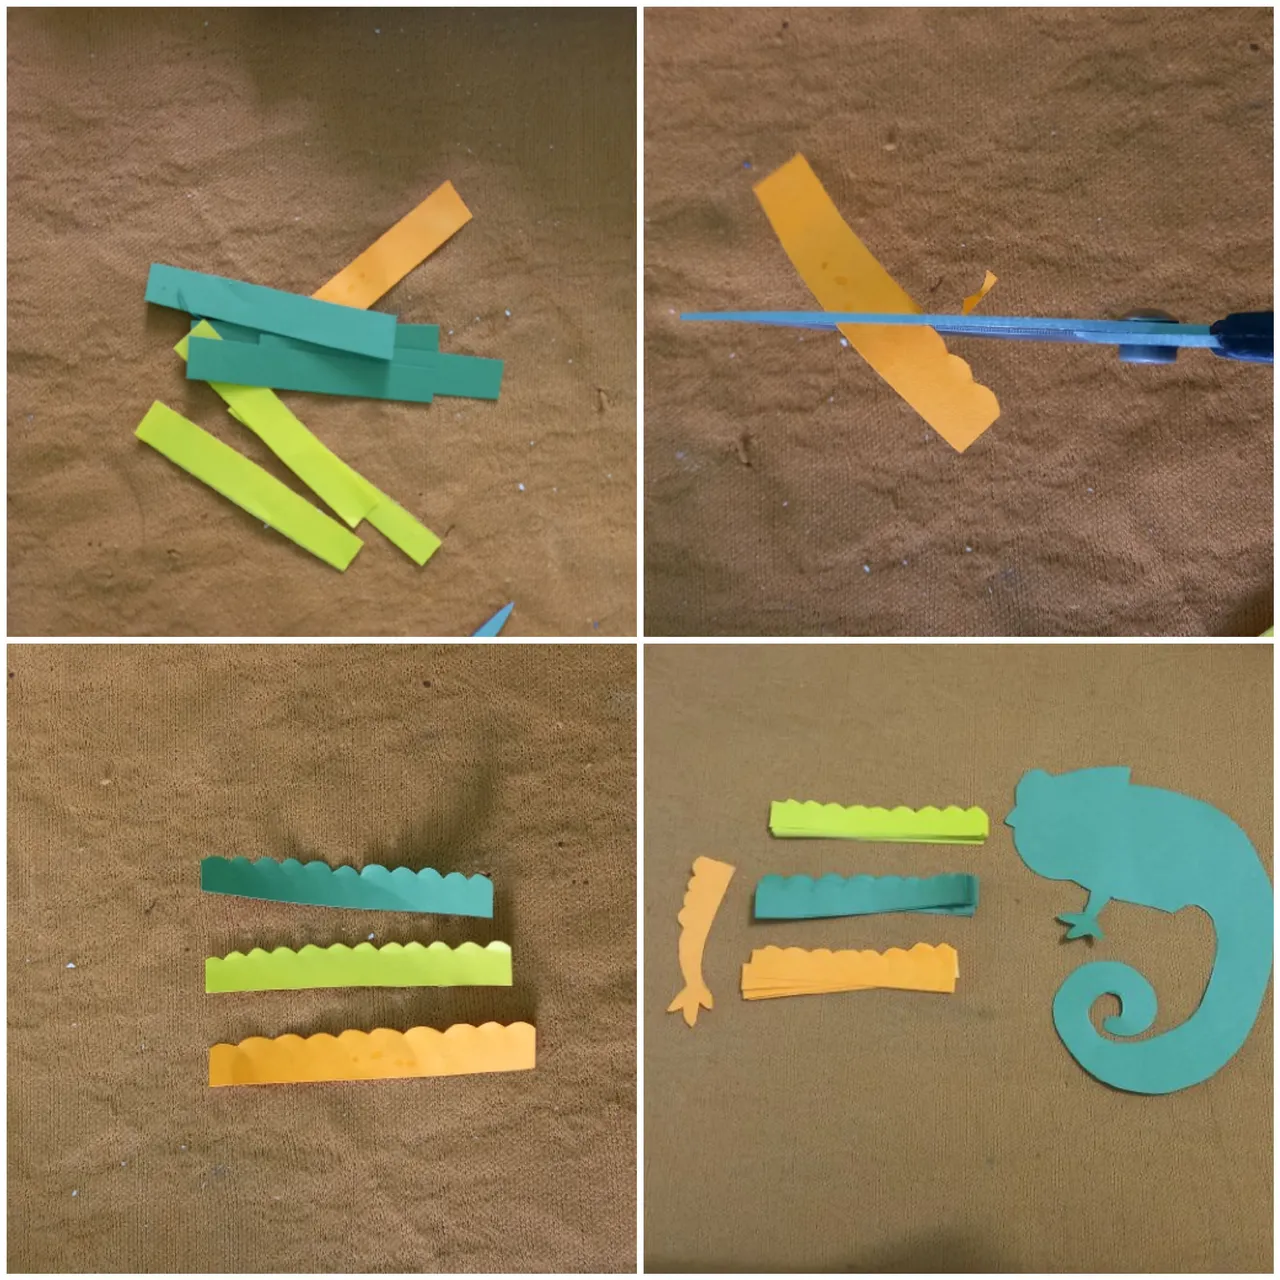
Colocamos el patrón sobre el papel que vamos a utilizar para cada parte del camaleón, marcamos y recortamos.
We place the pattern on the paper we are going to use for each part of the chameleon, mark and cut it out.
Después cortamos tiras de color amarilla, verde y naranja, la cantidad que sean necesarias para cubrir el camaleón desde la cresta hasta la cola, a estas tiras les haremos pequeños semicírculos en una de las orillas.
Then we cut yellow, green and orange strips, as many as necessary to cover the chameleon from the crest to the tail. We will make small semicircles on one of the edges of these strips.
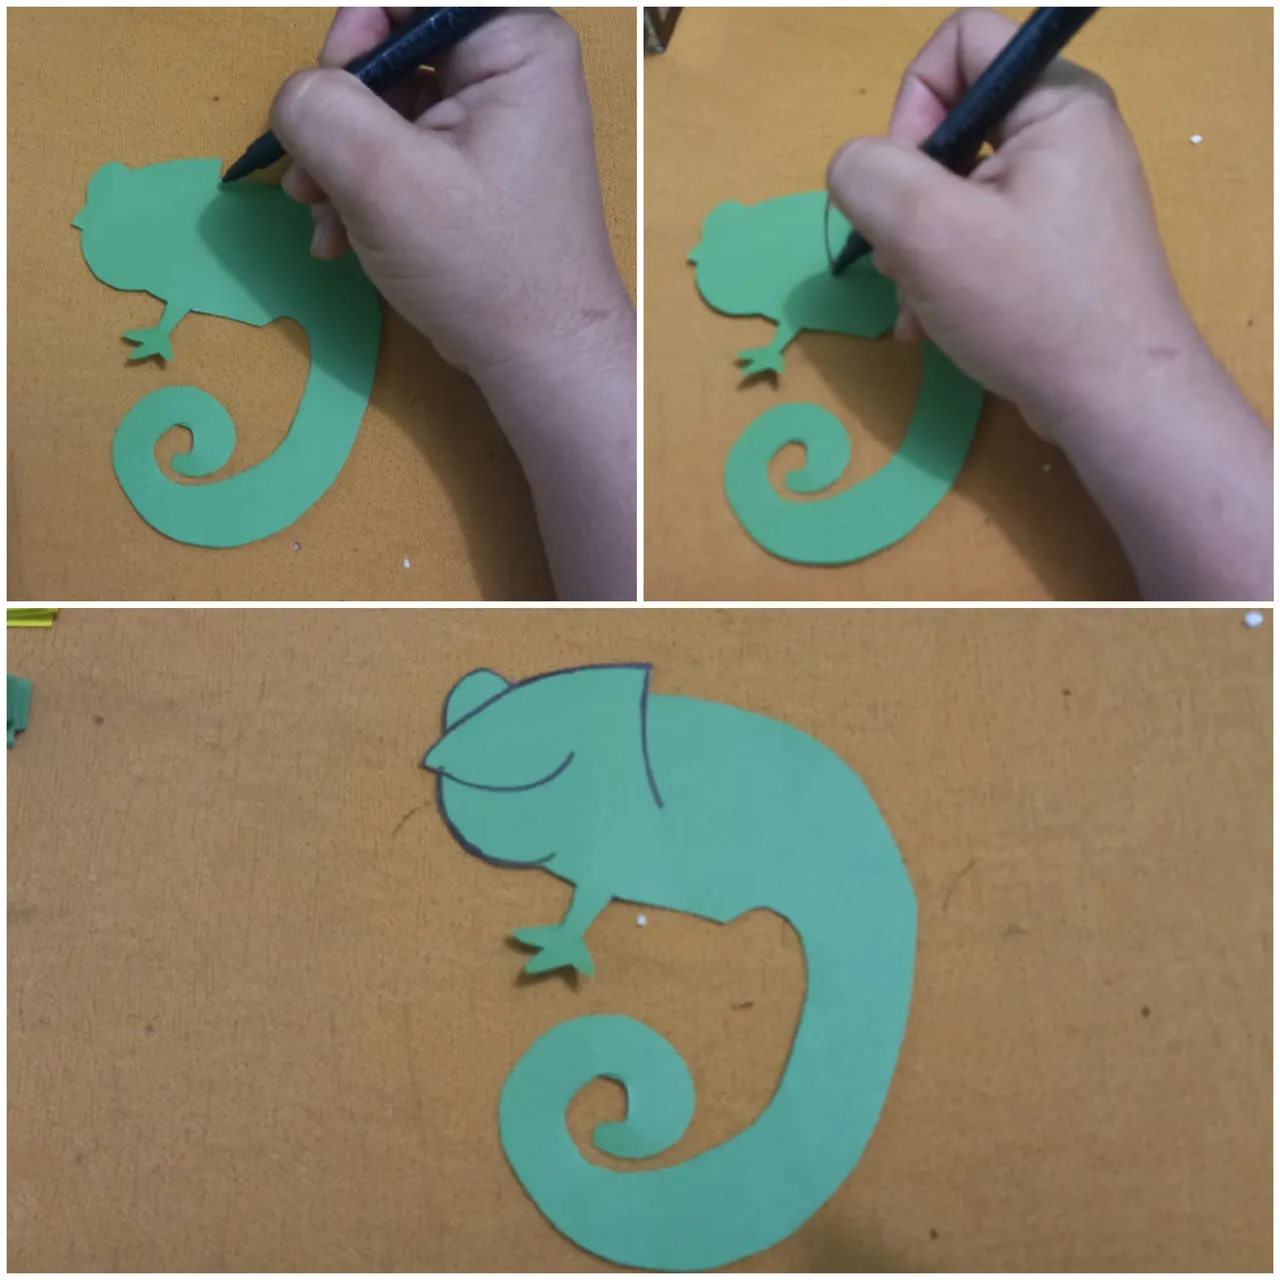
Le damos forma a la cabeza del camaleón con el marcador negro, marcando la cresta un ojo y la boca.
We shape the head of the chameleon with the black marker, marking the crest, an eye and the mouth.
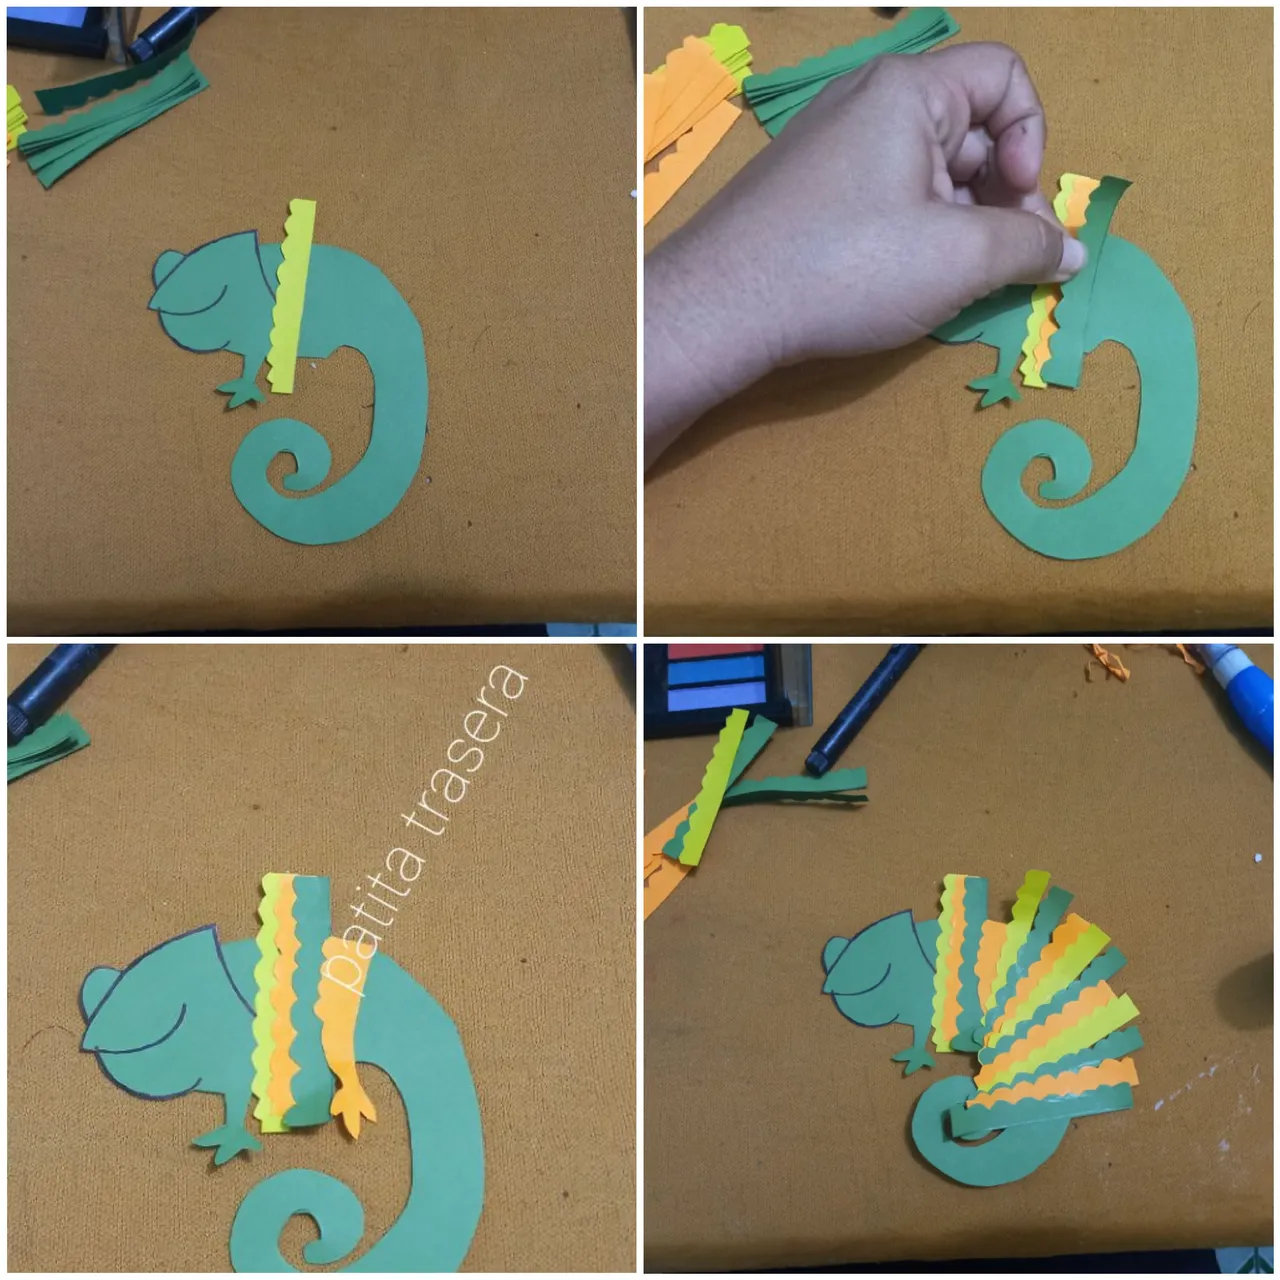
Después pegamos las tiras de papel, comenzando por el amarillo, luego el verde y después la tira naranja donde se va a ubicar la patita trasera y seguimos el mismo orden hasta llegar a la cola.
Then we glue the paper strips, starting with the yellow, then the green and then the orange strip where the back leg is going to be placed and we follow the same order until we get to the tail.
Volteamos el camaleón para cortar las tiras sobrantes.
Turn the chameleon over to cut off the excess strips.
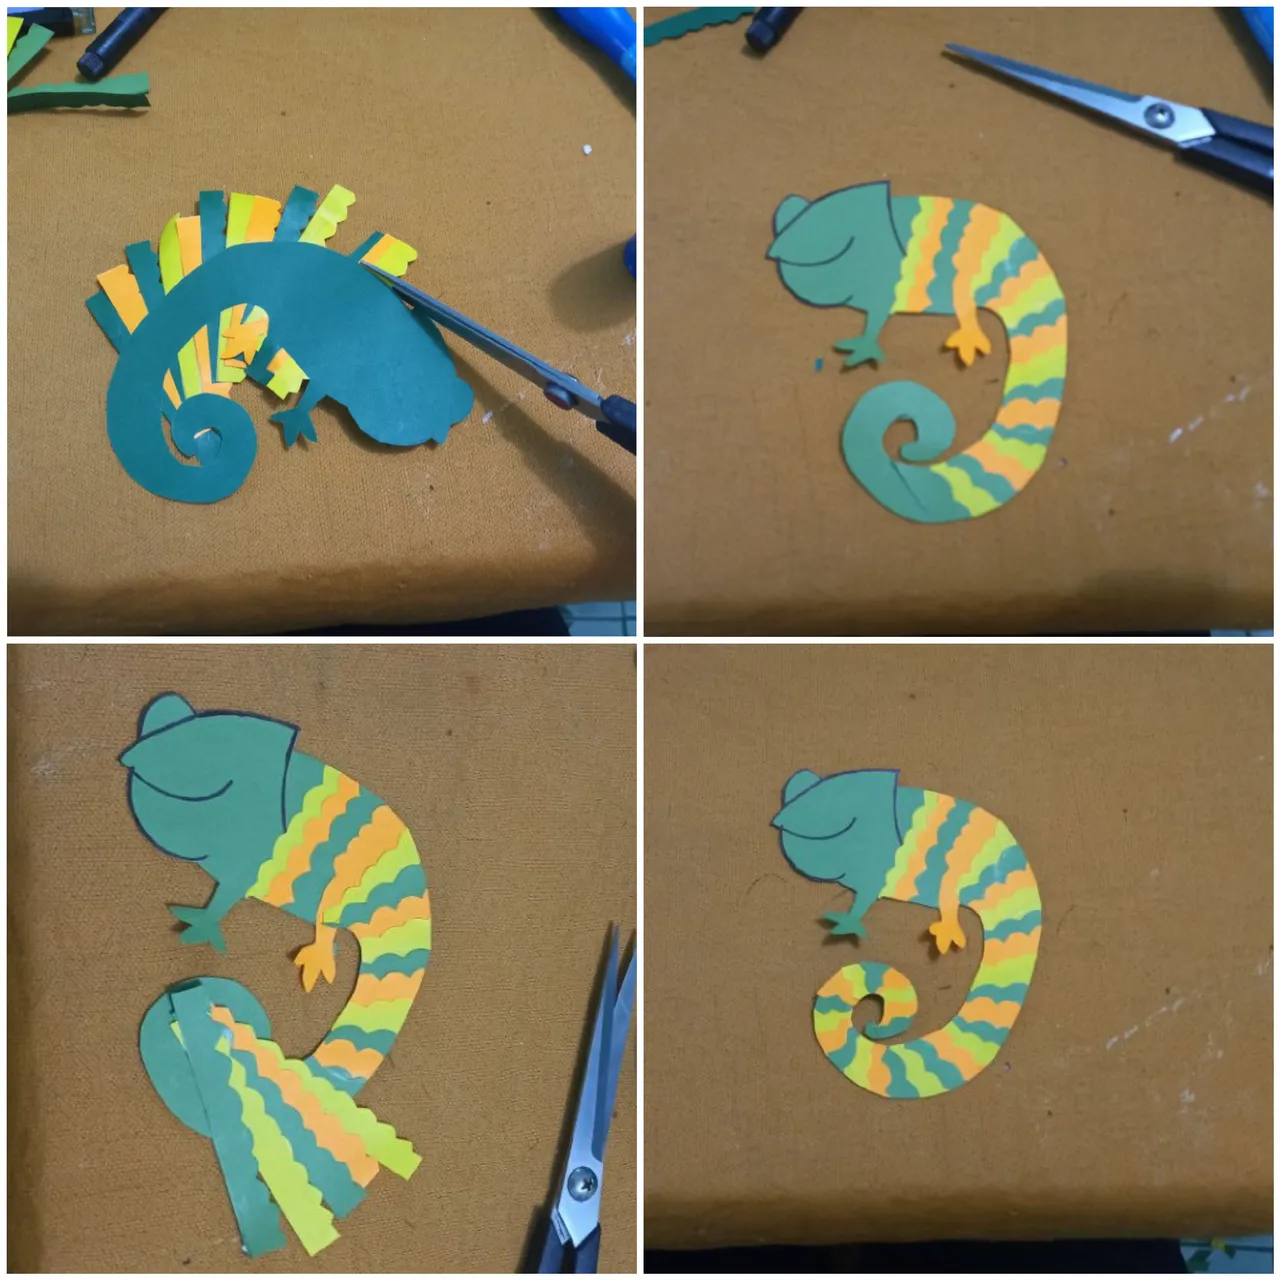
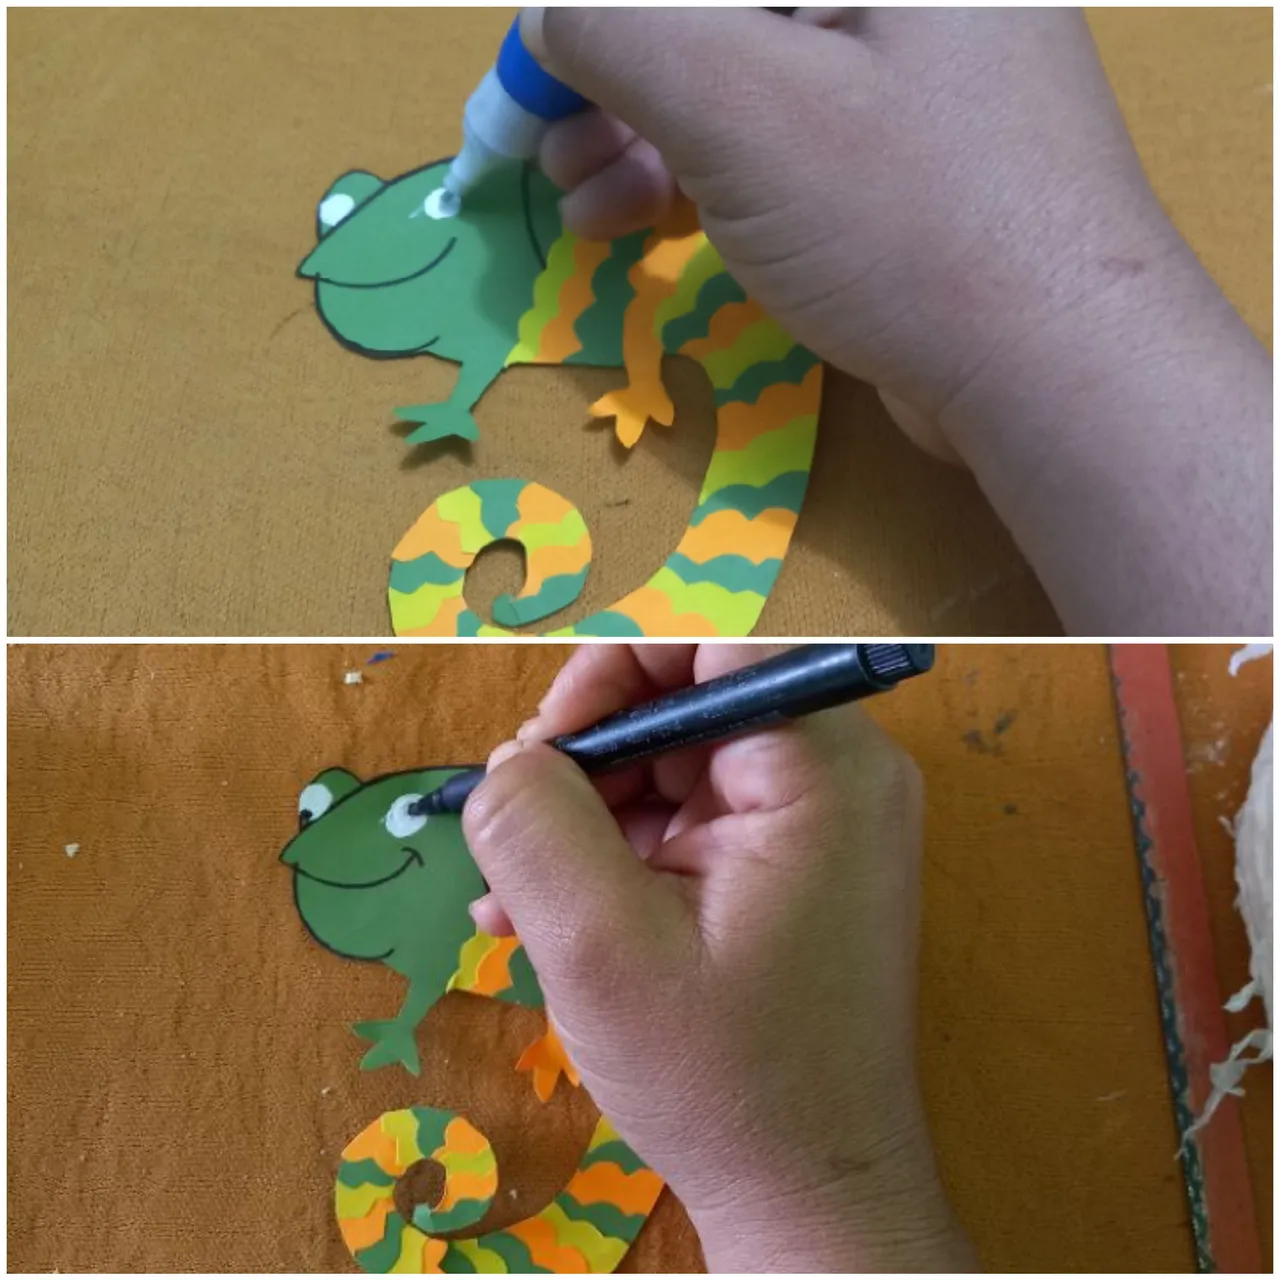
Por último utilizaremos el corrector blanco y el marcador negro para pintar los ojitos del pequeño camaleón.
Finally we will use the white concealer and the black marker to paint the little chameleon's eyes.
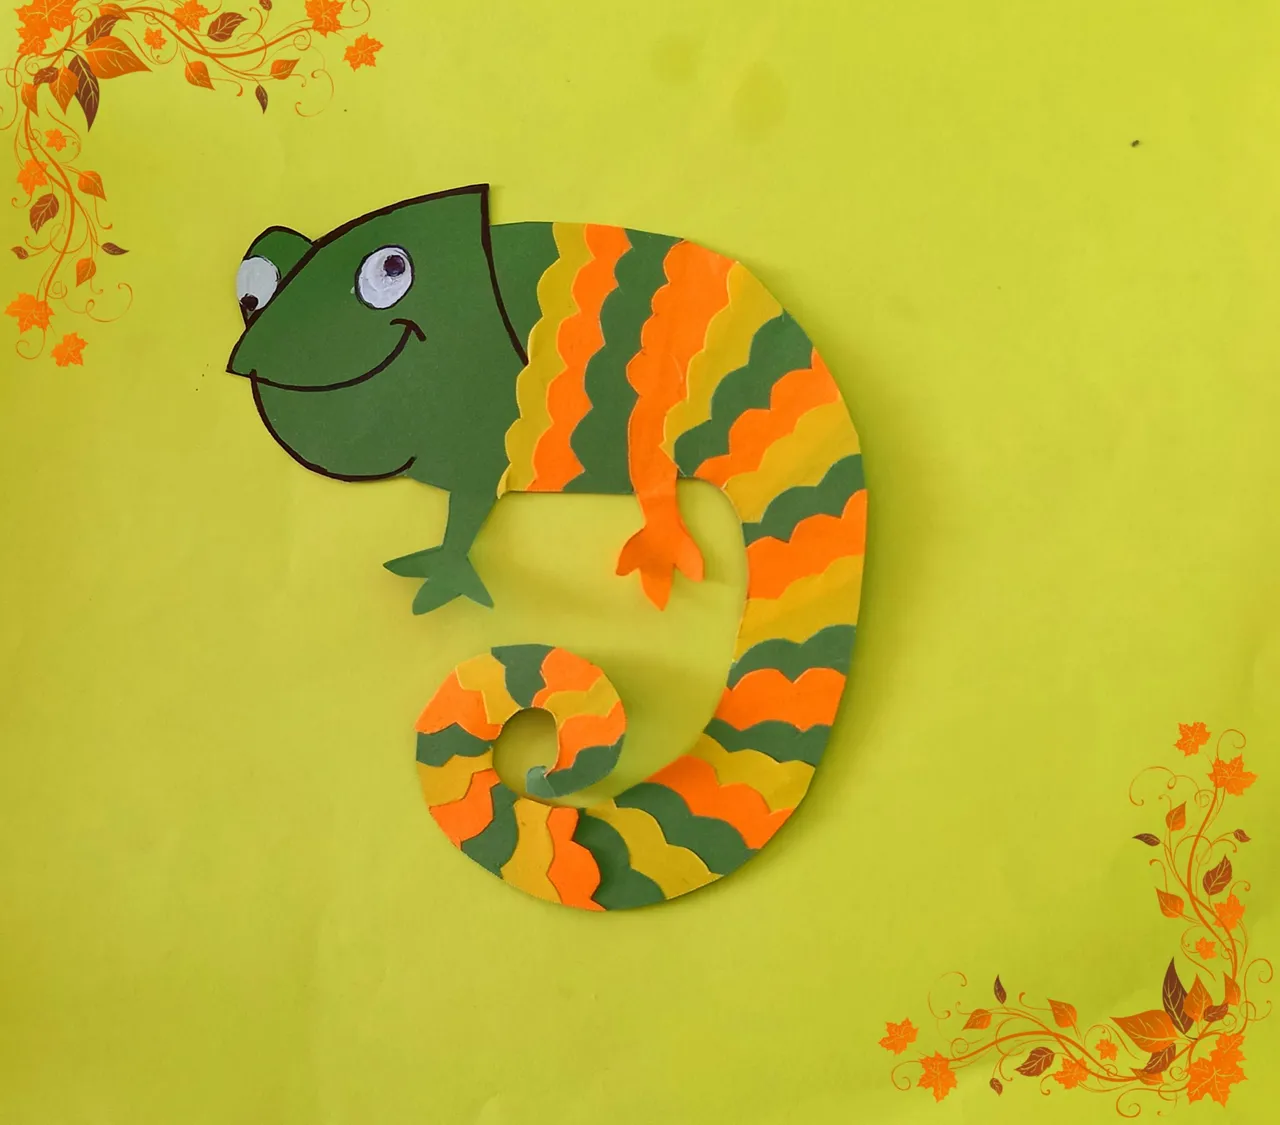
RESULTADO FINAL
FINAL RESULT