Hola Amigos de Hive!

Por acá me encuentro feliz ayudando a mi hijo a realizar una manualidad con material de provecho. el se llama Sebastián, le gusta reciclar y hacer creaciones conmigo. Por eso hoy quiero que él sea el protagonista de este post.
Me siento orgullosa de su trabajo y creatividad. A continuación le
mostraremos el paso a paso de este lindo arbolito de cartón, ideal para adornar nuestros hogares. Sebastián lo donará a su escuela para decorar en esta linda época navideña.
Here I am happy to be helping my son to make a craft with useful material. His name is Sebastián, he likes to recycle and make creations with me. That's why today I want him to be the protagonist of this post.I am proud of his work and creativity. Next we will show you the
We will show you the step by step of this cute little cardboard tree, ideal to decorate our homes. Sebastian will donate it to his school to decorate in this beautiful Christmas season.
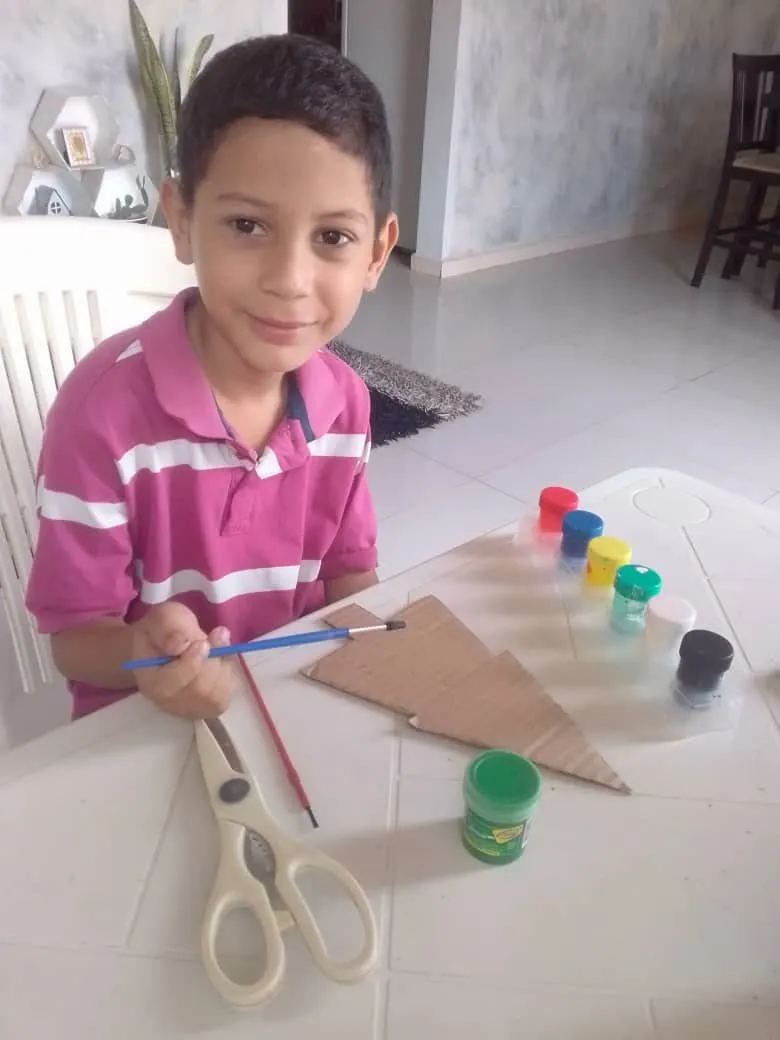
Los materiales que utilizamos fueron:
The materials we used were:
- Cartón reciclado.
- pintura verde y marrón.
- Silicón Frio.
- Tijera.
- Pincel.
- Recortes de foami rojo, verde, amarillo.
- Papel dorado.
- Recycled cardboard.
- Green and brown paint.
- Cold Silicone.
- Scissors.
- Paintbrush.
- Red, green and yellow foami cut-outs.
- Golden paper.
Procedimiento / Procedure
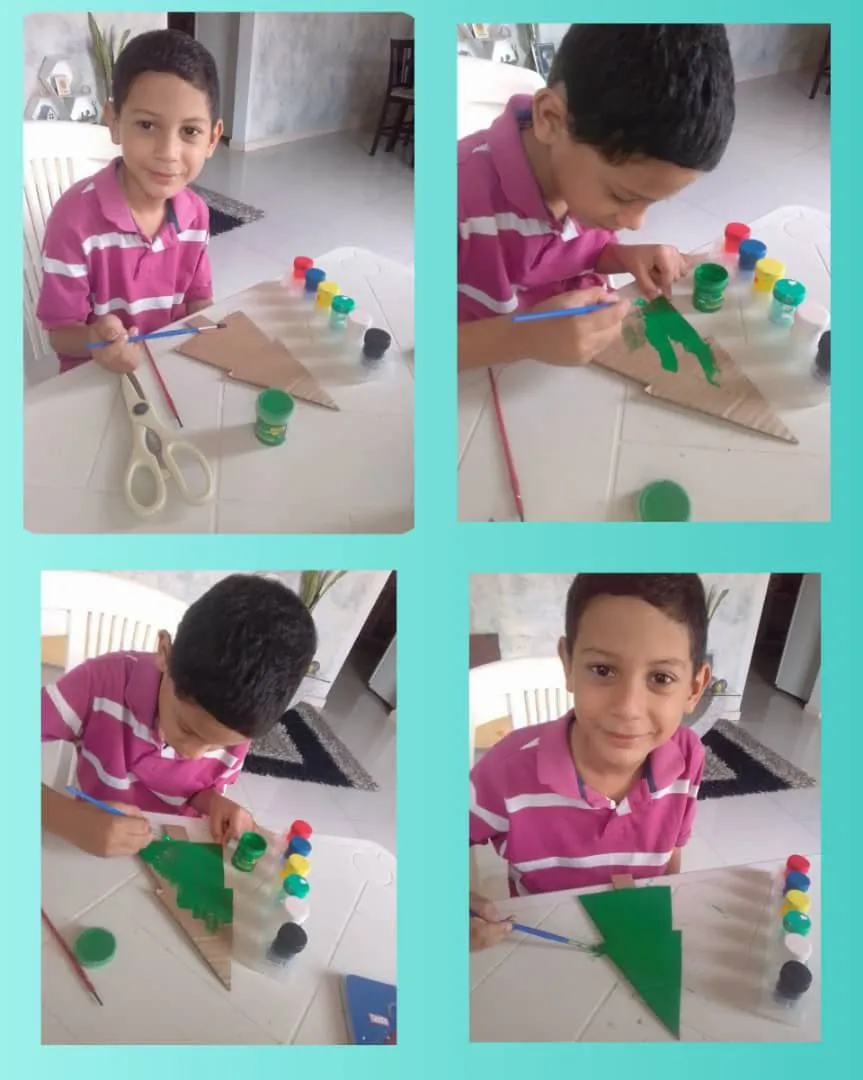
- El primer paso es sacar el patrón del arbolito en el cartón, solo lo ayudé en este paso como mama jajaja. Luego con pintura verde pintaremos todo el árbol menos el tallo que va de color marrón y dejaremos secar.
The first step is to draw the pattern of the tree on the cardboard, I only helped him in this step as a mom hahaha. Then with green paint we will paint the whole tree except the stem which will be brown and let it dry.
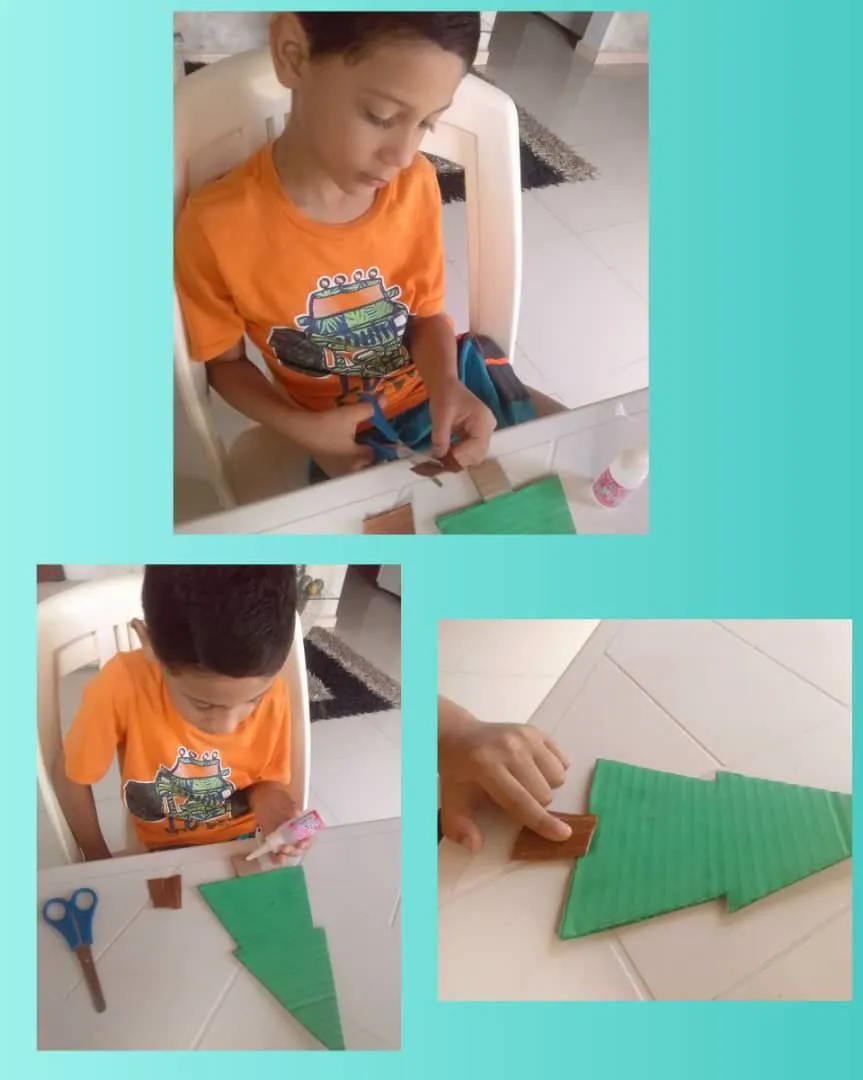
- En nuestro caso como no teníamos pintura marrón, recortamos la corteza de una hoja de palma e hicimos el tronco del árbol y pegamos con silicón.
- In our case as we did not have brown paint, we cut the bark of a palm leaf and made the trunk of the tree and glued with silicone.
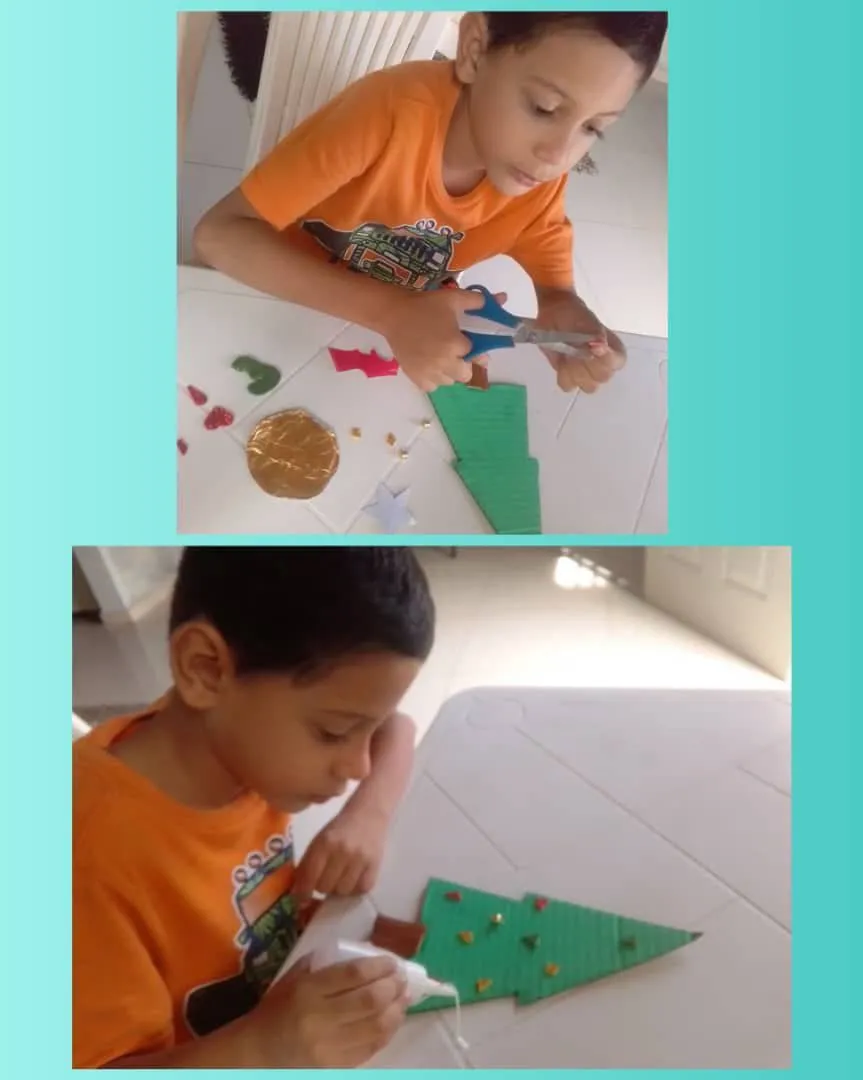
- Luego recortamos en forma de triangulo con foami amarillo, rojo y verde y pegamos para darle color y alegría a nuestro pino.
- Then we cut out a triangle shape with yellow, red and green foami and glued it to give color and joy to our pine tree.
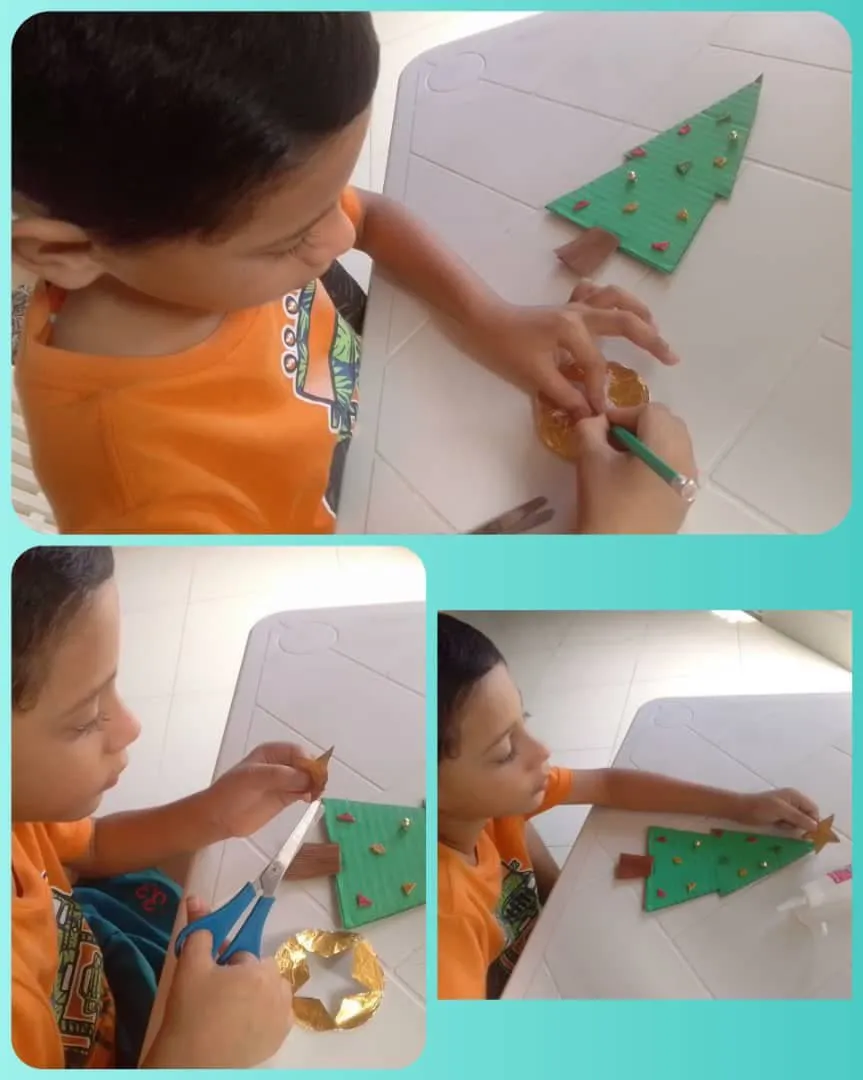
- En papel dorado recortamos una estrellita acorde al tamaño del arbolito y pegamos en la cima del mismo para darle ese toque navideño.
- In gold paper we cut out a little star according to the size of the tree and glue it on the top of the tree to give it that Christmas touch.
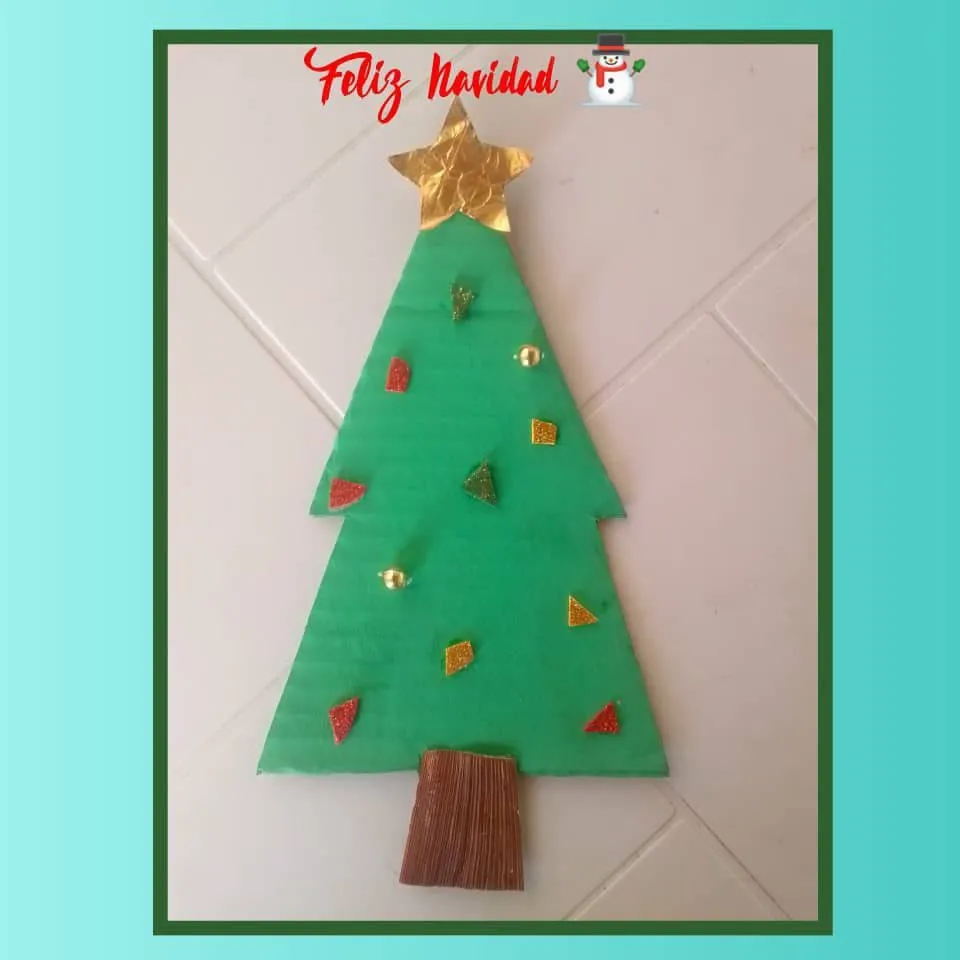
Con esto hemos terminado de una manera sencilla y hermosa este pino para decorar nuestro hogar. La mejor parte de esta manualidad fue disfrutar con mi hijo su elaboración.
With this we have finished in a simple and beautiful way this pine tree to decorate our home. The best part of this craft was enjoying with my son the making of it.

¡Bendiciones infinitas!
Fotos de mi propiedad.
Tomadas con mi Celular BLU G5