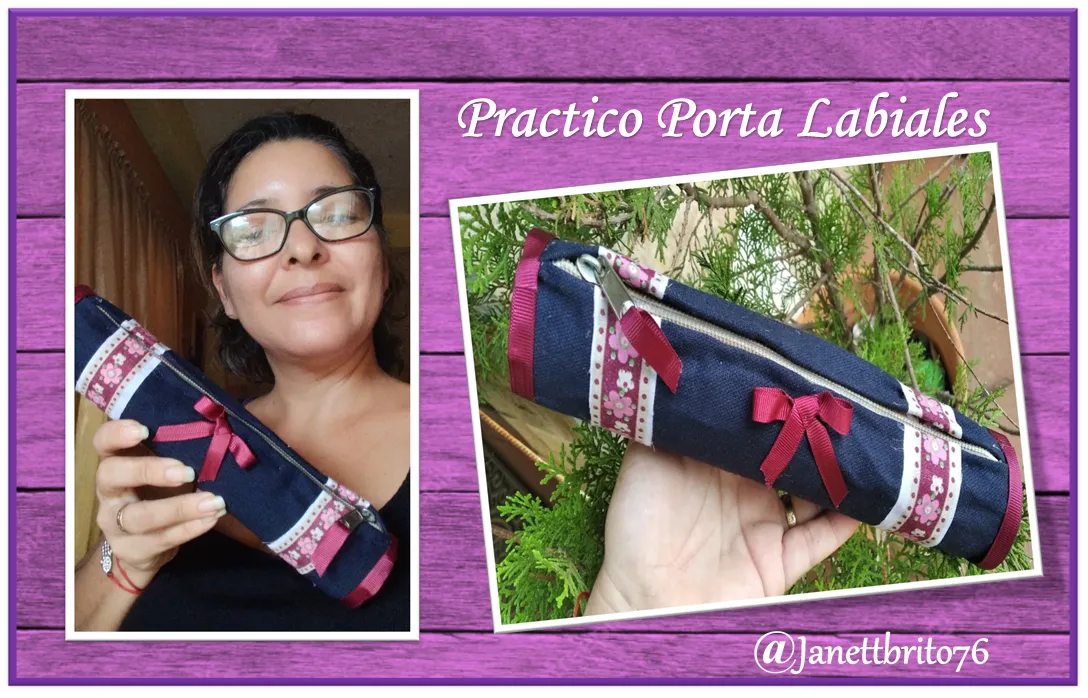
Hola amigos, feliz día para todos espero estén bien. Hoy les quiero compartir el paso a paso de como realizar un bello y practico porta labiales de forma cilíndrica empleando un rollo de cartón de servilletas y un retazo de tela, esta es una bonita, fácil y económica manualidad, también le puedes dar cualquier otra utilidad como organizar tus brochas de maquillaje... y lo mejor de todo es que la puedes personalizar y darle tu toque especial y original. !Espero que les guste mi proyecto creativo y se animen a realizarlo !
Hello friends, happy day to all I hope you are well. Today I want to share with you the step by step of how to make a beautiful and practical lipstick holder in a cylindrical shape using a cardboard roll of napkins and a piece of cloth, this is a beautiful, easy and inexpensive craft, you can also give it any other use how to organize your makeup brushes ... and best of all, you can customize it and give it your special and original touch. I hope you like my creative project and are encouraged to do it!
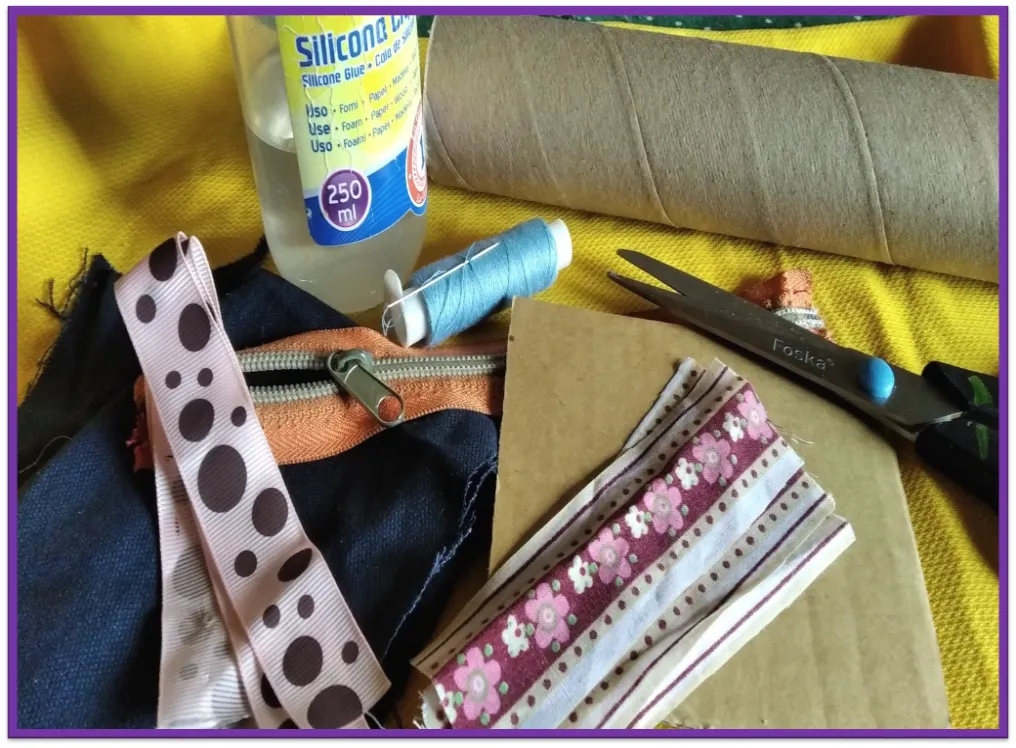
Materiales a utilizar:
• Rollo de cartón de 23 cm de largo
• Cutter
• Lápiz
• Tela azul (retazo)
• Tela estampado de flores (retazo)
• Cierre de 21 cm
• Cartón
• Cinta cross vino tinto
• Silicon
• Aguja / hilo.
• Tijera
The materials to use:
• 23 cm long cardboard roll
• Cutter
• Pencil
• Blue fabric (patchwork)
• Flower print fabric (patchwork)
• 21 cm closure
• Paperboard
• Red wine cross tape
• Silicon
• Needle thread.
• Scissor
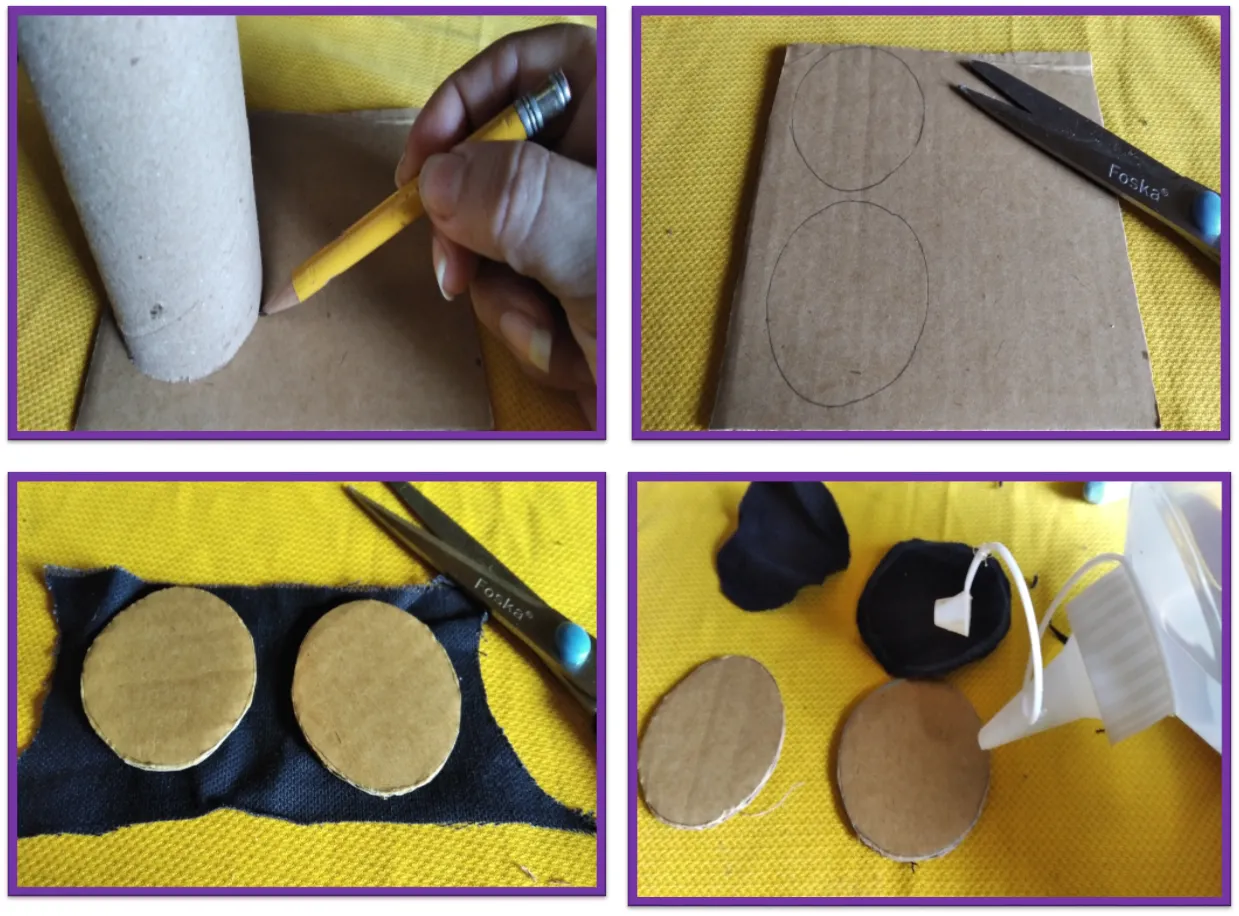
Paso a paso:
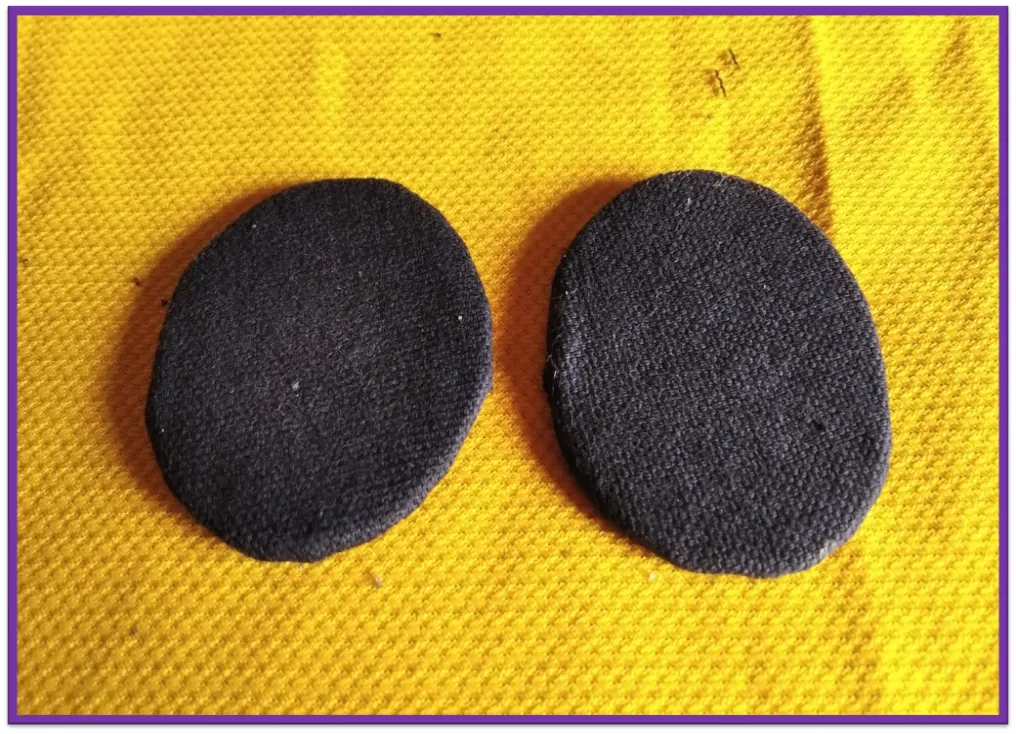
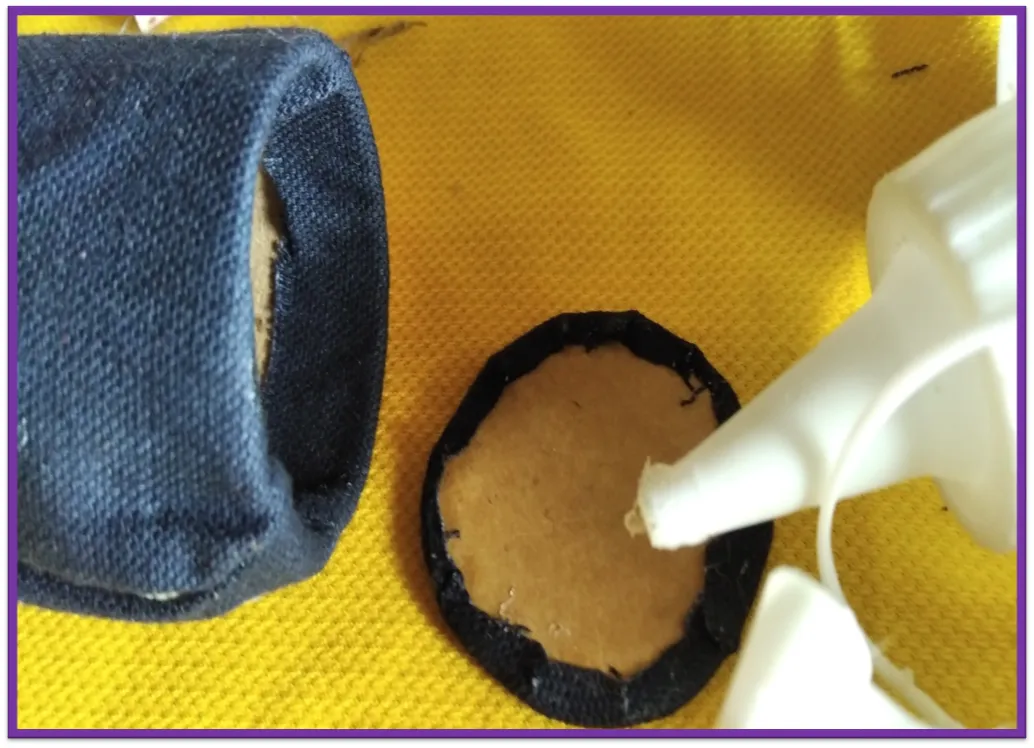
• Iniciamos marcando en el cartón dos círculos de 6cm de diámetro, recortamos y luego lo pegamos a la tela azul y forramos.
Step by Step:
• We start by marking two 6cm diameter circles on the cardboard, cut it out and then glue it to the blue fabric and cover.
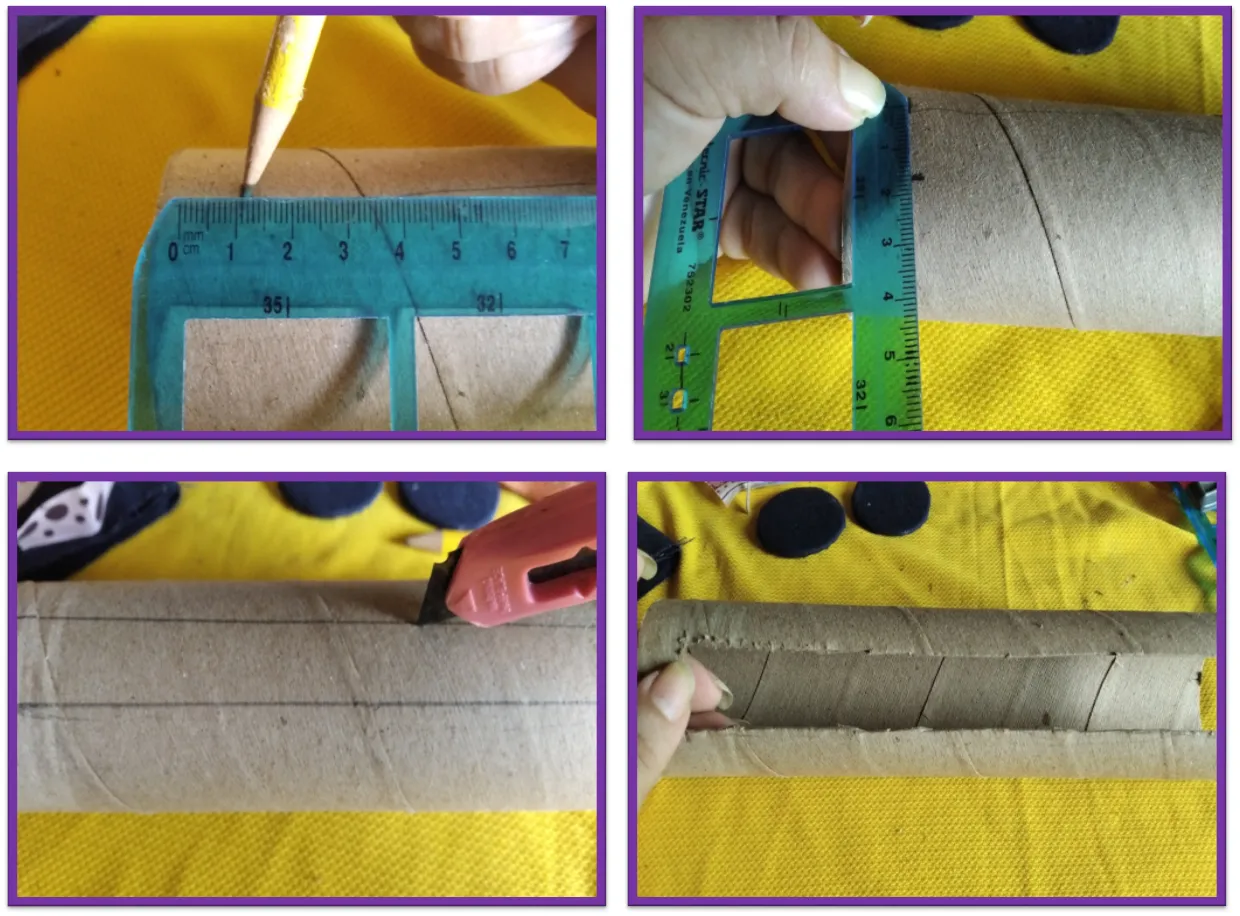
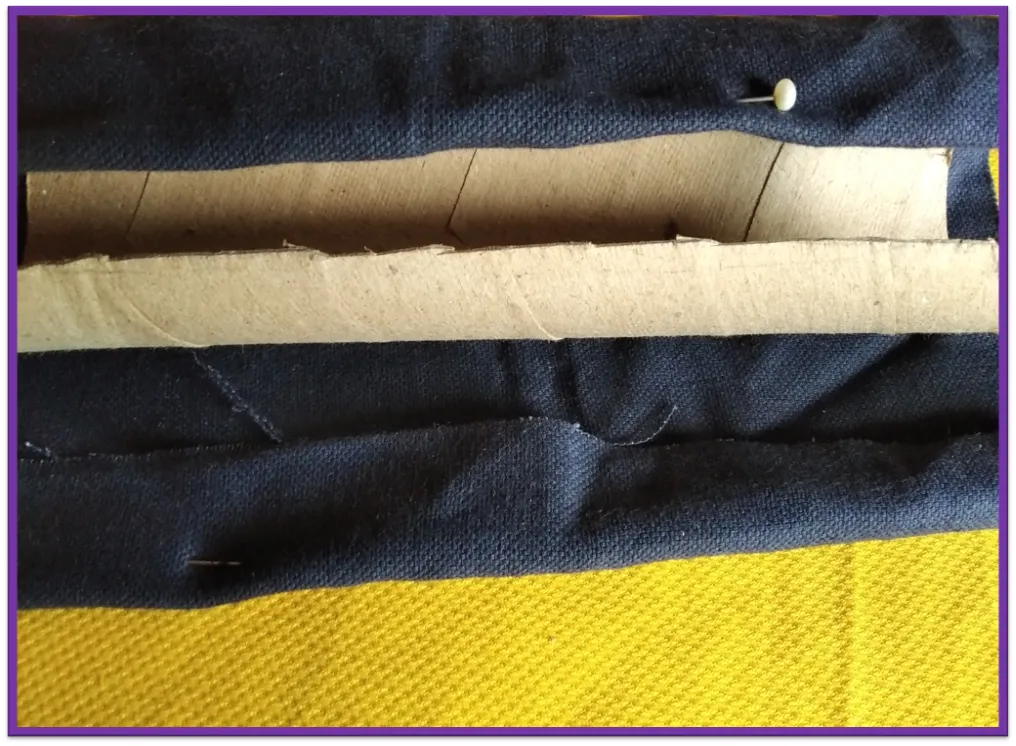
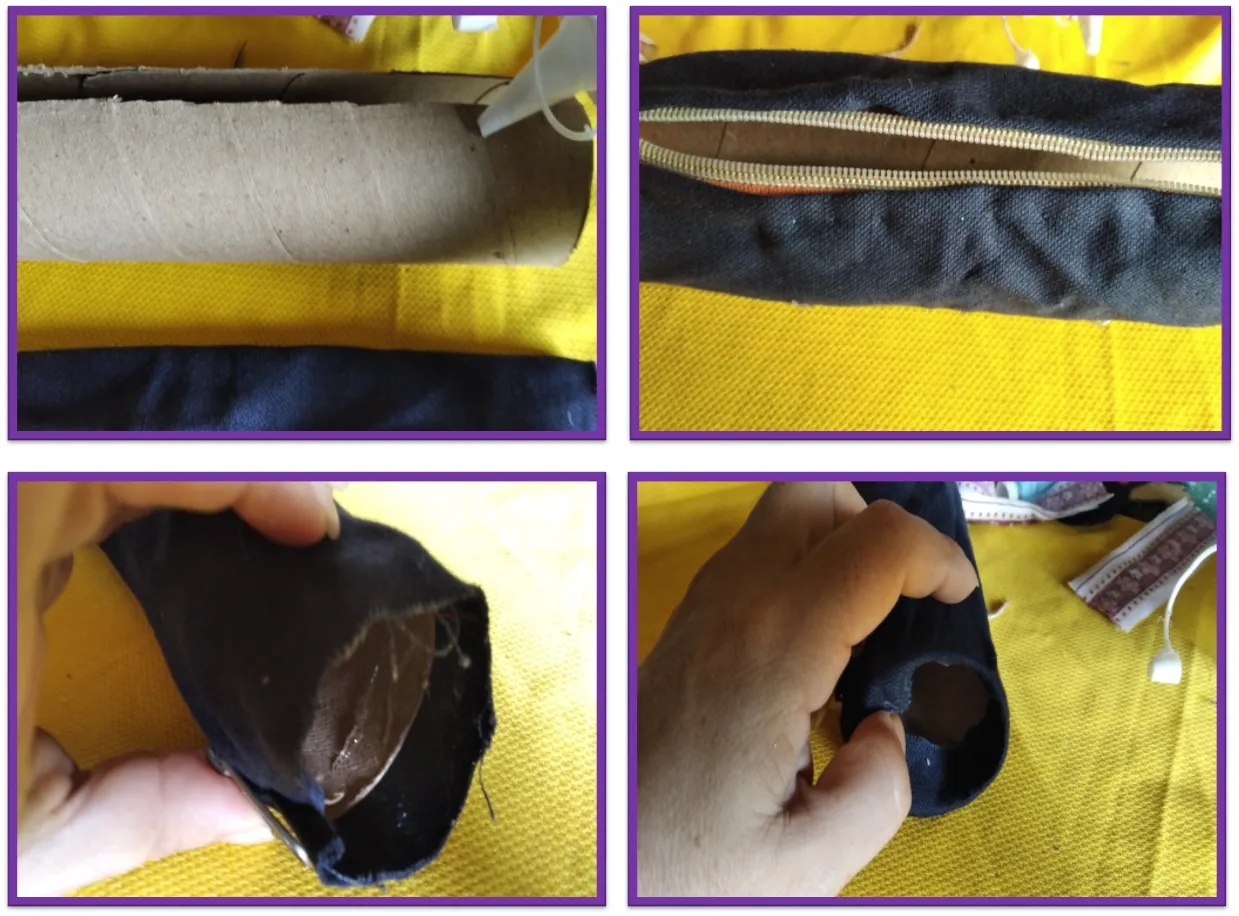
•Seguidamente tomamos el rollo de cartón y les dejamos 1 cm de separación en ambas puntas,luego desde allí realizamos una abertura de 1,5cm de ancho con la ayuda del cutter, como se muestra en la imagen.
• Next, we take the cardboard roll and leave them 1 cm apart at both ends, then from there we make a 1.5 cm wide opening with the help of the cutter, as shown in the image.
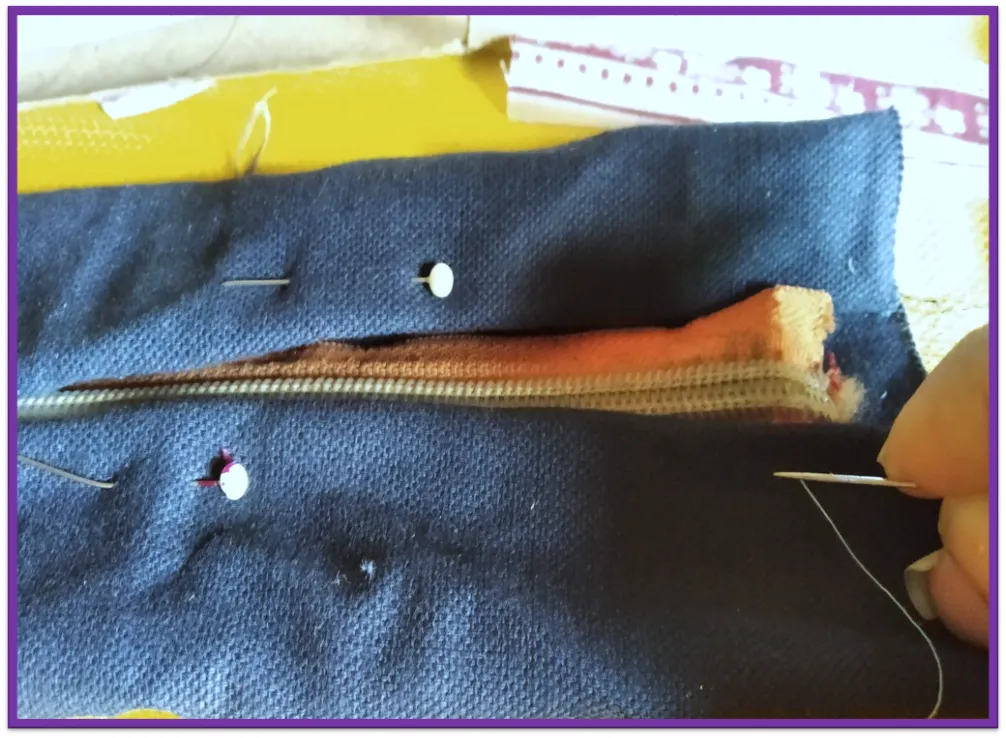
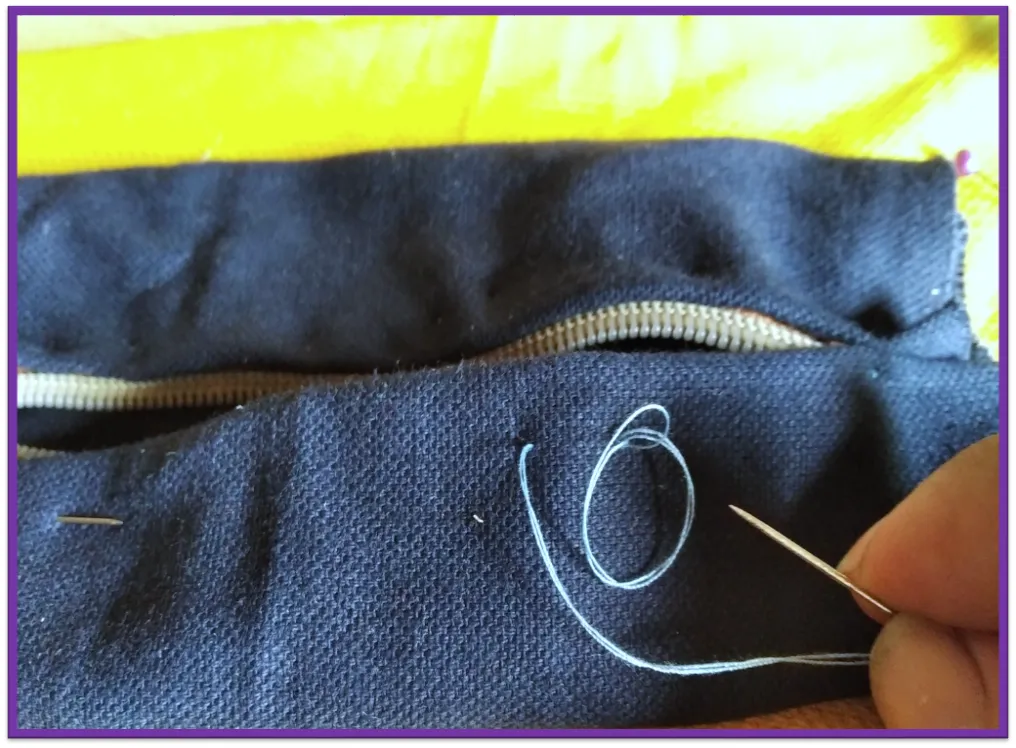
• Ahora cortamos un rectángulo de 20cm x 26cm de la tela azul, luego medimos con el rollo de cartón y les hacemos un pequeño dobles de 2cm aproximado en ambos lados y con unos alfileres fijamos el cierre y cosemos.
• Now we cut a rectangle of 20cm x 26cm from the blue fabric, then we measure with the cardboard roll and we make a small double of approximately 2cm on both sides and with some pins we fix the closure and sew.

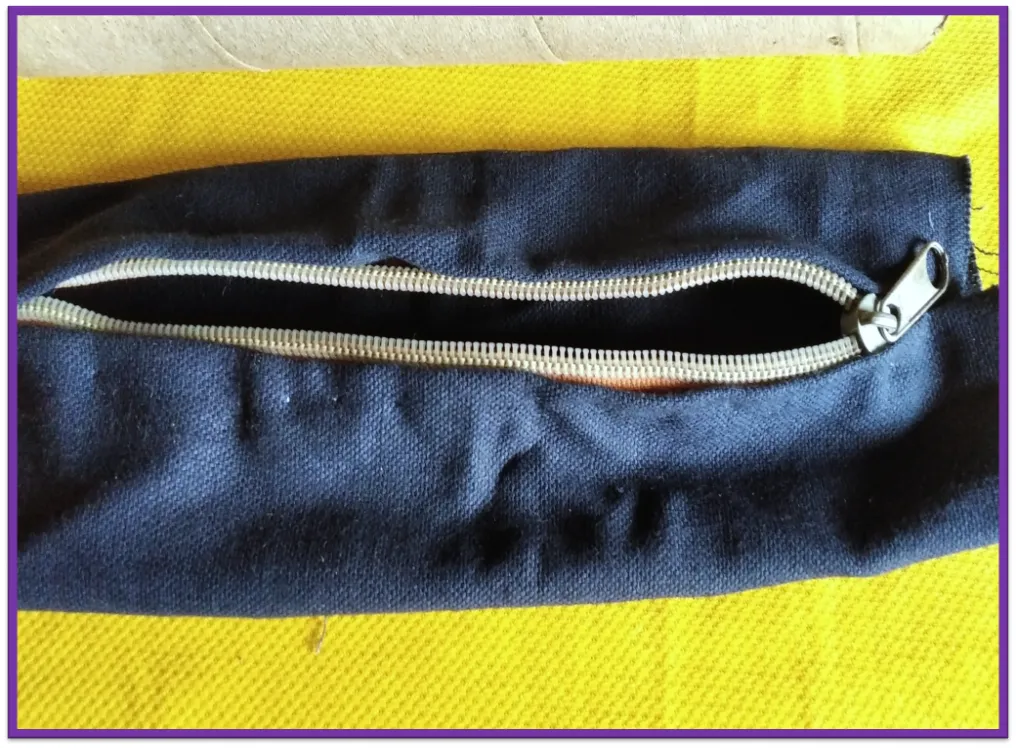
• Seguidamente procedo a introducir el rollo de cartón previamente con silicon dentro del rectángulo de la tela con el cierre, luego le colocamos silicon por dentro de ambas puntas y doblamos el excedente de tela hacia dentro y procedemos apegar cada circulo ya forrados. como se muestra en las imágenes.
• Next, I proceed to insert the cardboard roll previously with silicone into the rectangle of the fabric with the closure, then we place silicone inside both ends and fold the excess fabric inward and proceed to attach each circle already lined. as the pictures show.


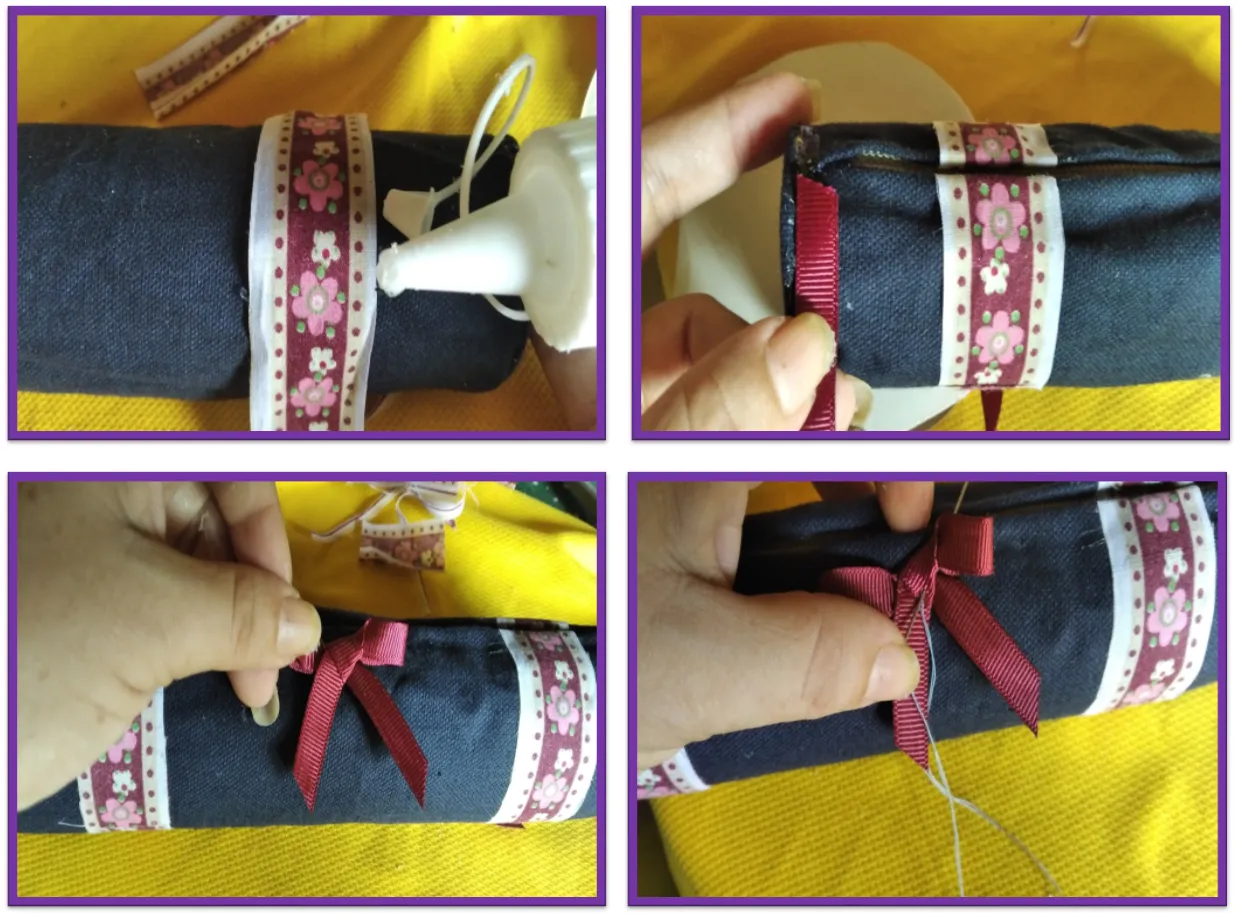
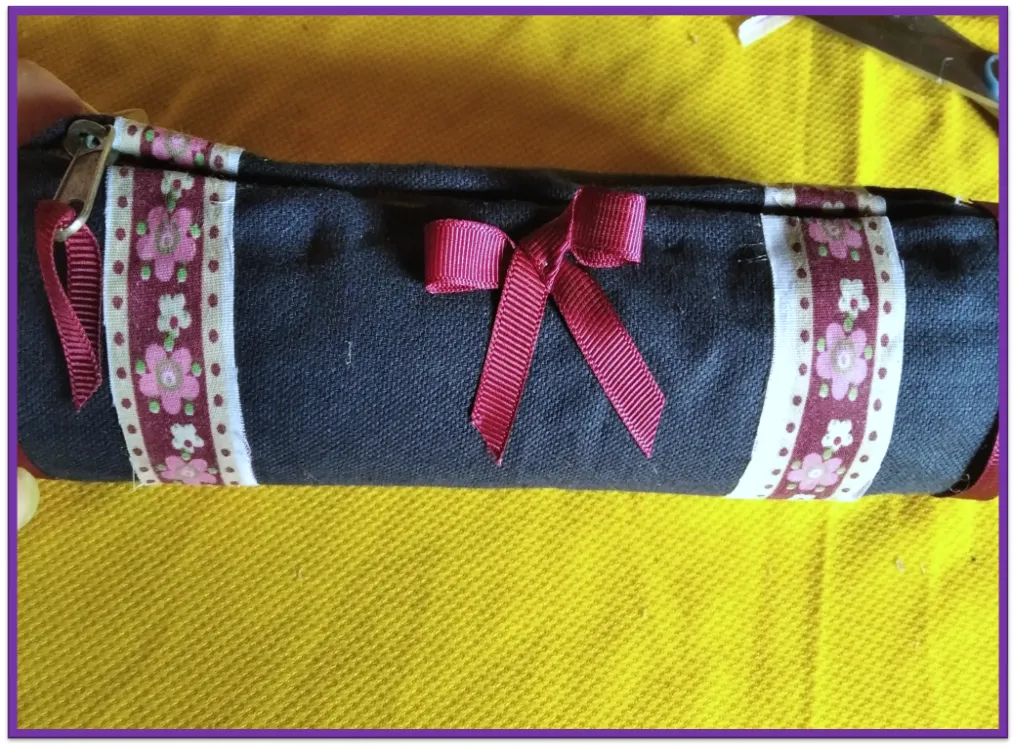
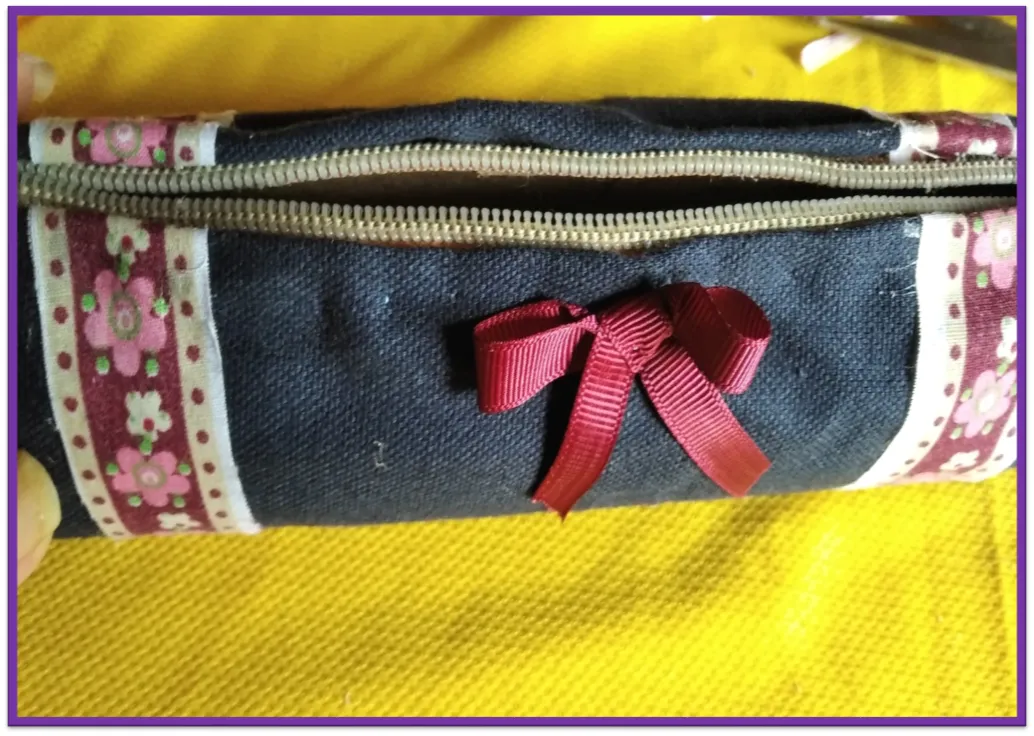
•Para terminar recortamos dos tiras de la tela de flores y procedemos a decorar nuestro porta labiales y con la cinta vinotinto le realizamos un lazo y decoramos.
• To finish we cut two strips of the flower fabric and proceed to decorate our lipstick holder and with the red ribbon we make a bow and decorate it.
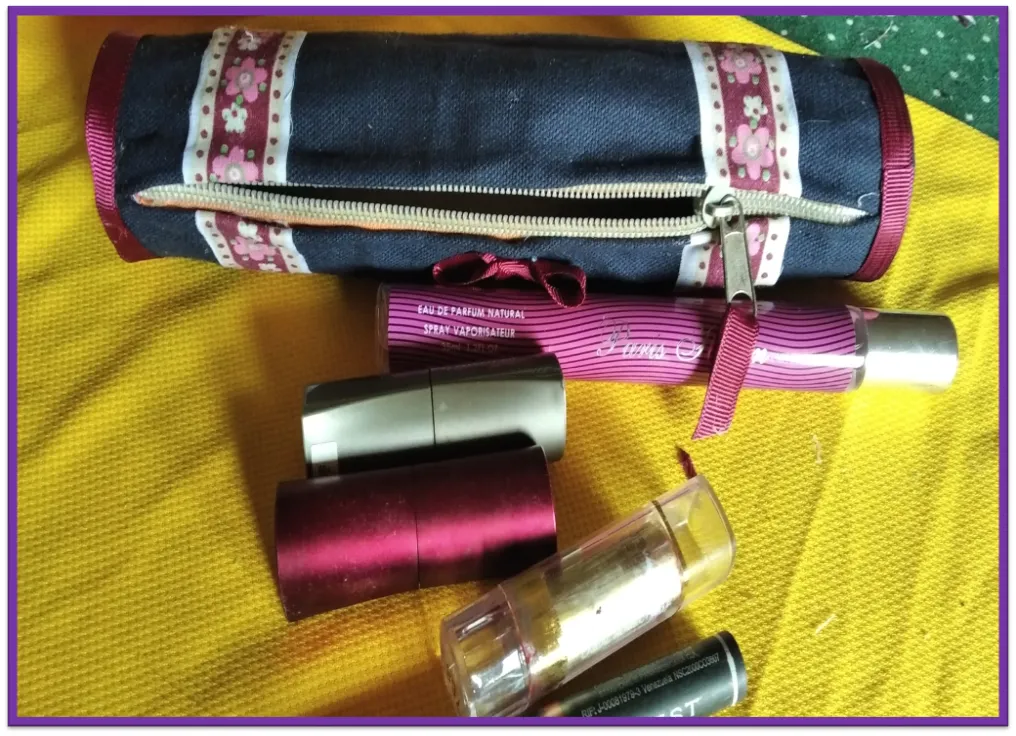
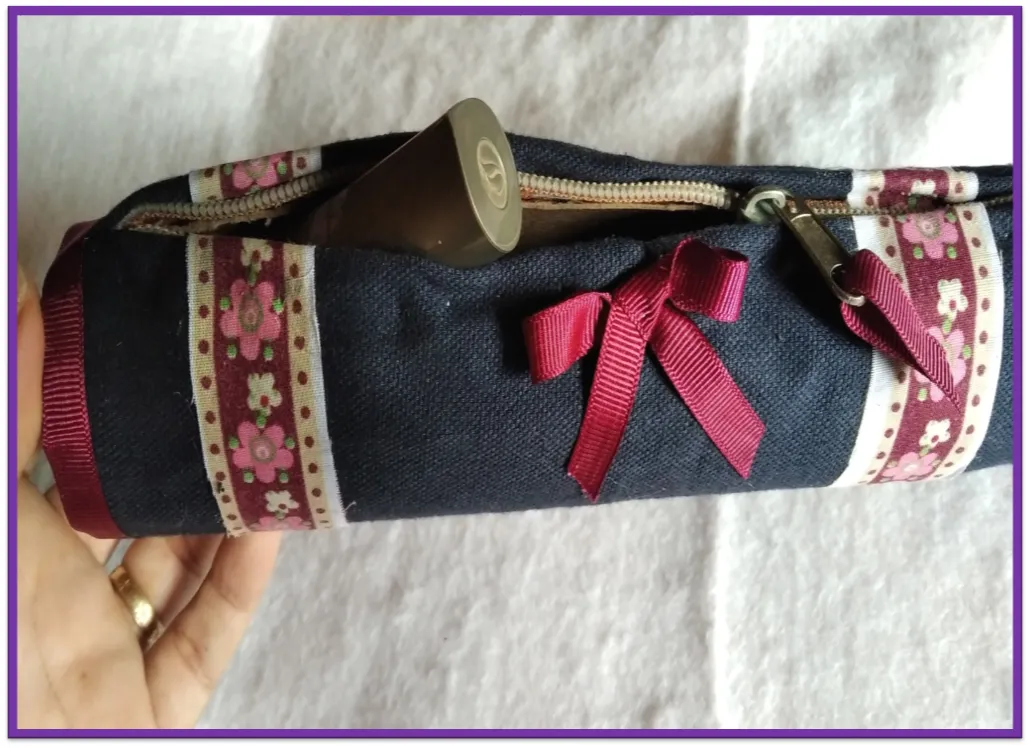
• Listo, terminado mi bello y practico porta labiales elaborado con material de reciclaje, espero que se animen a realizarlo.
!Hasta la próxima!
• Ready, finished my beautiful and practical lipstick holder made with recycling material, I hope you are encouraged to do it.
!Until next time!


Las fotografías fueron tomadas con un teléfono inteligente Xiaomi Redmi 7A, el texto fue traducido al ingles con el traductor de Google.
The photographs were taken with a Xiaomi Redmi 7A smartphone, the text was translated into English with the Google translator.