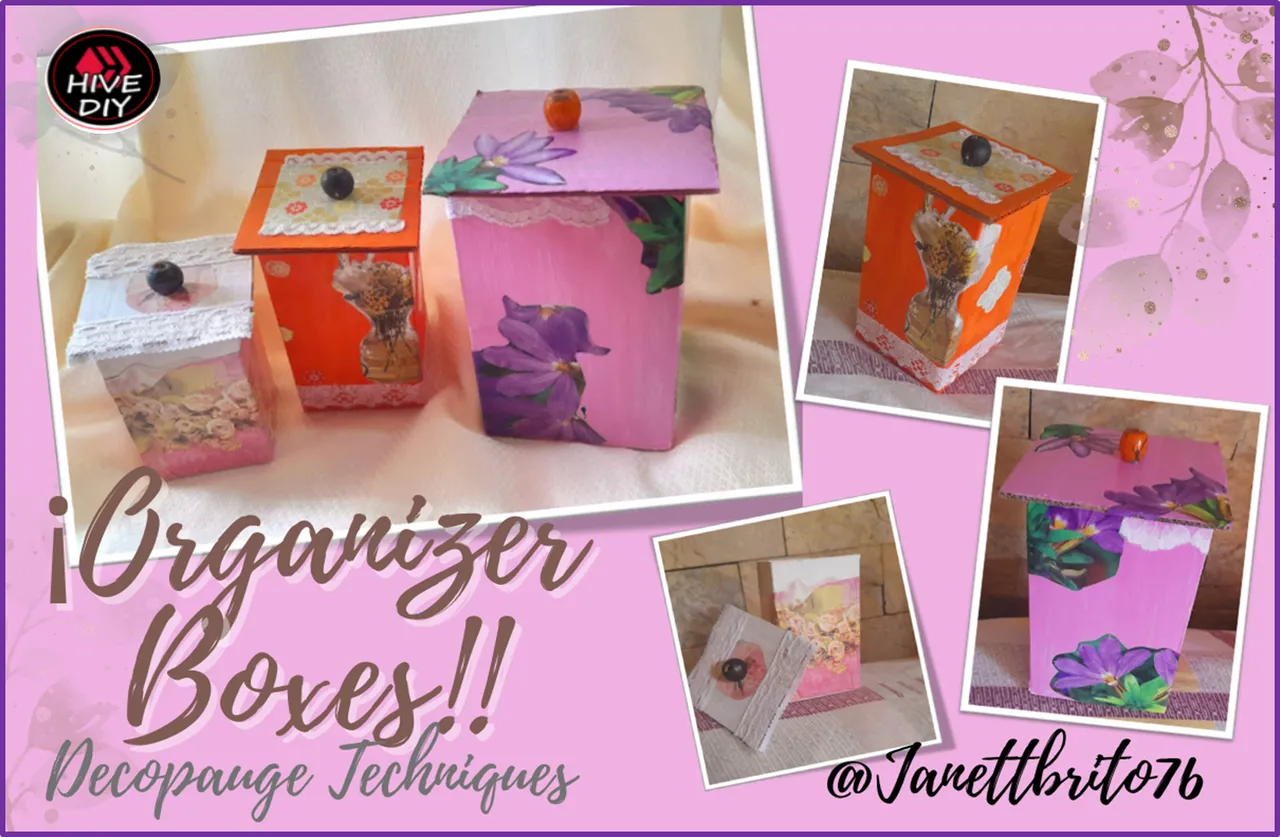

My warmest greetings to all those crafters and craftero of my appreciated and great community of #HiveDiy I hope you are very well and that you are spending a happy evening next to your loved ones.
Once again I am pleased to be part of this wonderful initiative that invites us every week our community, which give us the opportunity to let our imagination fly. Well my dear friends, this time I am joining this contest with some beautiful organizer boxes using decoupage techniques and at the same time using recycled material with which we can help our planet. These beautiful boxes can be used to organize our sanitary napkins, tea bags or simply to give a gift to someone special. I tell you that in one of my posts I once used this decoupage technique, without knowing that it was called this way, this is a wonderful technique that can be used on many surfaces to beautify them and when we put the white glue or sealant on top of the surface it makes them look shiny.
Well my creative friends, here you have the step by step to make these beautiful organizer boxes using the decoupage technique, let's get to work!

Mi más cordial saludo para todos aquellos artesanos y craftero de mi apreciada y estupenda comunidad de #HiveDiy espero se encuentren muy bien y que estén pasando una feliz noche al lado de sus seres queridos.
Una vez más me complace formar parte de esta maravillosa iniciativa que nos invita cada semanas nuestra comunidad, la cual nos dan la oportunidad de echar a volar nuestra imaginación. Buenos mis queridas amigas en esta ocasión me uno a este concurso con unas hermosas cajas organizadoras aplicando las técnicas decoupage y a su vez empleando material de reciclaje con los cuales podemos ayudar a nuestro planeta. Estas hermosas cajas la podemos utilizar para organizar nuestras toallas sanitarias, las bolsitas de té o simplemente para obsequiar un detalle a alguien en especial. Les cuento que en uno de mis post una vez utilice esta técnica decoupage, sin saber que se llamaba así, esta es una técnica maravillosa que se puede utilizar en muchas superficies para embellecerlas y cuando le colocamos la pega blanca o sellador encima de la superficie las hace ver brillante.
Bueno mis creativas amigas aquí les dejo el paso a paso para elaborar estas hermosas cajas organizadoras empleando la técnica decoupage. ¡¡Manos a la obra!!


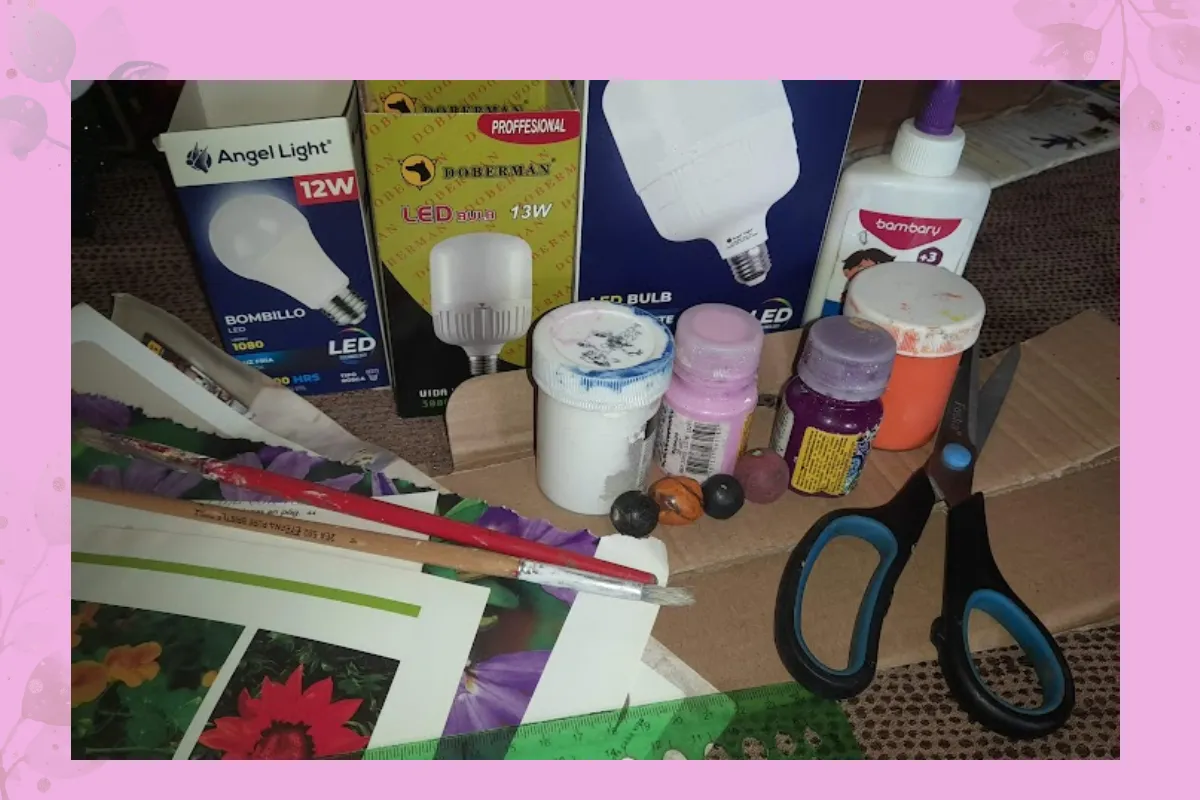
- 3 recycled light bulb boxes (different sizes)
- Cardboard
- Paints (white, pink and orange)
- White glue
- Wooden beads
- White lace
- Brushes
- Recycled magazine leaves (flower shapes)
- Scissors
- Silicone
- Ruler
- 3 Cajas recicladas de bombillo(diferentes tamaño)
- Cartón
- Pinturas (blanca, rosada y naranja)
- Pega blanca
- Cuentas de madera
- Encaje blanco
- Pinceles
- Hojas de revista reciclada (figuras de flores)
- Tijera
- Silicon
- Regla

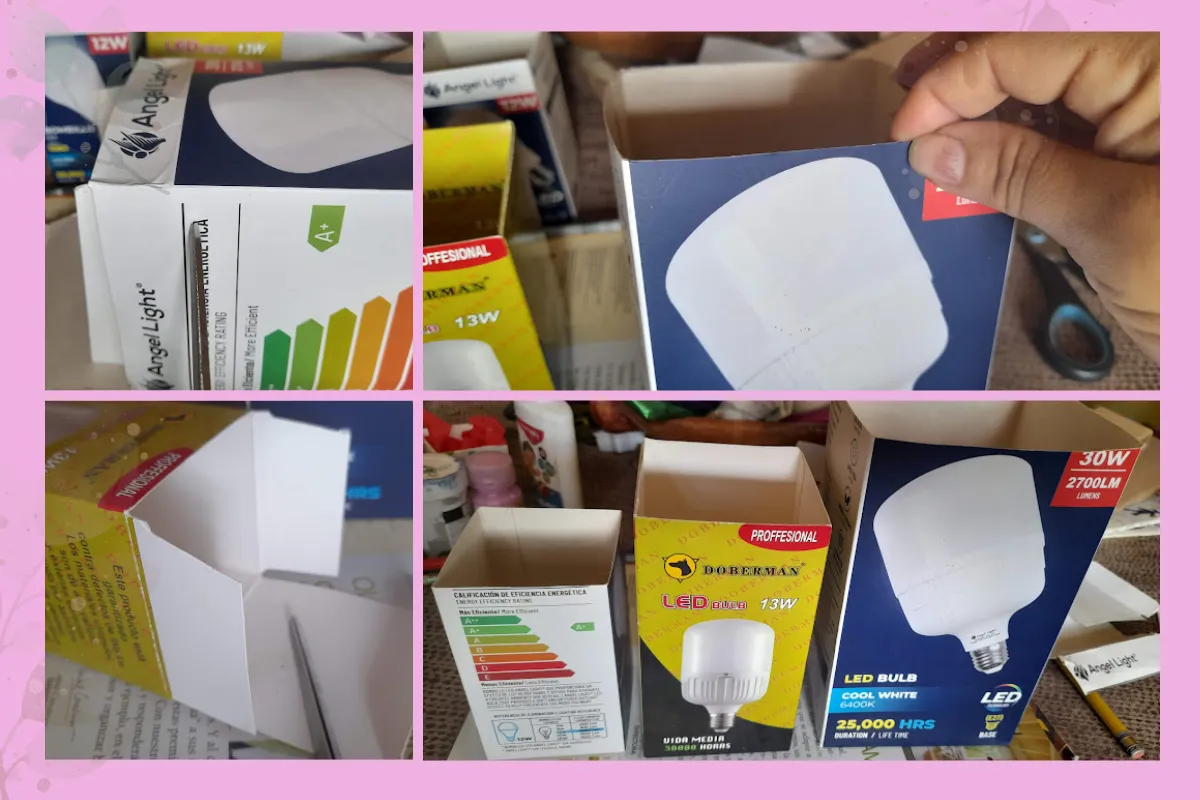
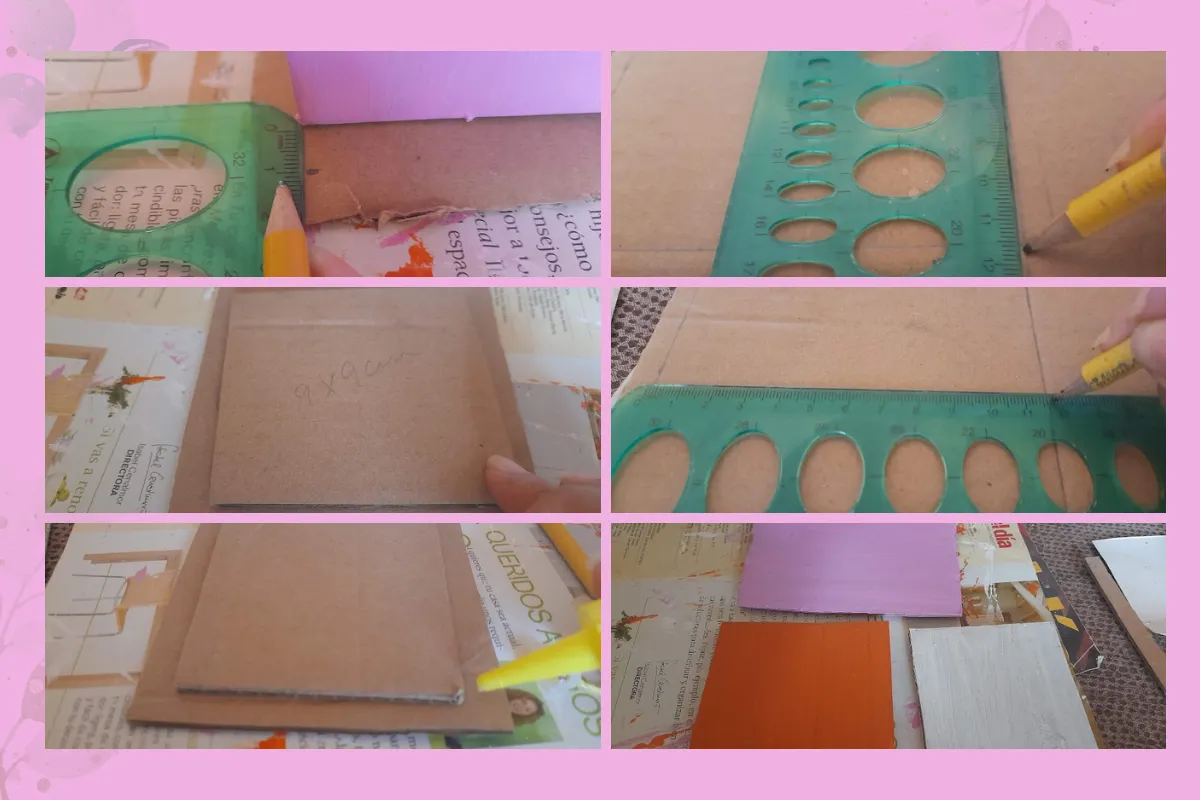
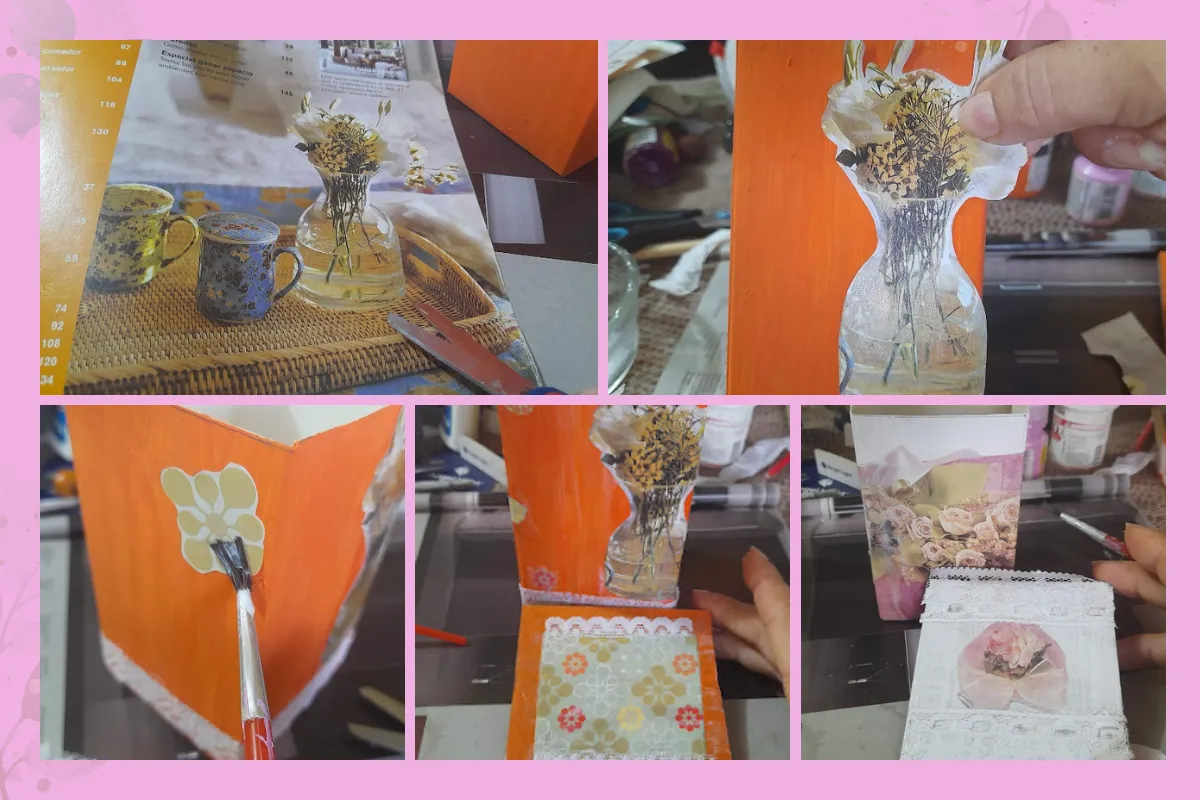
1: We start by cutting the large box to the desired size, then we cut off the excess of the lids of each of the boxes.
1: Comenzamos cortando un poco la caja grande a la medida deseada, luego le recortamos los excedentes de las tapas a cada una de las cajas.
2: We proceed to paint each of the three boxes with the white paint, then let them dry for about half an hour.
2: Procedemos a pintar cada una de las tres cajas con la pintura blanca, luego dejamos secar por aproximadamente media hora.
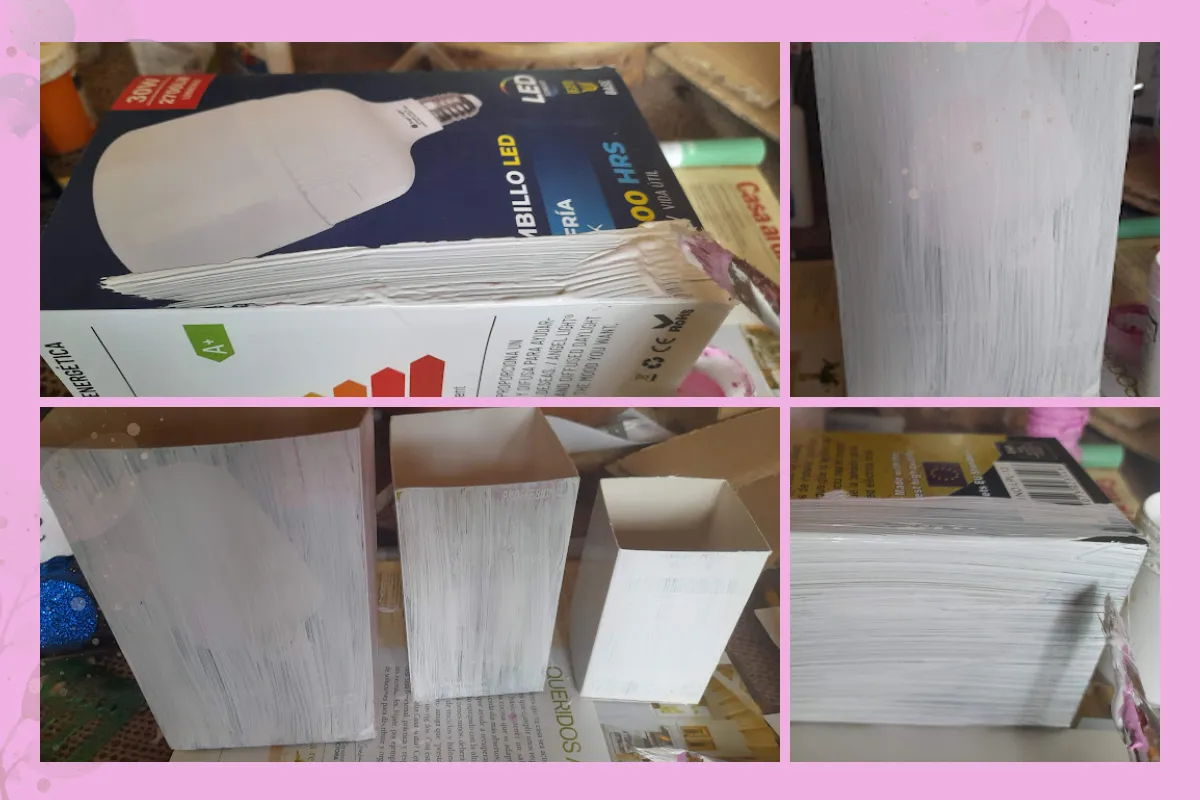
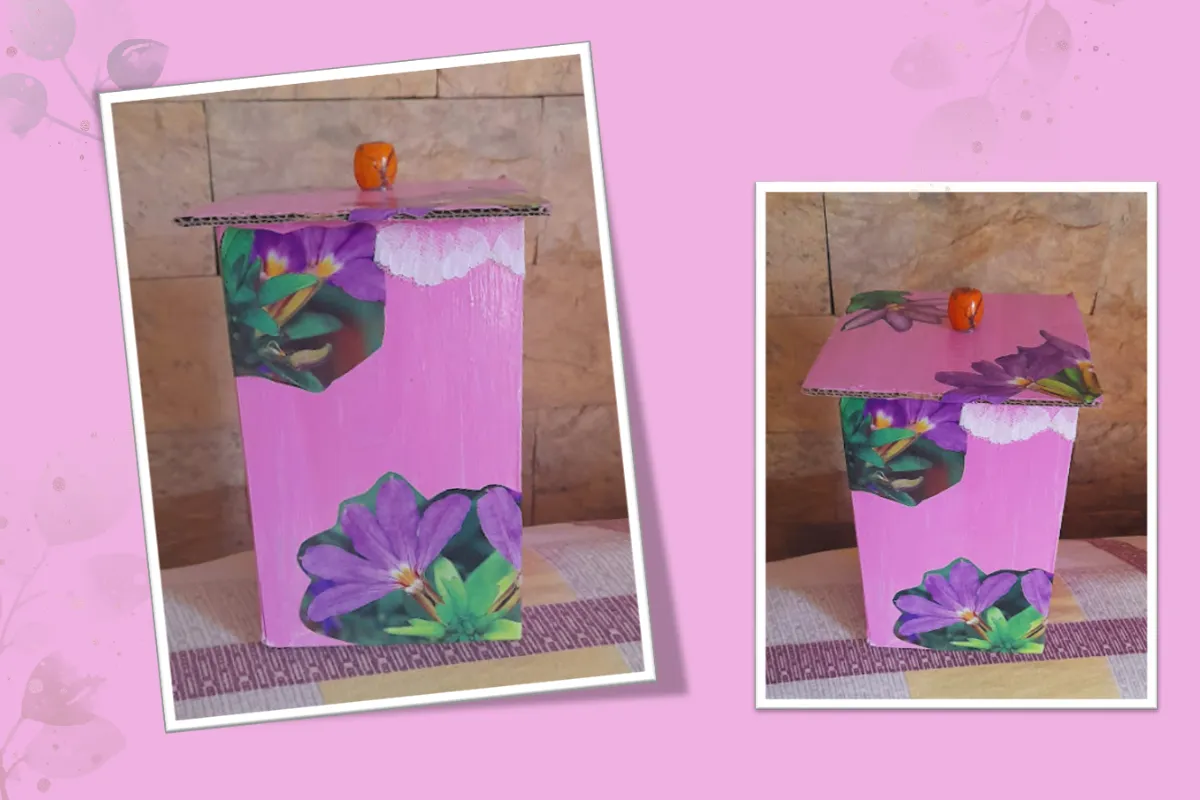
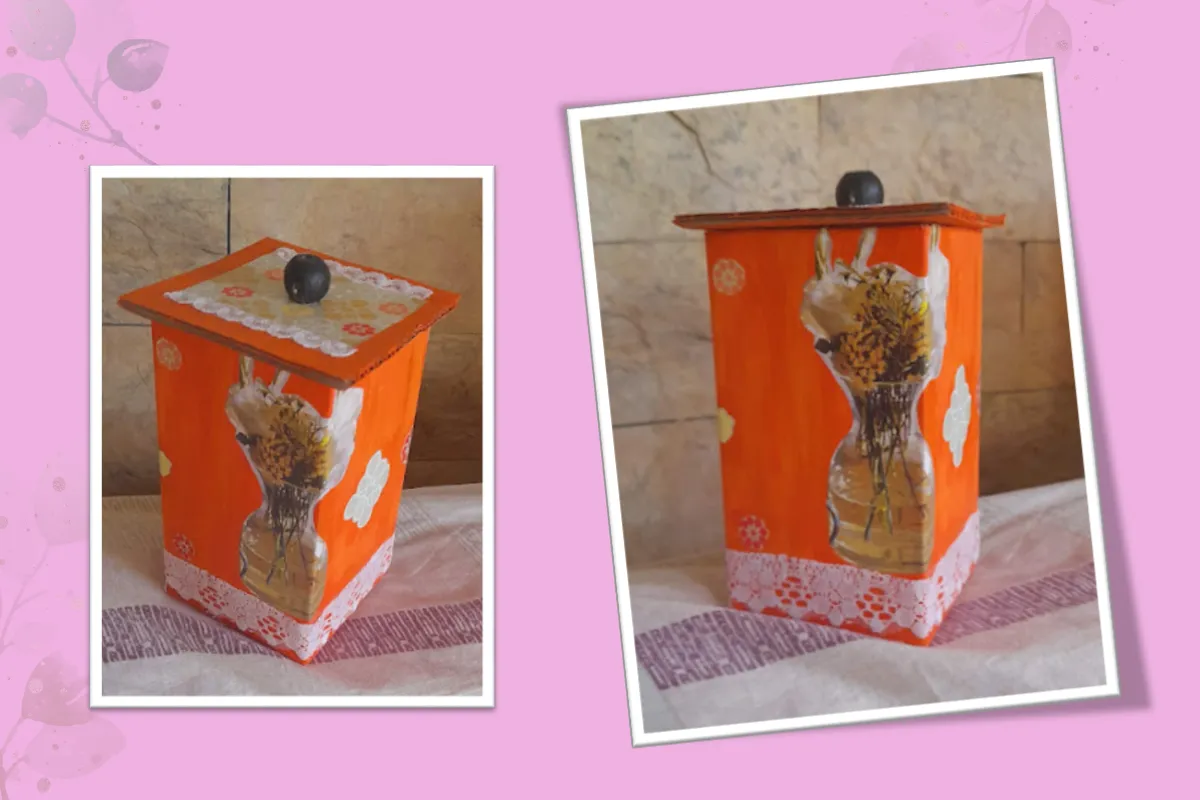
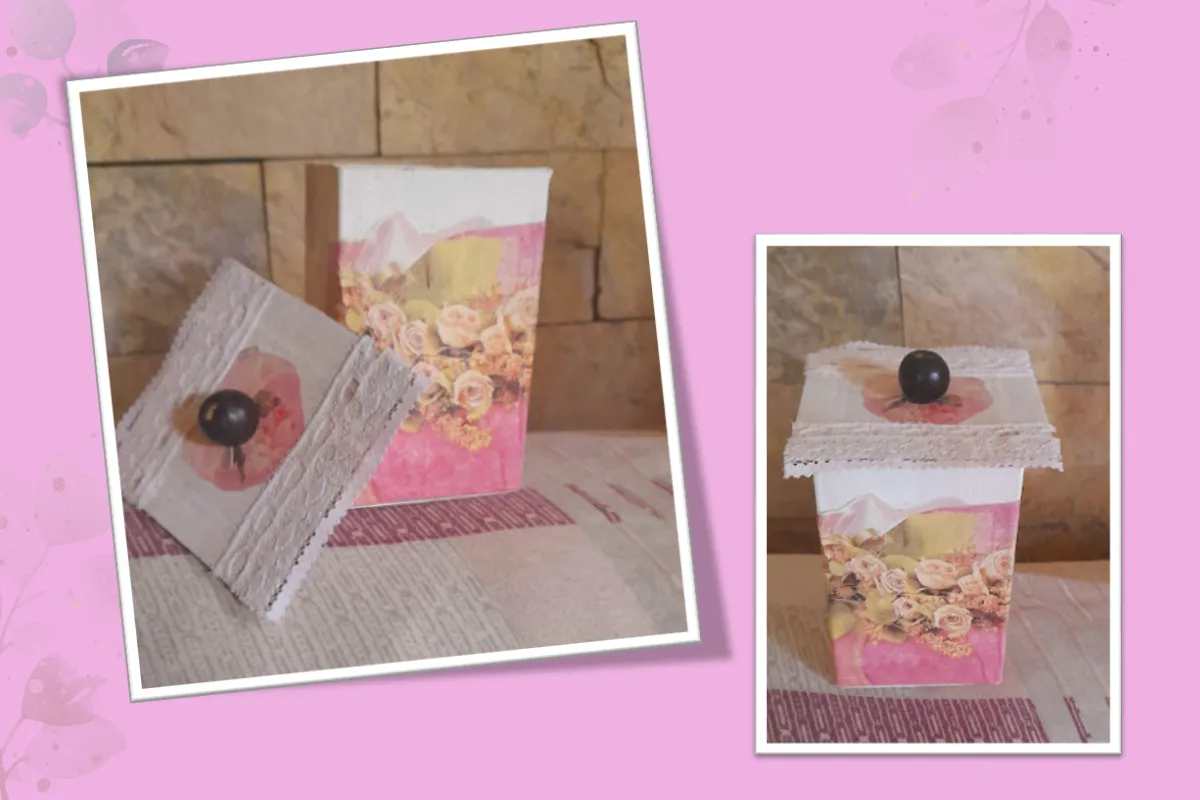
3: Once the boxes are dry we proceed to paint them with the selected colors. I started painting the biggest box with the pink paint, then with the orange paint I painted the medium box and the smallest one with white paint, we let the paint dry again on each of the boxes.
3: Una vez que se hayan secado las cajas procedemos a pintarlas con los colores seleccionados. Comencé pintando la caja mas grande con la pintura rosada, luego con la pintura naranja pinte la caja mediana y la más pequeña la pinte de blanco, volvemos a dejar que se seque las pintura de cada una de las cajas.

4: Now I proceed to make a lid for each of the boxes with the cardboard. For these I cut out a square one centimeter larger than the size of the box lid, then I glue them one on top of the other, then I paint them in the colors that correspond to each box.
4: Ahora procedo a realizar una tapa para cada una de la cajas con el cartón. Para estas recorto un cuadrado un centímetro mas grande que la medida de la tapa de la caja, luego las pego una encima de la otra, seguidamente las pinto de los colores que le corresponde a cada caja.
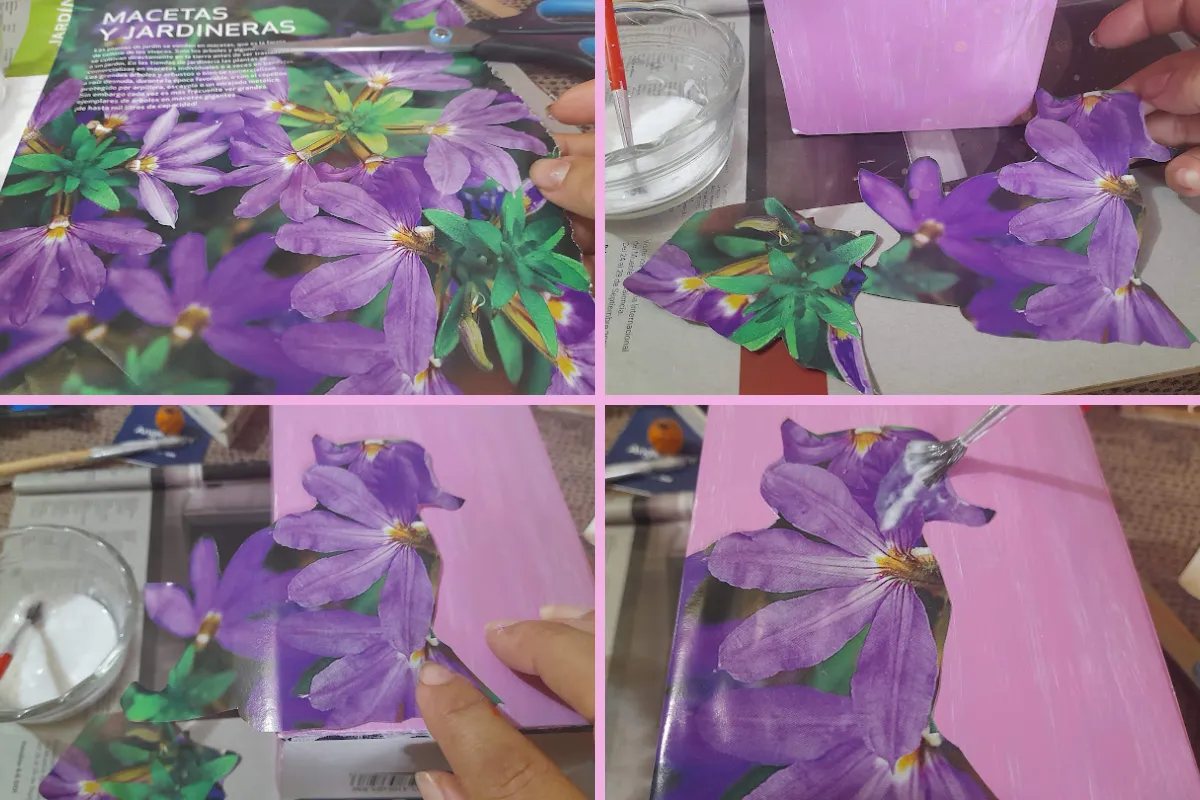
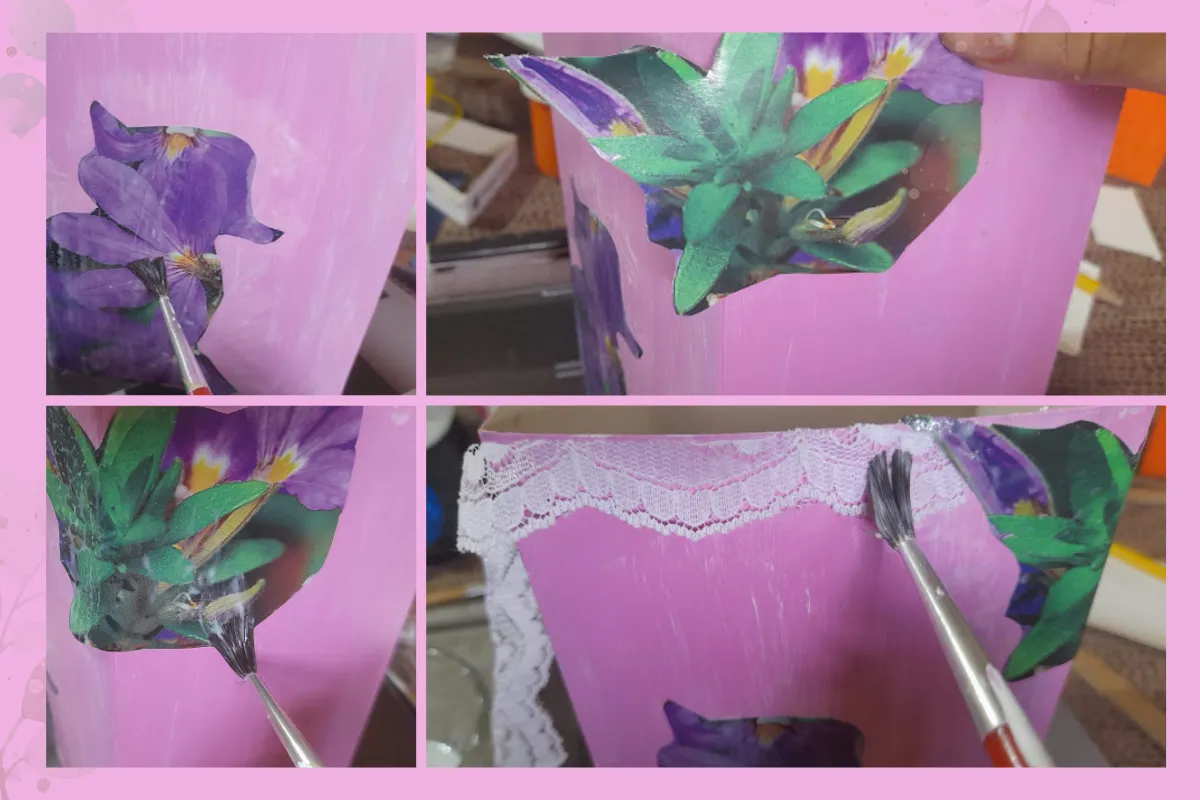
5: Next we take our magazine sheets and proceed to cut out the images that we are going to use to glue to our boxes. To glue them to the box first we put white glue on the back of the image, then we glue it in the selected place, then we put white glue again on top of the image and if we have any air bubble we can remove it with the help of the brush with circular movements until we get it to one of the edges of the image. On the pink box I glued some lace on the top edge of the box, using the same technique as I glued the images to the box and also applied it to the lid of the box. then I repeated the procedures to the other two boxes and let them dry.
Finally I took the wooden beads and glued them to each of the lids of the corresponding boxes.
5: Seguidamente tomamos nuestras hojas de revista y procedemos a recortar las imágenes que vamos a utilizar para pegar a nuestras cajas. Para pegarlas a las caja primero le colocamos pega blanca por la parte de atrás de la imagen, luego la pegamos en el lugar seleccionado, seguidamente le colocamos nuevamente pega blanca por encima de la imagen y si nos queda alguna burbuja de aire la podemos retirar con la ayuda del pincel con movimientos circulares hasta llevarla a uno de los bordes de la imagen. En la caja rosada le pegue un poco de encaje por el borde superior de la caja, utilizando la misa técnica como pegue las imágenes a la caja y así mismo se la aplique a la tapa de la caja. luego repetí los procedimientos a las otras dos cajas y dejamos secar.
Por ultimo tome las cuentas de madera y las pegue a cada una de las tapas de las correspondientes cajas.
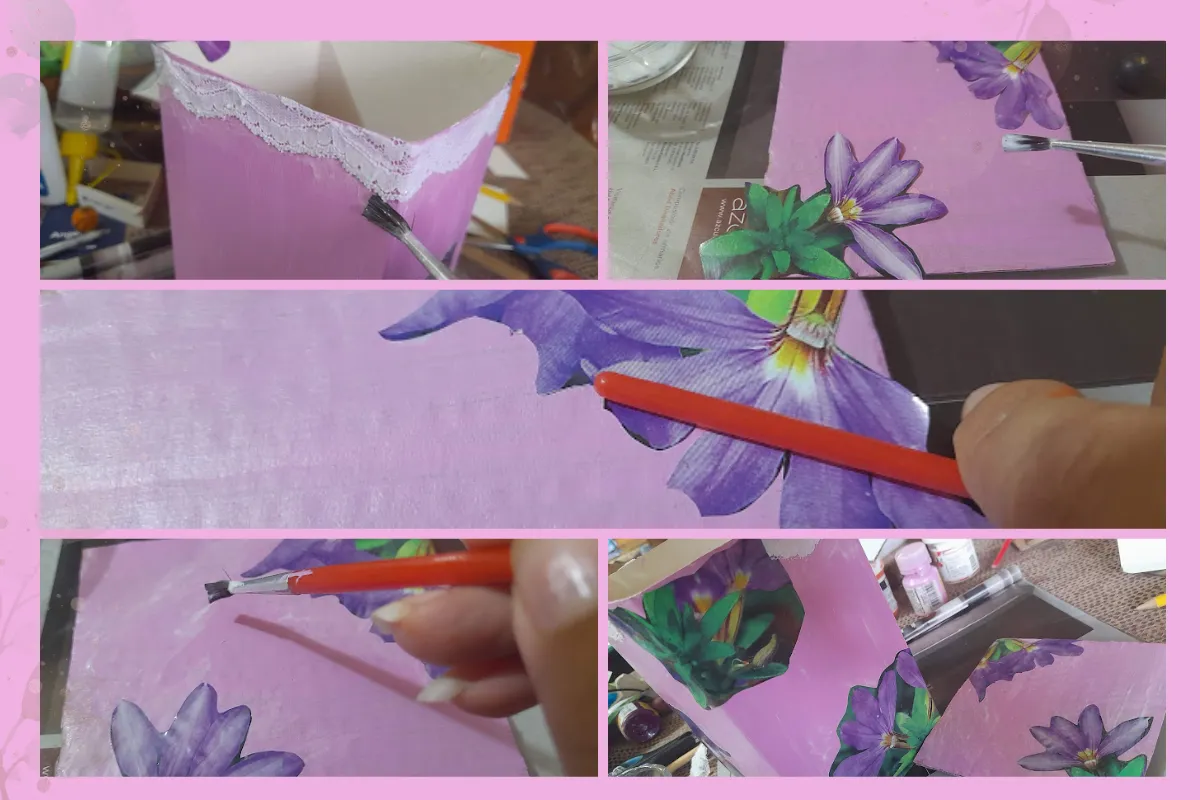
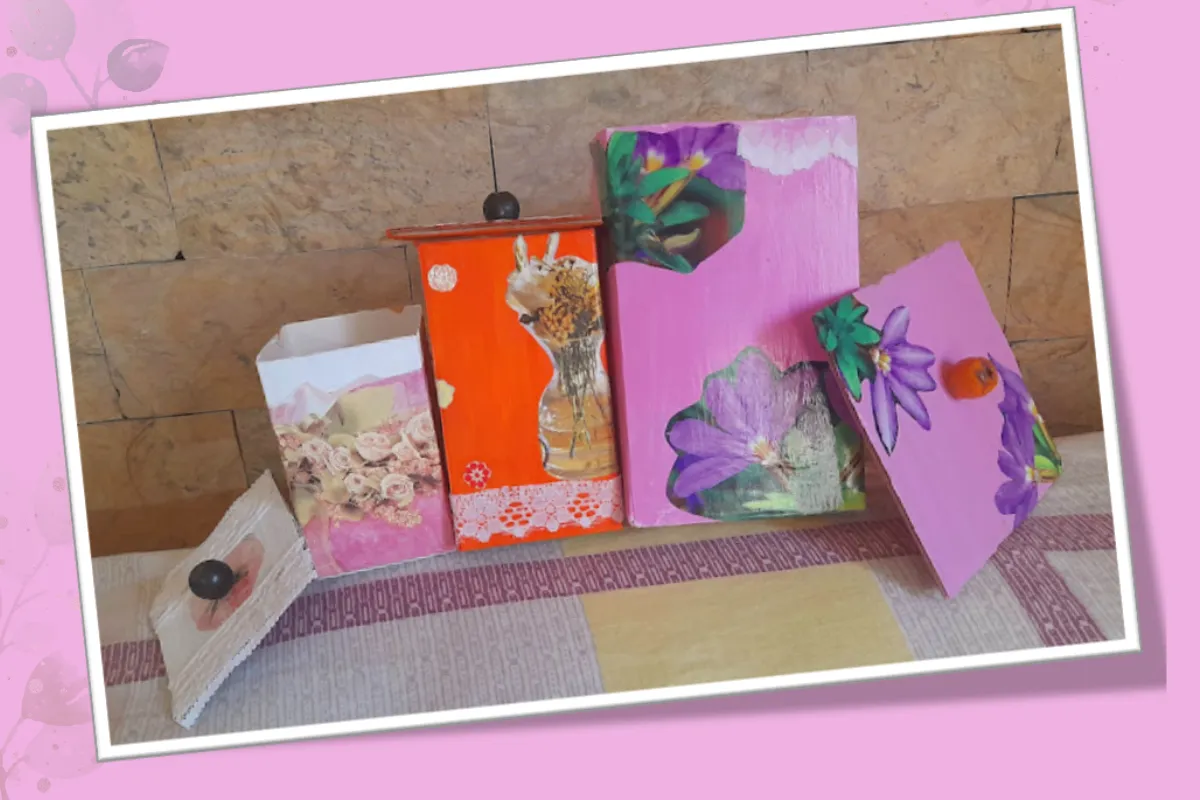
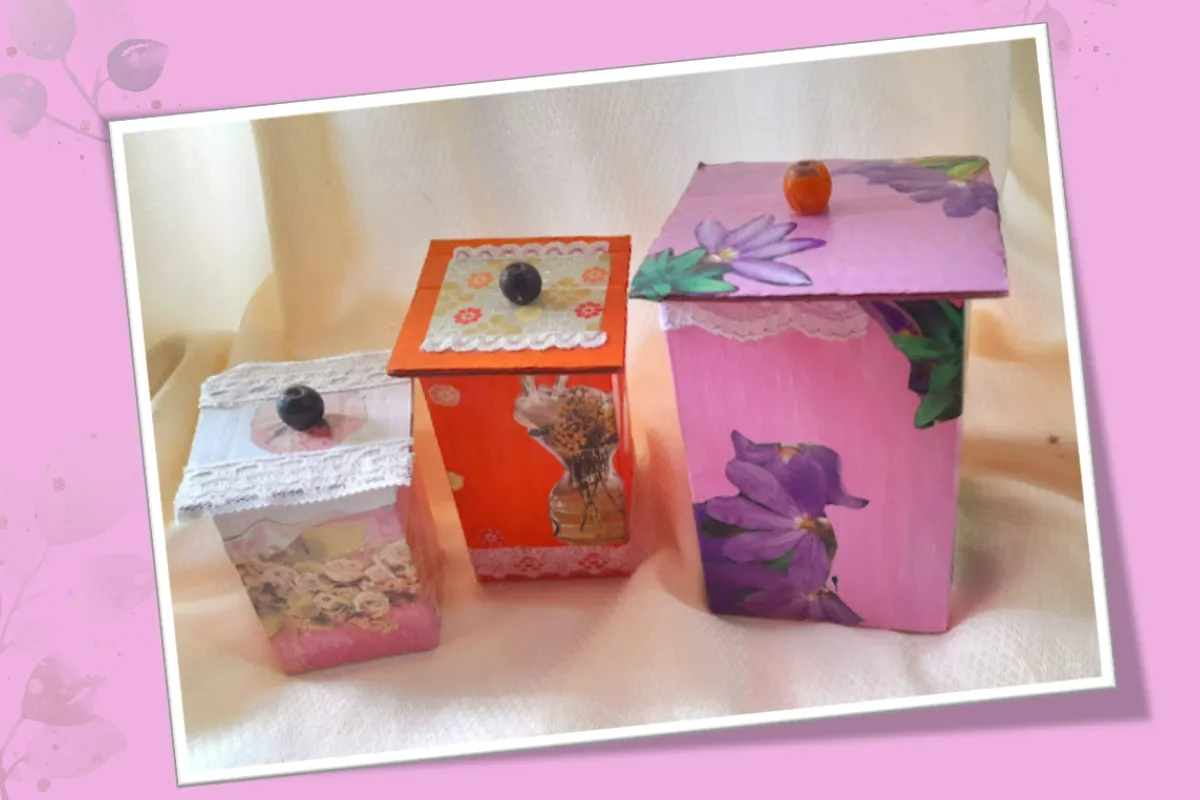
Here is the wonderful result of my Organizer Boxes using decopauge techniques with recycled materials such as cardboard and recycled magazines, I hope you like them and I hope you like them! They are a nice gift idea!
My dear friends, see you in the next contest!
Listo, este el resultado maravilloso de mis Cajas Organizadoras utilizando las técnicas decopauge acompañada de materiales de reciclaje como el cartón y las revistas recicladas.¡Espero les sea de su agrado y les gusten!. Son una idea linda para regalar!
¡Mis queridas Amigas hasta un próximo concurso!
Portada y plantillas elaboradas en canva
Fuente Separador


The photographs were taken with a Samsung A12 smartphone, the text was translated into English with the Google translator.link
The banner was designed on canvas link
Las fotografías fueron tomadas con un teléfono inteligente Samsung A12, el texto fue traducido al ingles con el traductor de Google.link
El banner fue diseñado en canvas link