
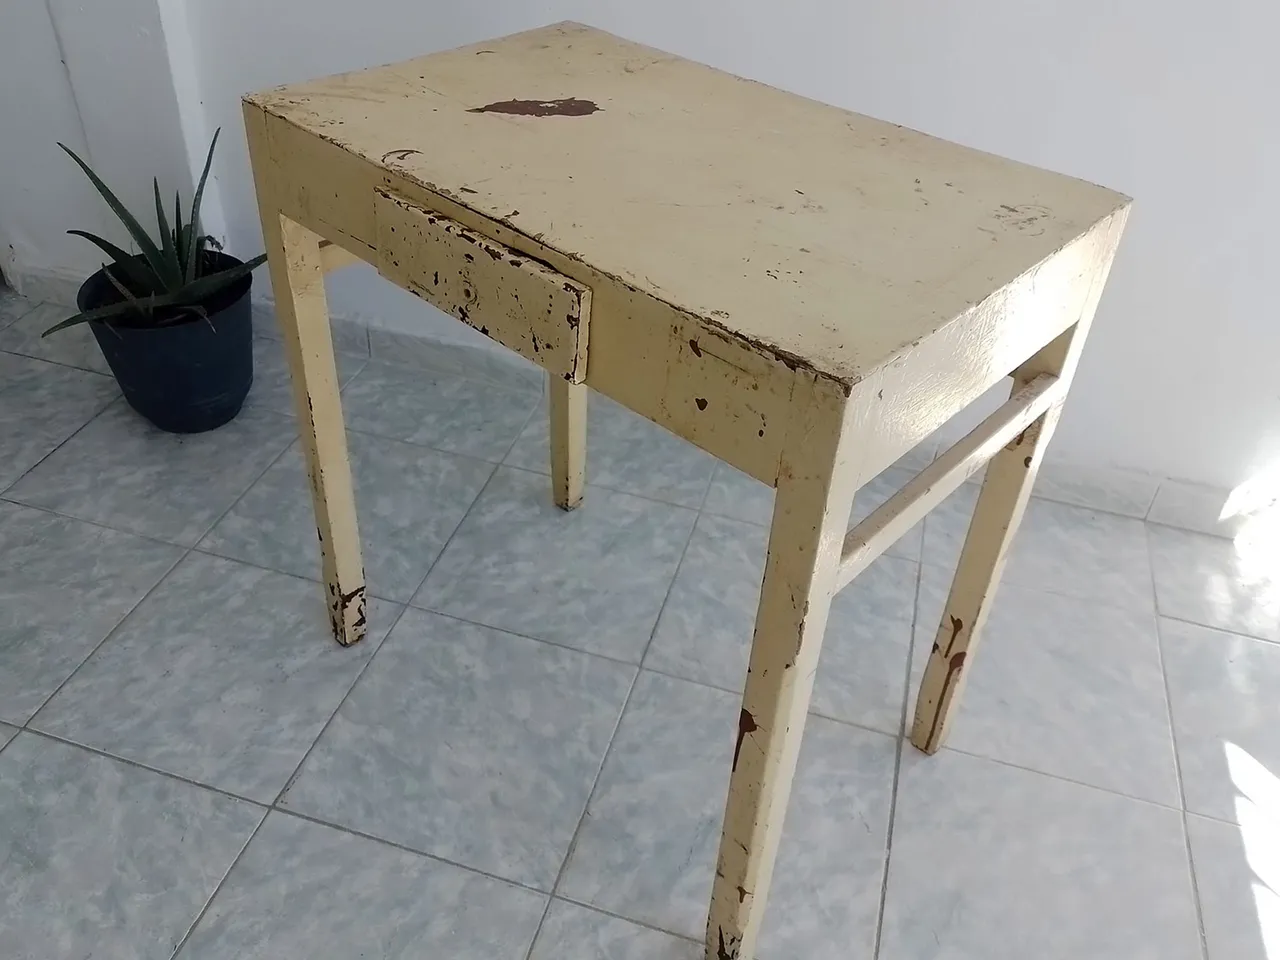
Relatively recently my mom gave me this small wooden table. It is an older table than I am, as it is over 30 years old and I am only 29.
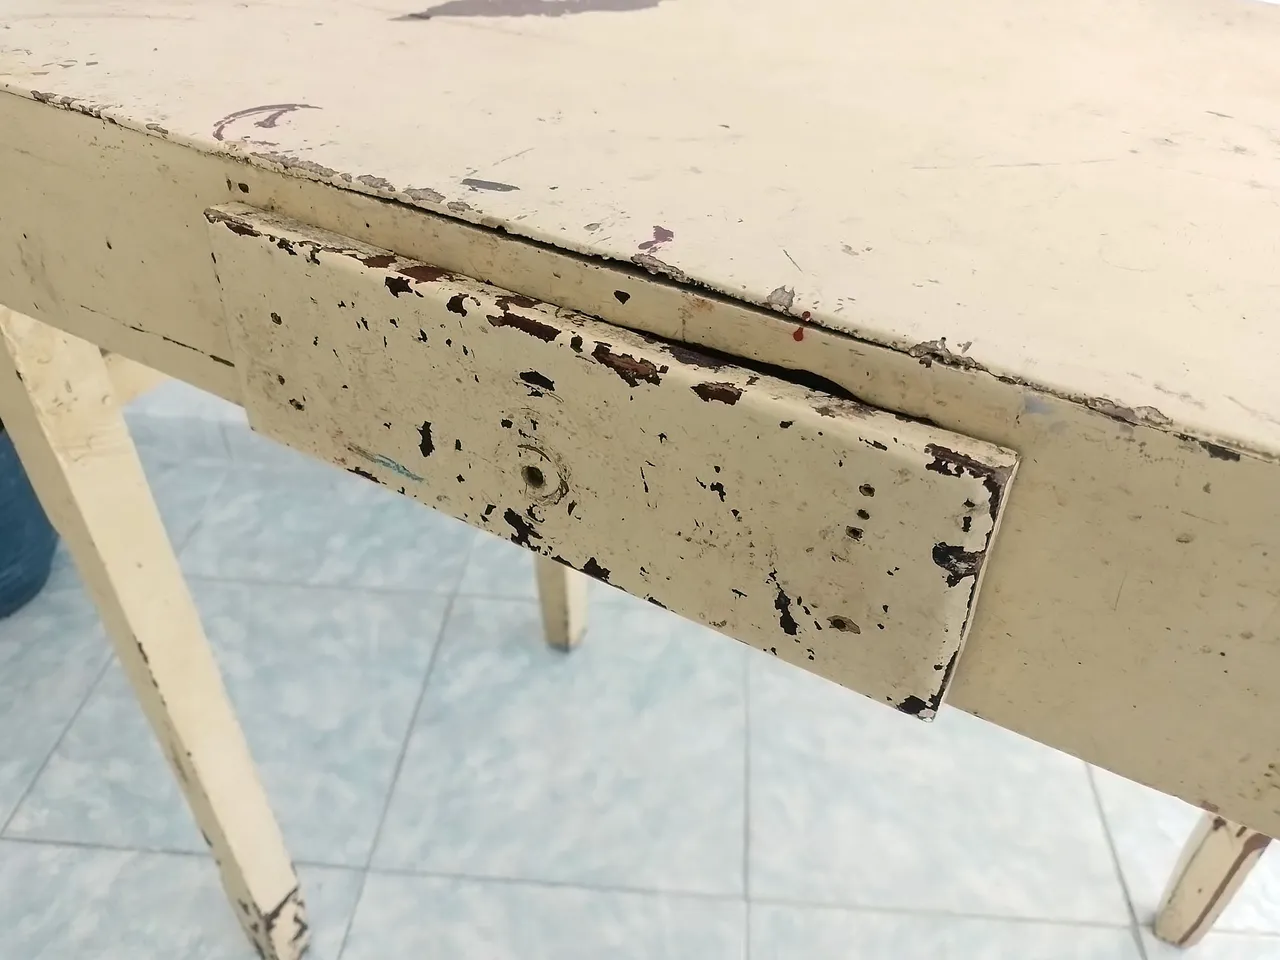
As you can see, it is quite worn and has had many coats of paint applied over it.

Desde hace relativamente poco mi mamá me regaló esta pequeña mesa de madera. Es una mesa más vieja que yo, pues tiene más de 30 años y yo apenas tengo 29.
Como pueden ver, está bastante gastada y se le han aplicado muchas capas de pintura encima.
 |  |
|---|
I thought about restoring it, painting it again, but I was looking at the wood of the table and then I said to myself "Why not take the old paint off and leave it like that?"
Certainly the natural wood is very nice, especially this one which has a very nice brown color, an almost reddish brown. However, it had many layers of paint on it so I reached for my tools to begin the restoration.
Pensé en restaurarla, pintándola otra vez, pero estuve viendo la madera de la mesa y entonces me dije "¿Por qué no quitarle la pintura vieja y dejarla así?"
Ciertamente la madera al natural es muy bonita, sobre todo esta que tiene un color marrón muy bonito, un marrón casi rojizo. Sin embargo, tenía muchas capas de pintura así que busqué mis herramientas para comenzar la restauración.

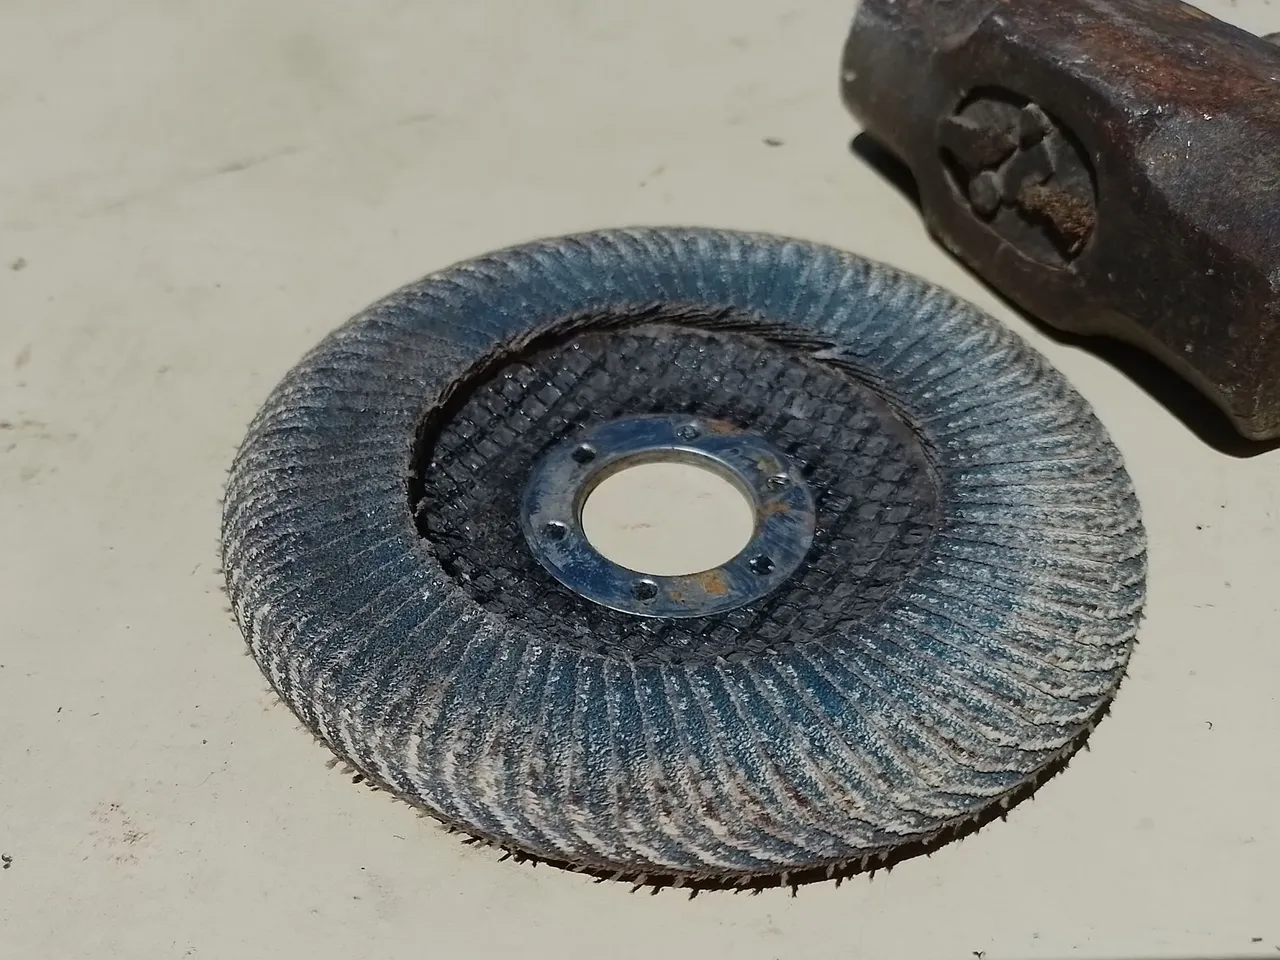
Using sandpaper to remove the paint from the table would be a really difficult job to complete, so I decided to use the grinder with a laminated disc, which is useful for removing paint or filing a knife.
For this purpose that disc will do the trick, but there is also safety to consider, so I also put on my glasses before continuing the work.
Usando papel de lija para quitar la pintura de la mesa sería un trabajo realmente difícil de completar, así que me decidí por usar el esmeril con un disco laminado, el cual es útil para retirar pintura o limar un cuchillo.
Para este propósito ese disco servirá, pero también hay que tener en cuenta la seguridad, así que también me puse mis lentes antes de continuar el trabajo.
 |  |
|---|
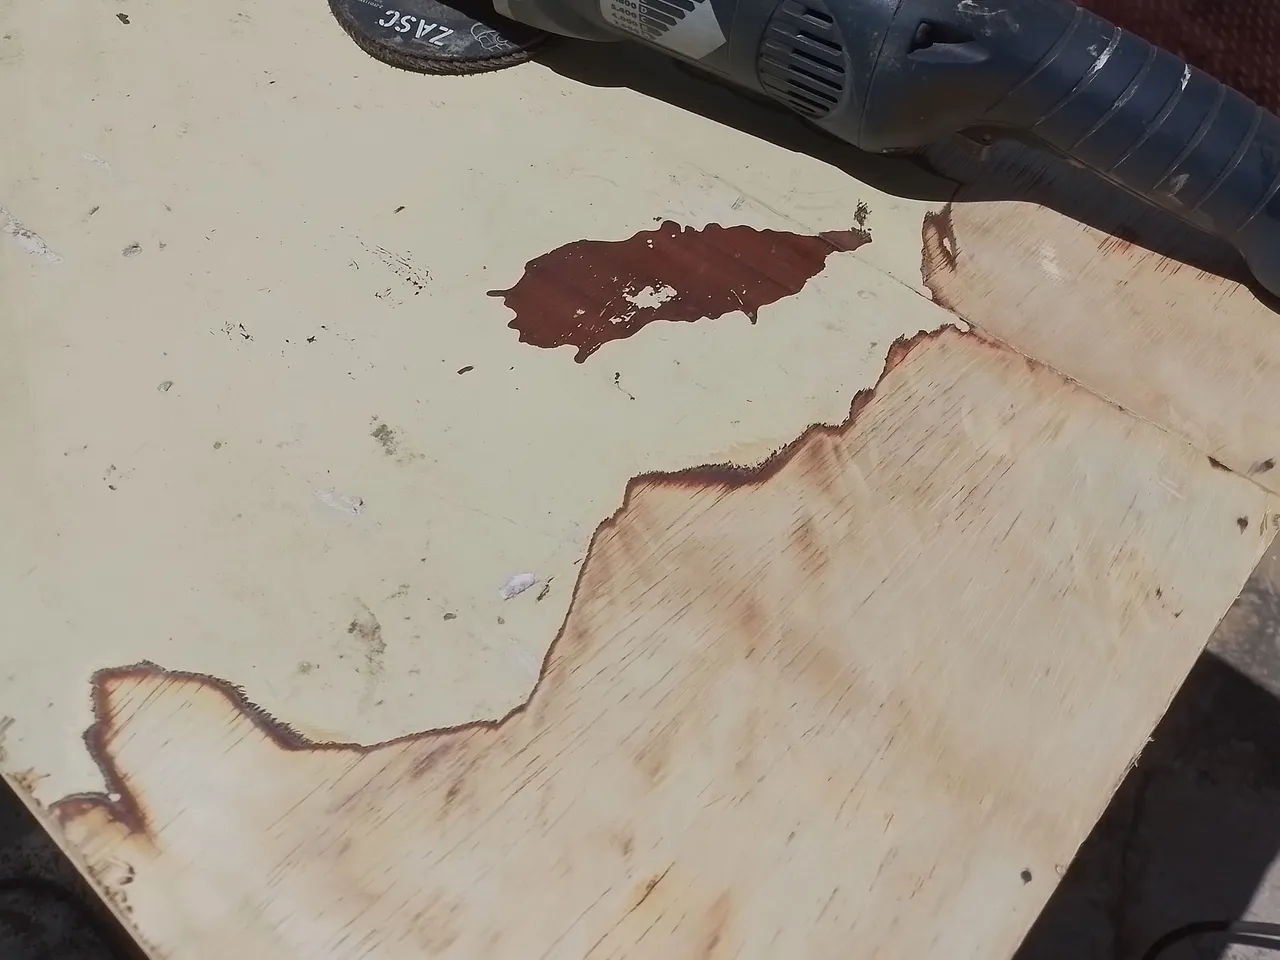
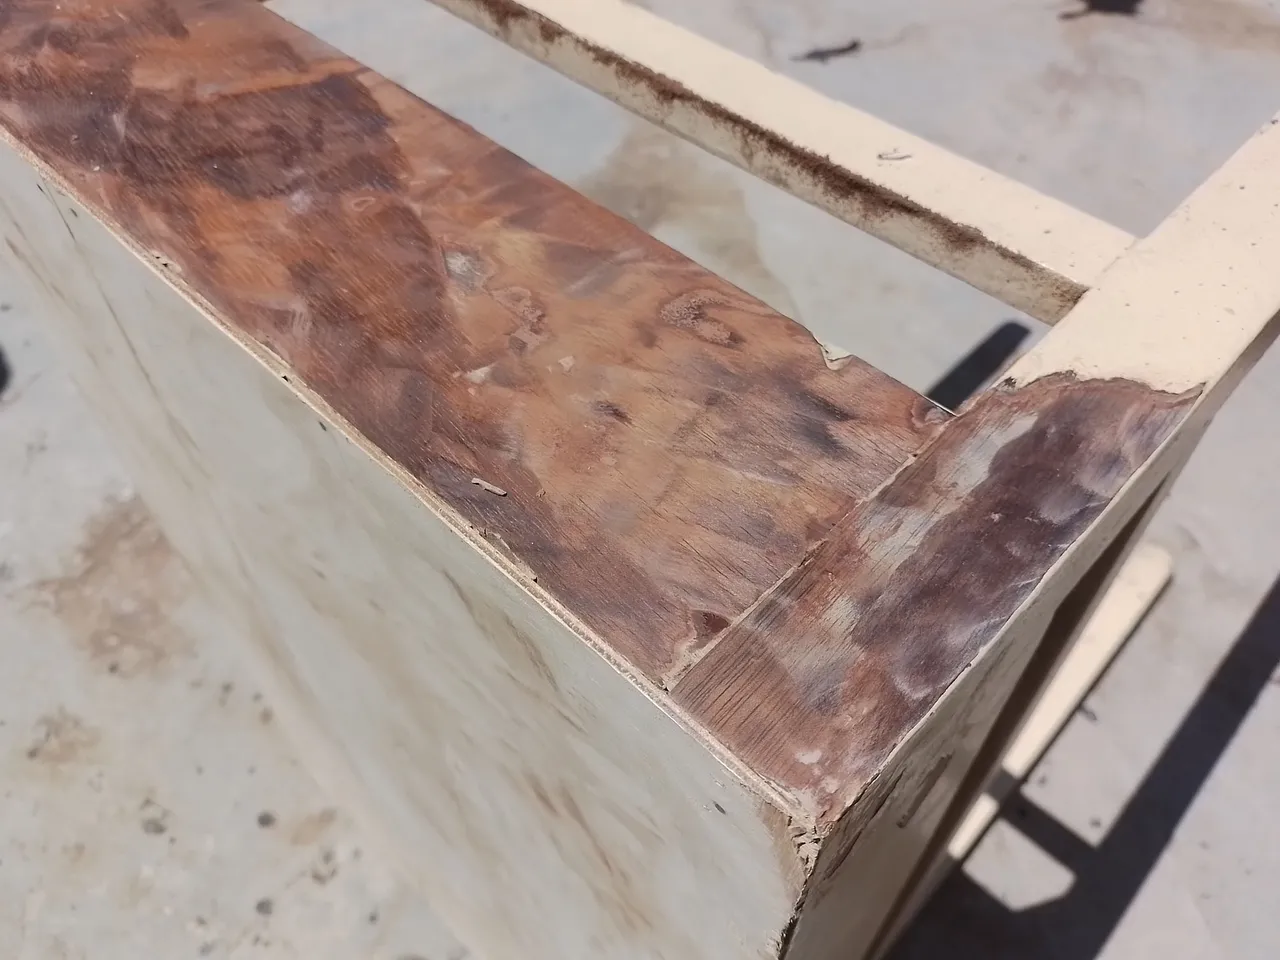
That was how I began to remove the thick layer of paint that the wood had.
As I passed the disk over each layer of paint I could see that it had many layers of different colors, the last one being a rather worn mahogany color. After removing that last color, the wood was exposed.
The wood on the top of the table was light, while the wood on the legs and sides were a little darker.
Así fue como comencé a retirar la gruesa capa de pintura que tenía la madera.
Al pasar el disco sobre cada capa de pintura pude observar que tenía muchas capas de distintos colores, siendo la última un color caoba bastante gastado. Tras retirar ese último color quedó descubierta la madera.
La madera de la parte superior de la mesa era clara, mientras que la madera de las patas y los laterales eran un poco más oscuros.
 |  |
|---|
After removing the paint and exposing the wood, I took a small piece of fine sandpaper to give the final finishing touches to the edges of the table, so that everything would be smooth.
Después de retirarle la pintura y dejar al descubierto la madera, tomé un pequeño trozo de papel de lijar bastante fino, para darle los últimos acabados a los bordes de la mesa, para que quedara todo suave.
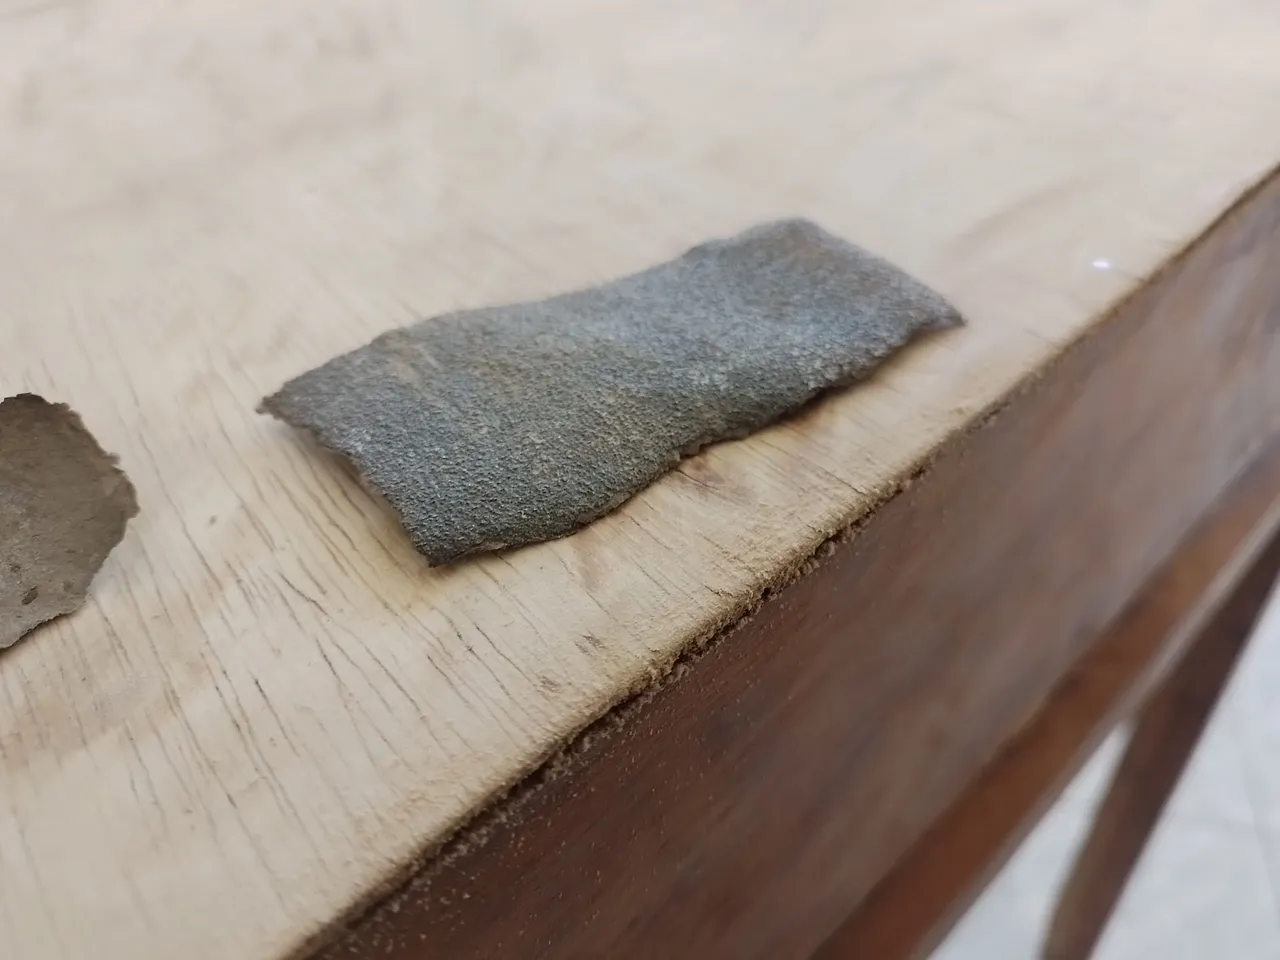
On the other hand, I removed the remaining layers of paint that I could not remove with the emery disk. Here I used the same sandpaper I showed you above.
It was much more difficult than with the disc, but as I told you the emery disc could not reach those areas.
Por otra parte, retiré las capas restantes de pintura que no pude retirar con el disco del esmeril. Aquí usé el mismo papel de lija que les mostré arriba.
Fue mucho más difícil que con el disco, pero como les dije el disco del esmeril no llegaba a esas áreas.
 |  |
|---|
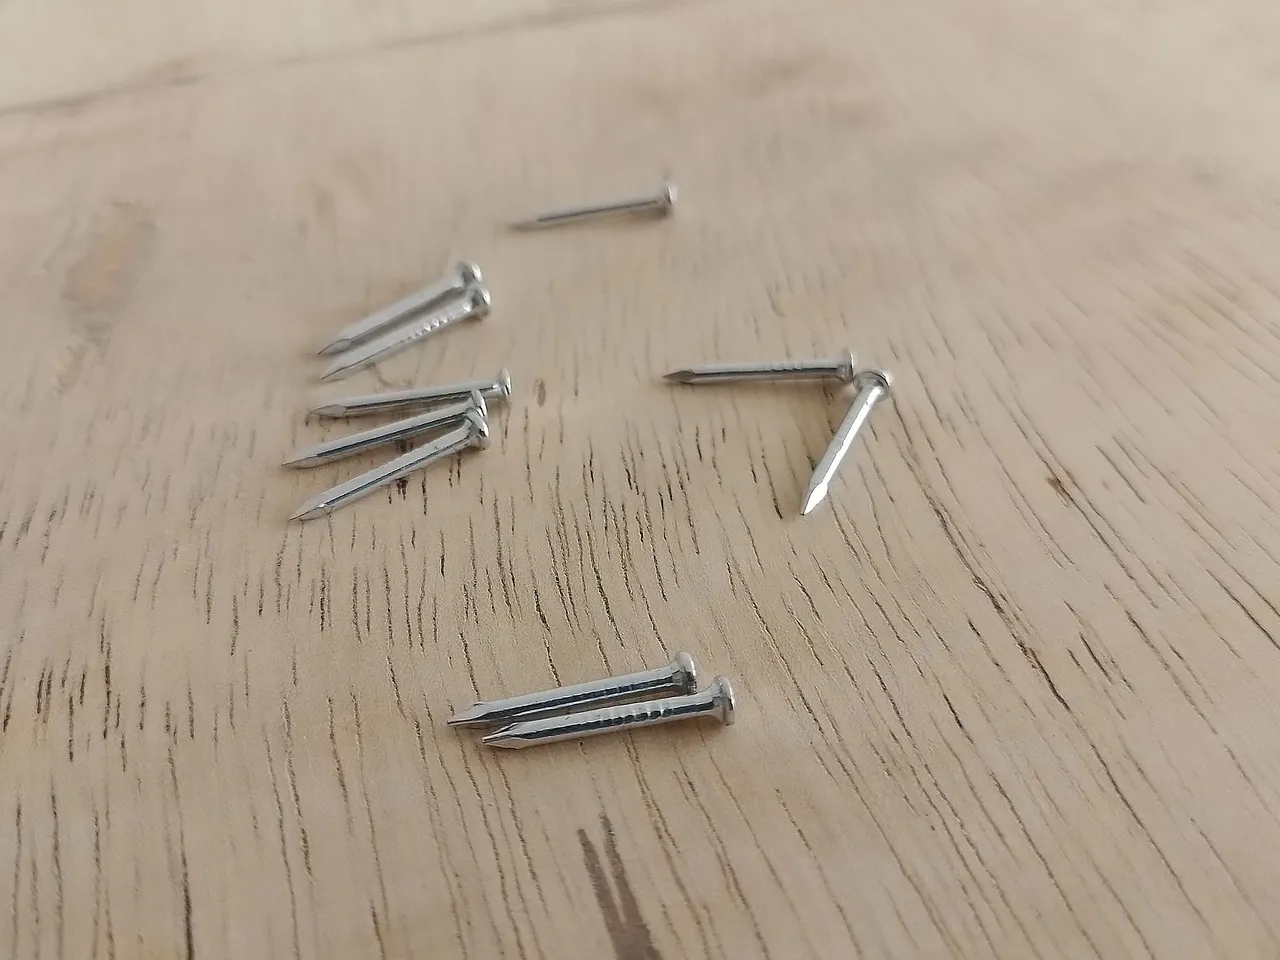
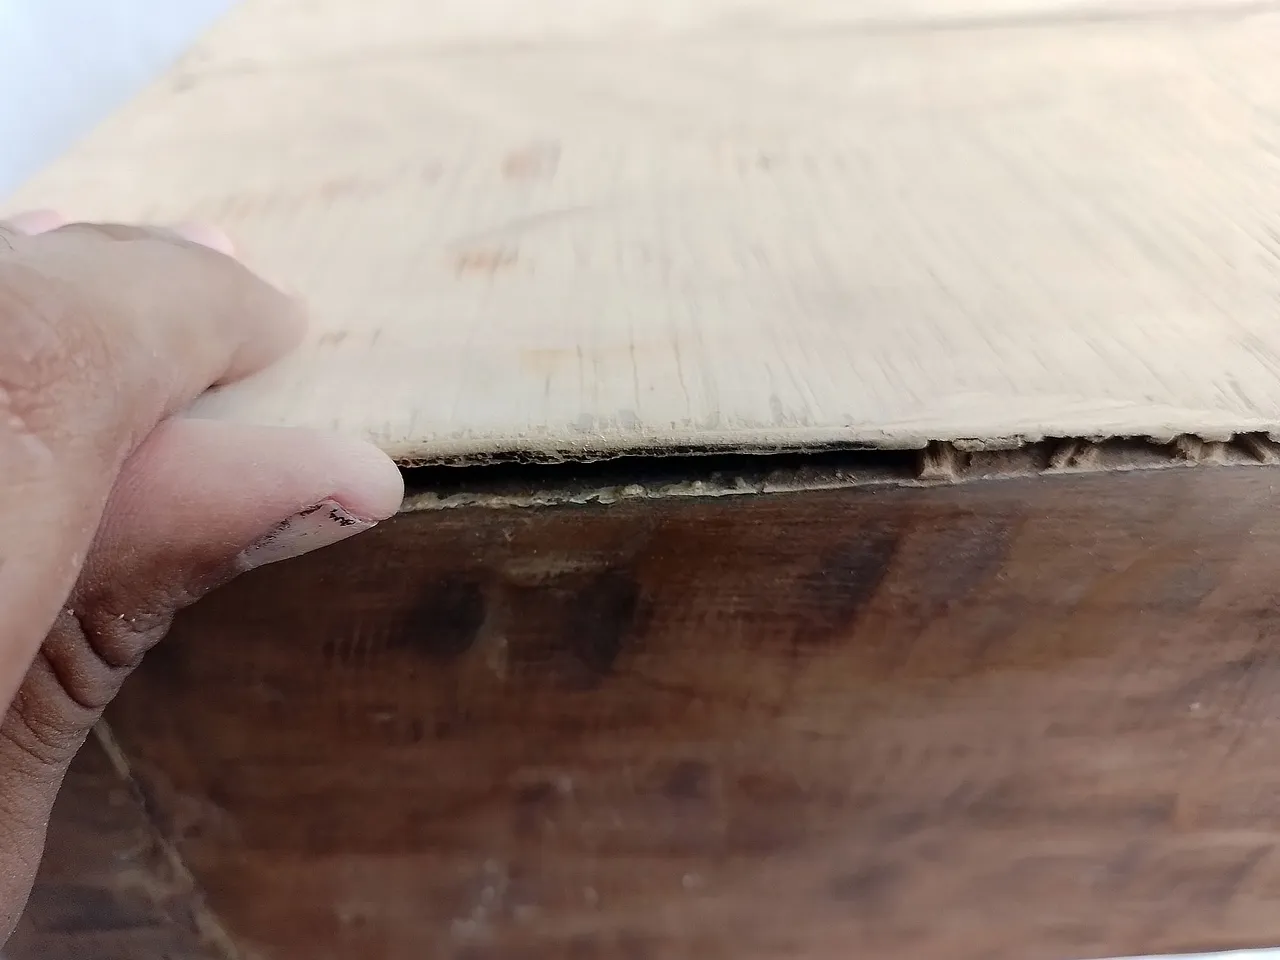
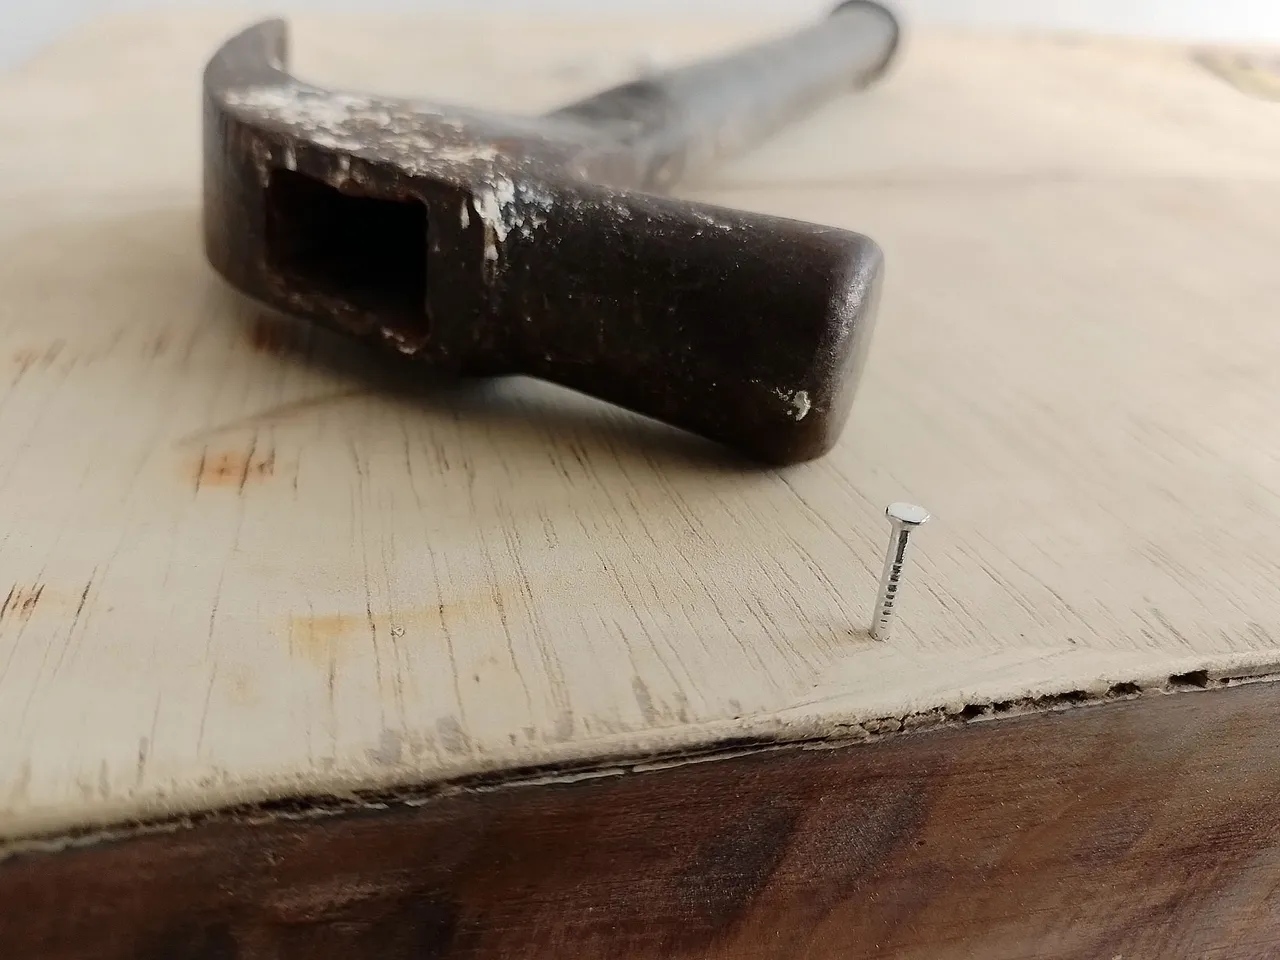
After filing the surface of the table and getting everything smooth, I noticed that the table top cover was a little loose in some areas, so I looked for a few nails to secure this veneer well on the wood.
Después limar la superficie de la mesa y dejar todo suave, me di cuenta que la cubierta superior de la mesa estaba un poco suelta en algunas áreas, así que busque unos cuántos clavos para fijar bien esta chapa de madera sobre la madera.
 |  |
|---|
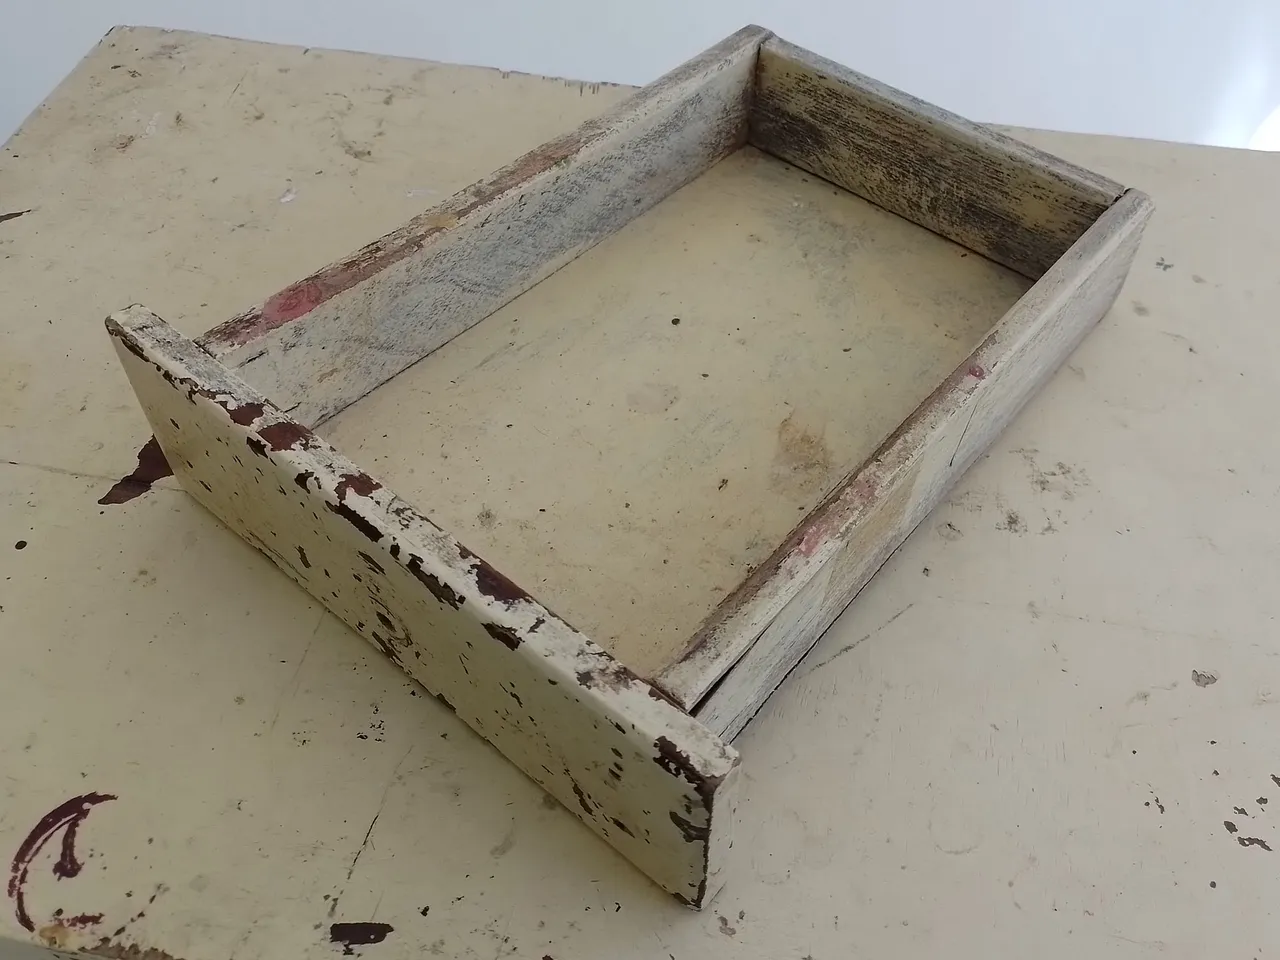
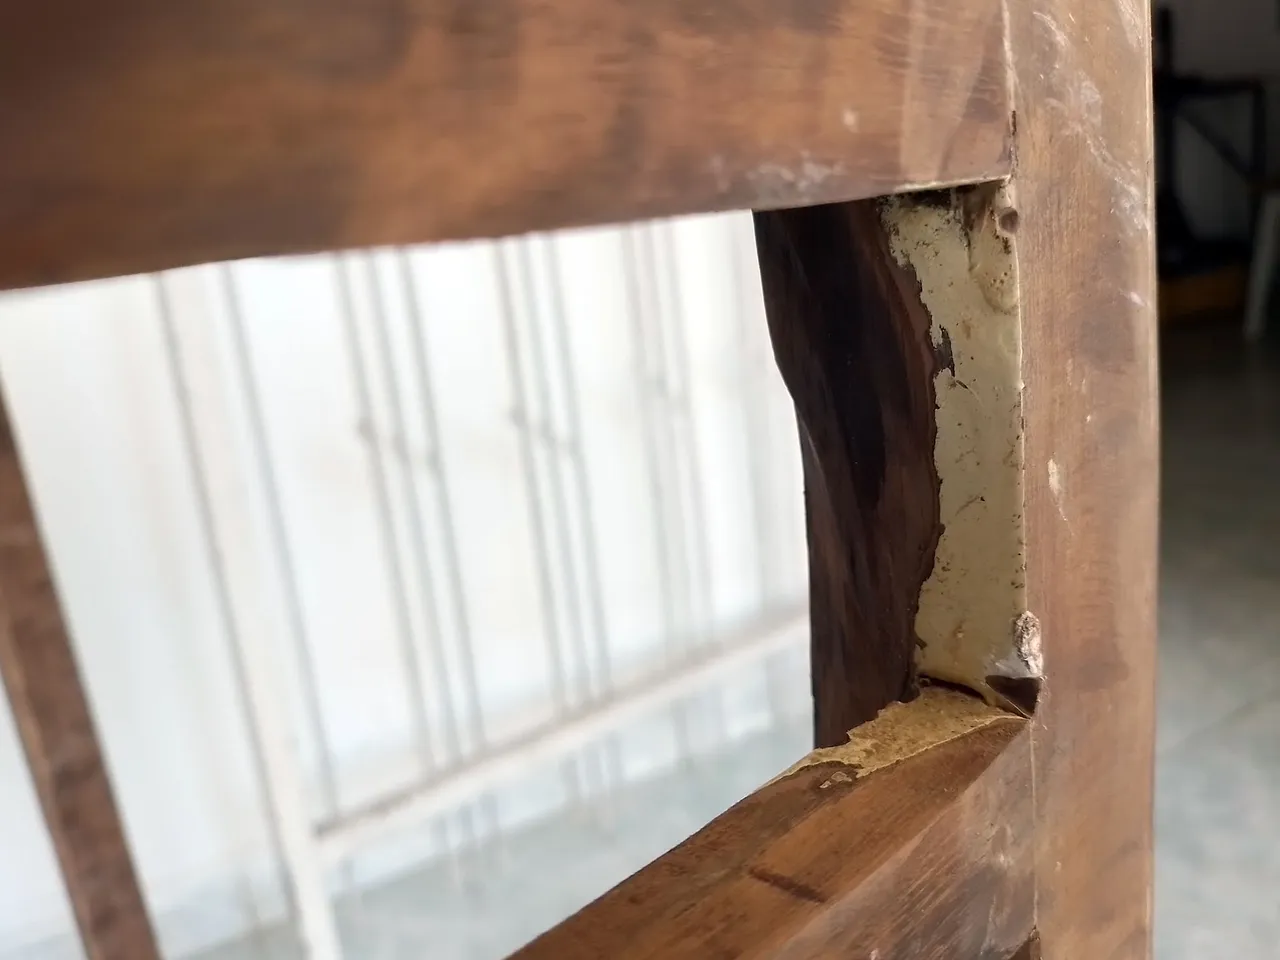
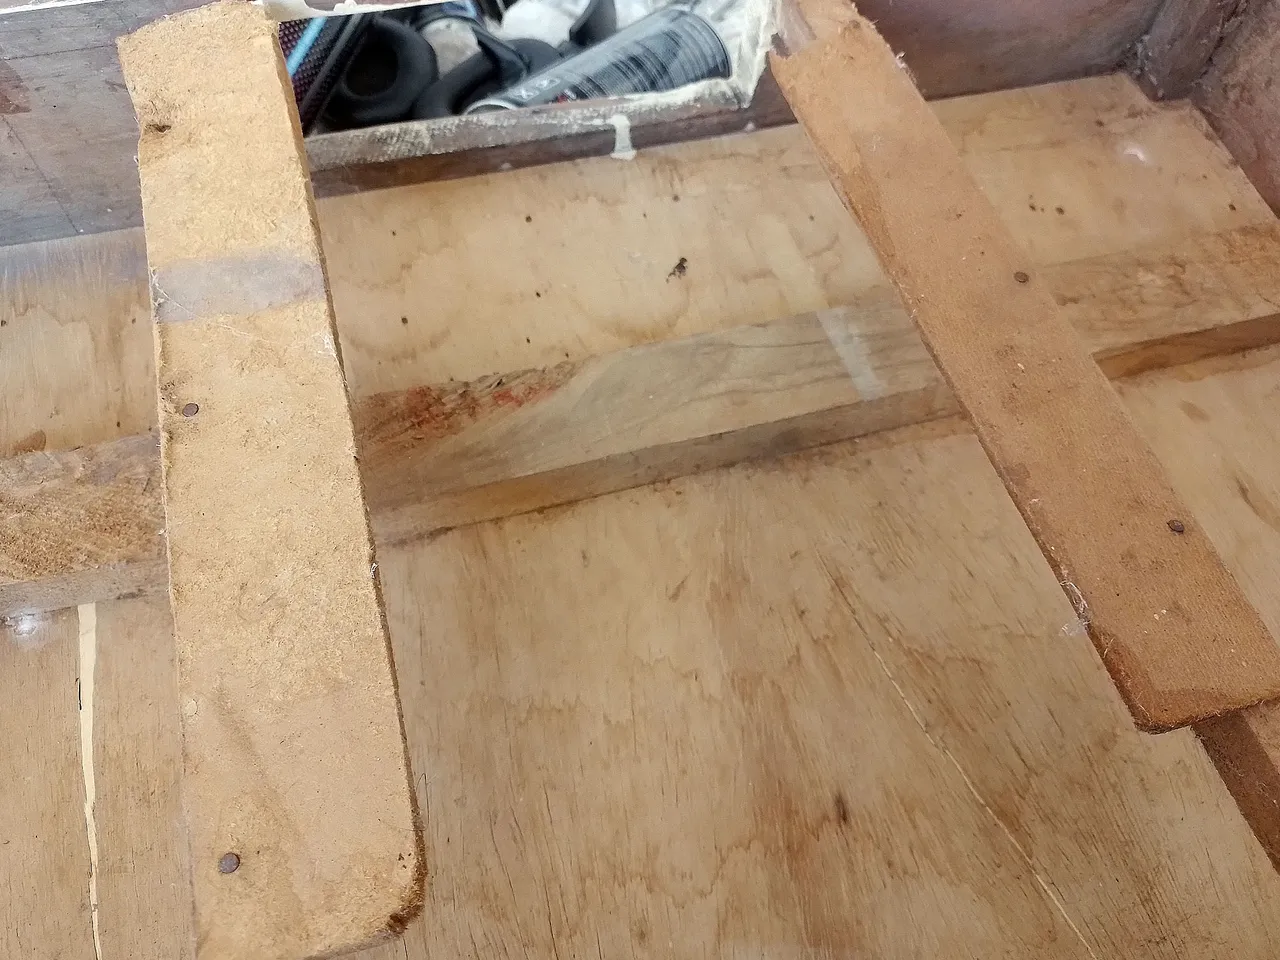
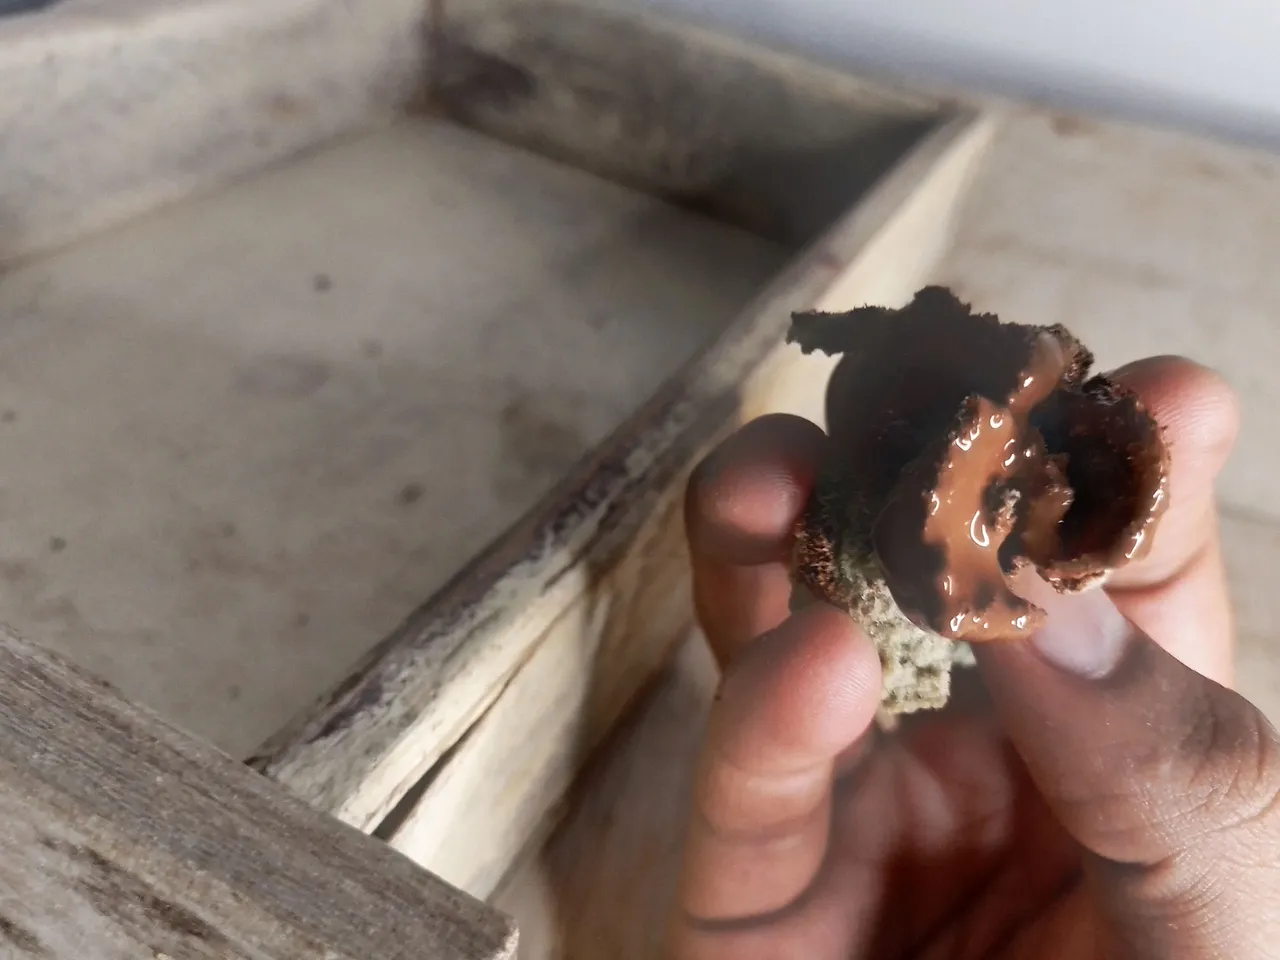
On the other hand, at the bottom of the table were the drawer supports.
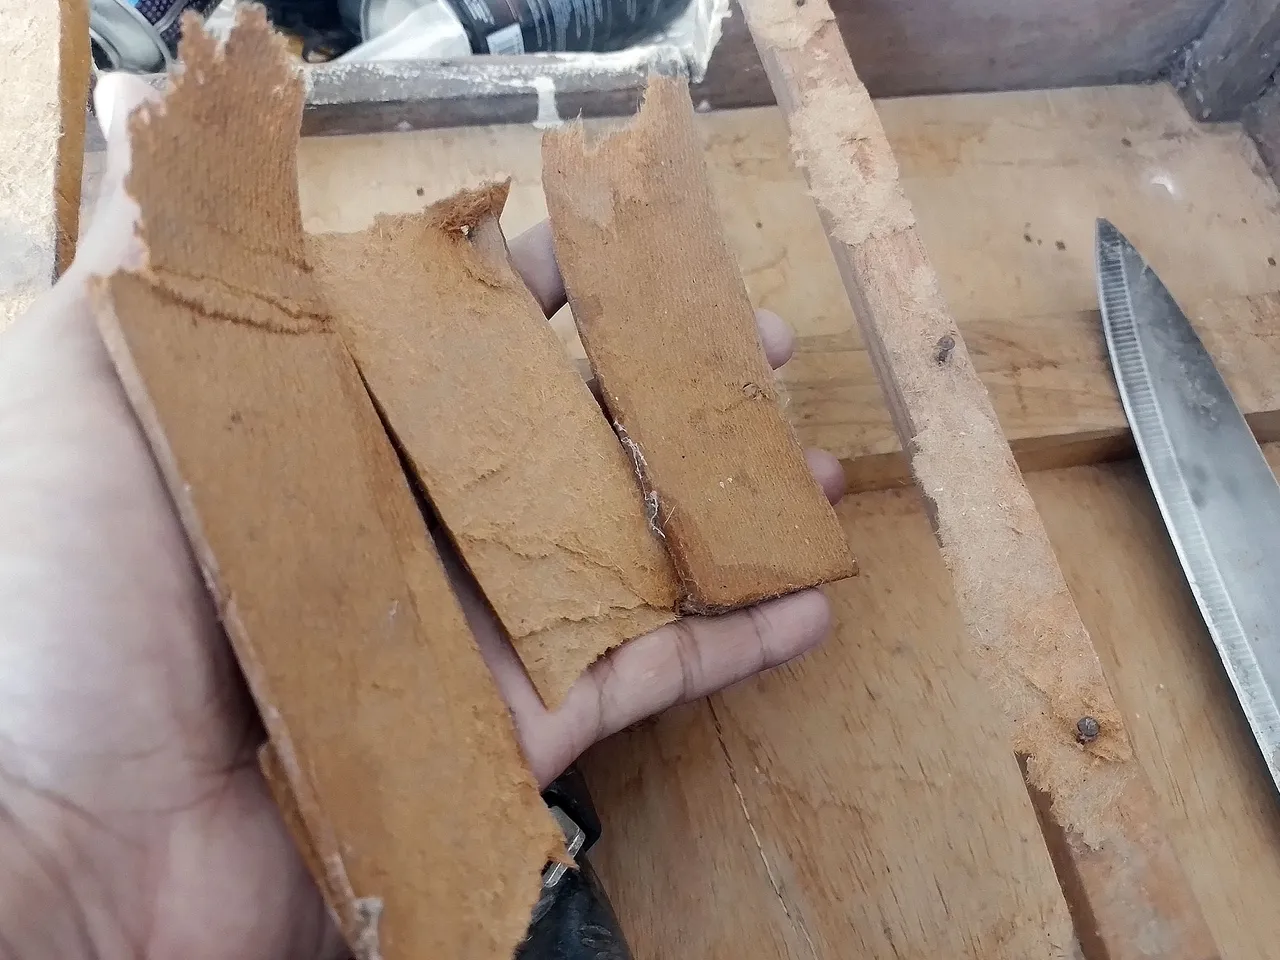
I noticed that these supports were made of a material almost like cardboard. In fact, when I pulled the material it broke and stayed in my hands, as I said, as if it were cardboard.
Por otro lado, en la parte inferior de la mesa estaban los soportes de la gaveta.
Me di cuenta que estos soportes estaban hechos de un material casi que de cartón. De hecho, al tirar del material este se rompió y se quedó en mis manos, tal como dije, como si fuese cartón.
 |  |
|---|
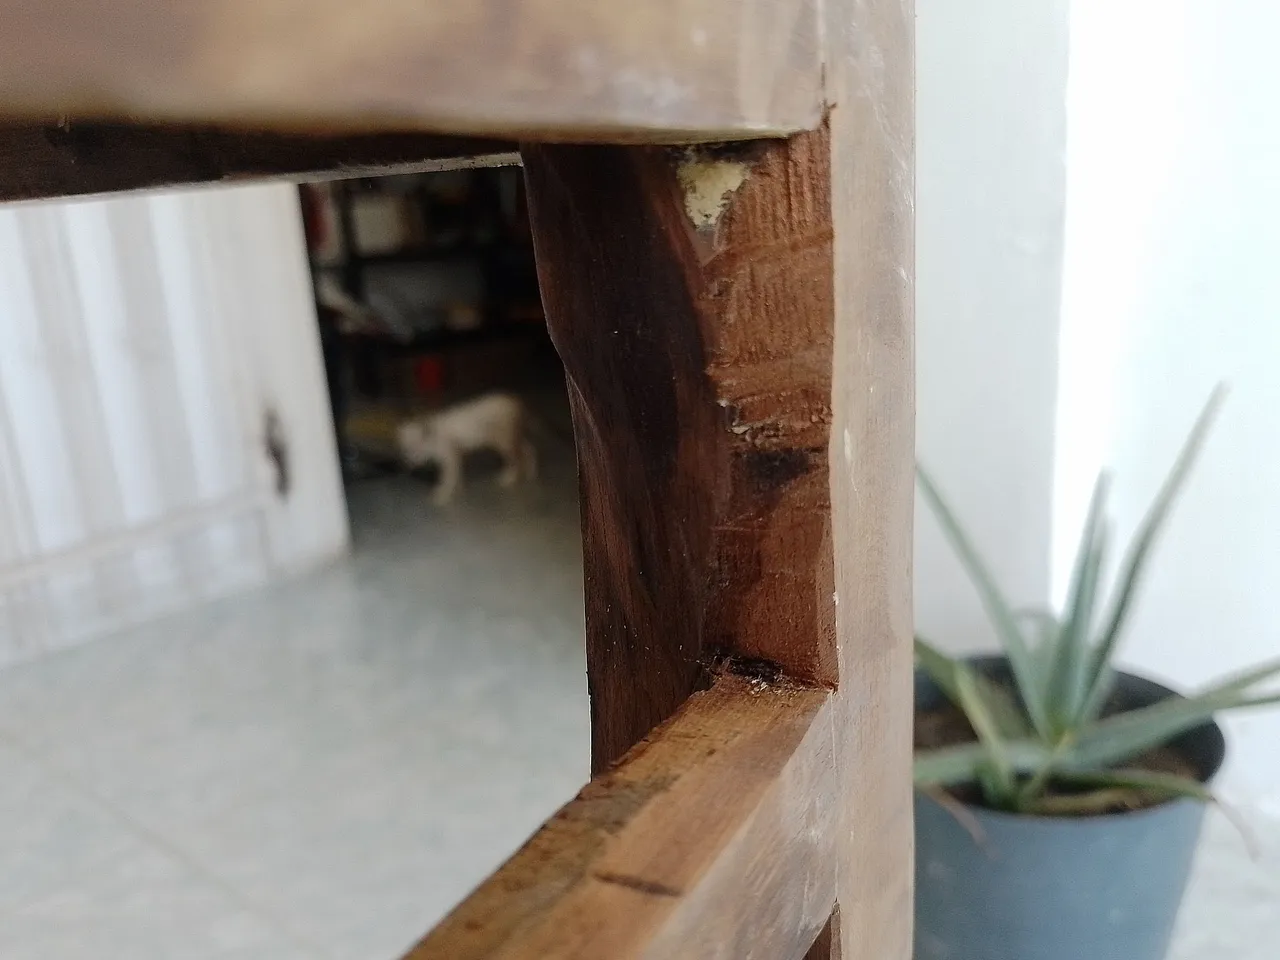
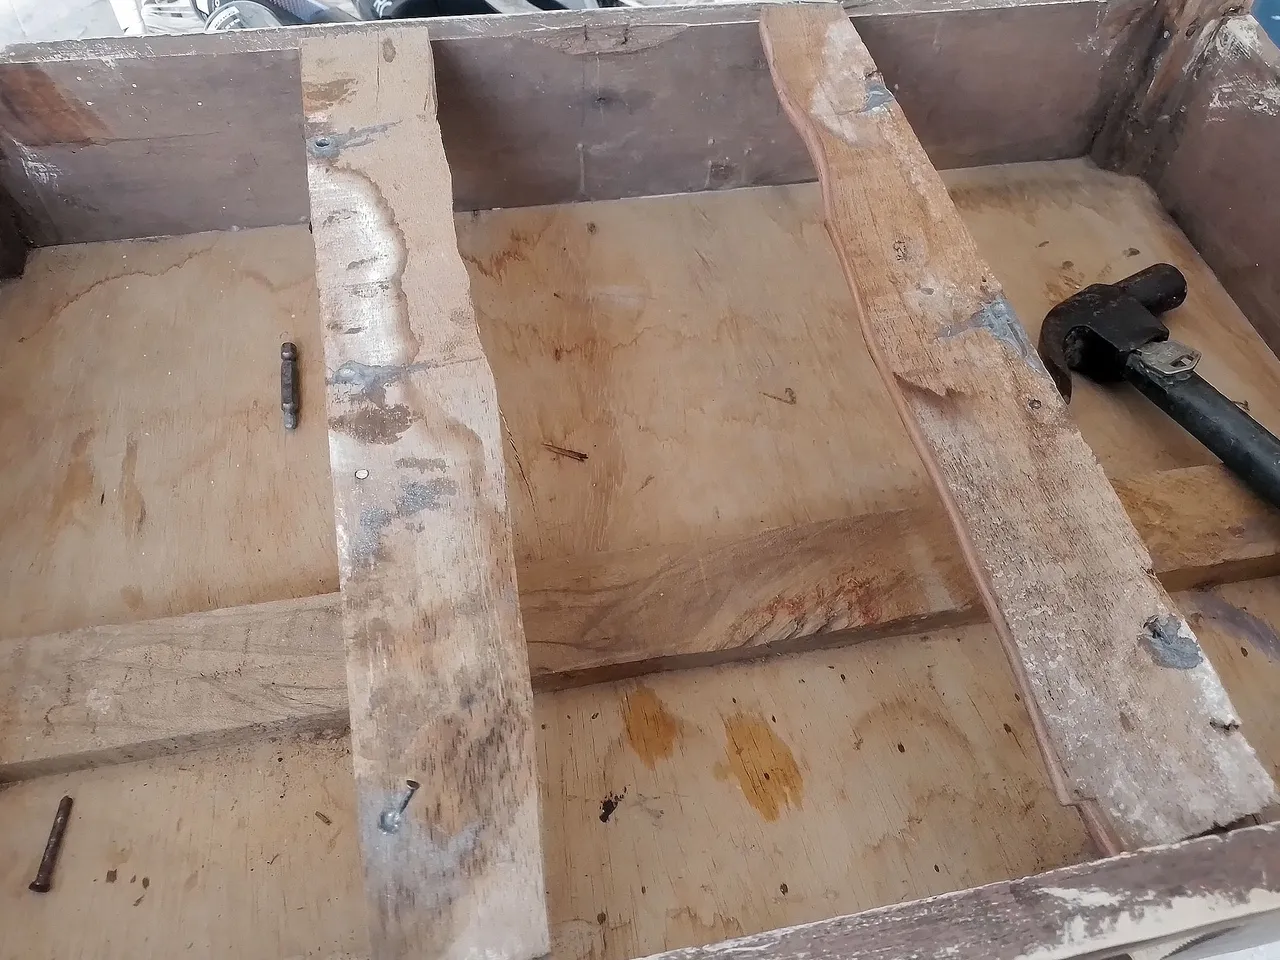
I removed it completely and cut two pieces of sturdier wood, to attach them to the small side columns where the other pieces of wood/cardboard were nailed.
Lo retiré por completo y corté dos pedazos de madera más resistente, para fijarlos en las pequeñas columnas laterales en donde estaban clavados los otros trozos de madera/cartón.
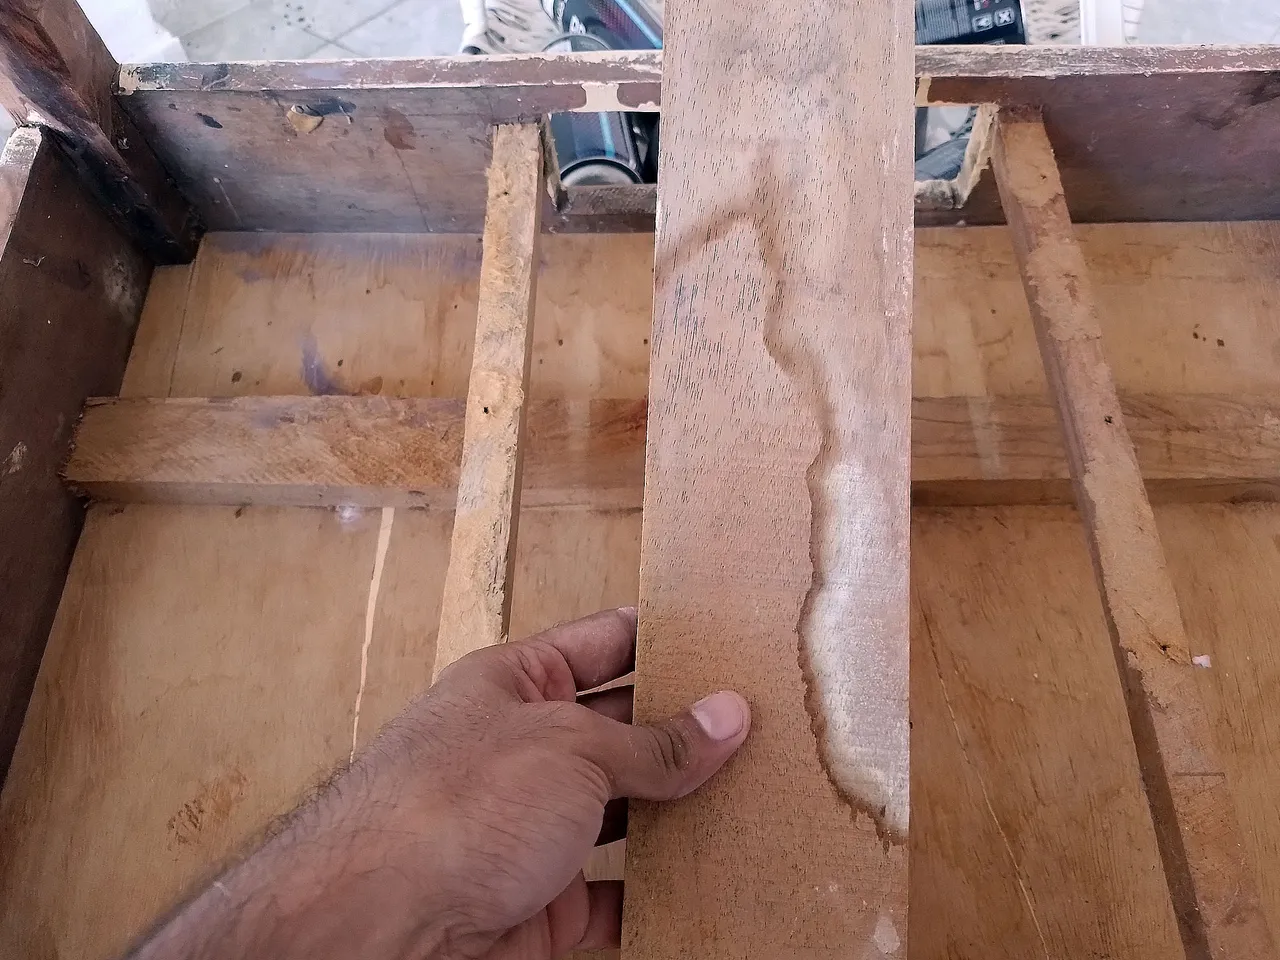
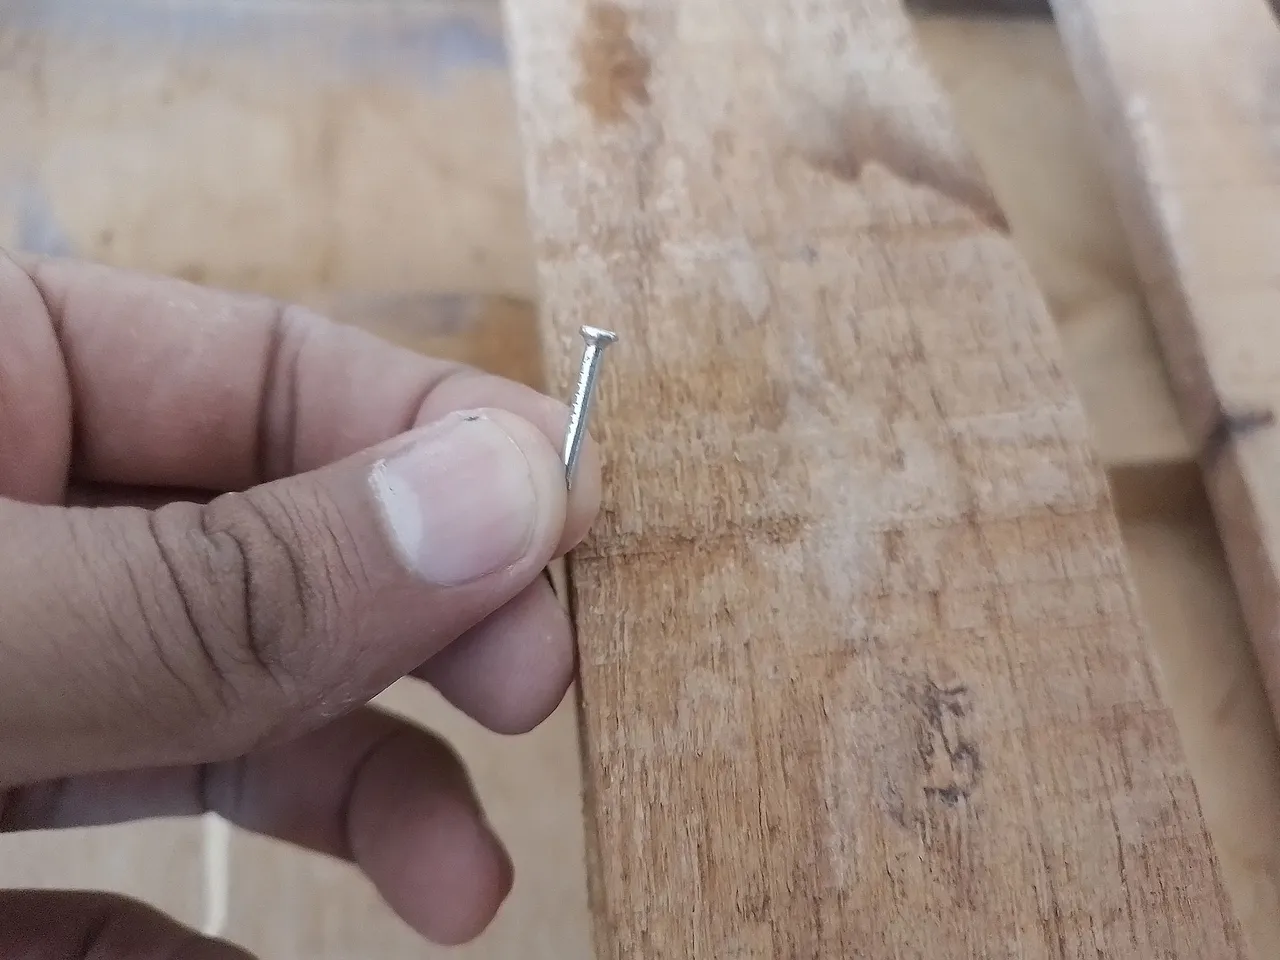
I used the same small nails to attach these pieces of wood, one on each side to hold the little caveta well.
In addition, I used a mixture of plastic steel to cover some holes in the wood.
Usé los mismos clavos pequeños para fijar estos trozos de madera, uno a cada lado para que sostuviera bien a la pequeña caveta.
Además, usé una mezcla de acero plástico para cubrir algunos agujeros que tenía la madera.
 |  |
|---|
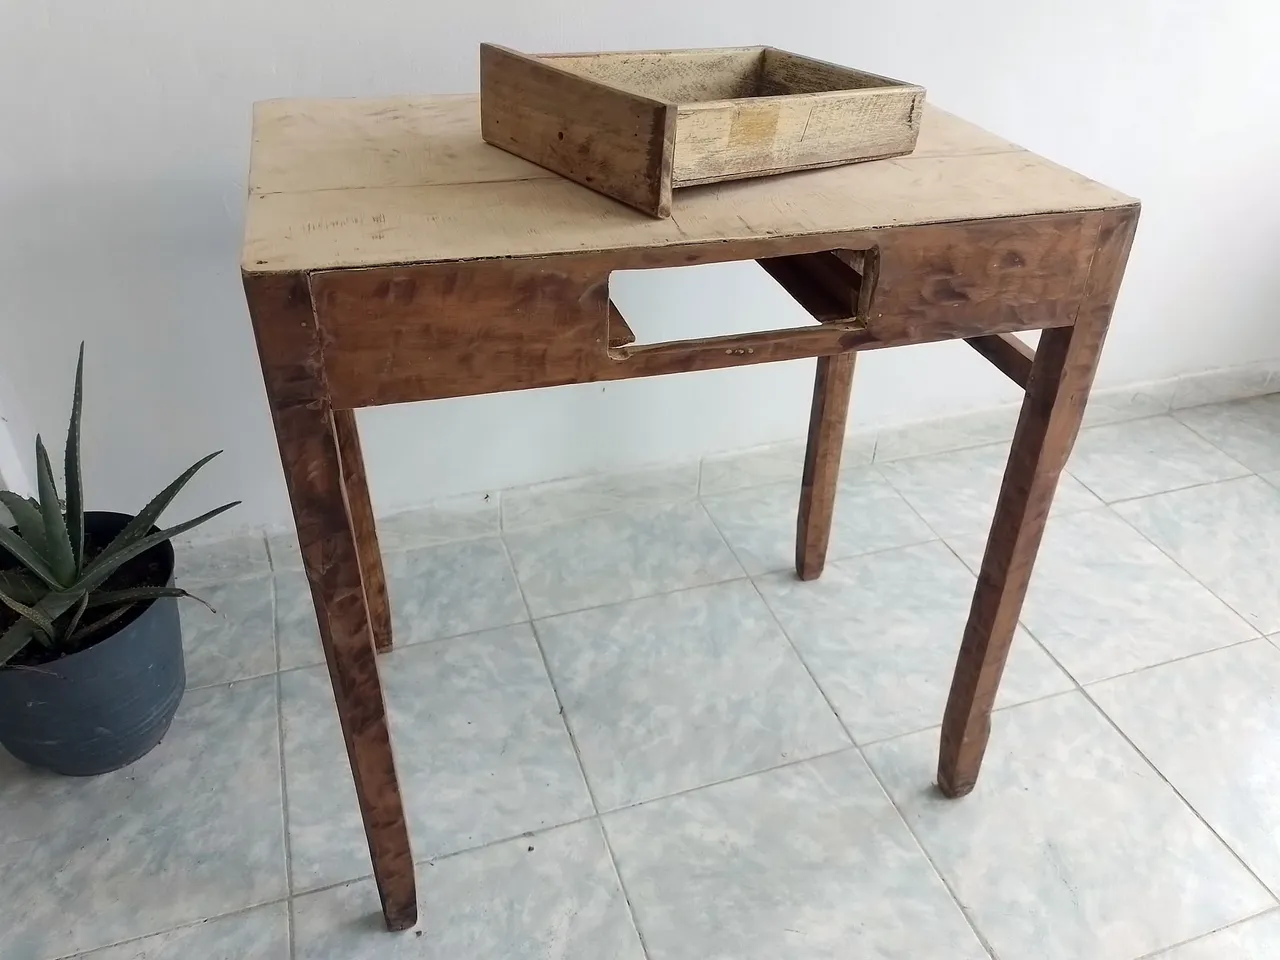
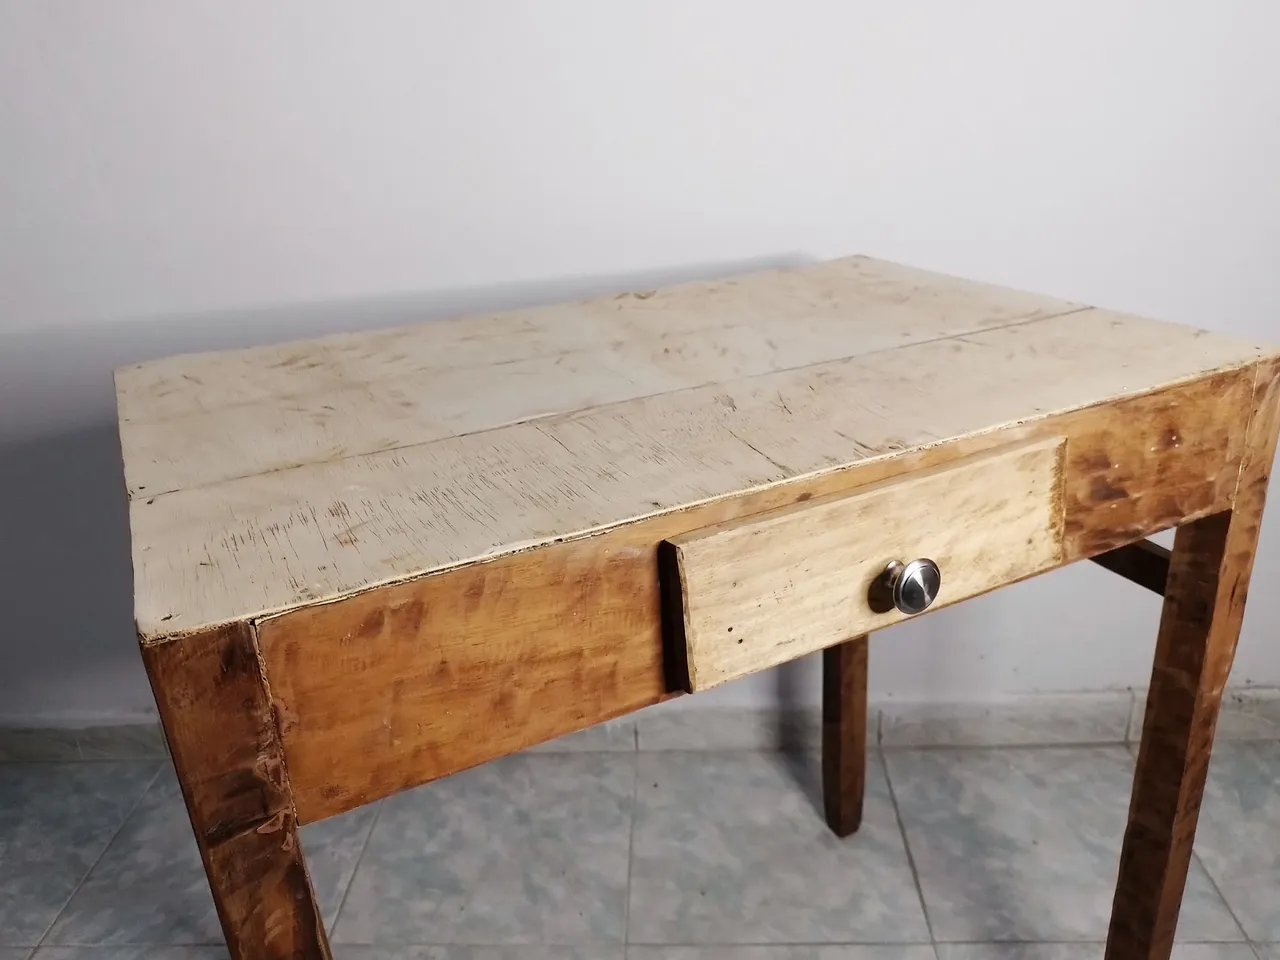
This is how the table was looking after all the restoration processes I have shown so far. It looks very nice with the natural wood, but I haven't done anything to the drawer, so let's continue...
Así estaba quedando la mesa después de todos los procesos de restauración que he mostrado hasta ahora. Se ve muy linda con la madera al natural, pero no he hecho nada a la gaveta, así que vamos a continuar...
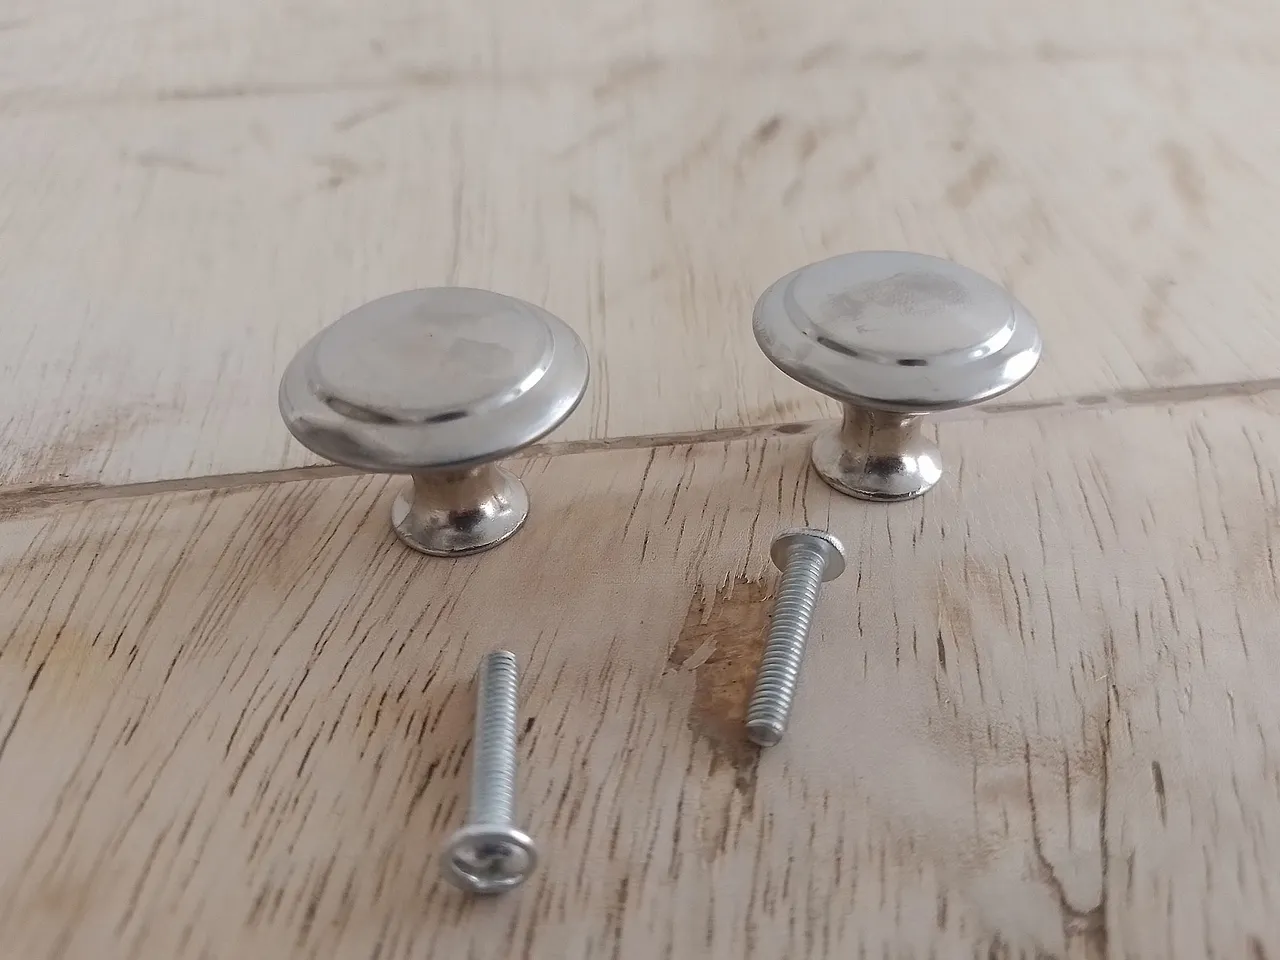
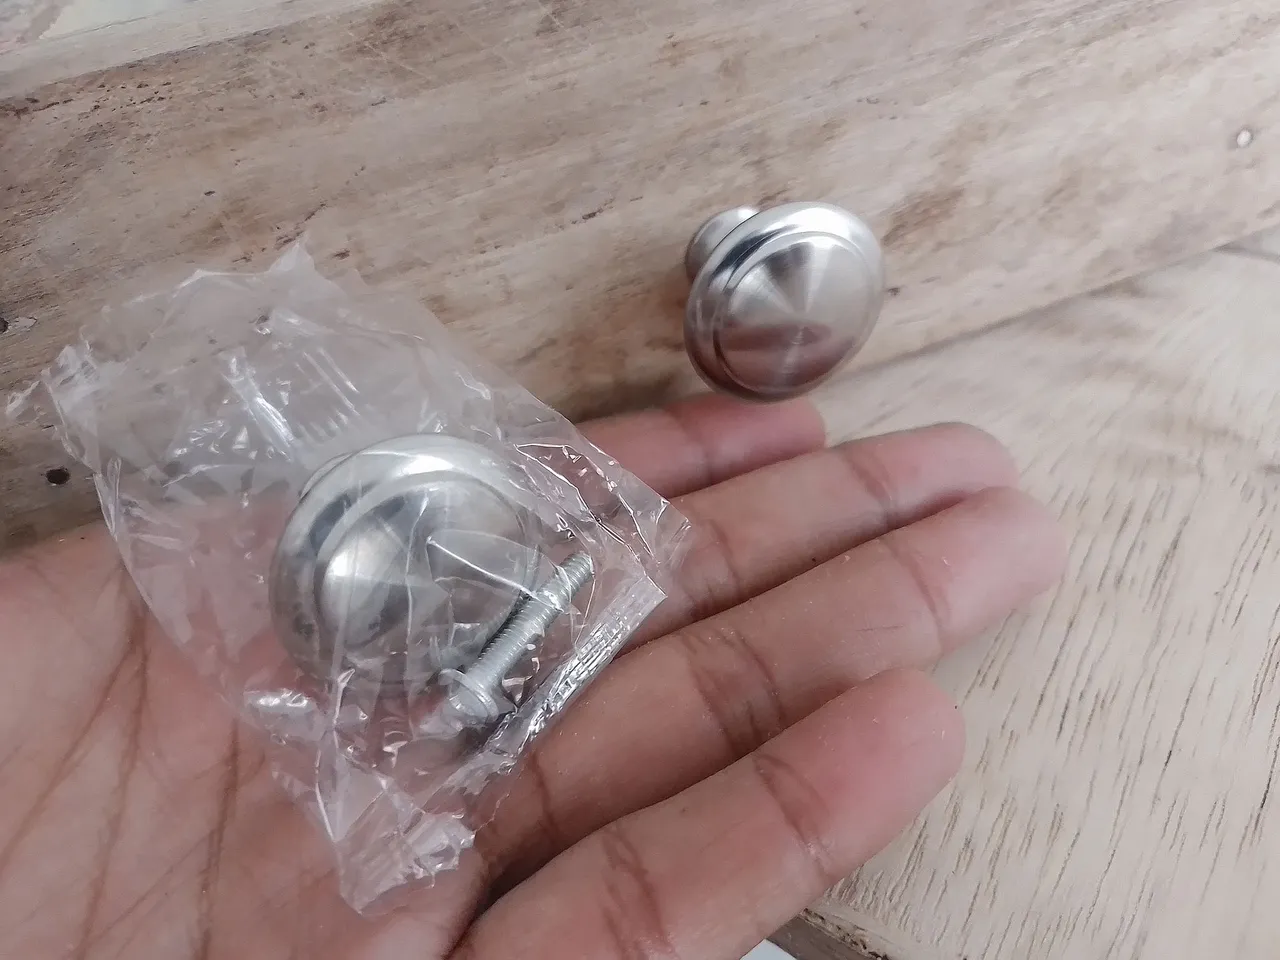
As you can see the drawer does not have a knob to hold it open, so I had to buy one.
I bought the ones you see in the picture on the right. They sold me that bag with two knobs for 1 dollar.
Como ven la gaveta no tiene un pomo del cual sujetarla para abrirla, así que tuve que comprar uno.
Compré los que ven en la imagen de la derecha. Me vendieron esa bolsita con dos pomos por 1 dólar.
 |  |
|---|
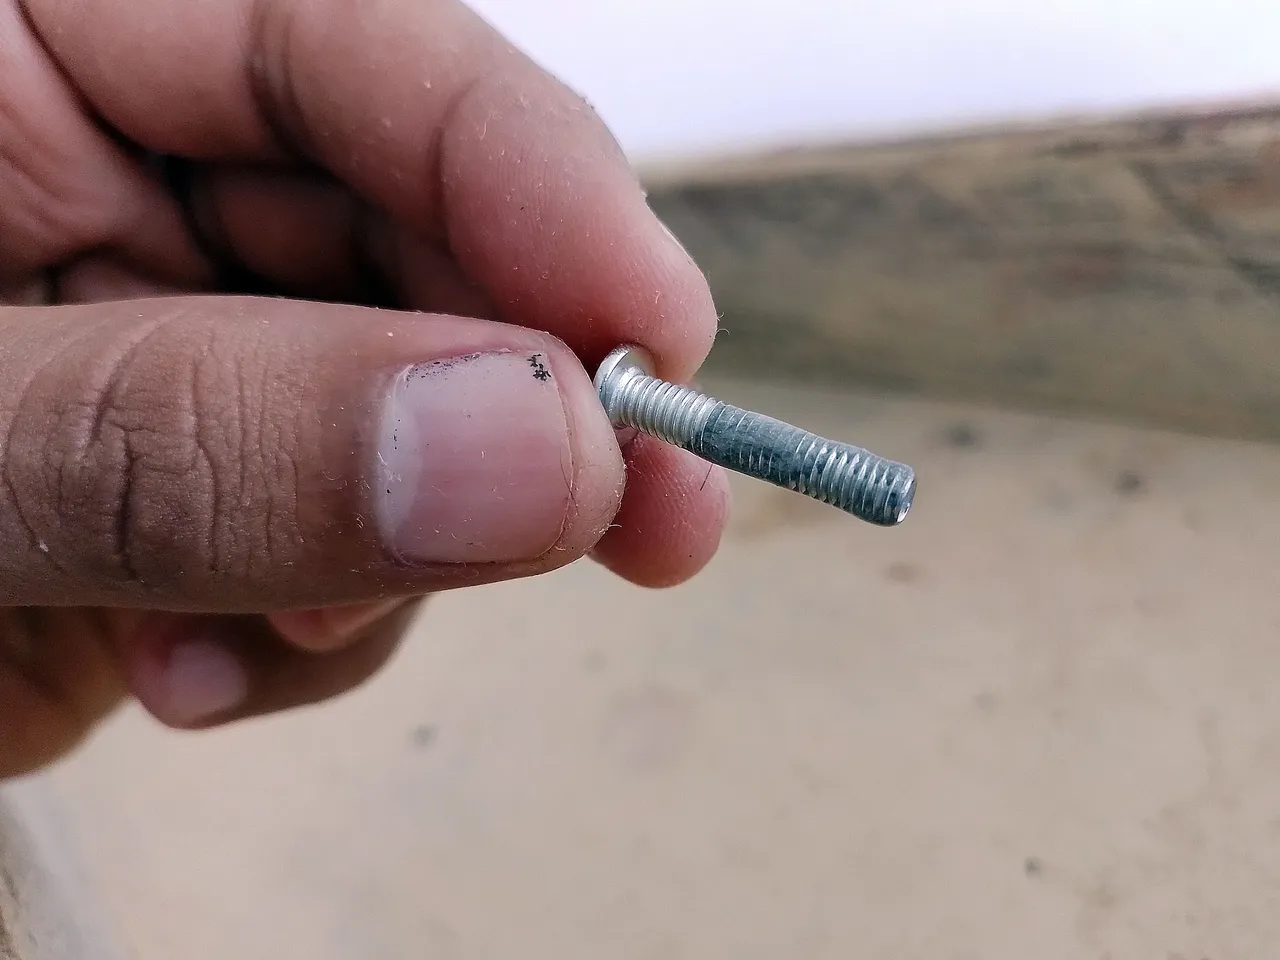
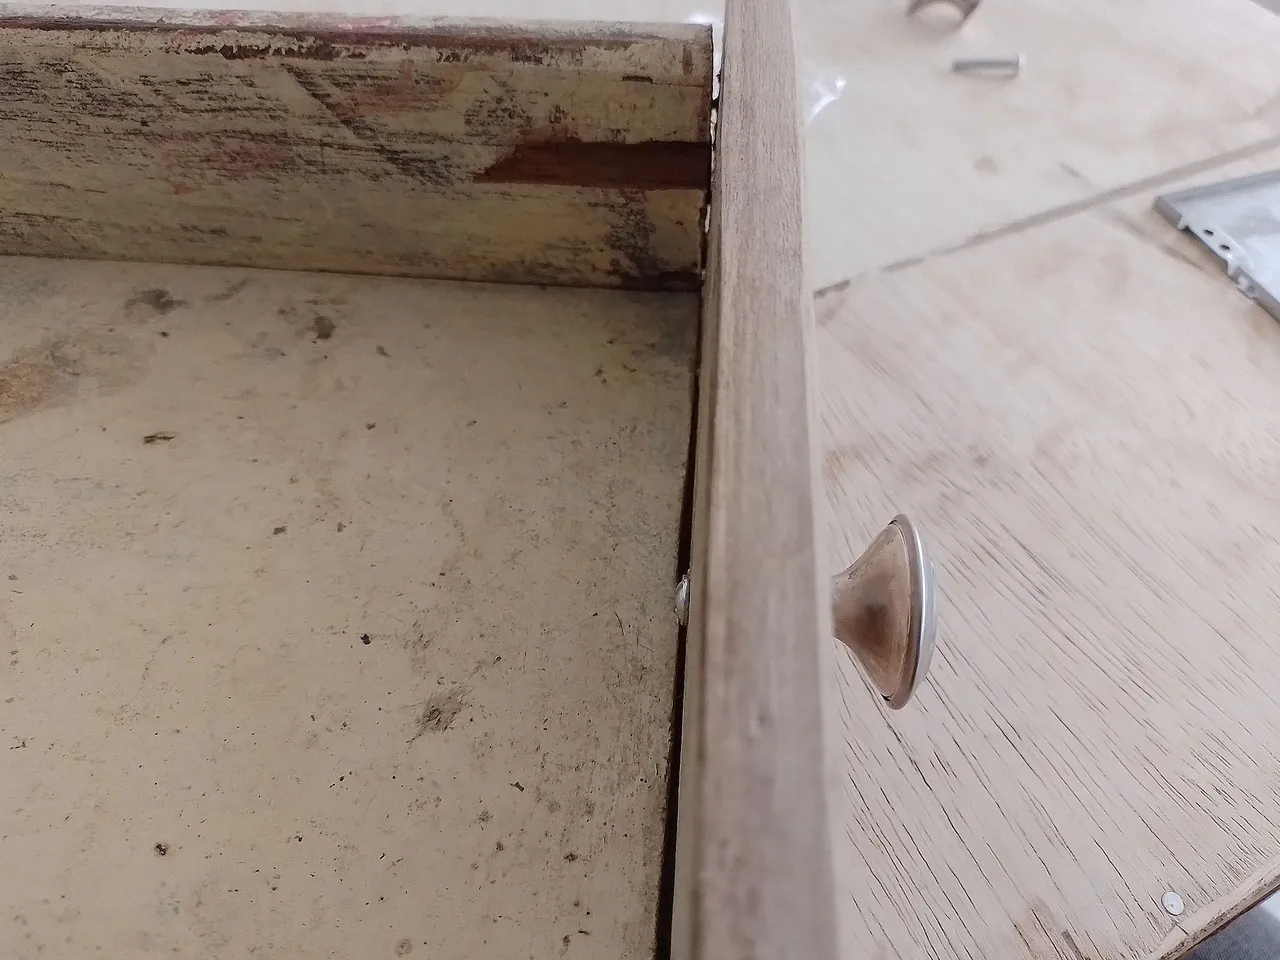
As you can see, they are two knobs that have a small screw with which to attach the knob itself to the wood.
To make this joint durable, I used a bit of plastic steel on the screw thread, then inserted it into the hole in the drawer, to secure the knob.
Como ven, son dos pomos que tienen un pequeño tornillo con el cual sujetar el propio pomo en la madera.
Para que esta unión sea duradera, usé un poco de acero plástico en la rosca del tornillo, entonces lo introduje en el agujero de la gaveta, para fijar el pomo.
 |  |
|---|
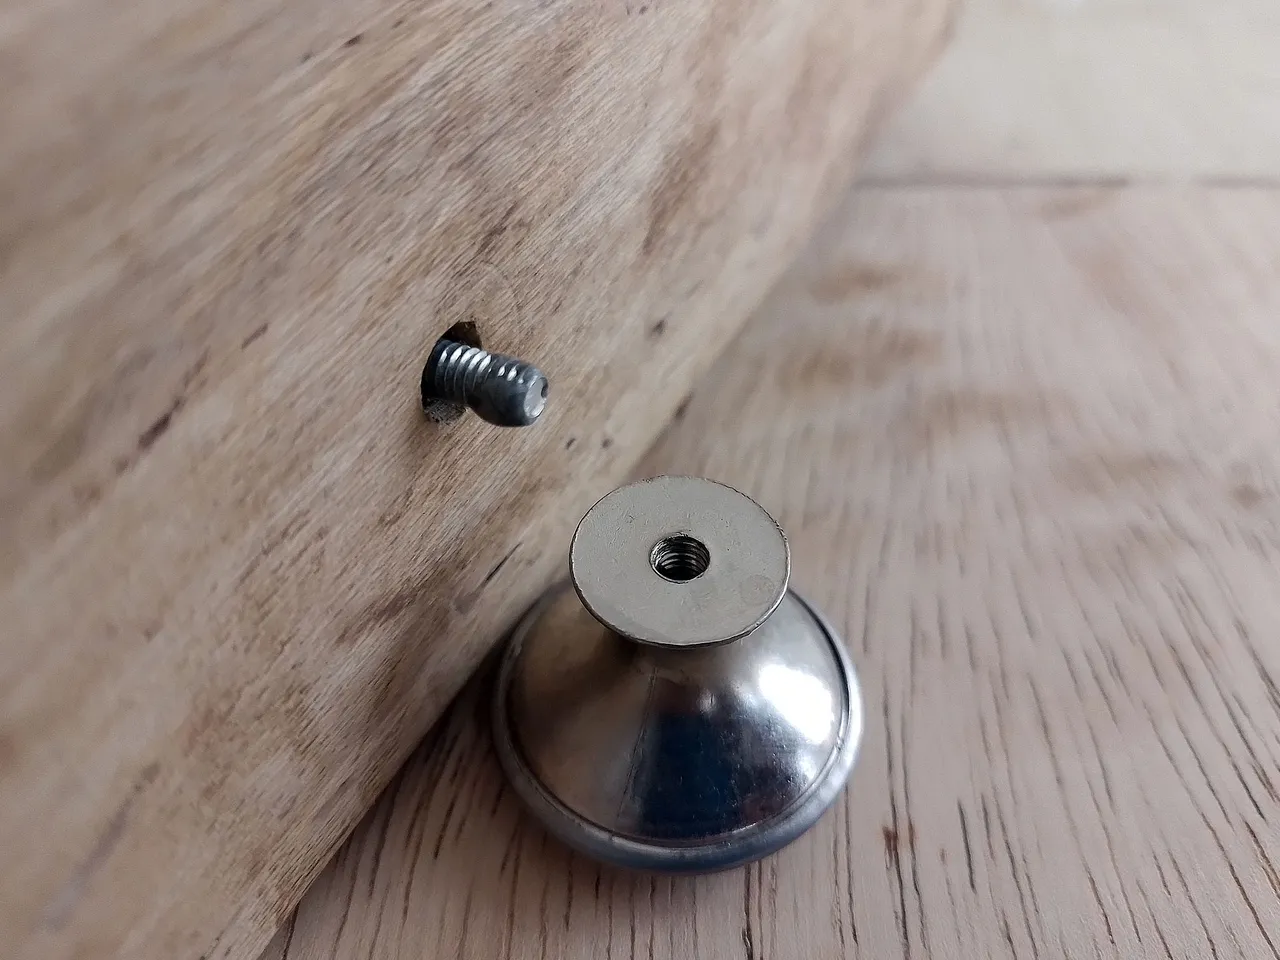
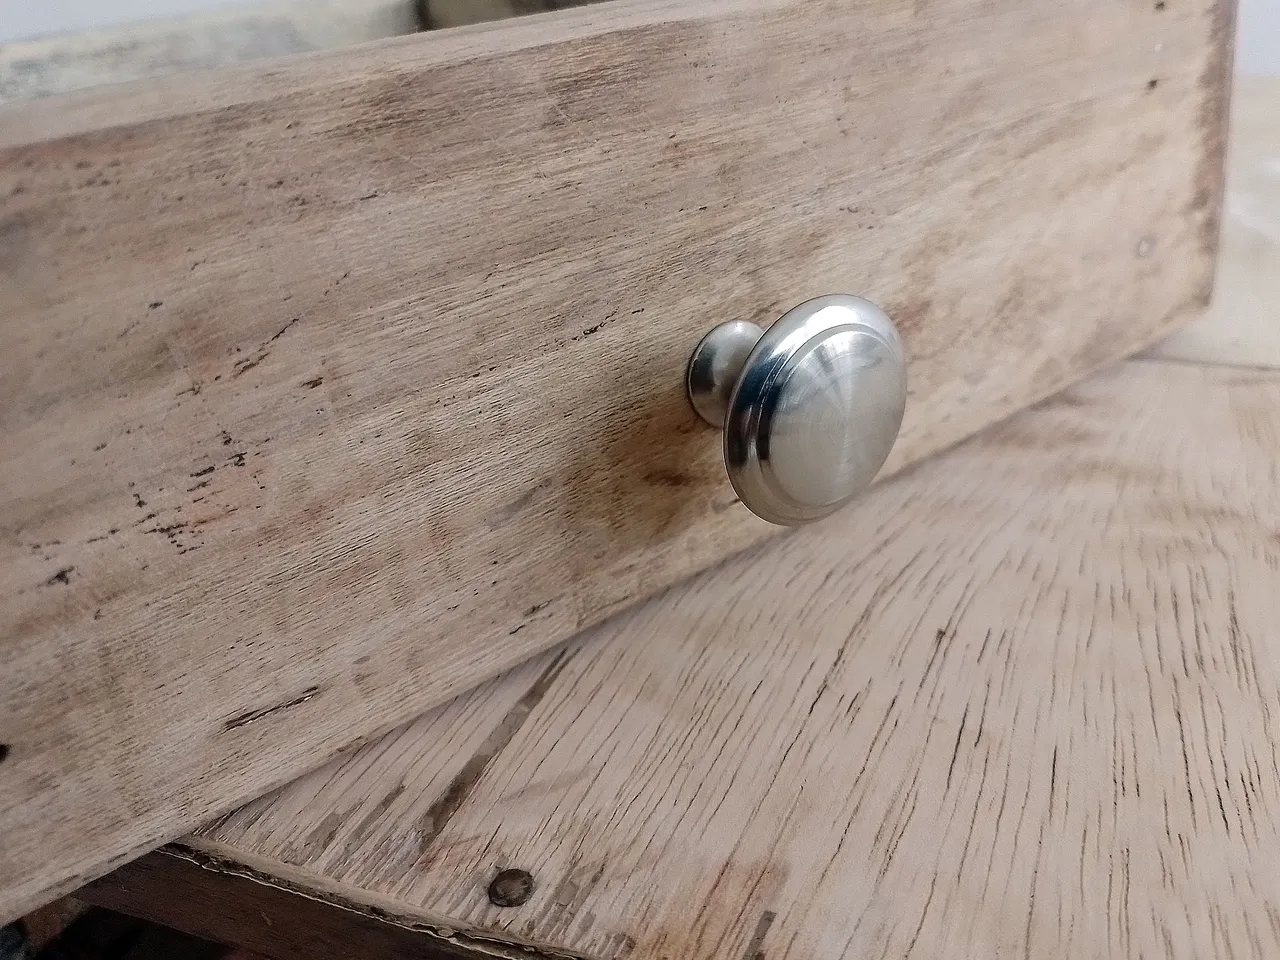
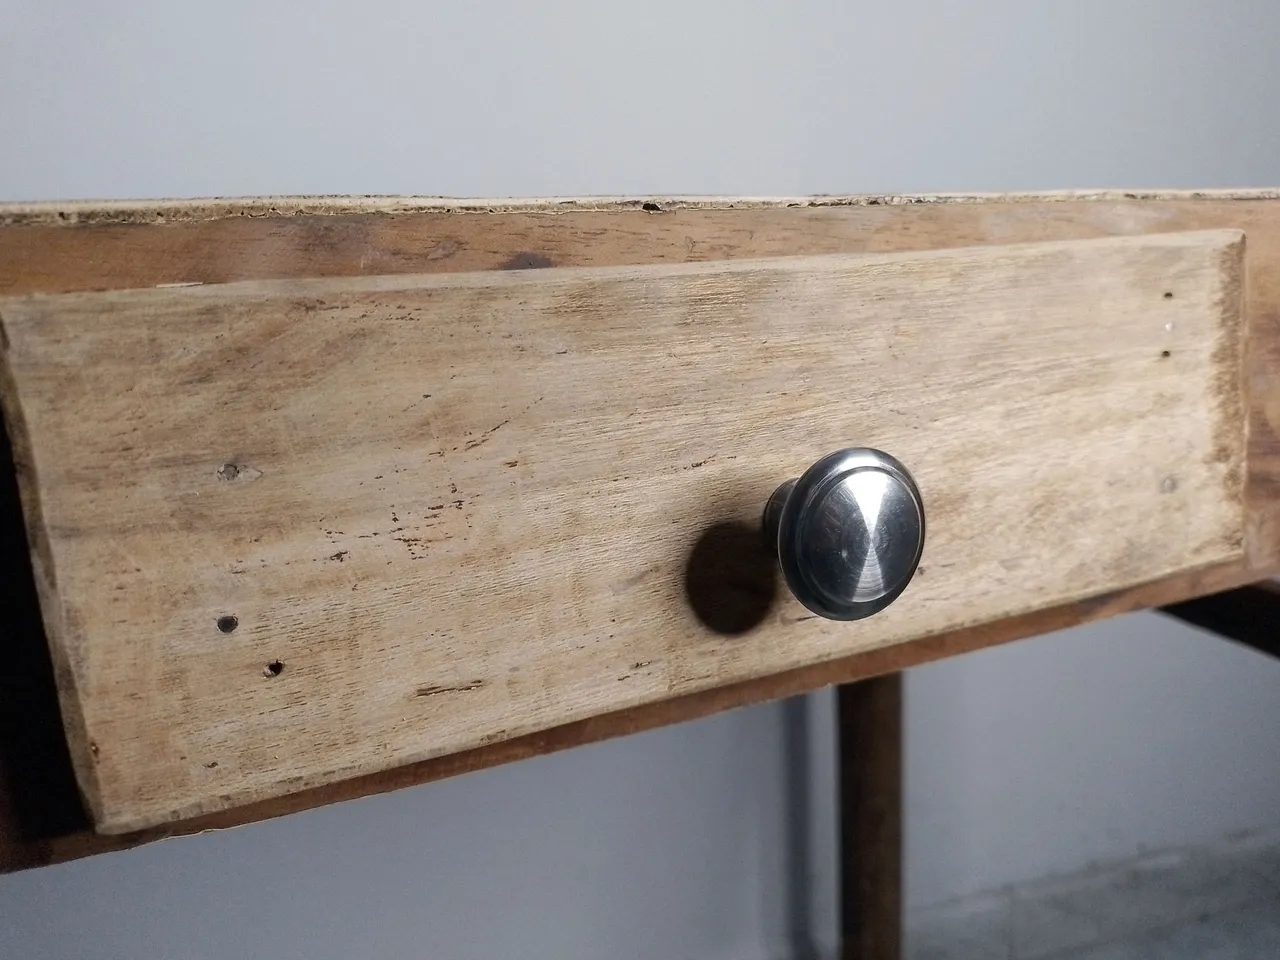
That's how the knob was fixed in the small drawer of the table.
I did not move it until the next day, until the plastic steel mixture dried and it was really fixed there. The other knob I kept in case this one gets damaged someday.
Así quedó fijo el pomo en la pequeña gaveta de la mesa.
No lo moví hasta el día siguiente, hasta que la mezcla de acero plástico secó y quedó realmente fija allí. El otro pomo lo guardé en caso de que este se daña algún día.
 |  |
|---|
Something else I did on the drawer was to paint the inside of the drawer, so it would look nicer and not have that mixture of other layers of paint.
Obviously I filed it a little with sandpaper, so that the paint would cover well. In this case I used a sponge to paint.
Algo más que hice en la gaveta fue pintar el interior de la misma, para que se viera más bonita y no tuviera esa mezcla de otras capas de pintura.
Obviamente la limé un poco con el papel de lija, para que la pintura cubriera bien. En este caso usé una esponja para pintar.
 |  |
|---|
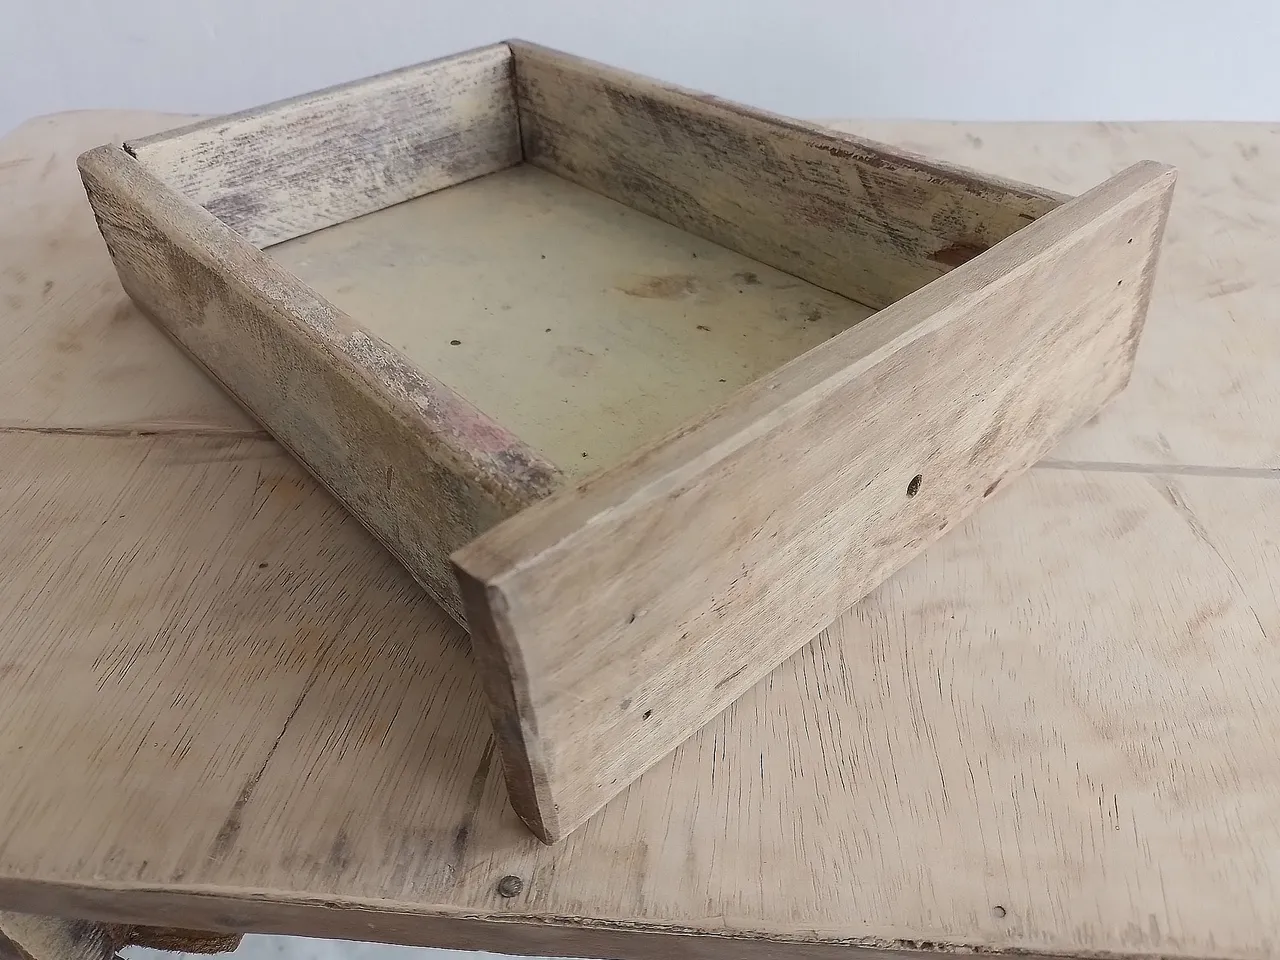
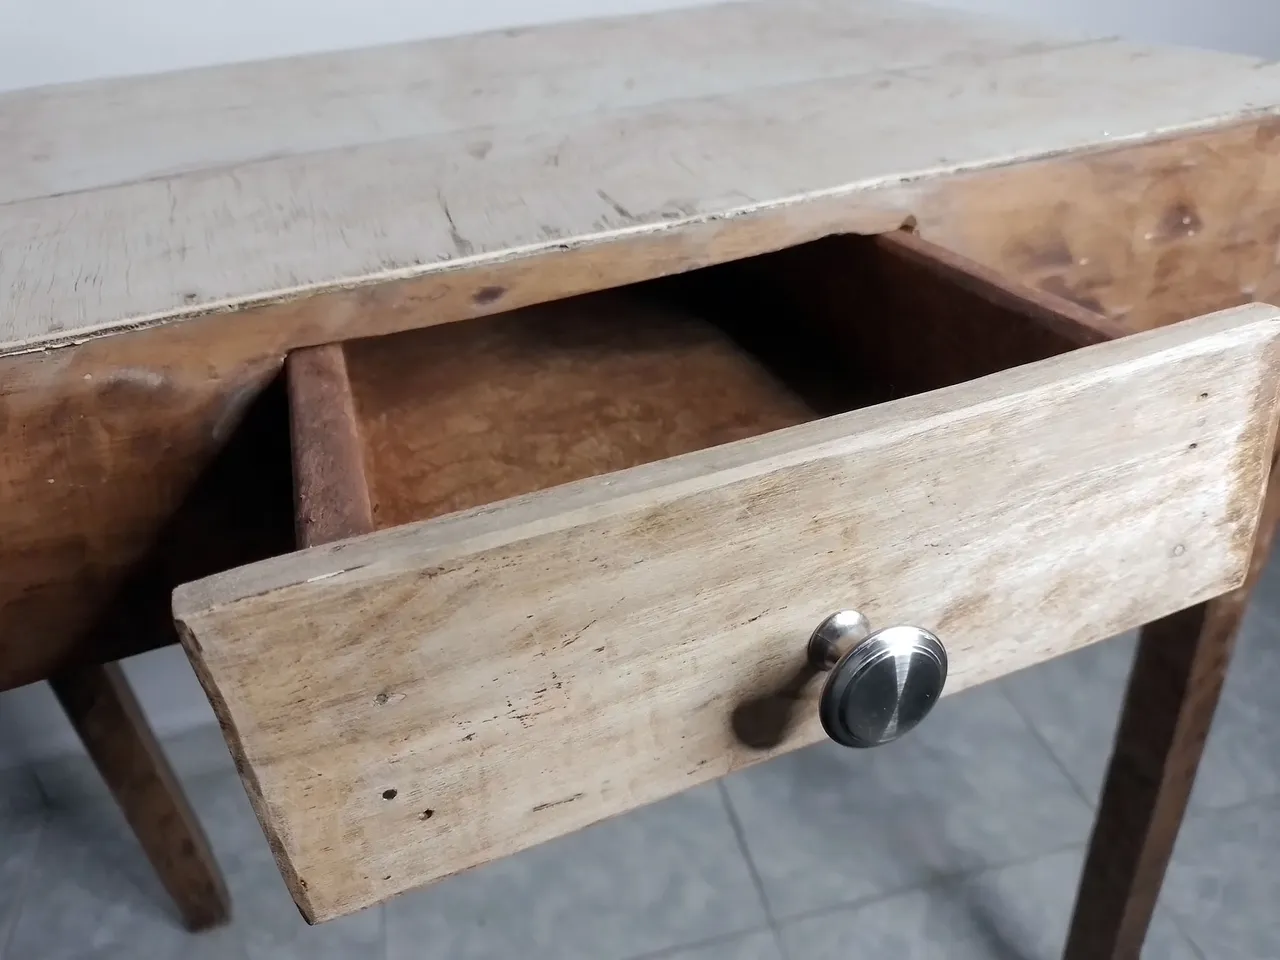
After the paint dried, I put the drawer in place. It had a little friction, because of the new wood that I placed as a support, but that won't be a problem, better that it was like that than that the drawer was loose.
Después de que secó la pintura, coloqué la gaveta en su lugar. Quedó con un poco de fricción, por la nueva madera que coloqué como soporte, pero eso no traerá ningún problema, mejor que haya quedado así a que quede floja la gaveta.
 |  |
|---|
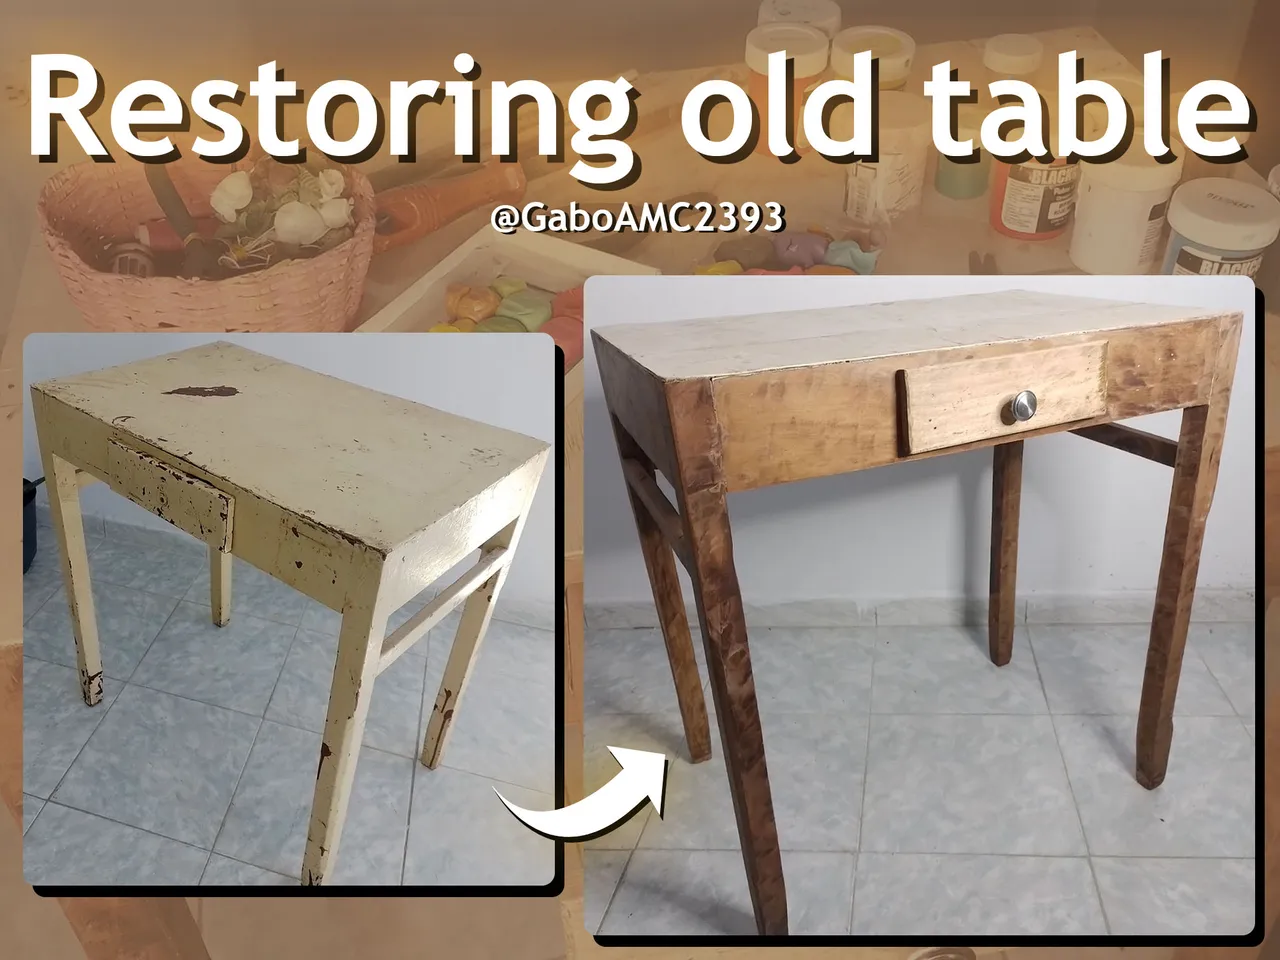
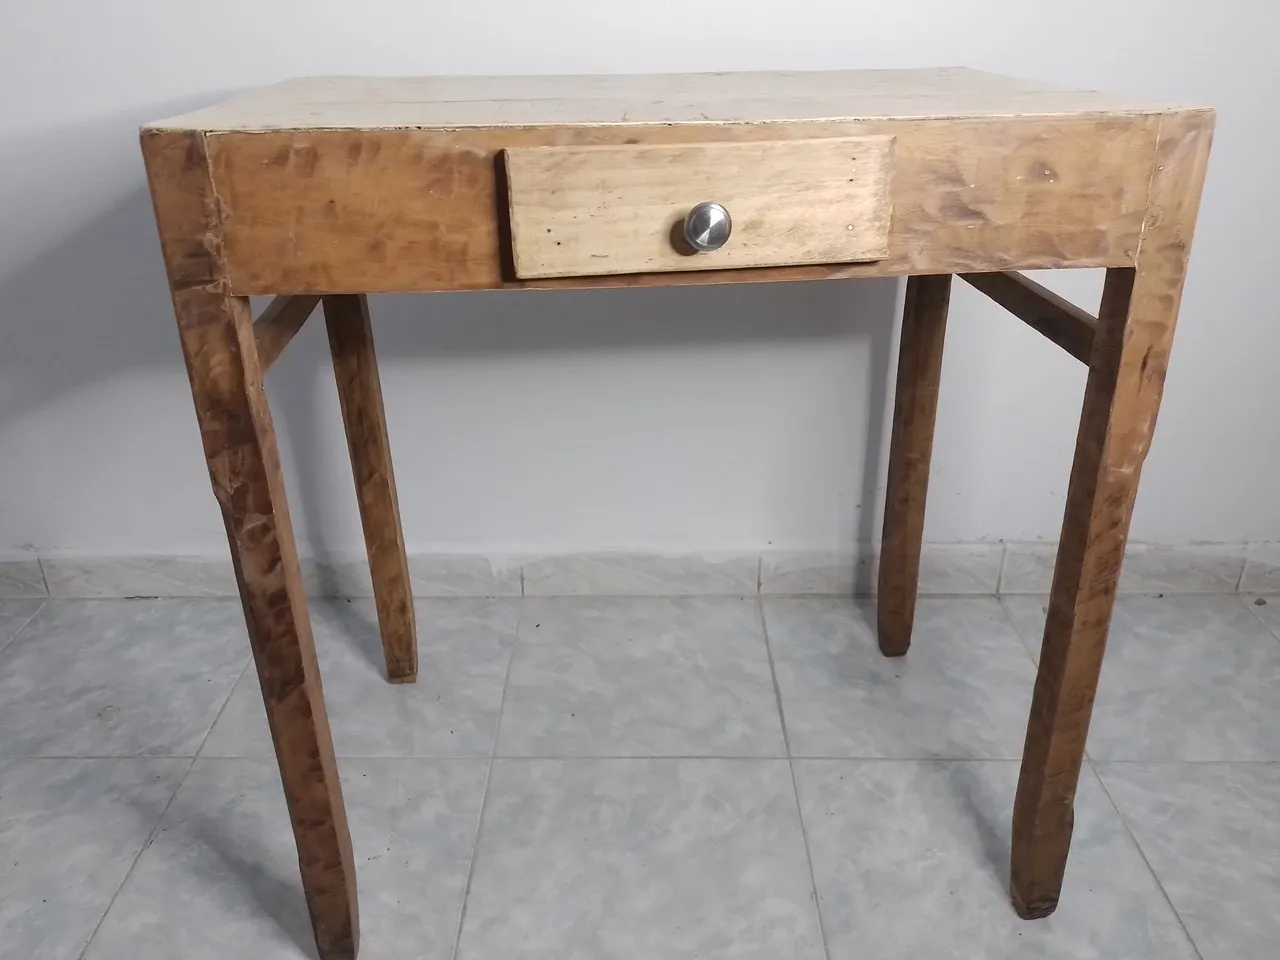
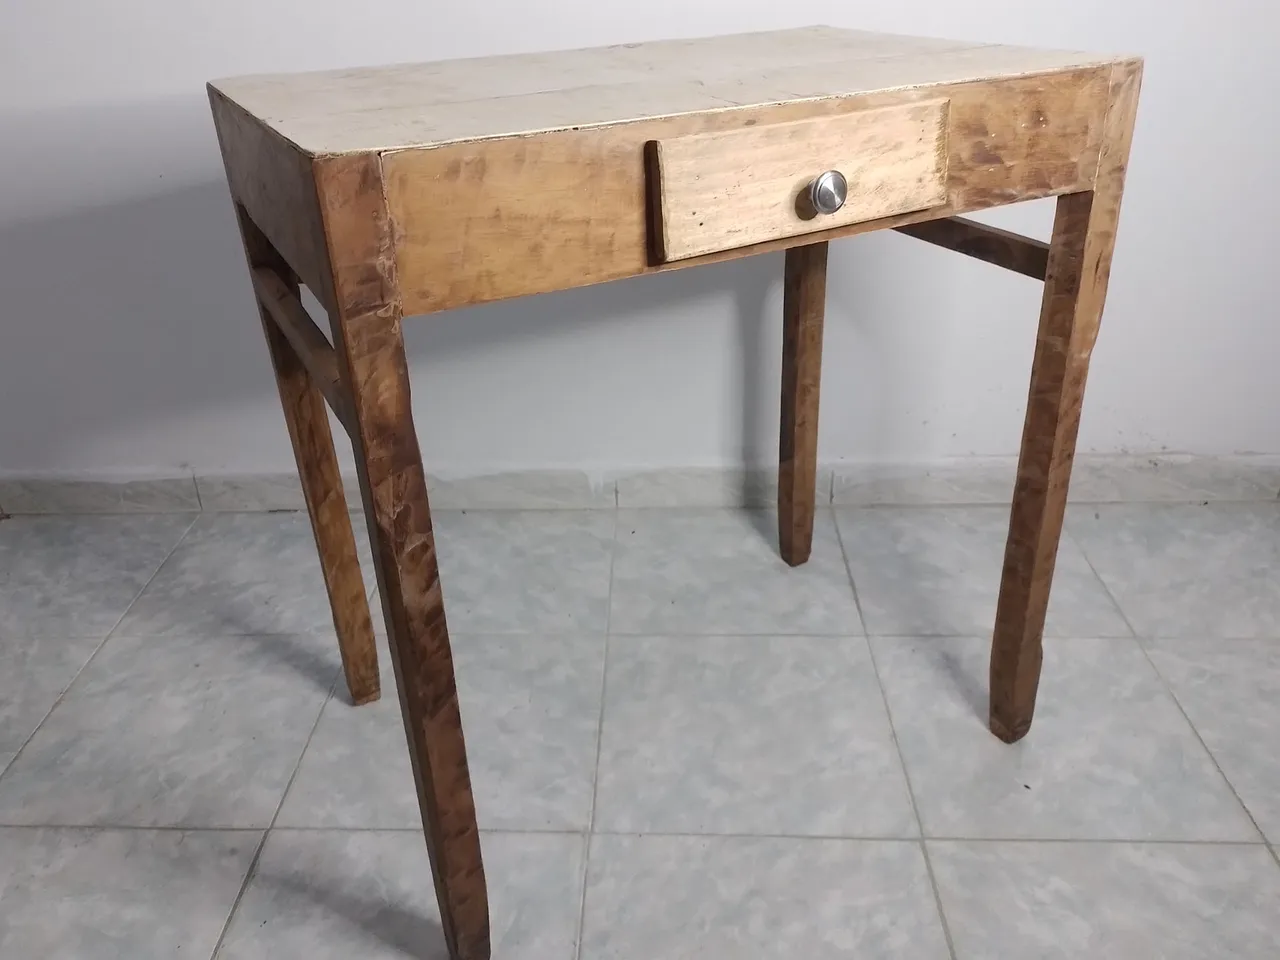
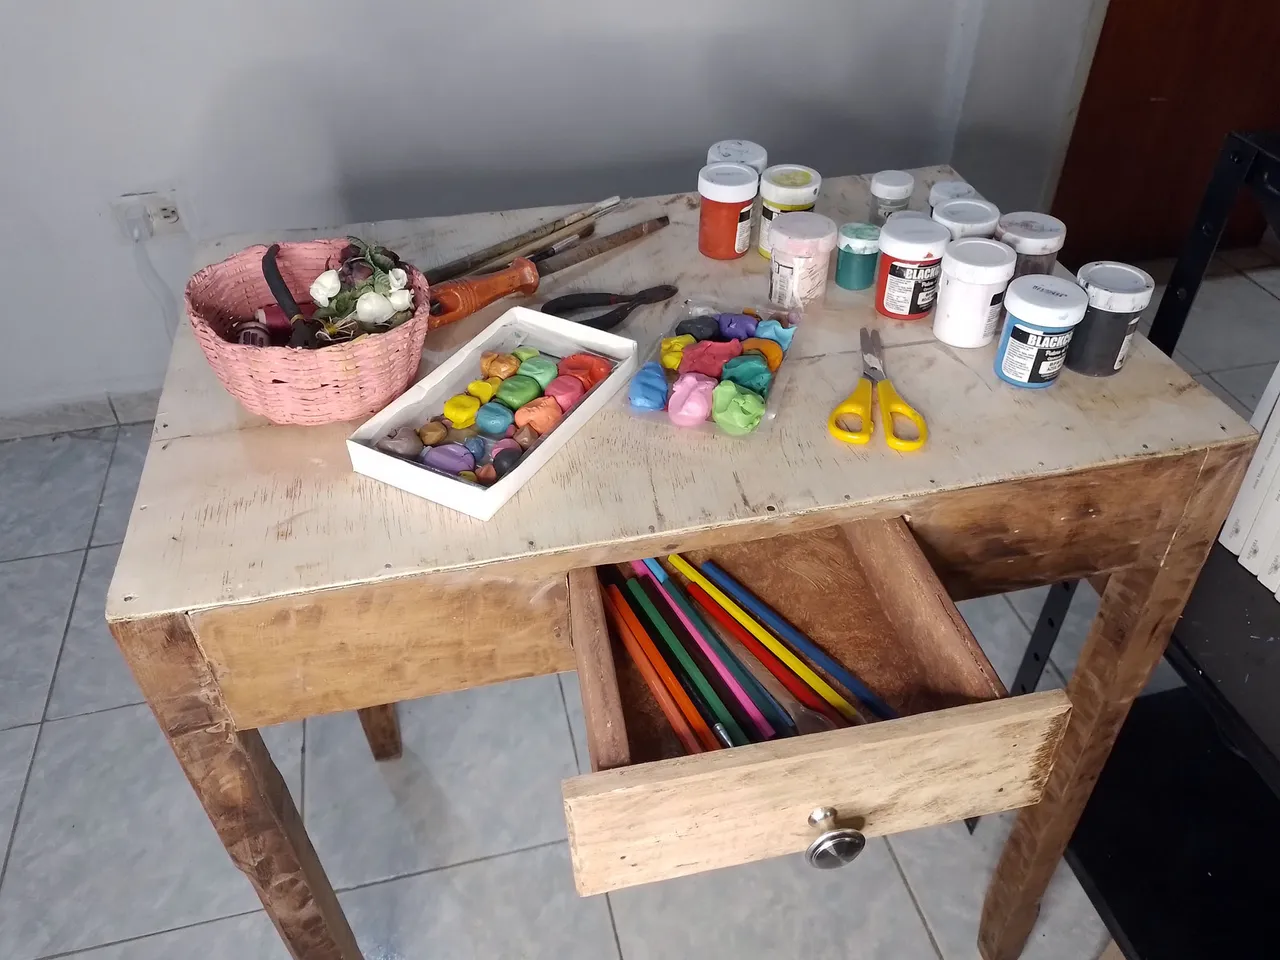
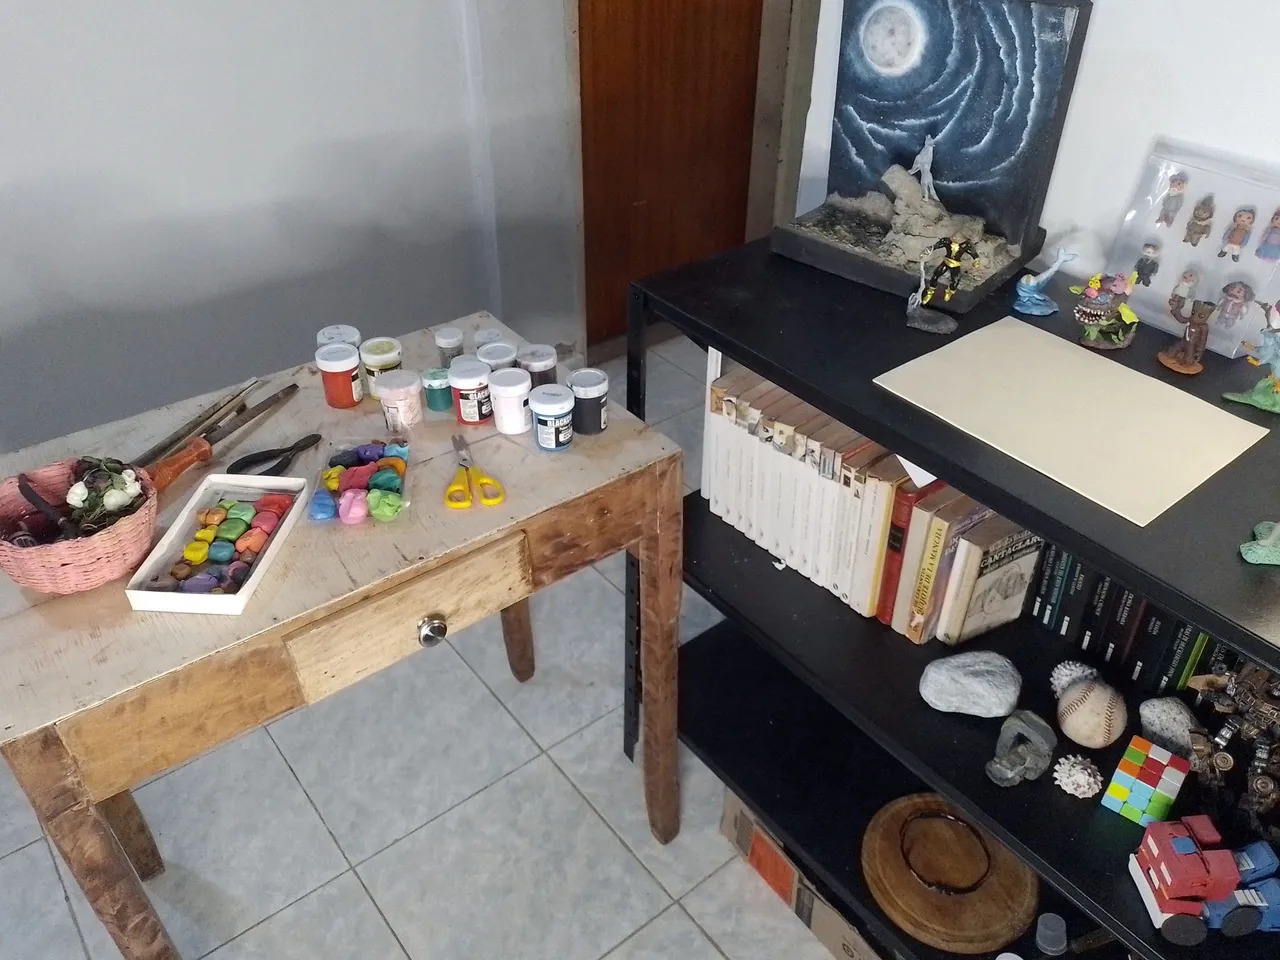
This way the table was finished, completely restored and ready to continue being a nice accessory in my work area.
Below you can see some pictures of the final result and the place that the table itself will occupy in my setup:
De esta manera quedó terminada la mesa, completamente restaurada y lista para continuar siendo un bonito accesorio en mi área de trabajo.
A continuación pueden ver unas fotografías del resultado final y el lugar que ocupará la propia mesa en mi setup:

Well friends, that's all for now, what did you think of this restoration? For me it has been a pleasure to have shared with you.
I invite you to leave your opinions below in the comments, as always I'll be happy to read them. I appreciate that you took the time to visit my publication, without more to add I say goodbye then...
See you next time!
Bien amigos, esto ha sido todo por ahora. ¿Qué les ha parecido esta restauración? Para mi ha sido todo un placer haber compartido con ustedes.
Los invito a dejar sus opiniones abajo en los comentarios, como siempre estaré encantado de leerlos. Agradezco que se tomaran el tiempo de visitar por mi publicación, sin más que agregar me despido entonces...
¡Hasta la próxima!