English
Greetings to all, fellow creatives. This time I will show you how to mix the use of plasticine with other materials. In a very simple way I will show you how to make a couple of penguin figurines.
Español
Saludos a todos, compañeros creativos. En esta ocasión los mostraré cómo mezclar el uso de la plastilina con otros materiales. De manera muy sencilla les enseñaré a hacer un par de figuritas de pingüinos.
Step by step
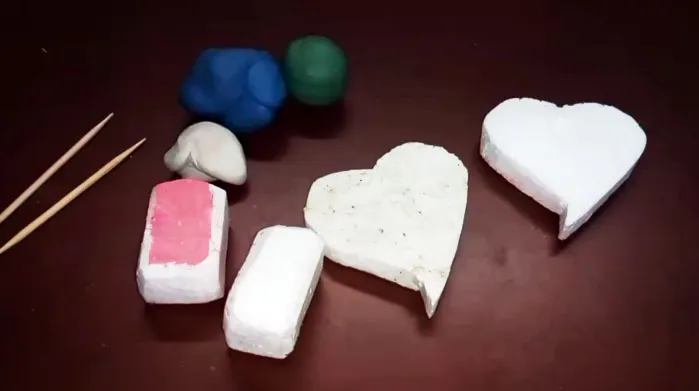
To make these penguins I used several materials besides plasticine. I used polystyrene, wooden sticks, paints and glue.
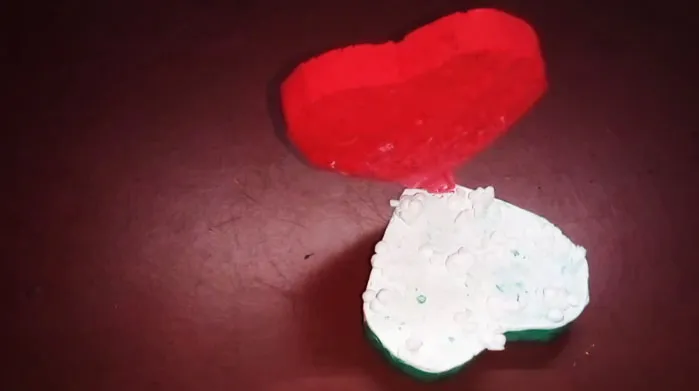
With the polystyrene I made several shapes, a couple of hearts and two rectangles that would serve as stuffing for the two penguins.
Paso a paso
Para hacer estos pingüinos usé varios materiales además de la plastilina. Usé poliestireno, palillos de madera, pinturas y pegamento.
Con el poliestireno hice varias formas, un par de corazones y dos rectángulos que servirían como relleno para los dos pingüinos.
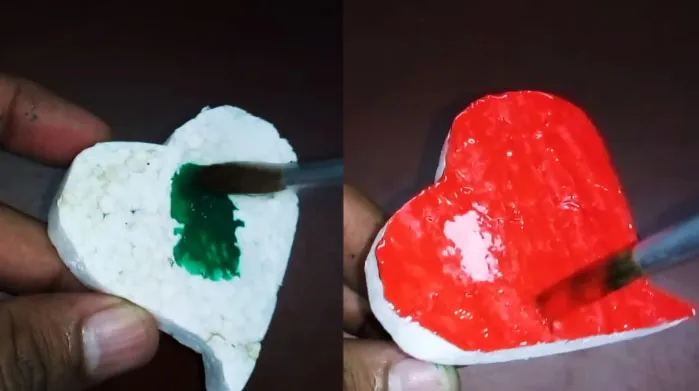
The first thing I did, as shown in the video, was to prepare the base for the figure. First I painted the two hearts in green and red; the green would be the floor and the red on the back.
Lo primero que hice, tal como lo muestro en el video, fue preparar la base para la figura. Primero pinté los dos corazones de colores verde y rojo; el verde sería el piso y el rojo en la parte trasera.
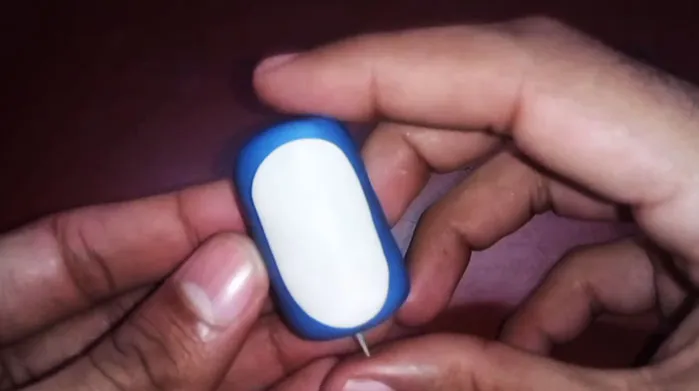
While the paint on these pieces dried, I started working on the penguins, so I lined the polystyrene rectangles with the blue plasticine. I used a blue similar to king blue, but a little darker.
Mientras la pintura de estas piezas se seca, comencé a trabajar en los pingüinos, para ello comencé a forrar los rectángulos de poliestireno con la plastilina azul. Usé un azul similar al azul rey, pero un poco más oscuro.
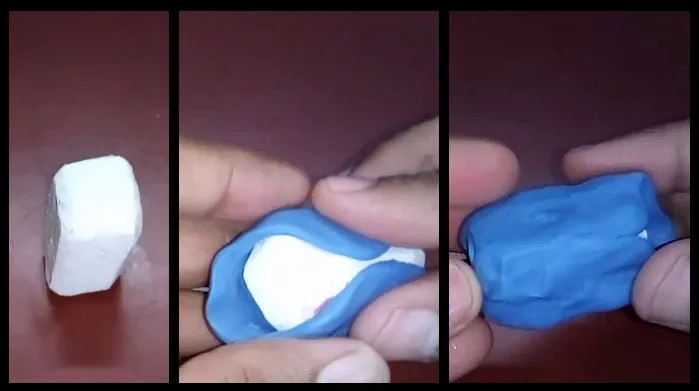
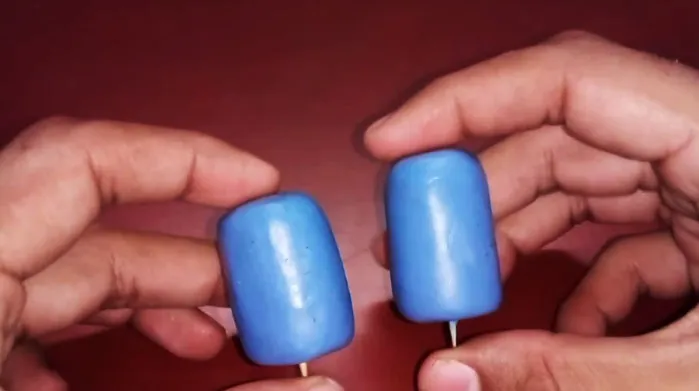
Once I had completely covered the polystyrene rectangle, I began to mold the surface of the plasticine to make it completely uniform. I used the surface of the table to give it a smooth surface, similar to a flat cylinder at the top and bottom.
Una vez cubrí por completo el rectángulo de poliestireno, empecé a moldear la superficie de la plastilina para dejarla completamente uniforme. Me ayudé de la superficie de la mesa para darle una superficie lisa, similar a un cilindro plano en la parte superior e inferior.
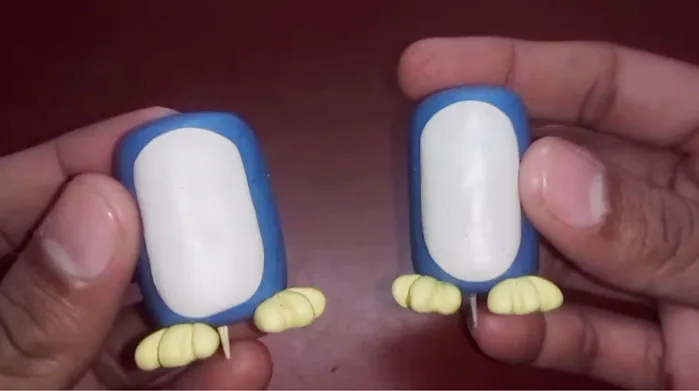
The penguins have a white part in front, so to make it I used plasticine of that color and flattened it to make an elongated tortilla, as shown in the image below. It should be noted that in the video you can see the molding process.
Los pingüinos tienen una parte blanca al frente, así que para hacerla usé plastilina de ese color y la aplasté hasta hacer una tortilla alargada, tal como se muestra en la imagen de abajo. Cabe destacar que en el video se aprecia el proceso de moldeado.
Once I made that white area of the chest, I proceeded with the penguin legs. To make them, I molded a triangle and then made three small lines with the help of a toothpick.
Once I made the four legs, I placed them on the bottom of each penguin, keeping enough separation between each leg.
Una vez que hice esa área blanca del pecho, procedí con las patas de los pingüinos. Para hacerlas, moldeé un triángulo y luego hice tres pequeñas líneas con ayuda de un palillo.
Una vez que hice las cuatro patas, las coloqué en la parte inferior de cada pinguino, guardando suficiente separación entre cada pata.
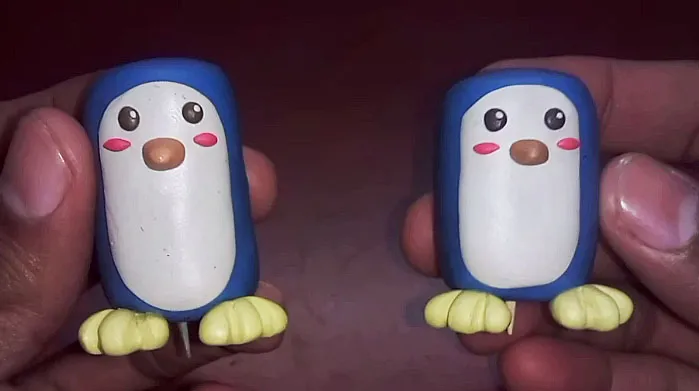
Finally, I made their faces. I made them with quite simple but adorable faces. Little black eyes, an orange beak and a couple of pink lines to simulate blushing. Again, the process can be seen in better detail in the video.
Para finalizar les hice el rostro. Los hice con rostros bastante sencillos pero adorables. Pequeños ojos negros, un pico naranja y un par de líneas rosadas para simular rubor. Nuevamente, el proceso se aprecia con mejor detalle en el video.
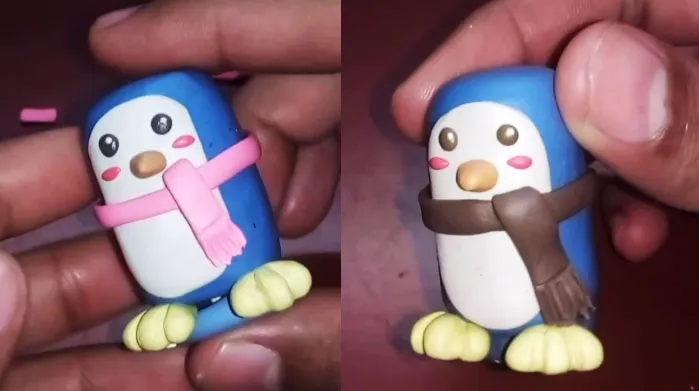
As accessories, these penguins wear a scarf and a beanie. I made the scarves in different colors for each penguin, a pink scarf for the female penguin and a brown scarf for the male penguin.
I also placed the flippers, which I made with two strips of plasticine that I flattened, then I gave them a triangular shape at one end and a rounded shape at the other.
Below you can see how each one looked with their scarves:
Como accesorios, estos pingüinos llevan una bufanda y un gorrito. Las bufandas las hice de distintos colores para cada pinguino, una bufanda rosa para la pingüino hembra y una marrón para el pingüinos macho.
También les coloqué las aletas, las cuales hice con dos tiras de plastilina que aplasté, luego les di forma triangular en uno de los extremos y redondeada en el otro.
A continuación pueden ver cómo quedó cada uno con sus bufandas:
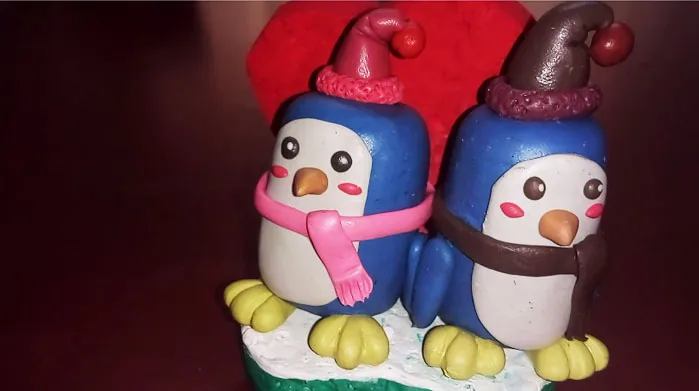
And with their beanies:
Y con sus gorritos:
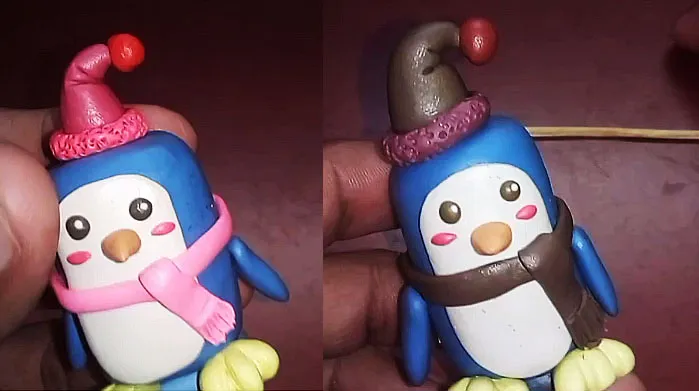
I should mention that it is not necessary to place the caps in the exact center of the penguins' heads, they can be placed on their sides or wherever they like. It is not necessary to be exact in this work.
On the other hand, I placed the base in the shape of a chair. However, I covered the white part with white paint to simulate snow, since the penguins are in snow, so that's why I painted it.
It should be noted that I joined them together with wooden sticks and glue.
Debo mencionar que no es necesario colocar los gorritos en el centro exacto de la cabeza de los pingüinos, pueden colocarse ladeados o donde mejor les parezca. No hay que ser exactos en este trabajo.
Por otra parte, la base las coloqué con forma de silla. Sin embargo, la parte blanca la cubrí con pintura blanca para simular nieve, ya que los pingüinos estan en nieve así que por eso la pinté.
Cabe destacar que las uni con palillos de madera y pegamento.
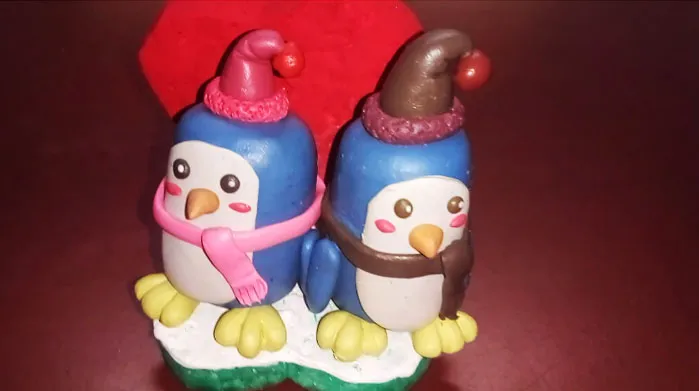
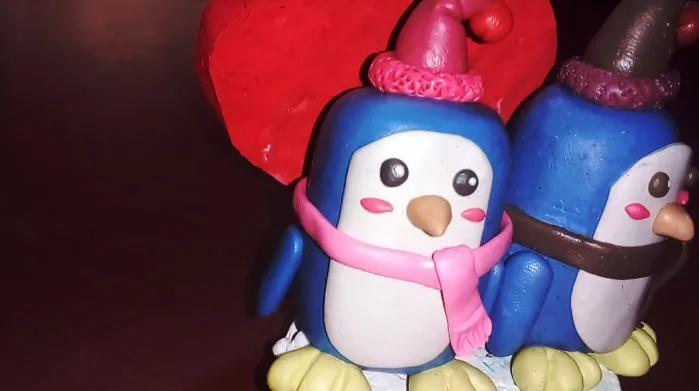
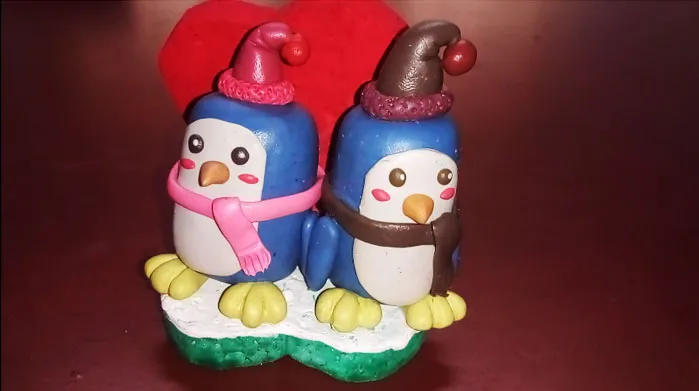
Once this base was ready, I placed each penguin in its place. One next to the other, with their hands together, as if they were holding hands.
Below you can see a series of pictures of the final result:
Una vez lista esta base, coloqué cada pingüino en su lugar. Uno al lado del otro, con las manos juntas, como si estuviesen tomándose de la mano.
A continuación pueden ver una serie de fotografías del resultado final:

Traducido con DeepL
Maintenance and New Mouse
Express Lunch
WE 85 - Photography