Bienvenidos Queridos Amantes de la Artes Manuales
Welcome Dear Manual Arts Lovers
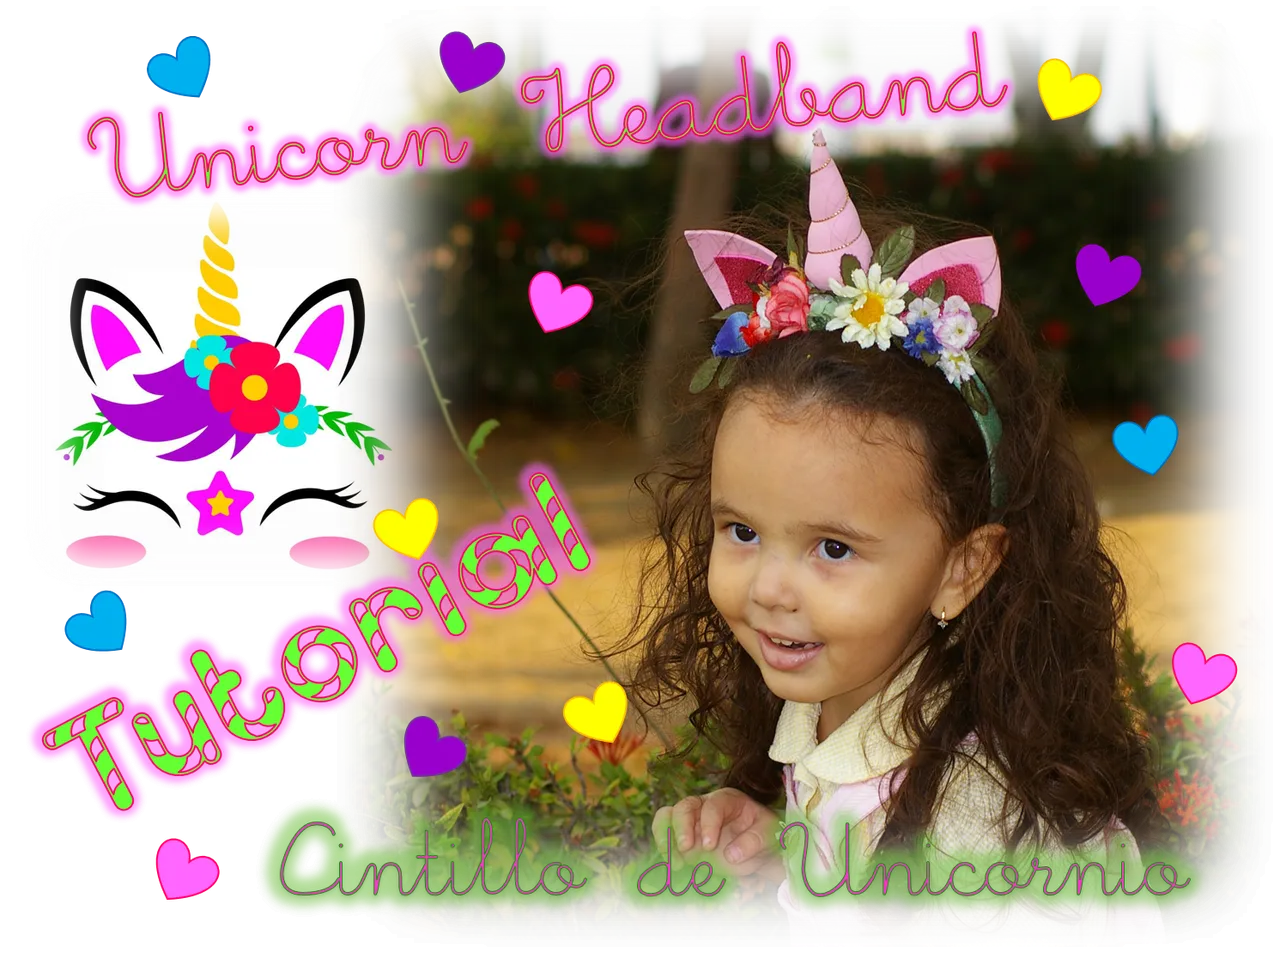

Queridos lectores y manualistas, hoy estoy de vuelta con ustedes para mostrarle un hermoso proyecto que le realice a mi pequeña Nadiah, hace un tiempo atrás. Como a ella le fascinan los unicornios y me pidió que le hiciera un cintillo con ese motivo, por supuesto me encanto la idea y me puse manos a la obra. Busque en internet, algunos modelos de guía para hacerme una idea de los que necesitaba para este nuevo proyecto para mi princesa.
Dear readers and crafters, today I'm back with you to show you a beautiful project I made for my little Nadiah, some time ago. As she is fascinated by unicorns and asked me to make her a headband with that motif, of course I loved the idea and I got down to work. I searched the internet for some guide models to get an idea of what I needed for this new project for my princess.
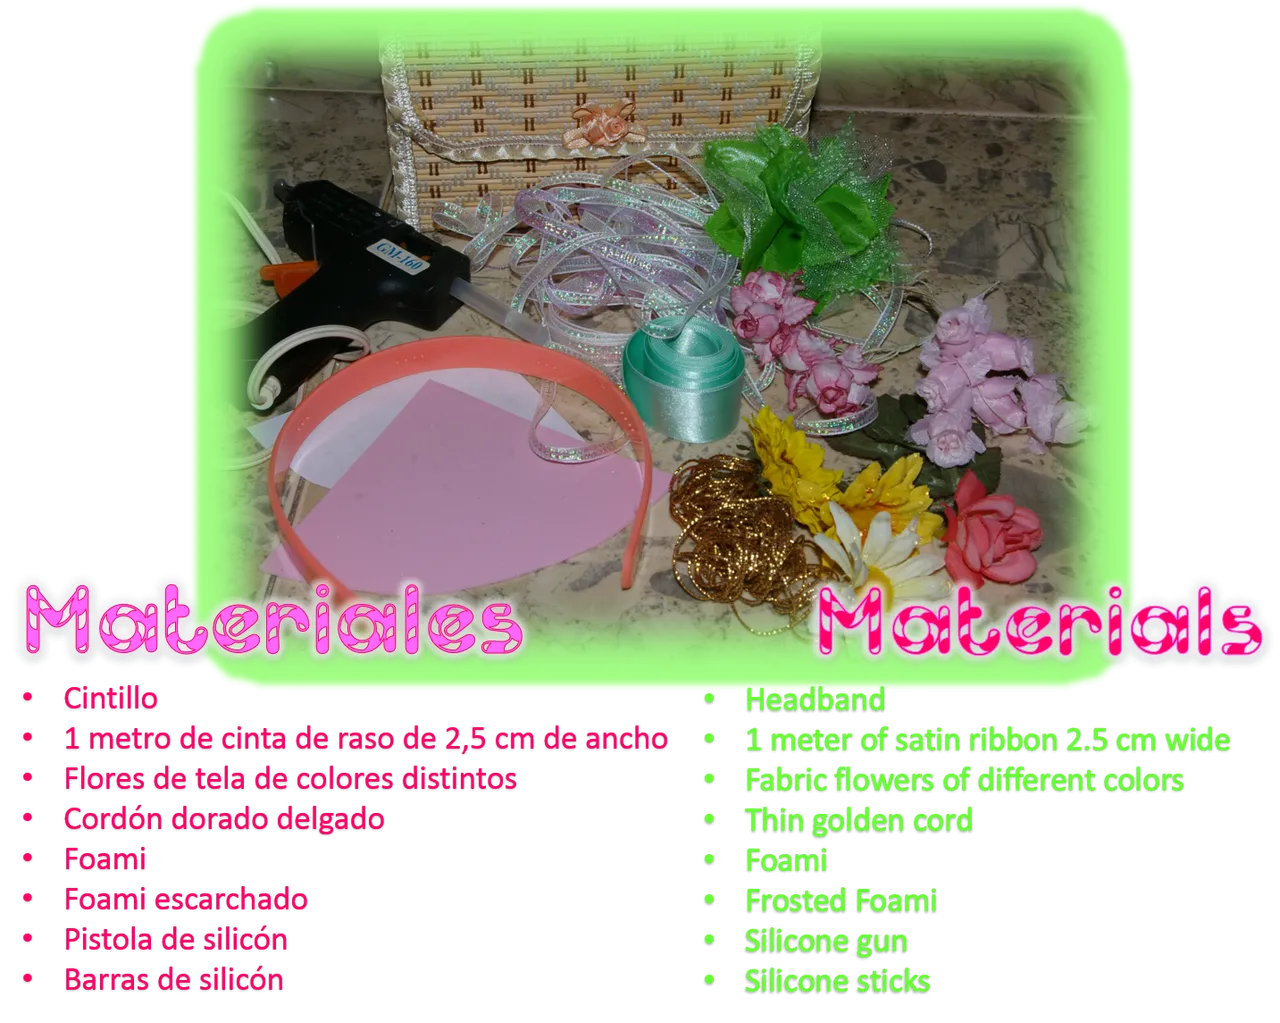
After surfing the web for a while, and reviewing the materials I had at home, I managed to get a clear idea of what I wanted to do and the materials I would need to make it. Luckily, I had everything I needed at home, basically I needed a plastic headband, satin ribbon, some foami, some flowers to decorate and of course glue. Anyway, in the image above you can see in detail the materials I used.
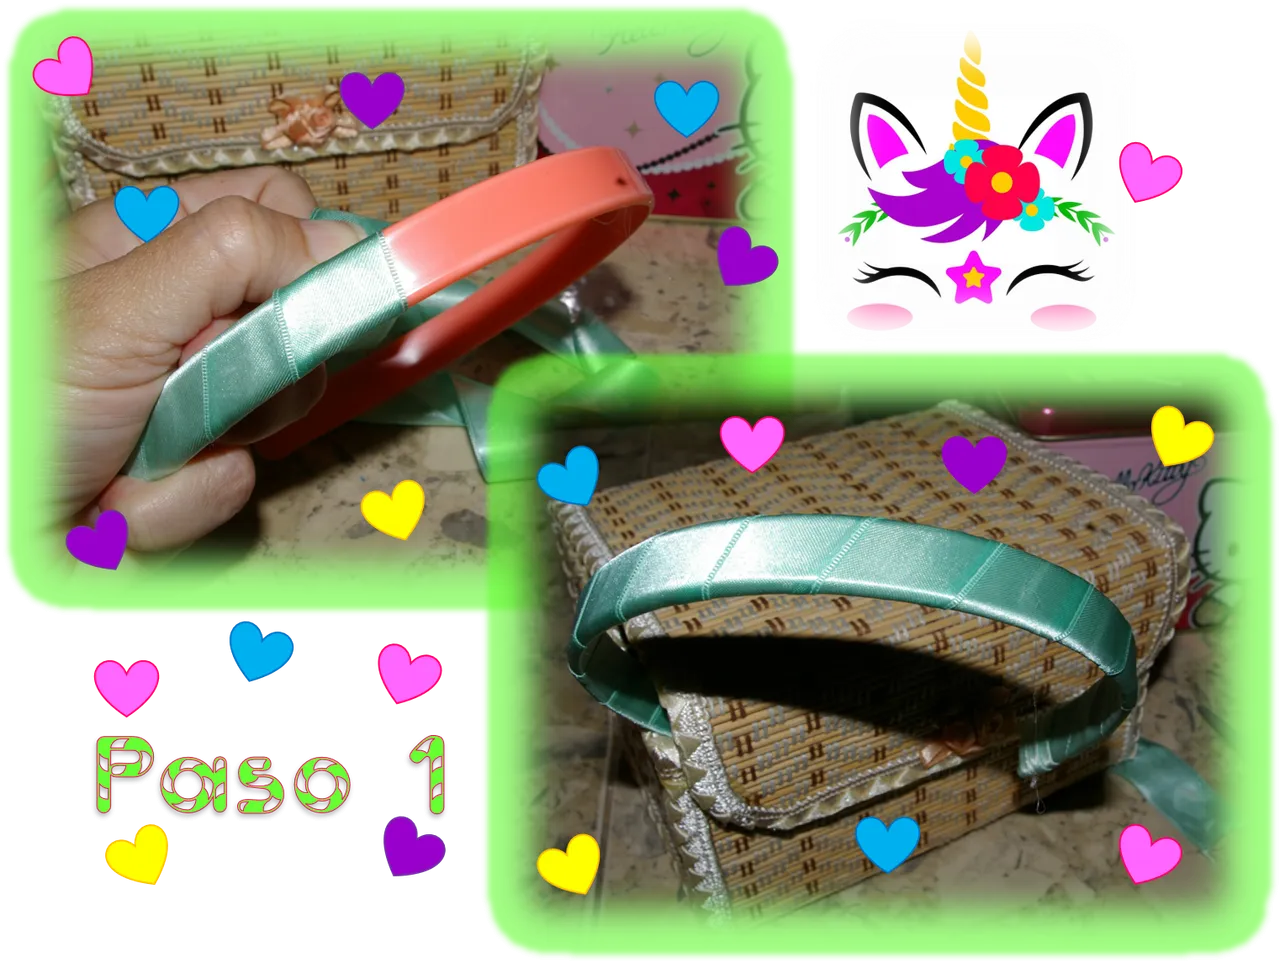
Paso 1:
Lo primero que debemos hacer es forrar el cintillo con la cinta de raso, para ello, aseguramos uno de los extremos con el pegamento a uno de los extremos del cintillo. Seguidamente, lo iremos enrollando la cinta a todo lo largo del cintillo, hasta lograr cubrirlo muy bien todo, no debe verse el cintillo y deben tratar que la cinta quede bien estirada.
Step 1:
The first thing to do is to cover the headband with the satin ribbon, to do this, we secure one of the ends with the glue to one of the ends of the headband. Then, we will roll the ribbon along the entire length of the headband, until it is well covered, the headband should not be visible and you should try to keep the ribbon well stretched.
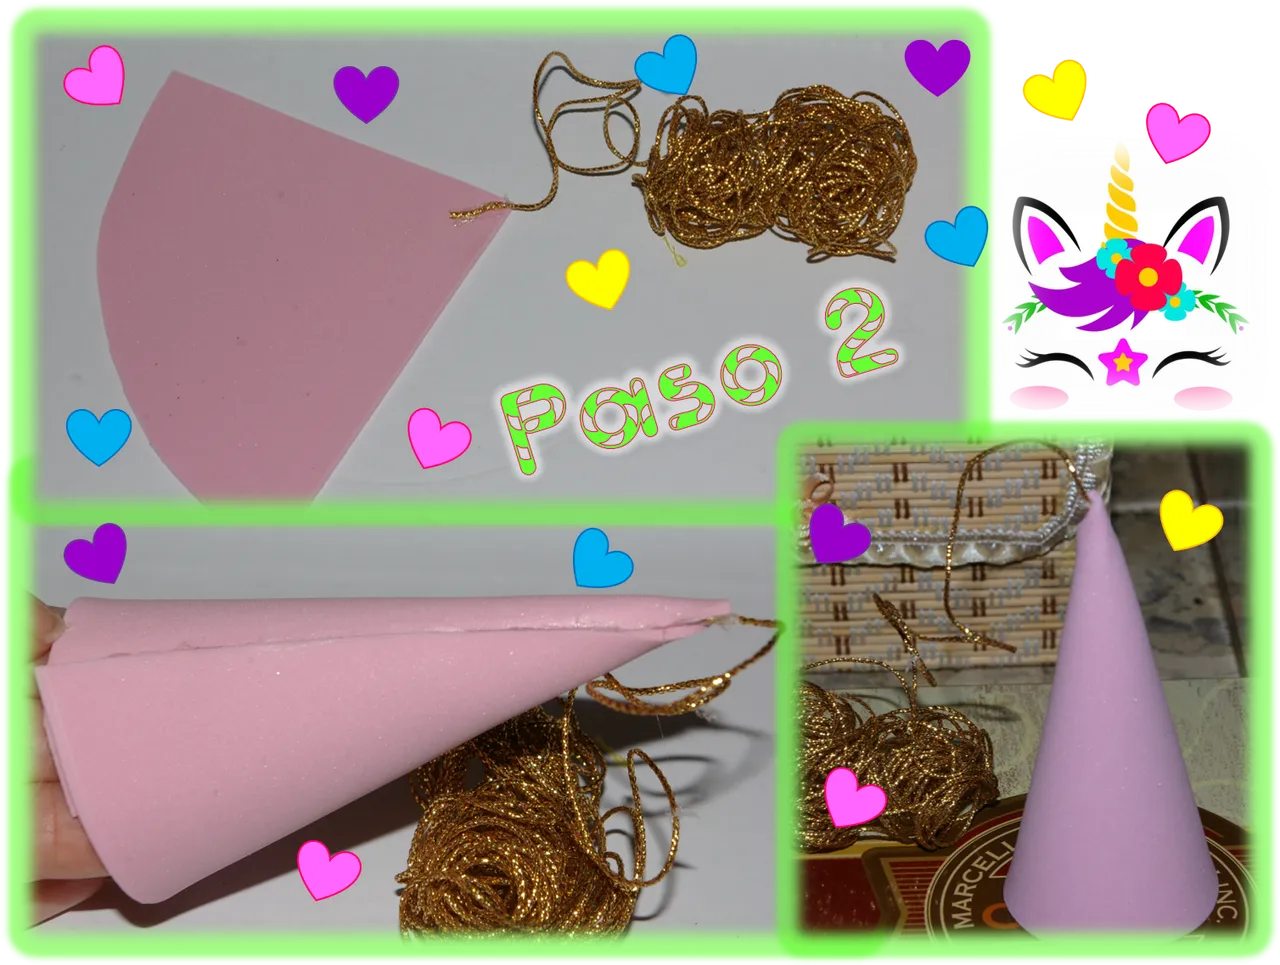
Paso 2:
Ya nuestro cintillo está forrado, ahora es el momento de empezar a crear todos los elementos que le darán vida, en este caso, a nuestro unicornio. Empezaremos con el cuernito, lo primero que debemos hacer es cortar una especie de triangulo, tal como lo ven, en la imagen que se muestra antes de este párrafo. Luego, en fijaran con pegamento la punta de un cordón dorado en el extremo superior de nuestro triangulo, después con mucho cuidado uniremos los lados rectos, con ello obtendremos un cono.
Step 2:
Our headband is already lined, now it's time to start creating all the elements that will give life, in this case, to our unicorn. We will start with the little horn, the first thing to do is to cut a kind of triangle, as you can see in the image shown before this paragraph. Then, we will fix with glue the tip of a golden cord at the top of our triangle, then we will carefully join the straight sides, thus obtaining a cone.
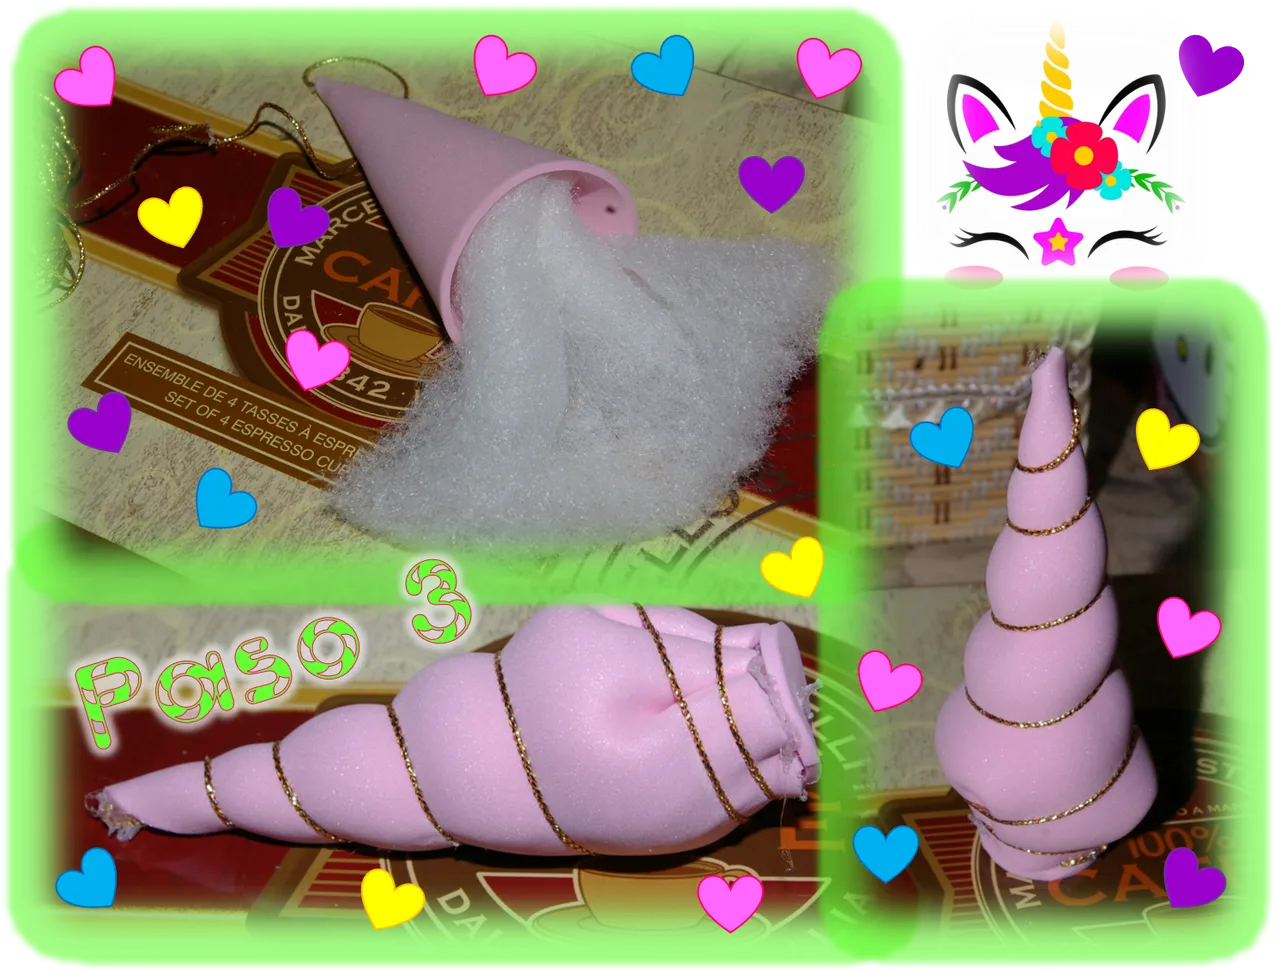
Paso 3:
Ahora, le daremos al cono que construimos, la forma de un cuerno, para ello lo rellenaremos, yo utilice un poco de guata, pero pueden usar también un poco de algodón. Luego, con pegamento cerré la base del cono para que no se saliera el relleno. Recuerdan que habíamos pegado el extremo de un cordón dorado a la punta de nuestro cono, bueno, ahora usaremos el cordón para darle una forma enroscada al cuernito. Para lograr ese efecto, enrollaremos el cordón alrededor de cono, generando presión para que quede apretado, con esto ya nuestro cuerno estará listo.
Step 3:
Now, we will give the cone that we built, the shape of a horn, for this we will fill it, I used a little wadding, but you can also use a little cotton. Then, with glue I closed the base of the cone so that the stuffing would not come out. Remember that we had glued the end of a golden cord to the tip of our cone, well, now we will use the cord to give a curled shape to the little horn. To achieve this effect, we will wrap the cord around the cone, generating pressure so that it is tight, with this our horn will be ready.
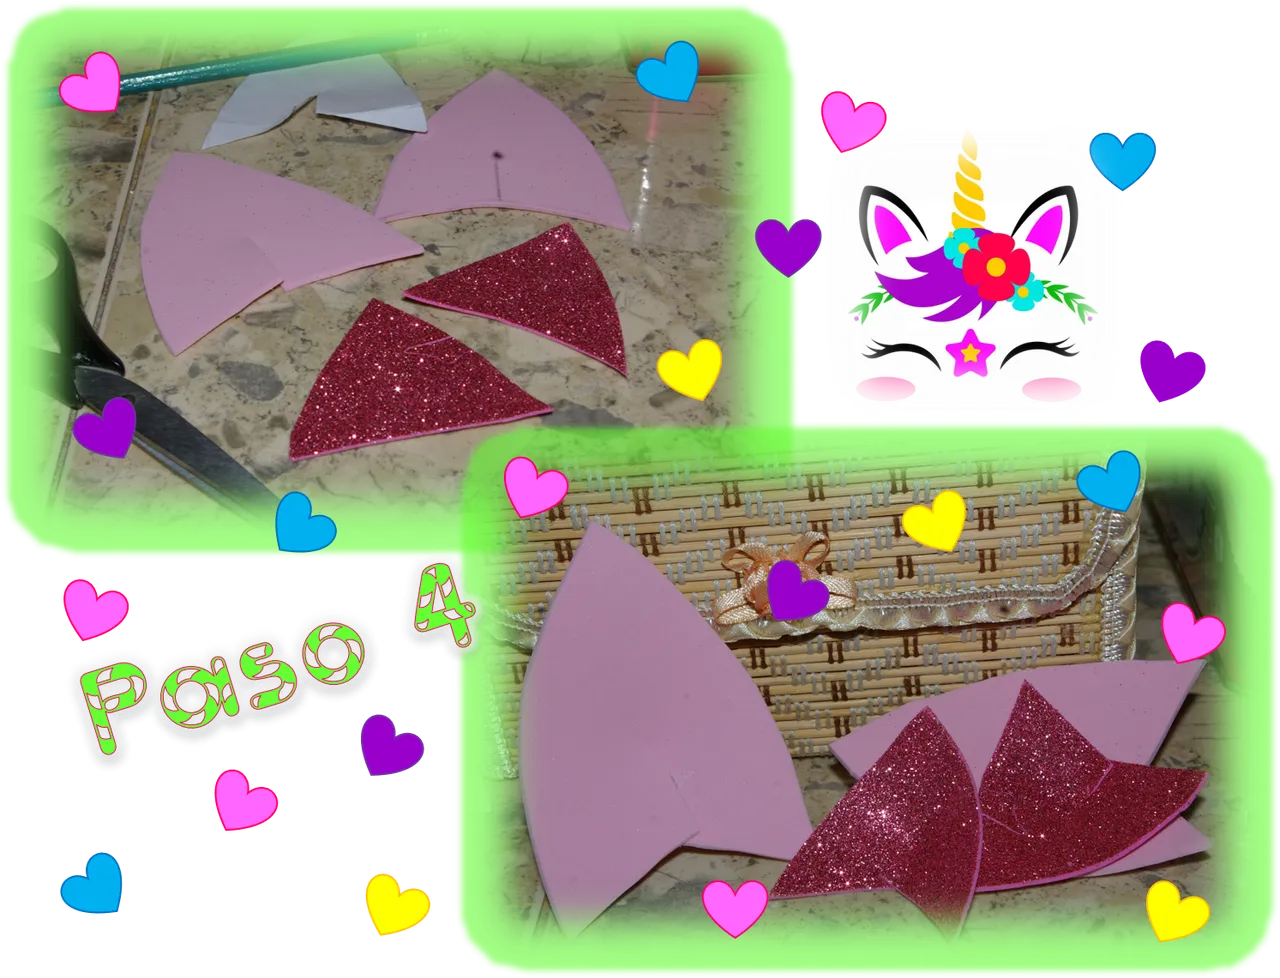
Paso 4:
Toca el turno de elaborar las orejas de nuestro unicornio, para ello cortaremos dos pares de orejas, un par lo cortaremos en foami normal. El otro par de orejas, las cortaremos en un tamaño más pequeño, pero en esta oportunidad usaremos foami escarchado. Seguidamente, en cada una de las orejas, realizaremos un pequeño corte en la base de la oreja, después sellaremos el corte, pero esta vez sobreponiendo las piezas. Esto nos ayudará a generar un poco de profundidad y más realismo a nuestras orejas, ahora, pegaremos encima de las orejas grandes las más pequeñas y también nuestras orejas están listas.
Step 4:
It's time to make the ears of our unicorn, for this we will cut two pairs of ears, one pair we will cut in normal foami. The other pair of ears, we will cut them in a smaller size, but this time we will use frosted foami. Next, on each of the ears, we will make a small cut at the base of the ear, then we will seal the cut, but this time overlapping the pieces. This will help us to generate a little depth and more realism to our ears, now, we will glue on top of the big ears the smaller ones and also our ears are ready.
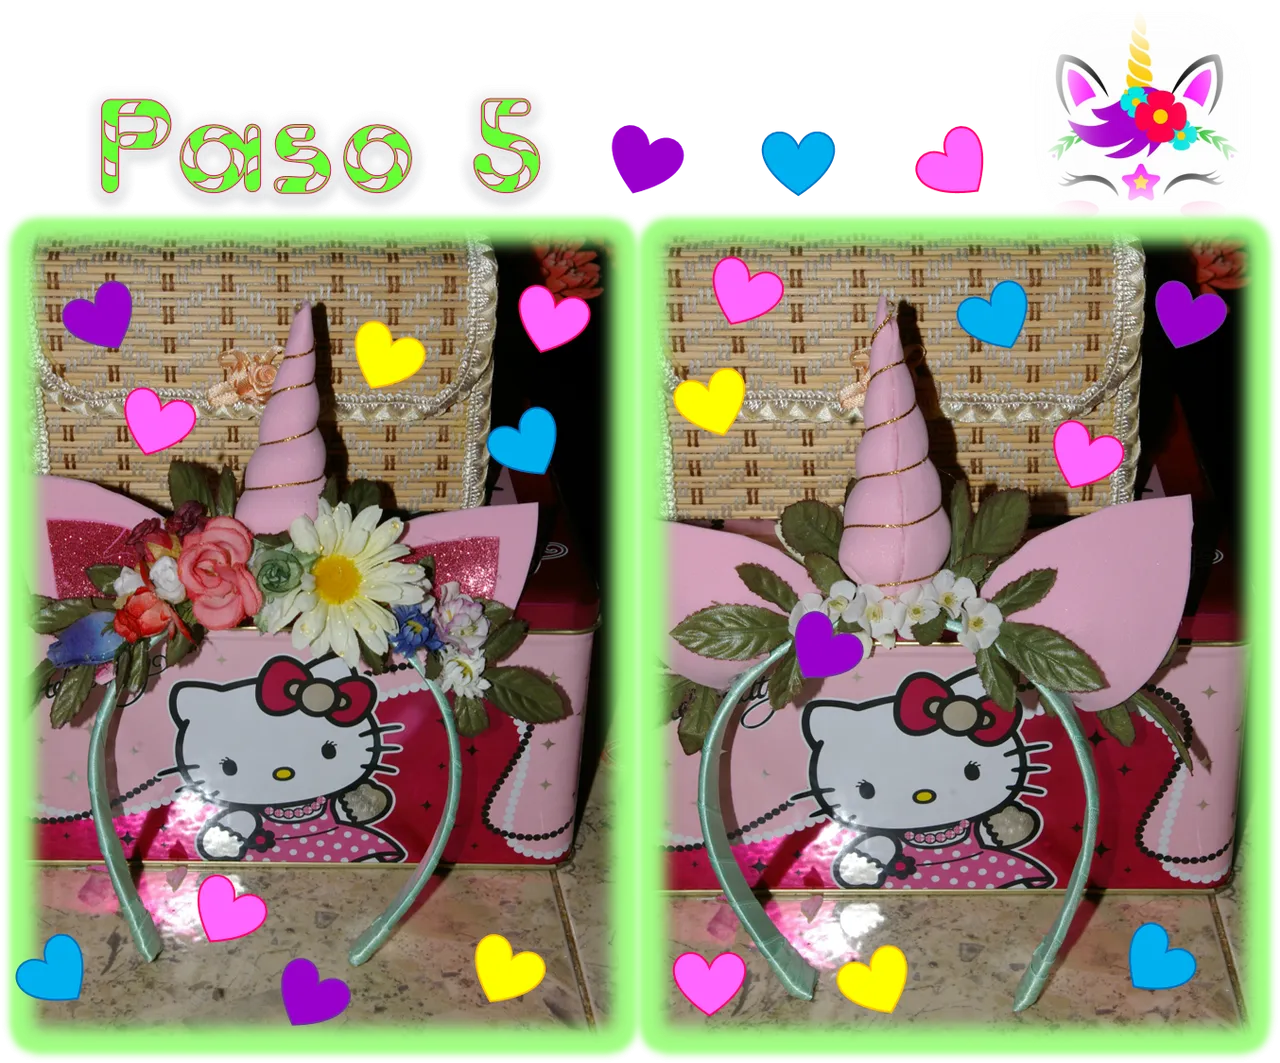
Paso 5:
Ya tenemos todos los elementos listos para armar el cintillo de unicornio, lo primero que hice fue ubicar el centro del cintillo, allí usando la pistola de silicón caliente fijé el cuerno. Después, de forma equidistante pegaremos las orejitas, recuerde ubicarlas lo más parecido a lo que podrían tenerlas un unicornio real, jajaja. Después, le iremos colocando la decoración, yo usé florecitas de tela de distintos tipos y colores, pero, realmente es a su gusto, usted puede usted puede los elementos de decoración de su preferencia.
Step 5:
Now we have all the elements ready to assemble the unicorn headband, the first thing I did was to place the center of the headband, there using the hot silicone gun I attached the horn. Then, we will glue the ears equidistantly, remember to place them as close as possible to what a real unicorn would have, hahaha. I used fabric flowers of different types and colors, but, it is really up to your taste, you can use the decoration elements of your preference.
Como pudieron ver, no es nada complicado realizar este hermoso cintillo, y estoy segura que sus niñas lo adoraran y si no les gusta los unicornios, pues no importa, existe una gran gama de opciones. Que tal les parecería, un cintillo de gato, de conejo, de perrito, de ratoncito, incluso, puede hacer uno de reno para navidad, no me queda más que despedirme, esperando les gustara. Recuerden, cuidarse y cuidar a los suyos poniendo en práctica las medidas de bioseguridad.
As you can see, it is not complicated at all to make this beautiful headband, and I am sure your girls will love it, and if they don't like unicorns, it doesn't matter, there is a wide range of options. How about a cat, bunny, puppy, mouse or even a reindeer headband for Christmas, I just have to say goodbye, I hope you like it. Remember to take care of yourselves and your loved ones by putting into practice the biosecurity measures.
Contenido y fotografías de mi propiedad intelectual
Información Técnica
| Cámara | Pentax * istDL |
|---|---|
| Lente | * Pentax 18-55 |
| Iluminación | Luz Natural |
| Locación | Barcelona, Estado Anzoátegui, Venezuela |
Content and photographs of my intellectual property
Technical information
| Camera | Pentax * istDL |
|---|---|
| Lens | * Pentax 18-55 |
| Lighting | Natural Light |
| Location | Barcelona, Anzoátegui State, Venezuela |