
Yo recuerdo en mis tiempos de niñez, ver cómo hacían reparaciones en el hogar; todo era quita, limpia, arregla, no pises, y todas esas cosas que como niños no hacíamos caso y queríamos estar allí en primera fila.
Hoy en día tengo mi hogar, entiendo ¡Todos esos trabajos! Que se hacían en casa paravmamtener los lugares "habitables". Pero de ese tiempo, recuerdo como se desperdician el material que sobraba; pedazos de cerámica, sacos de cemento que se endurecían, algunas piezas que se llevaban los obreros, todo por no tener esos trastes en la casa.
En mi caso no, primero porque la economía está un poco difícil para darnos el lujo de estar botando lo que podemos usar más adelante y segundo porque gracias al internet, ahora podemos aprender de maravillosas ideas para organizar y reaprovechar esos materiales para hacer nuestros espacios más armónicos con lo disponible.
Bajo este pensamiento, me presento ante ustedes para compartirles como solventé mi problema de humedad, con materiales que tenía en casa.
¡Acompáñame!


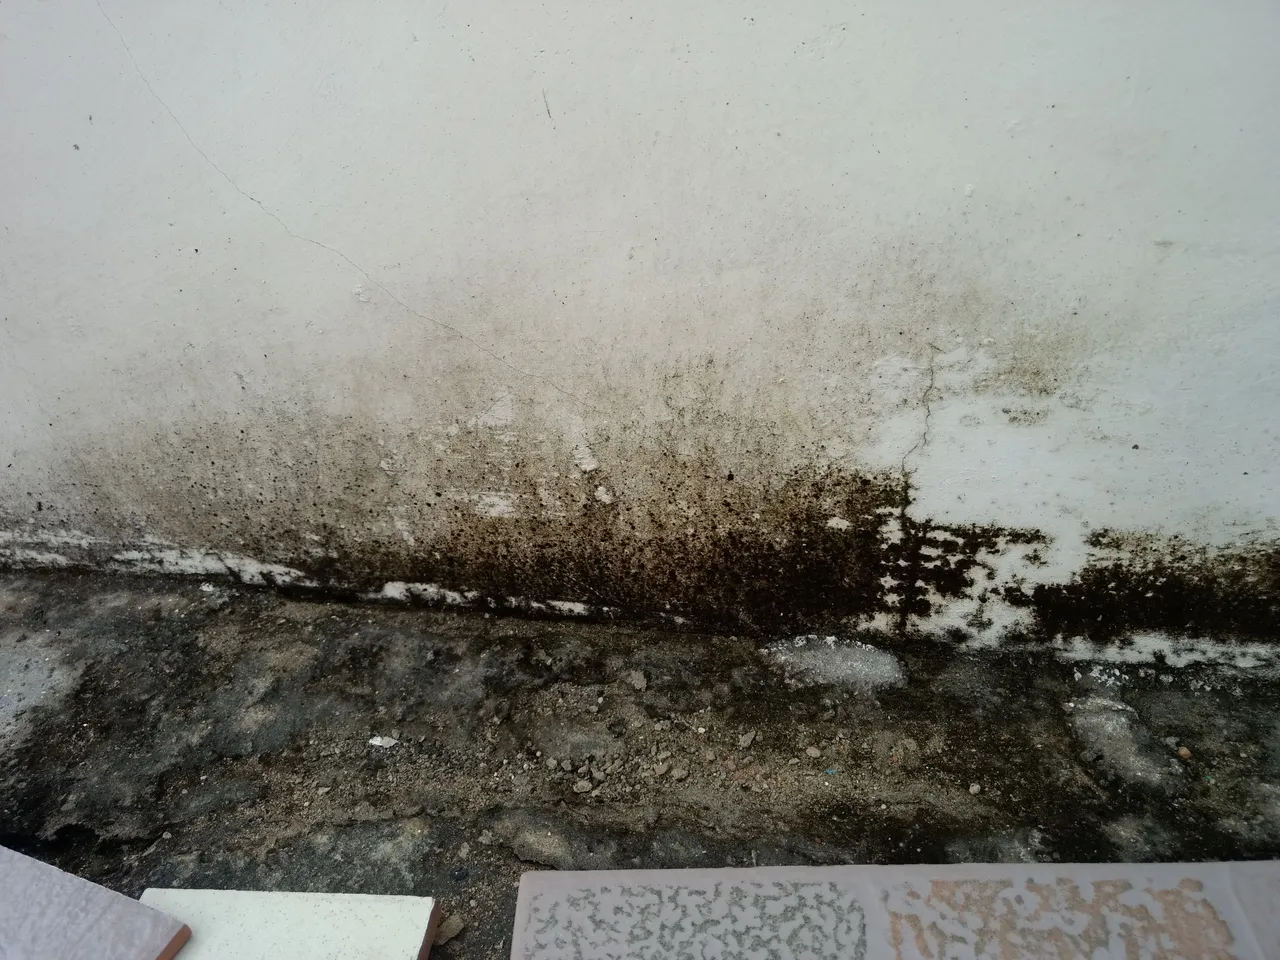
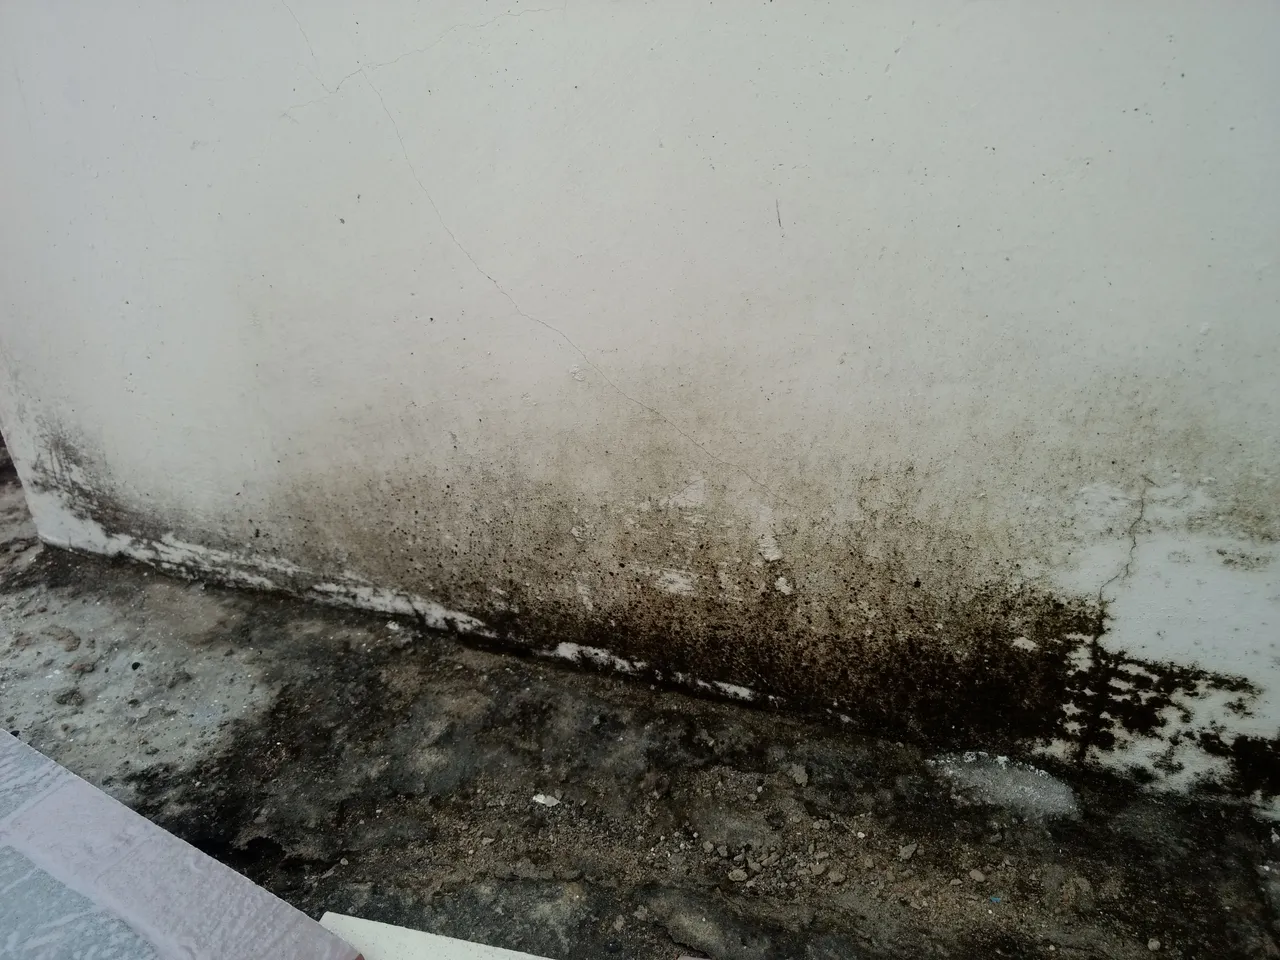
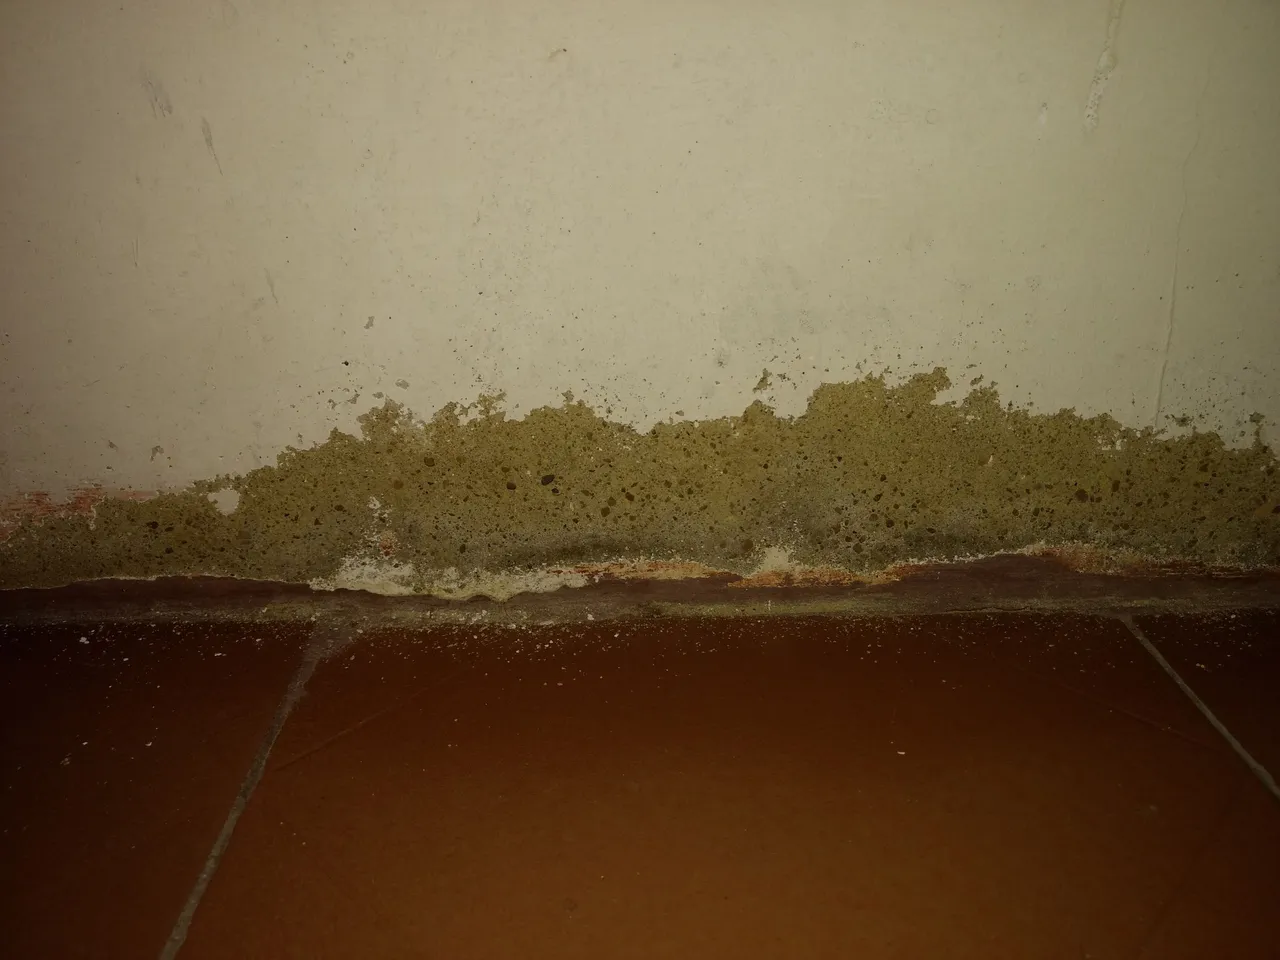
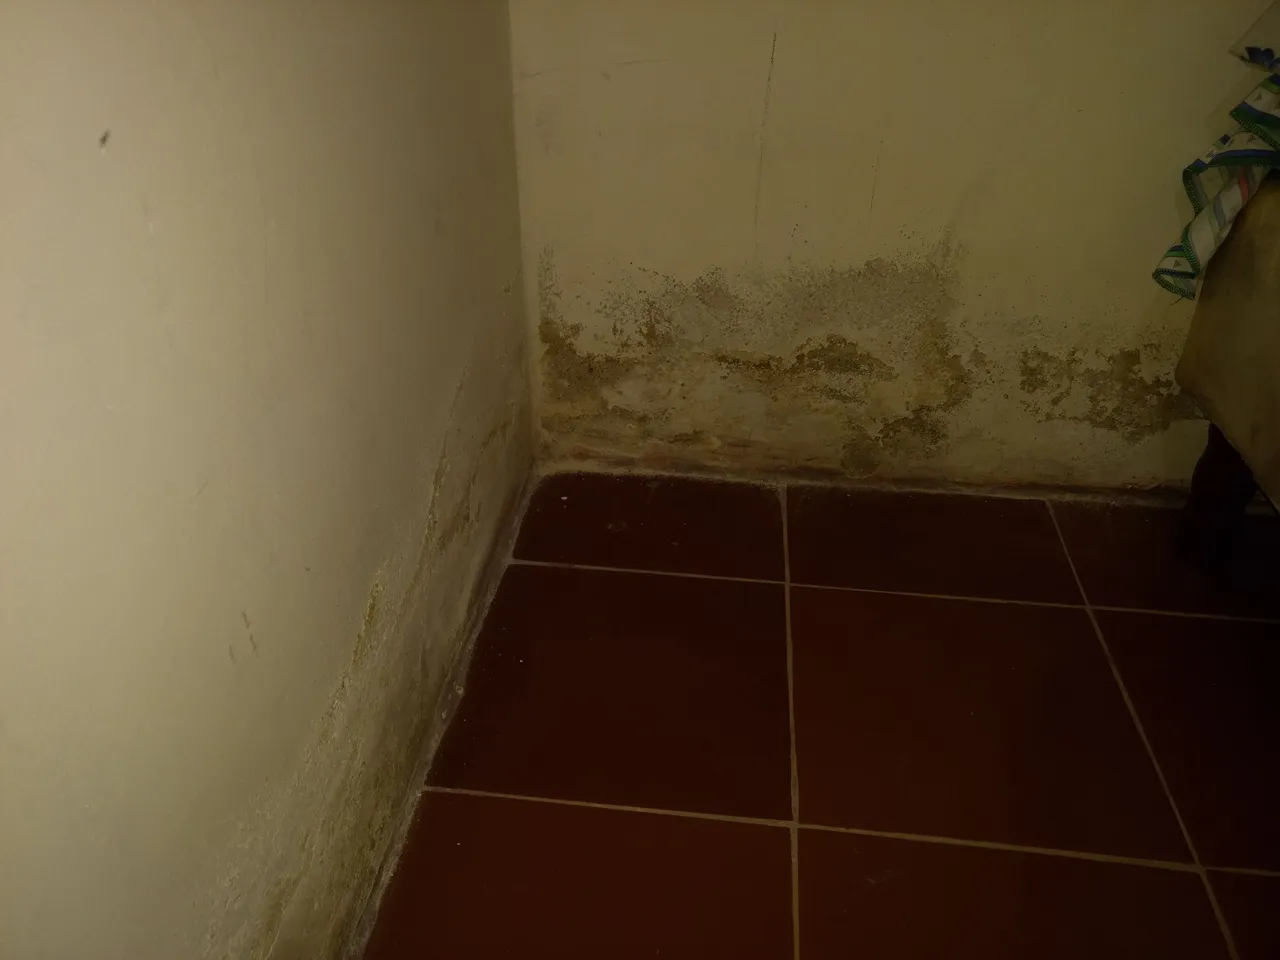
La humedad es un problema que estaba atacando mis paredes. Lamentablemente no poseo techo en la parte de afuera en el jardín, por lo que entre el sol y el agua cuando llueve, habia ido creando el hongo en la pared. Este hongo se fue formando en la parte de abajo de la pared, porque tampoco tiene piso de cerámica y cuando llueve el agua tarda un poco en bajar, entonces las paredes quedan húmedas formando esta capa.
Entre otras cosas, primero es antiestético que tú entres a tu casa y la primera impresión sean las paredes llenas de moho. En segundo lugar, ¡Que antihigiénico! Tener hongos en mis paredes. No sé ustedes, pero yo he visto que este moho causa enfermedades, sirve para proliferar insectos y hasta pueden abrir huecos en las zonas donde están, creando un problema mayor como und errumbe o no tener los materiales al momento para resolver.
Por último, otras de las causas de esta humedad, es porque yo vivo en las cercanías de un río; cuentan los fundadores que incluso dónde está nuestro hogar era parte del río, esto explicaría que la mayoría de las casas presente este tipo de problema.
Como mi casa es nueva, estaba pintada, pero no ha pasado cinco años y he tenido que pintar como tres veces, porque la pintura dura un tiempo, y de repente aparece el moho. Yo no había prestado atención, hasta que le dije a mi albañil de confianza que ya estaba bueno de esta situación porque estaba tomando parte del cuarto y el me dió la solución:
Vamos a colocarle cerámica.
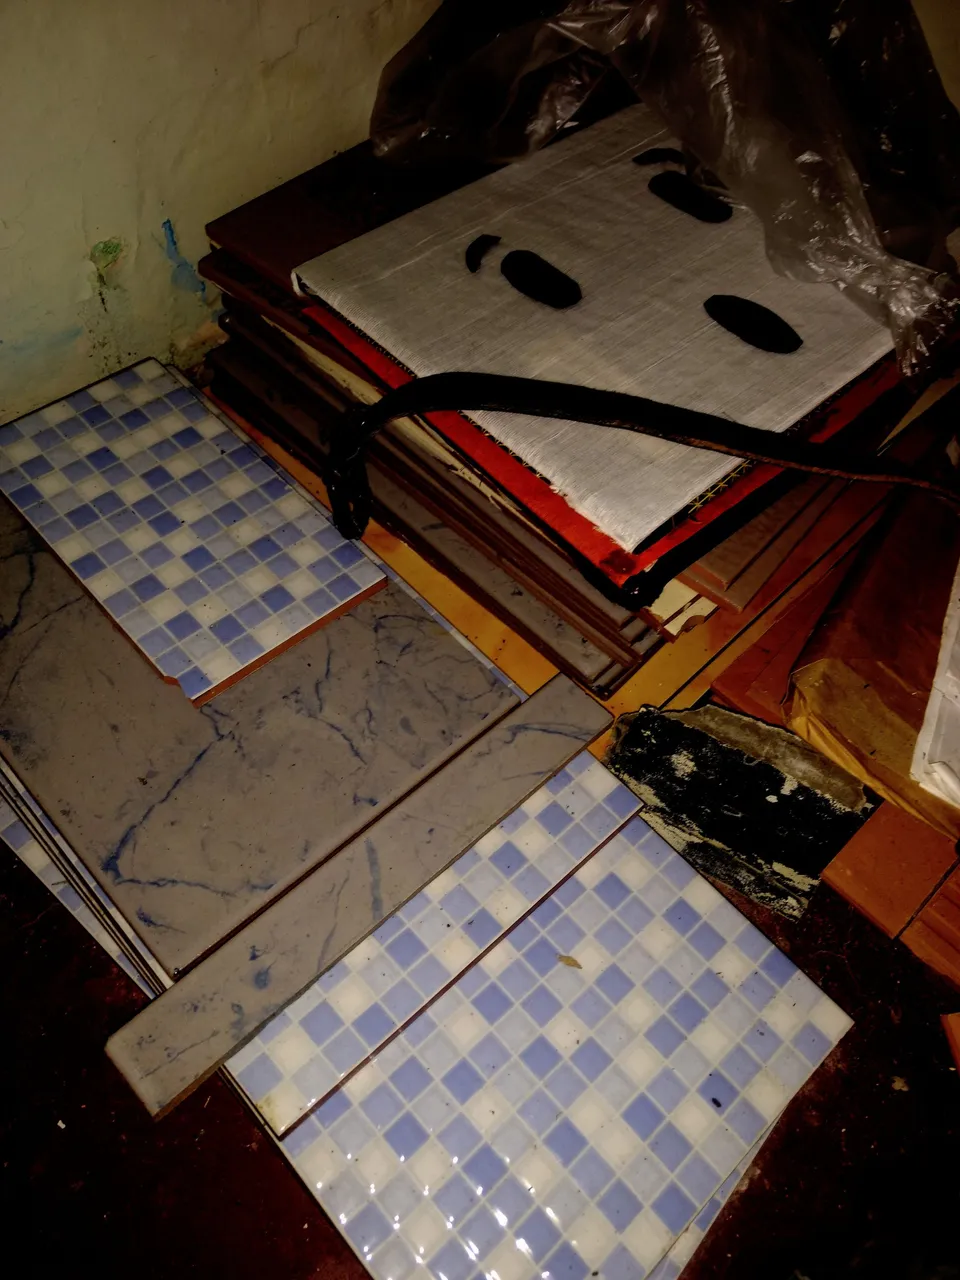
Como yo tenía unas piezas disponibles de lo que me había quedado por el baño y cuartos, entonces pusimos manos a la obra para atacar este problema.
Los materiales que utilicé son:
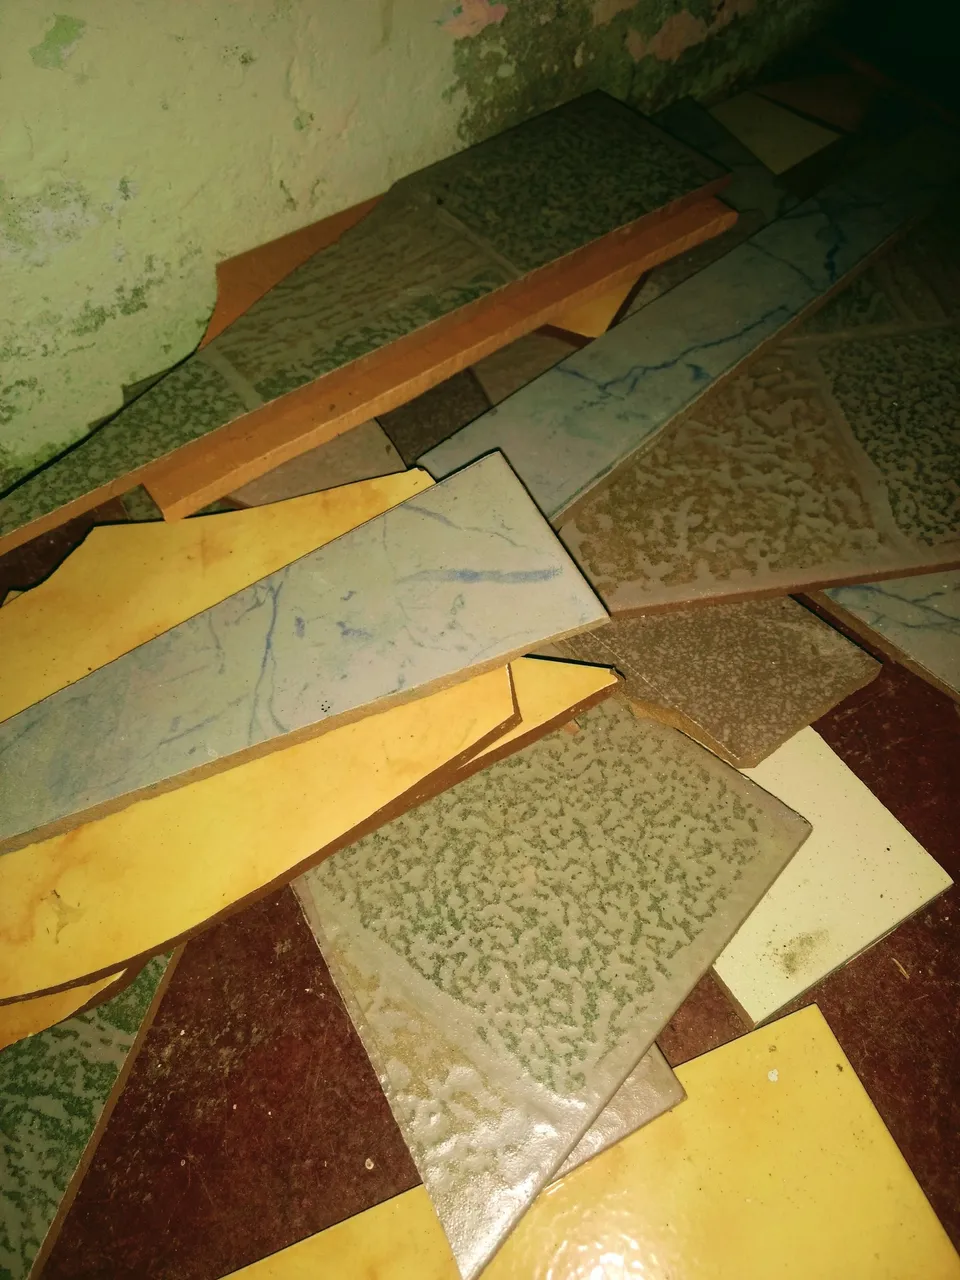
👷🏻♀️ Cerámicas. Retazos o listones de construcciones anteriores. Si decides comprar unas, en la zona donde vivo cuesta mínimo $7 el metro.
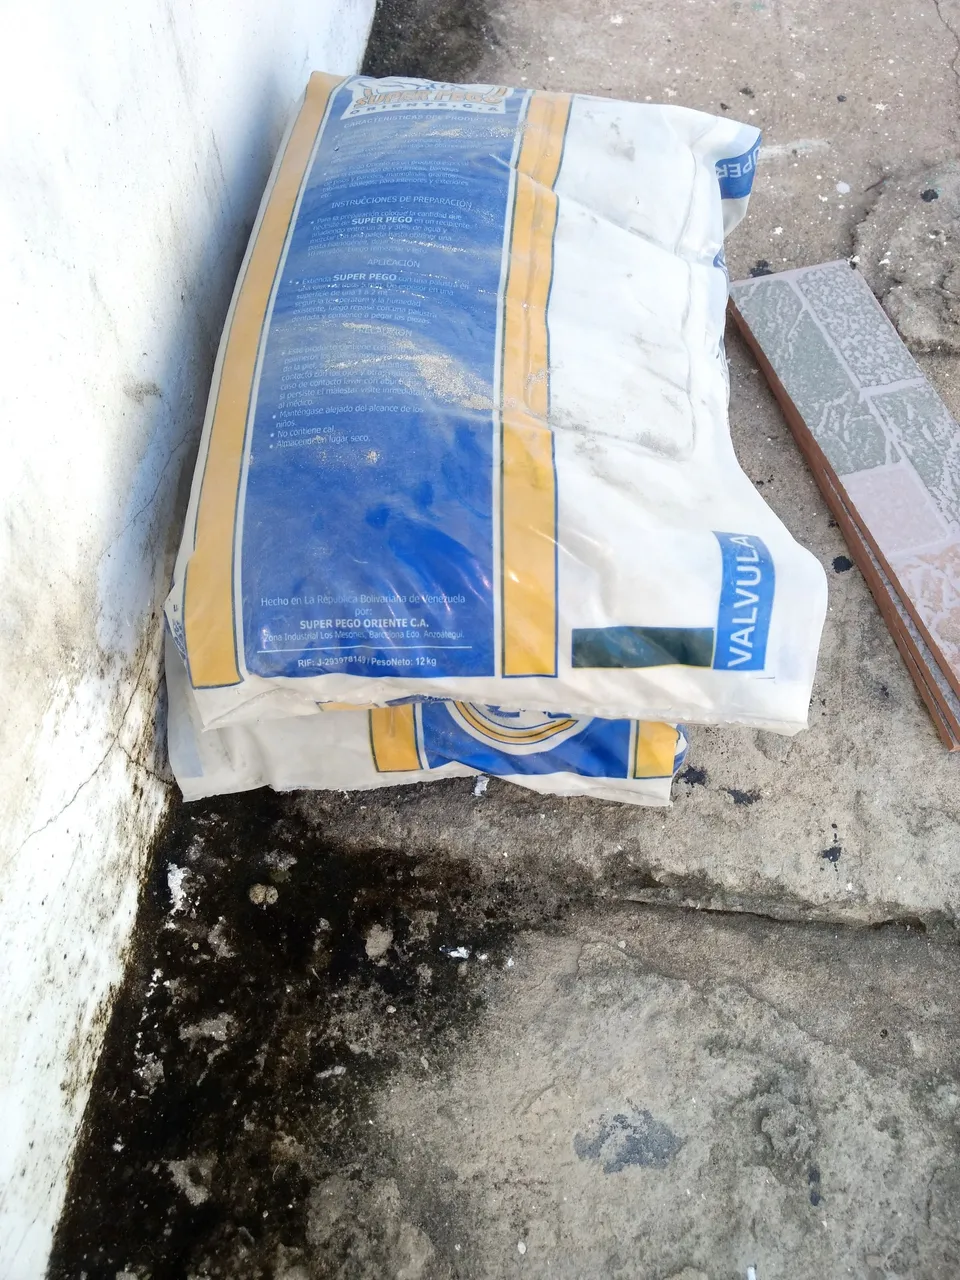
👷🏻♀️ Pego. Este peda 12kilos y cuesta $2. Alcanza para 2 metros aproximadamente.
👷🏻♀️ Pasta profesional. El 1/4 de galón cuesta $4.
👷🏻♀️Pintura. Ya yo tenía pintura blanca, porque me encantan las paredes limpias "cosas de doña".
👷🏻♀️Espátula, cortadora de cerámica, brochas, trapos para limpiar.
Lo primero que hacemos es limpiar la superficie de exceso de pintura u otras impurezas.
En el caso de las cerámicas, yo piqué listones de 10 cm de alto y ellas ya vienen con 30 cm de largo. Seria 10X30 cm.
Tenía unos pedazos blancos y los porque 10X5cm. Recuerden que no perdemos nada.
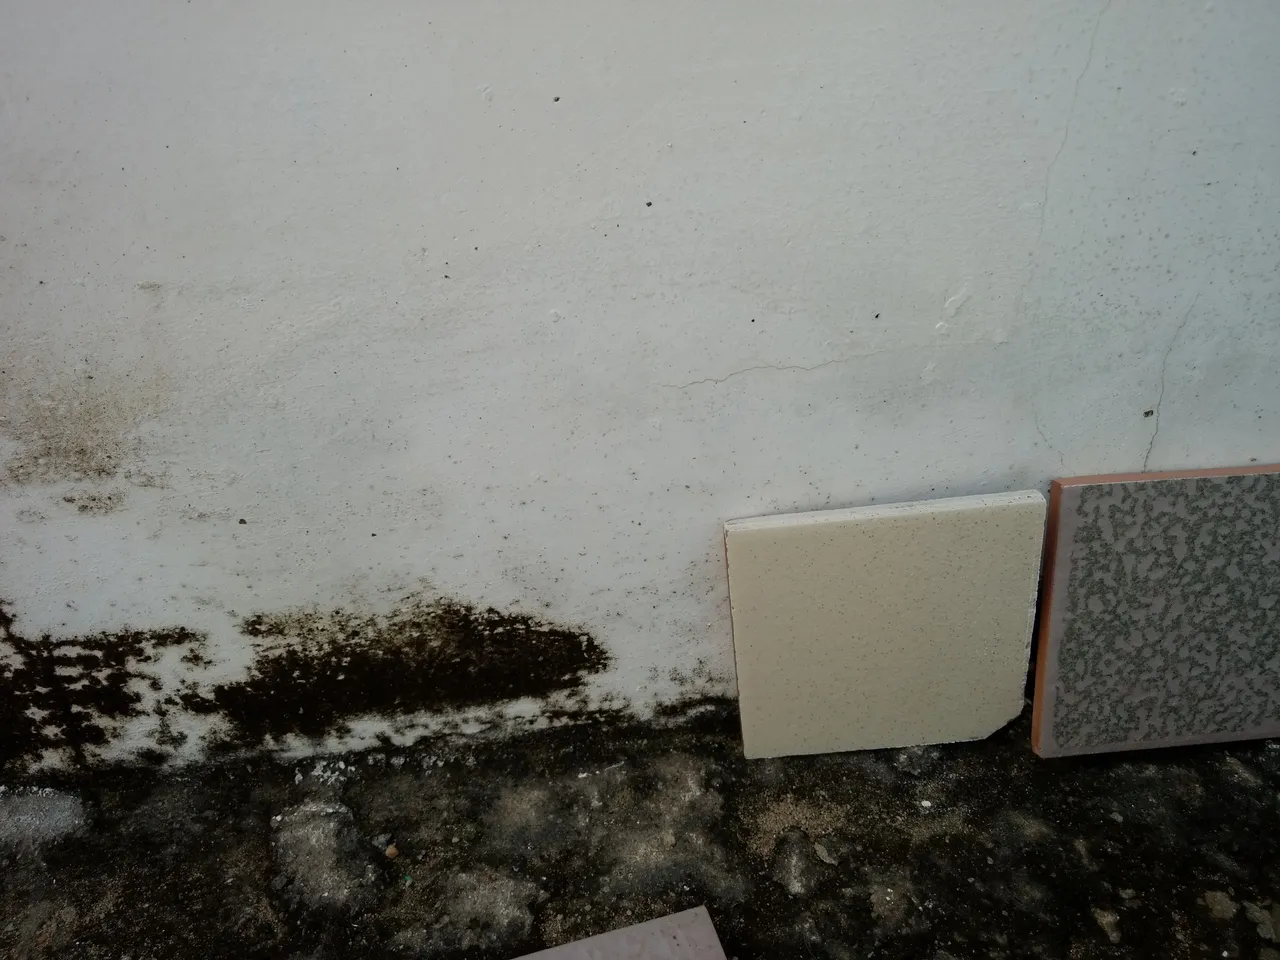
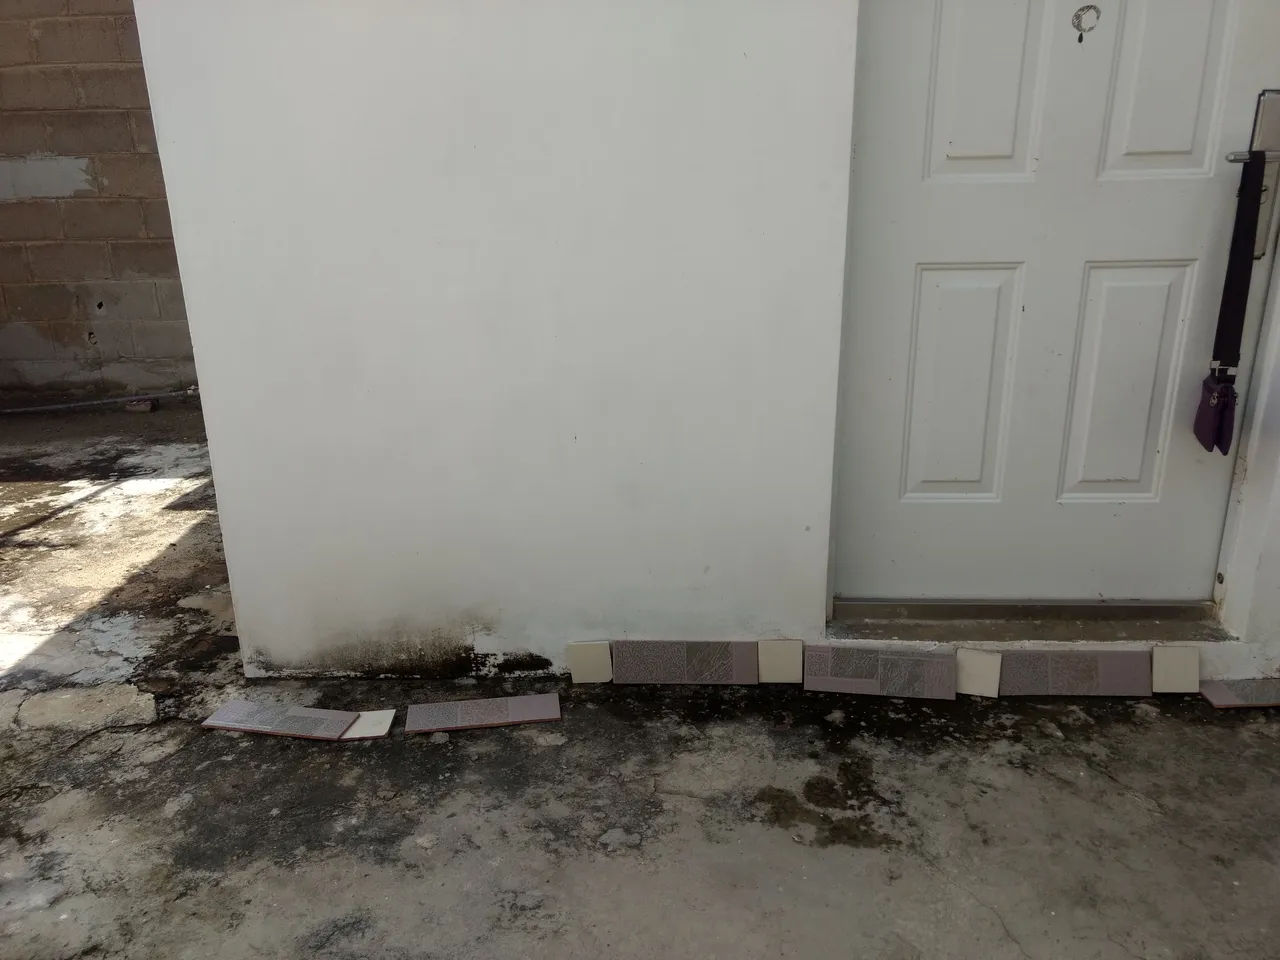
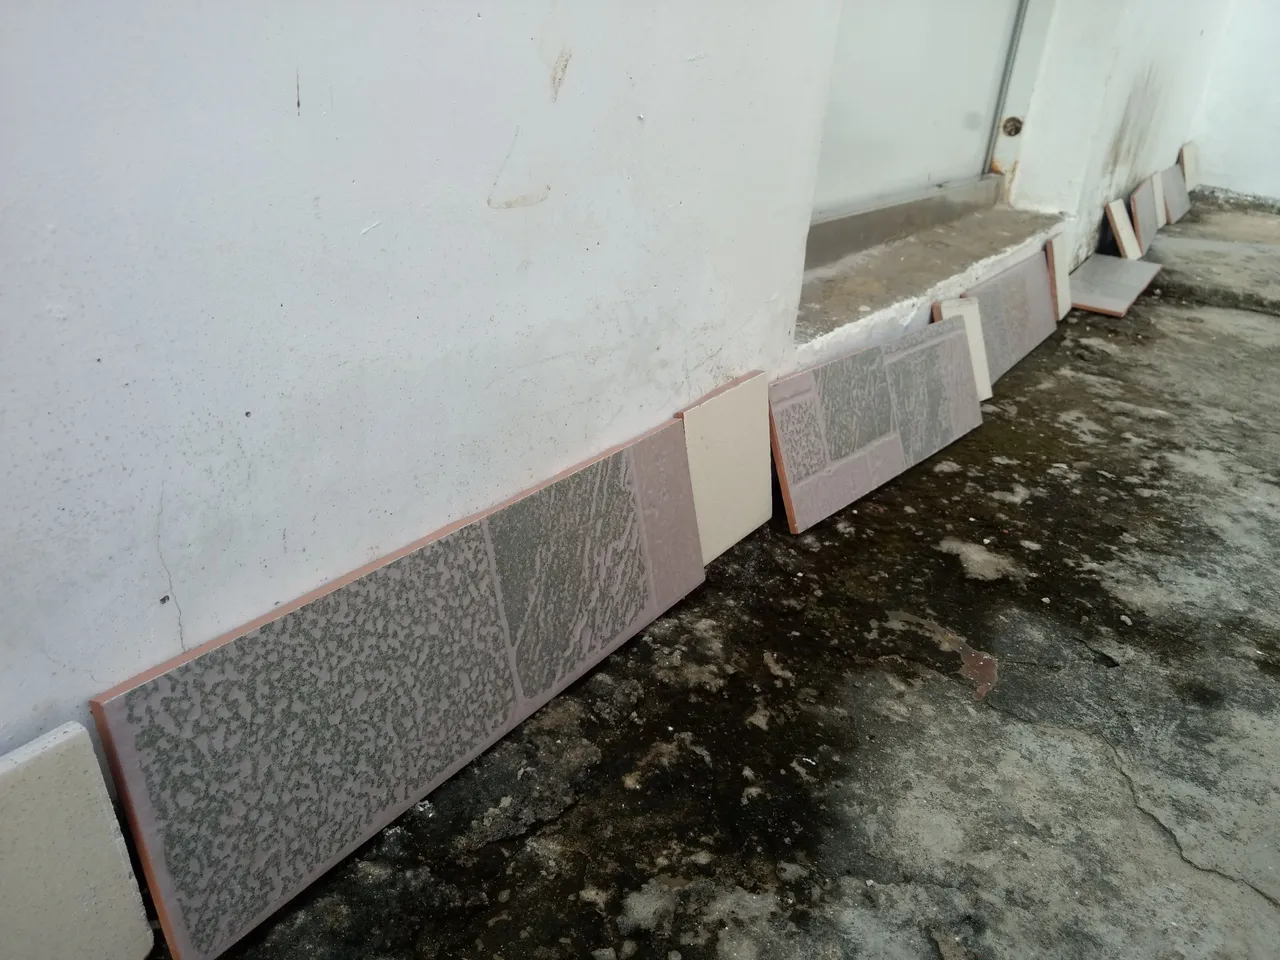
Una vez cortados, vamos "presentando" es decir, vamos colocando las piezas en la pared para ir viendo que nos falta o si vamos bien.
Mezclamos el pego y lo aplicamos en la superficie de las cerámica, realizando algunos "surcos" para que se adhiera mejor a la superficie.
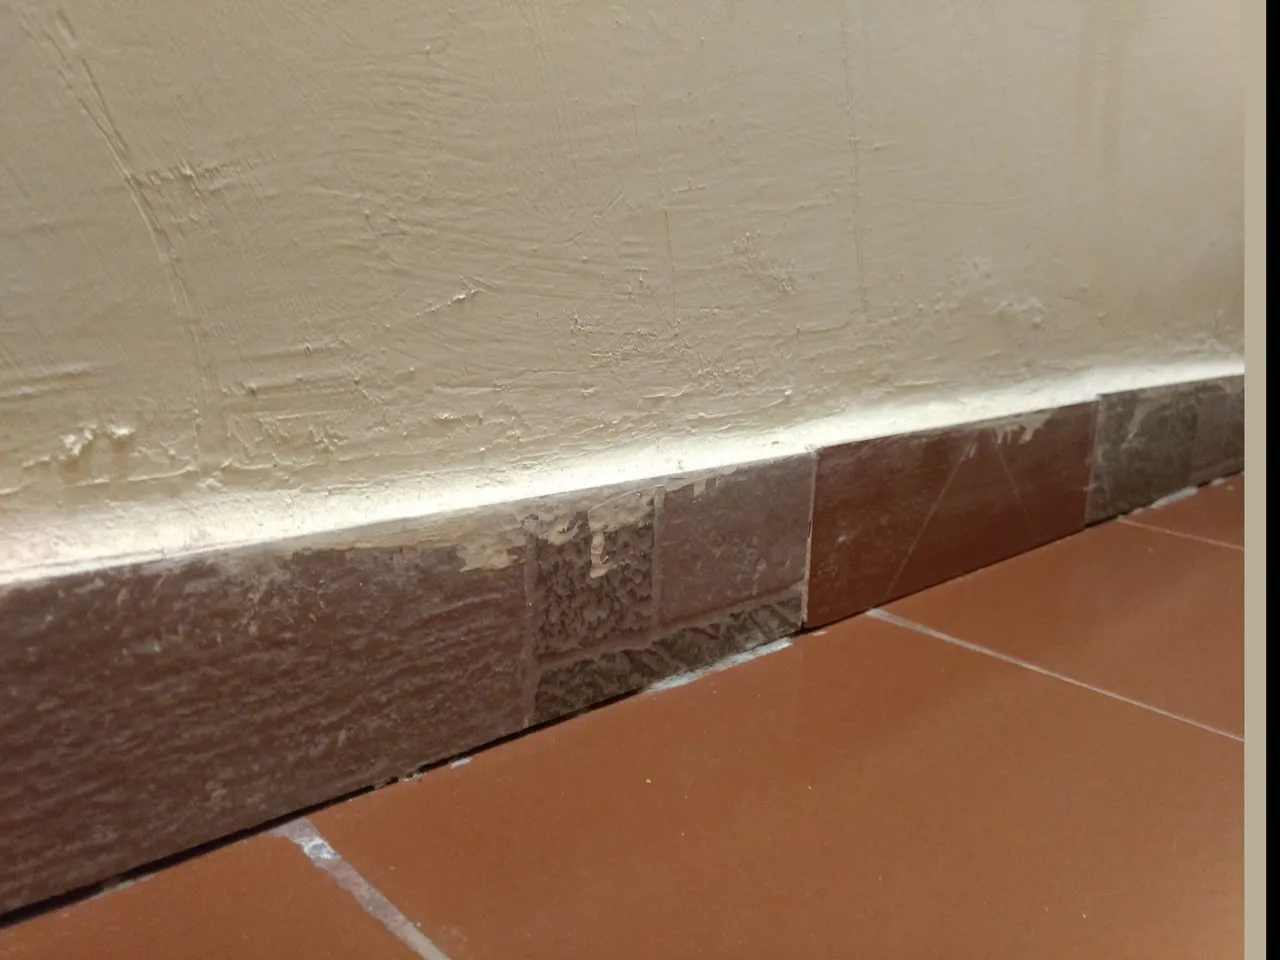
Por último, aplicamos con ayuda de la espátula, la pasta profesional; la pasta la podemos ligar con la pintura, sin embargo como mi intención era pintar todo, entonces usé la pasta, secó y luego pinté.

Y como me gustó el trabajo realizado entonces me fui al cuarto a realizar el mismo trabajo y procedimiento.
Entre medir, cortar, pegar, secar, aplicar pasta y pintura no se debe tardar más de un día, máximo dos. El trabajo más difícil es medir y hacer armónico la presentación de todos esos listones, ya que son varios tipos de cerámica. Estos fueron los resultados ⬇️⬇️⬇️
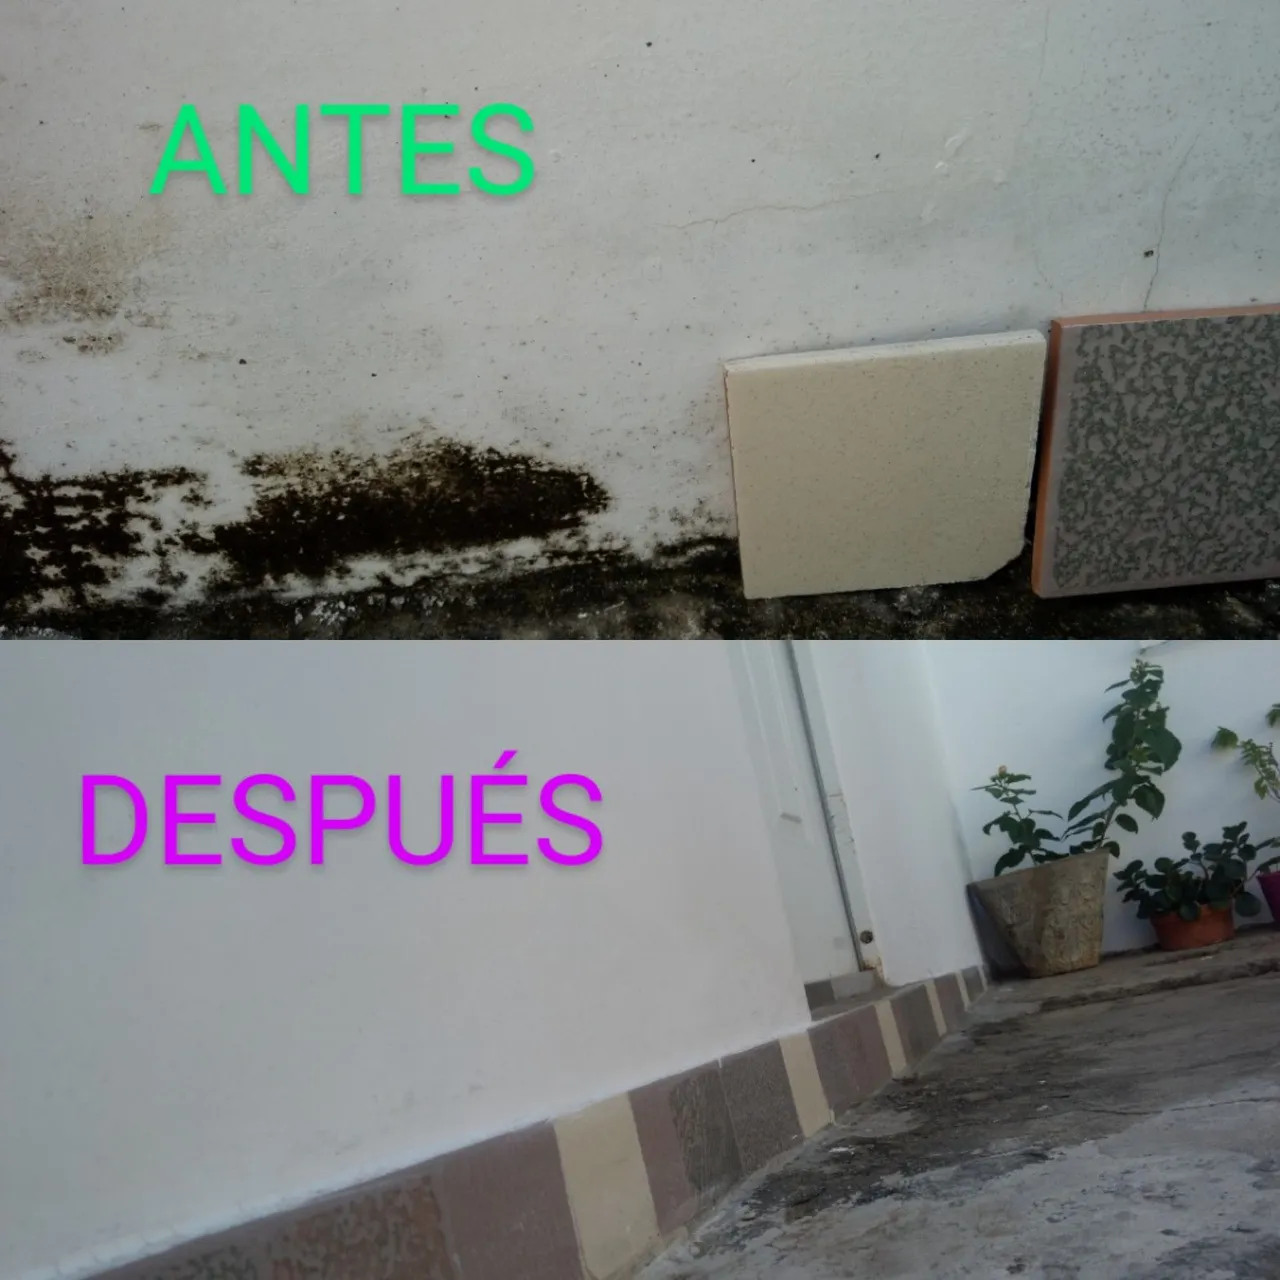
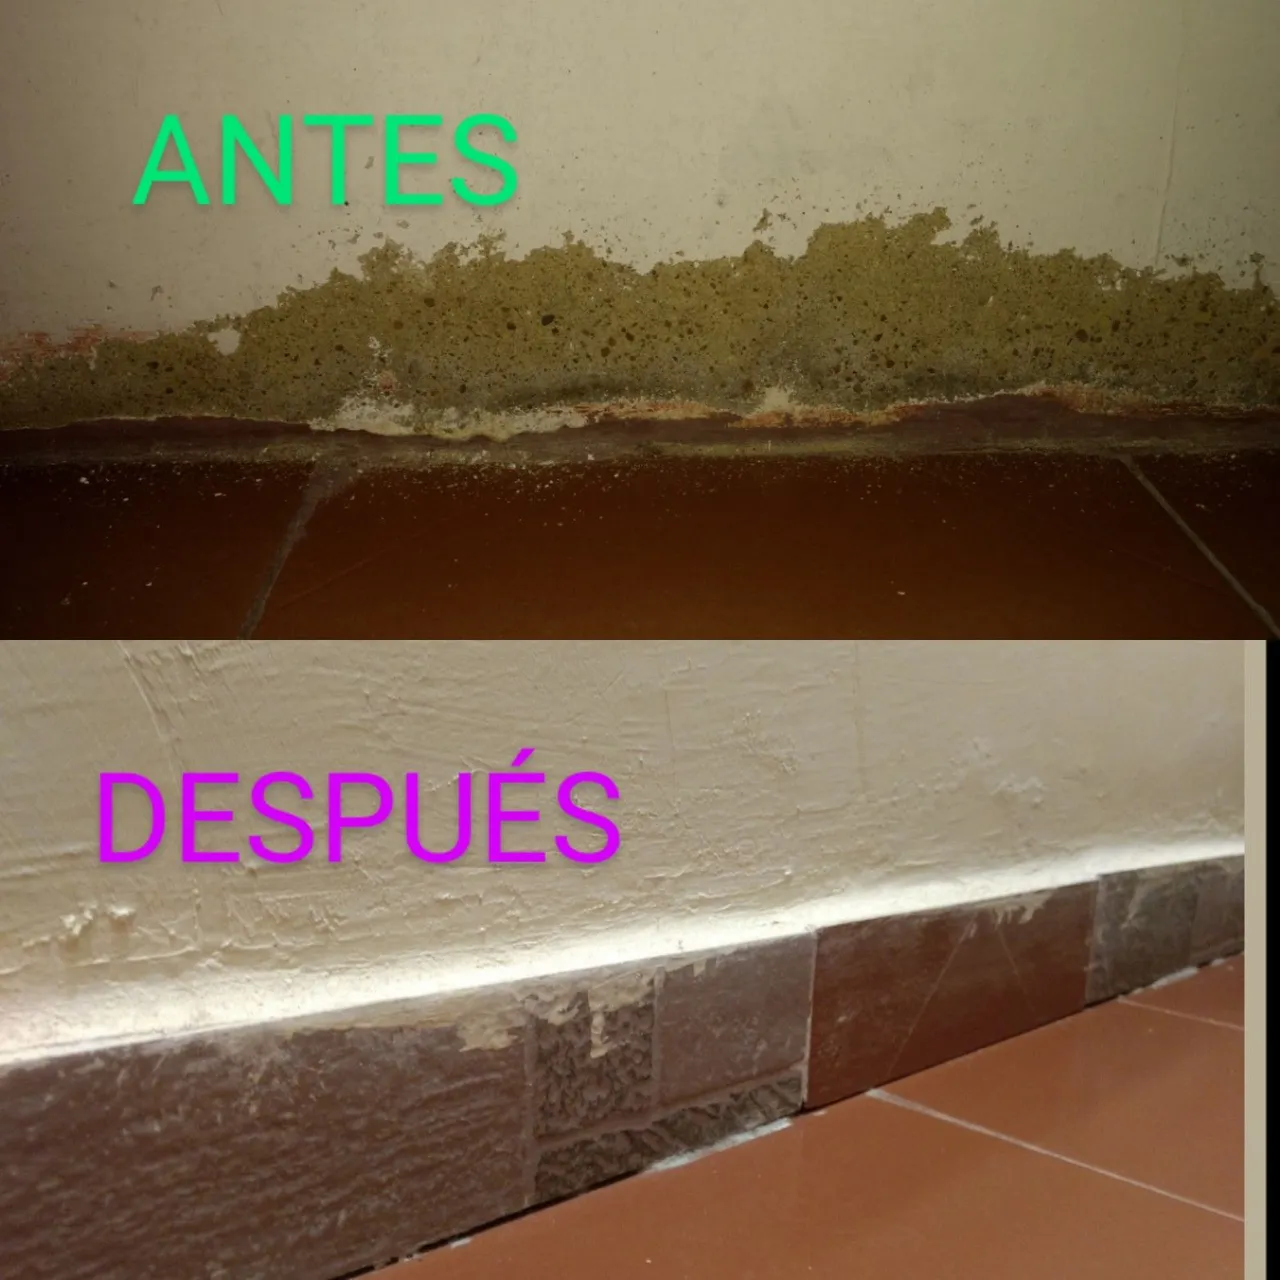
Antes y después de la pared del jardín.
Antes y después de la pared del cuarto.
Y está ha sido mi entrada y participación al concurso:
Reparaciones generales del hogar
Bases del concurso
E invito a todos a participar. No necesitas tener muchas cosas o dinero, solo la disposición de hacer algo bonito y de calidad por tu hogar. ¡Vamos! @mariser @cris23 ¡anímense!
Organizado desde la comunidad @Hivediy con apoyo de @build como un espacio para mejorar nuestros hogares desde lo que tenemos en casa que pensamos botar o no encontramos que hacer con ellos.
Gracias por la oportunidad y espero que está experiencia/tutorial sirva para el rescate de sus espacios.
Y aún me sobran cerámicas, así que si tienes ideas por allí, no dudes en compartirlas conmigo ando en #modocreativo je,je.
Todas las fotografías son de mi propiedad.
La edición de la portada fue en la app PostLab, y las demás ediciones en Google fotos y Diseños Instagram.
El separador es de @eve66 en esta publicación
I remember in my childhood days, seeing how they made repairs in the home; it was all about removing, cleaning, fixing, not stepping on, and all those things that as children we ignored and wanted to be there in the front row.
Today that I have my home, I understand all those jobs! That were done at home to keep the places "livable". But from that time, I remember how the leftover material was wasted; pieces of ceramic, sacks of cement that hardened, some pieces that the workers took away, all because we didn't have those things in the house.
Not in my case, firstly because the economy is a bit difficult to give us the luxury of throwing away what we can use later and secondly because thanks to the internet, we can now learn wonderful ideas to organize and reuse those materials to make our spaces more harmonious with what is available.
With this in mind, I am here to share with you how I solved my humidity problem with materials I had at home.
Join me!
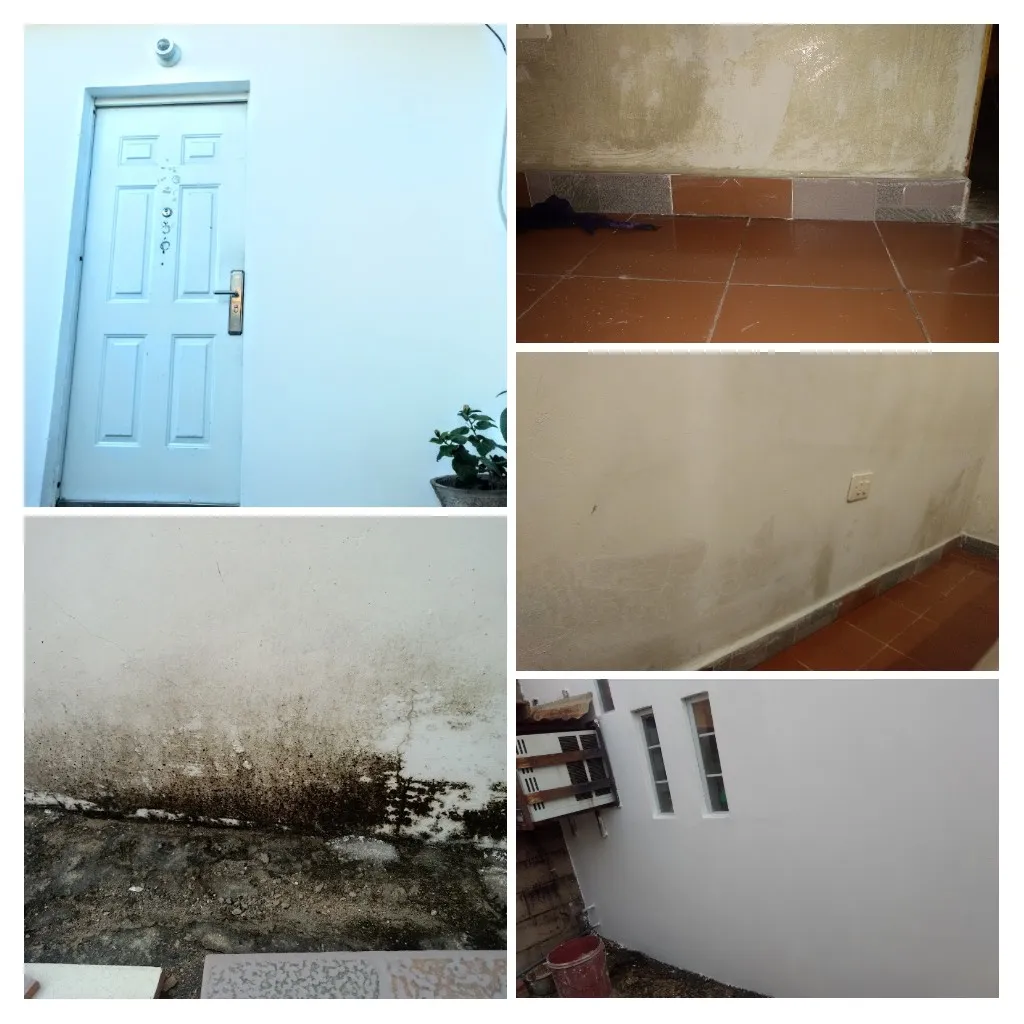
Damp is a problem that was attacking my walls. Unfortunately I don't have a roof outside in the garden, so between the sun and the water when it rains, it had been creating the fungus on the wall. This fungus has formed on the lower part of the wall, because it doesn't have a ceramic floor and when it rains the water takes a while to come down, so the walls stay wet forming this layer.
Among other things, firstly, it is unsightly when you enter your house and the first impression is that the walls are full of mould. Secondly, how unhygienic! To have mould on my walls. I don't know about you, but I have seen that this mould causes diseases, serves to proliferate insects and can even open holes in the areas where they are, creating a major problem such as und errumbe or not having the materials at the time to solve.
Finally, another cause of this humidity is because I live near a river; the founders say that even where our home is located was part of the river, this would explain why most of the houses present this type of problem.
Because my house is new, it was painted, but it hasn't been five years and I've had to paint it three times, because the paint lasts for a while, and suddenly the mould appears. I hadn't paid attention, until I told my trusted mason that I had had enough of this situation because it was taking up part of the room and he gave me the solution:
Let's tile it.
As I had some pieces available from what I had left over from the bathroom and rooms, then we got down to work to attack this problem.
The materials I used are:
👷🏻♀️ Ceramics. Scraps or strips from previous constructions. If you decide to buy some, in the area where I live it costs minimum $7 a metre.
👷🏻♀️ Glue. This weighs 12kilos and costs $2. It is enough for 2 metres approximately.
👷🏻♀️ Professional paste. 1/4 gallon costs $4.
👷🏻♀️Paint. I already had white paint, because I love clean walls "doña stuff".
👷🏻♀️Spatula, ceramic cutter, brushes, cleaning rags.
.
The first thing we do is to clean the surface of excess paint or other impurities.
In the case of the ceramics, I cut 10 cm high strips and they are already 30 cm long. It would be 10X30 cm.
I had some white pieces and the because 10X5cm. Remember that we don't lose anything.
Once cut, we go "presenting" that is to say, we go placing the pieces on the wall to go seeing that we lack or if we go well.
Mix the glue and apply it on the ceramic surface, making some "grooves" so that it adheres better to the surface.
Finally, we apply with the help of the spatula, the professional paste; the paste we can bind it with the paint, however as my intention was to paint everything, then I used the paste, it dried and then I painted.
And as I liked the work done then I went to the room to do the same work and procedure.
Between measuring, cutting, gluing, drying, applying paste and painting, it should not take more than a day, maximum two. The most difficult job is to measure and harmonize the presentation of all these strips, as there are several types of ceramics. These were the results ⬇️⬇️⬇️⬇️
Before and after the garden wall.
Before and after the wall of the room.
And this has been my entry and participation to the contest:
#General Home Repairs.
Organised from the @Hivediy community with support from @build as a space to improve our homes from what we have at home that we are thinking of throwing away or can't find what to do with them.
Thanks for the opportunity and I hope this experience/tutorial will be useful for the rescue of your spaces.
And I still have some ceramics left over, so if you have ideas out there, feel free to share them with me, I'm in #modocreativo heh,heh.
All photographs are my property.
The cover was edited in the PostLab app, and the other edits in Google photos and Instagram Designs.
The divider is by @eve66 in this publication