Hi Hive friends, I hope everyone in the community is doing well. This week begins for me with a job made of recycled cardboard: The F-117 stealth plane. This plane, although it is already out of service, was very striking due to its science fiction design. Its first test and mission flights were in the early 80's. I made this model with recycled cardboard, it does not have a defined scale since I simply made the lines to my liking. I hope you like it.
Hola amigos de Hive, espero que todos en la comunidad se encuentren muy bien. Esta semana comienza para mi con un trabajo hecho de cartón reciclado: El avión furtivo F-117. Este avión aunque ya está fuera de servició fue muy llamativo por su diseño salido de ciencia ficción. Sus primeros vuelos de prueba y de misiones fueron a inicio de la década de los 80. Hice este modelo con carton reciclado, no tiene una escala definida ya que simplemente hice los trazos a mi gusto. Espero que les agrade.

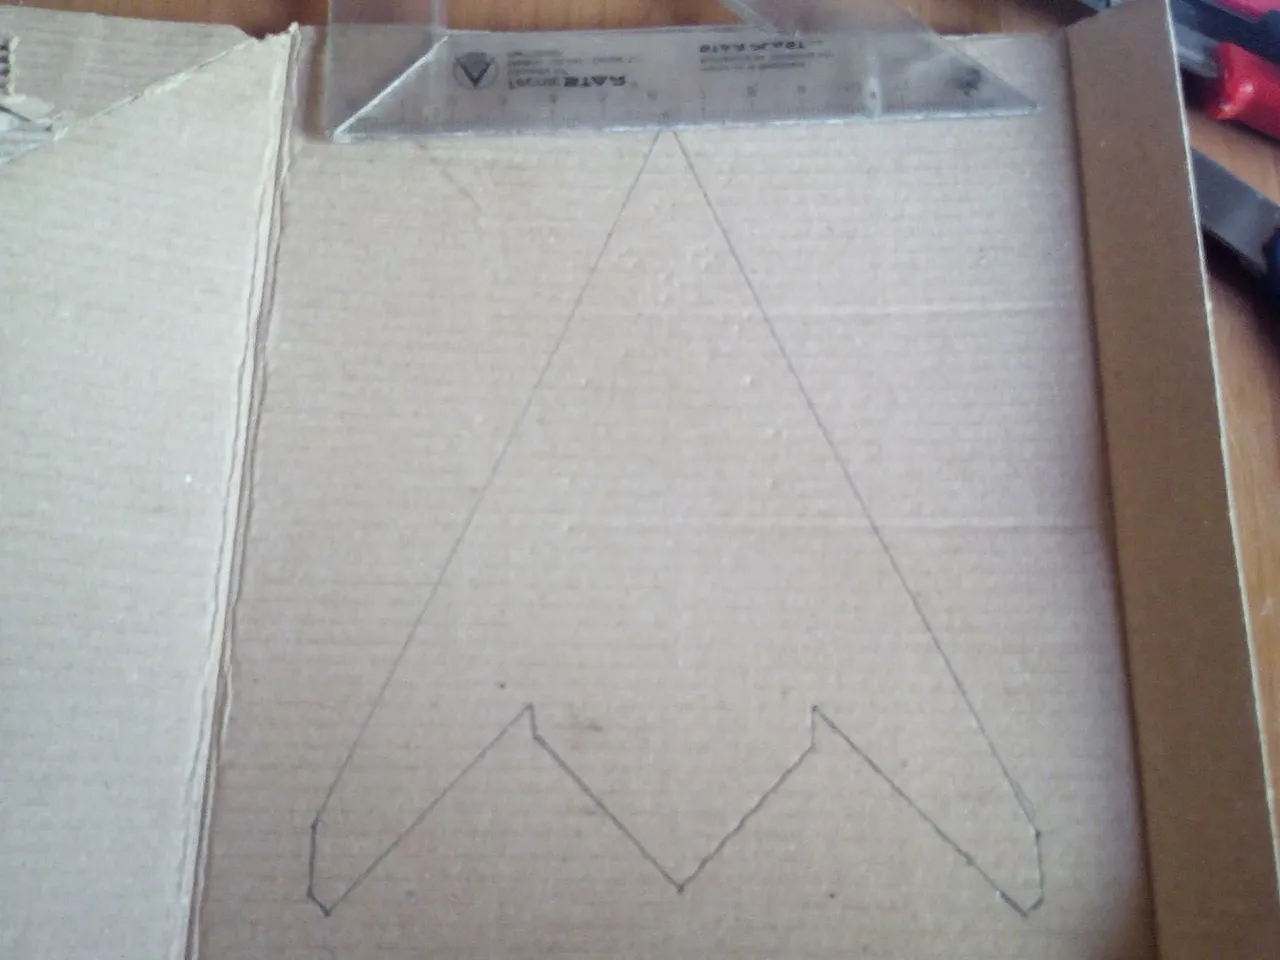
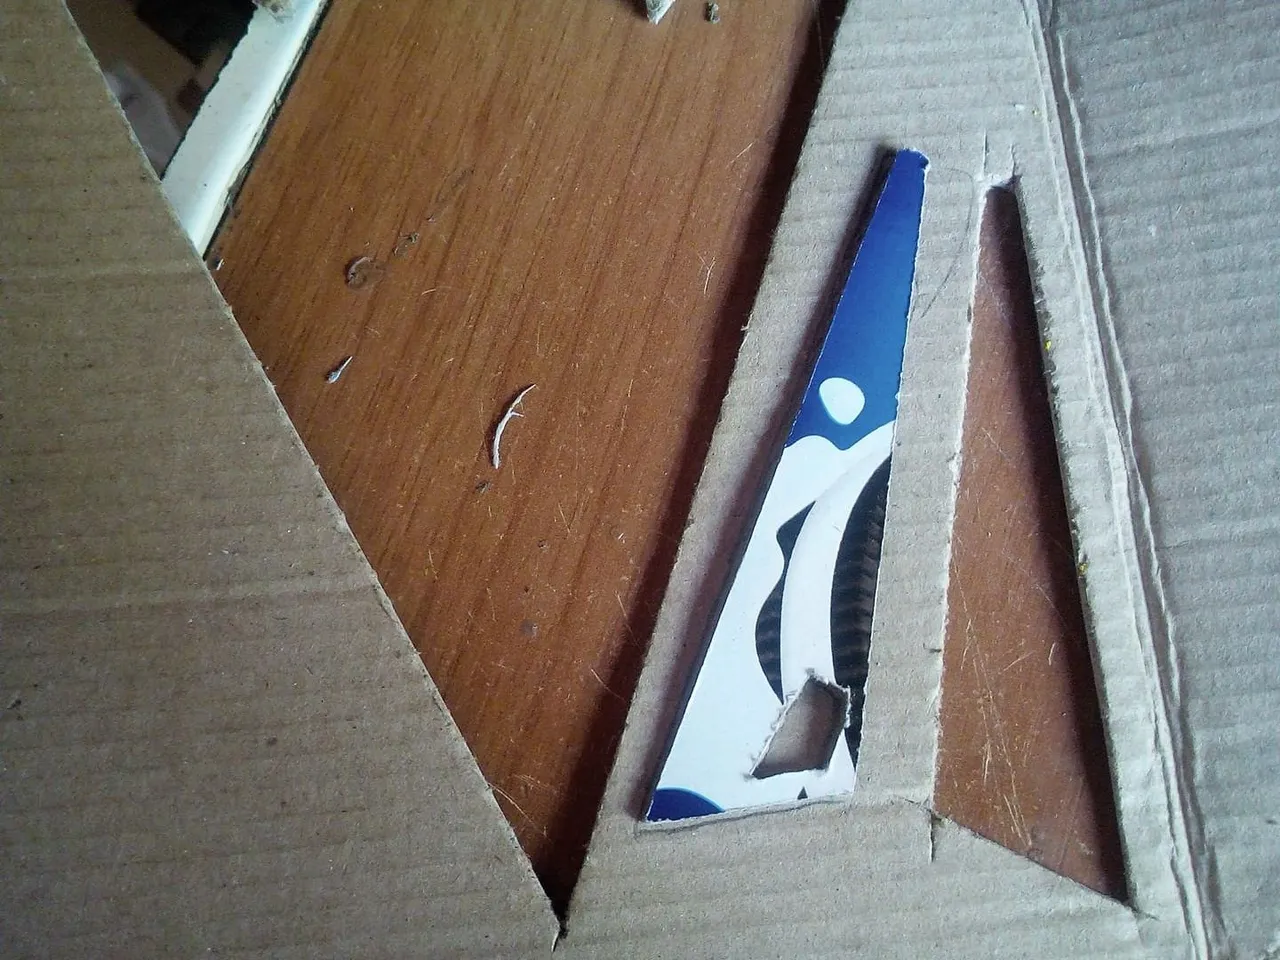
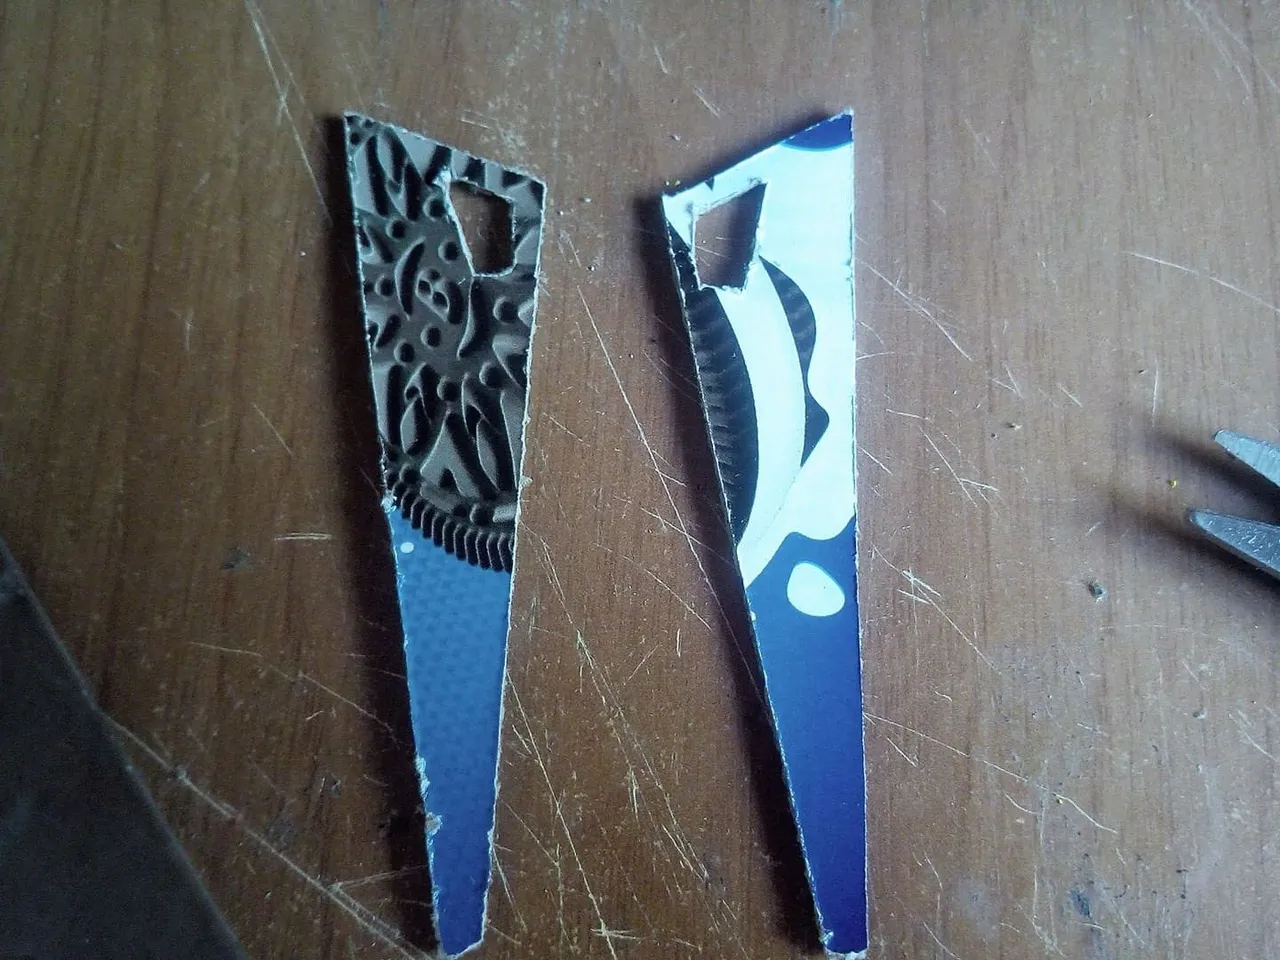
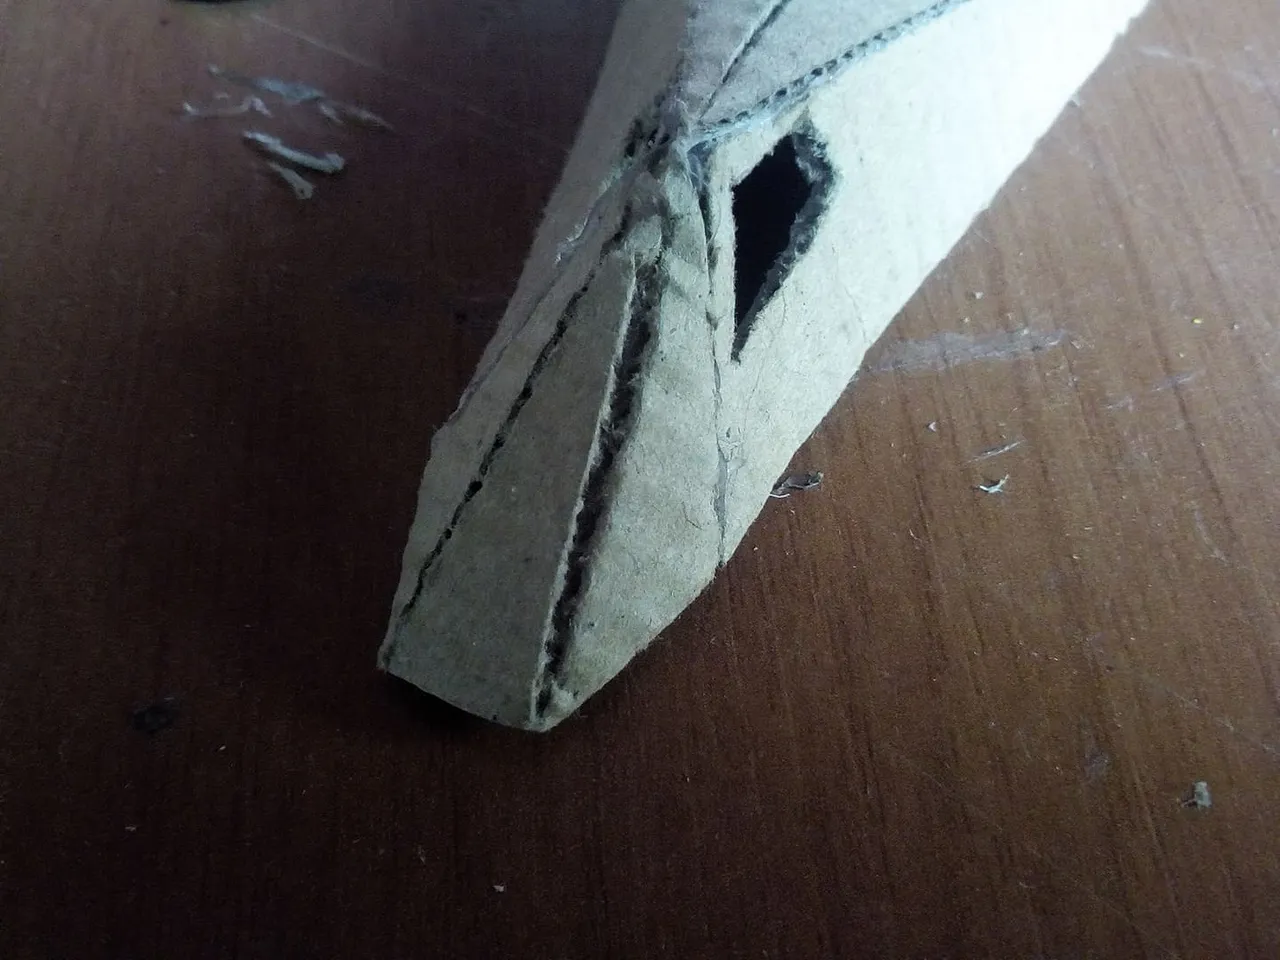
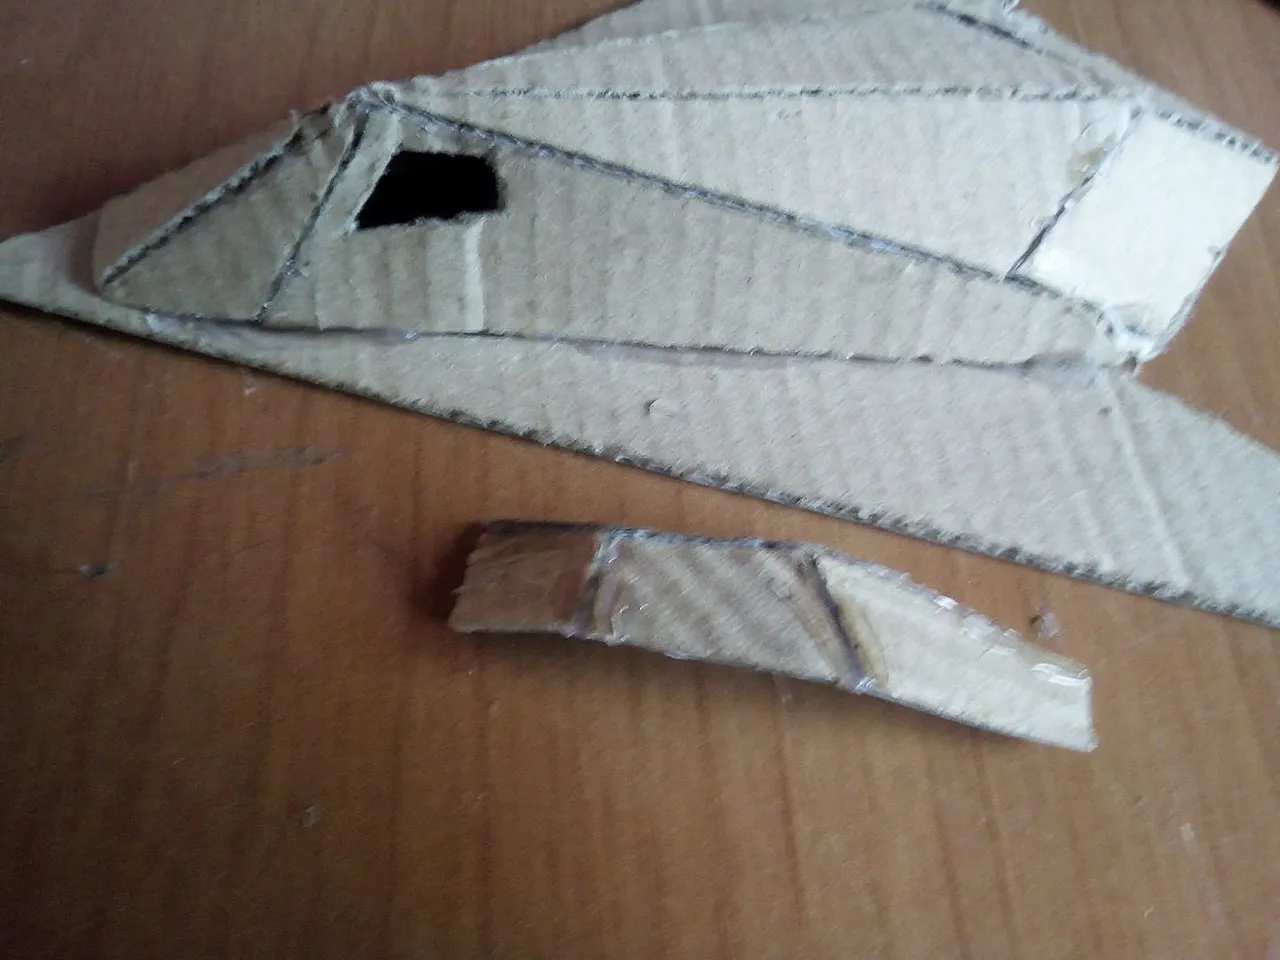
I used a box of cookies from an unknown brand for this plane. With a ruler I made a triangle that I later modeled based on the figure of the F-117. I took out the part of the wings, the tip and where the stabilizers go from the rear.
Utilicé pára este avión una caja de galletas de una marca desconocida. Con una regla hice un triangulo que luego fui modelando con base en la figura del F-117. Saqué la parte de las alas, la punta y donde van los estabilizadores de la parte trasera.
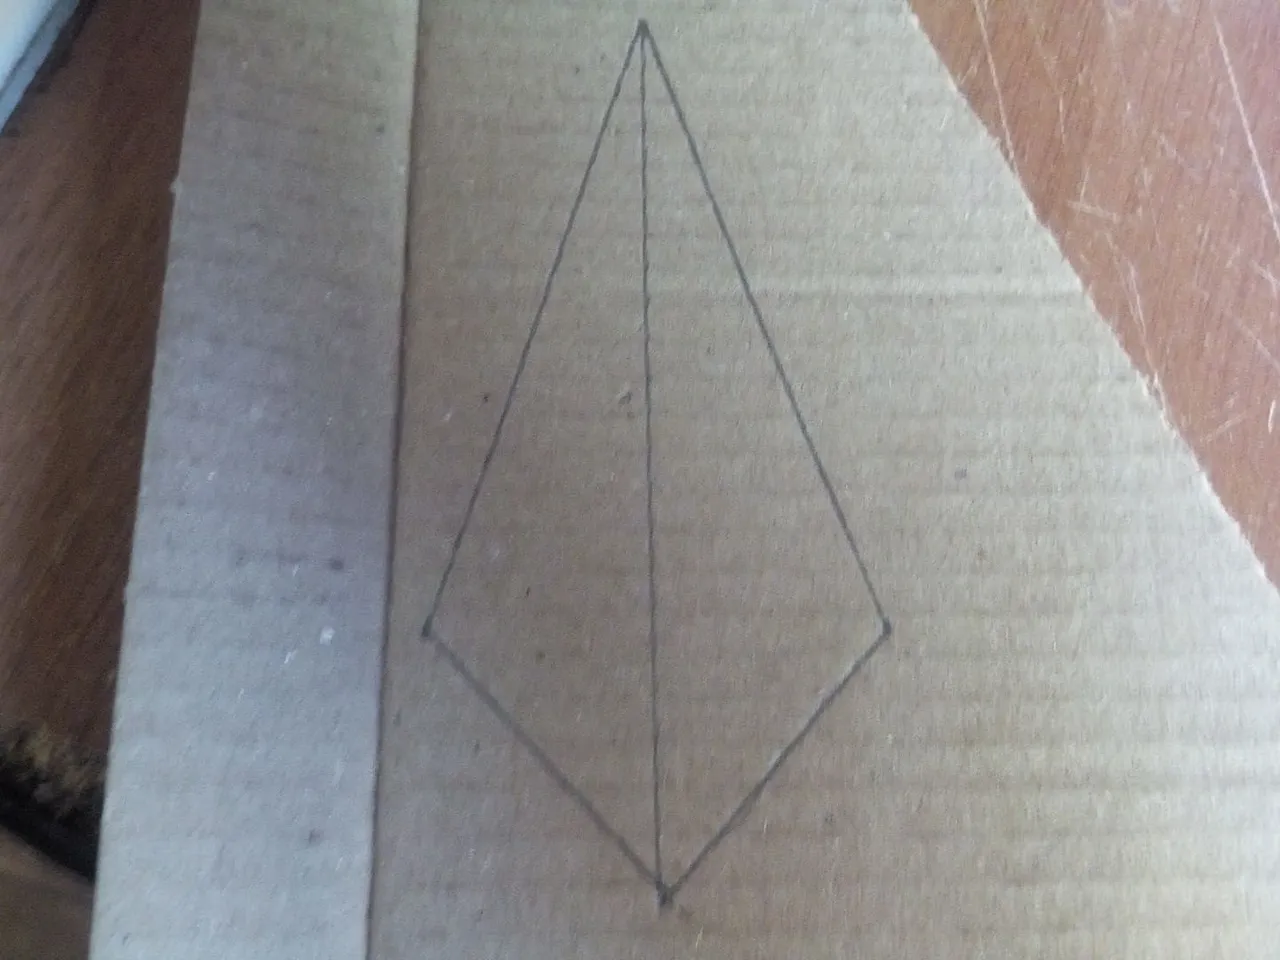
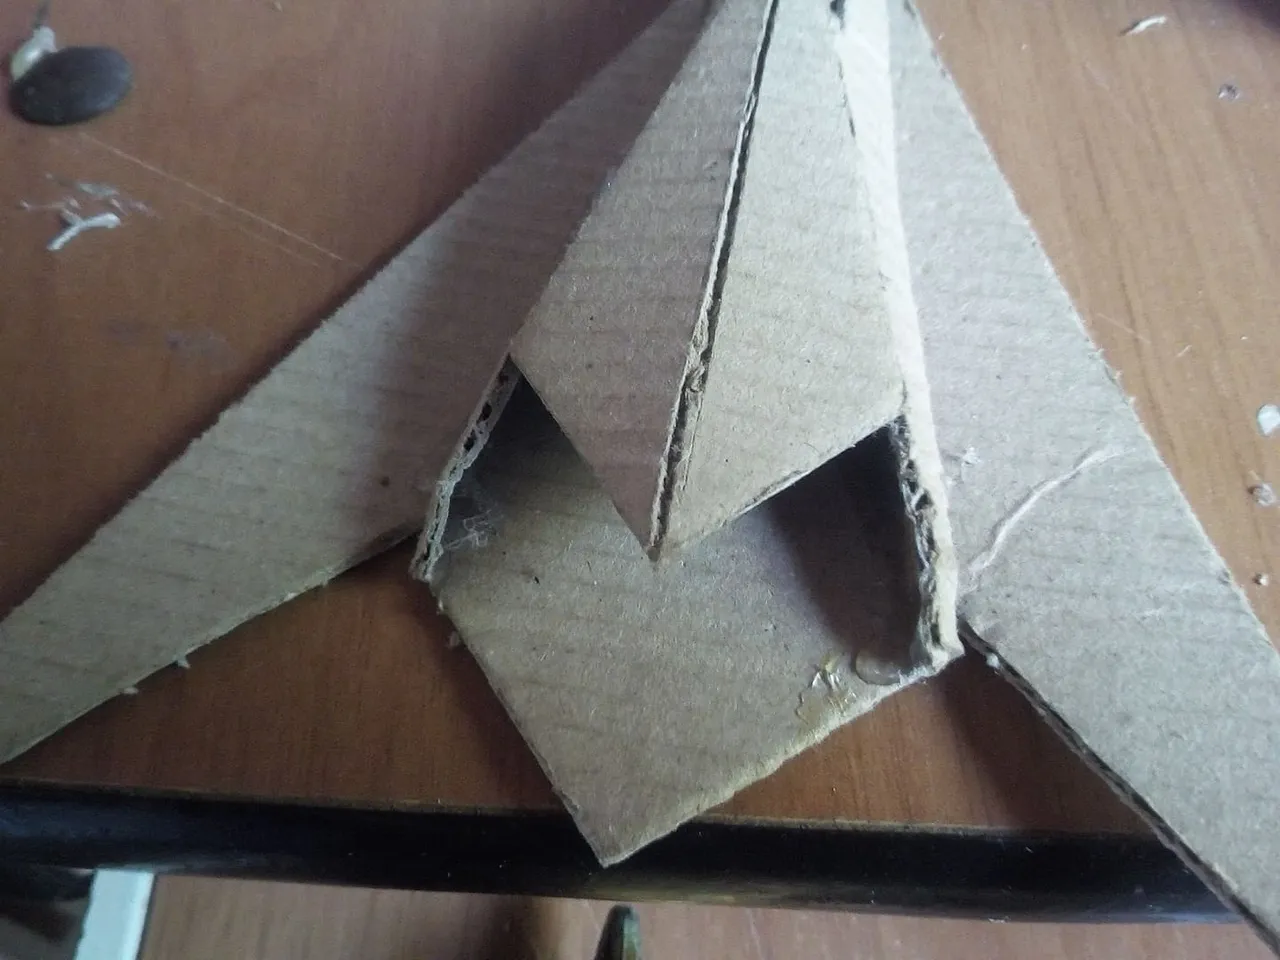
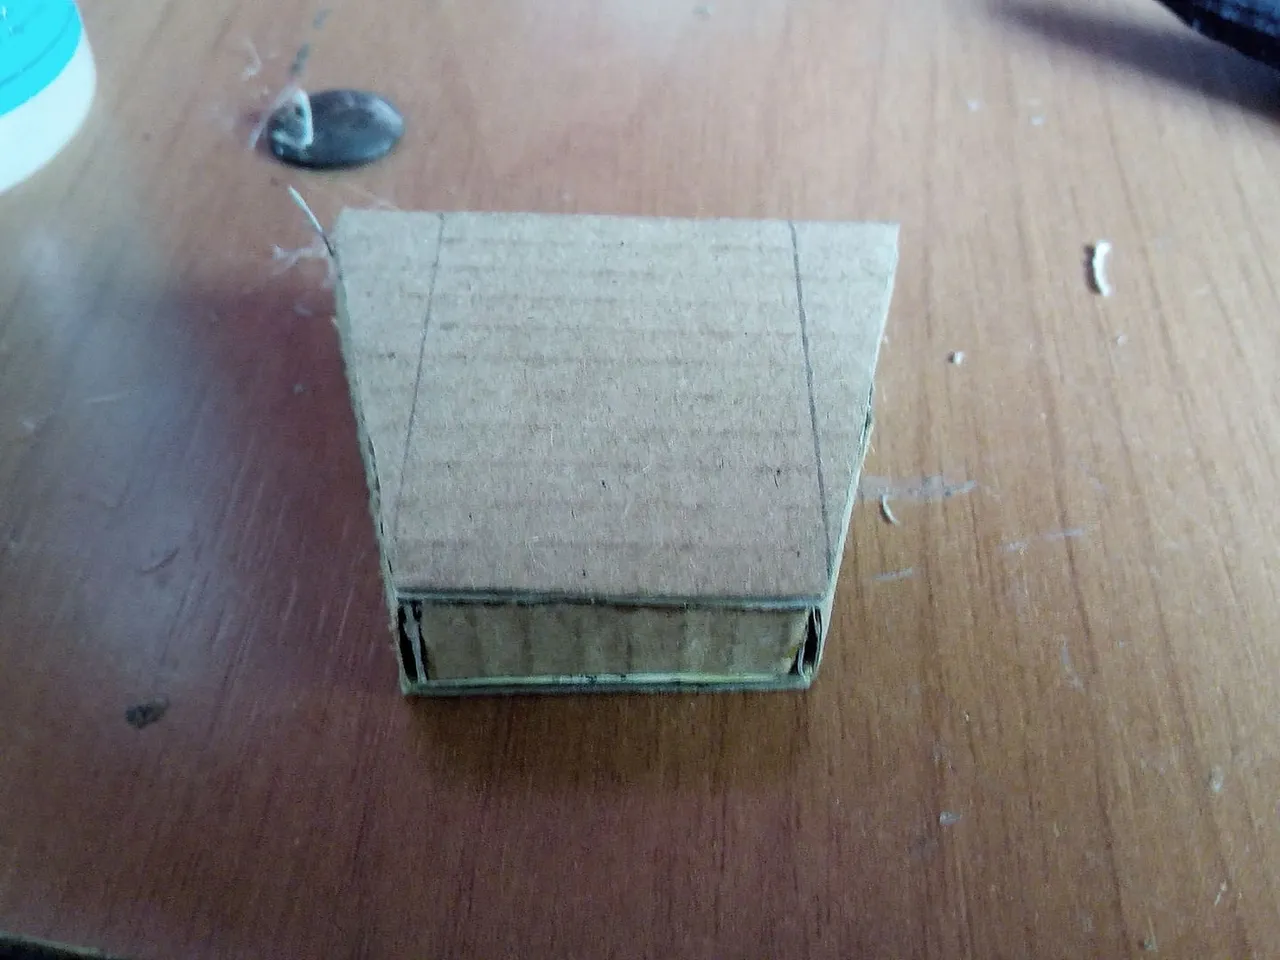
Then we draw the parts that will help us build the cockpit. We cut the parts that go to the ends, the roof and the front. We glue each part with glue or using liquid silicone. First we join the side parts with the roof and finally we add the tip.
Luego dibujamos las partes que nos ayudarán a construir la cabina del piloto. Cortamos las partes que van en los extremos, el techo y la parte frontal. Pegamos cada parte con pegamento o utilizando silicón líquido. Primero unimos las partes laterales con el techo y por último añadido la punta.
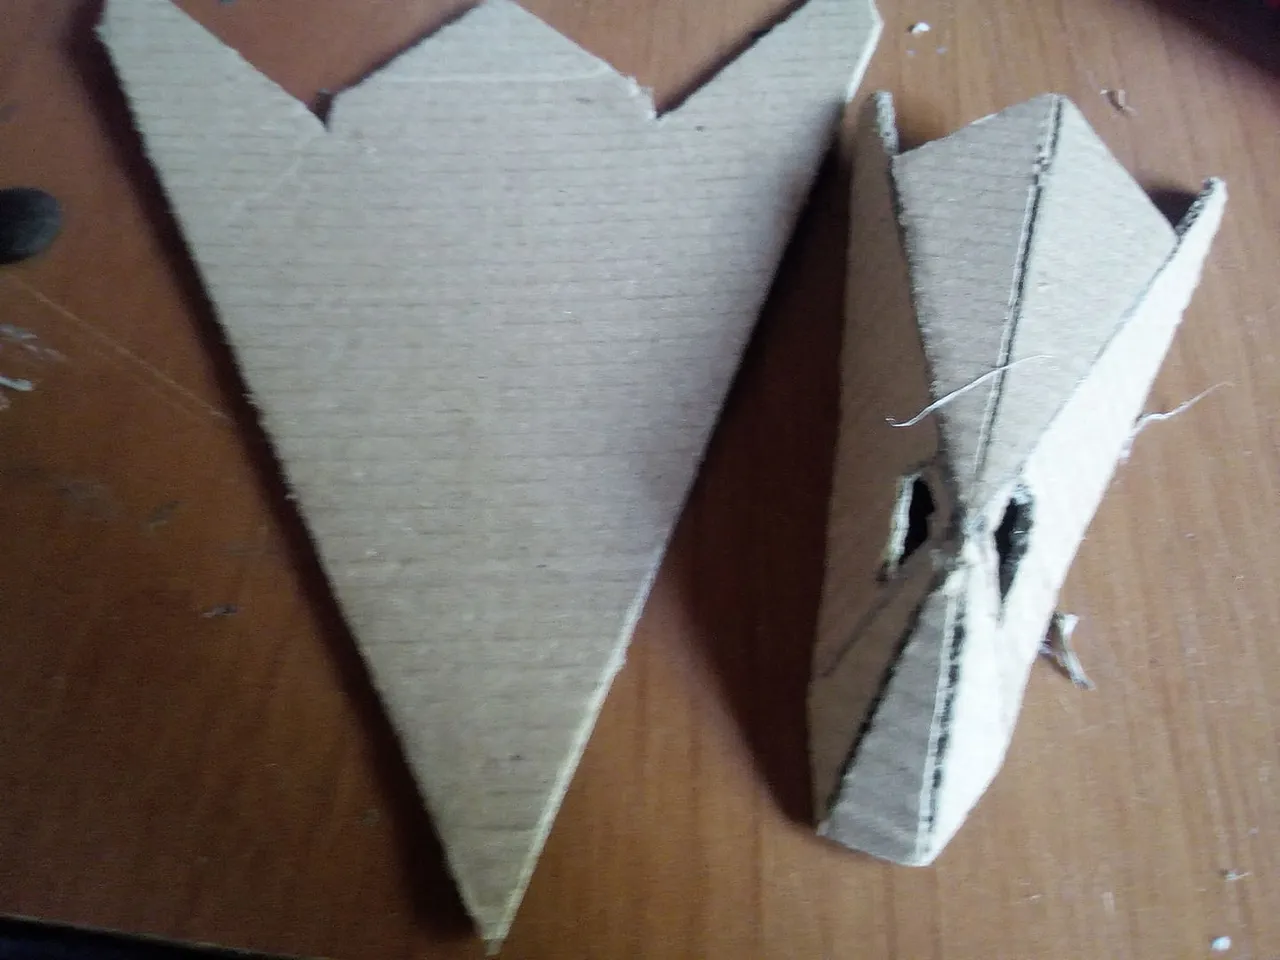
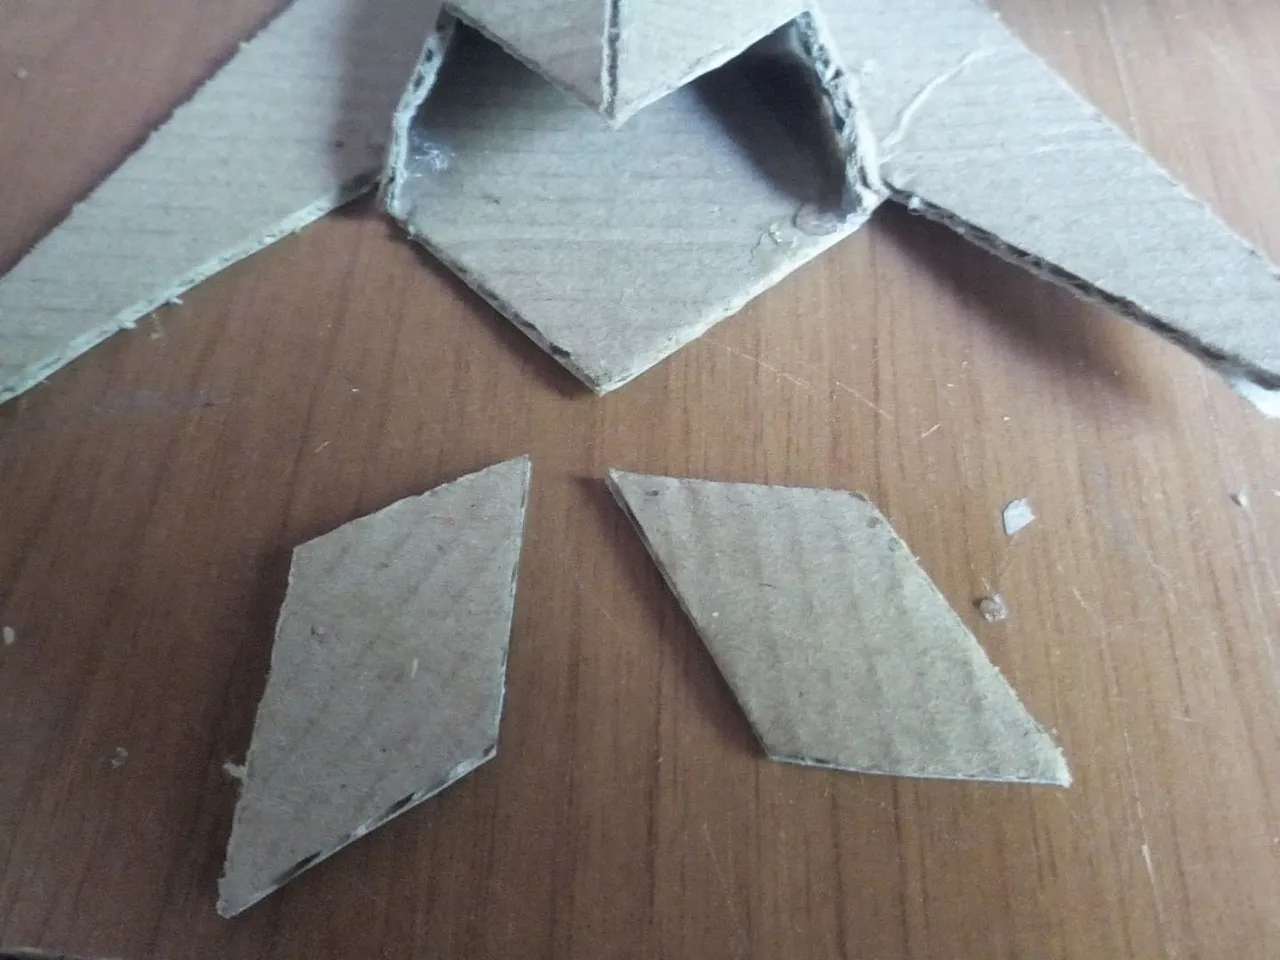
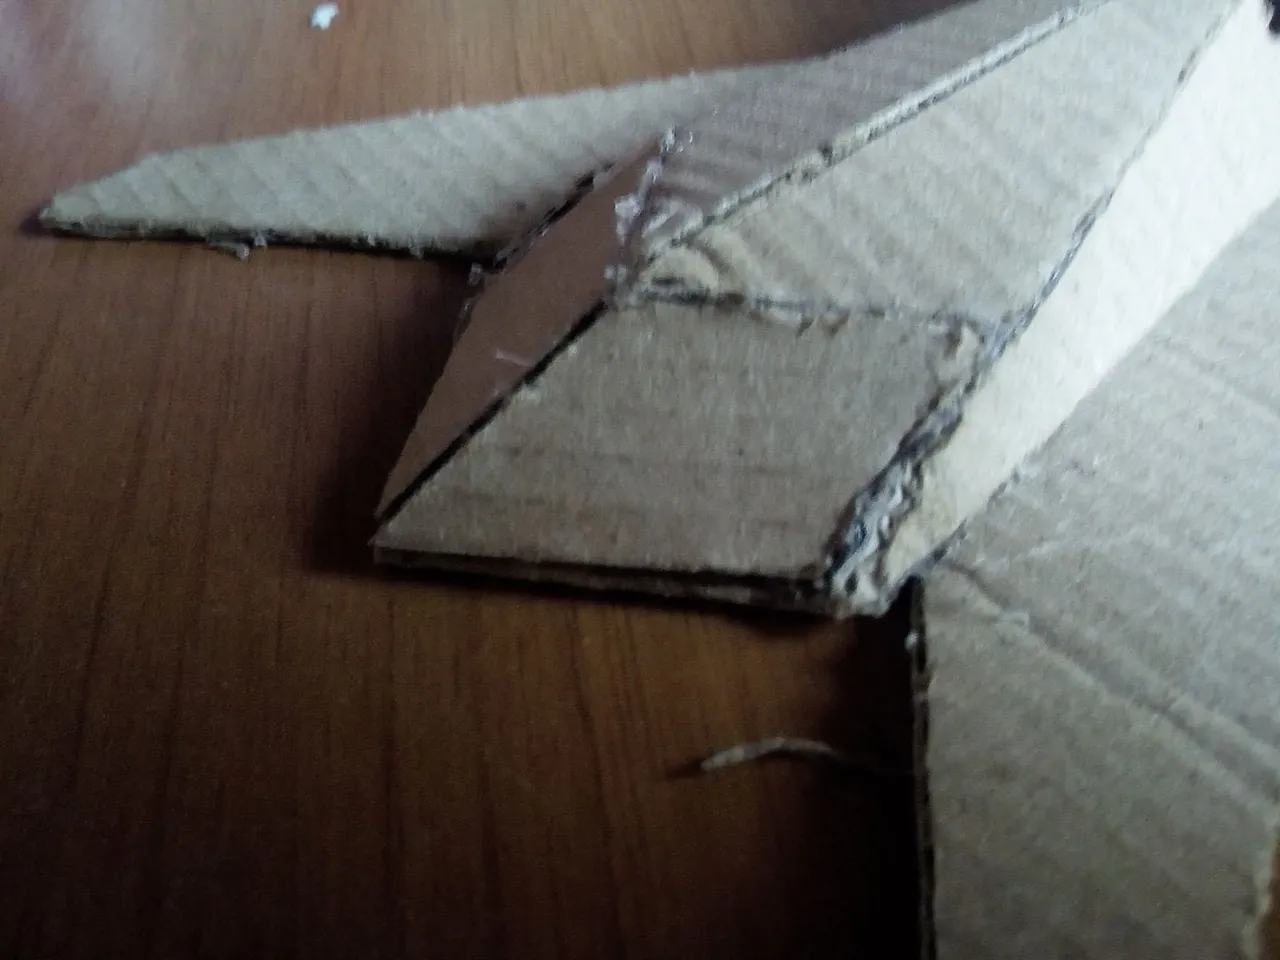
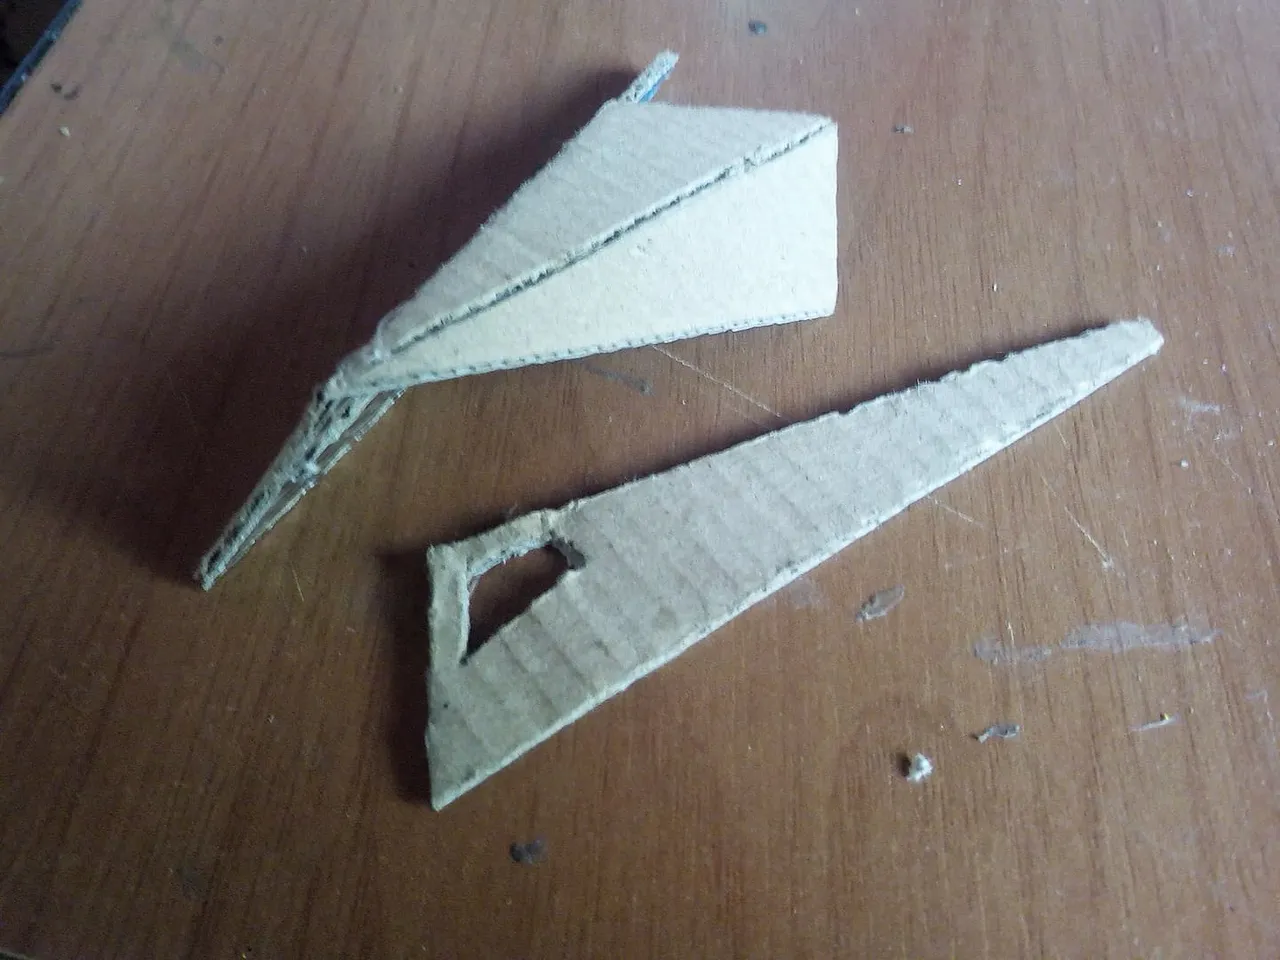
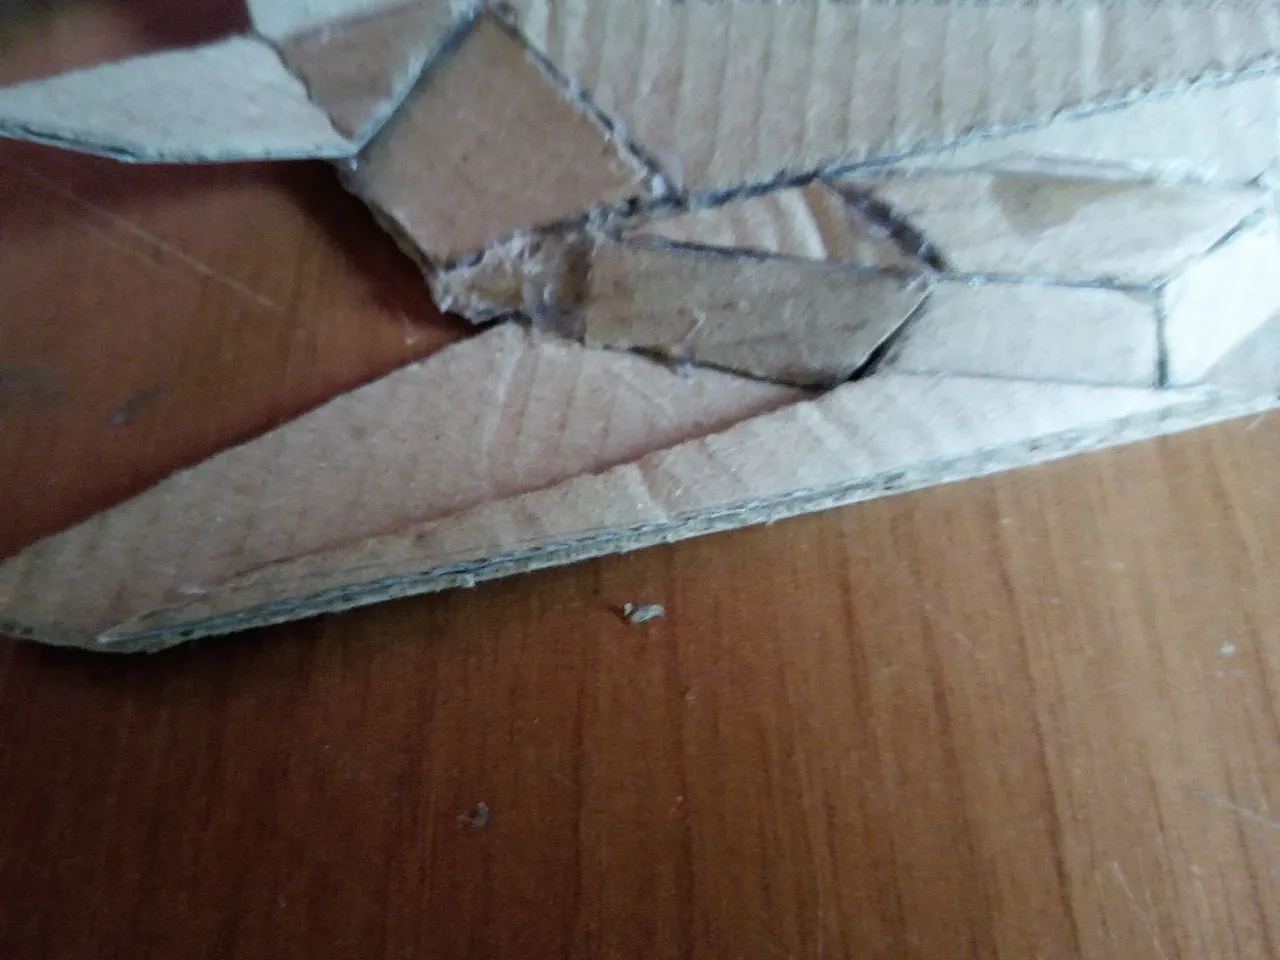
Now we take the triangular base of the plane and we are going to join it with the upper part that we just made. We glue it and we only have to finish the back part. For that we measure with a ruler and we take out the two missing parts, we glue them with silicone and so we have the plane in 70% of construction.
ahora tomamos la base triangular del avión y lo vamos a unir con la parte superior que acabamos de hacer. Lo pegamos y solo nos queda culminar la parte trasera. Para eso medimos con una regla y sacamos las dos partes que nos faltan, las pegamos con silicón y así nos queda el avión en un 70% de construcción.
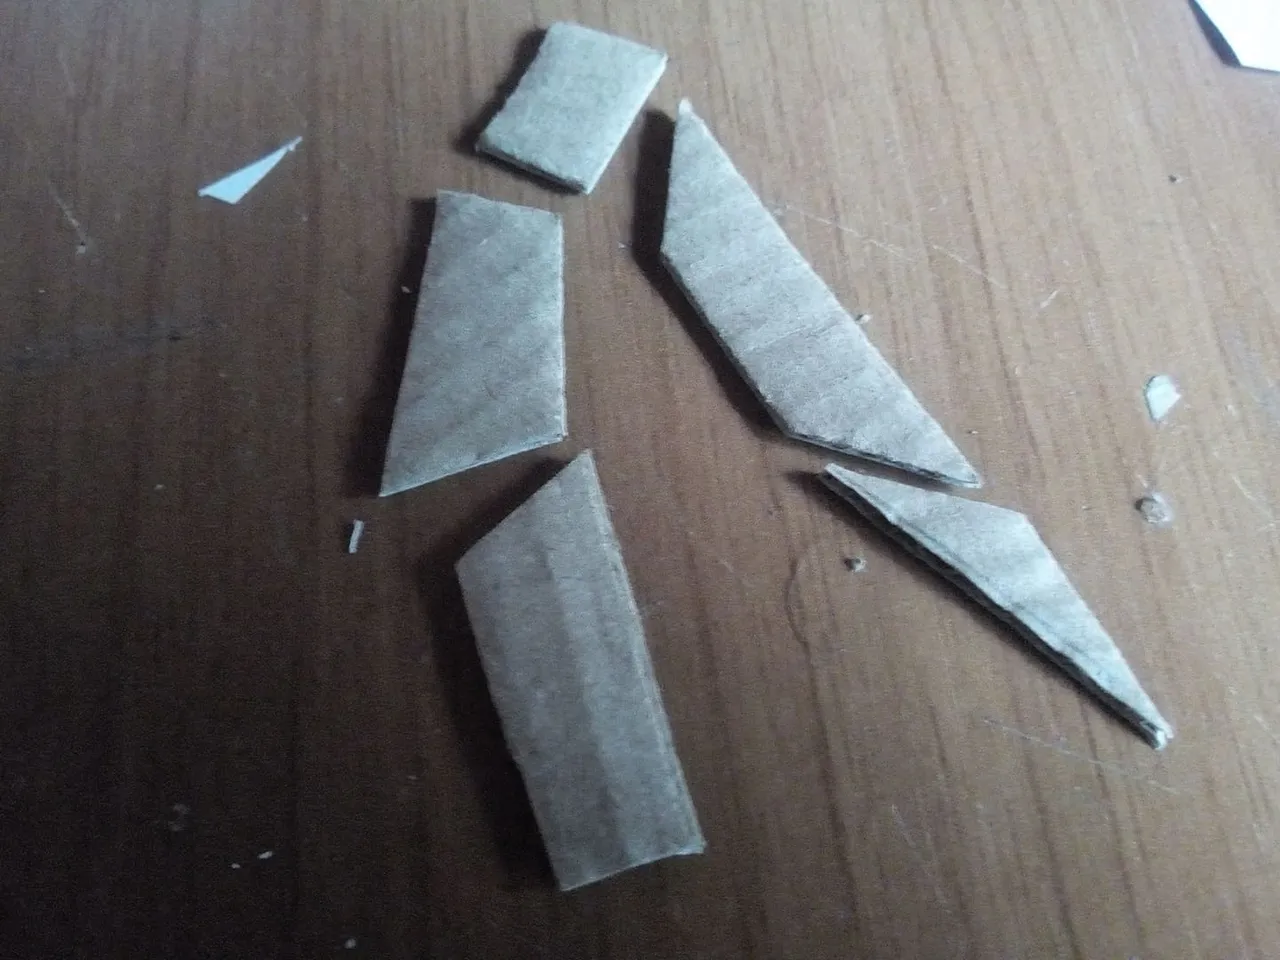
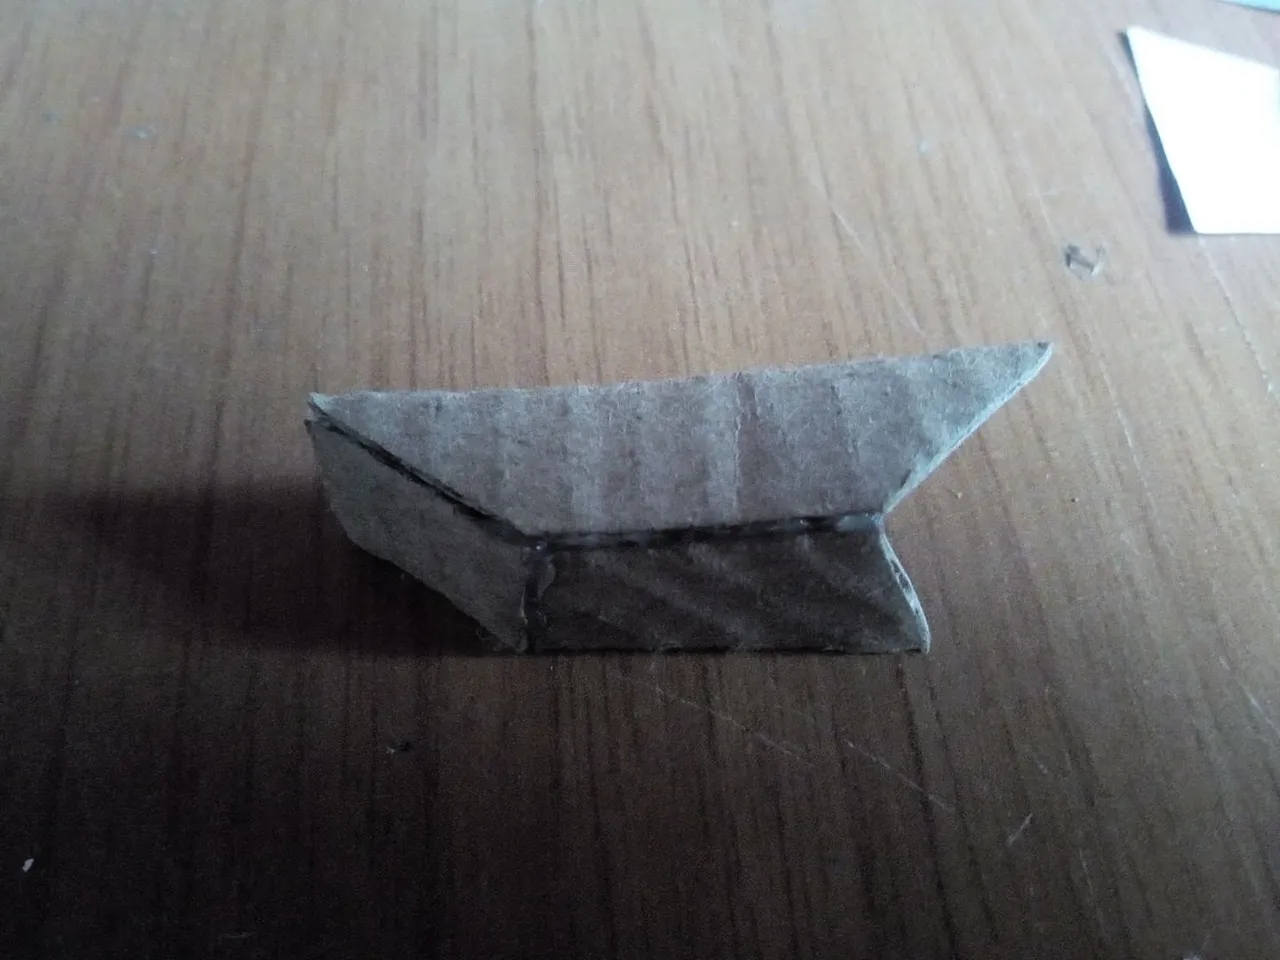

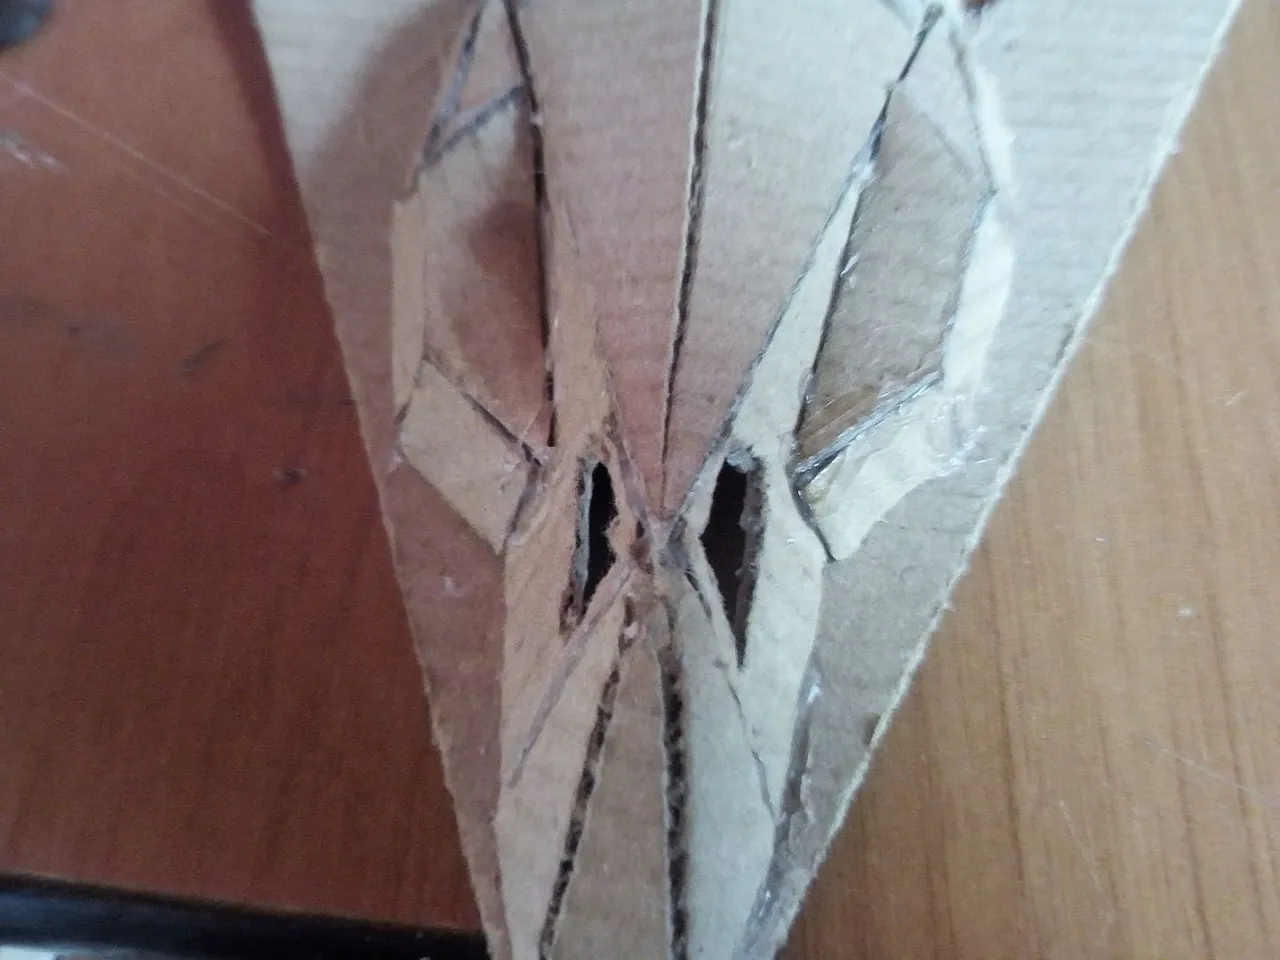
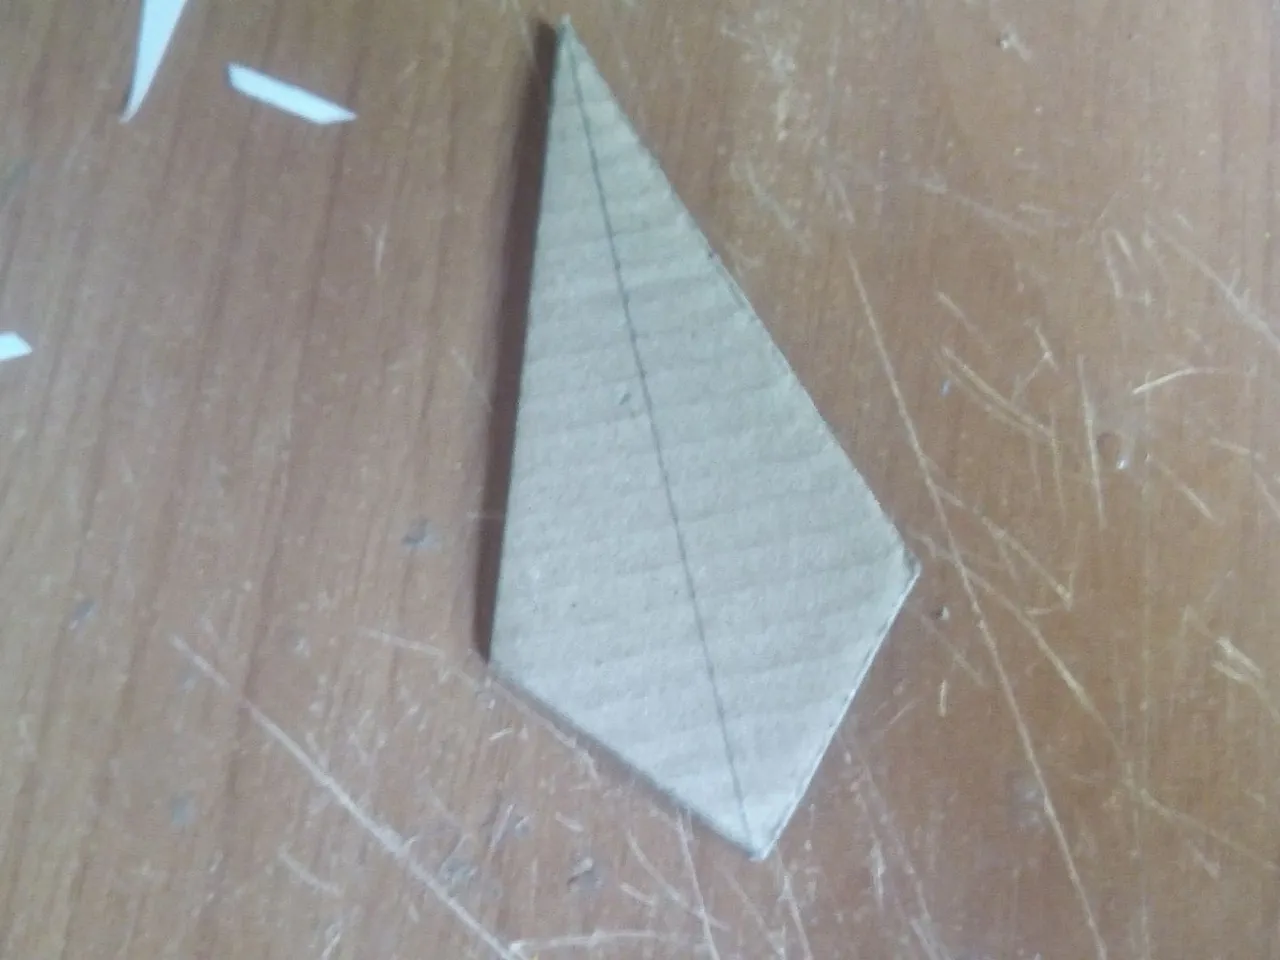
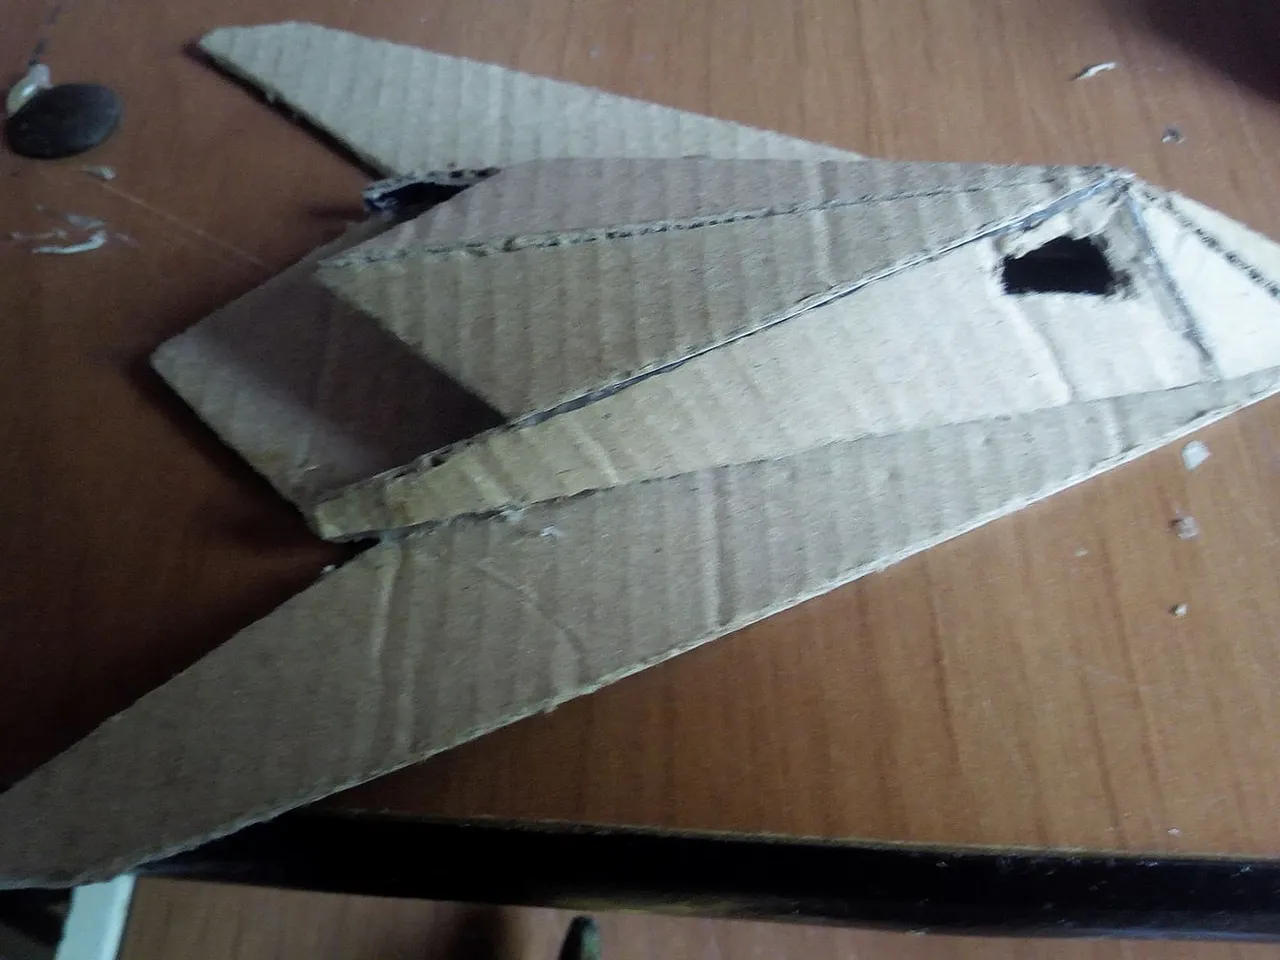
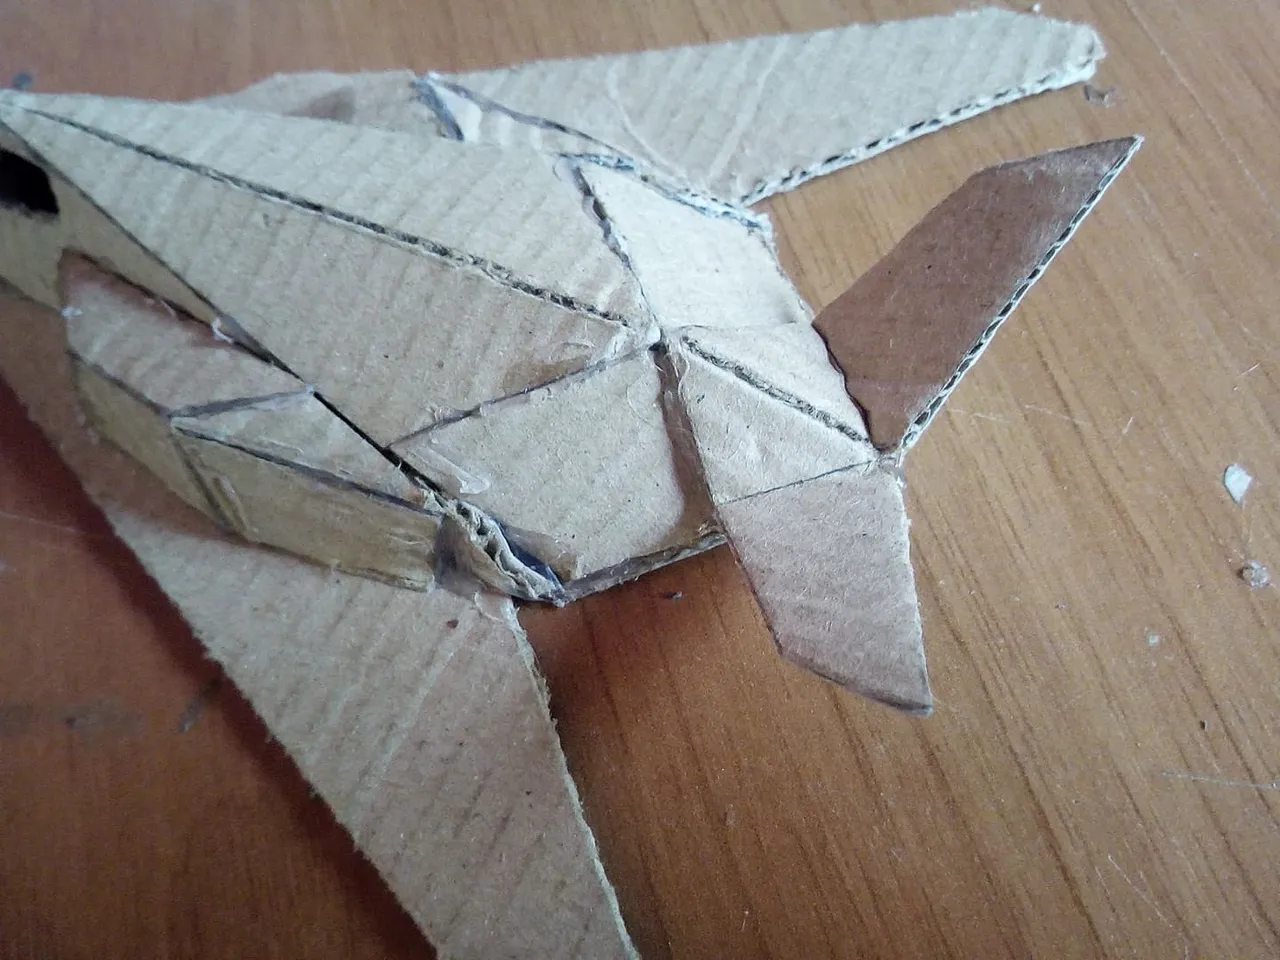
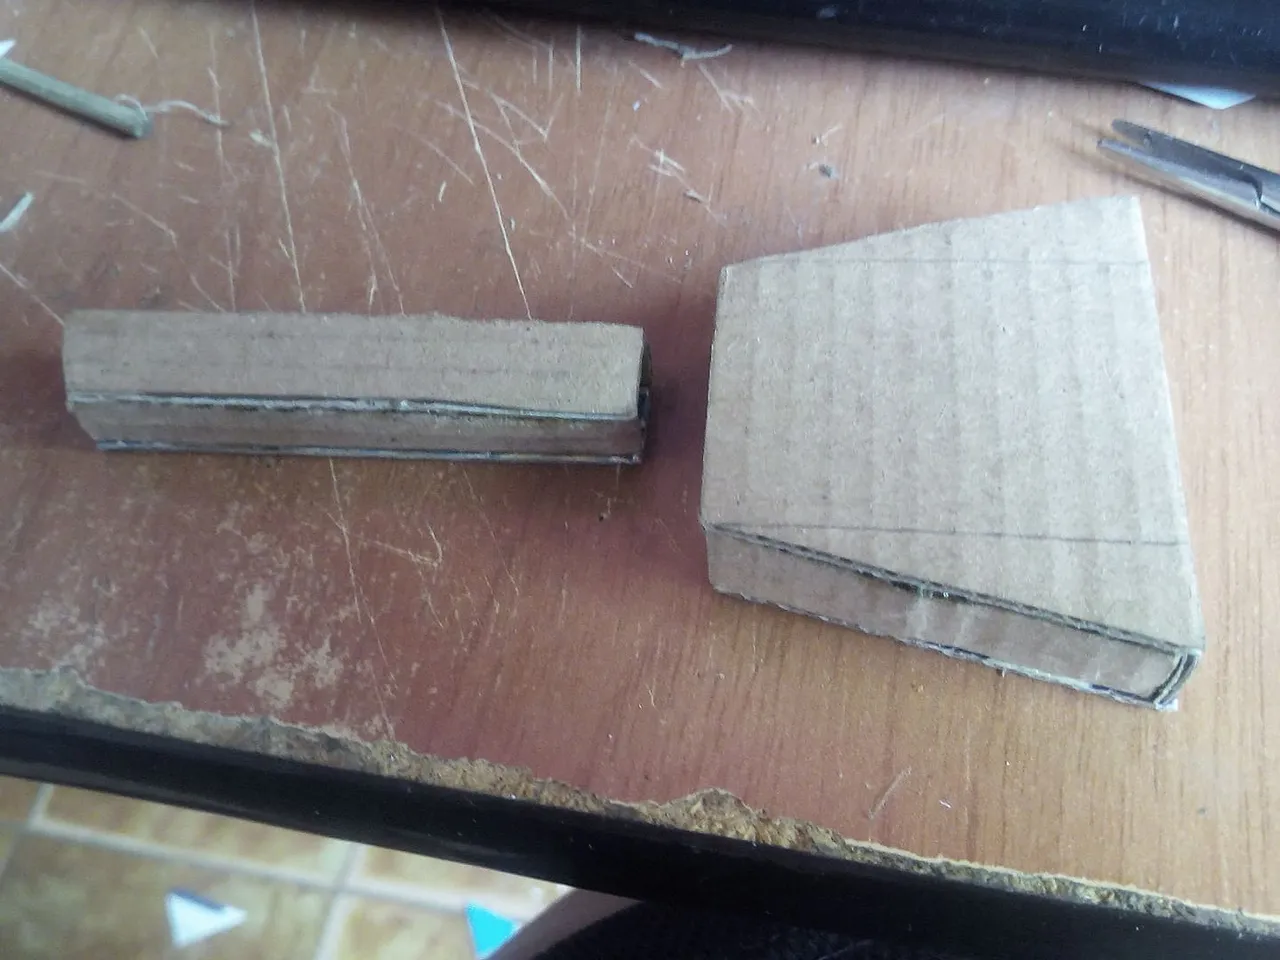
Then we will continue the part of the cabin that goes on the sides. These pieces help in the aerodynamics of flight and stealth so as not to be detected, by bouncing the signal from enemy radars. Using a ruler we are measuring and cutting. We make two pieces that will go at the ends.
Seguidamente haremos la continuación de la parte de la cabina que va en los costados. Estas piezas ayudan en la aerodinámica del vuelo y sigilo para no ser detectado, al rebotar la señal de los radares enemigos. Utilizando una regla vamos midiendo y cortando. Hacemos dos piezas que irán en los extremos.
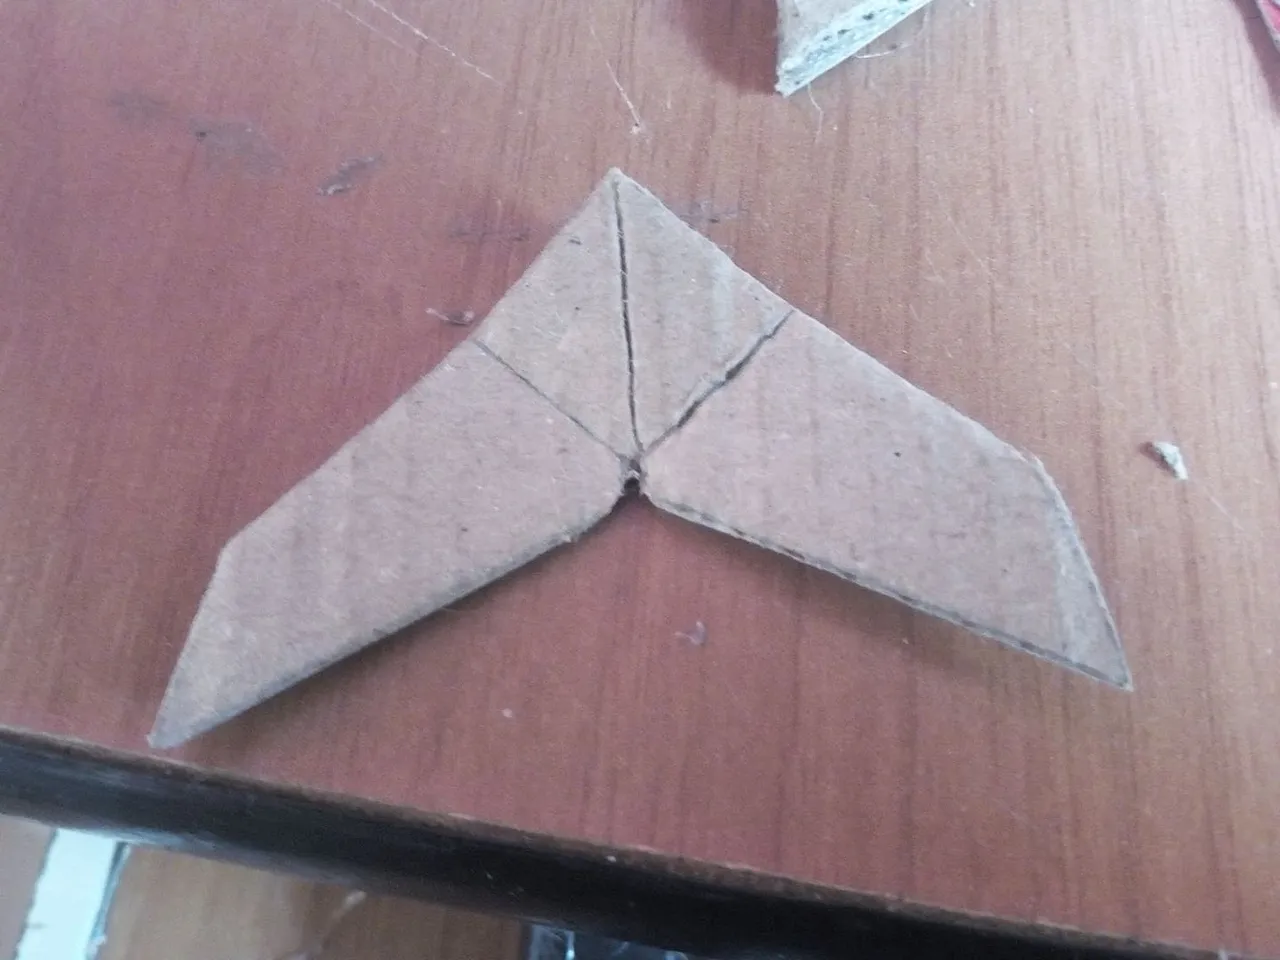
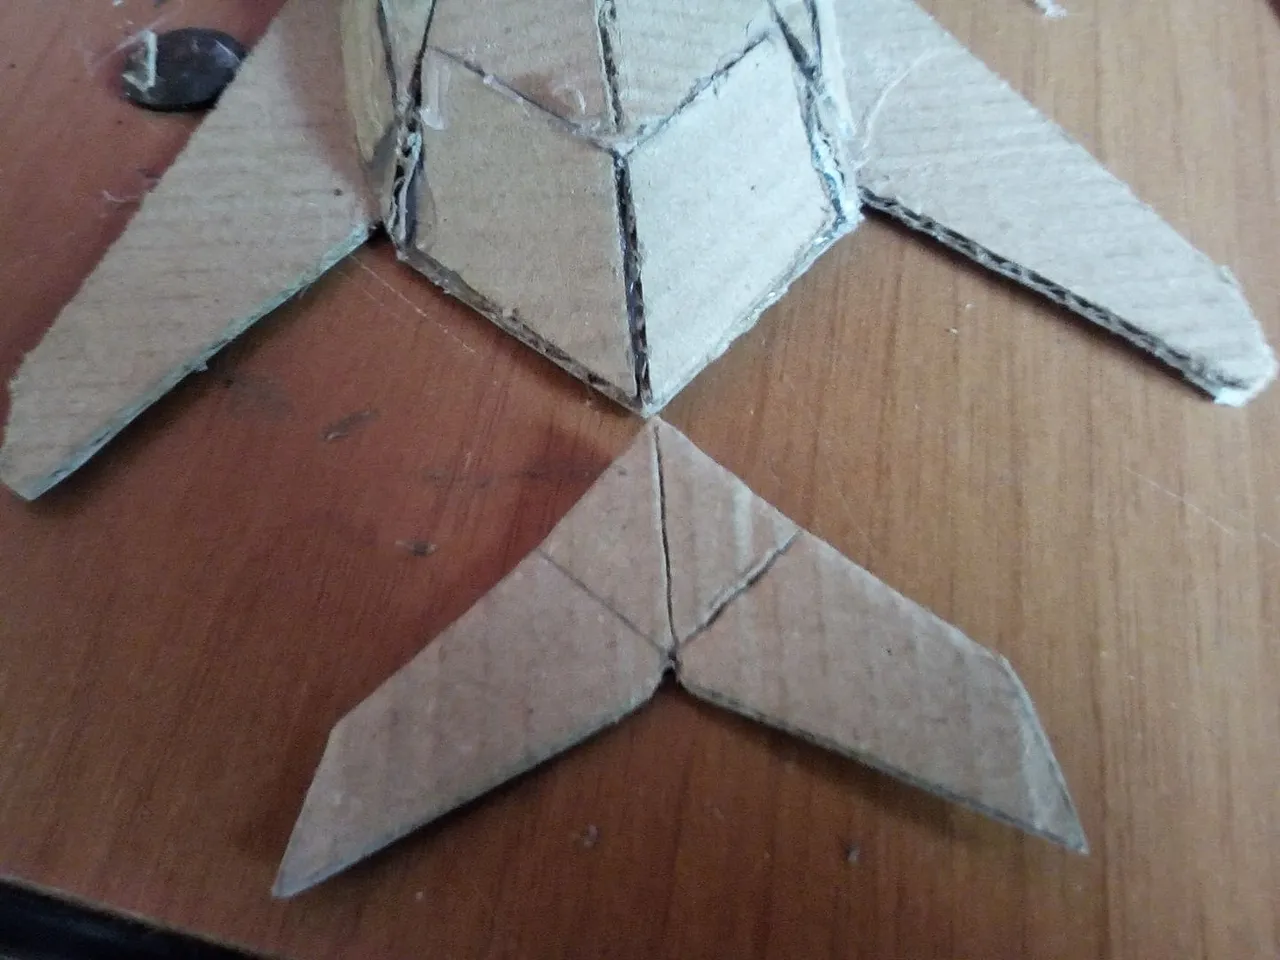

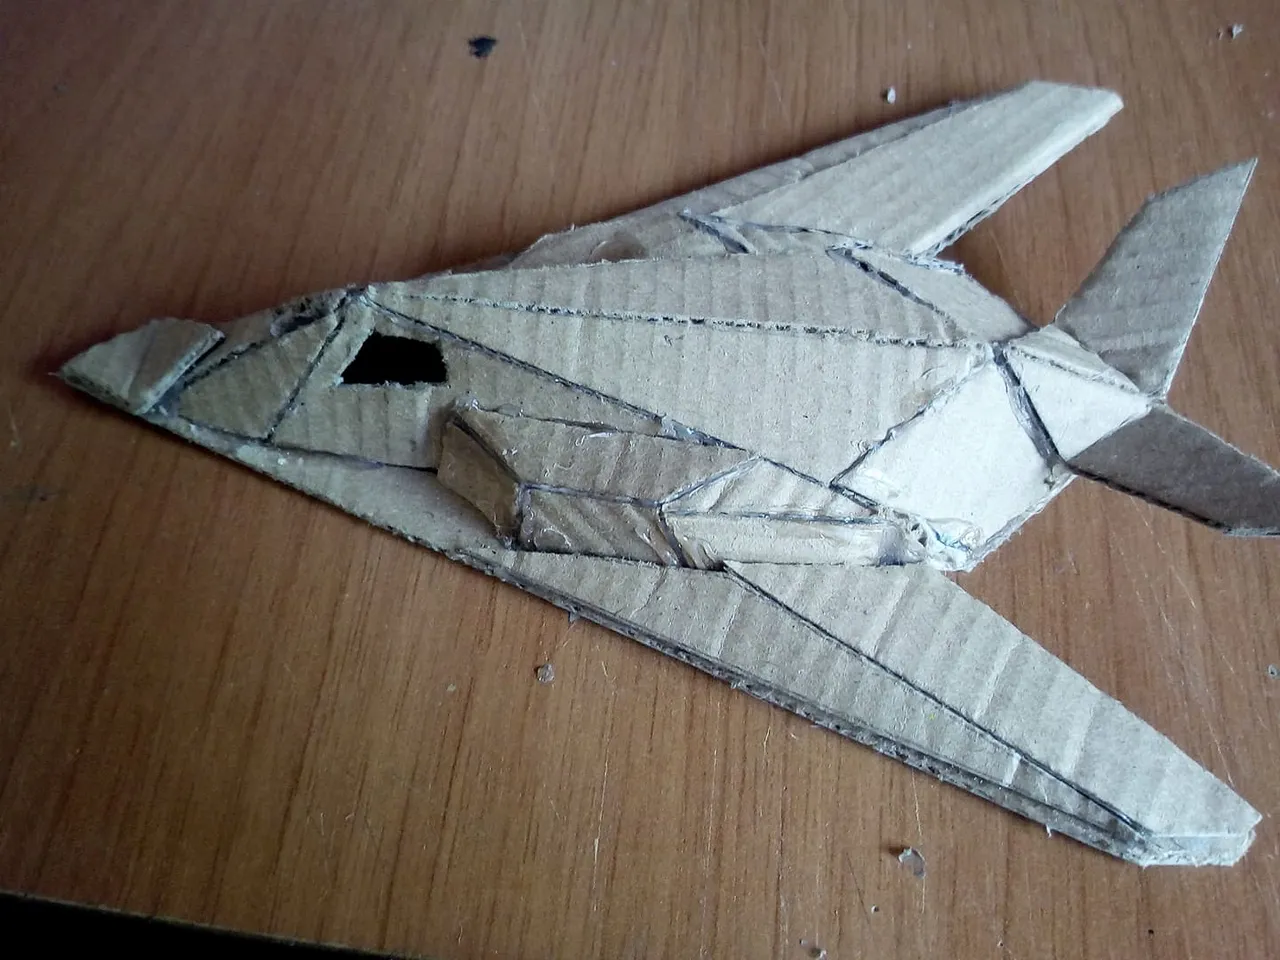
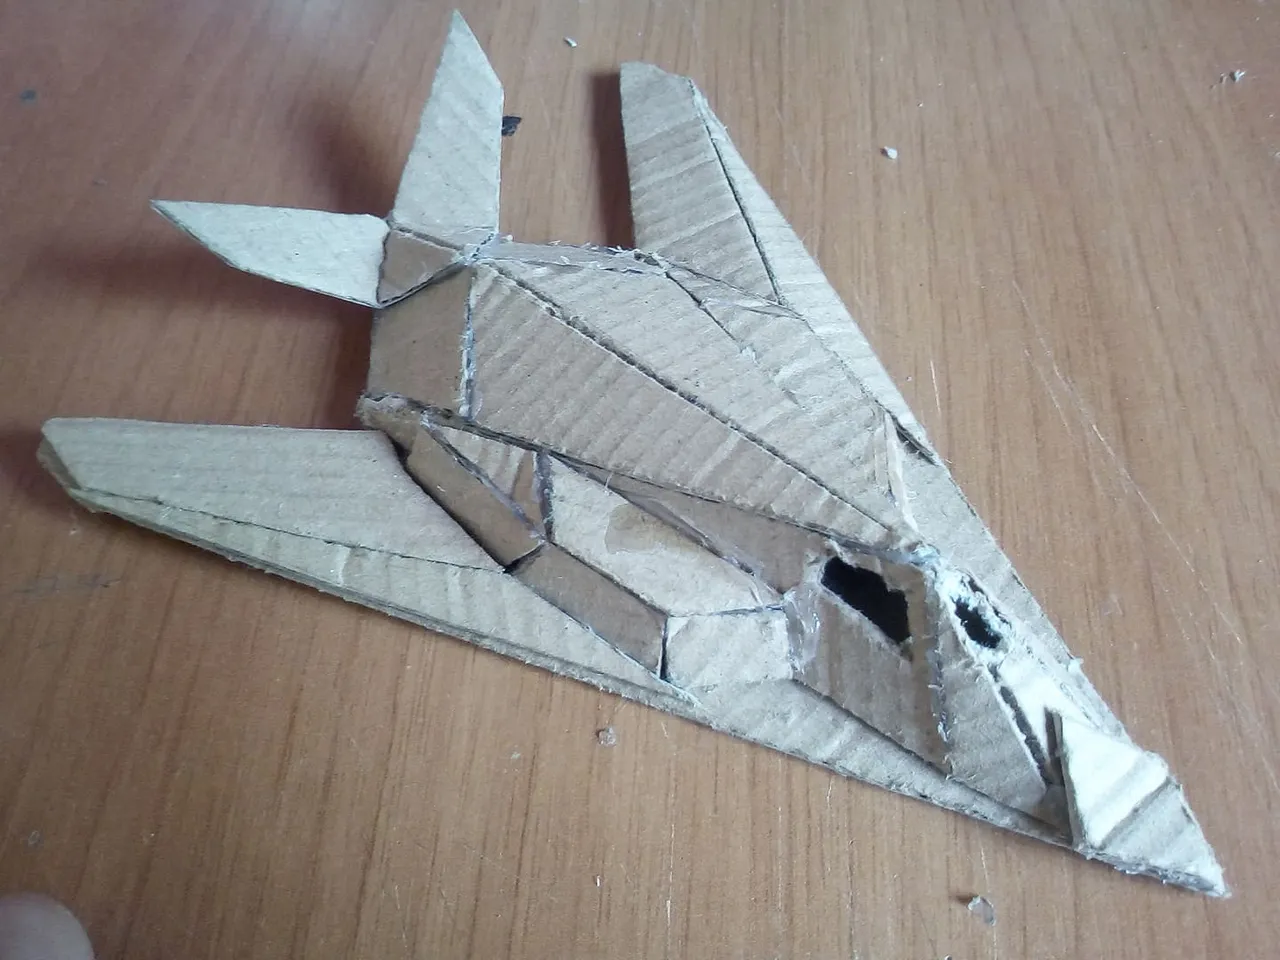
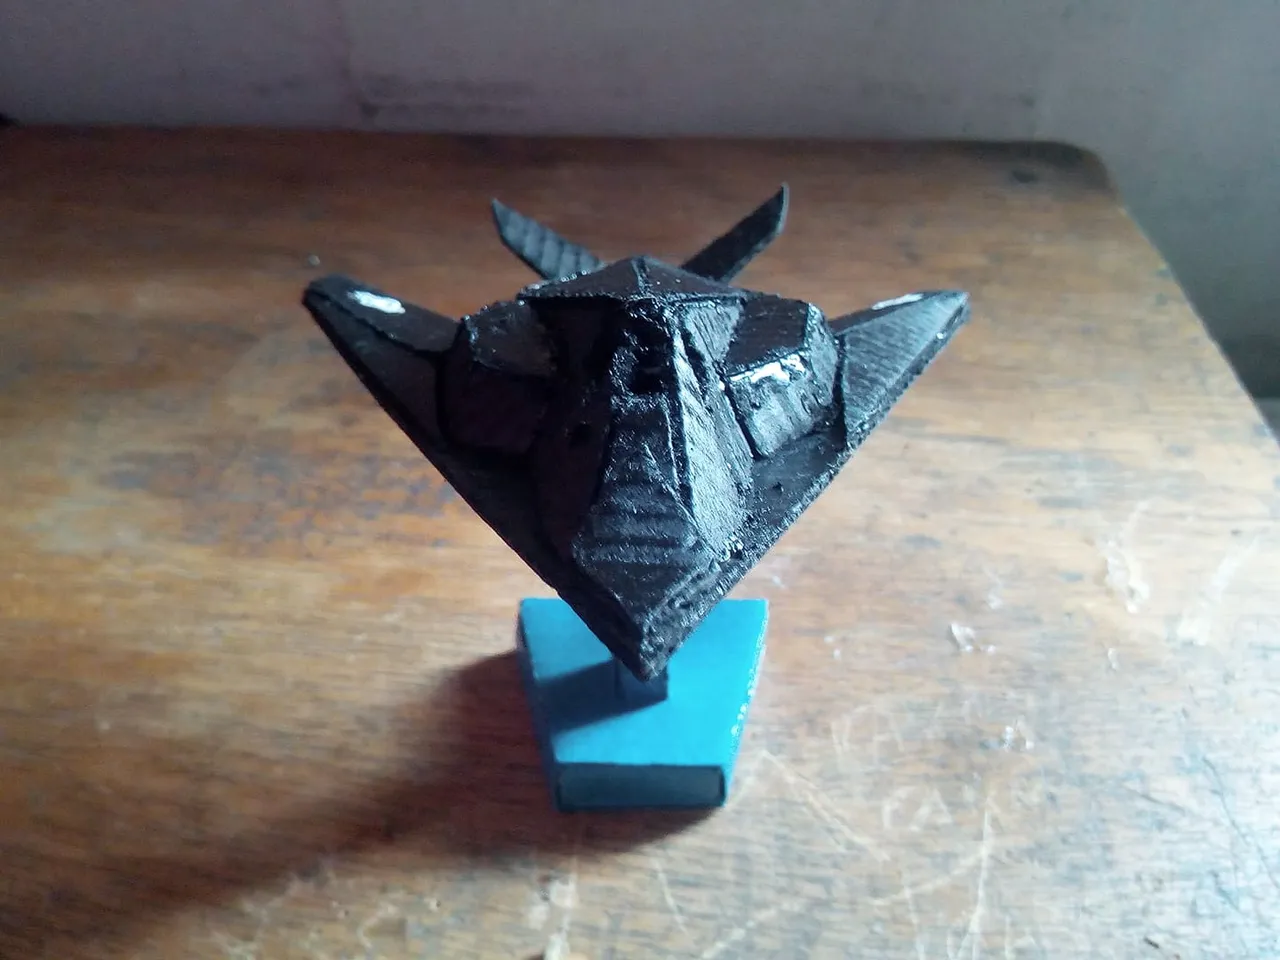
To finish the Stealthy we build the stabilizers that go in the tail of the plane and the tip. We make the model out of cardboard and then cut it out, following the original pattern of the plane. We use glue and fix it carefully. After in the same way we create the front wing that helps to cut the air resistance and we glue it. So we will have finished our plane. But it is still missing.
Para finalizar el Sigiloso construimos los estabilizadores que van en la cola del avión y la punta. Hacemos el modelo en cartón y luego recortamos, siguiendo el patron original del avión. Usamos pegamento y lo fijamos con cuidado. Despues de la misma forma creamos el aleron delantero que ayuda a cortar la resistencia del aire y lo pegamos. Así habremos finalizado nuestro avión. Pero aun falta.
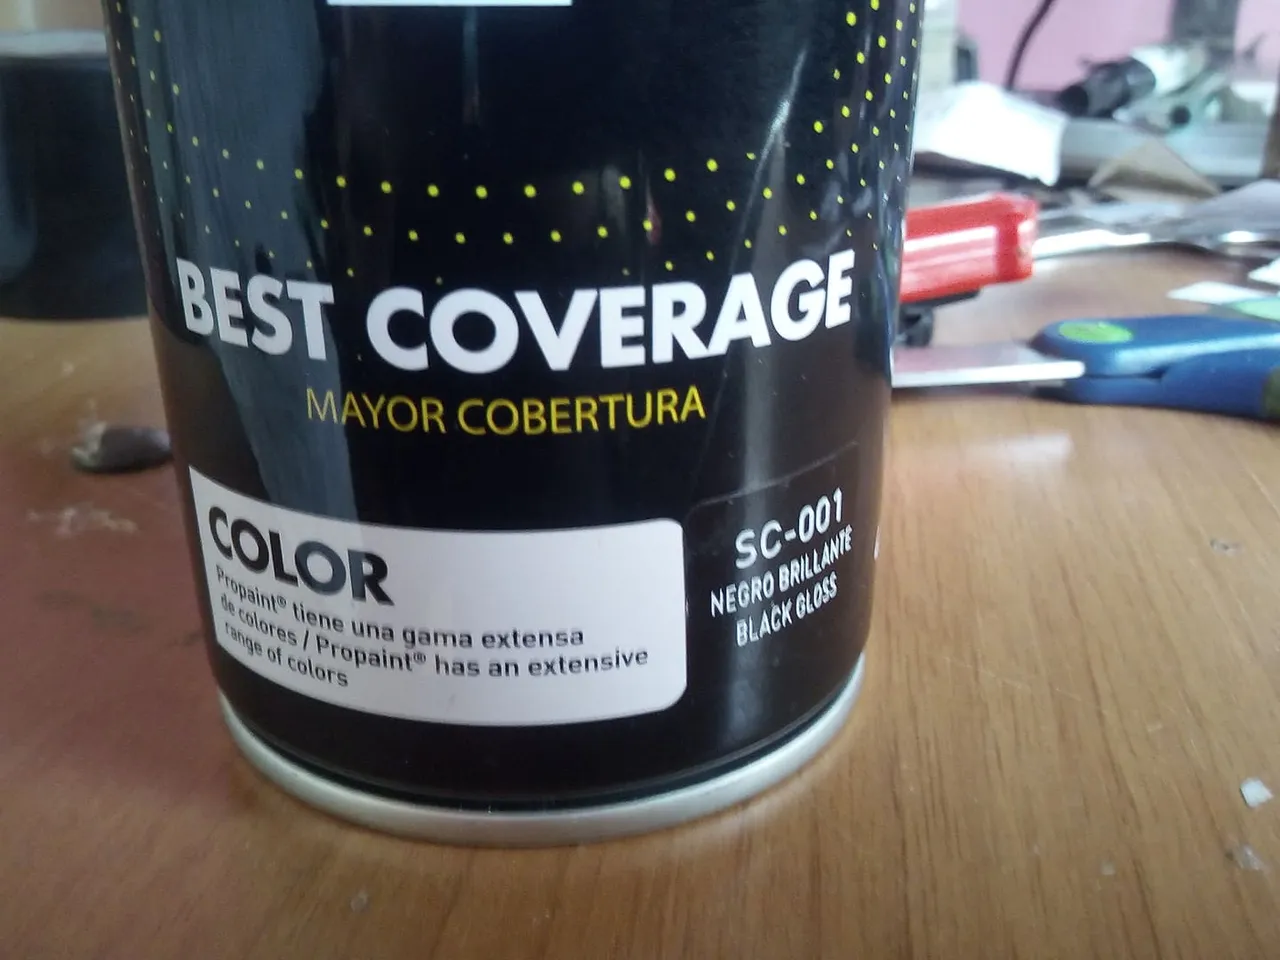

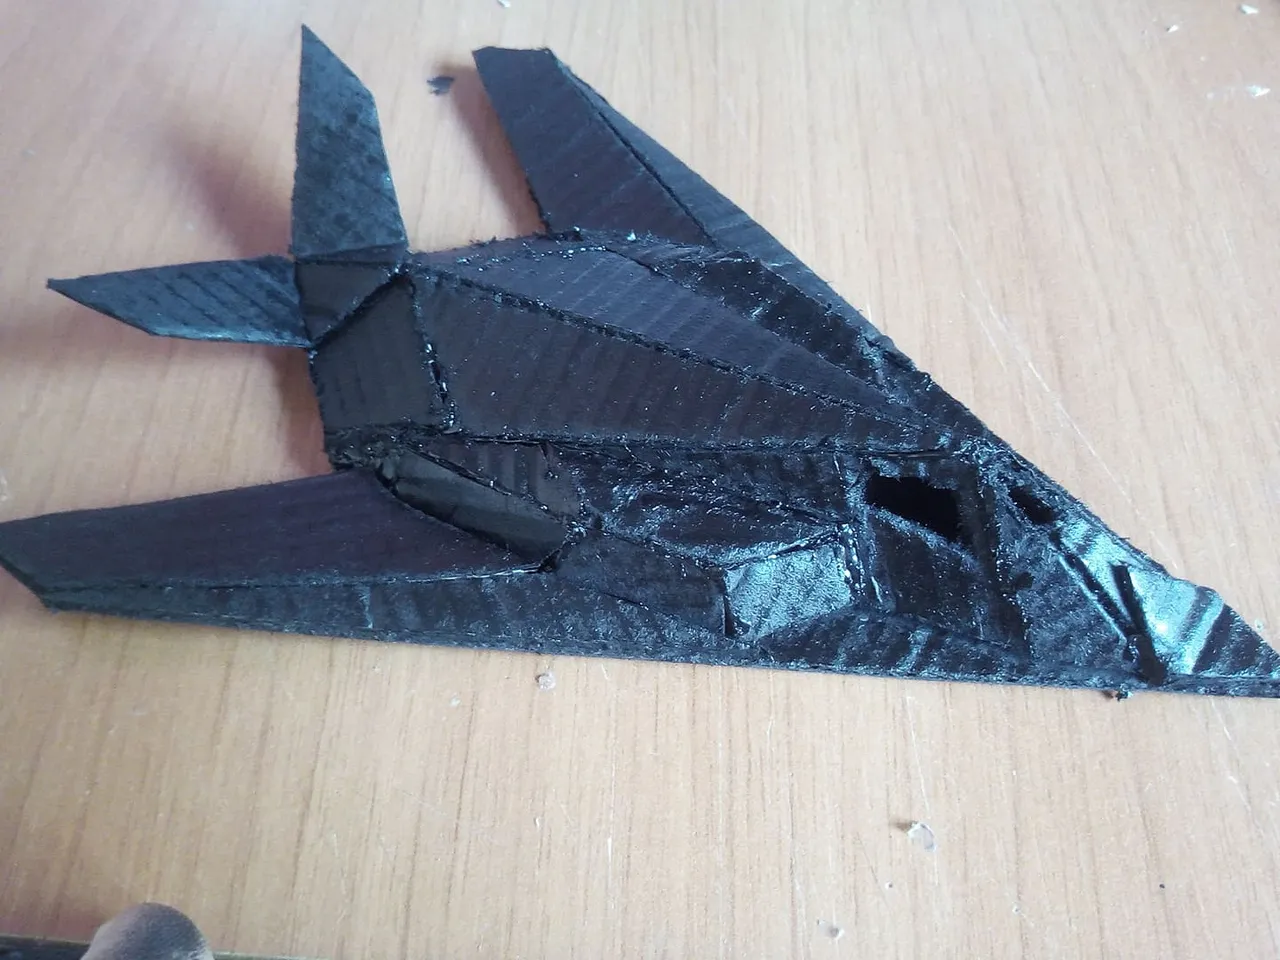
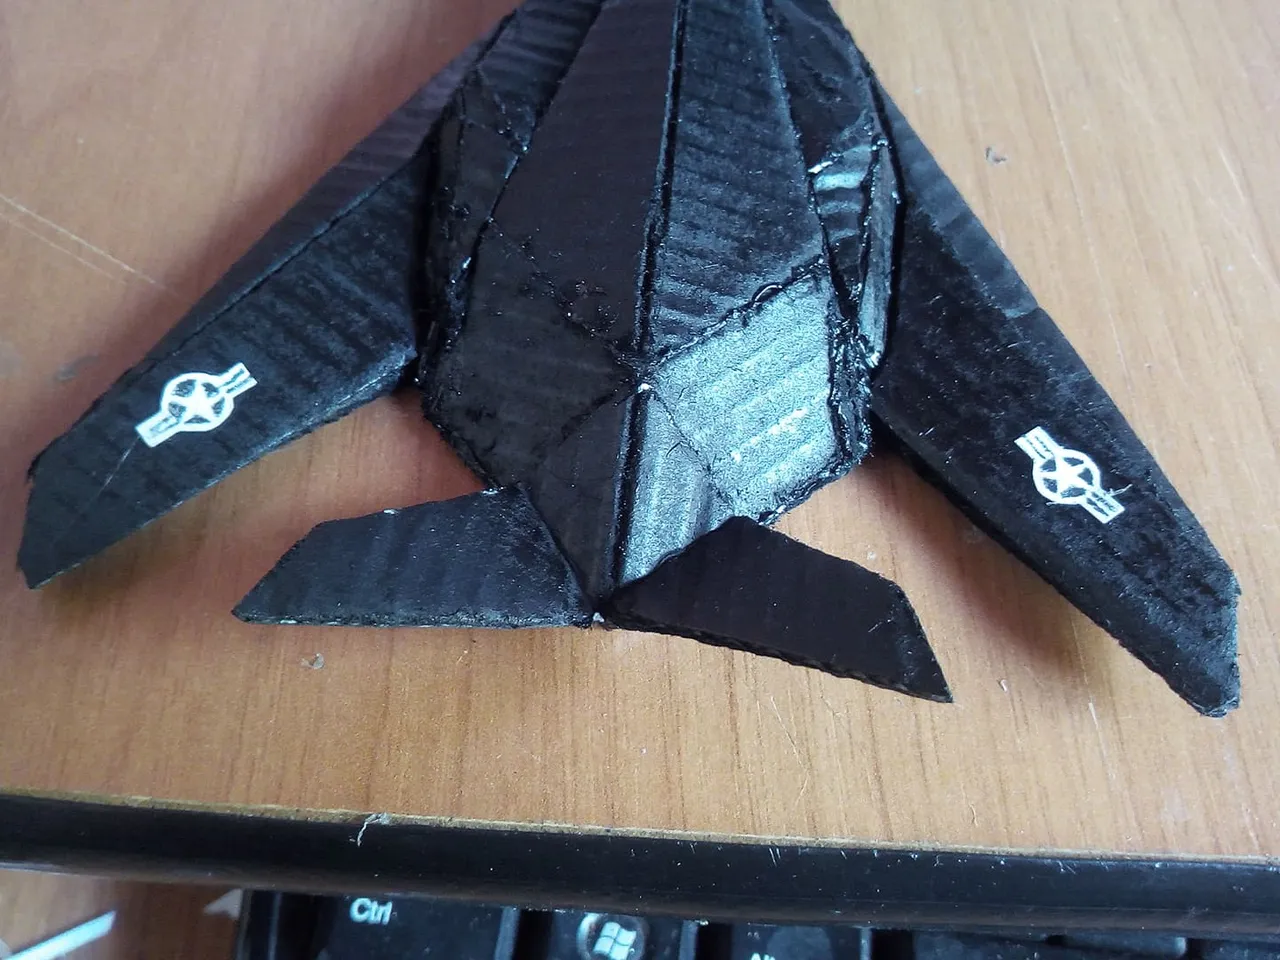
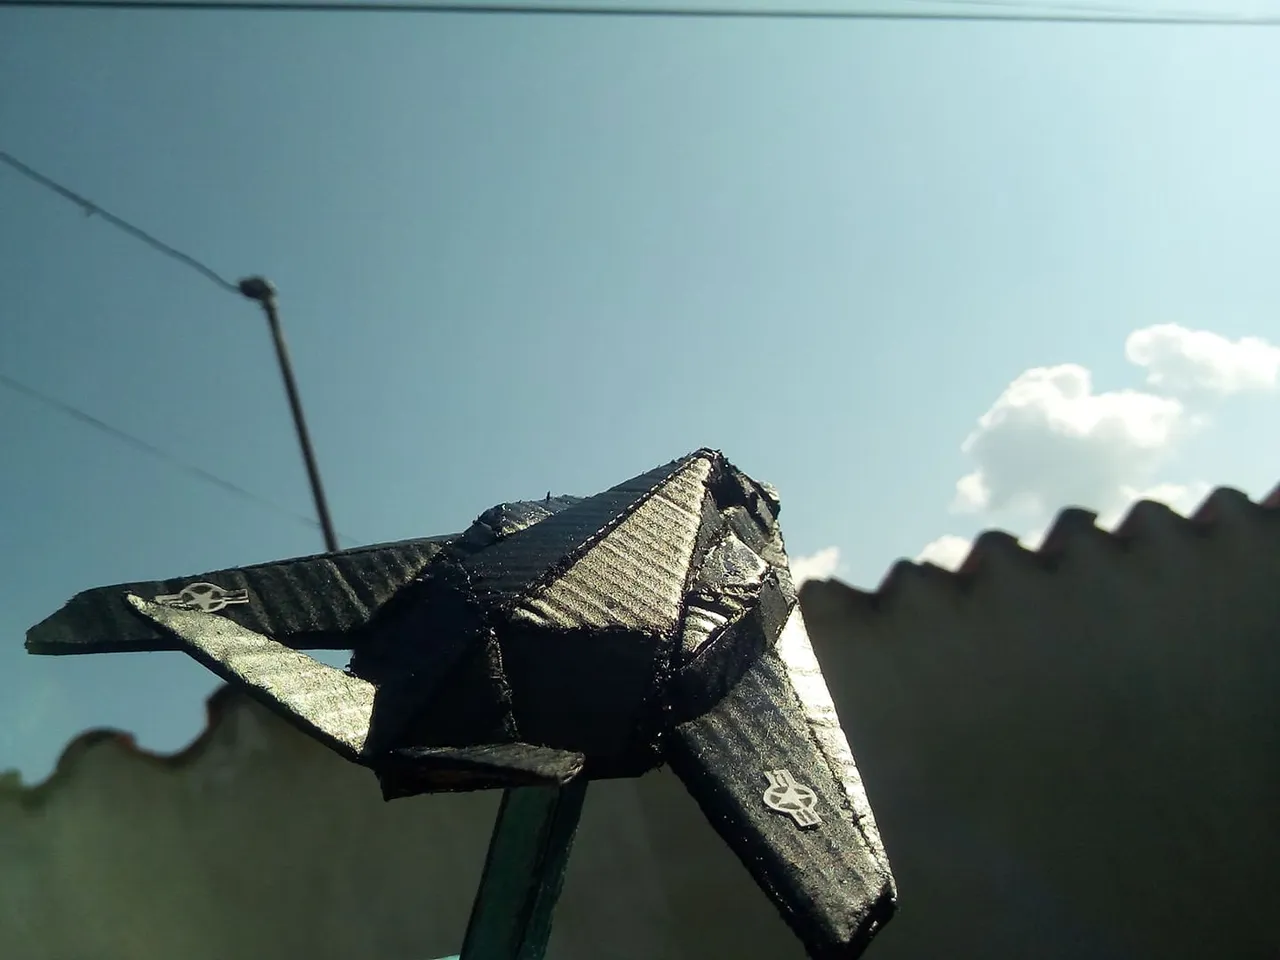
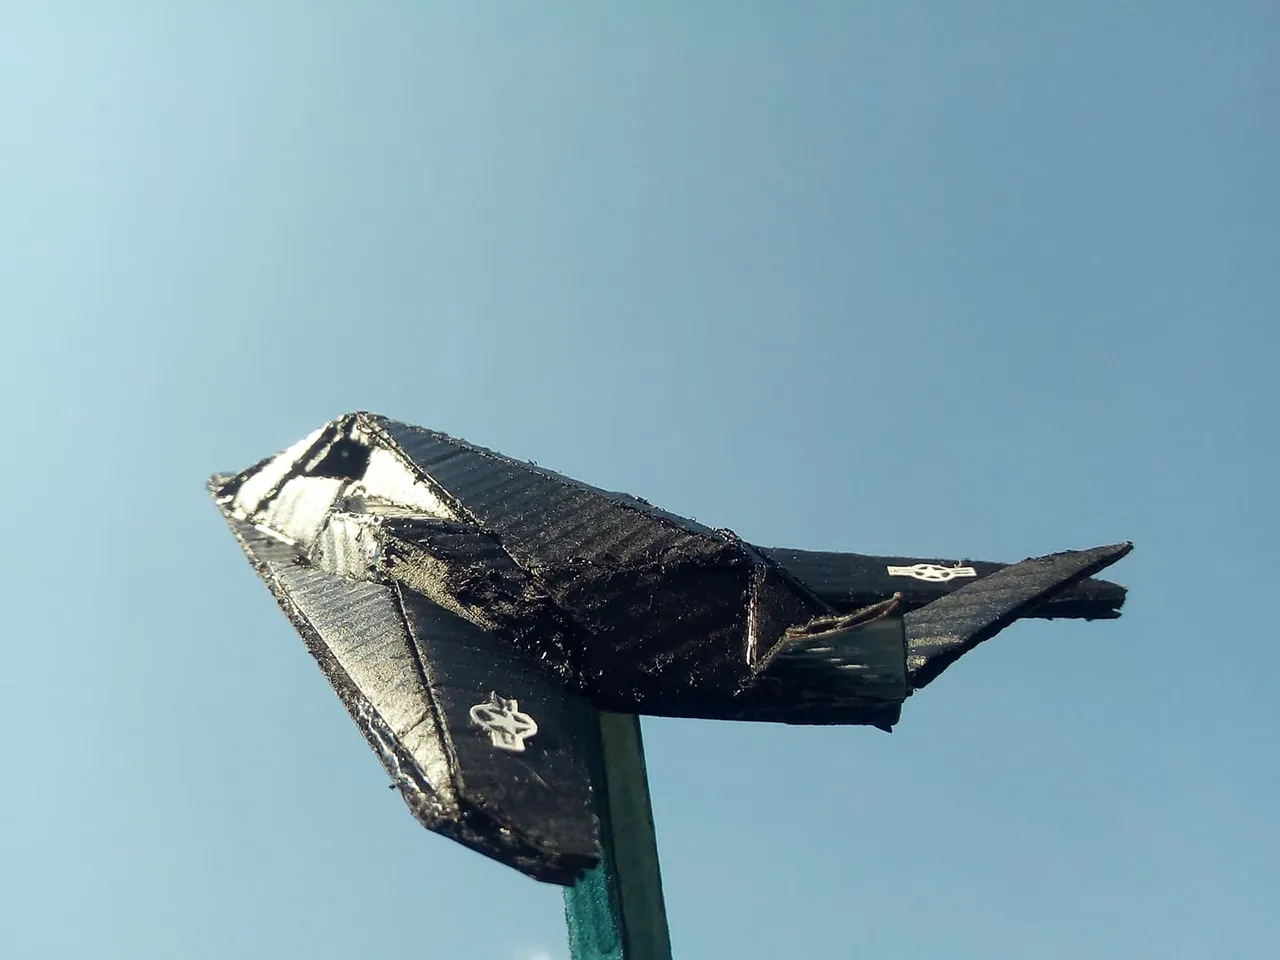
As this aircraft is for stealth missions, its color is matte black. So we apply a layer of matte black paint and let it dry. After it has dried very well we can print the insignia of the US Air Force and place them on the wings.
Como este avión es para misiones de sigilo, su color es negro mate. Así que aplicamos una capa de pintura de color negro mate y dejamos secar. Luego que haya secado muy bien podemos imprimir las insignias de la Fuerza Aerea de los EEUU y se las colocamos en las alas.
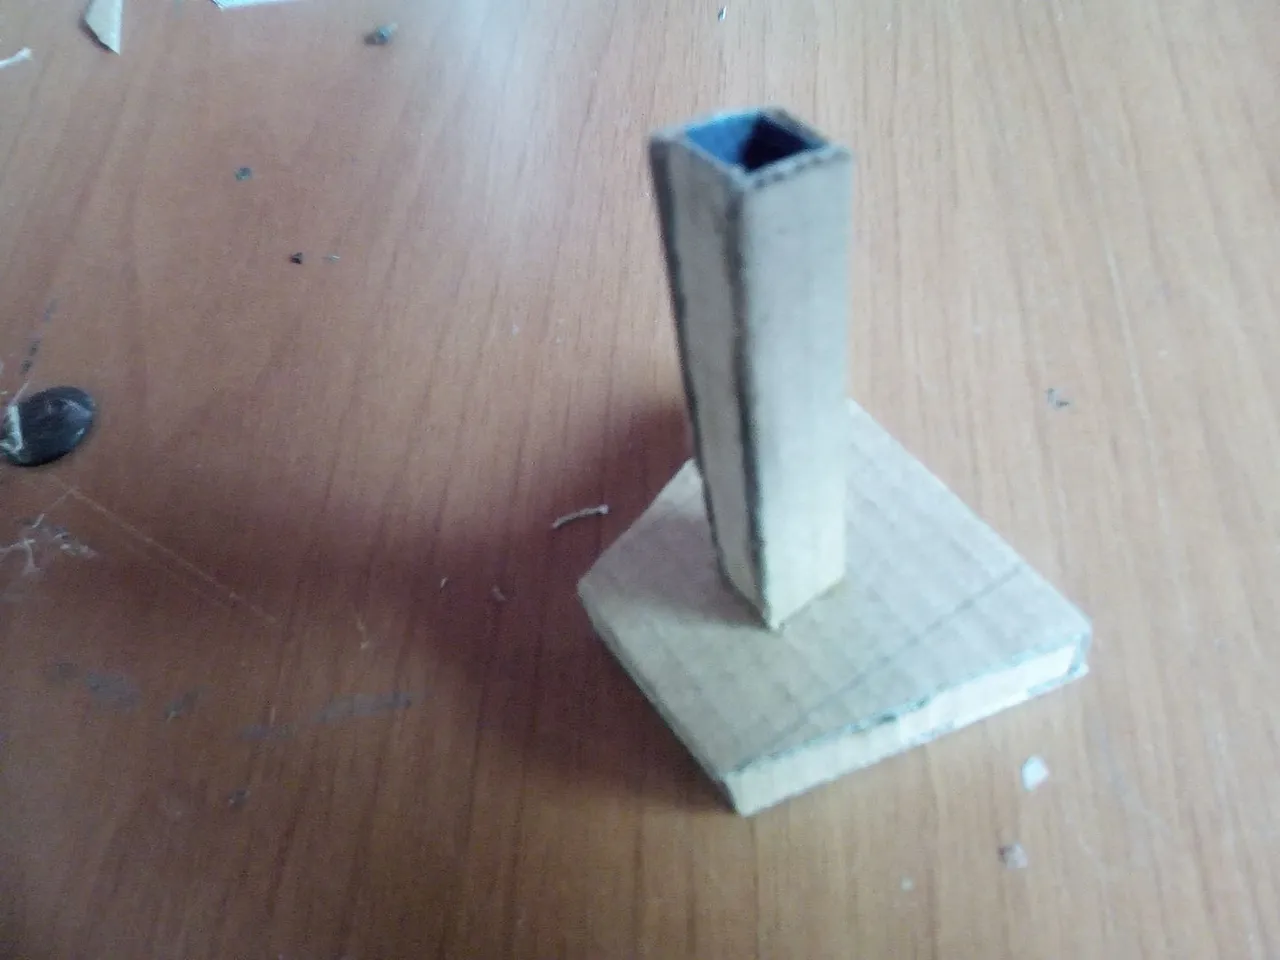
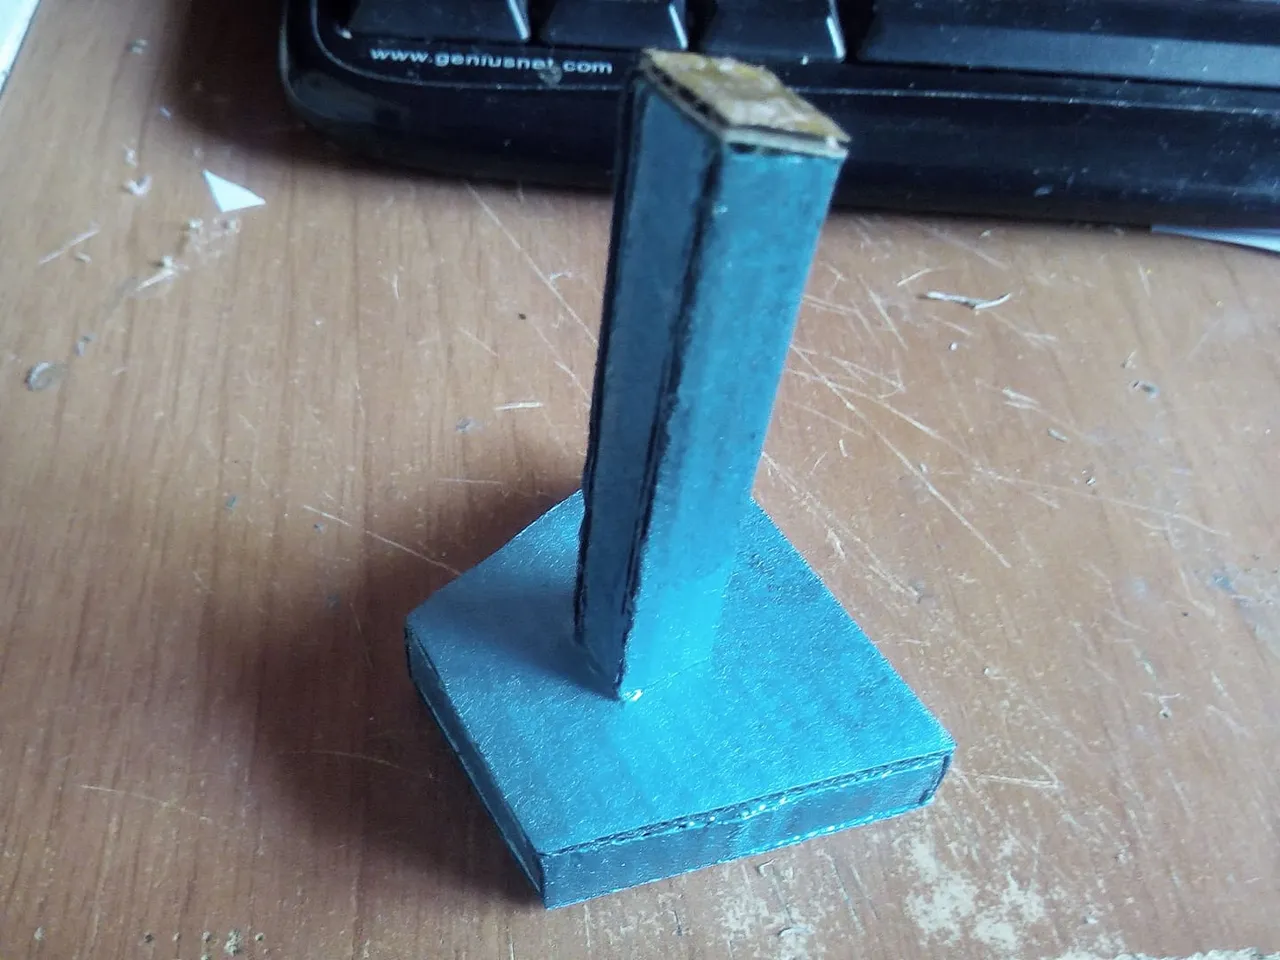
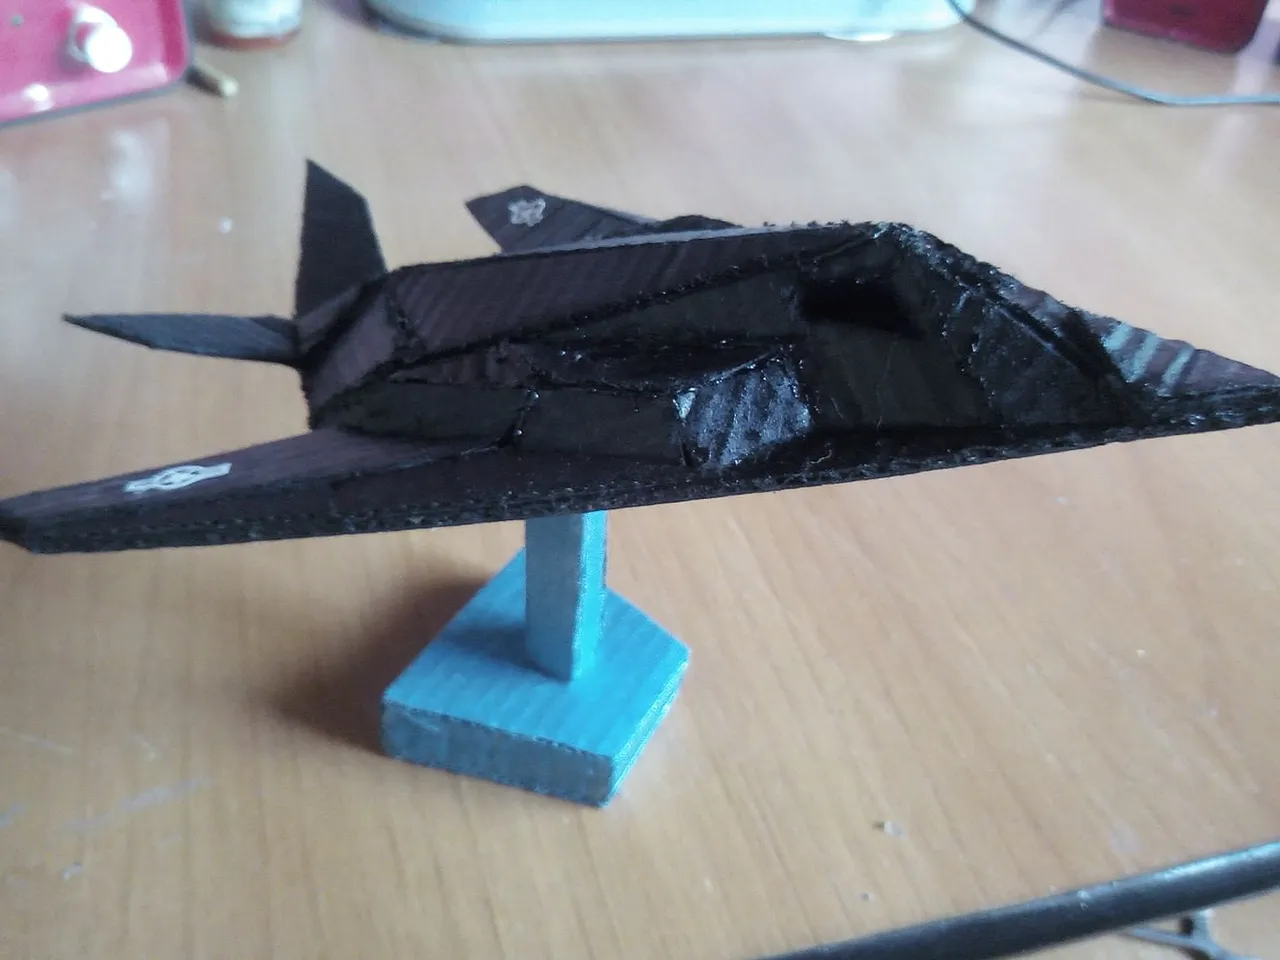
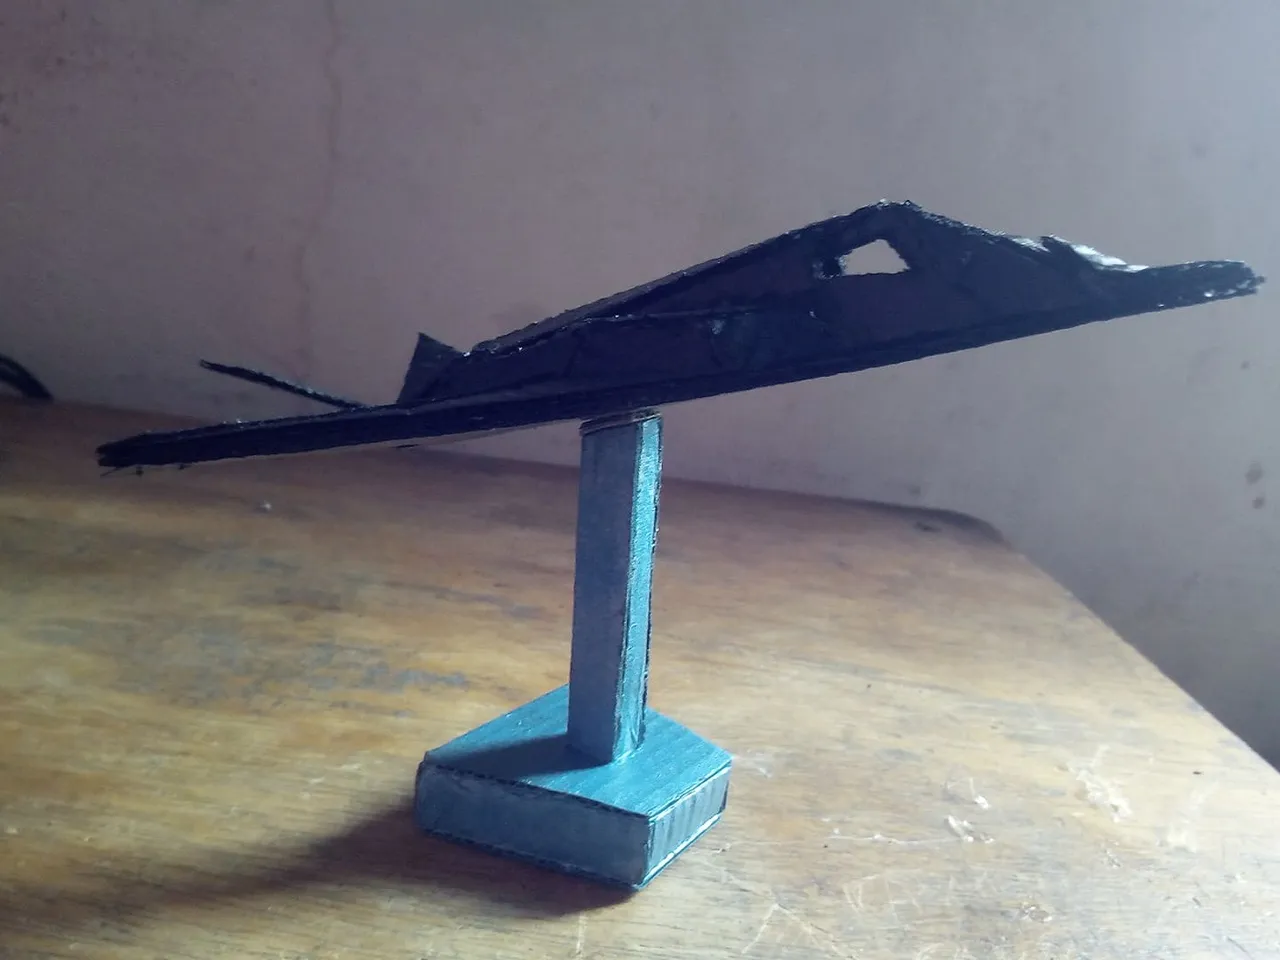
Finally we make a base for our plane. Using the same cardboard and with a simple figure we cut and glue the parts. Once we have glued them very well we also add paint, in this case a very beautiful metallic color. We put the two pieces together and we will have finished this powerful fighter plane.
Por último hacemos una base para nuestro avión. Utilizando el mismo cartón y con una figura sencilla cortamos y pegamos las partes. Una vez que las hayamos pegado muy bien también agregamos pintura, en este caso un color metalizado muy hermoso. Unimos las dos piezas y habremos finalizado este poderoso avión de combate.
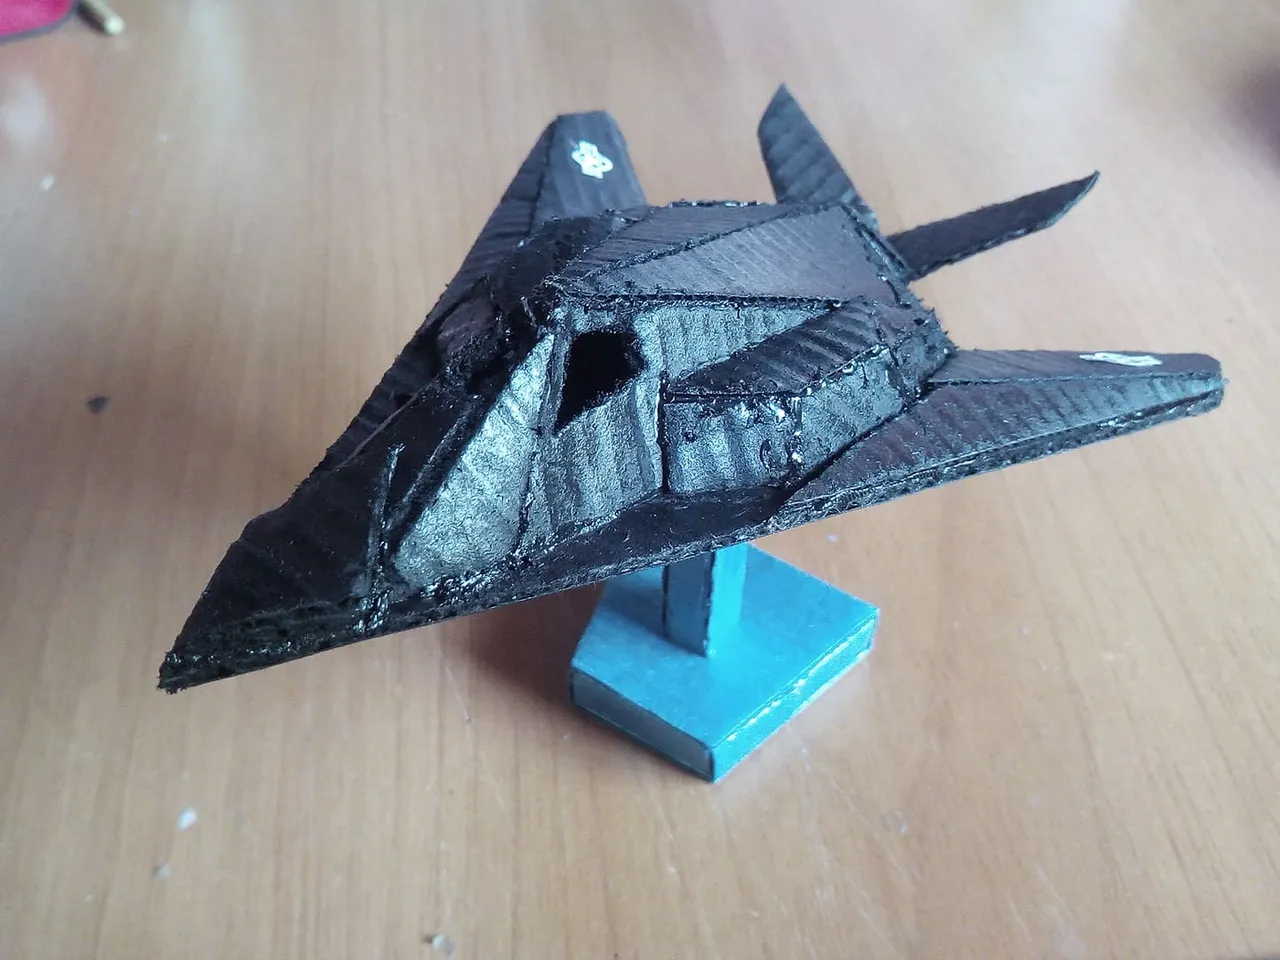
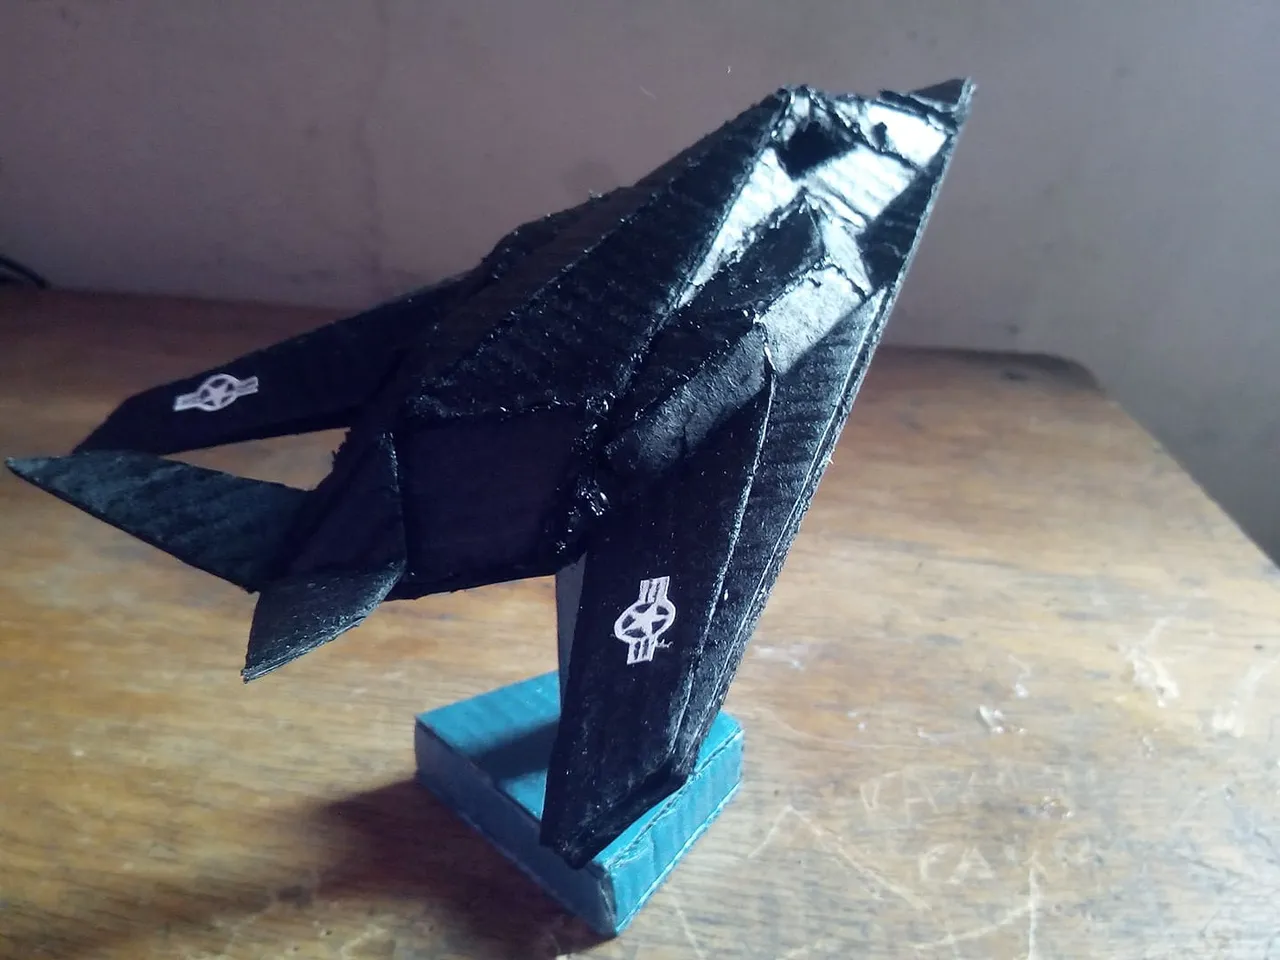
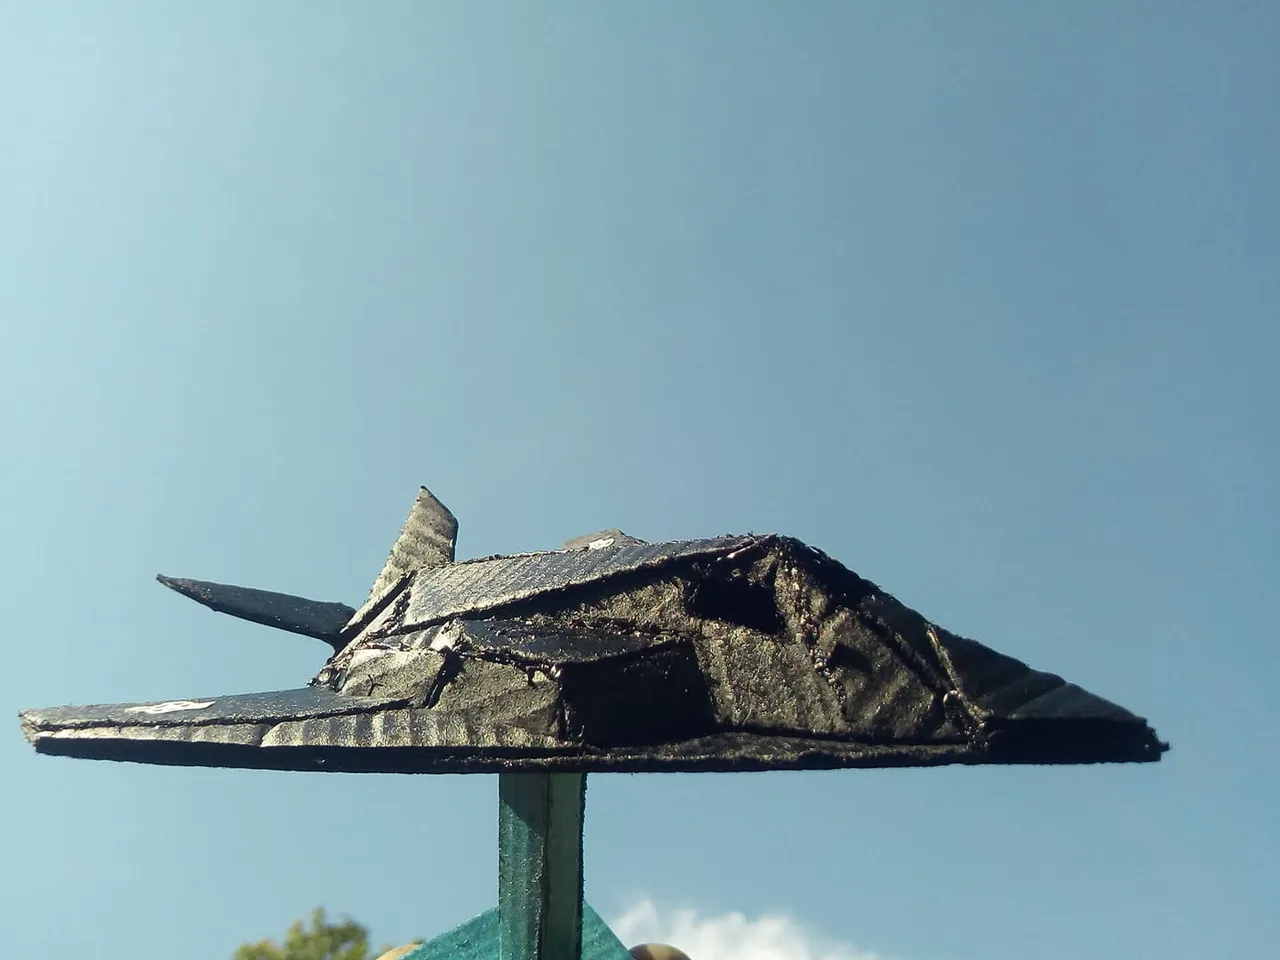
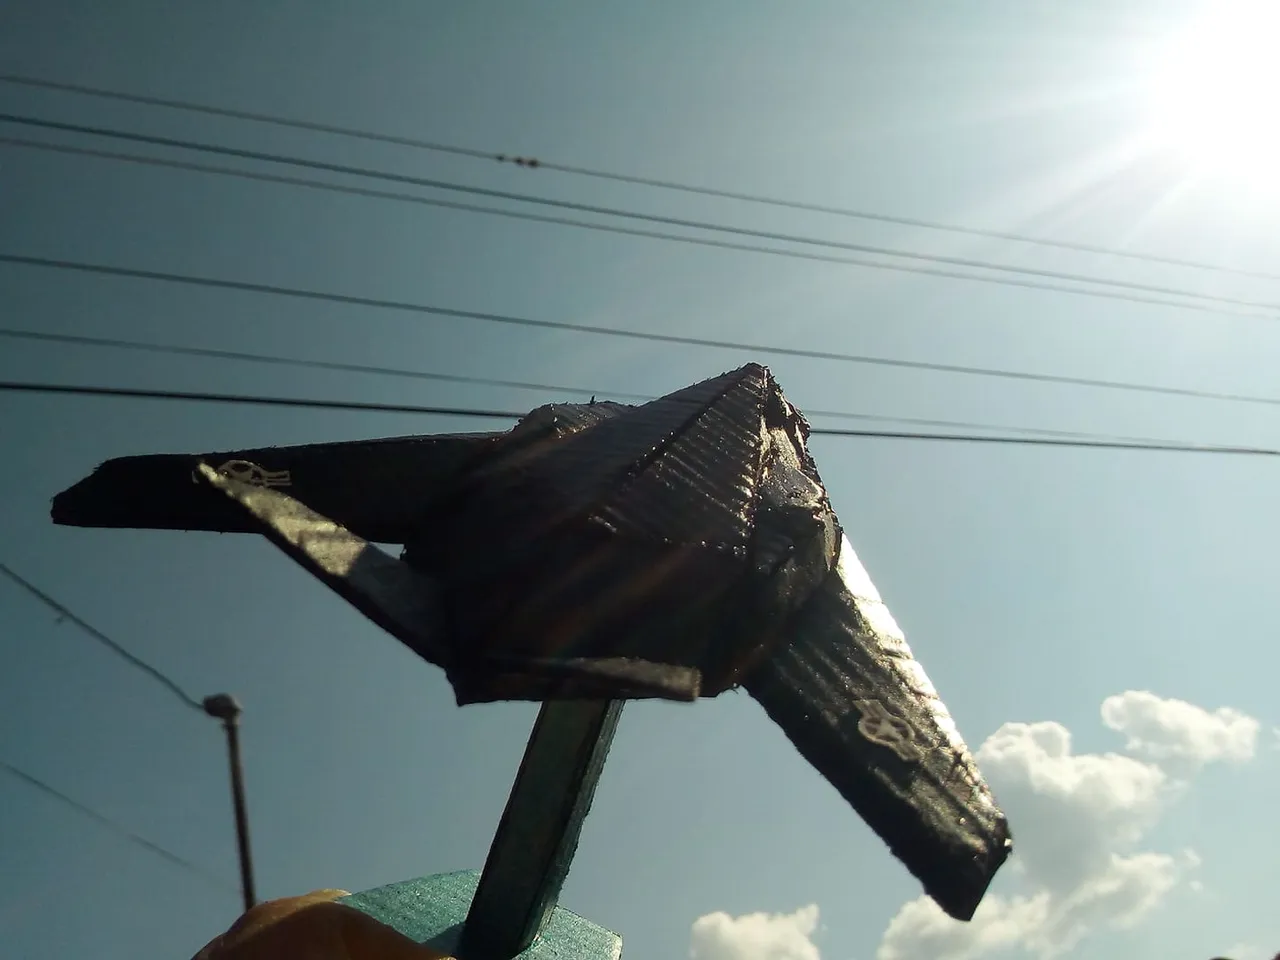
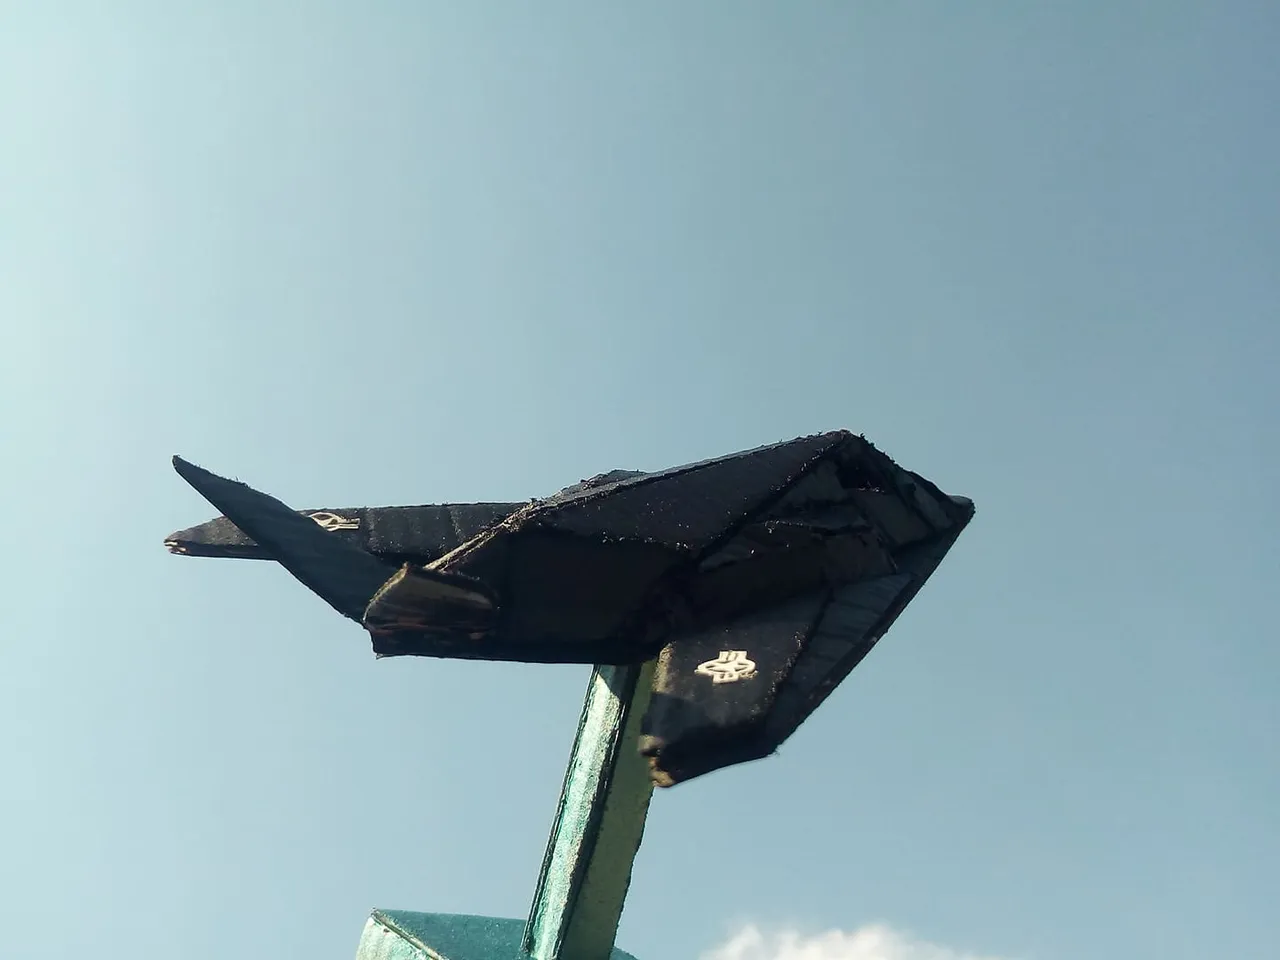
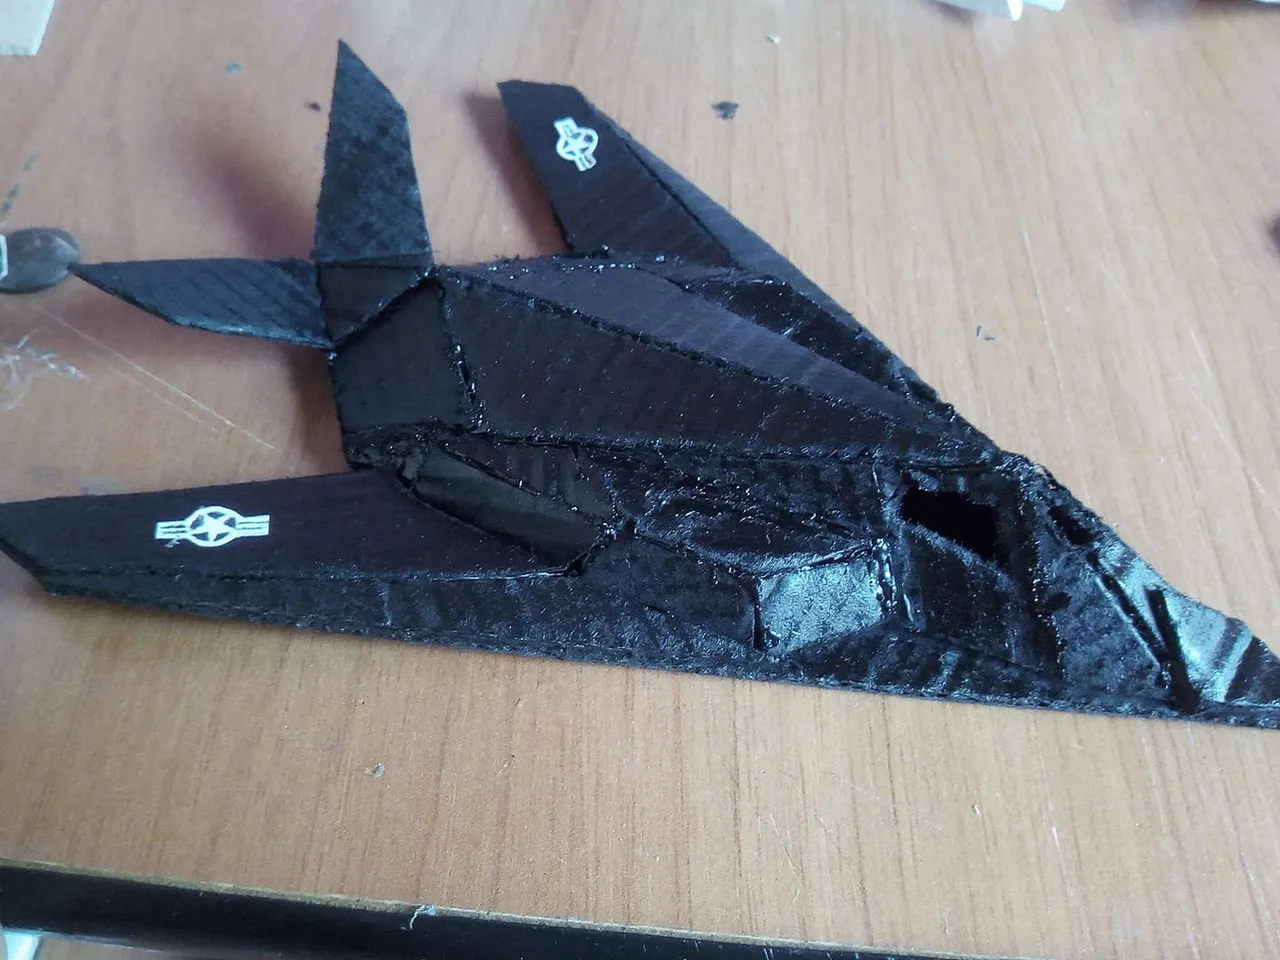
This is the F-117 NIGHT HAWK, a stealth fighter used in espionage missions. It should be noted that this plane was almost a failed project because it was used with computer technology from the 70s, when it could make its first flights it was technologically 5 years behind, the defense systems had new technology and new computers, so they were built few aircraft of this type and it was replaced by the RAPTOR F-22 that I also made previously but with aluminum cans. I hope you liked my contribution, I am very fascinated by flying ships, either science fiction or our reality. I say goodbye to you soon, do not forget to comment what you think. Greetings to all!
Así ha quedado el F-117 NIGHT HAWK, caza furtivo utilizado en misiones de espionaje. Hay que resaltar que este avión casi fue un proyecto fallido porque se utilizó con tecnología computacional de los años 70, cuando pudo hacer sus primeros vuelos estaba atrasado tecnológicamente 5 años, los sistemas de defensas poseían nueva tecnología y computadoras nuevas, por lo que se construyeron pocas aviones de este tipo y fue reemplazado por el RAPTOR F-22 que también hice anteriormente pero con latas de aluminio. Espero que les haya gustado mi aporte, me fascinan muchos las naves voladoras, ya sea de ciencia ficción o de nuestra realidad. Me despido hasta pronto, no olviden comentar que les ha parecido. Saludos para todos!