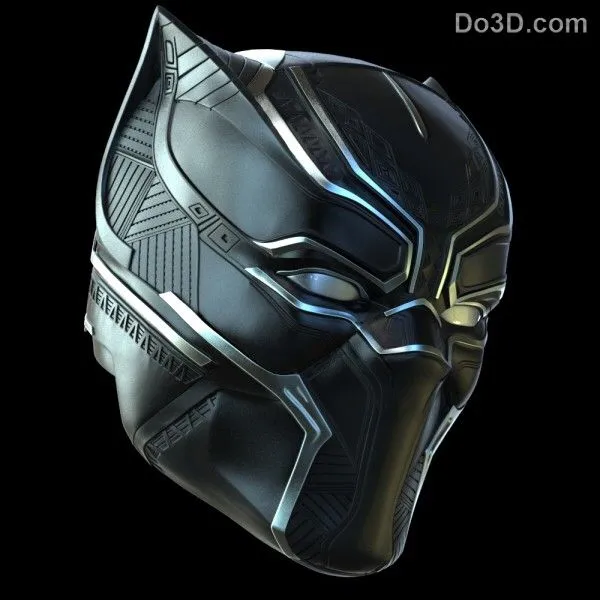
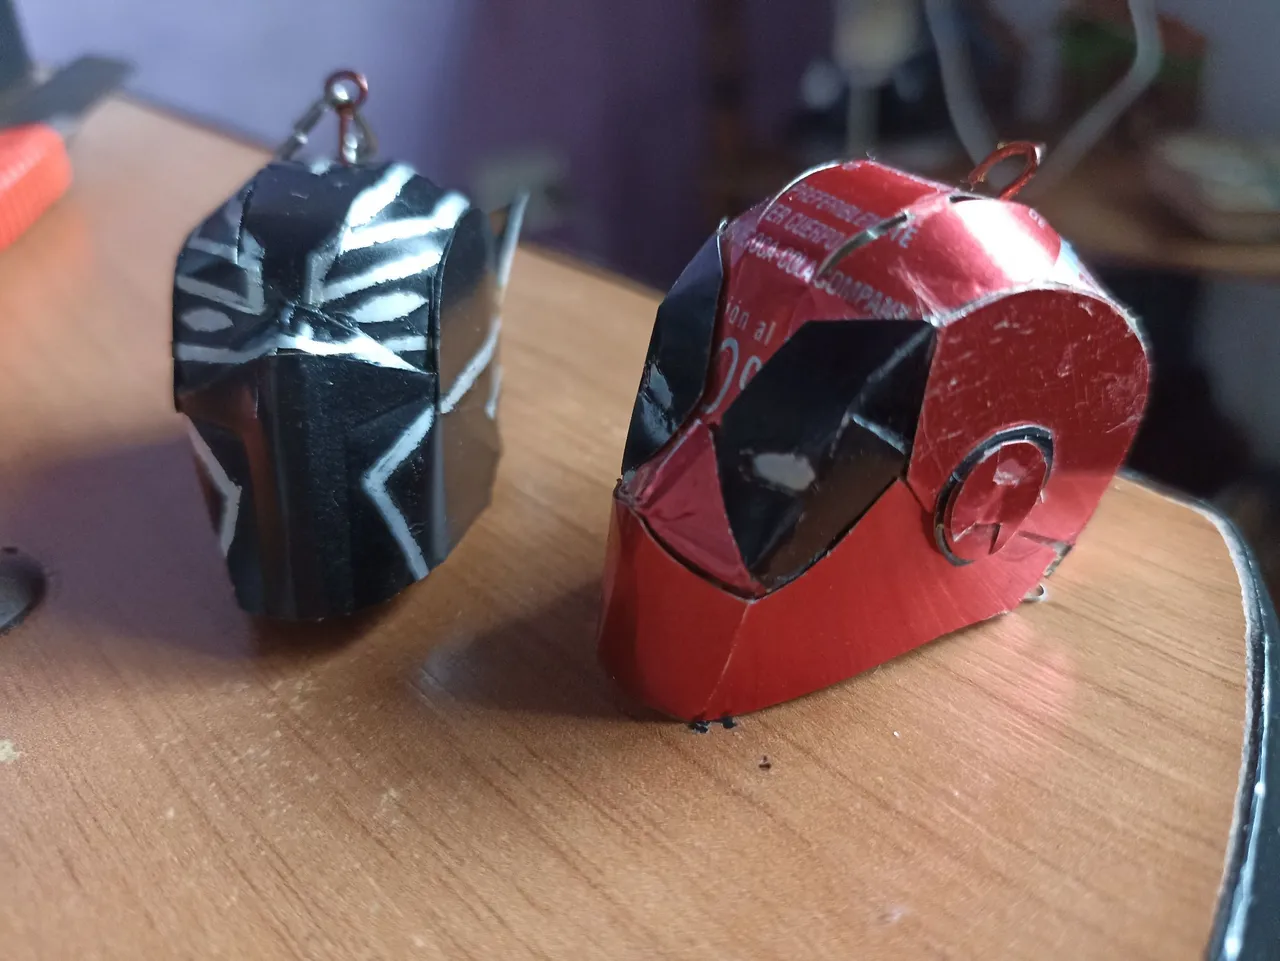
Hello friends, I hope that everyone is very well, this time I want to share with this wonderful HiveDiy community a keychain that I made on the occasion of the Black Panther warrior, specifically I made the helmet, I consider it to be one of the best designs that the characters have of Marvel, and also for the history of Wakanda. I'm waiting for the premiere of the second movie so while I'm doing it I decided to make this little present, I hope you like it.
Hola amigos, espero que todos se encuentren muy bien, en esta oportunidad quiero compartir con esta maravillosa comunidad de HiveDiy un llavero que hice con motivo del guerrero Black Panther, específicamente hice el casco, considero que es uno de los mejores diseños que tienen los personajes de Marvel, y también por la histora de Wakanda. Me encuentro esperando el estreno de la segunda película así que mientras lo hago decidí hacer este pequeño presente, espero que les guste.

 |  |  |
|---|---|---|
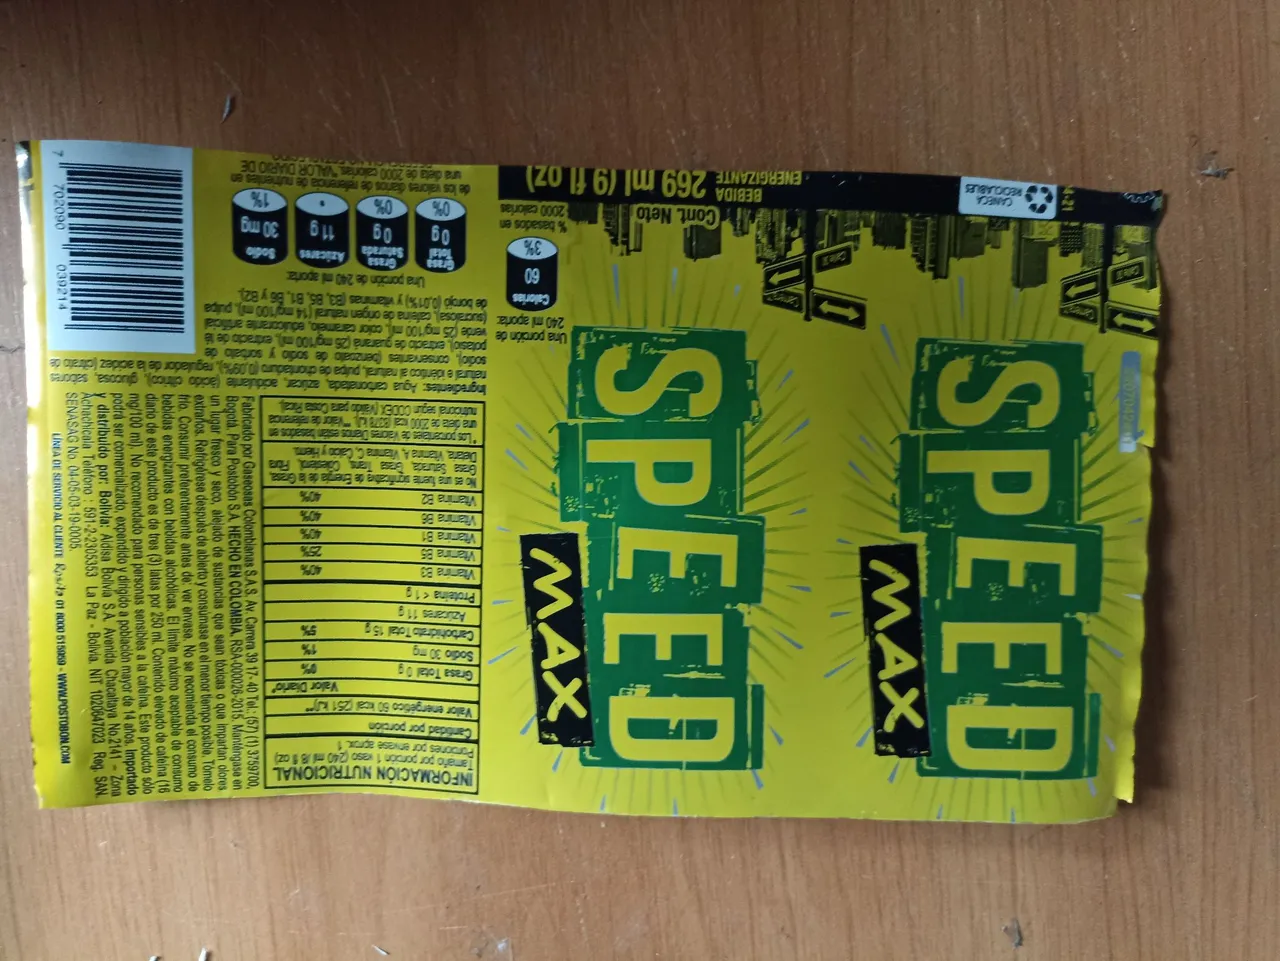 | 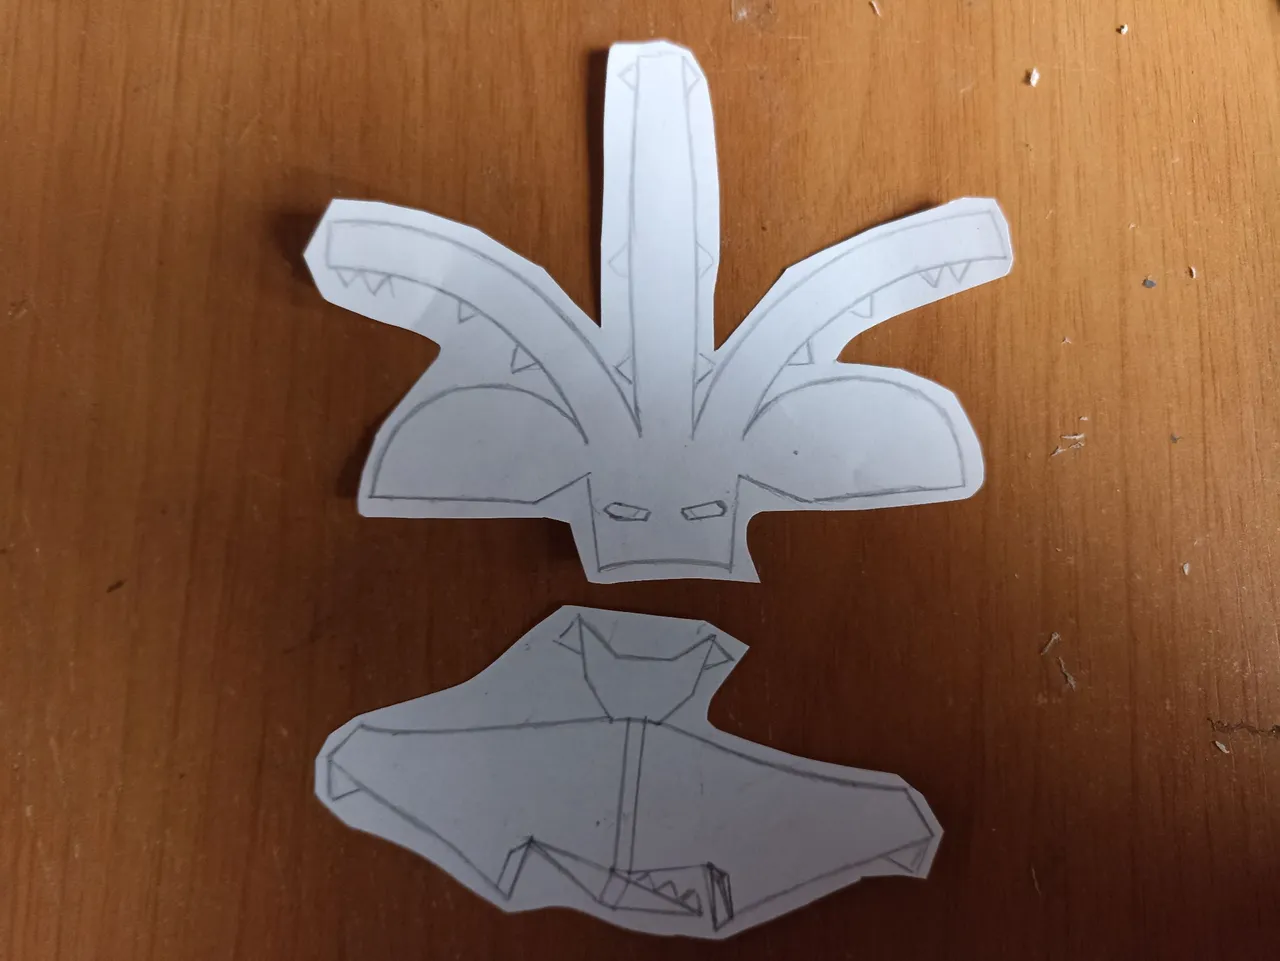 | 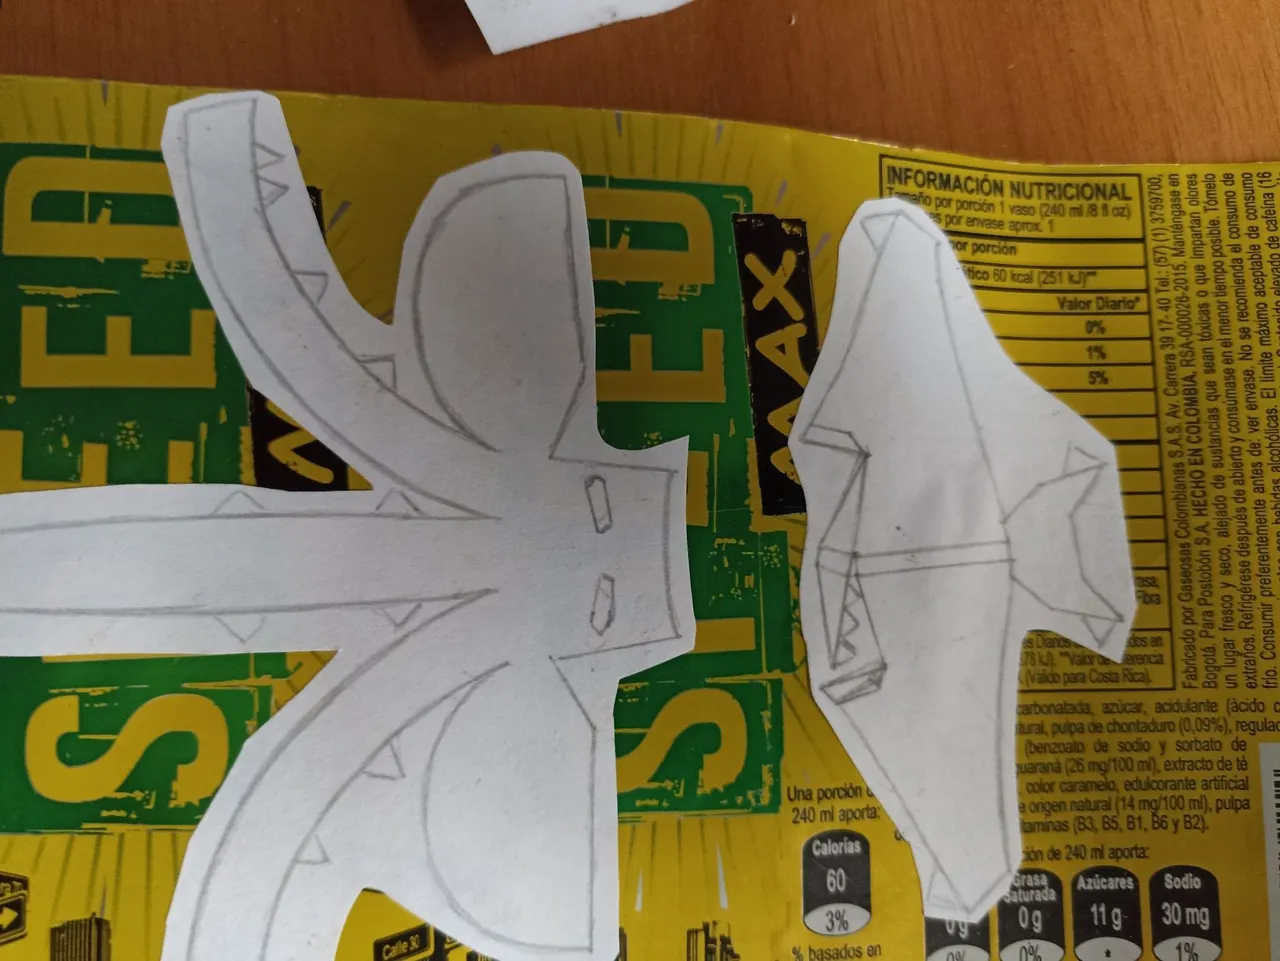 |
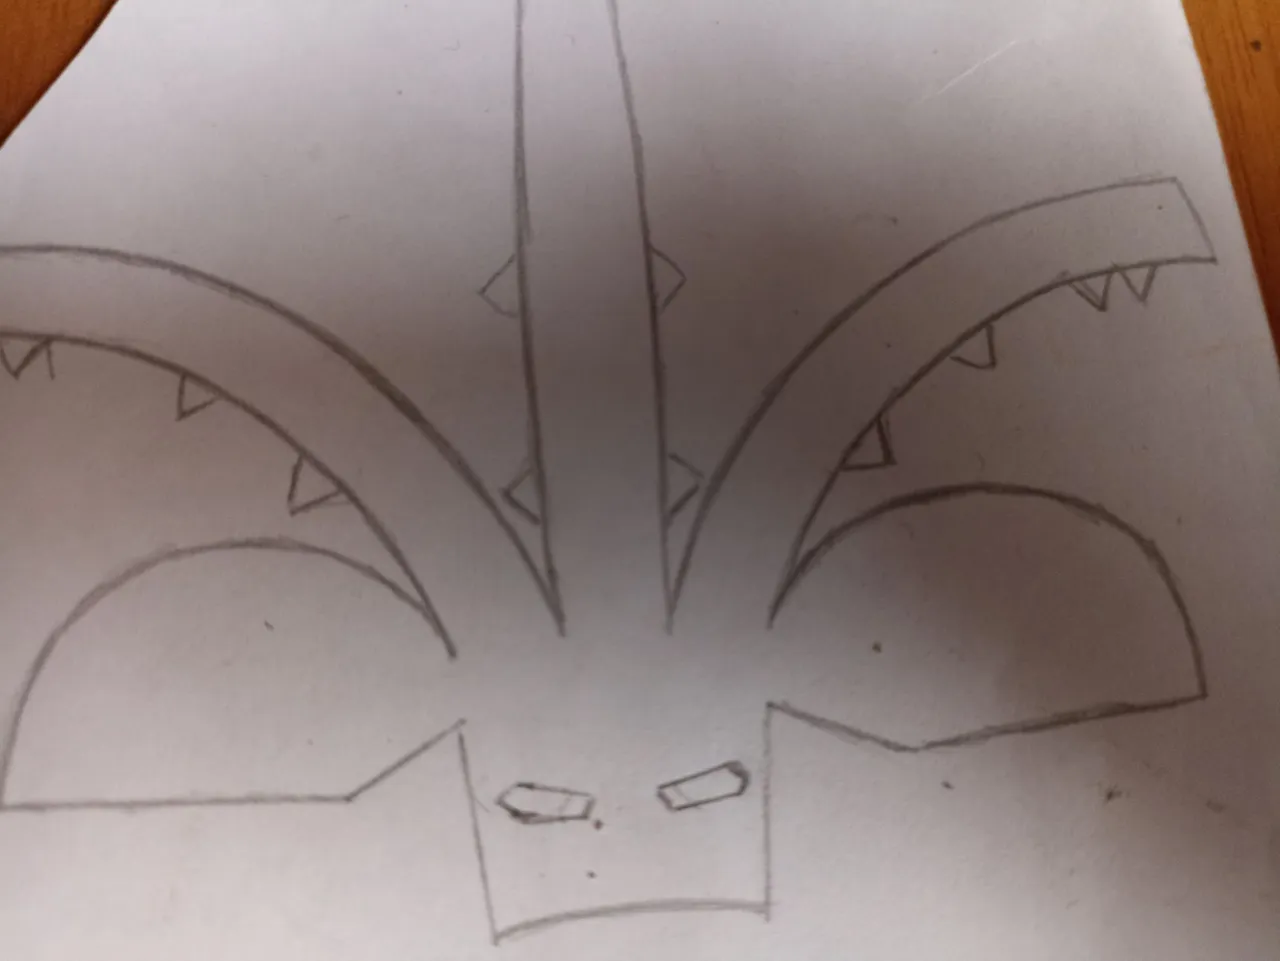
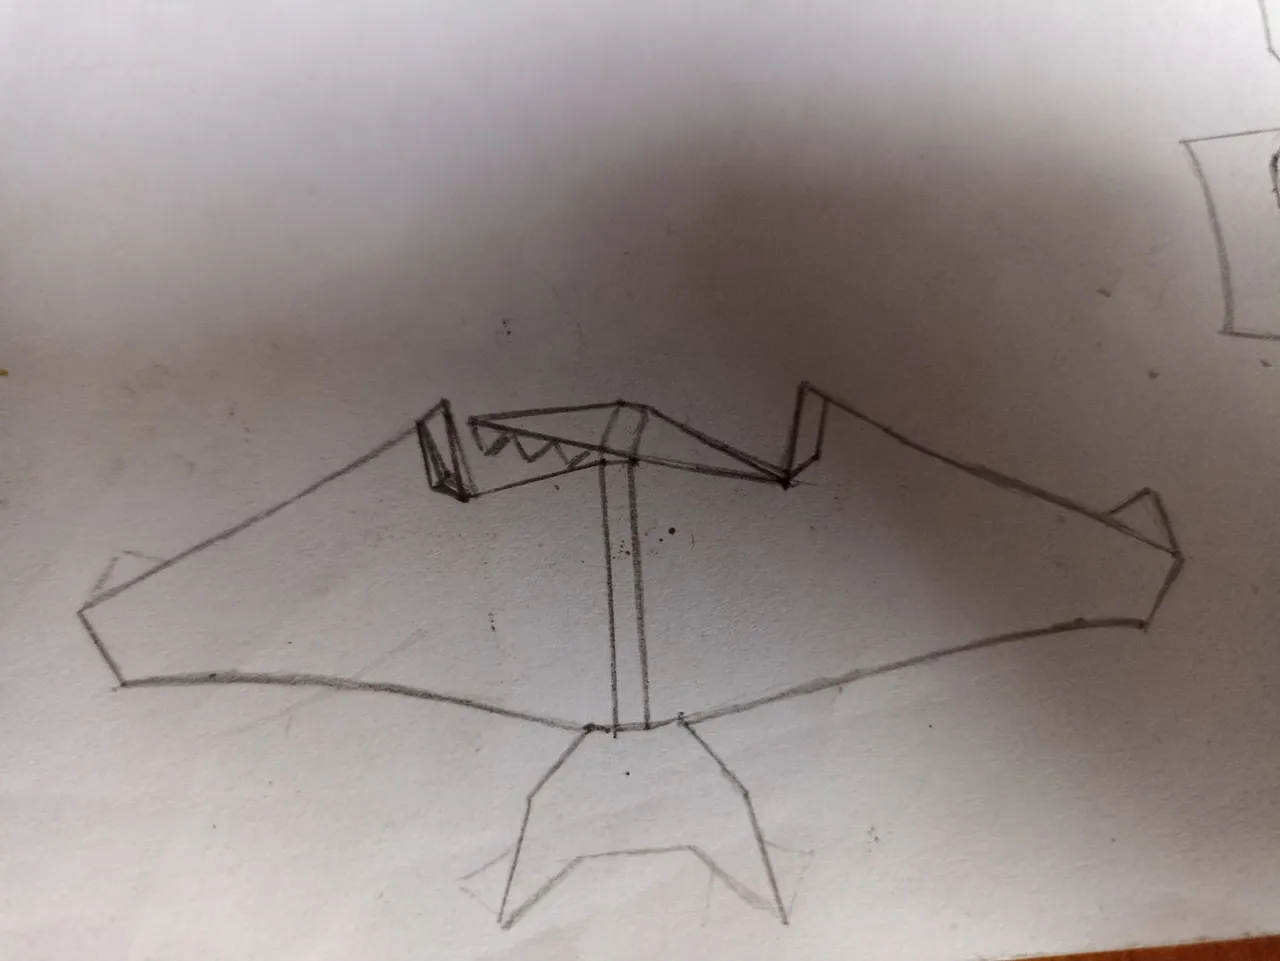
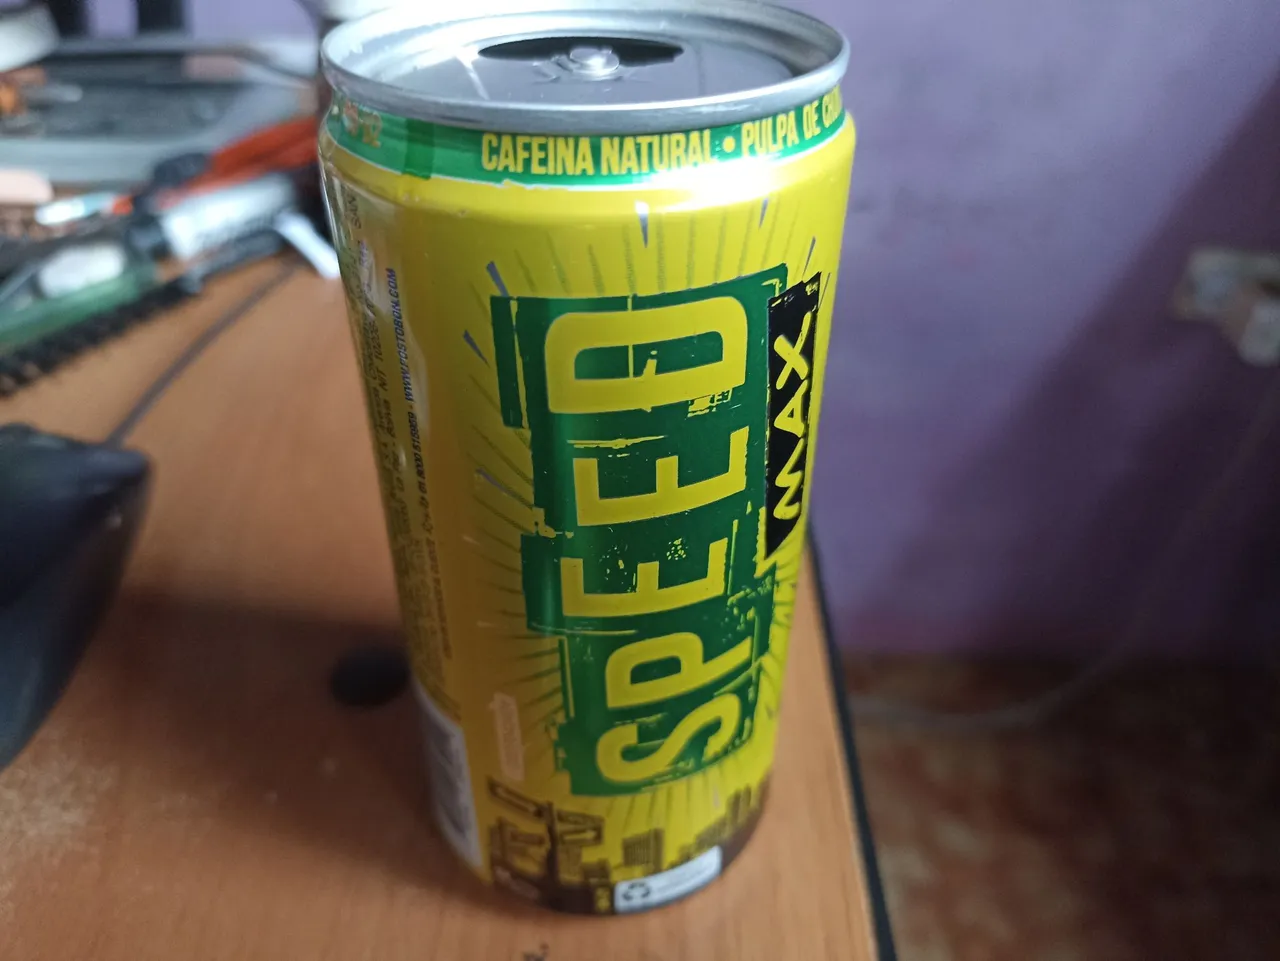
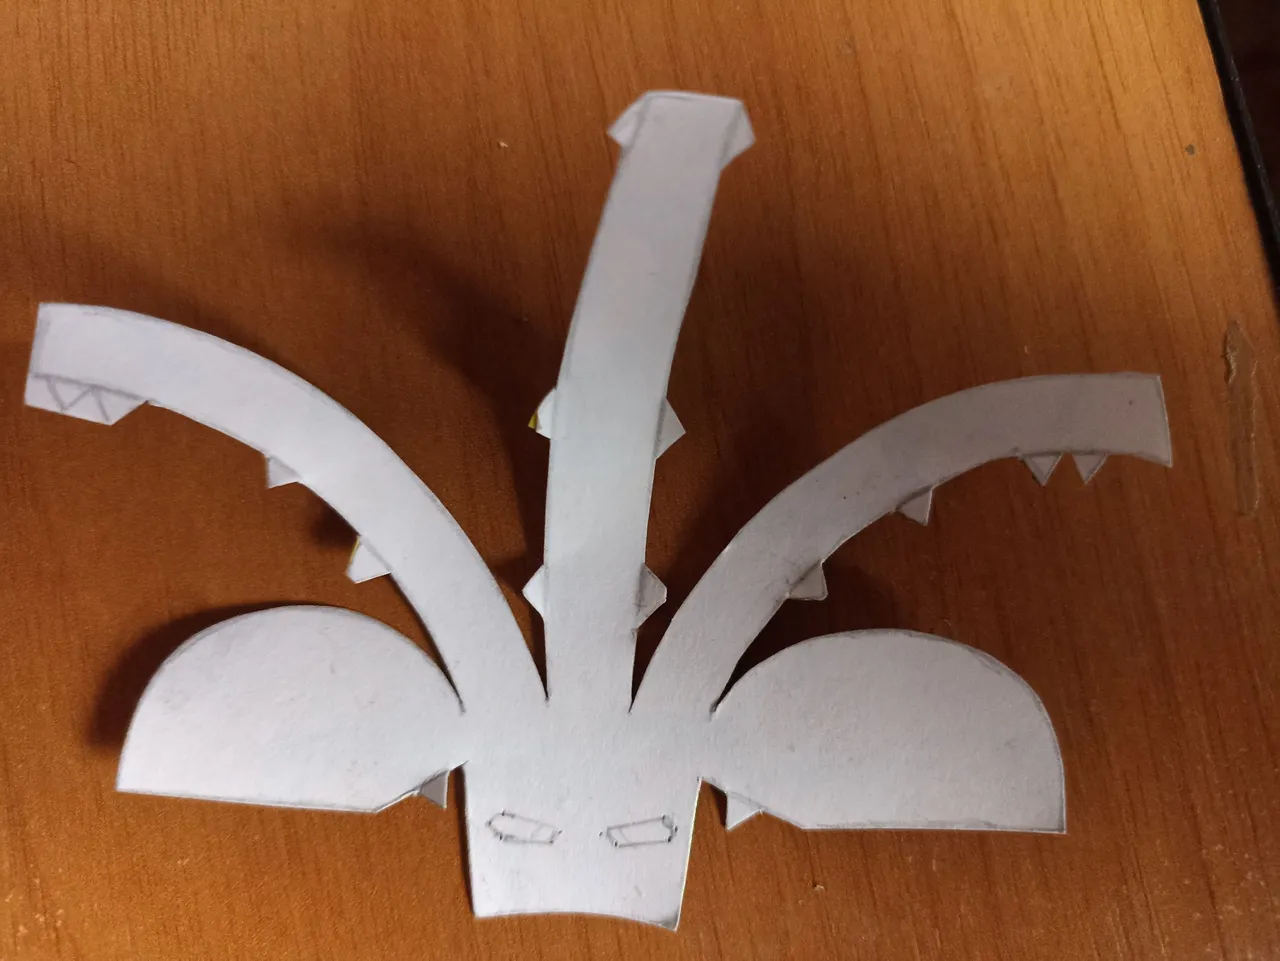
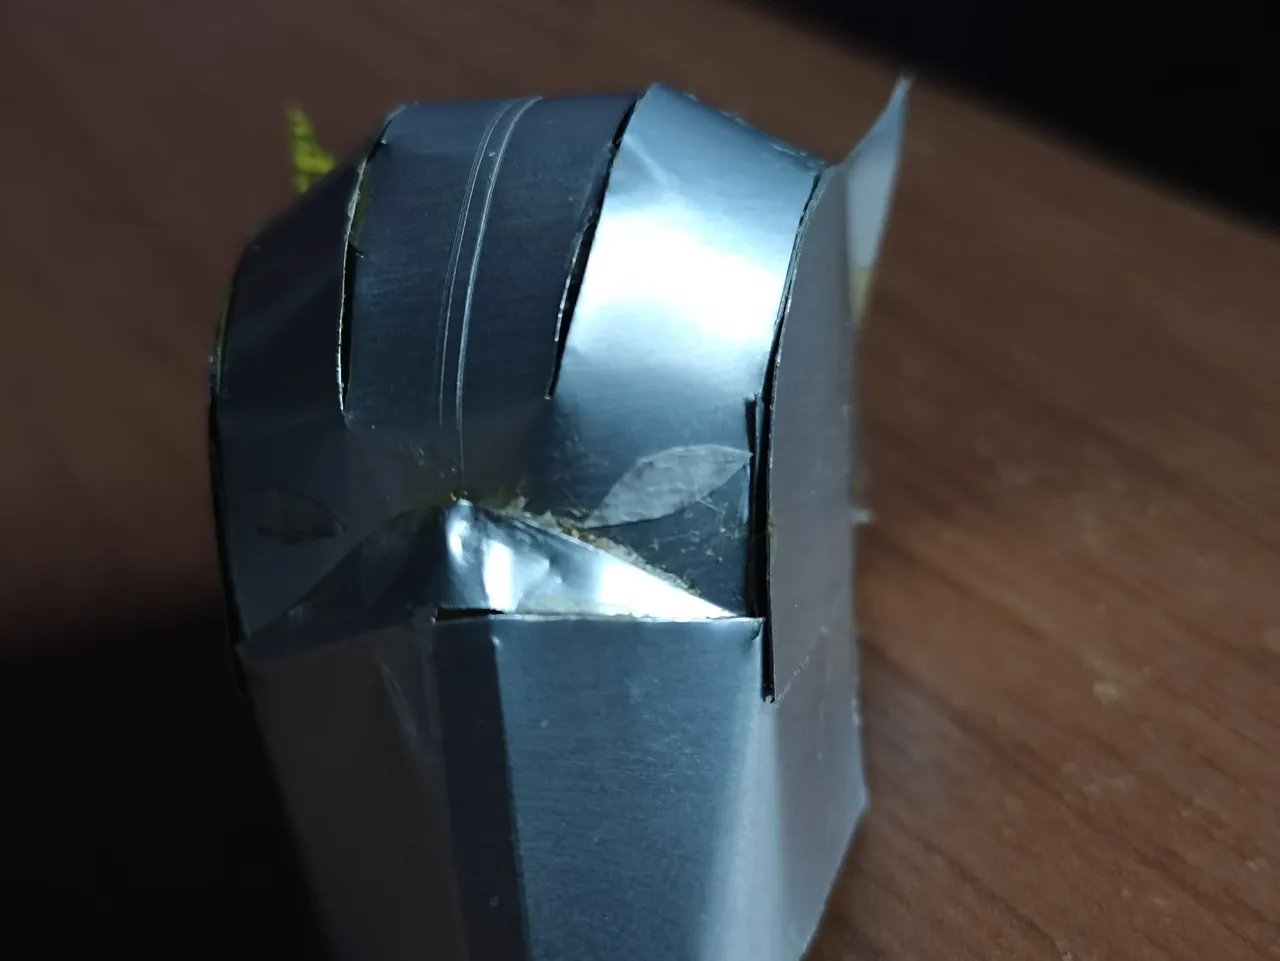
To begin with I confess that I spent hours designing this helmet, since it is not like other characters that I have done before, so I had to look at full-scale templates to get an idea of how to start, but it was also frustrating since these templates usually have more details and the aluminum material is sometimes not enough. So I had to mix between many helmets to get closer to the design. I made the top part of the helmet where the eyes would go and the bottom part where the nose and mouth would go for those two then I would join them together to get the helmet out. For this I used a single can and after copying it I glued the templates on top of them with glue.
Para comenzar confieso que pasé horas diseñanado este casco, ya que no es como otros personajes que he hecho antes, así que tuve que fijarme en plantillas de escala real para tener una idea de como empezar, pero tambien fue frustrante ya que estas plantillas suelen tener mas detalles y el material de aluminio a veces no da para tanto. Así que tuve que hacer una mezcla entre muchos cascos para acercarme al diseño. Hice la parte superior del casco donde van los ojos y la parte inferior donde iría la nariz y la boca de esos dos luego los uniría para sacar el casco. Para esto utilicé una sola lata y después de copiarla pegué encima de ellas las plantillas con pegamento.
 |  |  |
|---|---|---|
 | |  |
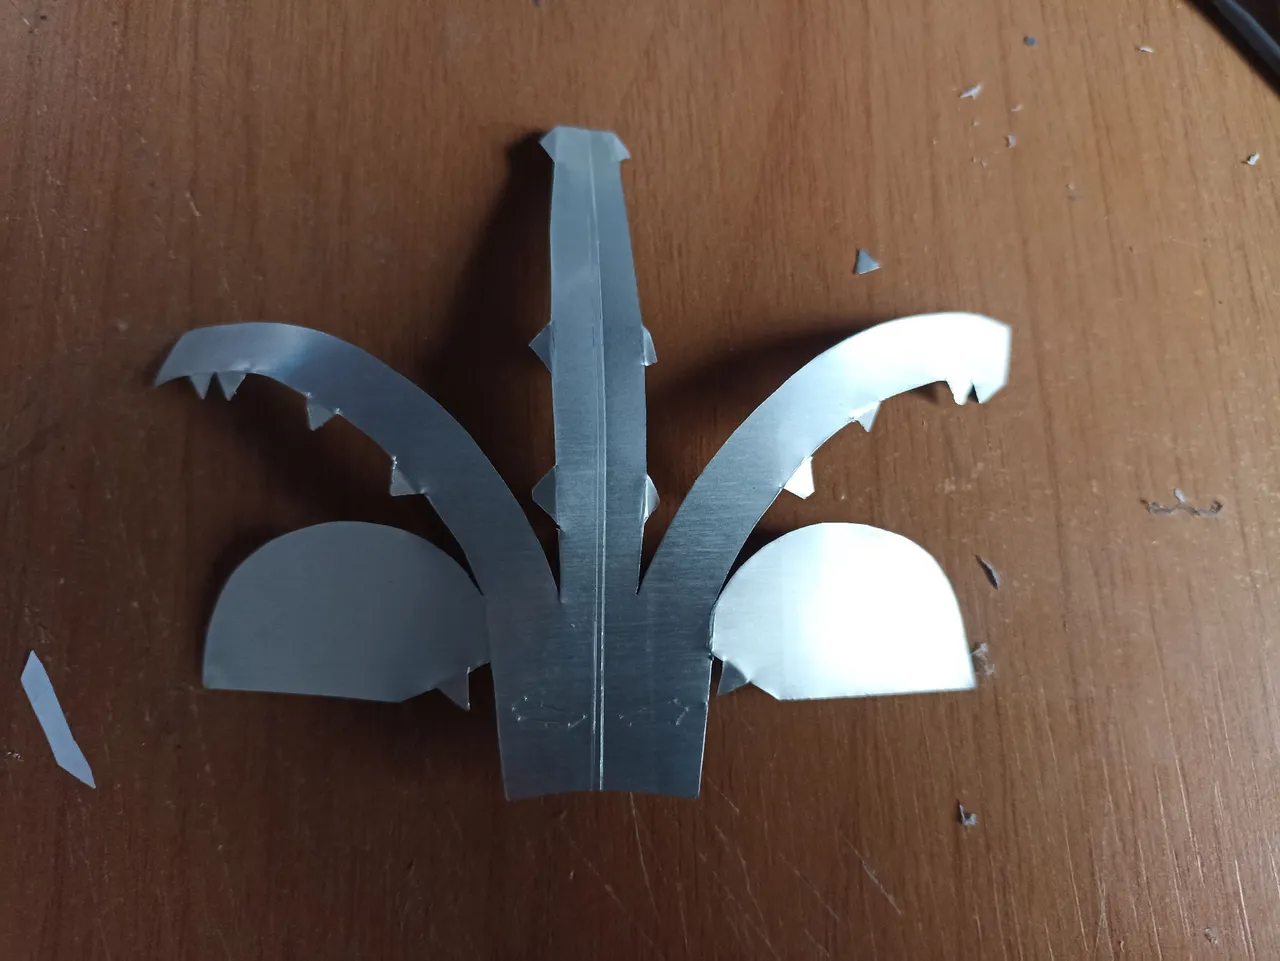
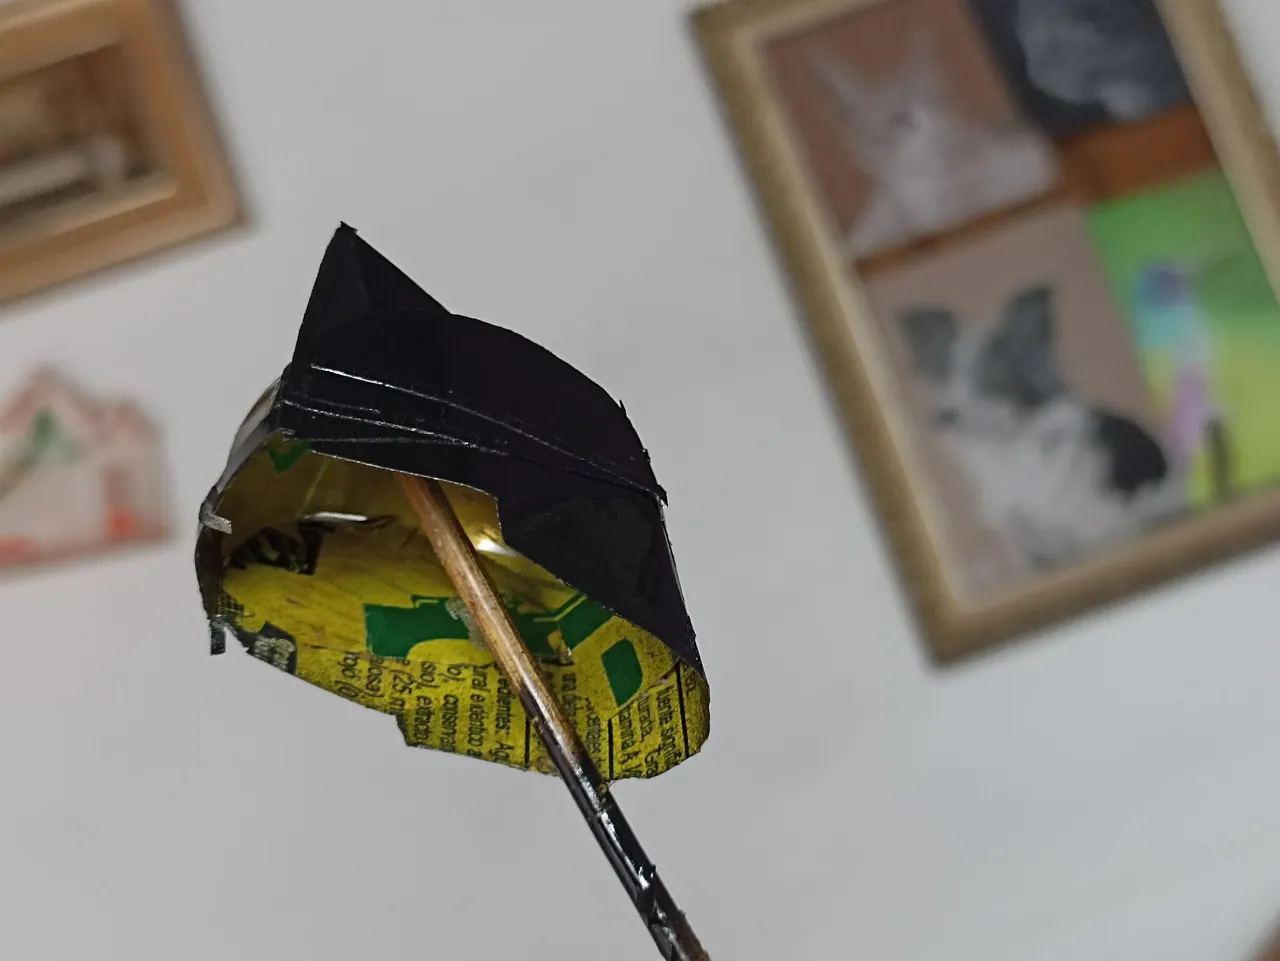
The first step was then to assemble the upper part, here I was somewhat careful and patient since these parts tend to break easily when I am folding them, so when I put them on I let them dry very well and then join the parts very carefully, always helping me with some tweezers, so each piece remains in the indicated place, so there is no way to deformities.
El primer paso fue armar entonces la parte superior, aquí fui algo cuidadoso y paciente ya que estas partes suelen romperse con facilidad cuando las estoy doblando, así que cuando pongo dejo secar muy bien para luego unir las partes con mucho cuidado, siempre ayudándome con unas pinzas, así cada pieza queda en el lugar señalado, así no hay paso a deformidades.
 |  |  |
|---|---|---|
 |  |  |
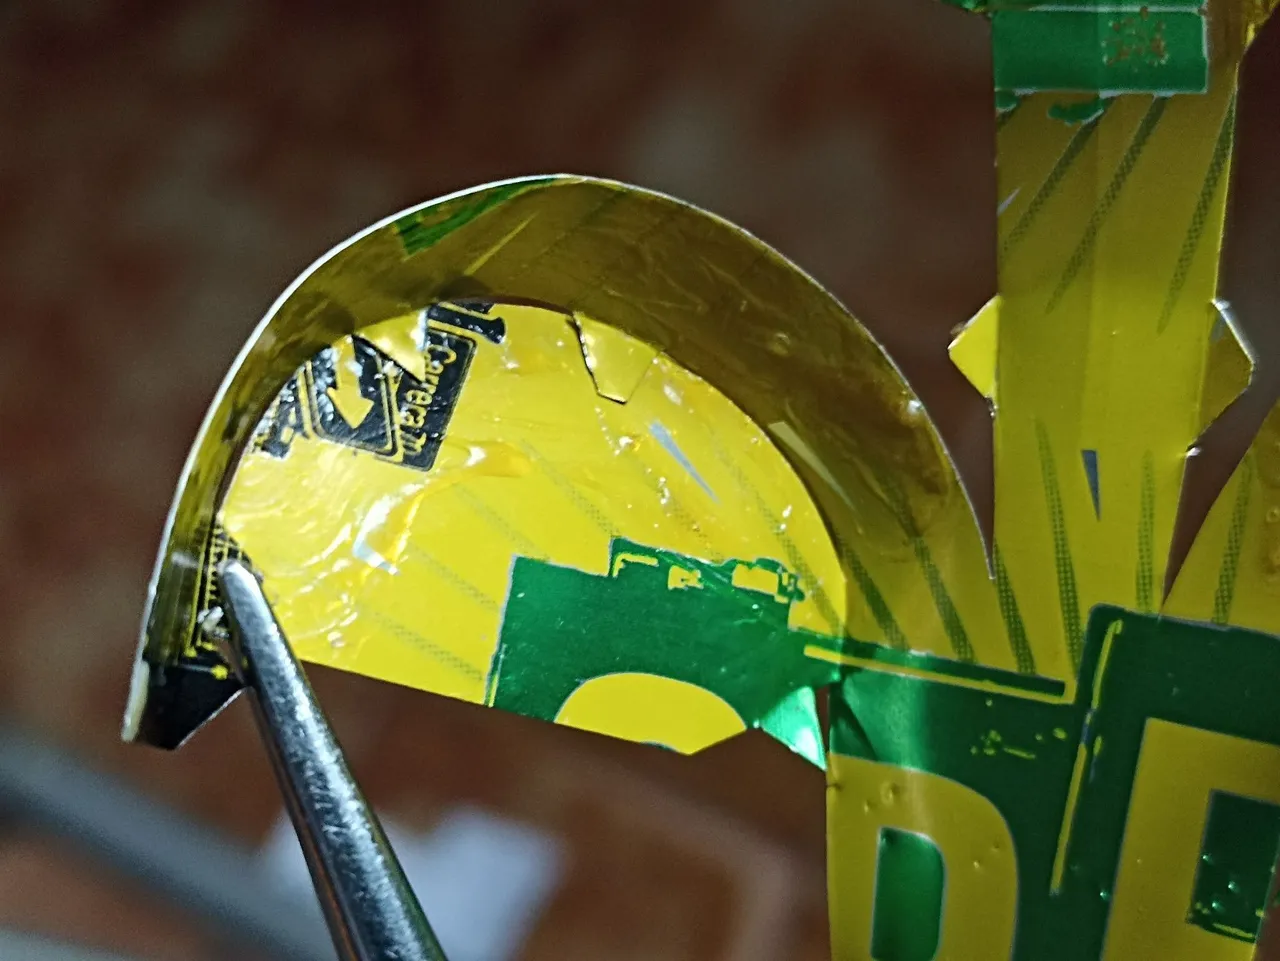
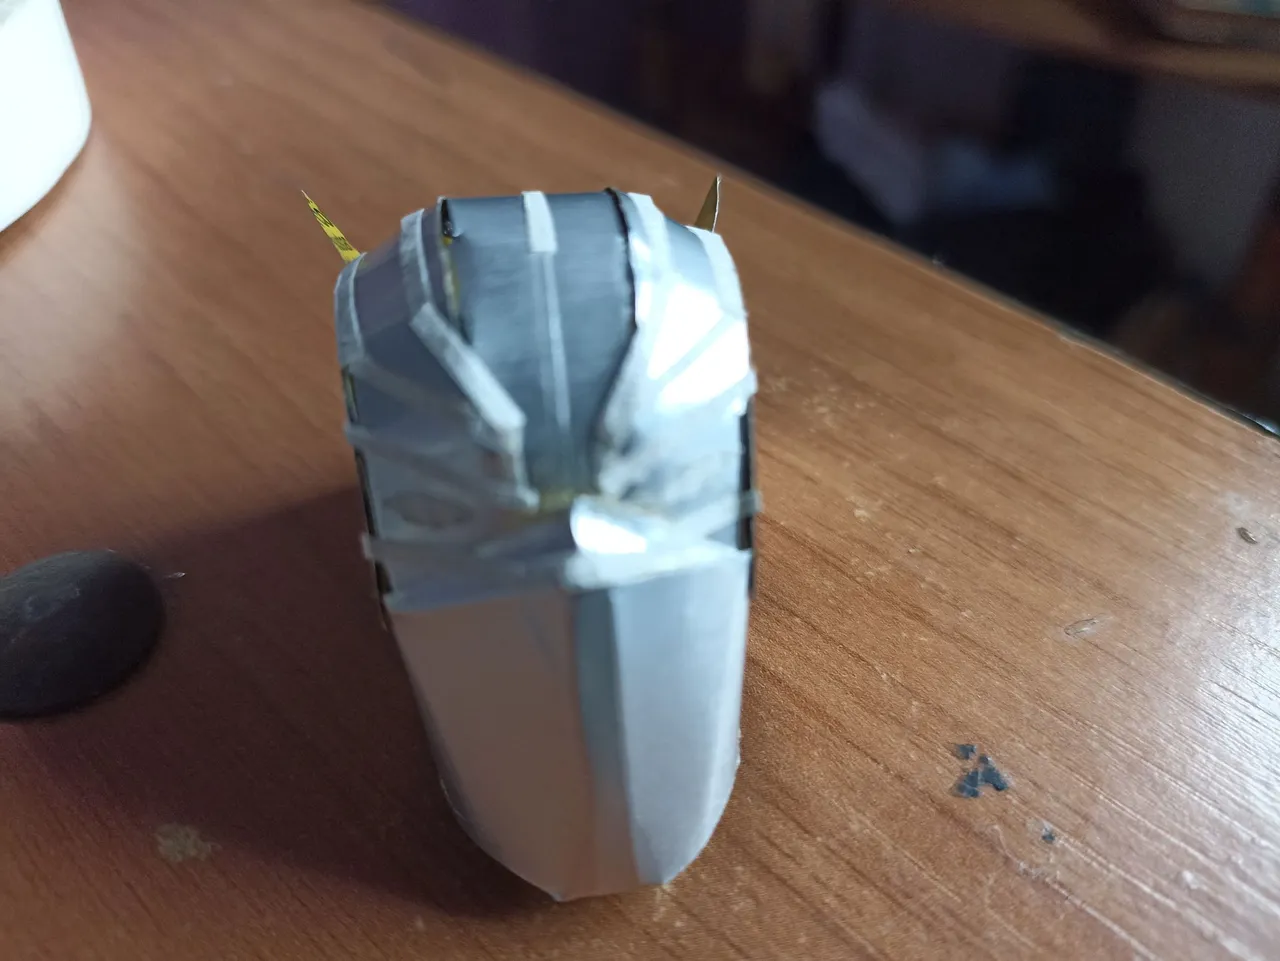
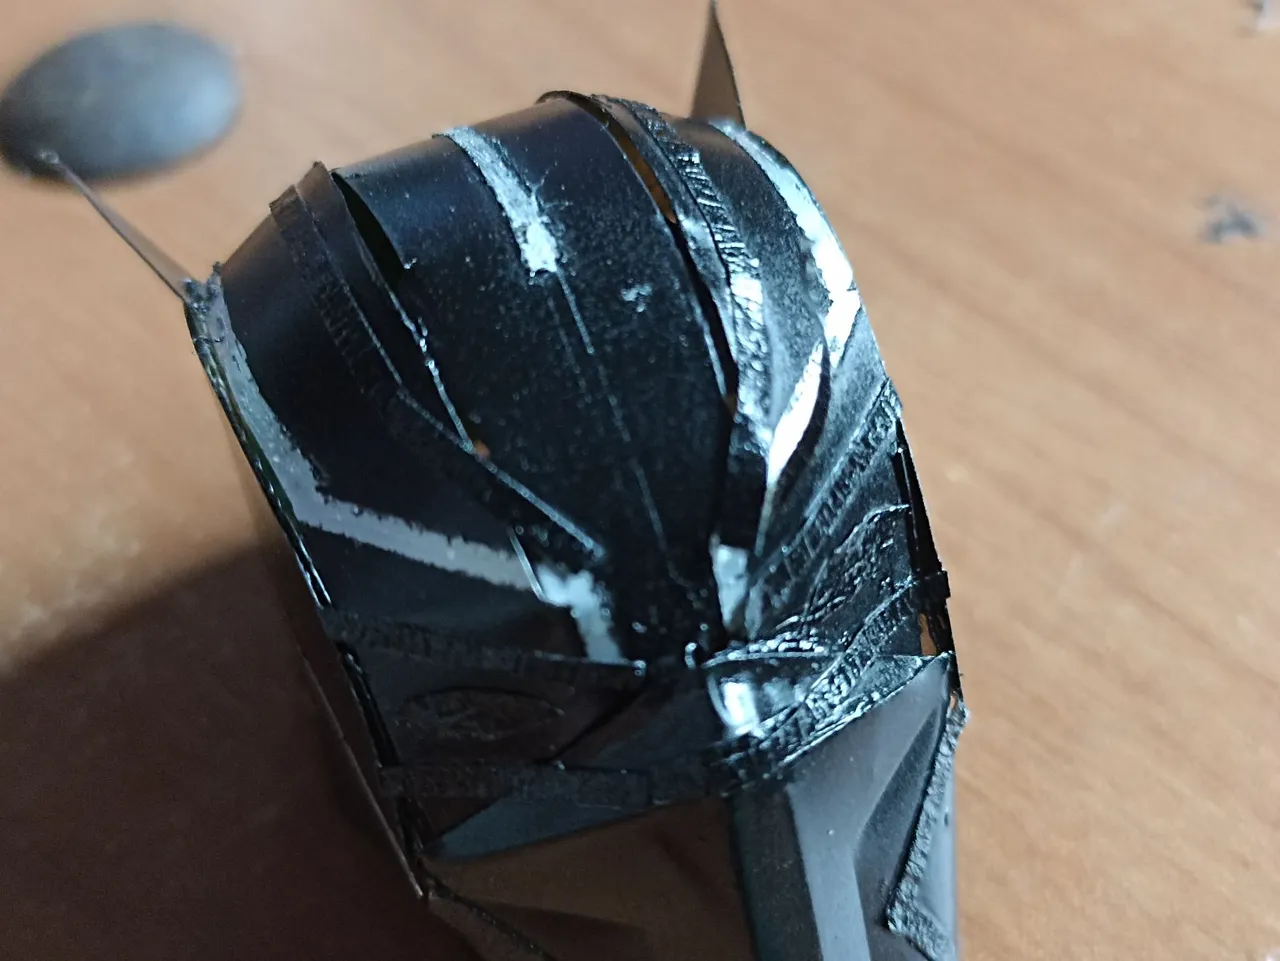
Then the next step is to mold the second piece, for that I extract it from the can using the template and then I fold it with the clamp, here I am molding according to the appreciation of the mask, this means that I am making the shape with the clamp that I think the mask is in this part where the nose and mouth are, which is in my opinion the most complicated part. After doing it, then it's time to join it to the piece I made earlier, I do it using the same glue, and finally I cut two pieces in the shape of triangles that will be the ears of the black panther helmet!
Después el paso siguiente es moldear la segunda pieza, para eso la extraigo de la lata utilizando la plantilla y luego la voy doblando con la pinza, aquí voy moldeando segun la apreciación de la máscara, esto quiere decir que voy haciendo con la pinza la forma que yo creo que tiene la mascara en esta parte donde esta la nariz y la boca, que es a mi parecer la parte más complicada. Despues de hacerlo entonces toca unirla a la pieza que hice anteriormente, lo hago utilizando el mismo pegamento, y por último corto dos piezas en forma de triangulos que serán las orejas del casco de pantera negra!
 |  |  |
|---|---|---|
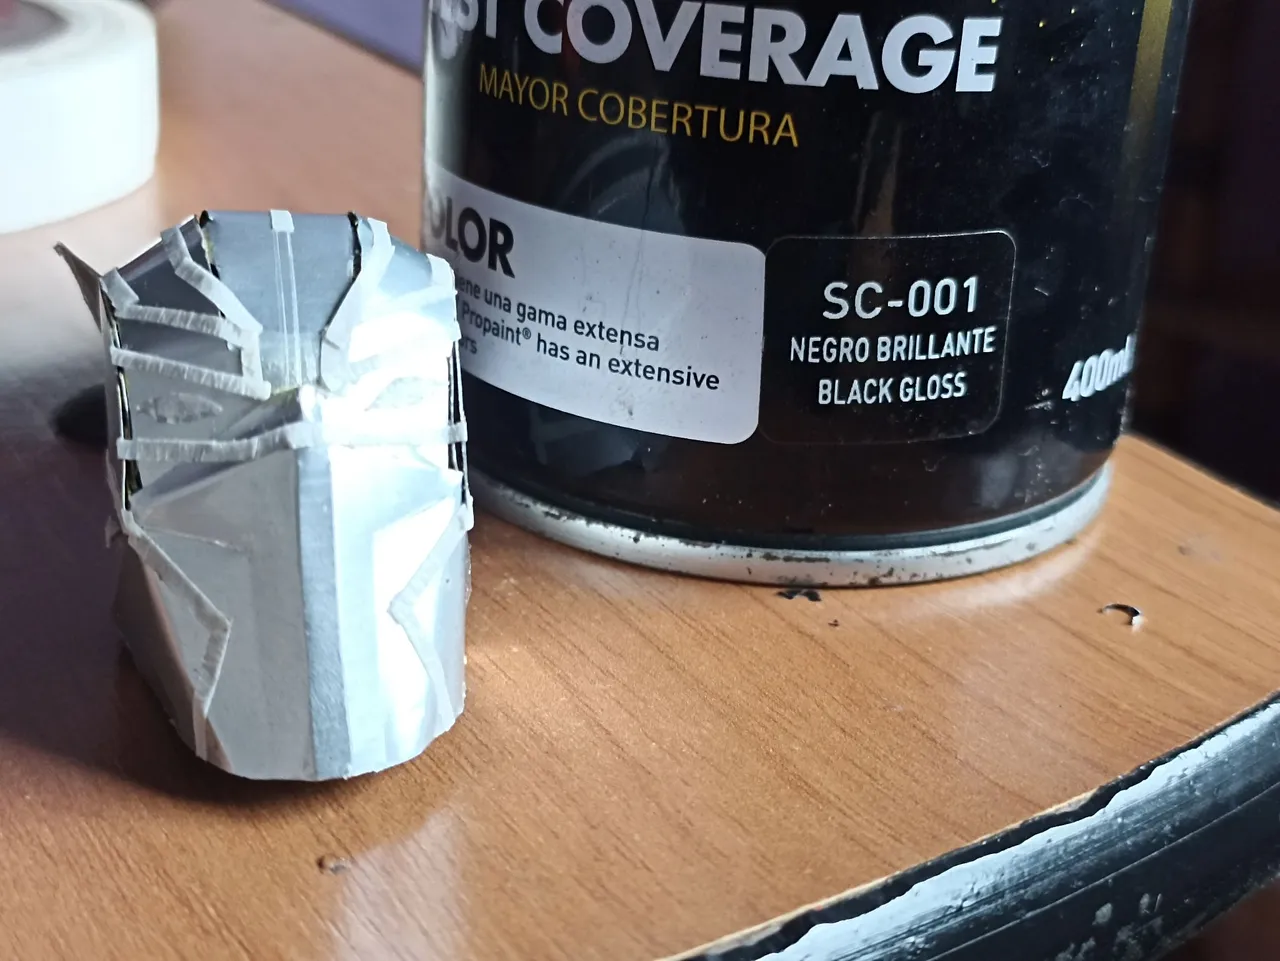 |  |  |
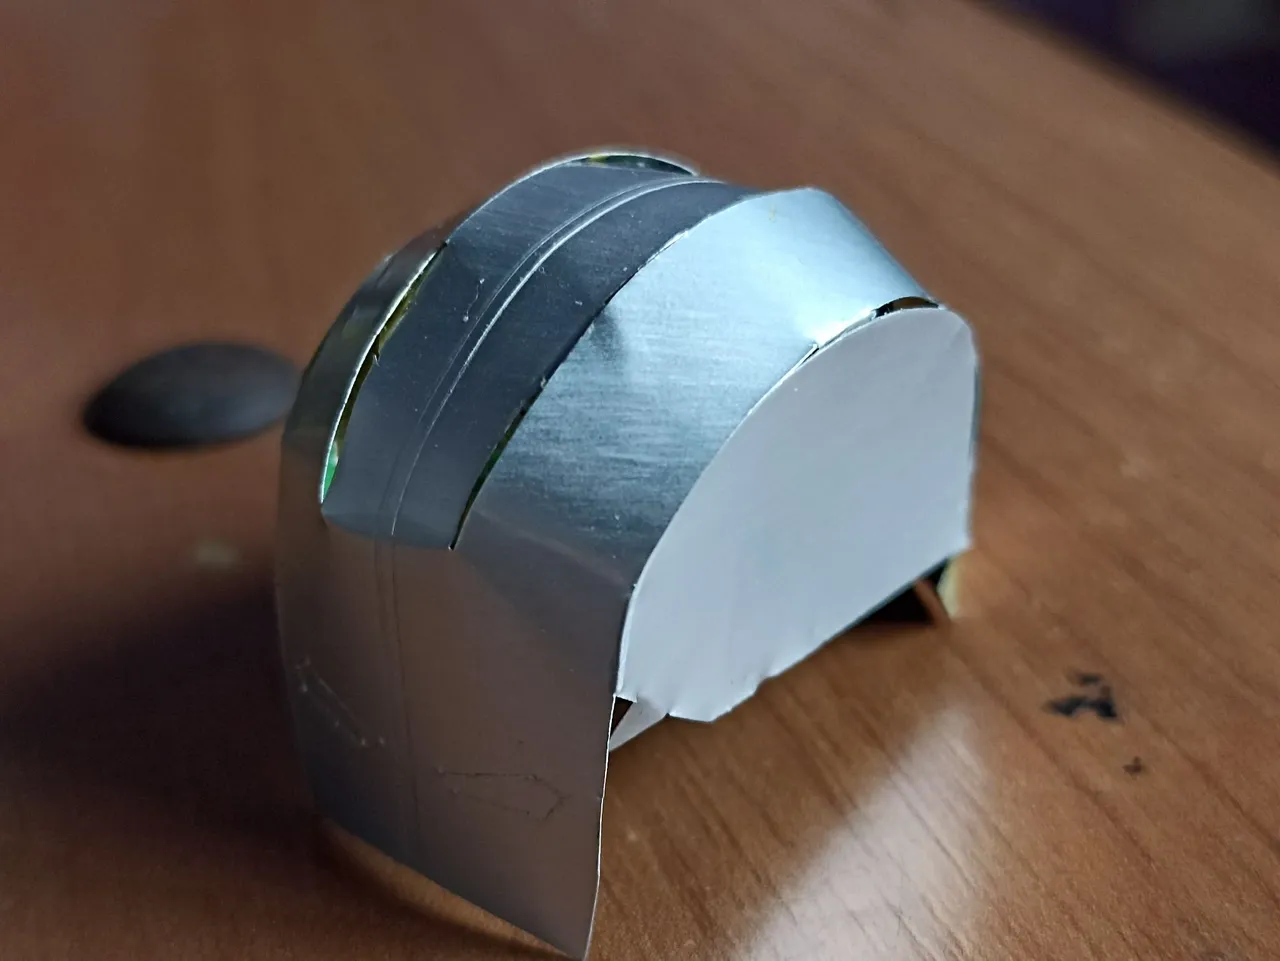
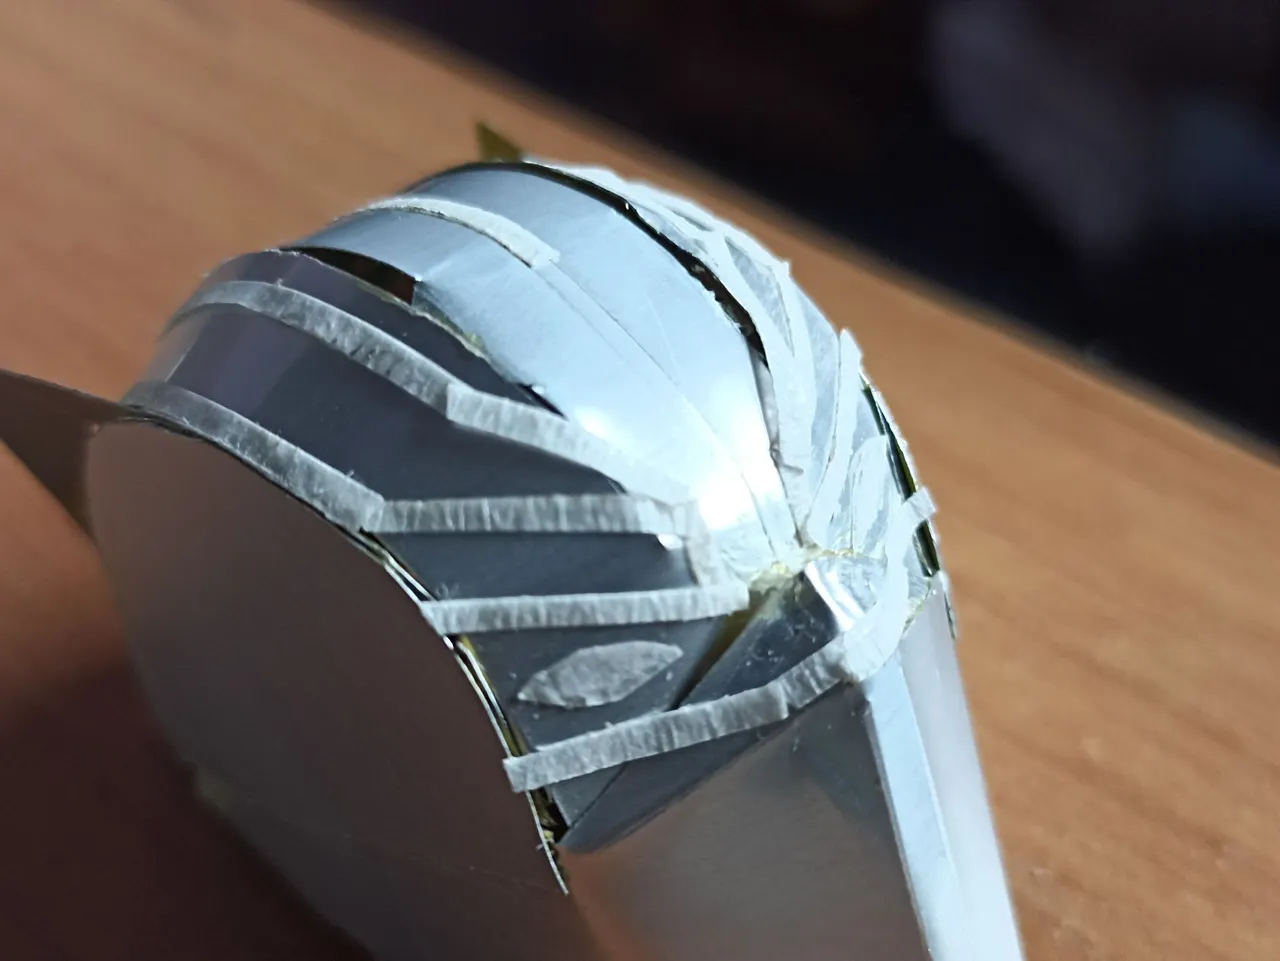
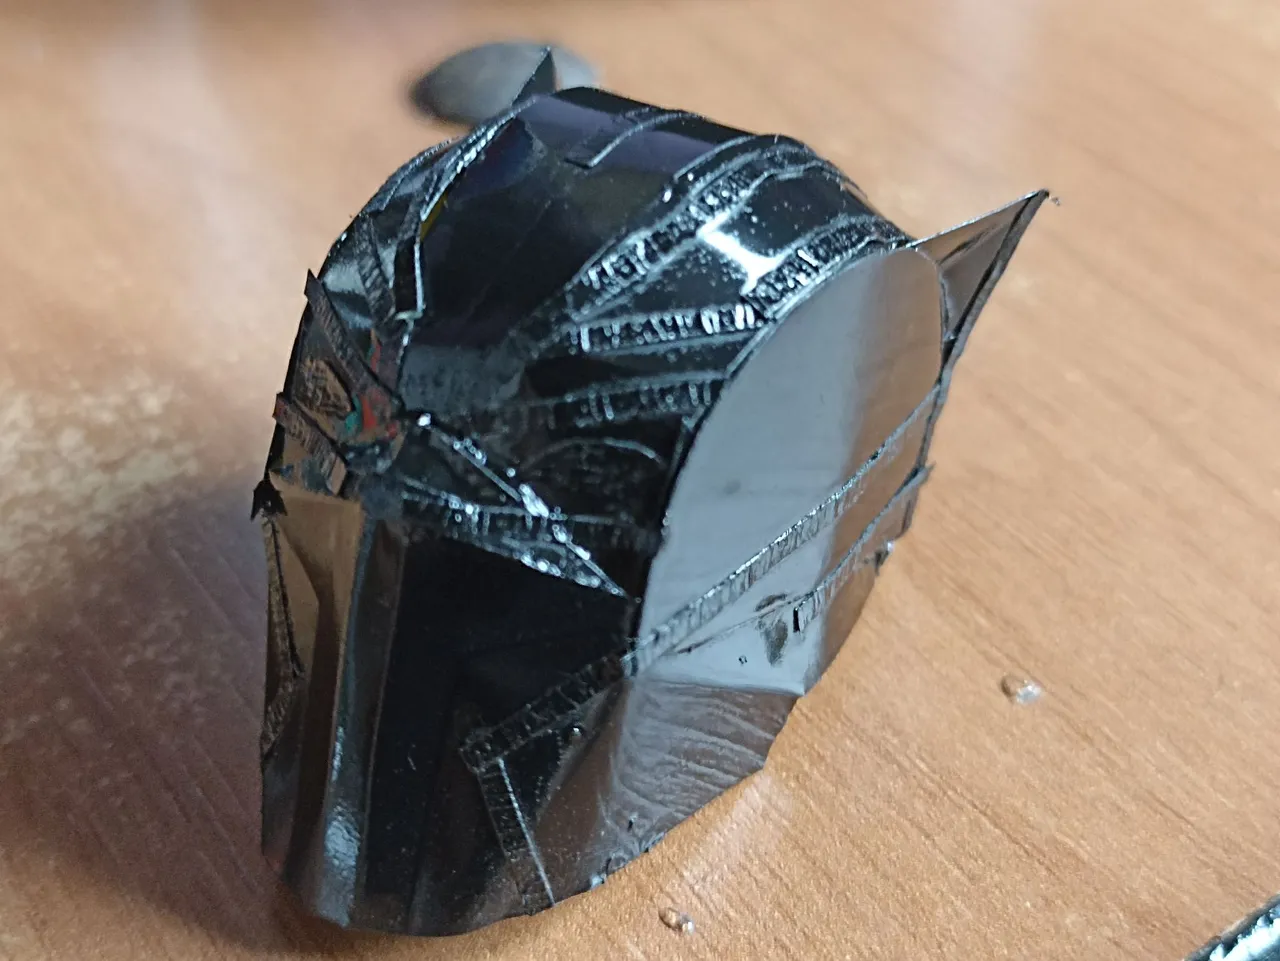
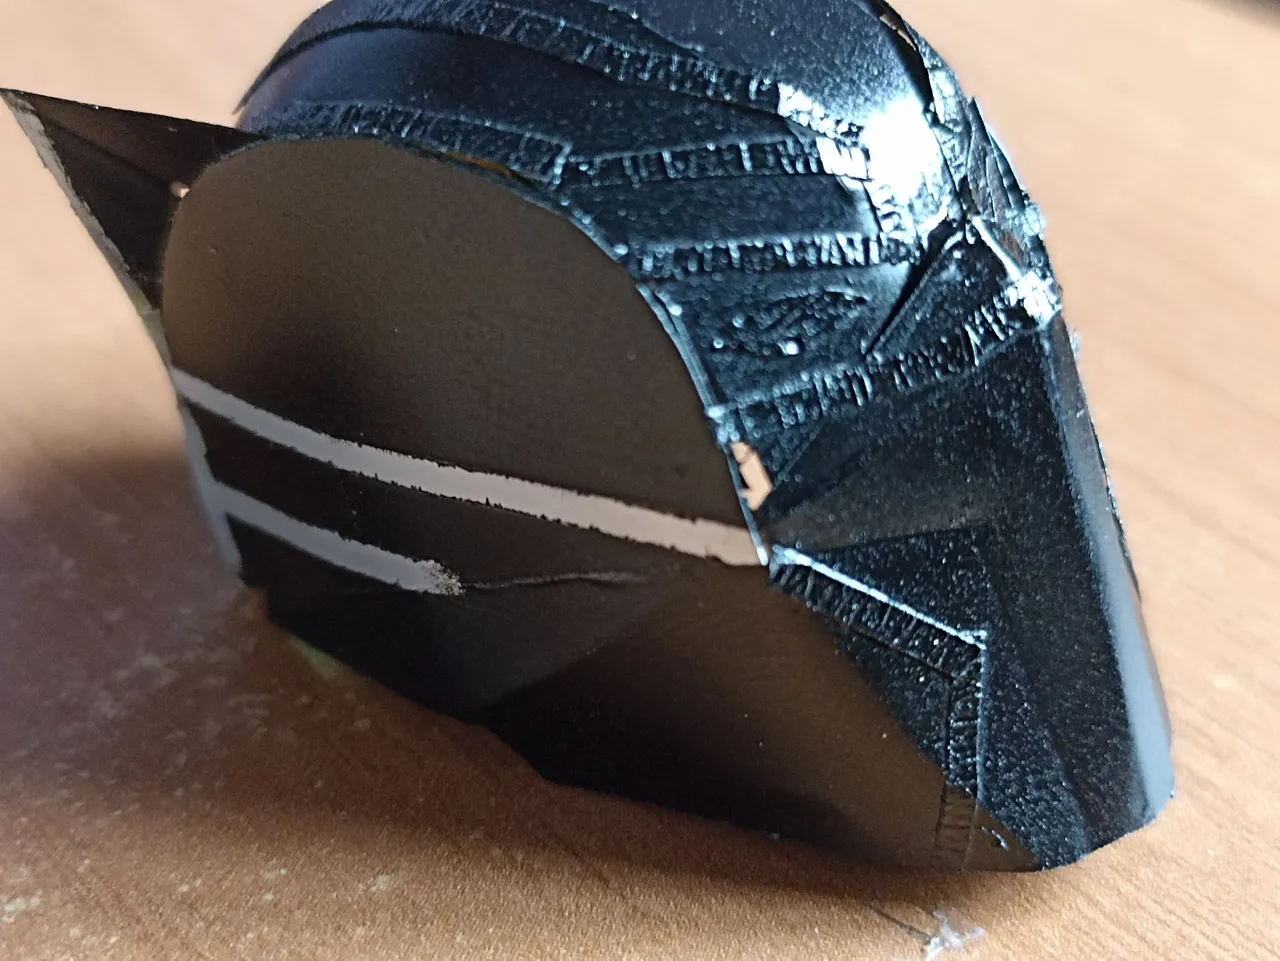
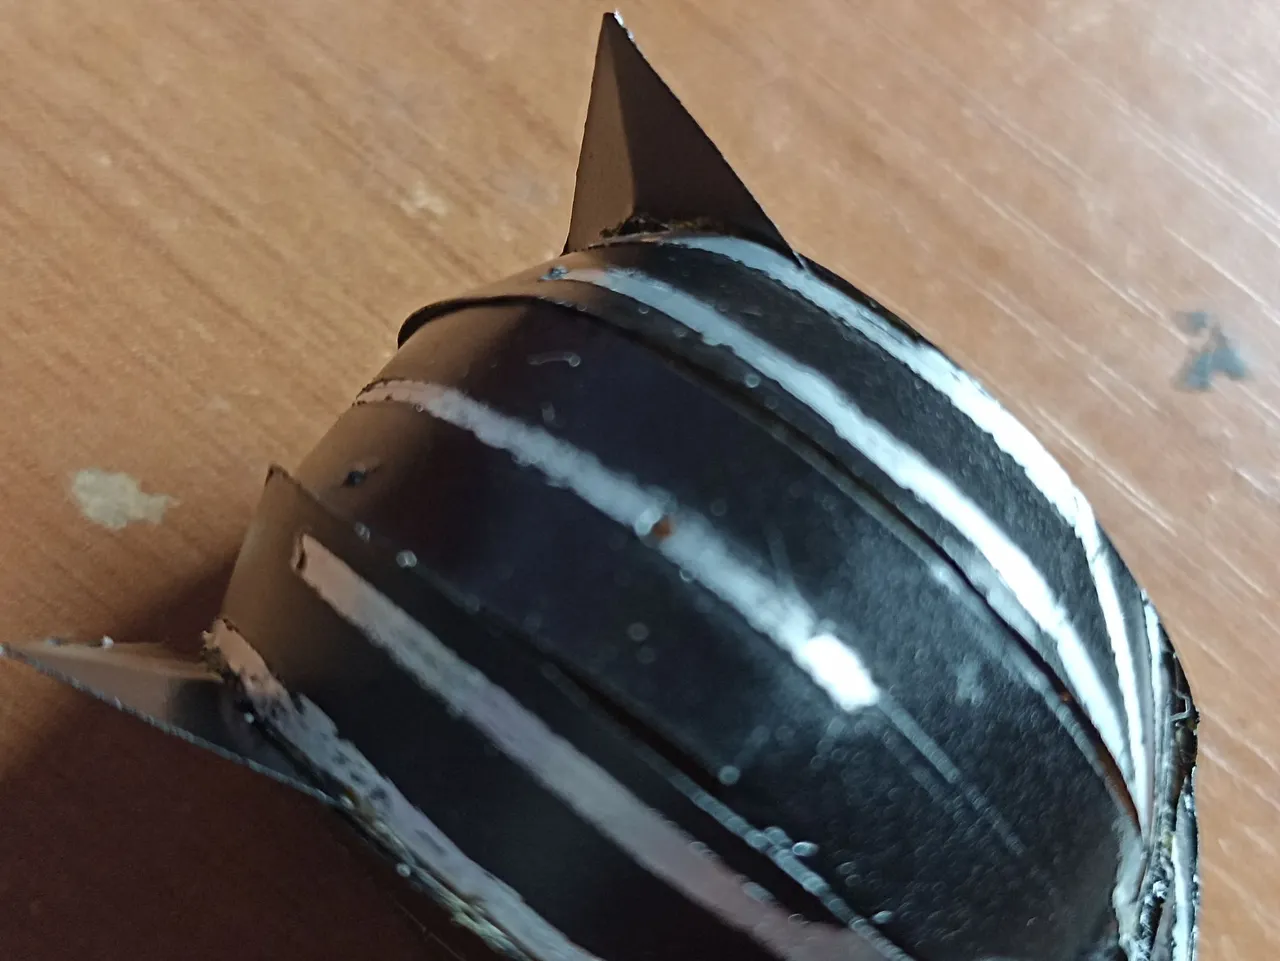
The next step was to figure out how to make the details of the helmet, so I used masking tape and cut very small pieces and glued them around the helmet, first I took a good look at a real model and then on the keychain I made the lines where I would put the masking tape, like this I did it by putting everywhere. I then spray painted the entire hull in gloss black, putting on two coats of paint in total.
El paso siguiente fue idear como hacer los detalles del casco, así que utilicé cinta adhesiva y corte trozos muy pequeños y los pegue alrededor del casco, primero observé bien un modelo real y luego en el llavero hice las líneas donde pondría la cinta adhesiva, así lo hice poniendo por todas partes. Después pinté todo el casco con pintura en spray de color negro brillante, puse en total dos capas de pintura.
 |  |  |
|---|---|---|
 | 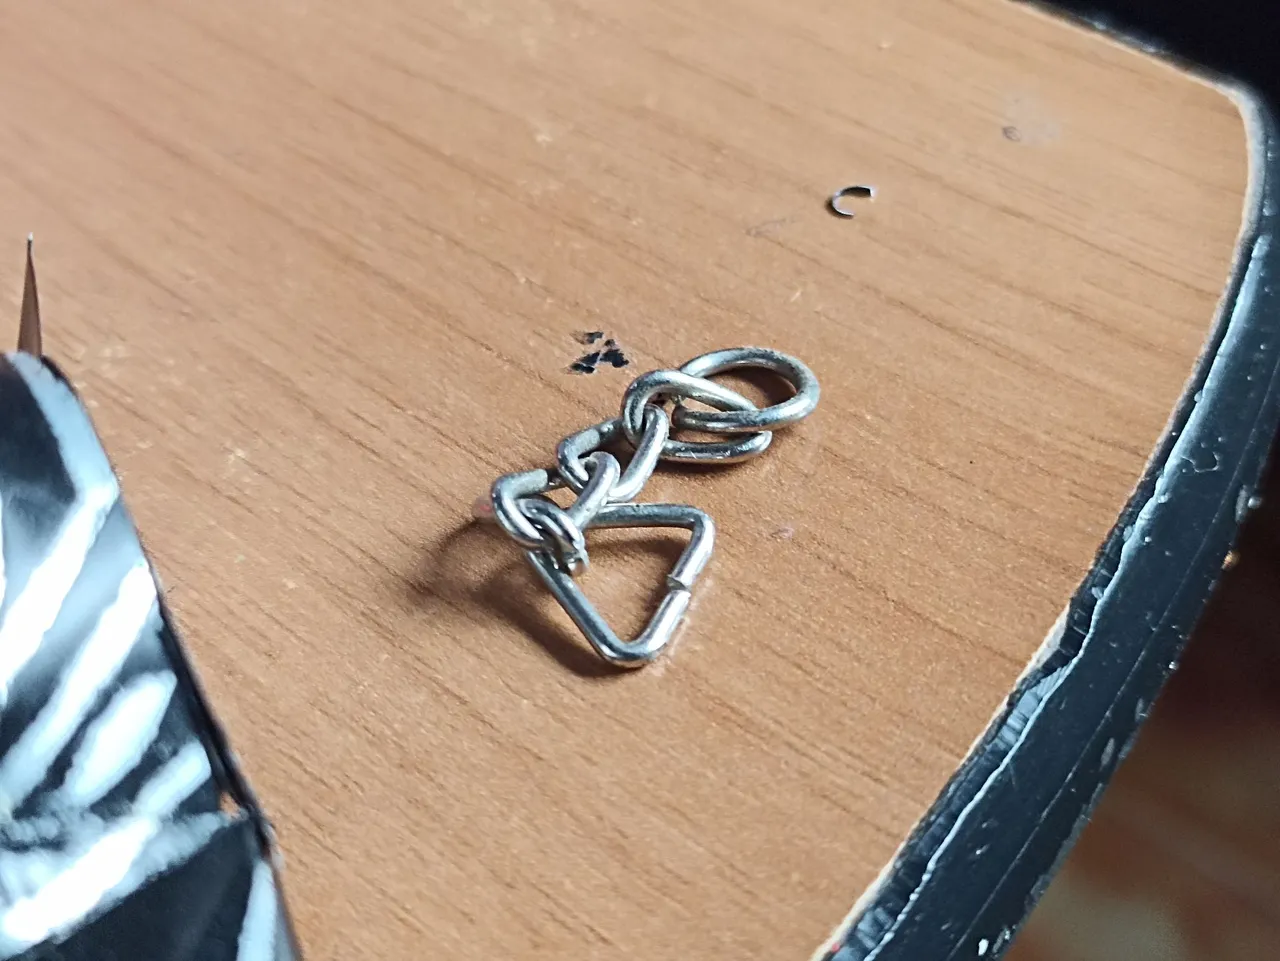 |  |
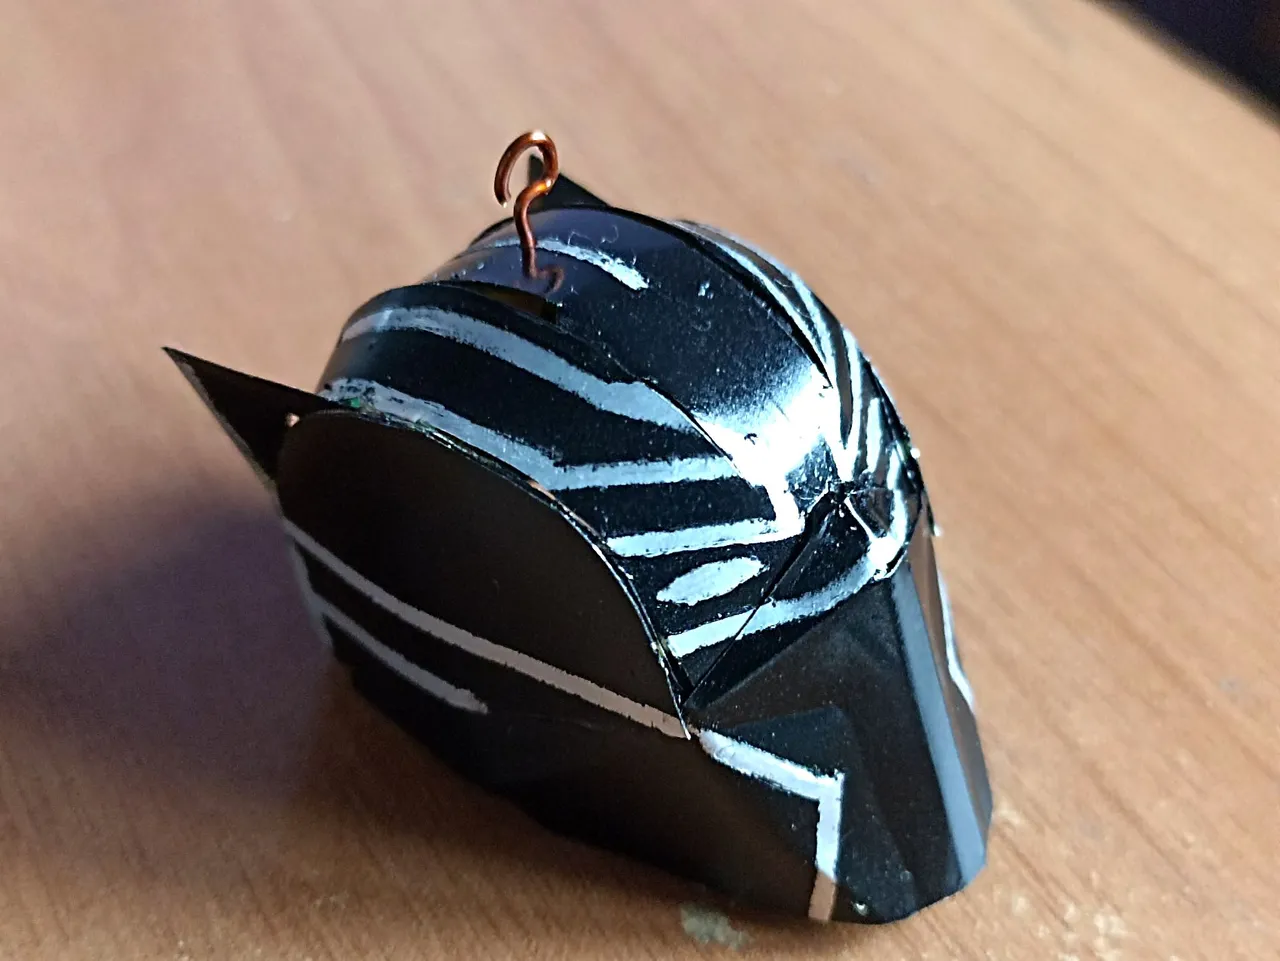
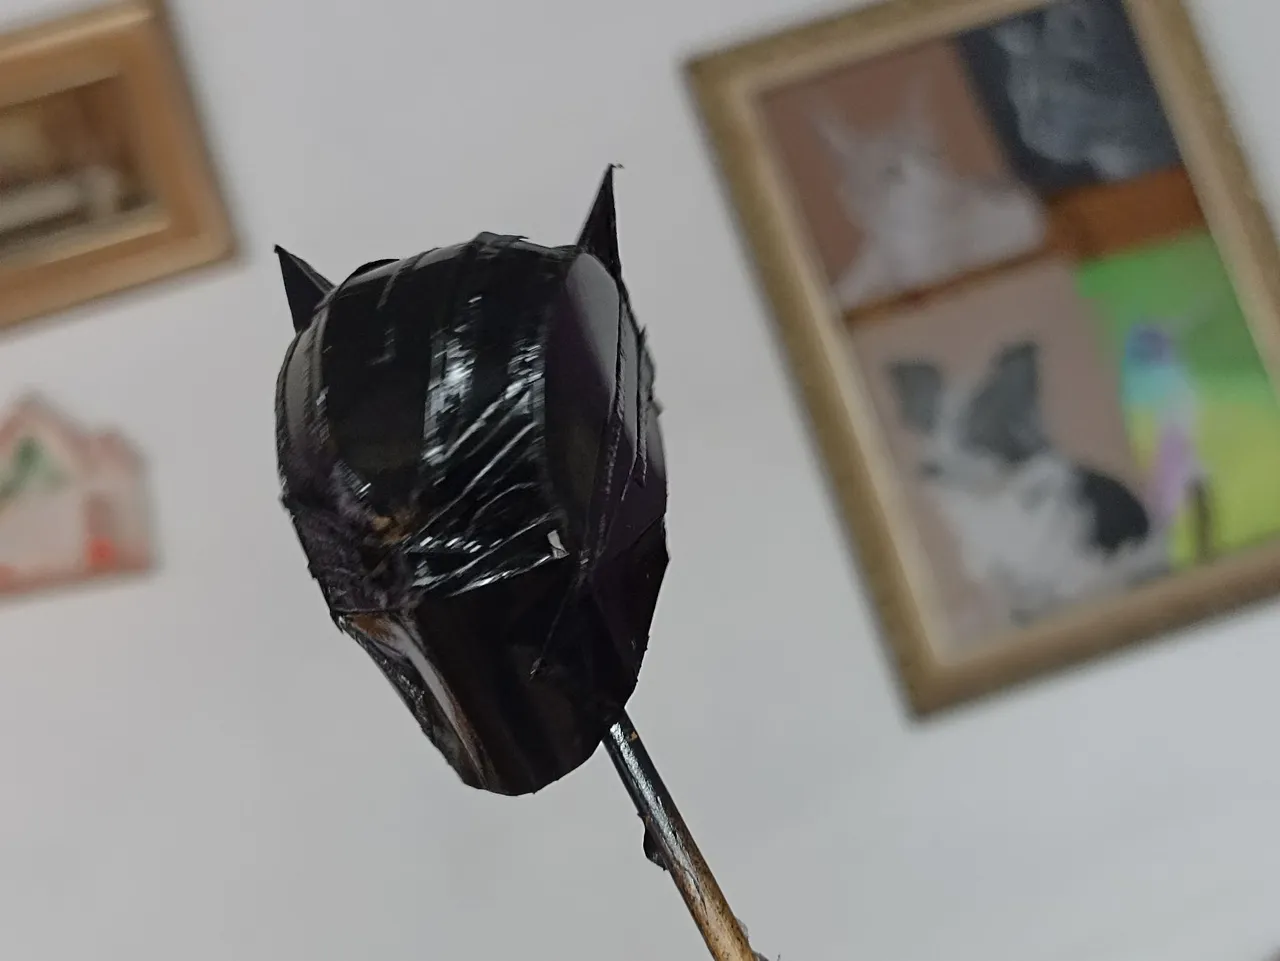
After applying the paint I let it dry very well in a ventilated and cool place so that the paint would look good, then little by little I was removing the adhesive tape that I had put on it until it was all removed. Then I made a small hole in the upper part where I put the chain and thus complete the keychain, in this way I finished the Black Panther helmet.
Luego de aplicar la pintura dejé sercar muy bien en un lugar ventilado y fresco para que la pintura quedara bien, luego poco a poco fui quitando la cinta adhesiva que le había puesto hasta retirarla toda. Despues hice un pequeño agujero en la parte de arriba donde puse la cadena y así completar el llavero, de esta forma finalicé el casco de Black Panther.
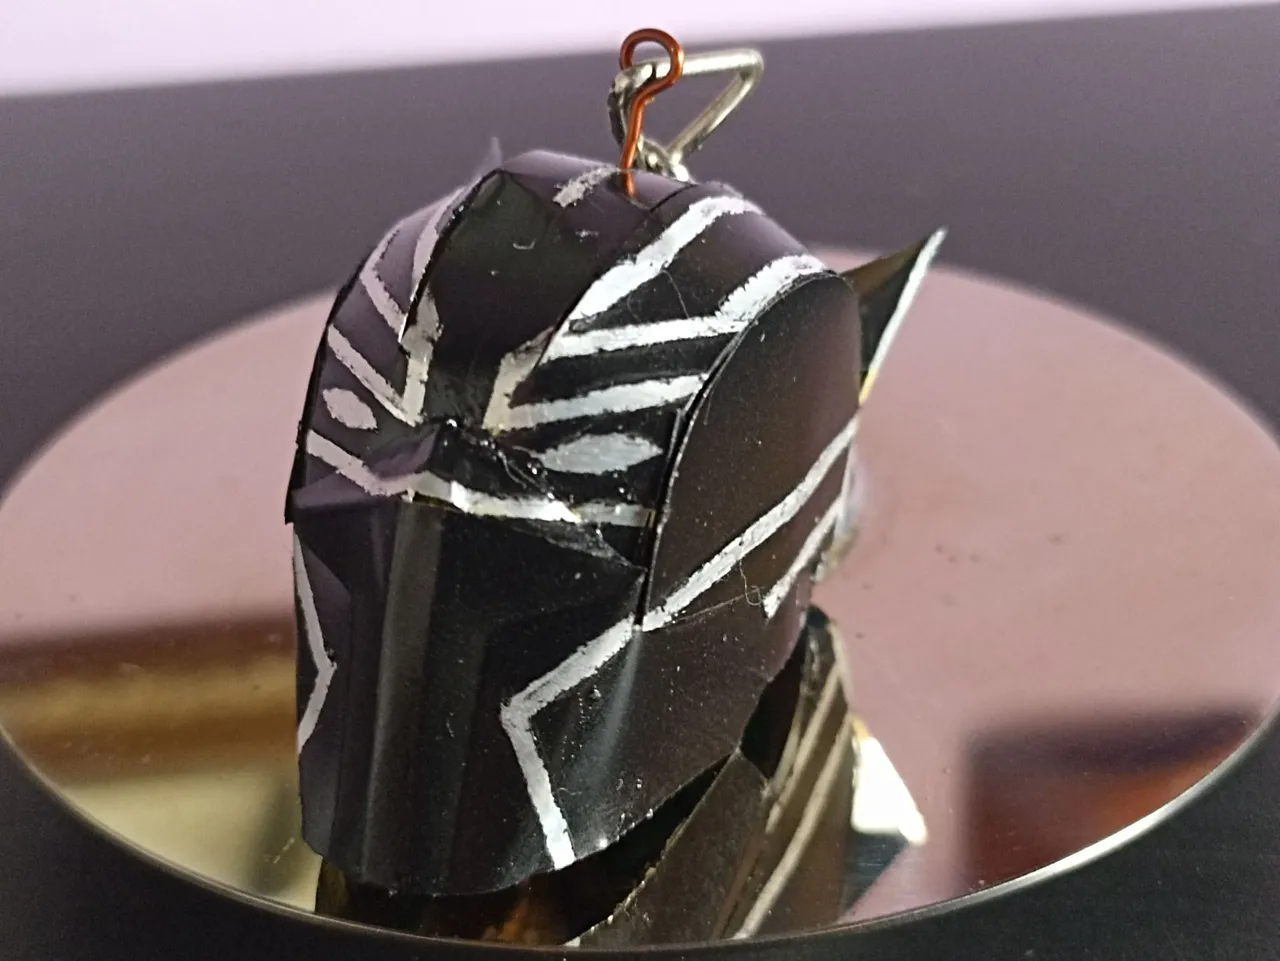
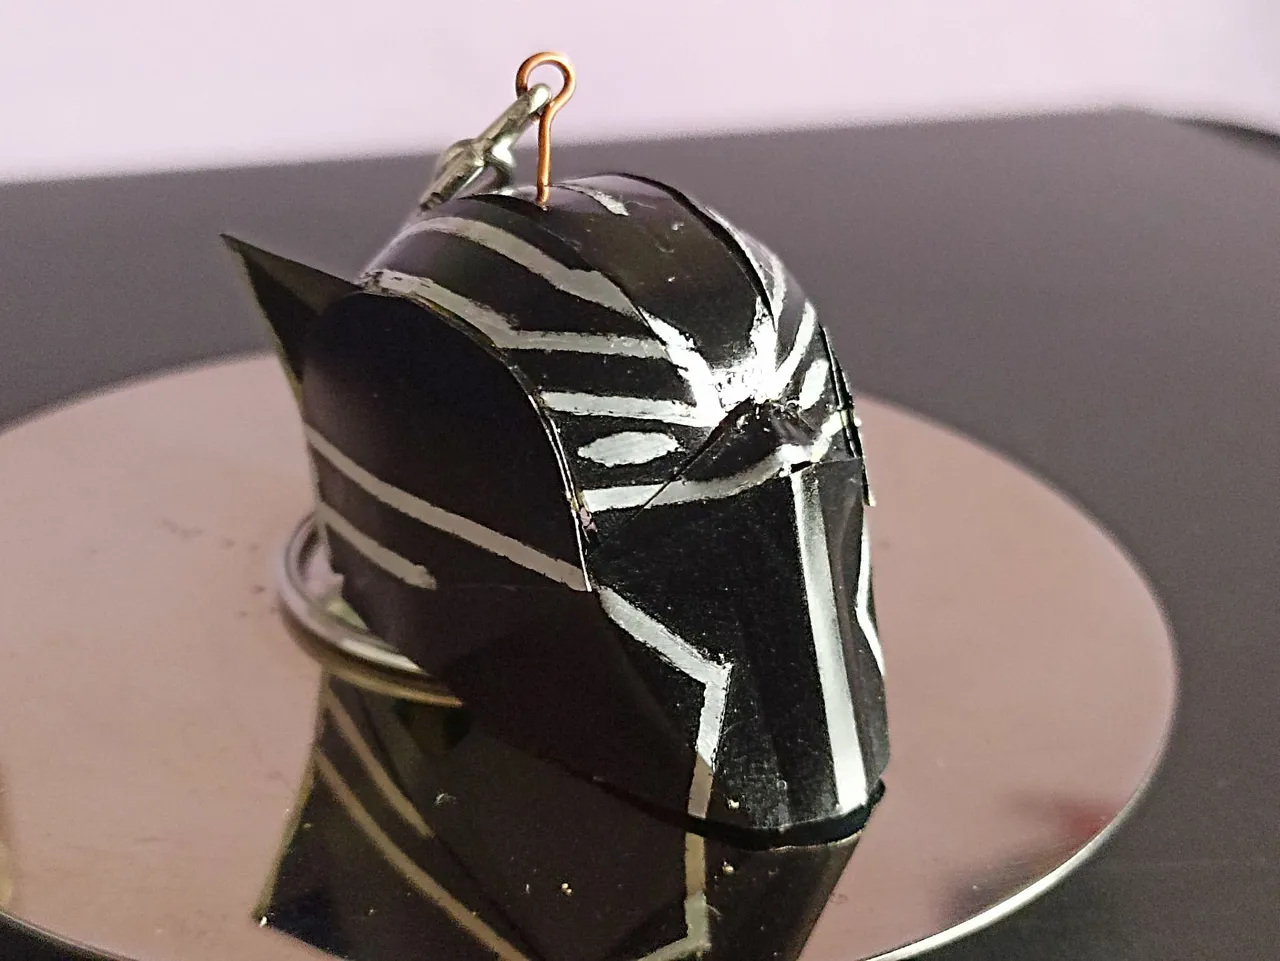
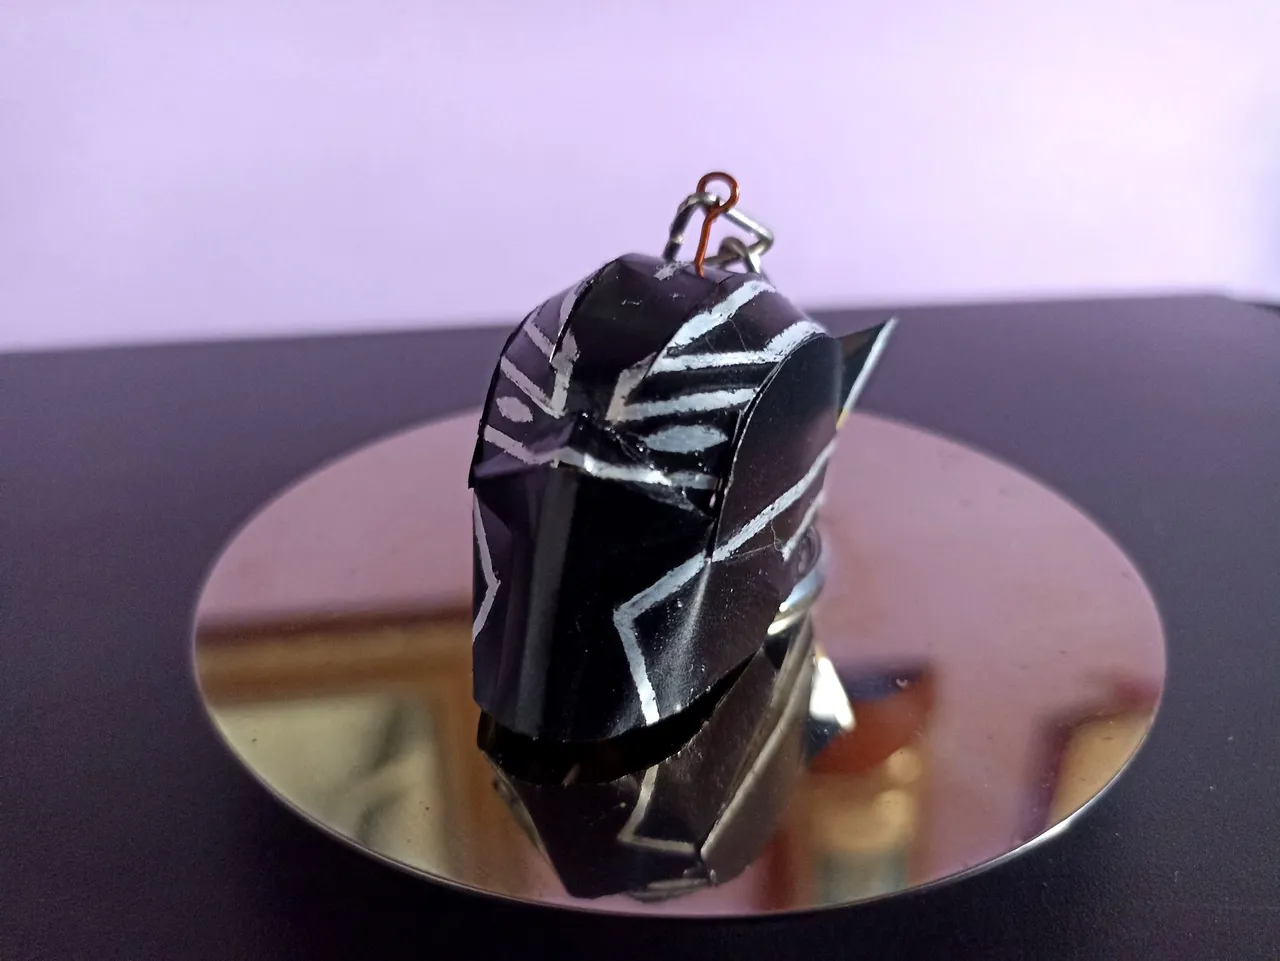
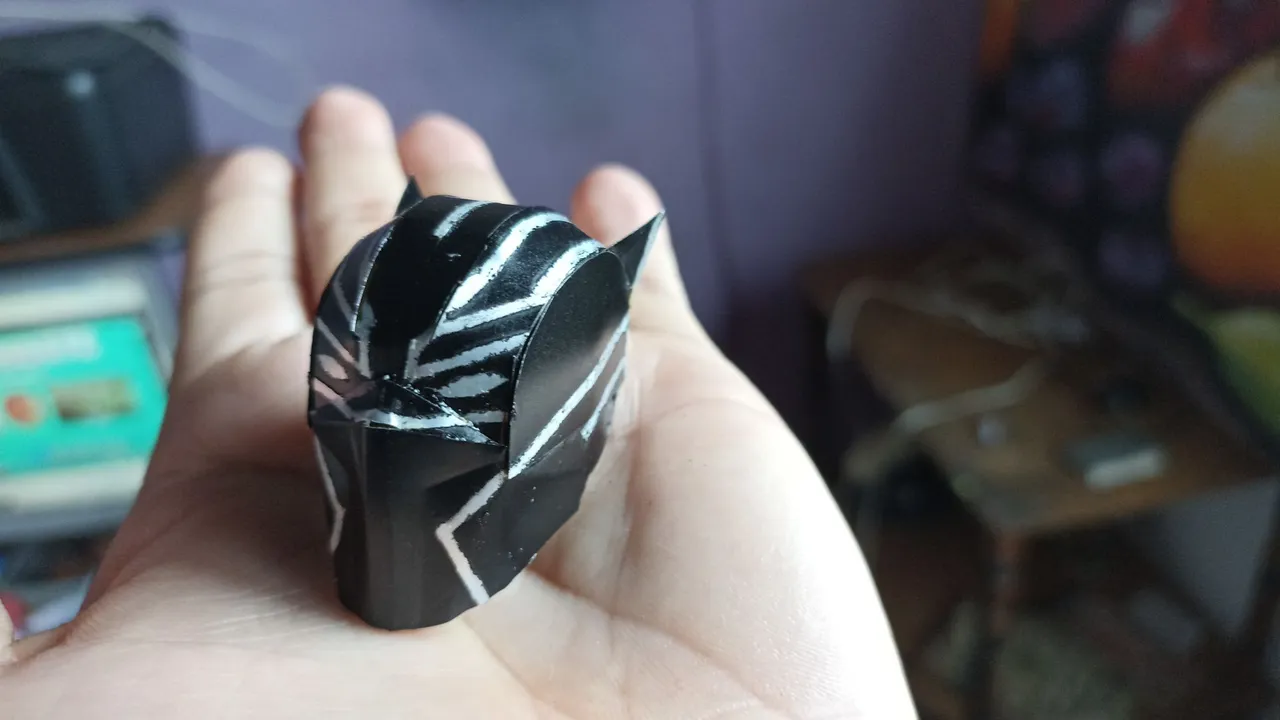
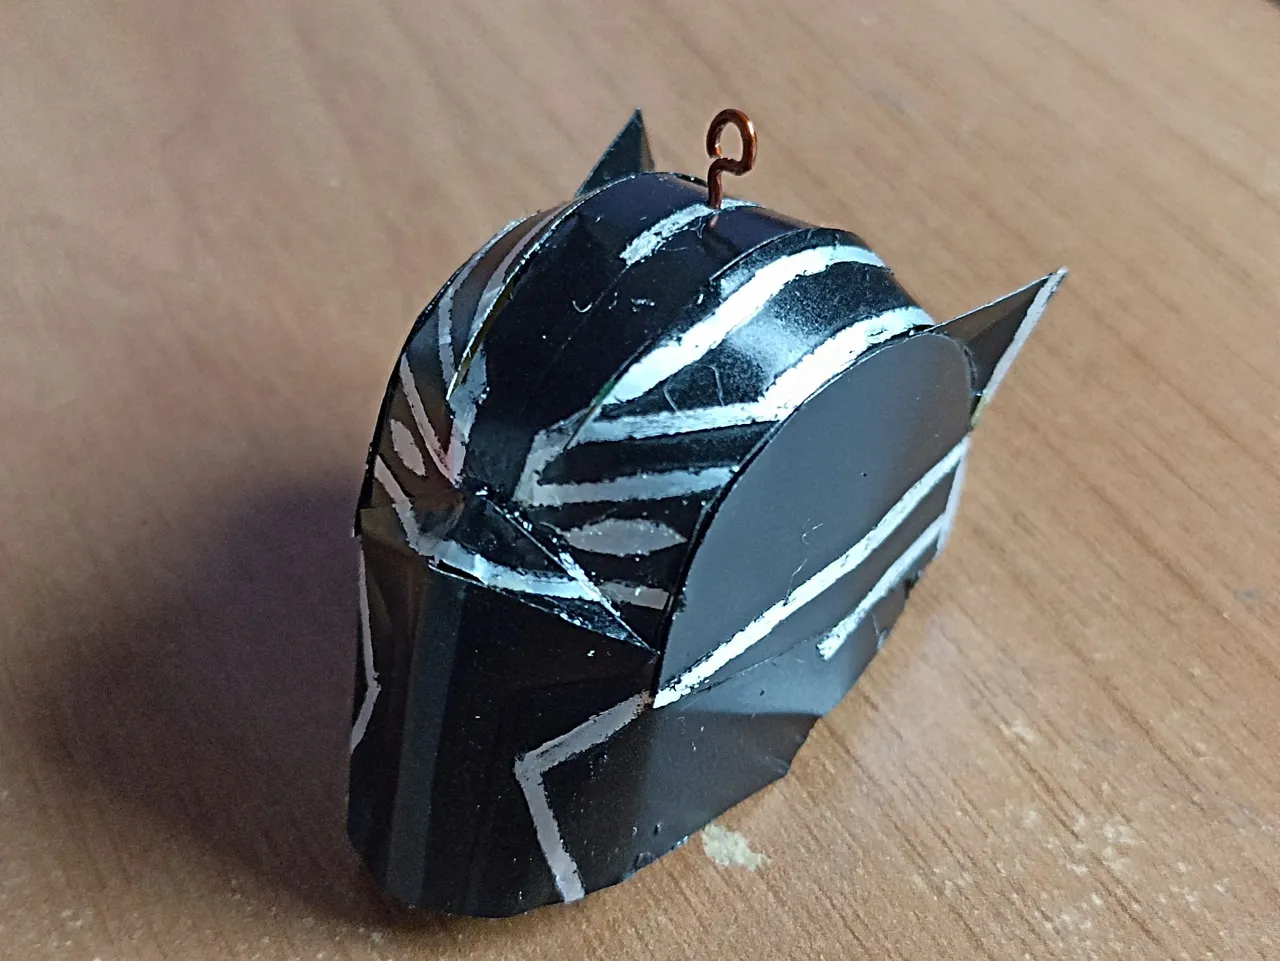
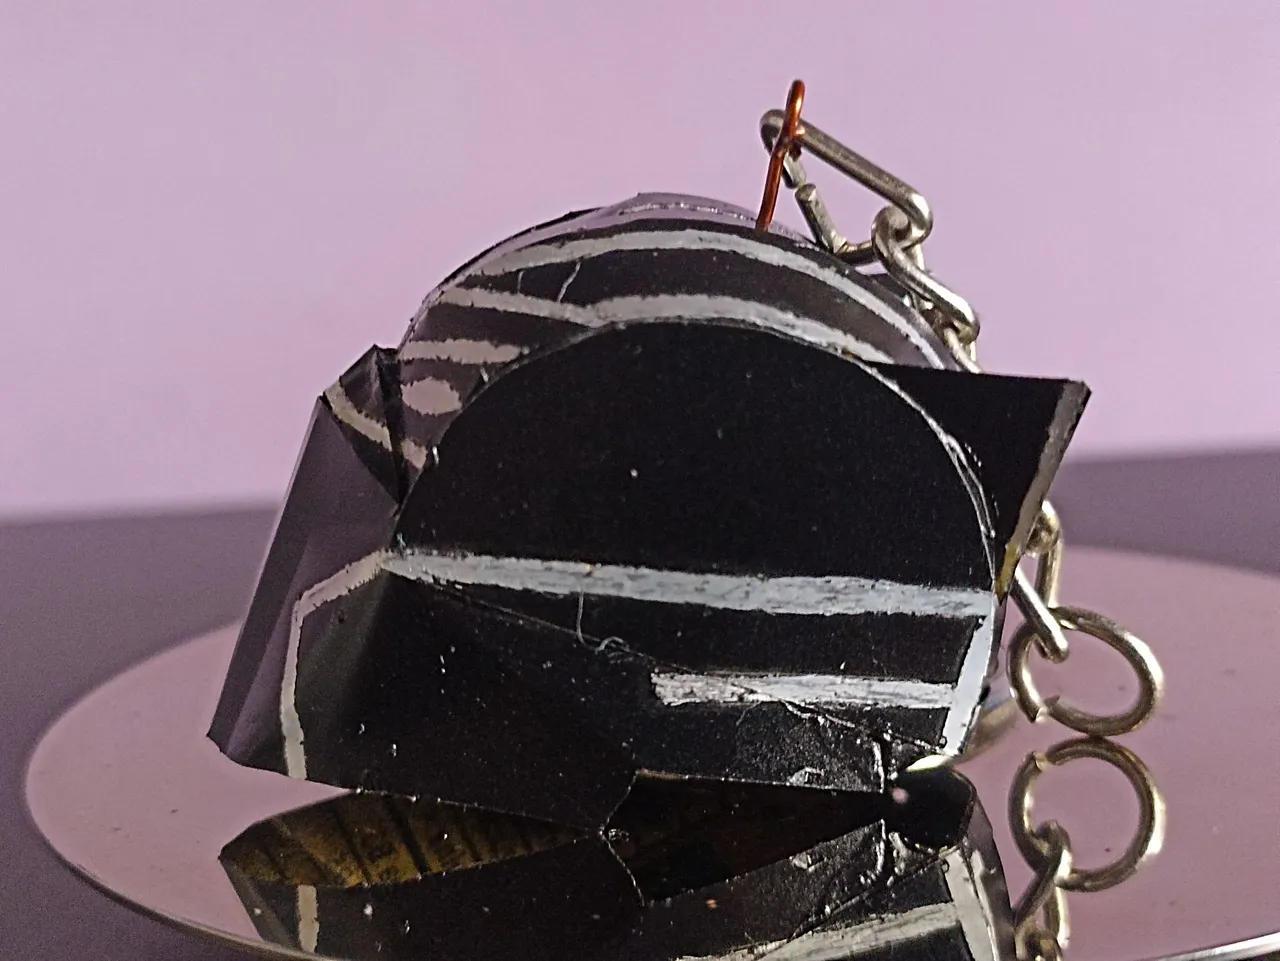
So I finished the Black Panther keychain, I really didn't think I was capable of doing it, because I had no idea how to start, but sometimes you have to take a leap of faith, and if things don't go well then start over, fortunately I saw that everything was going well until I got this result. This mold can be used for various kinds of super hero masks, and not only can it be done like this in cans, it can also be done in cardboard and foami, it is a great opportunity that we have to teach children how to work crafts, and if the theme is super heroes I think they will like it more. This has been all, I hope it has been to your liking, do not forget to leave your opinions, for me it is always important to know and thus continue improving. I say goodbye soon.
Así di por terminado el llavero de Black Panther, la verdad no creí ser capaz de hacerlo, porque no tenía idea de como empezar, pero a veces hay que dar un salto de fe, y si las cosas no salen bien entonces comenzar de nuevo, afortunadamente vi que todo iba saliendo bien hasta conseguir este resultado. Este molde puede usarse para varias clases de máscaras de super heroes, y no solo se pued ehacer así en latas, tambien se puede hacer en cartulina y foami, es una gran oportunidad que tenemos de enseñarle a trabajar manualidades a los niños, y si el tema es de super heroes creo que les gustará más hacerlo. Esto ha sido todo, espeor que haya sido de su agrado, no olviden dejar sus opiniones, para mi siempre es importante saberlo y así seguir mejorando. Me despido hasta pronto.