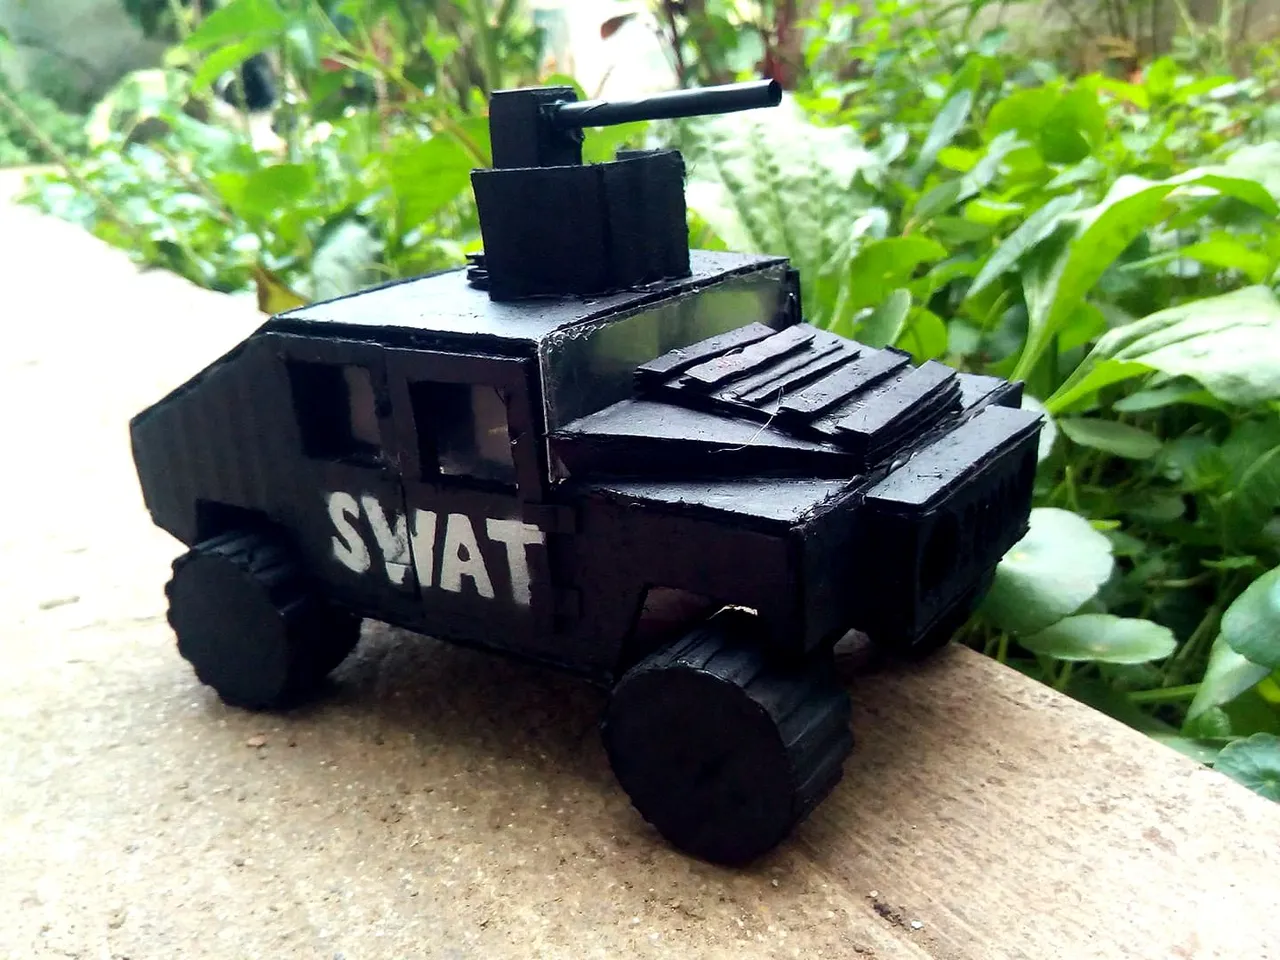
Hello friends of Hive, I hope you are very well, in my country it is already Friday so I want to say goodbye to the week with a job done in recycled cardboard: a SWAT squad police Hummve. This squad has several units for special operations so I have decided to make this Hummve only in recycled cardboard. Hope you like.
Hola amigos de Hive, espero que se encuentren muy bien, en mi país ya es viernes así que quiero despedir la semana con un trabajo hecho en cartón reciclado: Una Hummve policía del escuadrón SWAT. Este escuadrón posee varias unidades para operaciones especiales así que he decido hacer esta Hummve solo en cartón reciclado. Espero que les guste.

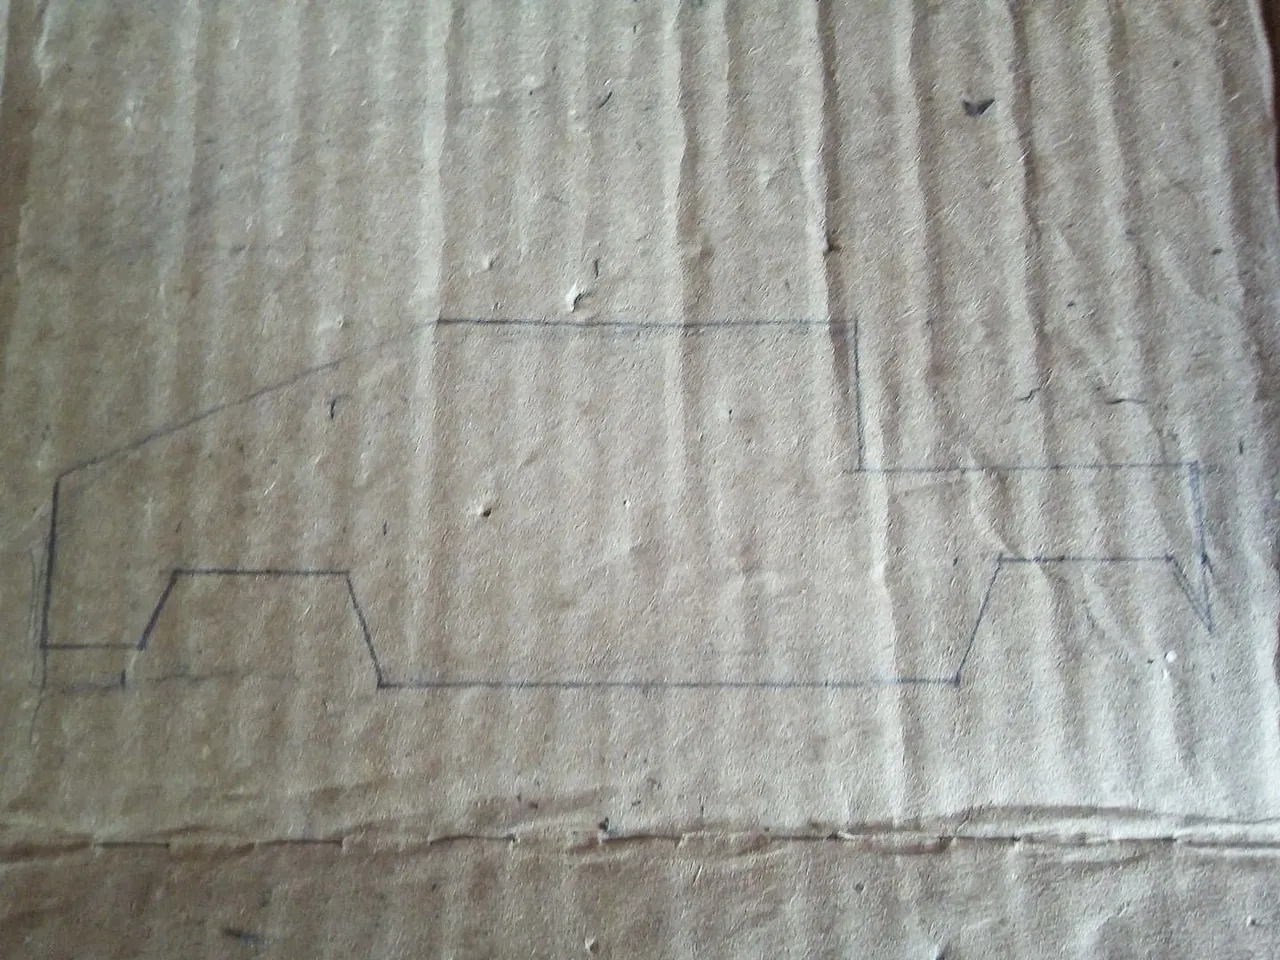
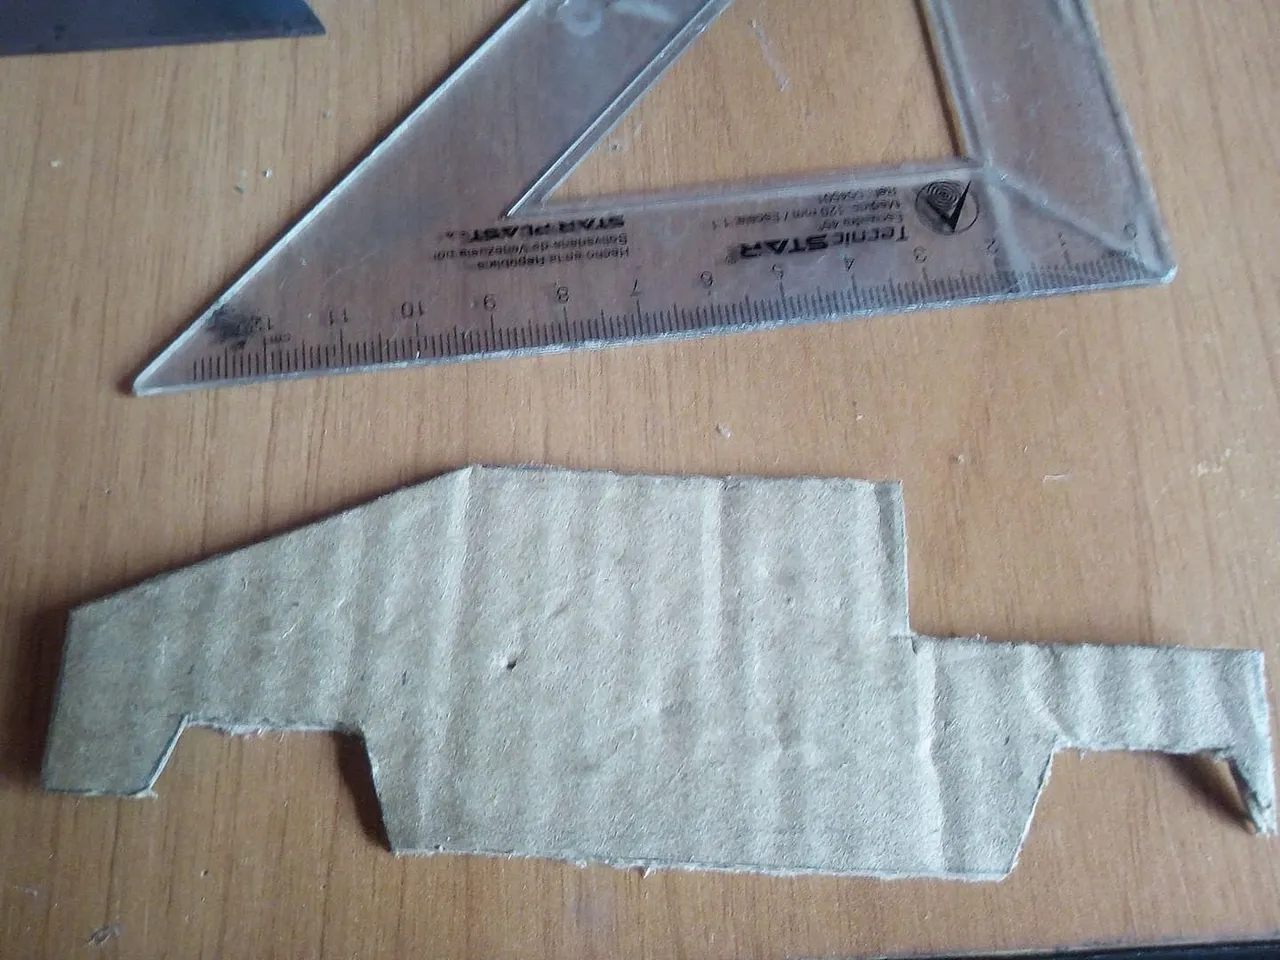
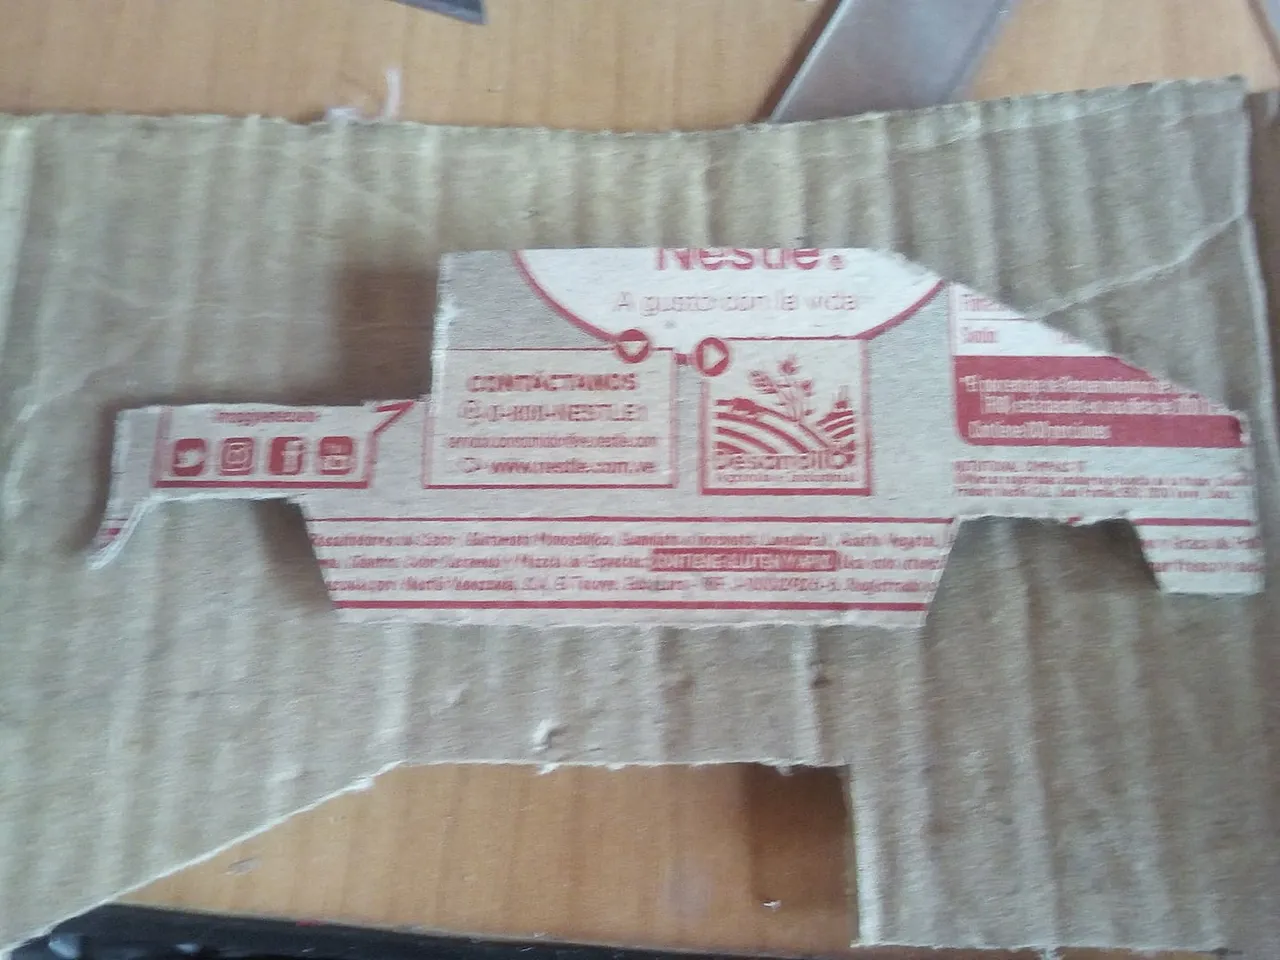
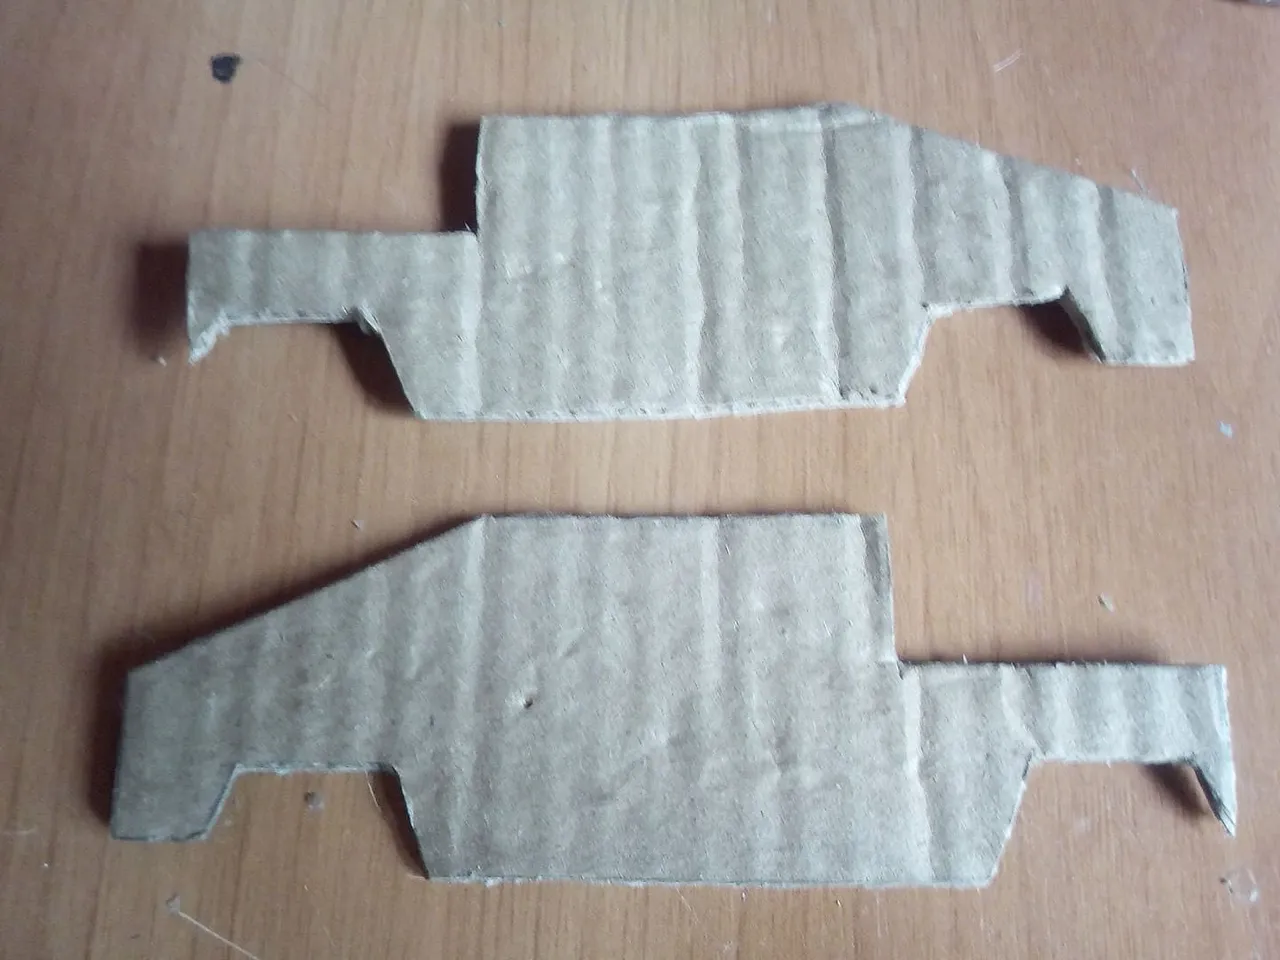
The first step is to take a cardboard box that we are not using and that is in good condition, then we draw the silhouette of the sides of the vehicle where the doors are located. Cut with scissors and then remove the other end.
El primer paso es tomar una caja de cartón que no estemos usando y que esté en buen estado, luego dibujamos la silueta de los costados del vehículo donde se encuentran ubicadas las puertas. Recortamos con unas tijeras y después sacamos el otro extremo.
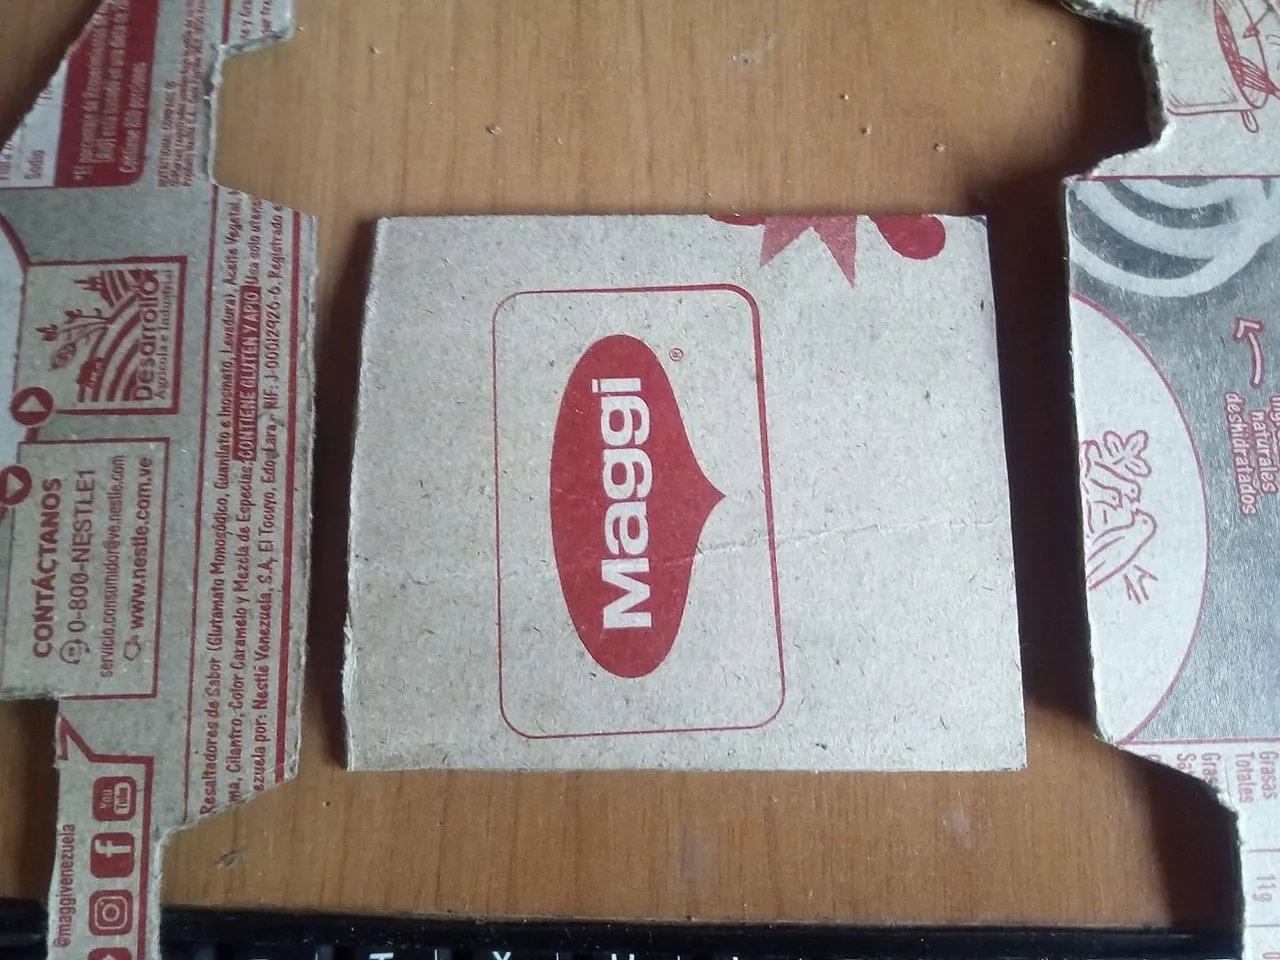
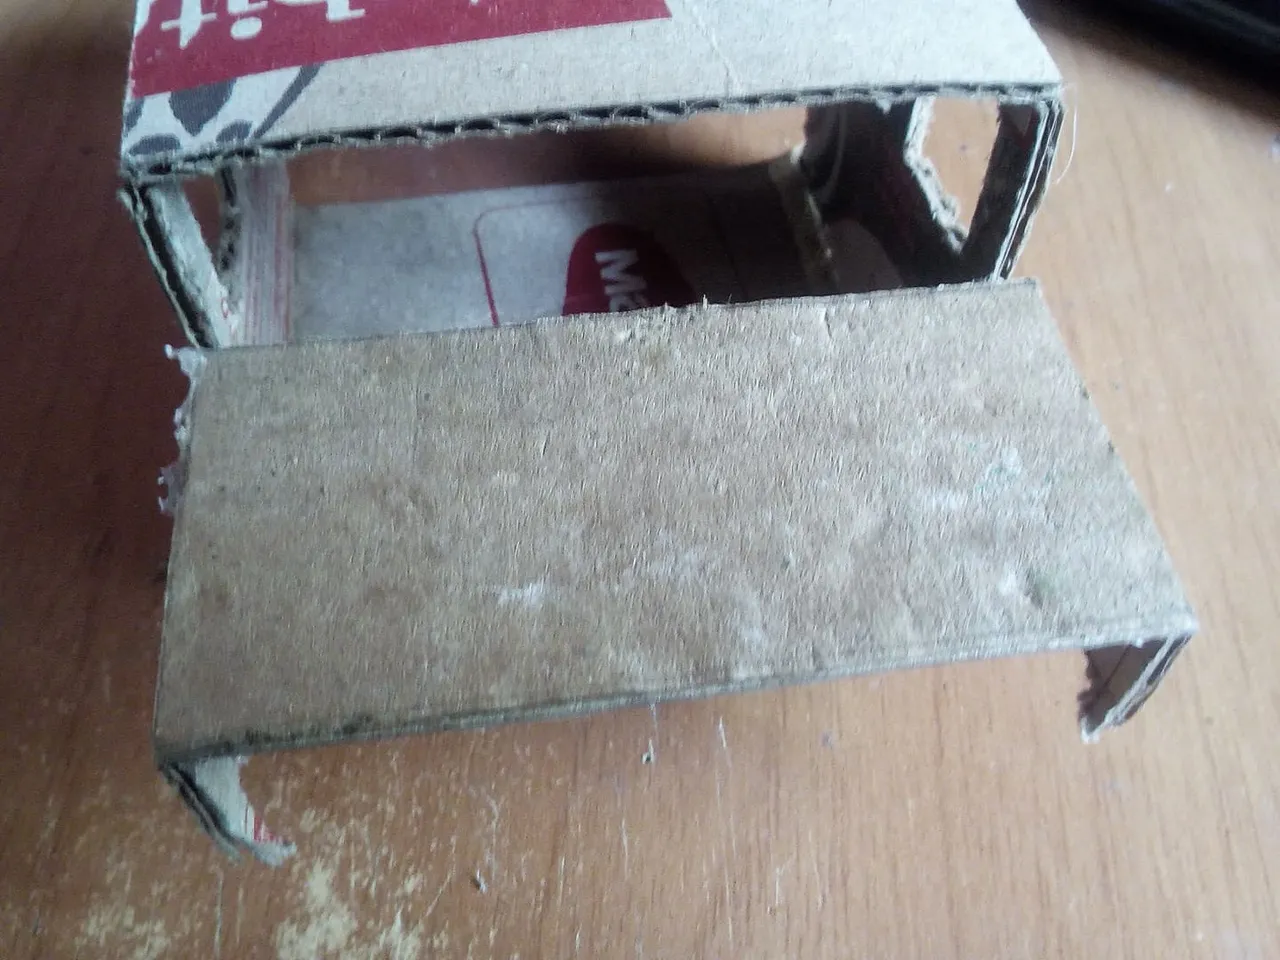
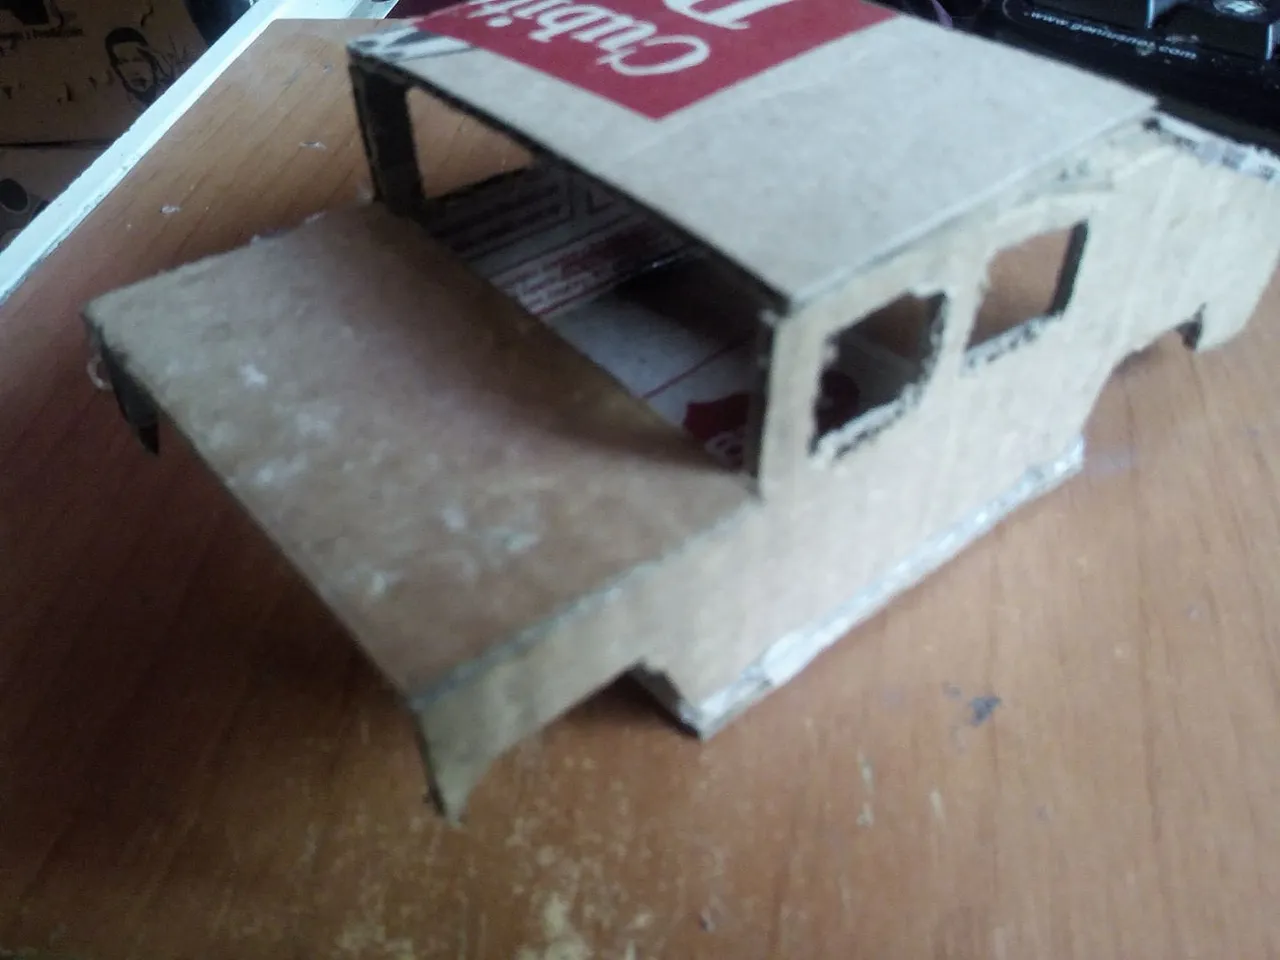
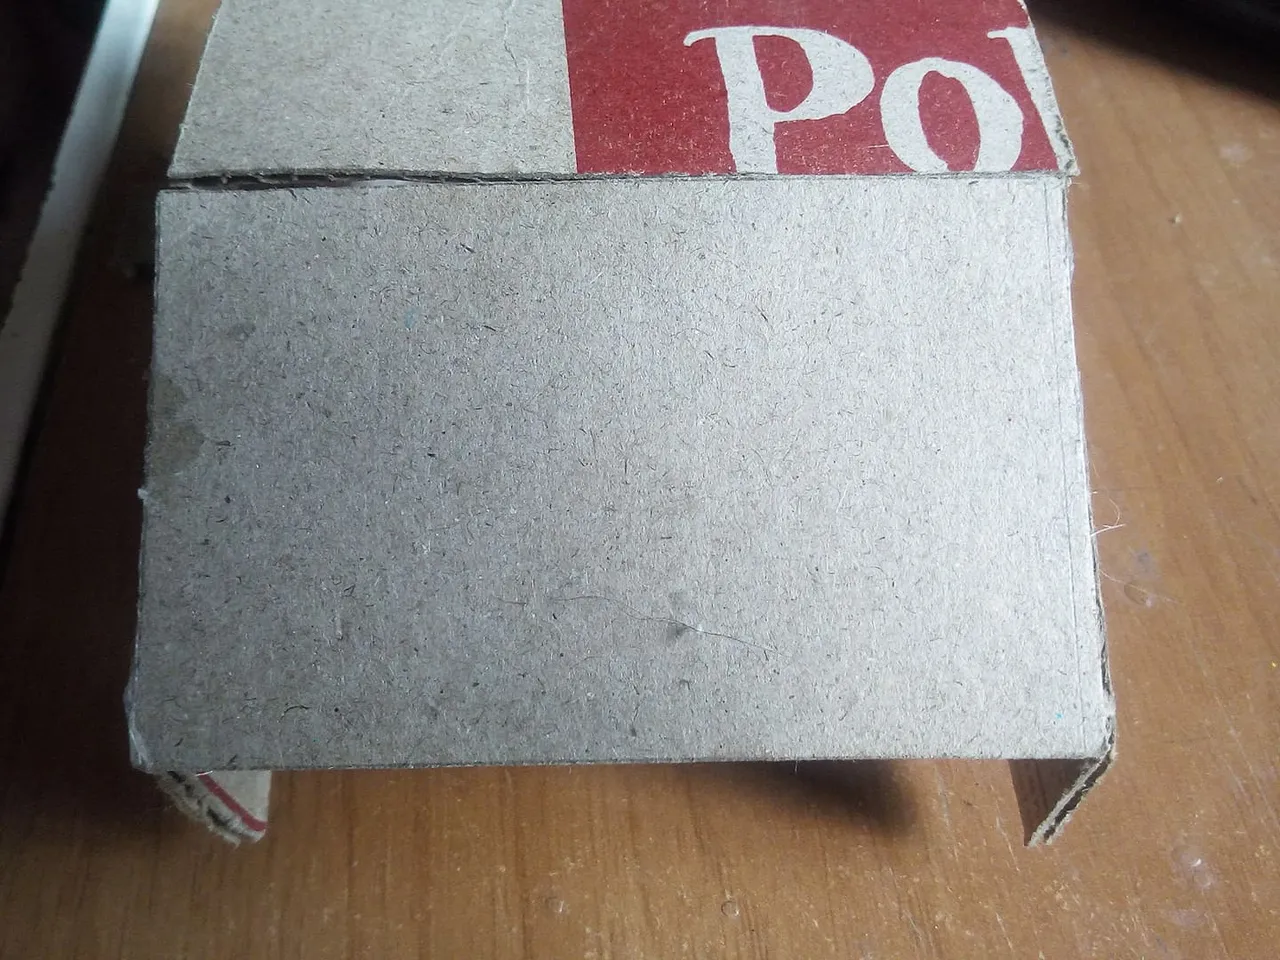
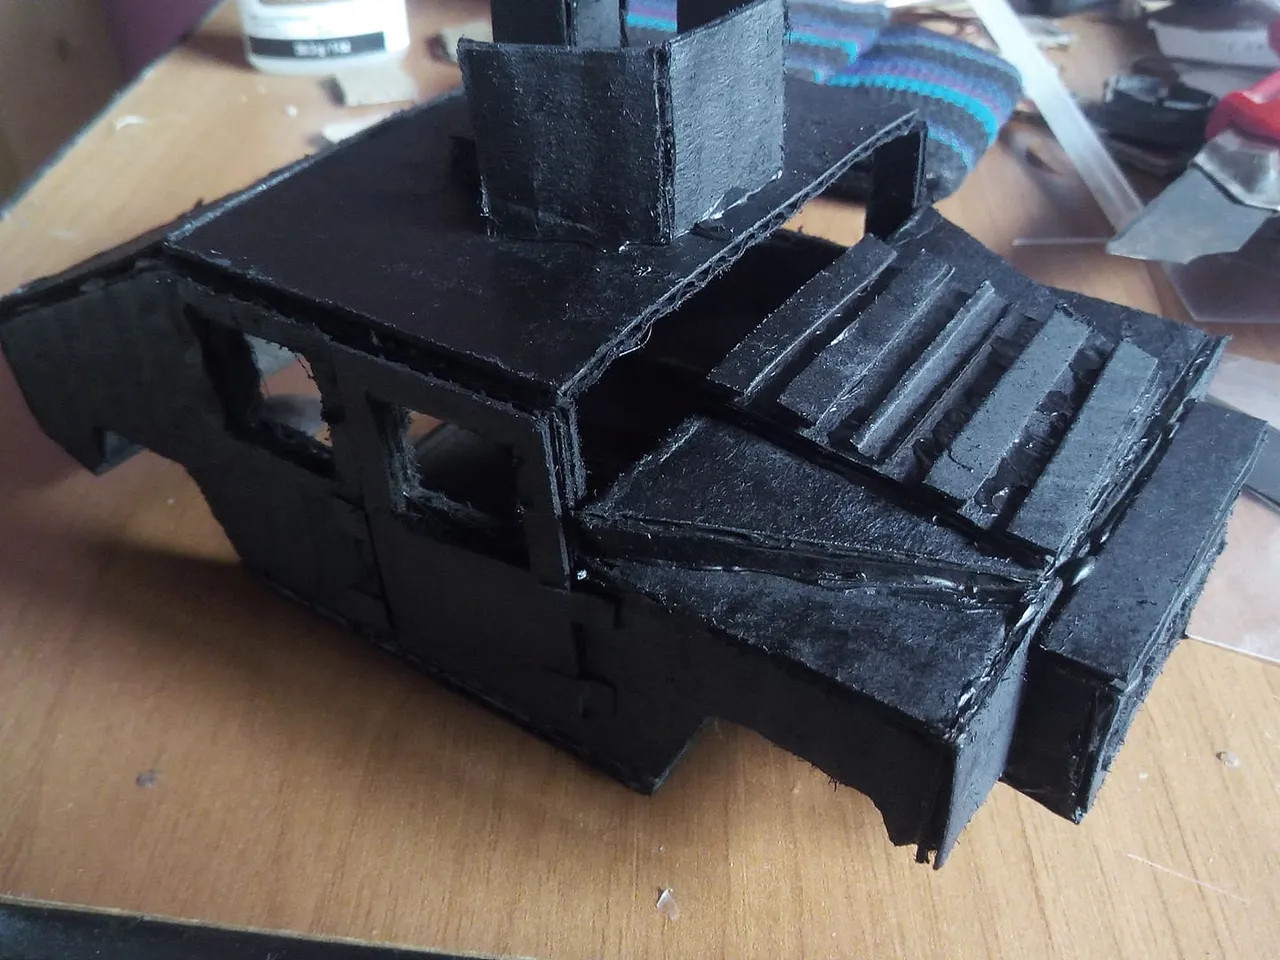
Then we are going to cut three pieces of cardboard that will be for the floor, the roof and the hood of the hummve, we must remember that these military vehicles are extremely wide so we must cut them a bit rectangular, we use glue and silicone and glue each part in place.
Después vamos a cortar tres partes de cartón que serán para el piso, el techo y el capó dela hummve, debemos recordar que estos vehículos militares son extremadamente anchos así que debemos cortarlos un poco rectangular, utilizamos pegamento y silicón y pegamos cada parte en su lugar.
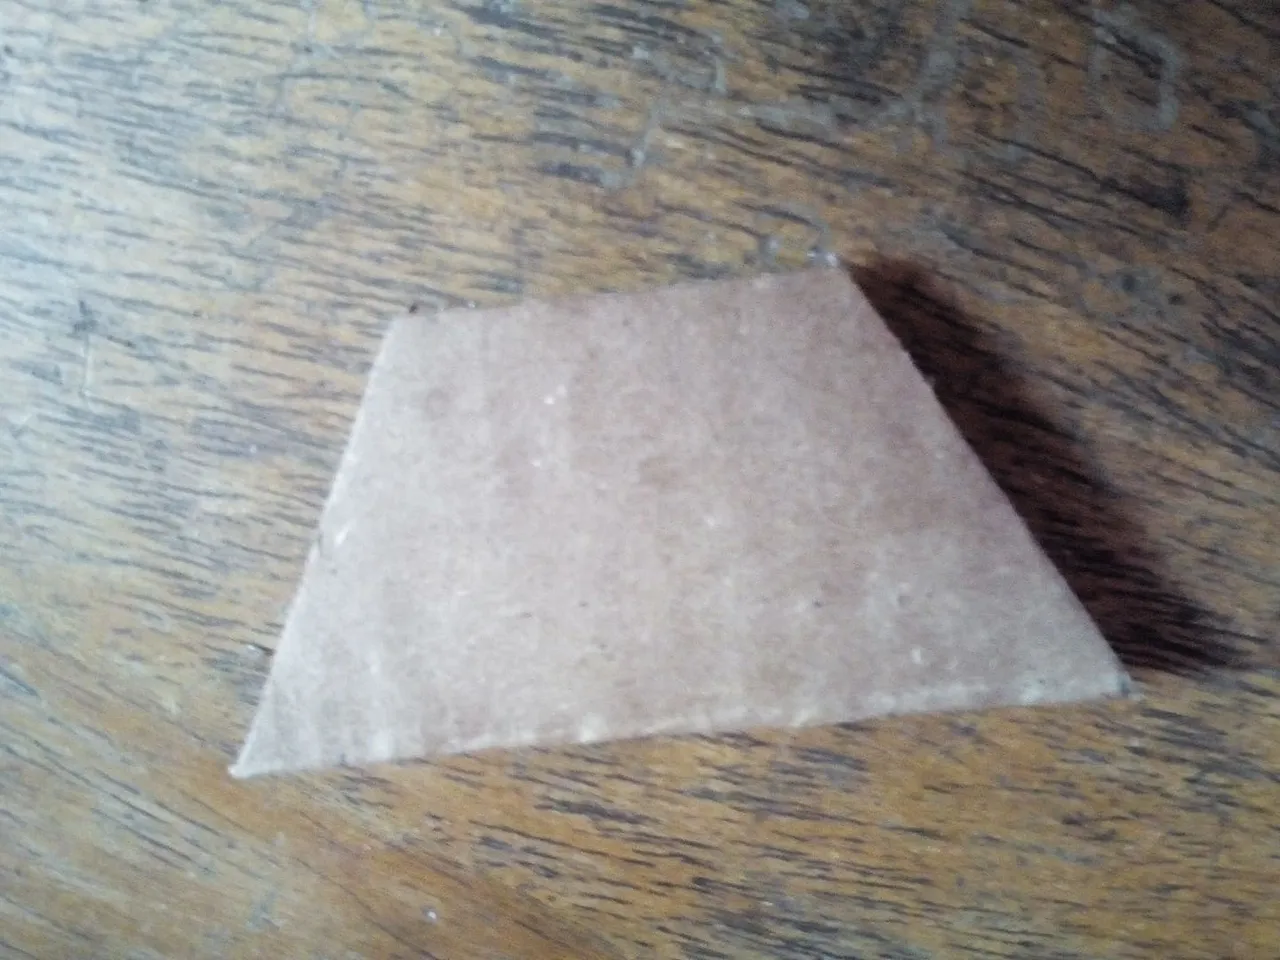
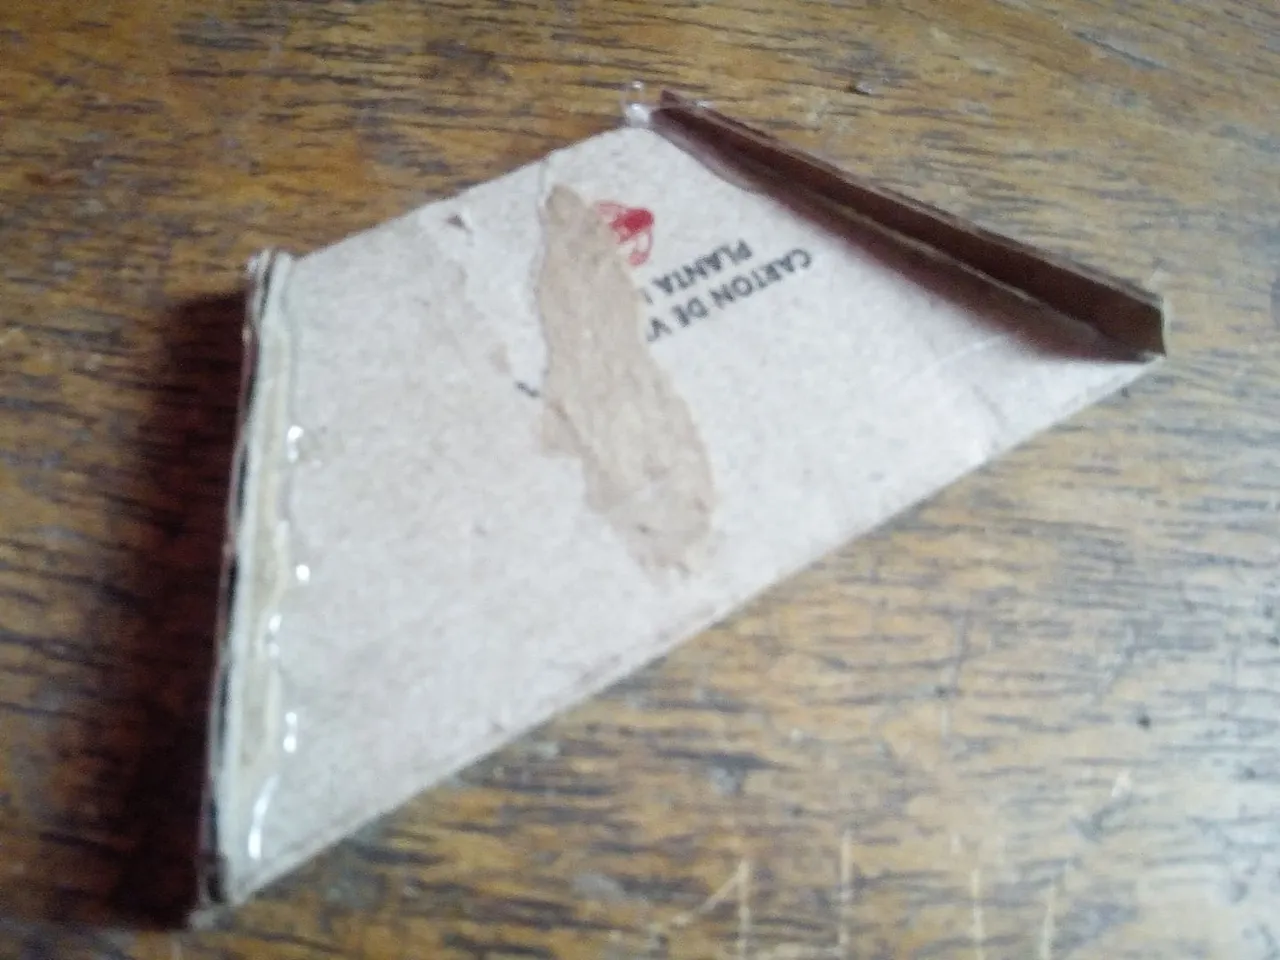
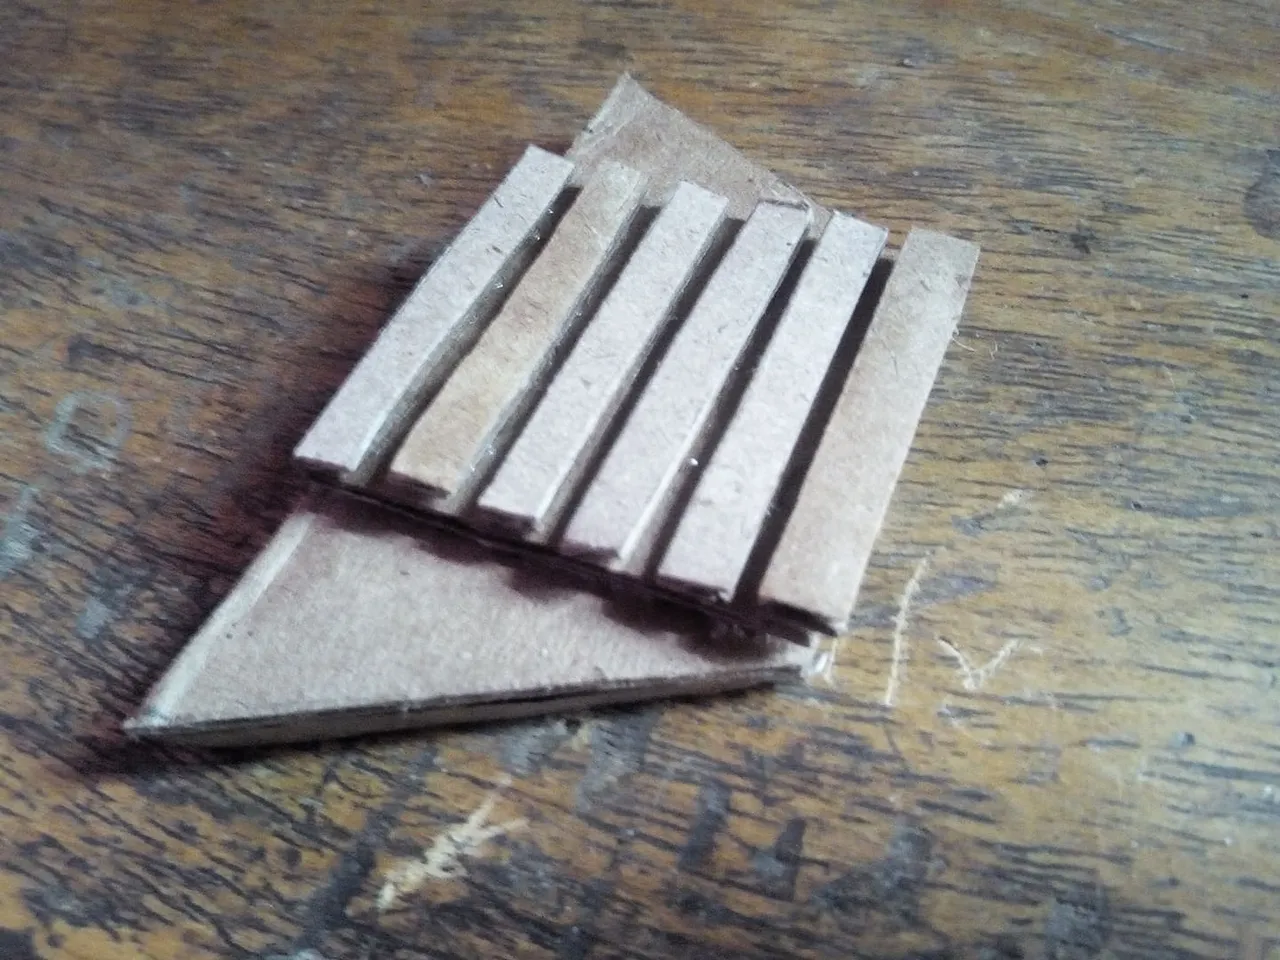
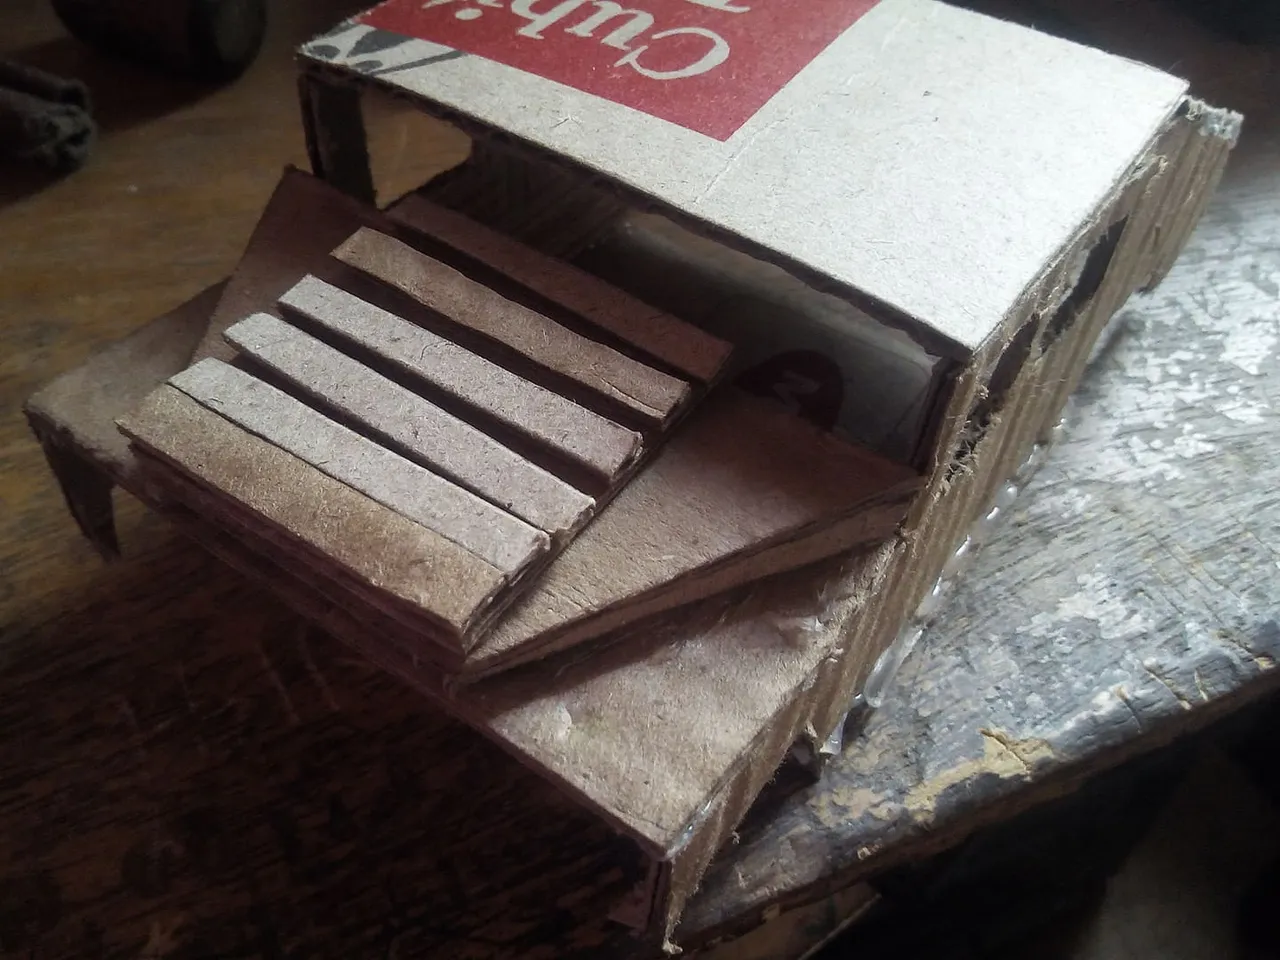
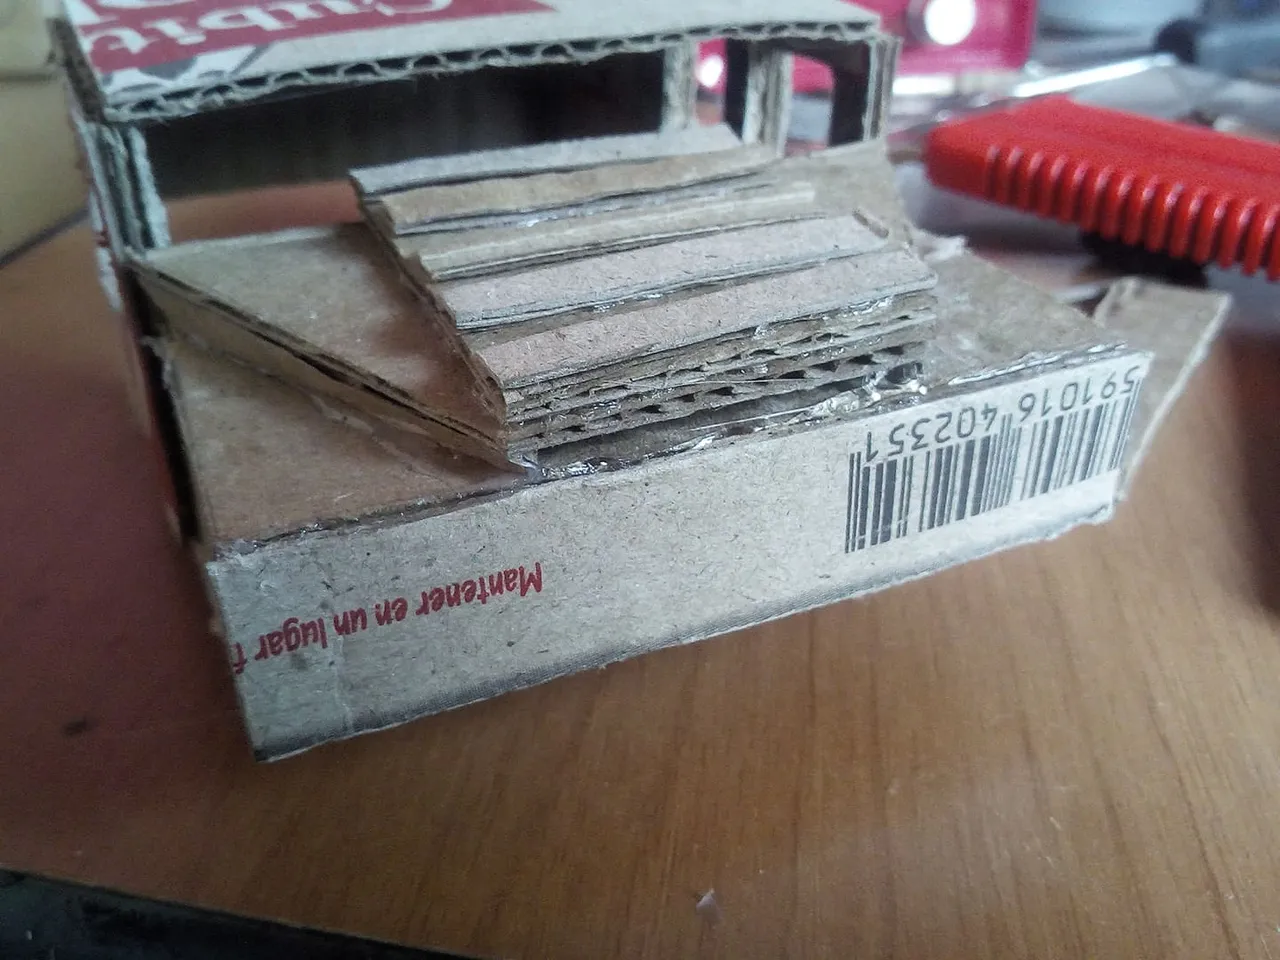
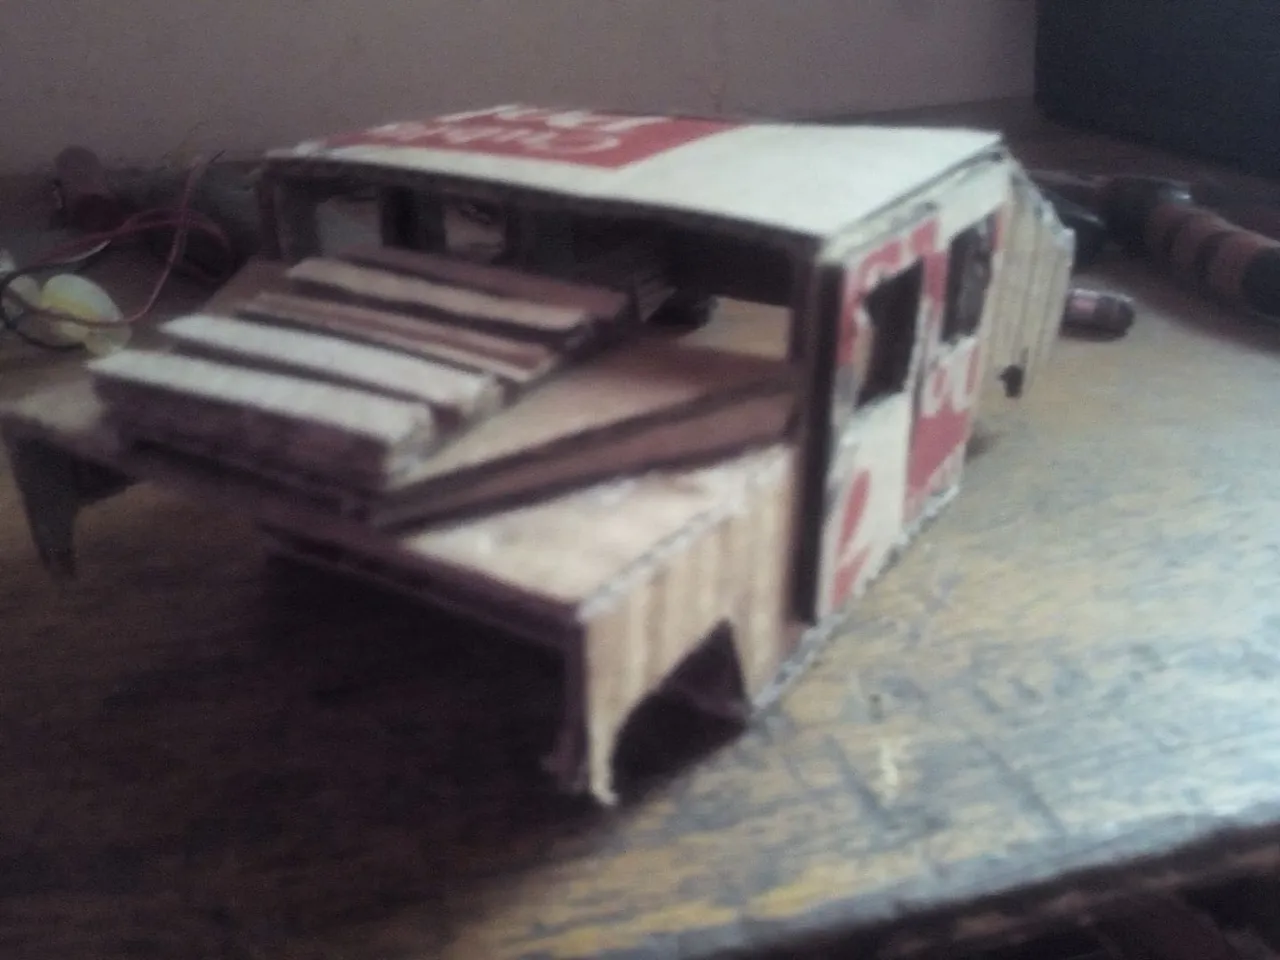
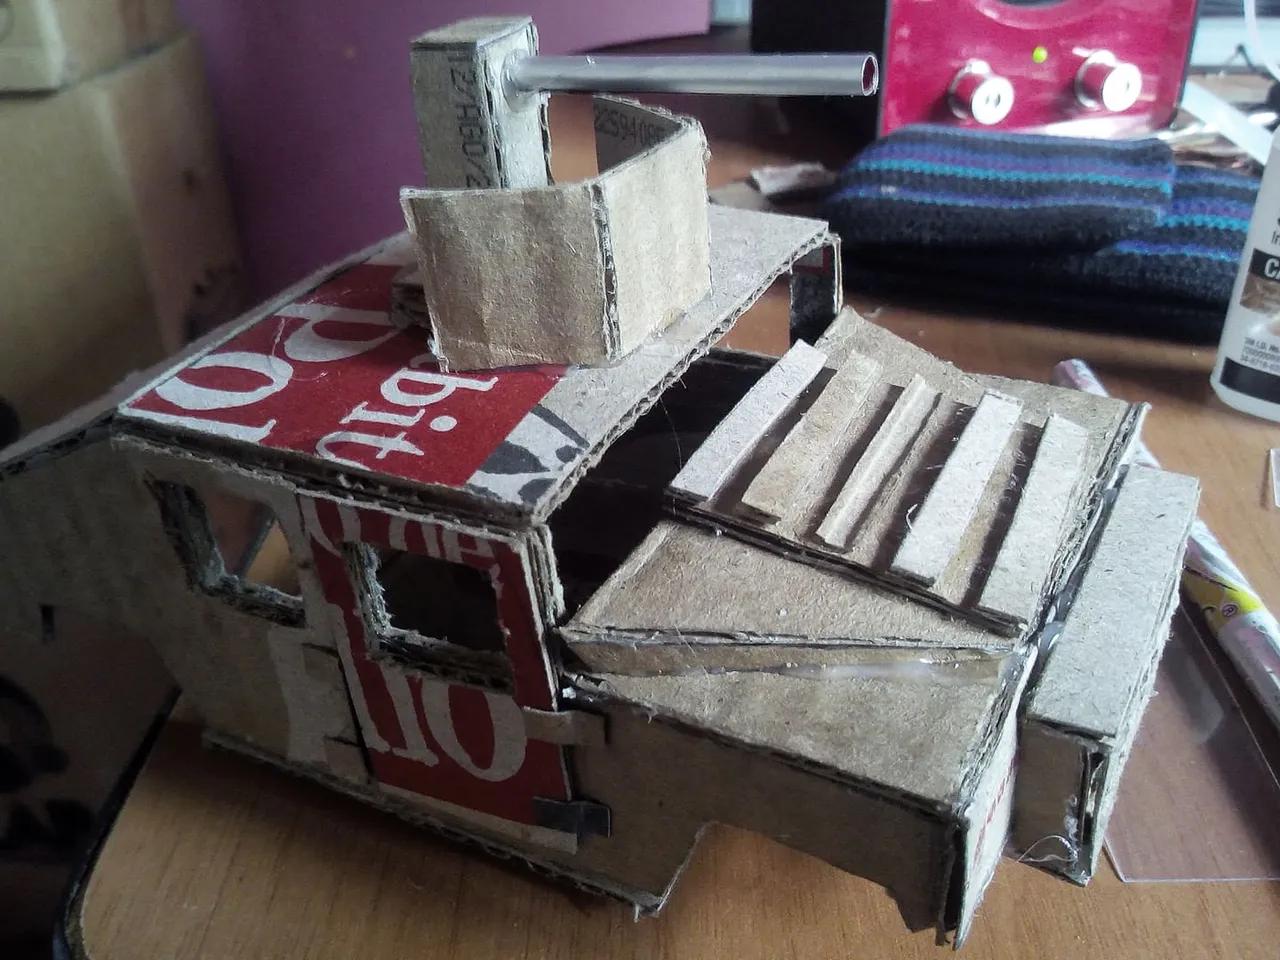
we continue with the openings in the hood that give breath to the engine. We cut a cardboard in this way and then add small cardboard strips and finally we will glue it to the hood of the Hummve.
continuamos con las aberturas del capó que dan respiración al motor. Cortamos un carton de esta forma y luego agregamos tiras de cartón pequeñas y por último lo pegaremos al capó de la Hummve.
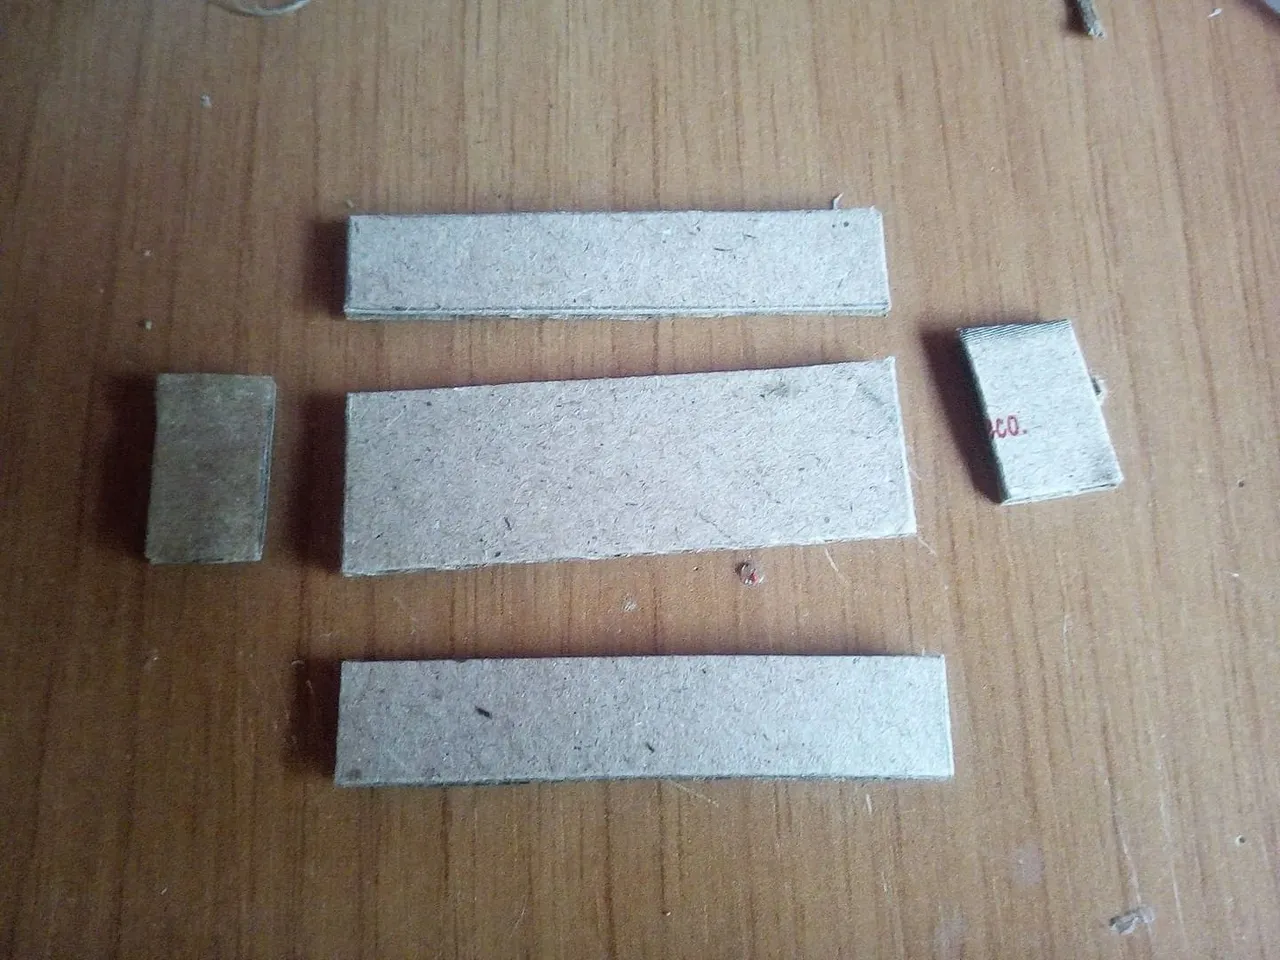
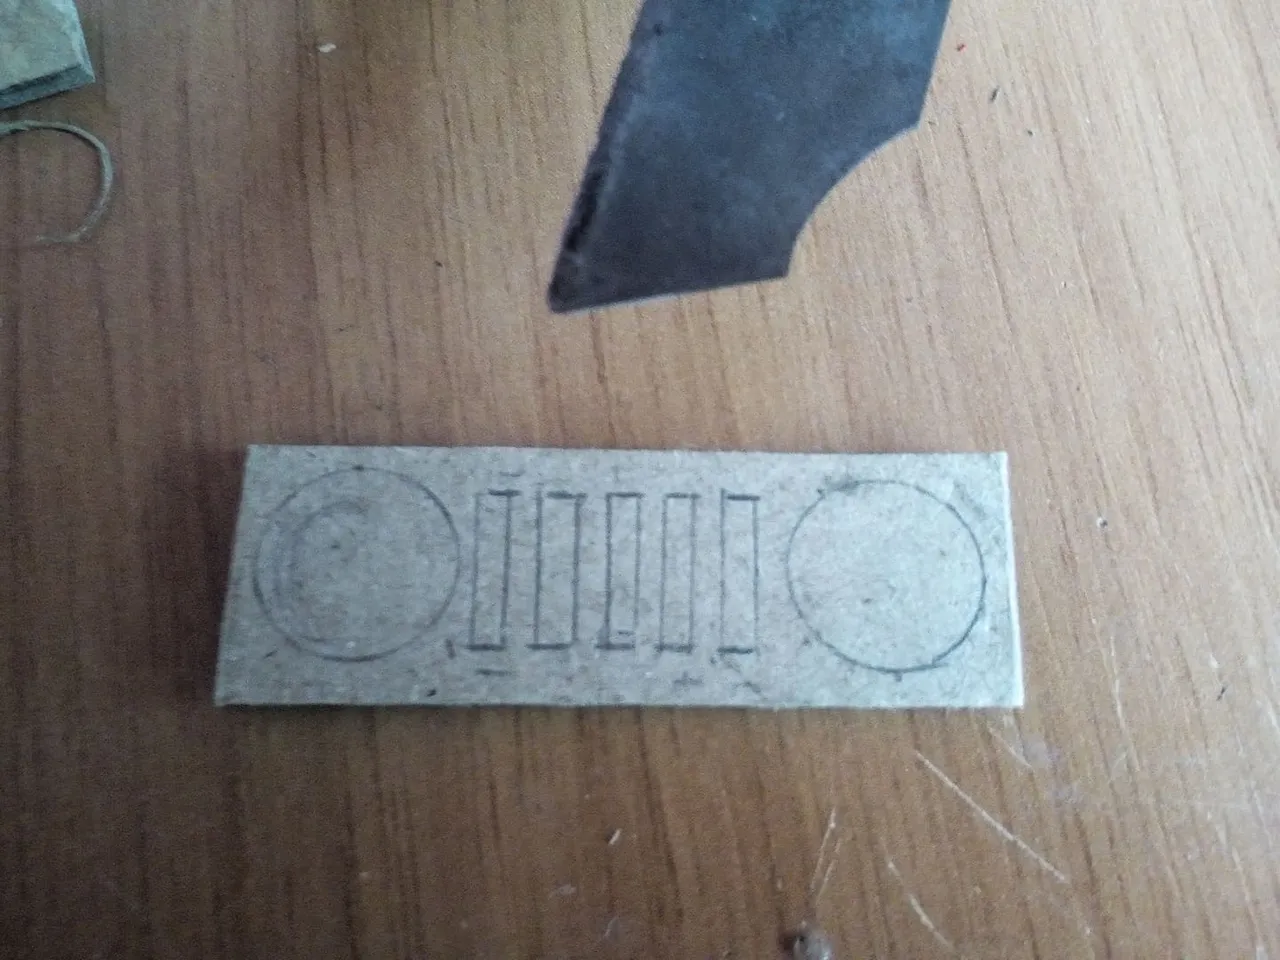
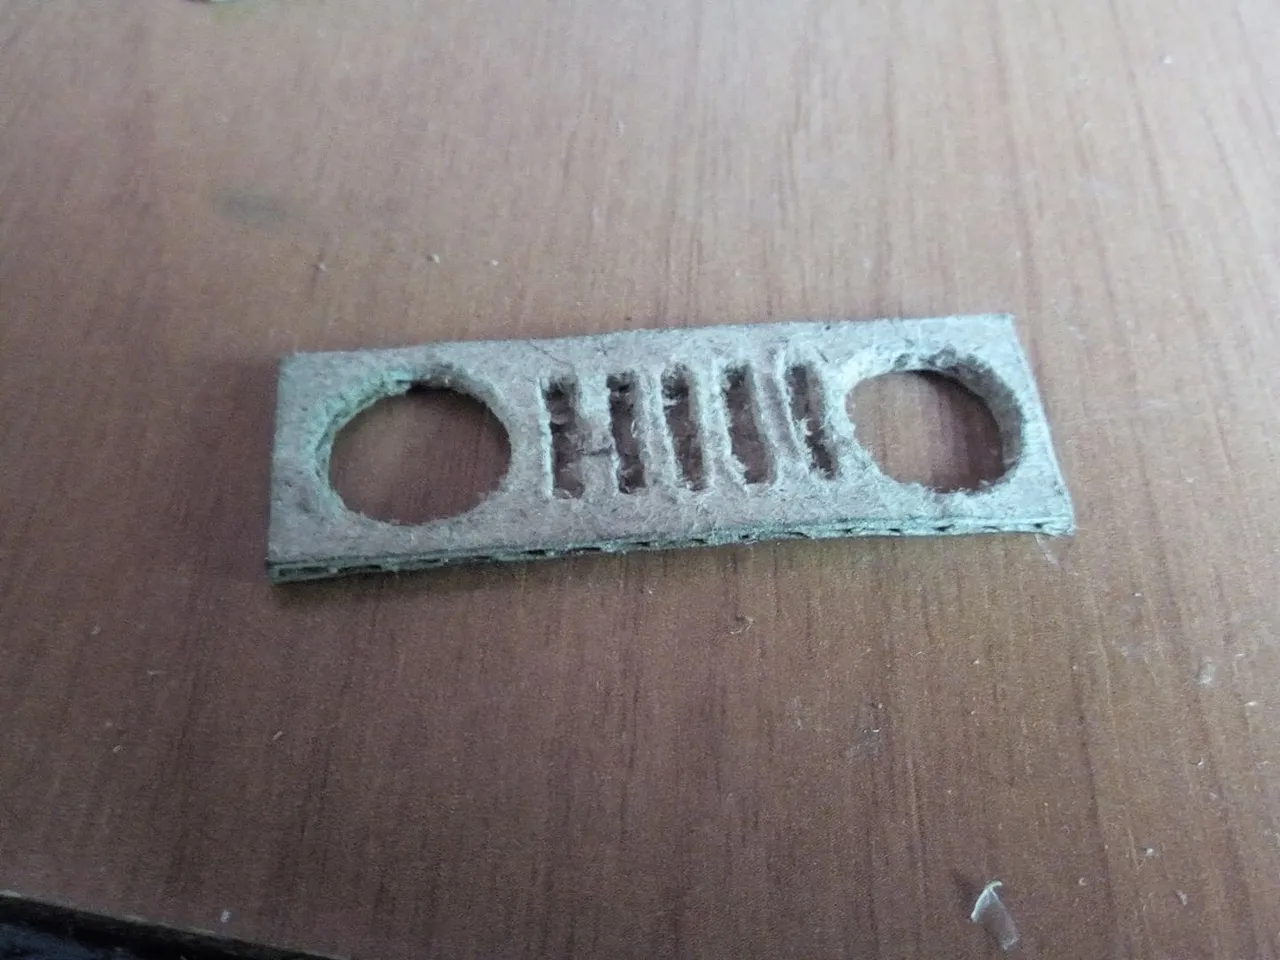
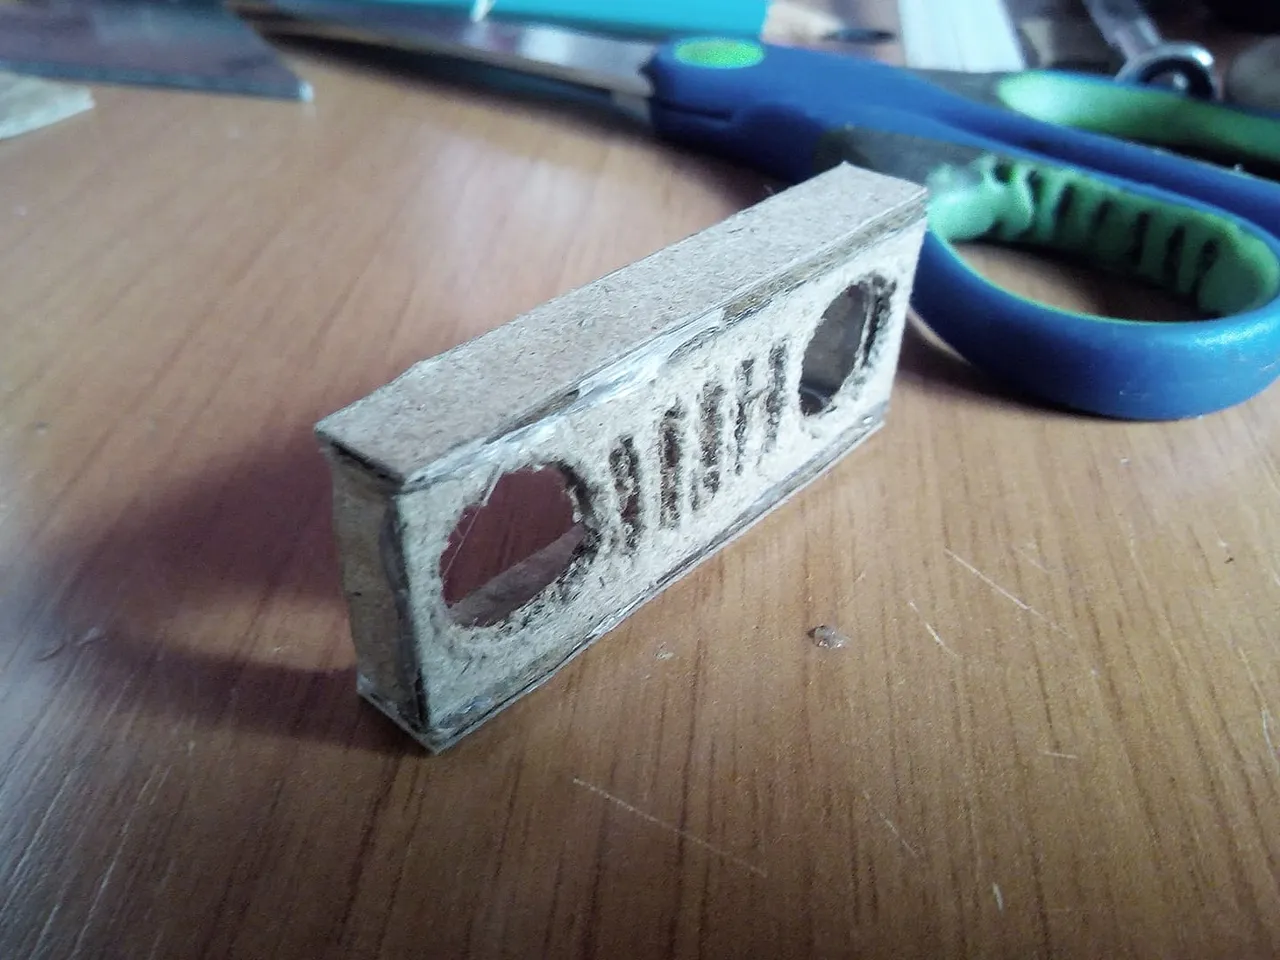
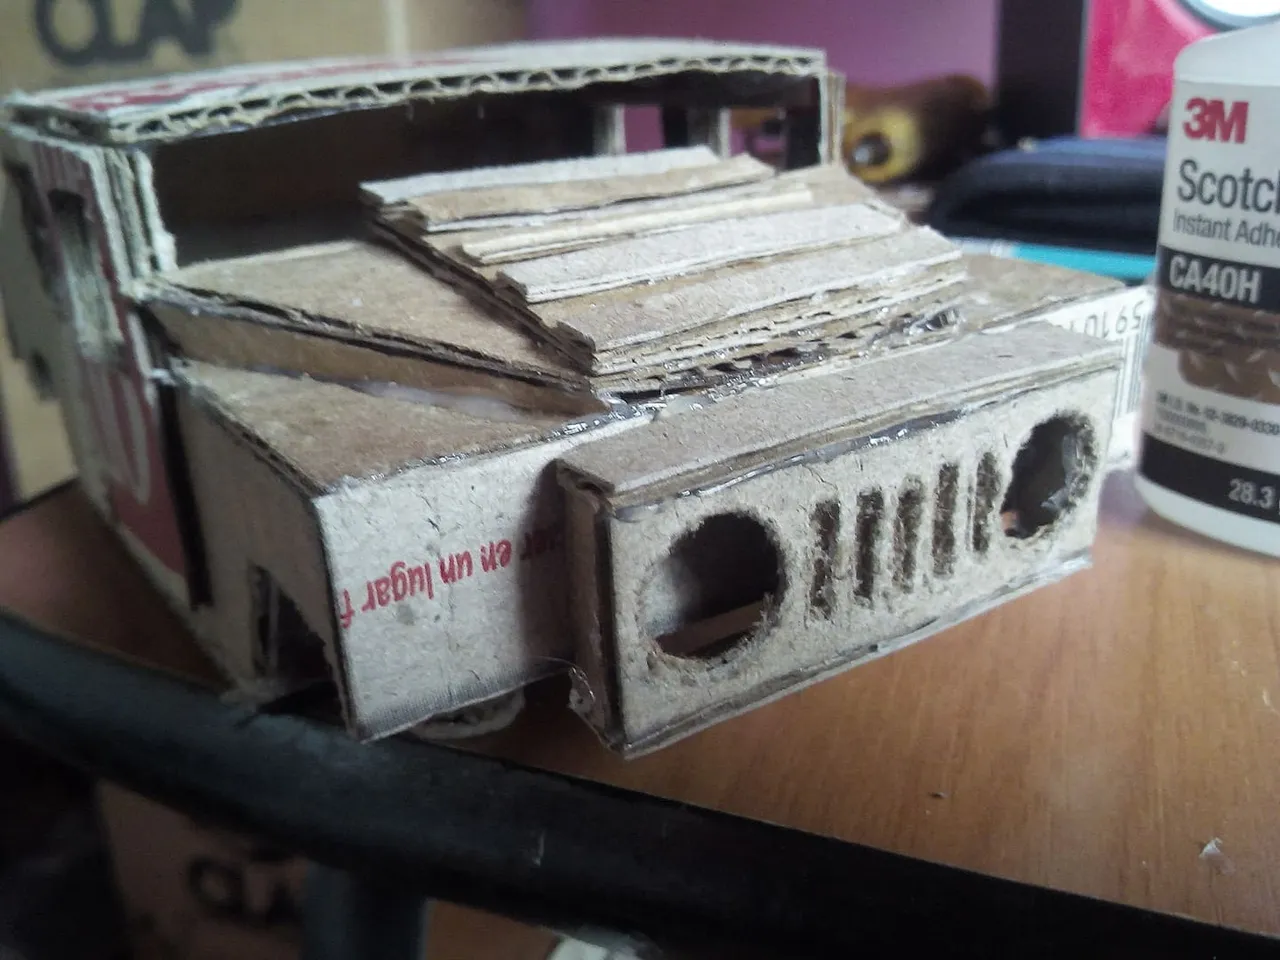
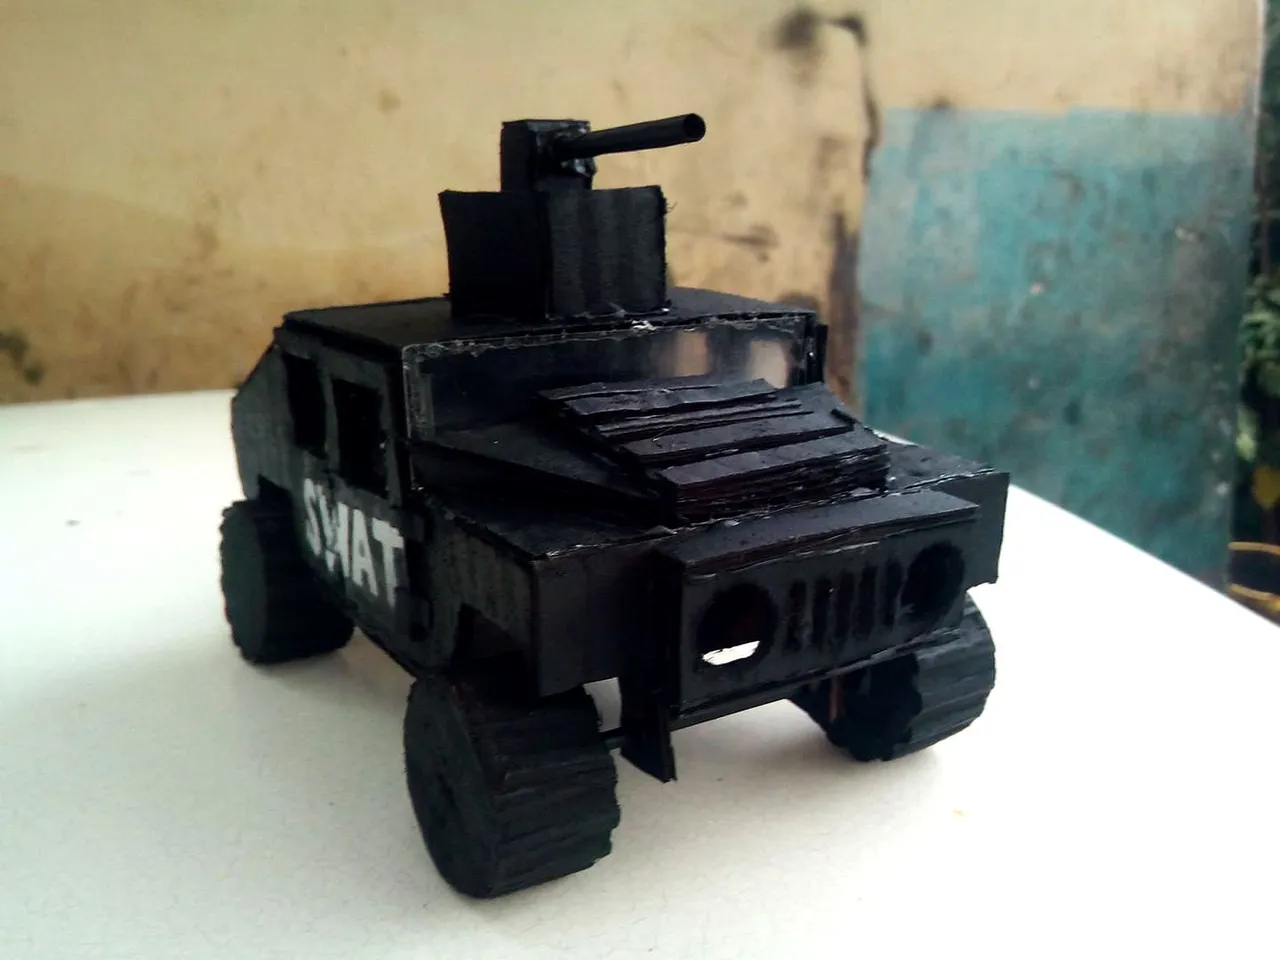
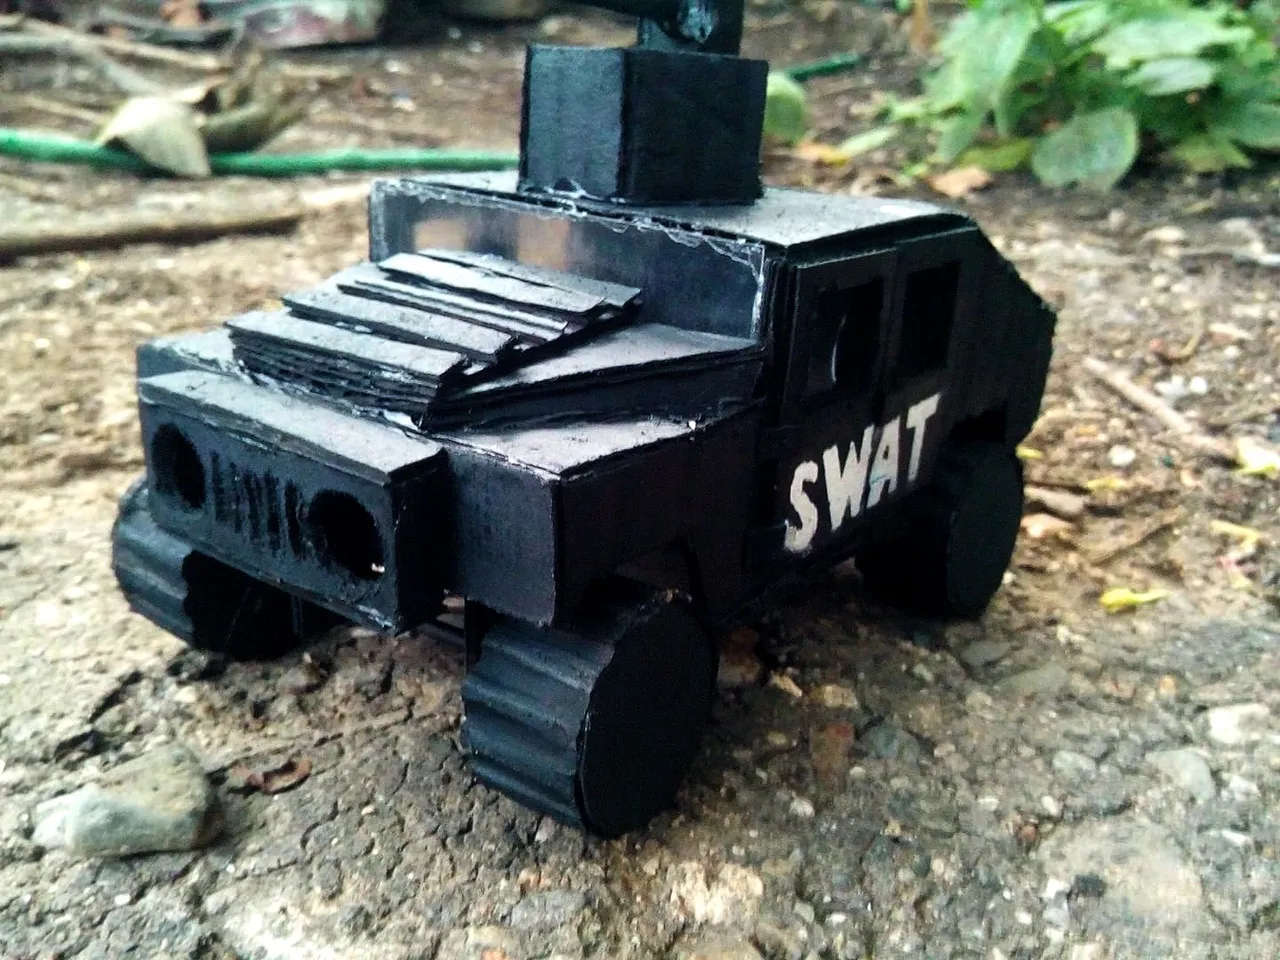
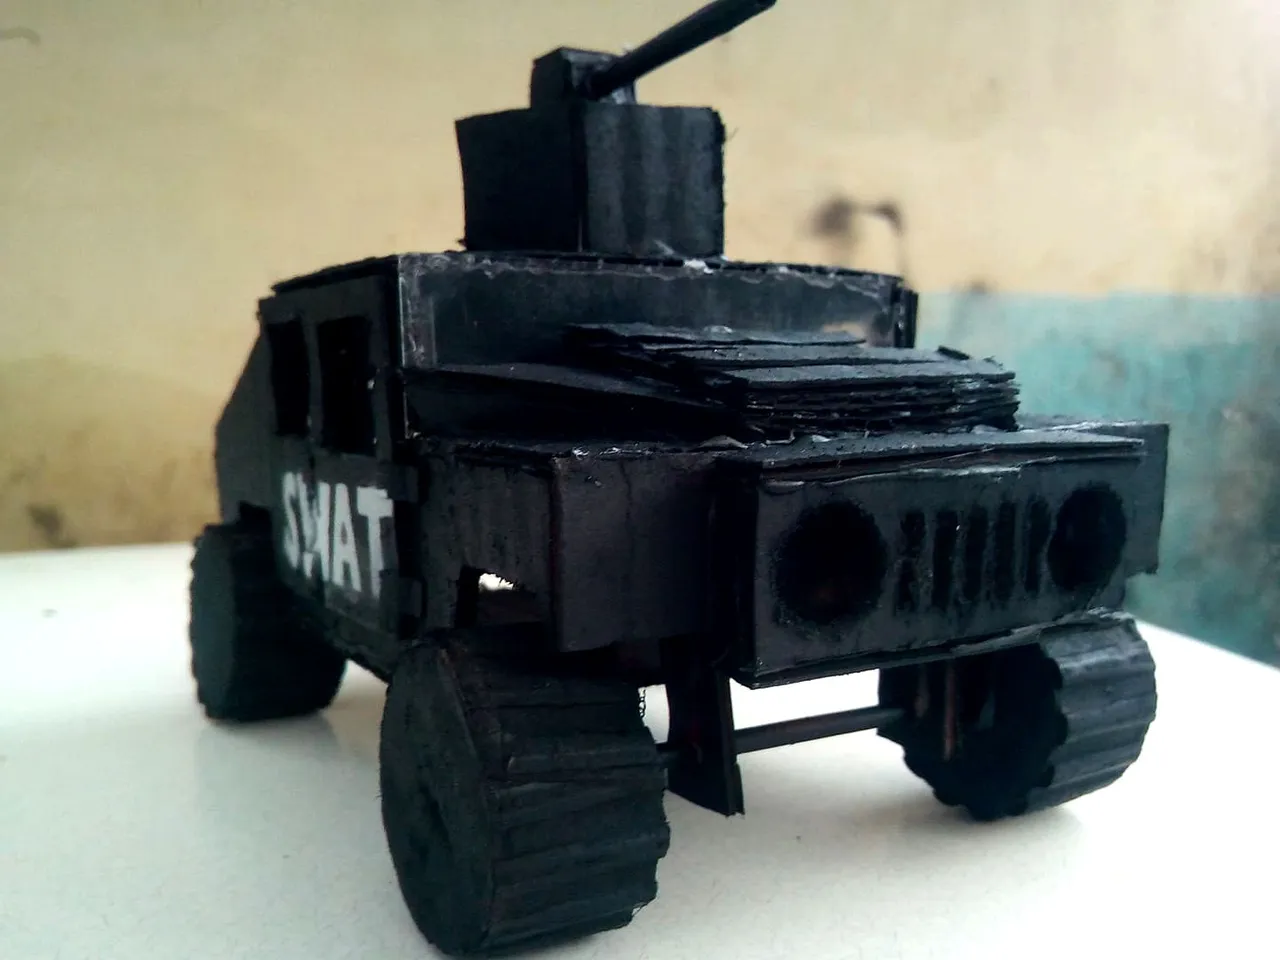
To finish with the front part of the Hummve we make the part where the headlights go. We cut the cardboard of a 5 centimeters and then we choose the one that will go to the front and we draw the circles for the headlights and the openings, with some knives we remove the drawn parts, and then we glue it on the front of the police vehicle.
Para terminar con la parte frontal de la Hummve hacemos la parte donde van los faros. Cortamos el cartón de un 5 centímetros y luego escogemos el que ira al frente y dibujamos los círculos para los faros y las aberturas, con unas navajas le quitamos las partes dibujadas, y después lo pegamos en la parte frontal del vehículo policial.
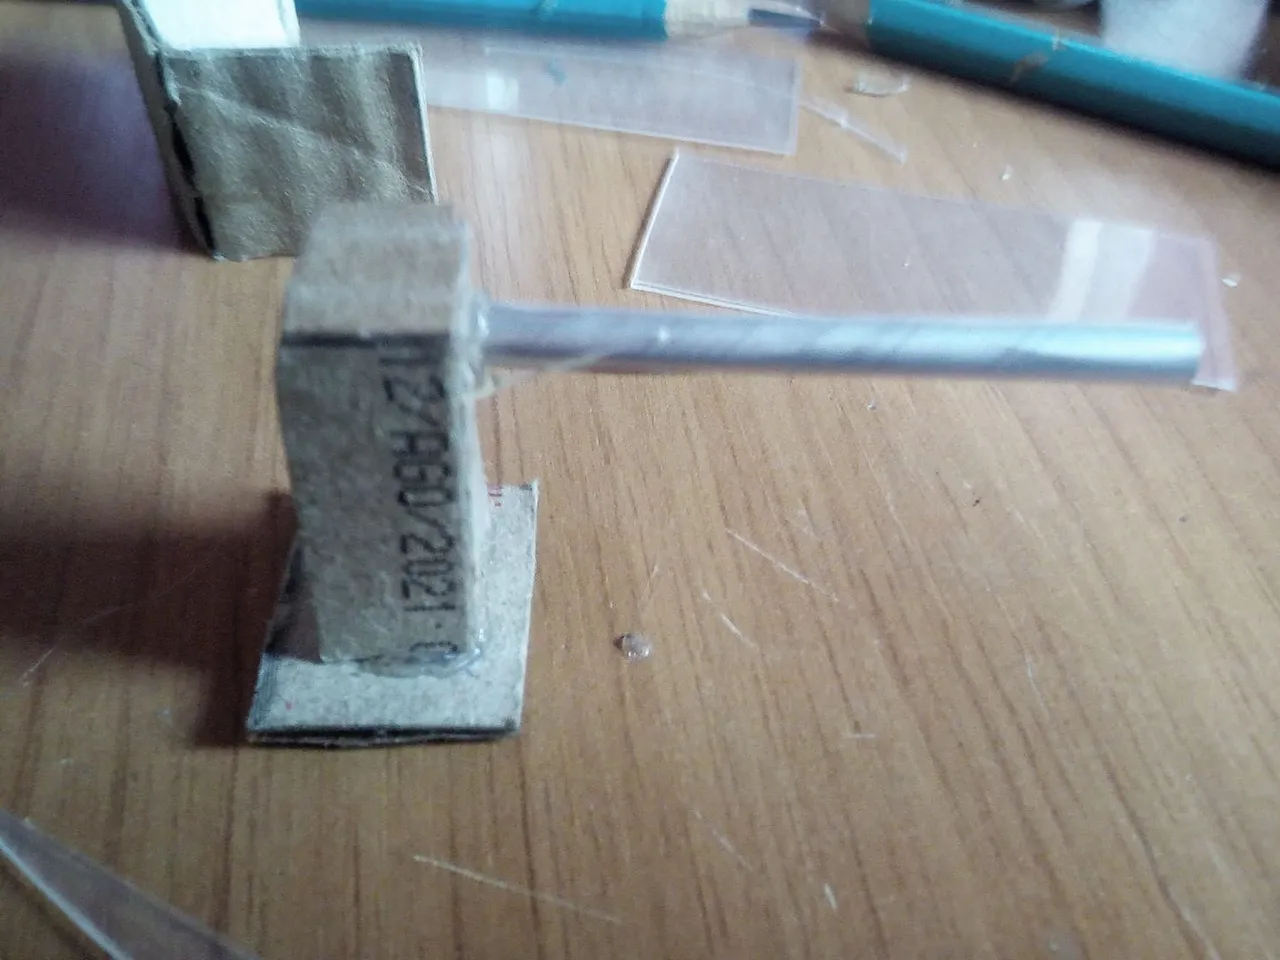
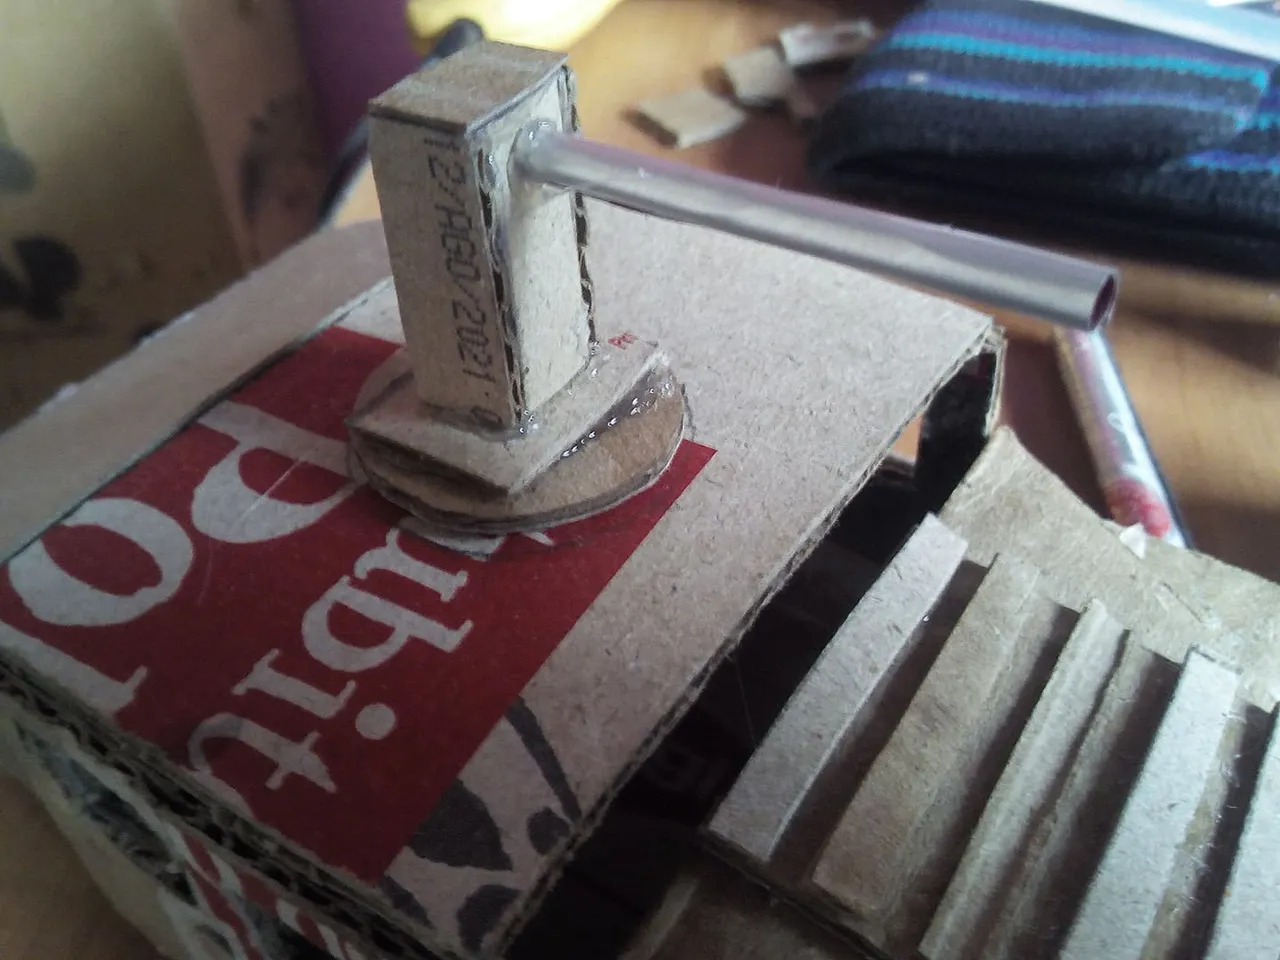
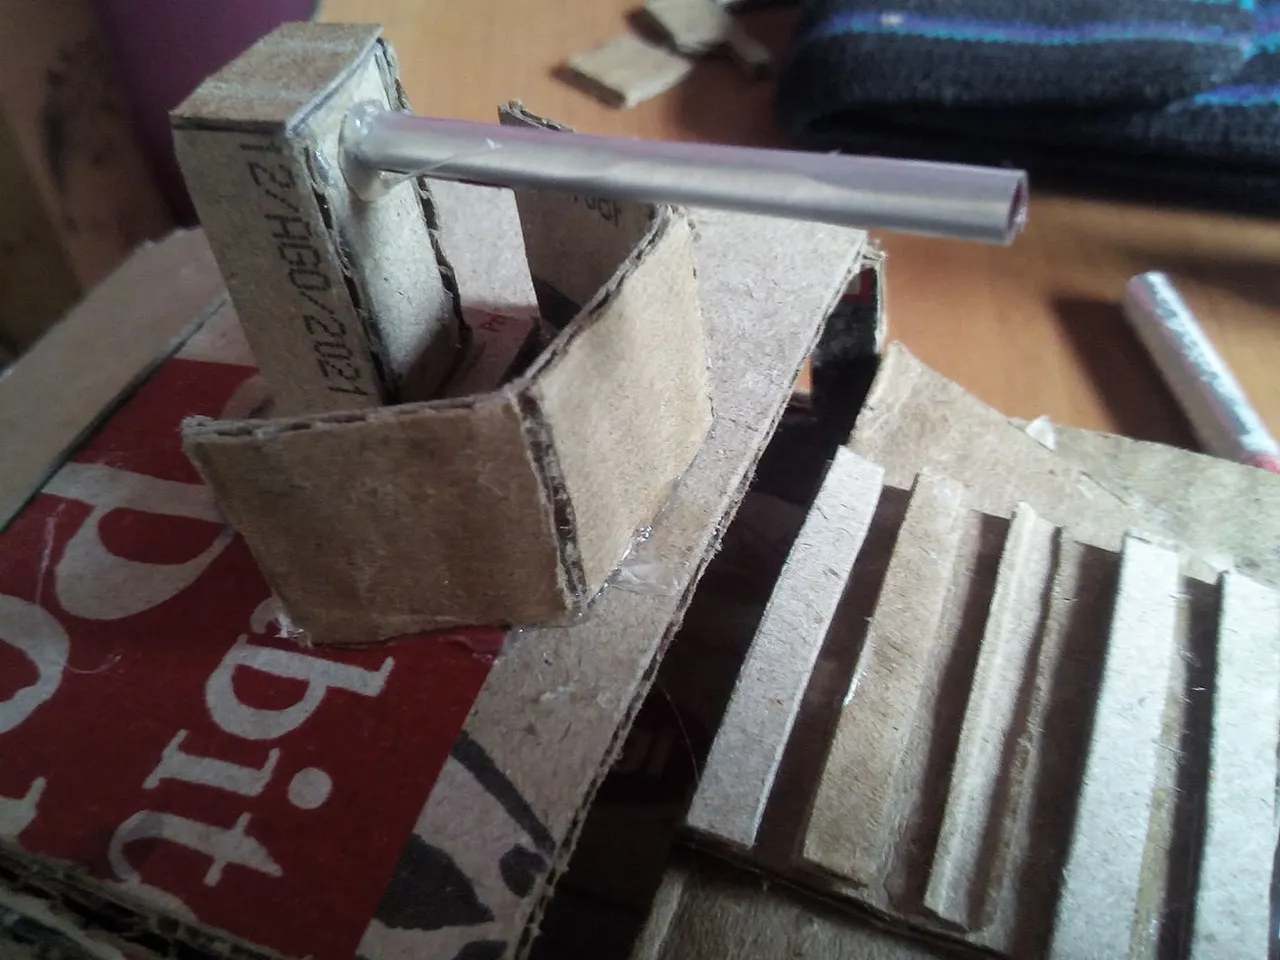
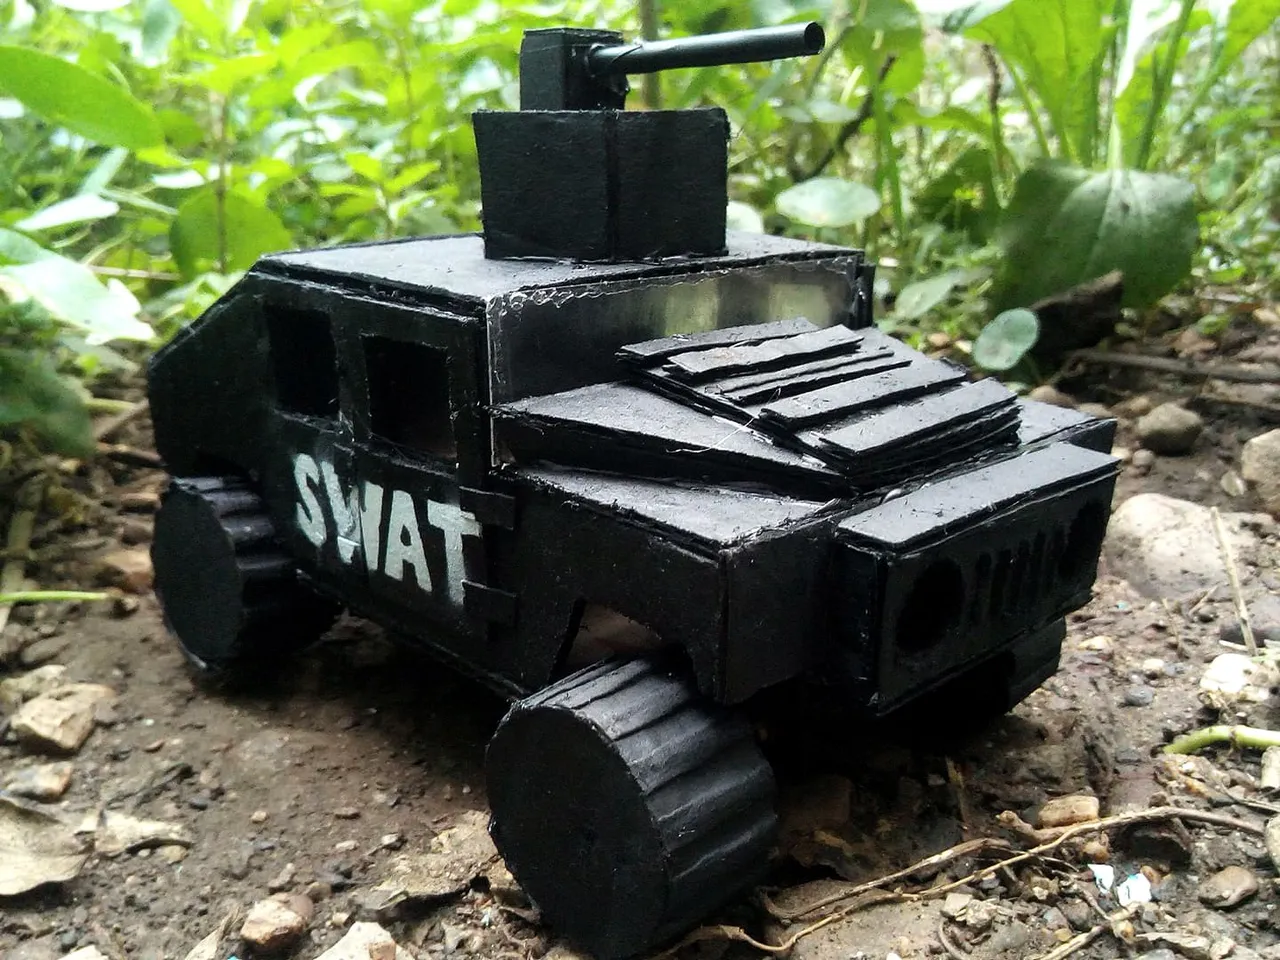
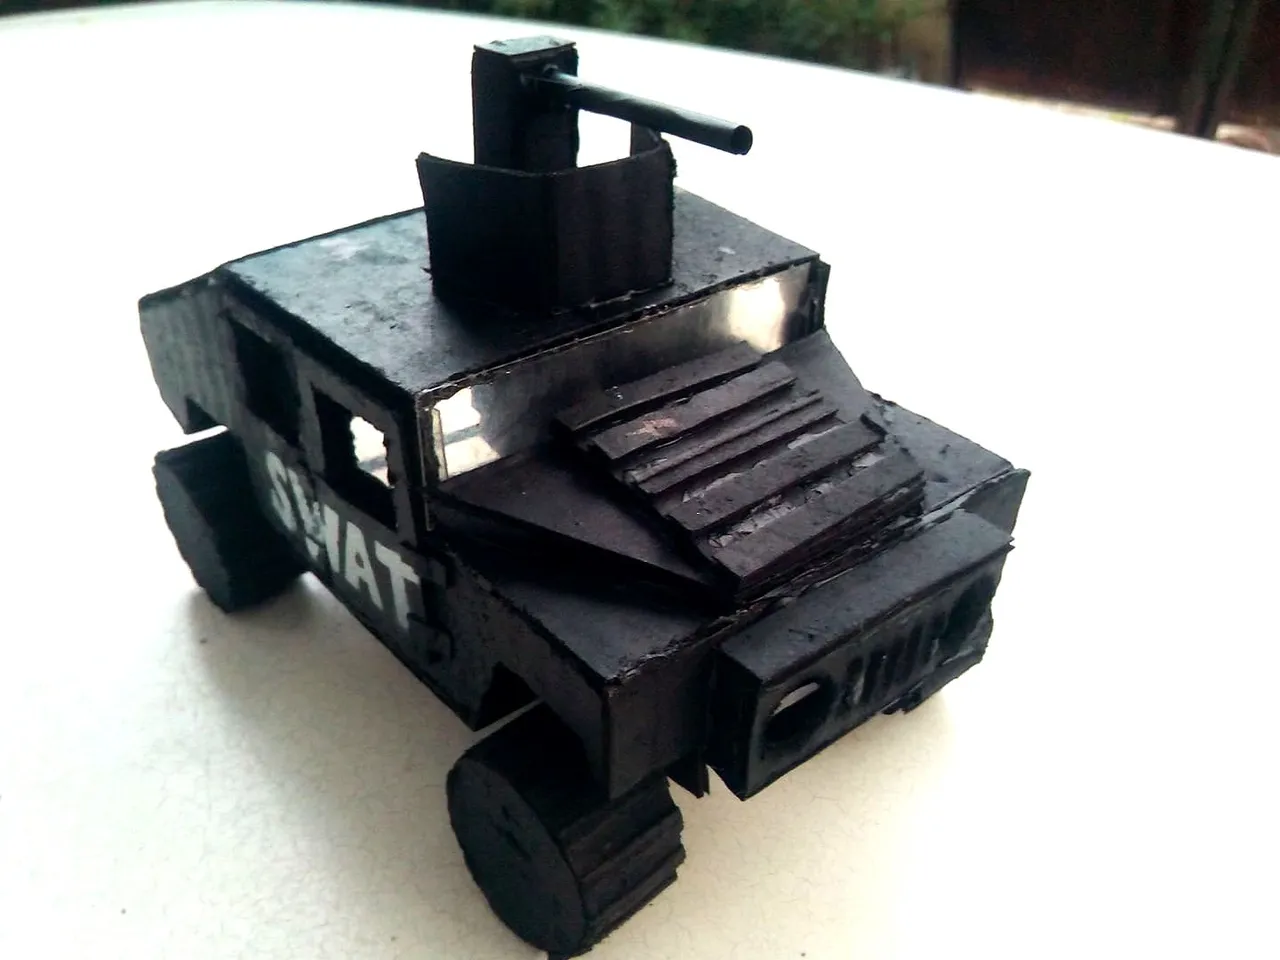
Now we design the doors and the machine gun that goes on the roof. We make a small box with cardboard scraps 2 centimeters wide and the barrel of the shotgun is made from an aluminum can. We glued the doors, the machine gun and finally the protective barrier that covers the machine gun.
Ahora diseñamos las puertas y la ametralladora que va en el techo. Hacemos una pequeña caja con restos de cartón de 2 centímetros de ancho y el cañón de la escopeta lo hacemos con lata de aluminio. Pegamos las puertas, la ametralladora y por último la barrera protectora que cubre la ametralladora.
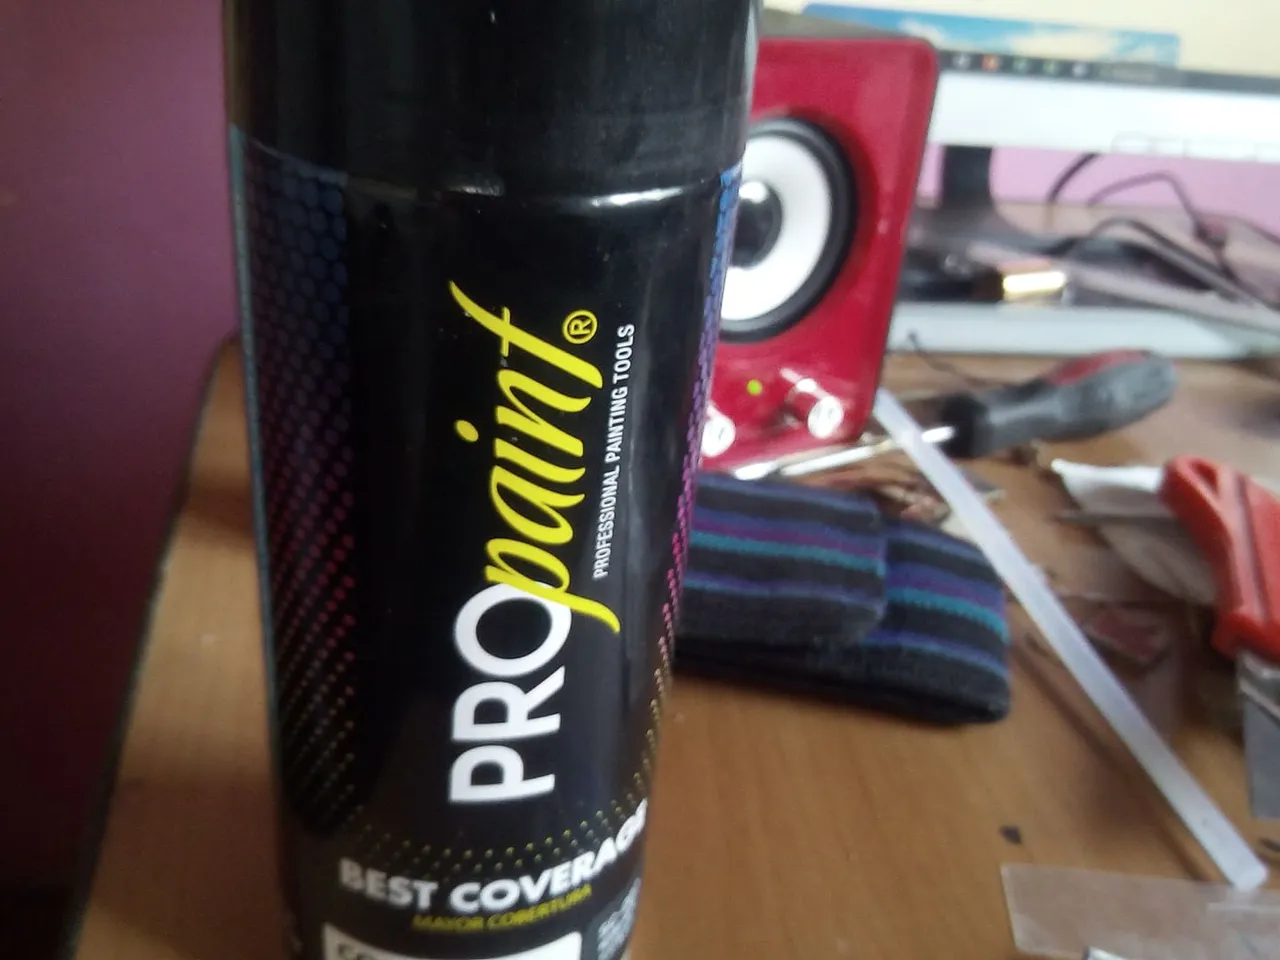
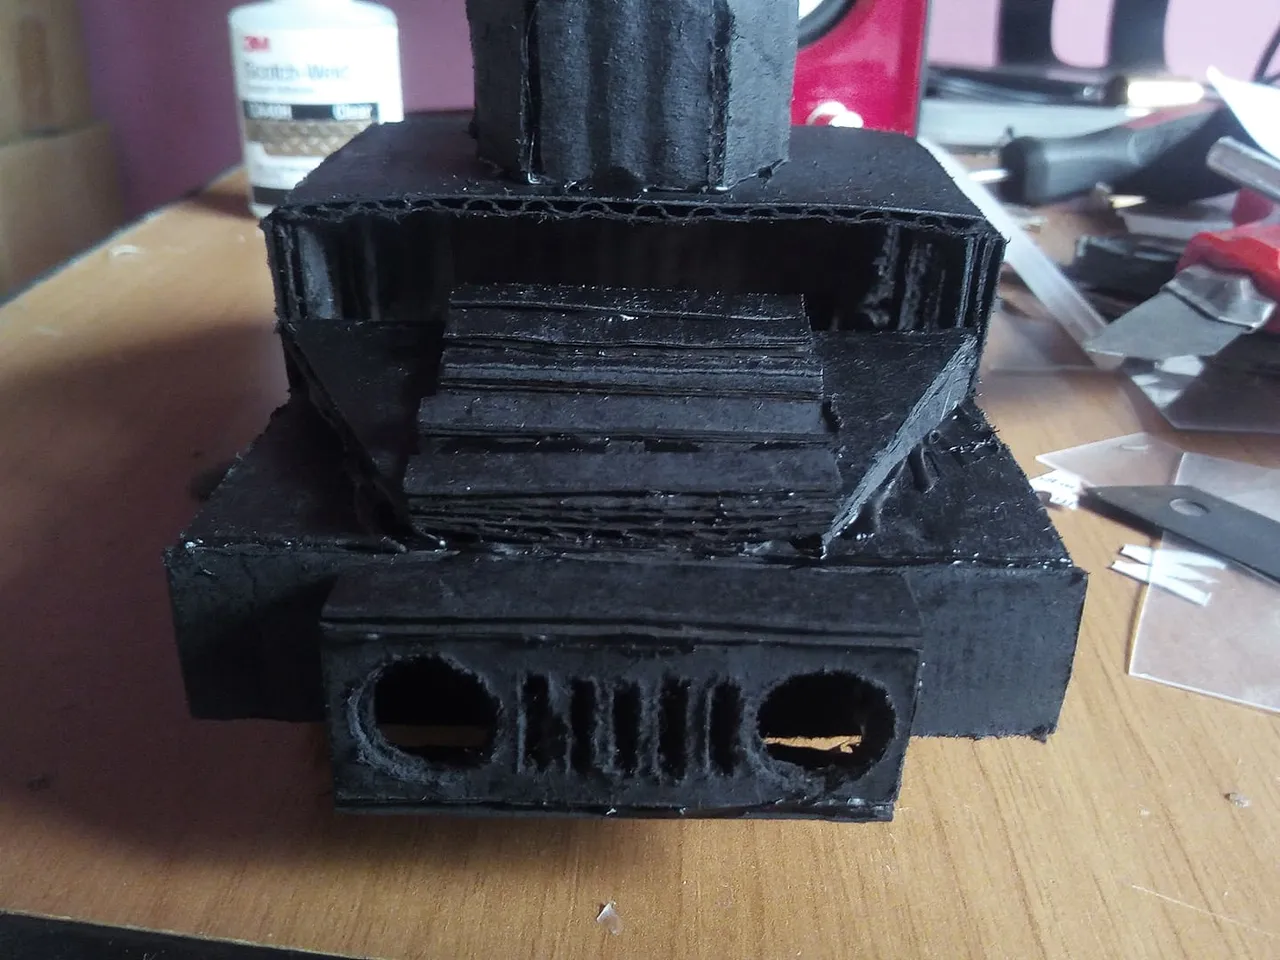
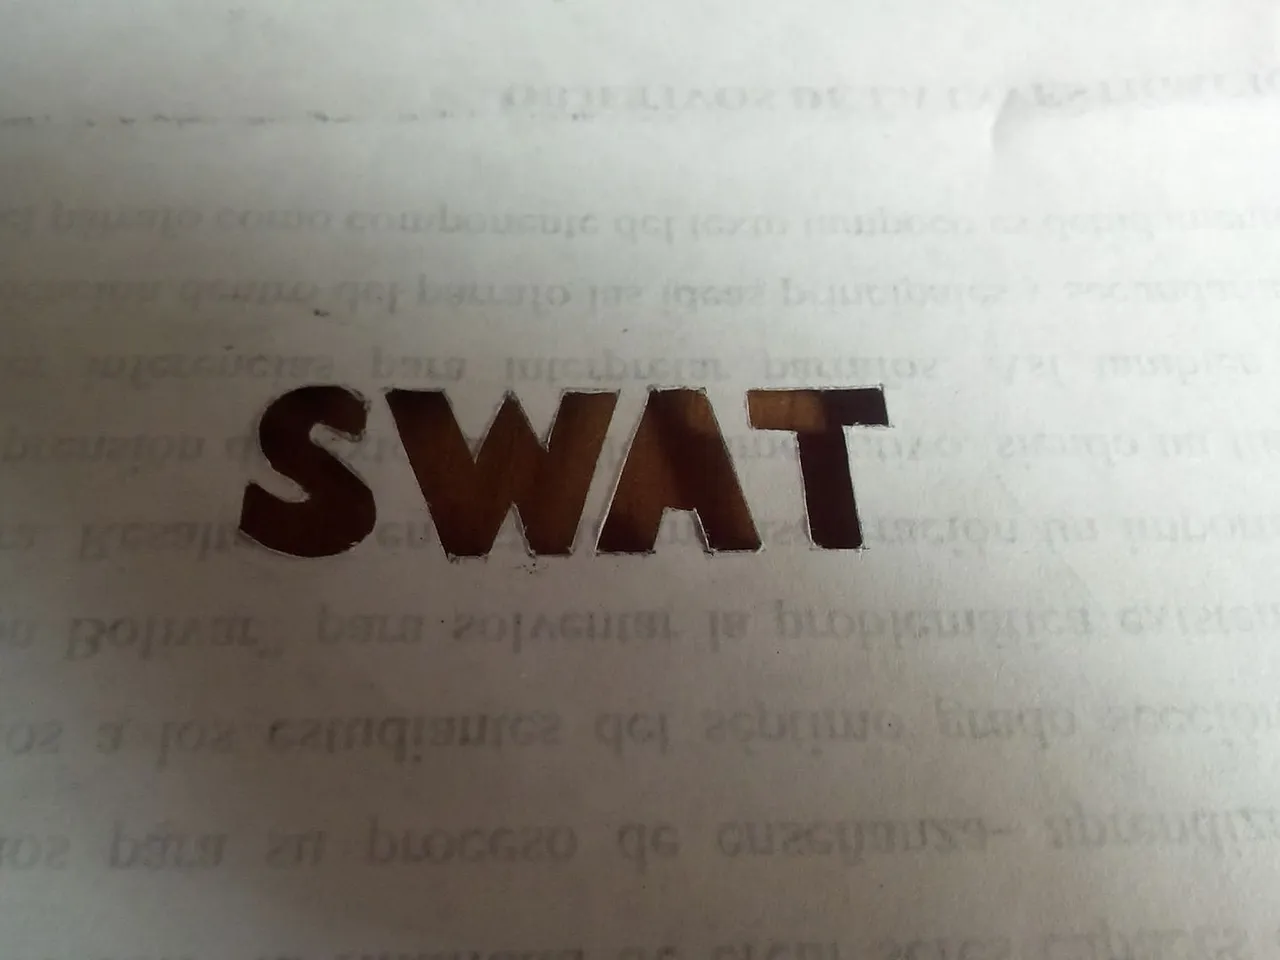
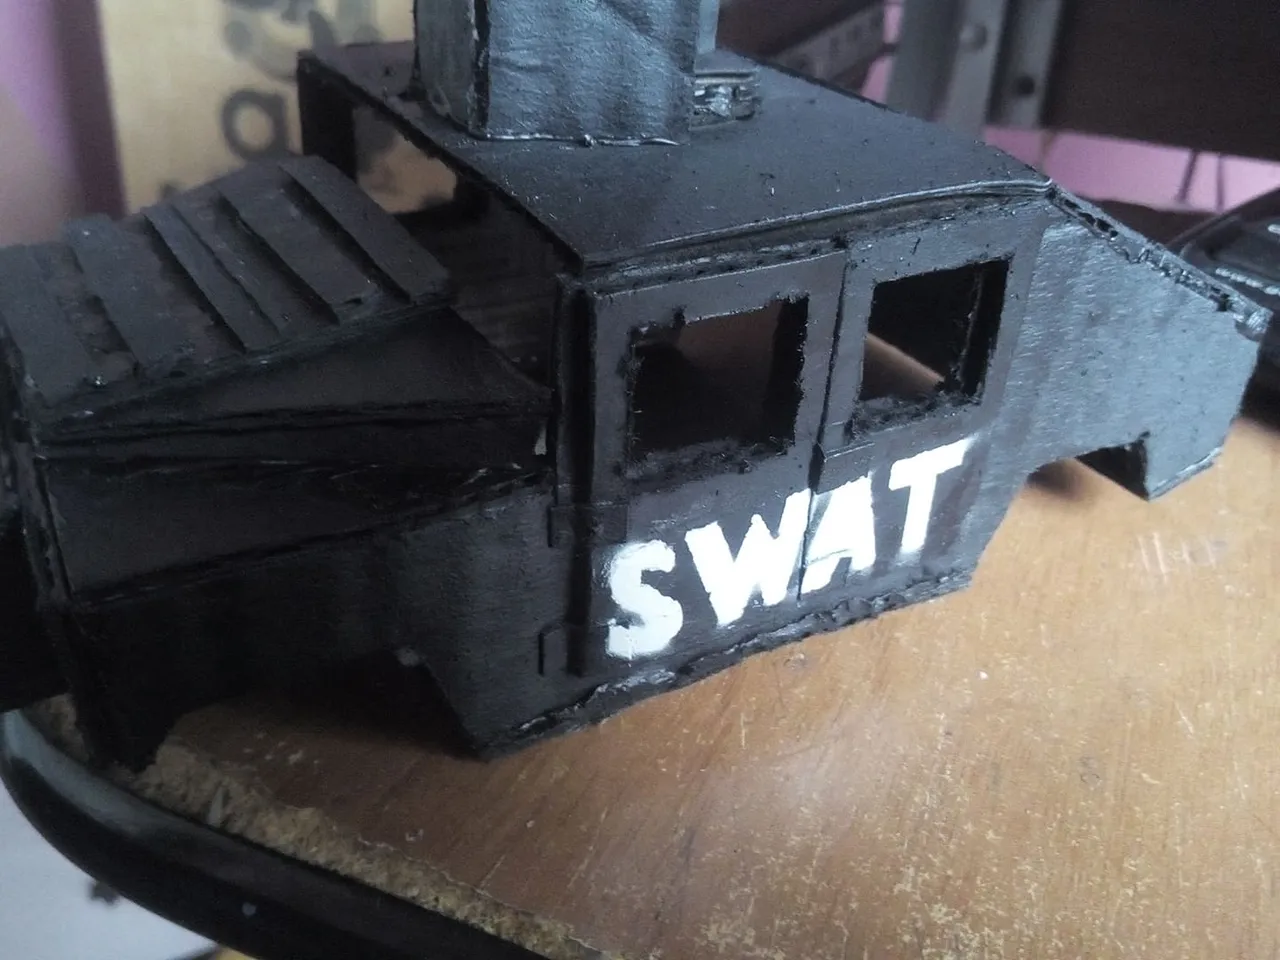
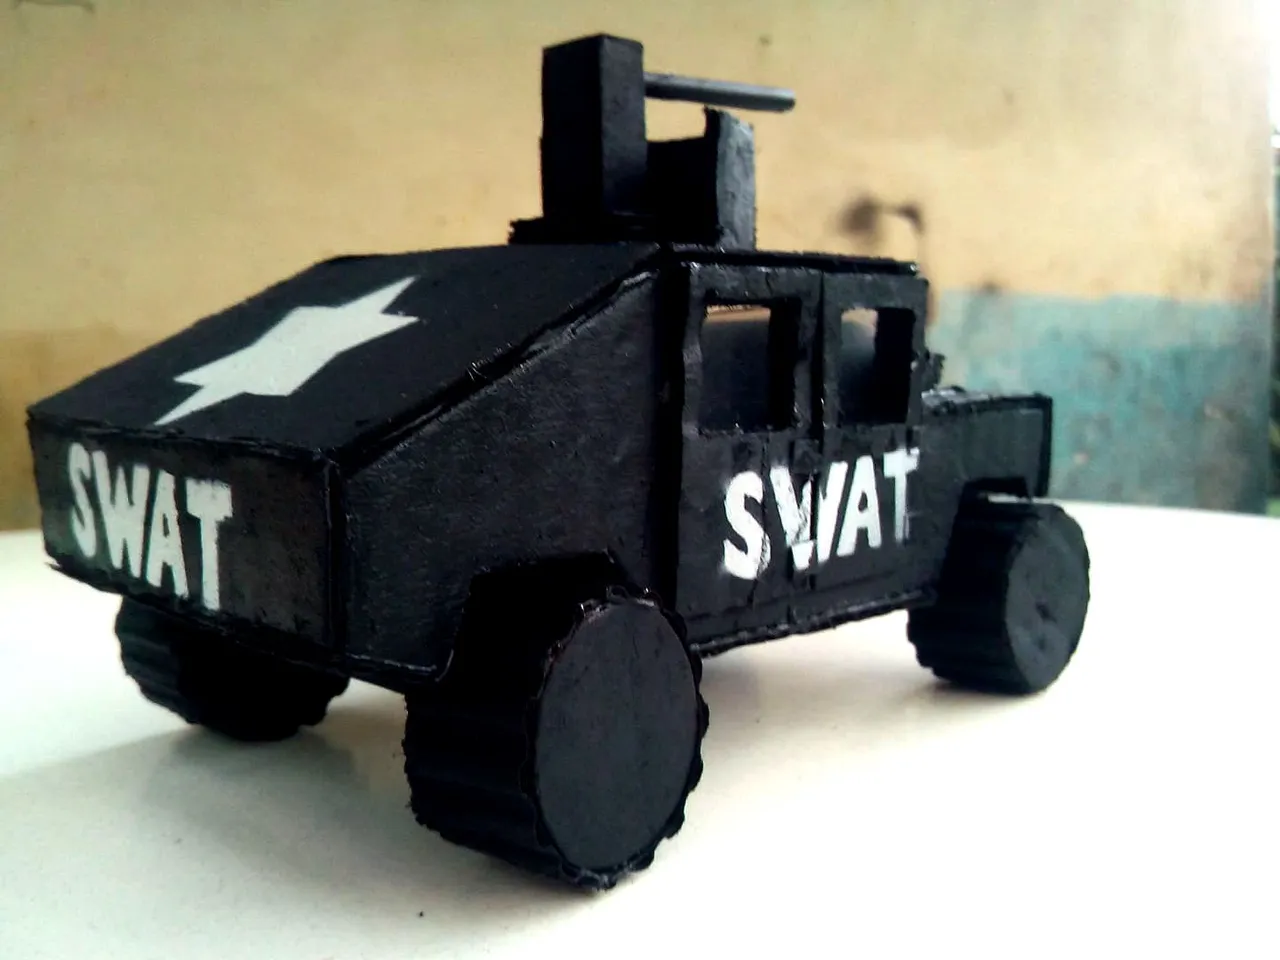
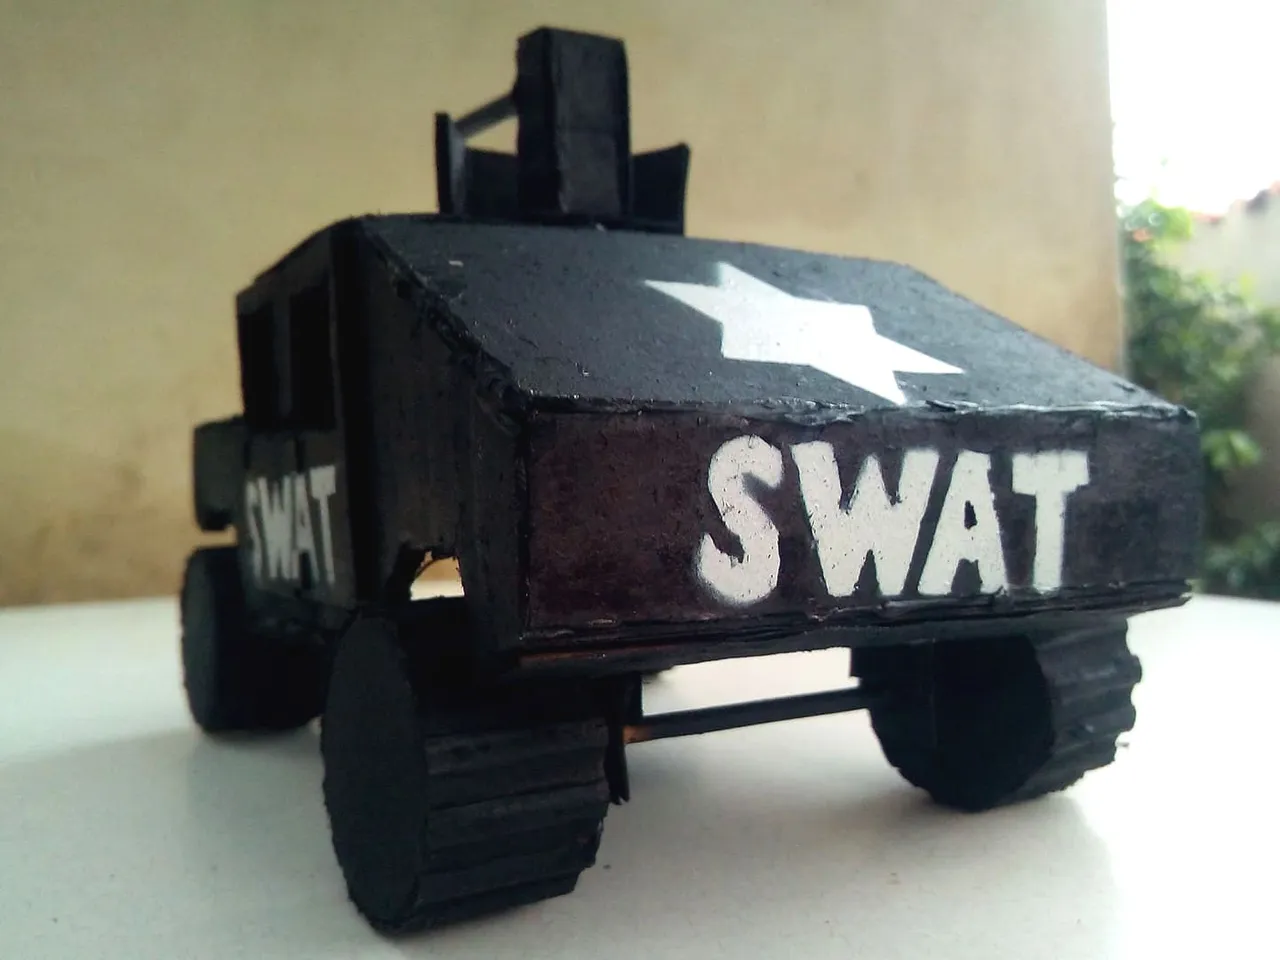
At this point we have nothing left to do but paint the body, so we use matte black spray paint, paint the body and let it dry. Then on a sheet of paper we write the acronym SWAT and cut out with some pocket knives and use them as templates, then with white spray paint we mark the bodywork with the letters.
Llegados a este punto no nos queda más que pintar la carrocería, así que utilizamos pintura negra mate en aerosol, pintamos la carrocería y dejamos secar. Luego en una hoja de papel escribimos las siglas SWAT y recortamos con unas navajas y las utilizaremos de plantillas, después con pintura en aerosol de color blanco marcamos la carrocería con las letras.
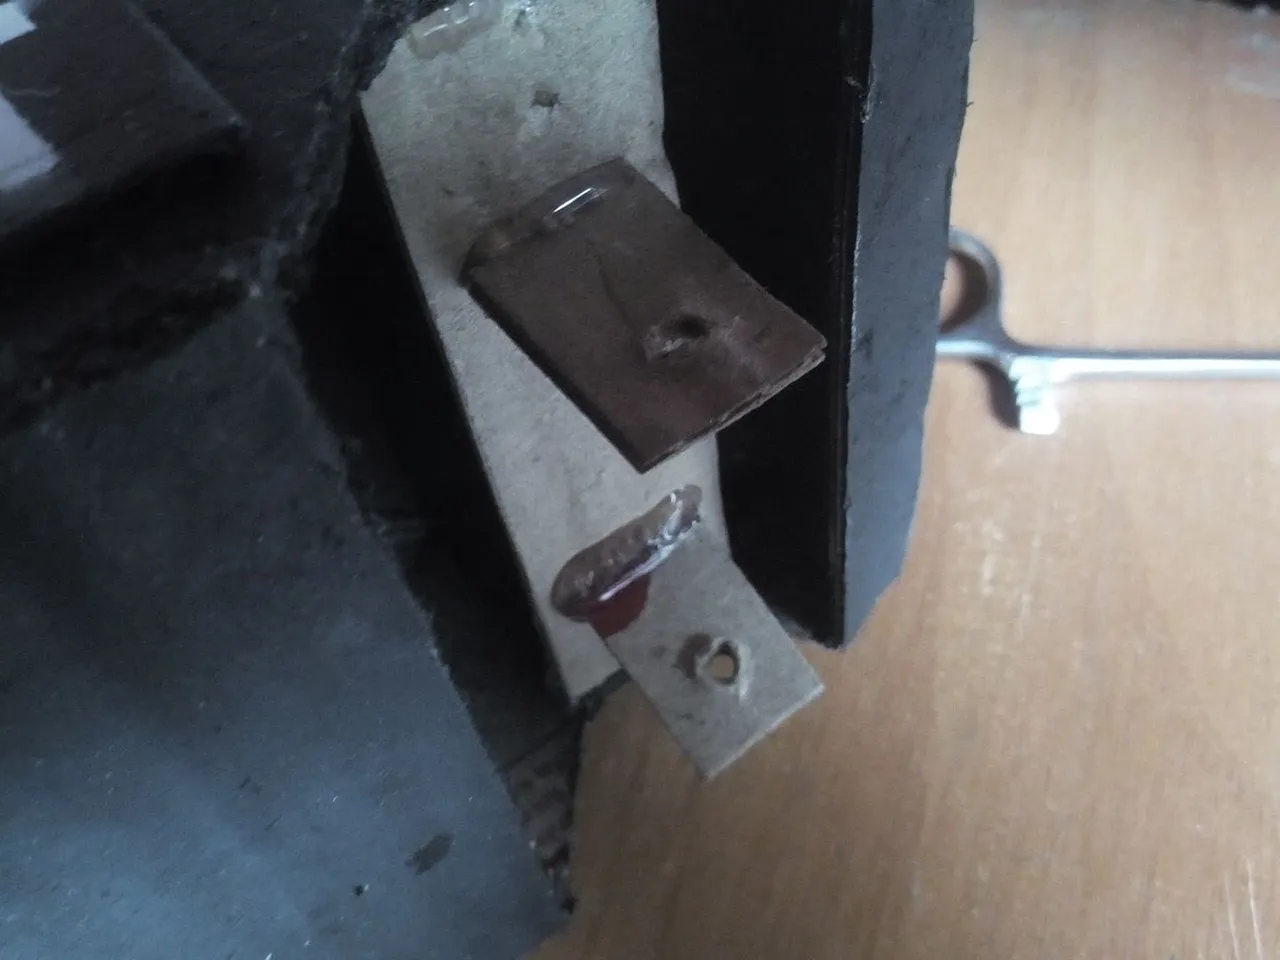
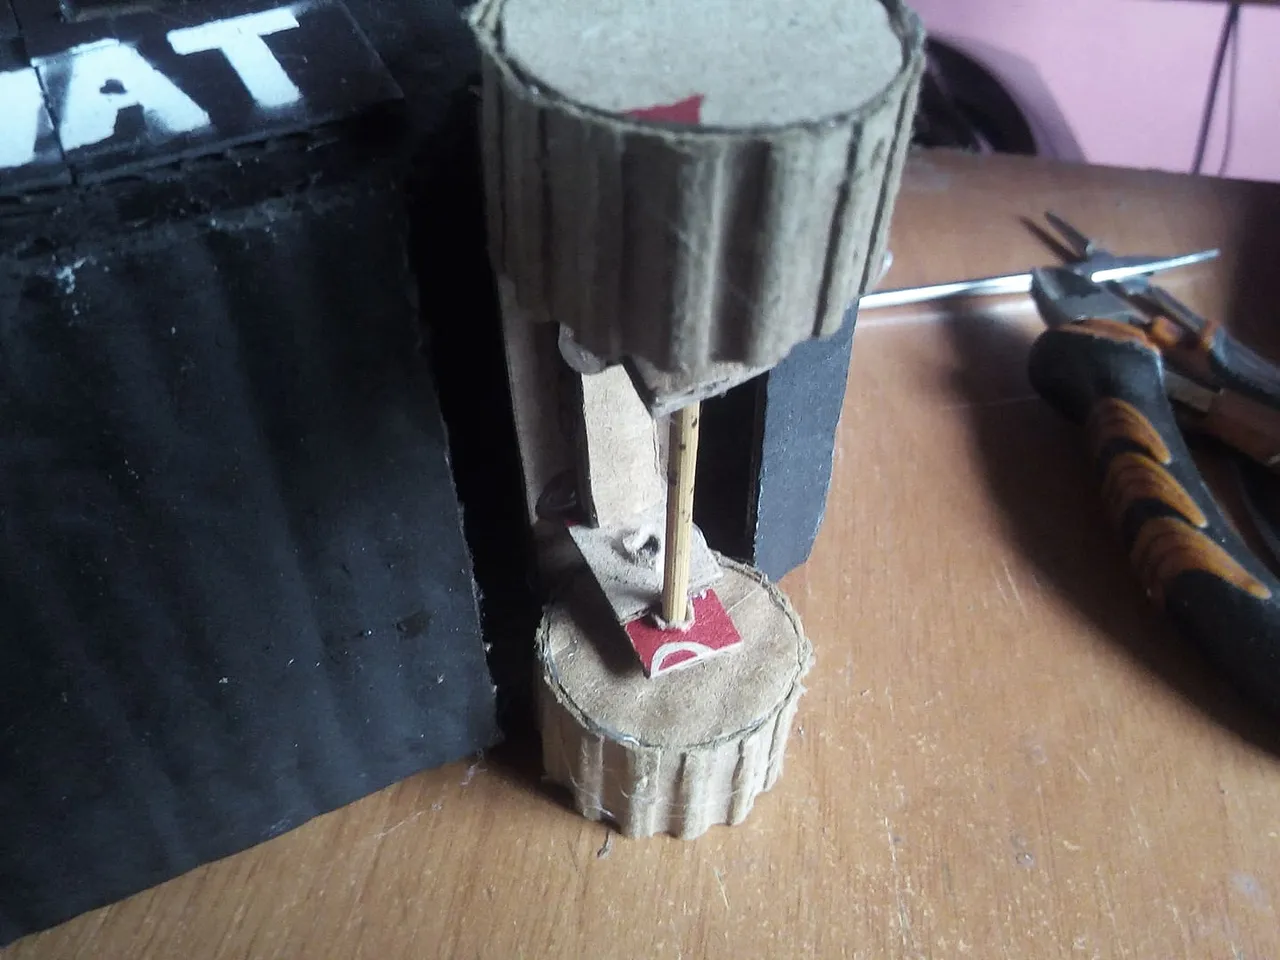
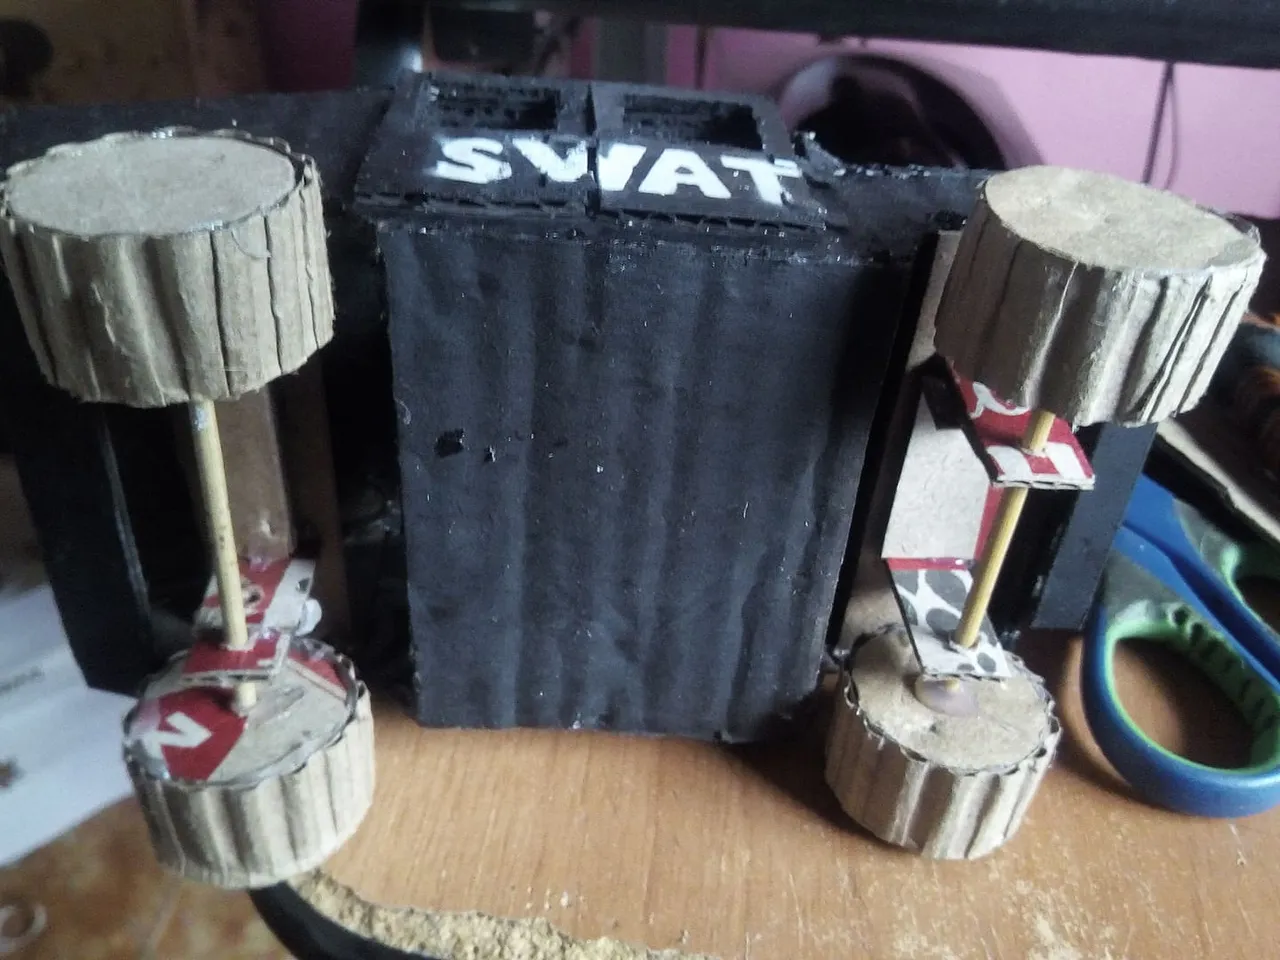
We just need to put the wheels and the windows glass, for the glasses we will use this plastic shield, hehehe, it was a joke. Then with cardboard we will make all the wheels. We cut out the circles, 8 in total and we took a long cardboard strip and divided it so that the relief part was uncovered and we used it for the tires. We make the wheels, we glue them with silicone and finally we place the holes through which the axles of the wheels will pass under the hummve, then we paint the entire lower area and finally we place the glass and we will have finished.
Solo falta colocar las ruedas y los vidrios de las ventanas, para los vidrios usaremos este blindaje de plástico, jejeje, era una broma. Luego con cartón haremos todas las ruedas. recortamos los círculos, 8 en total y tomamos una tira larga de cartón y la dividimos para que quede la parte de relieve descubierta y la utilicemos para los neumáticos. Hacemos las ruedas, las pegamos con silicón y por último colocamos debajo de la hummve los agujeros por donde pasarán los ejes de las ruedas, luego pintamos toda la zona inferior y por último colocamos los vidrios y habremos finalizado.
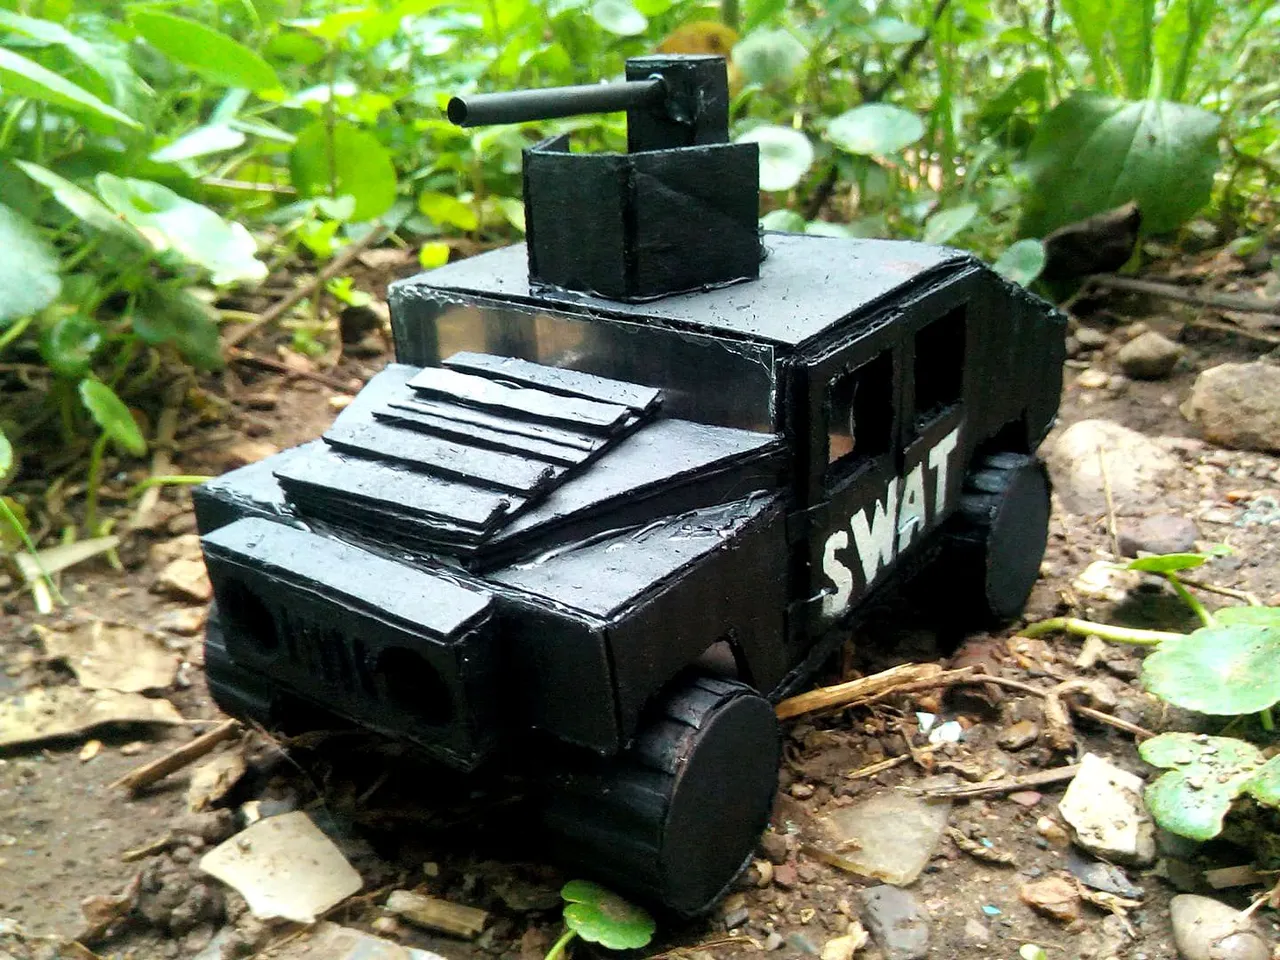
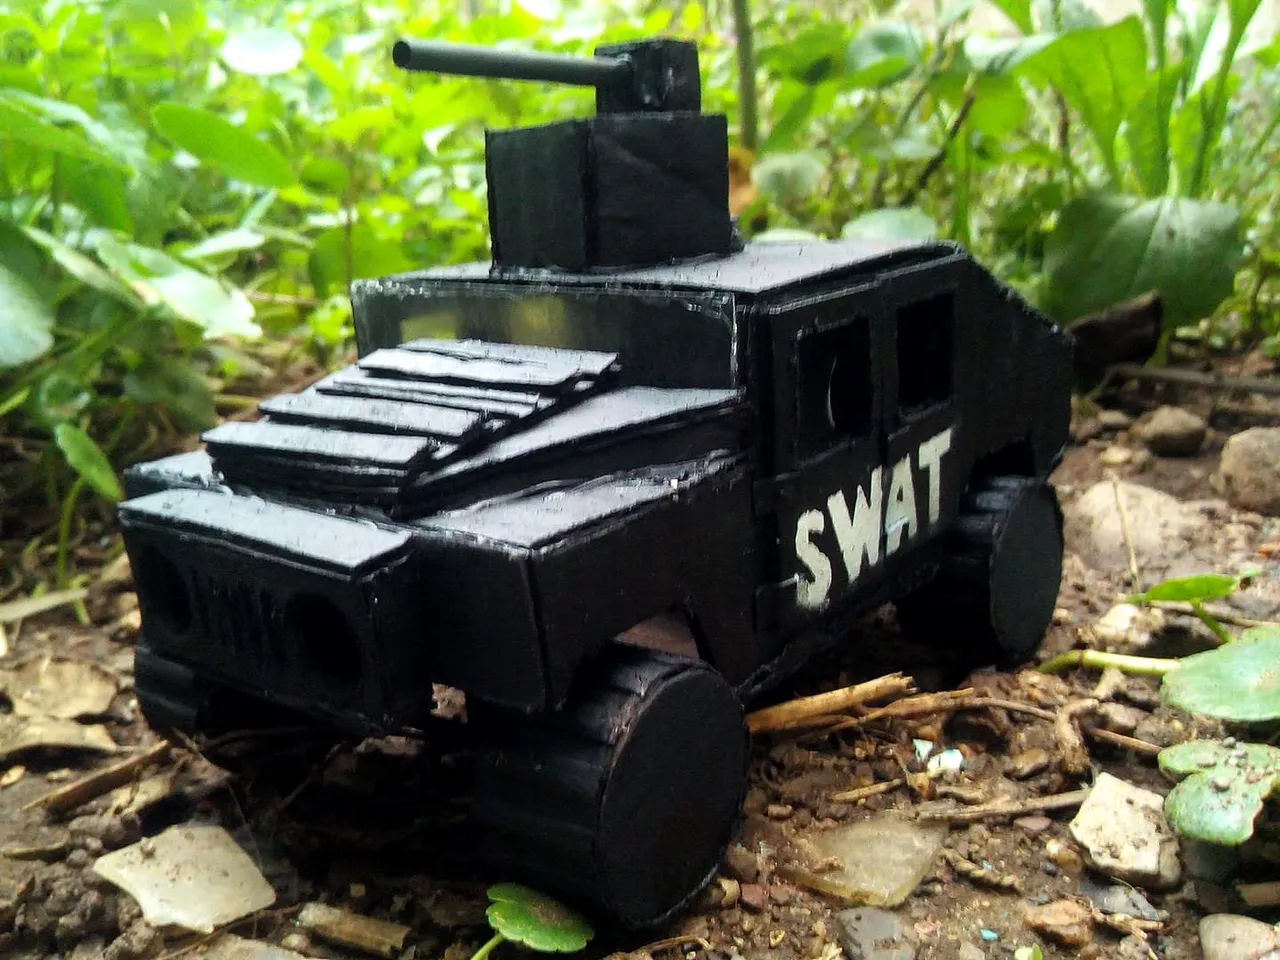
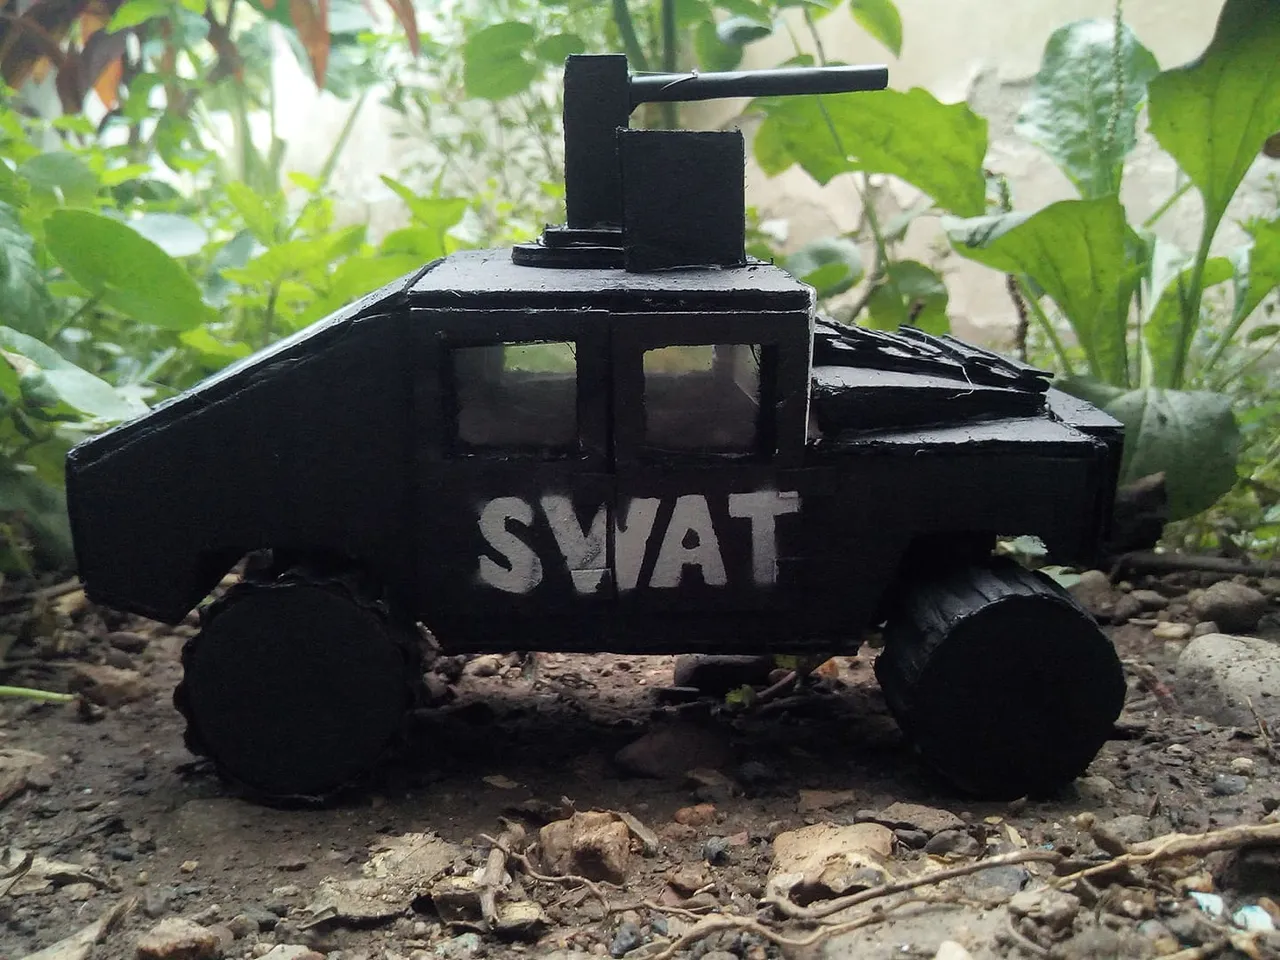
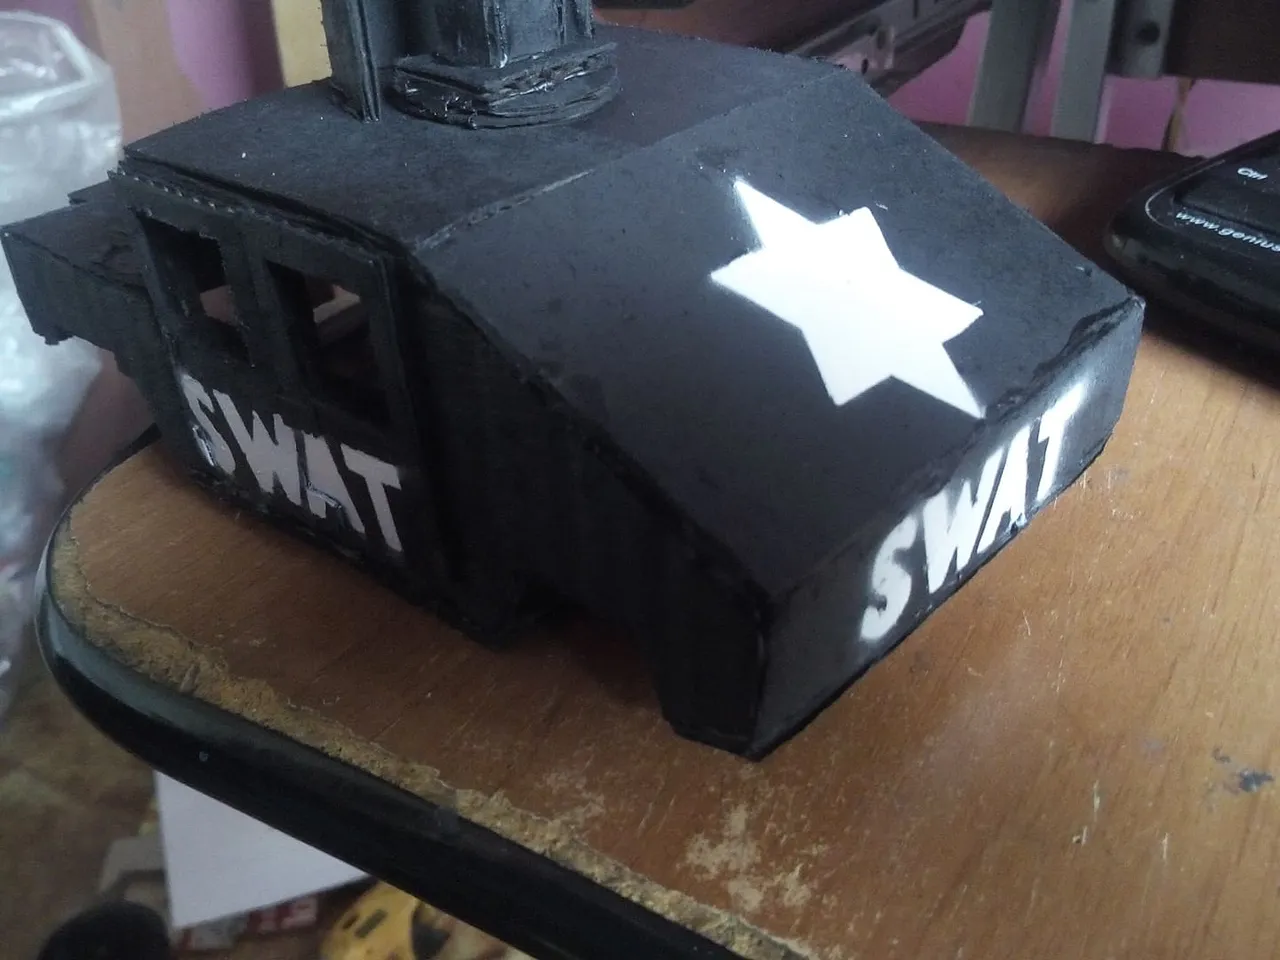
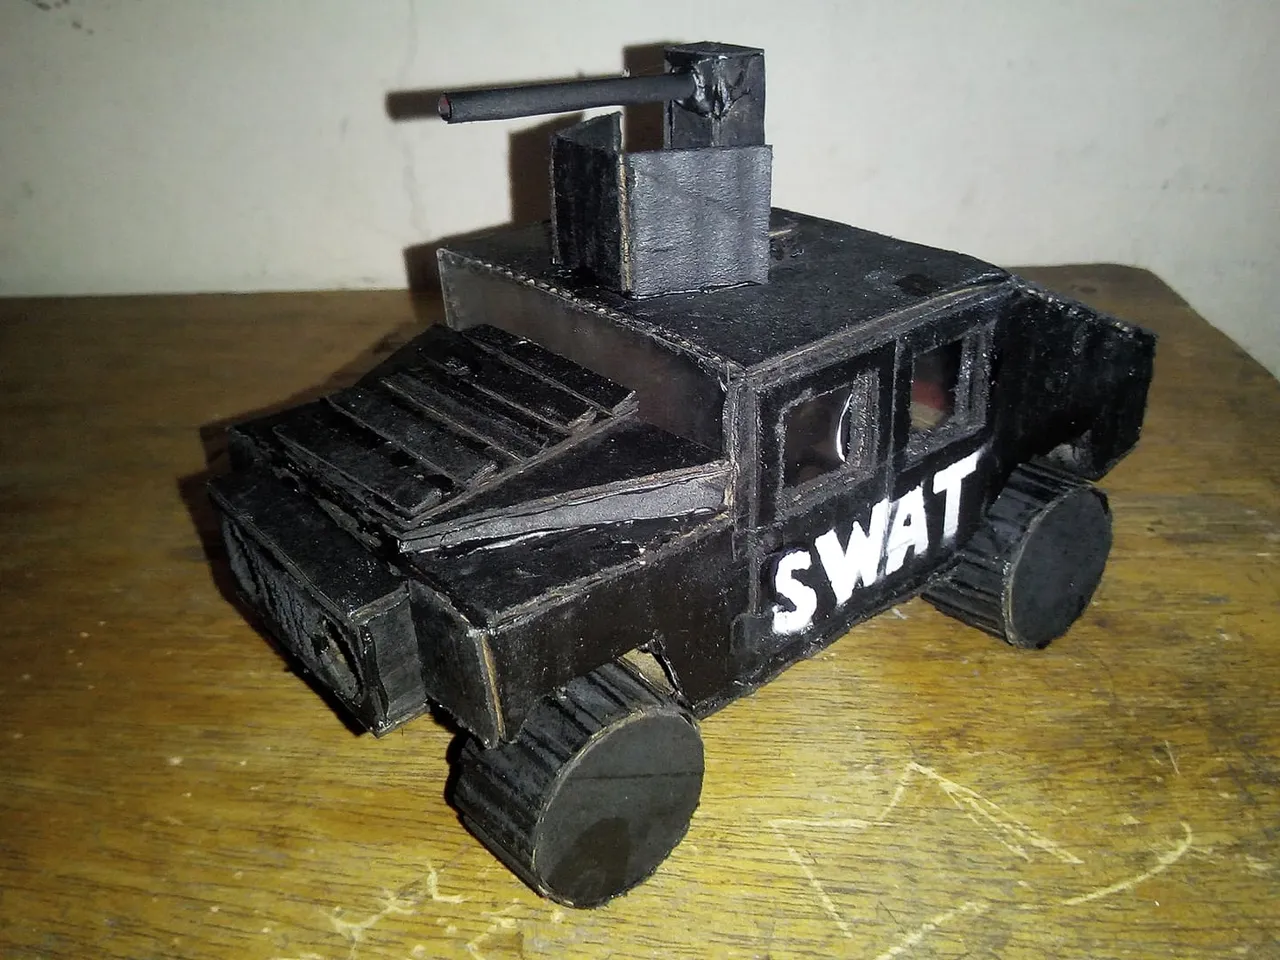
This is how the Hummve SWAT has been, it is a very intimidating model, I know it has more accessories and maybe with a little more time I could have put them on but I needed to speed up because my daughter wouldn't let me work, hehe sometimes it happens. I hope you liked the tutorial, before I had made one with cans of beer but I went overboard with the measurements and it was gigantic, that's why I made it a little smaller in its scale, it measures approximately 15 centimeters long by 8 centimeters wide . I say goodbye to you soon and do not forget to comment if you have a suggestion or what you think. Have a great weekend.
Así ha quedado la Hummve SWAT, es un modelo muy intimidante, se que tiene más accesorio y tal vez con algo más de tiempo hubiera podido ponérselos pero necesitaba apurar la marcha porque mi hija no me dejaba trabajar, jeje a veces pasa. Espero que les haya gustado el tutorial, antes había hecho una con latas de cervezas pero me pasé con las medidas y me quedó gigantesca, por eso esta la hice un poco más pequeña en su escala mide aproximadamente 15 centímetros de largo por 8 centímetros de ancho. Me despido hasta pronto y no olviden comentar si tienen una sugerencia o que tal les ha parecido. Que tengan un buen fin de semana.